How To Guide: Creating a Quoting Macro
1. Introduction
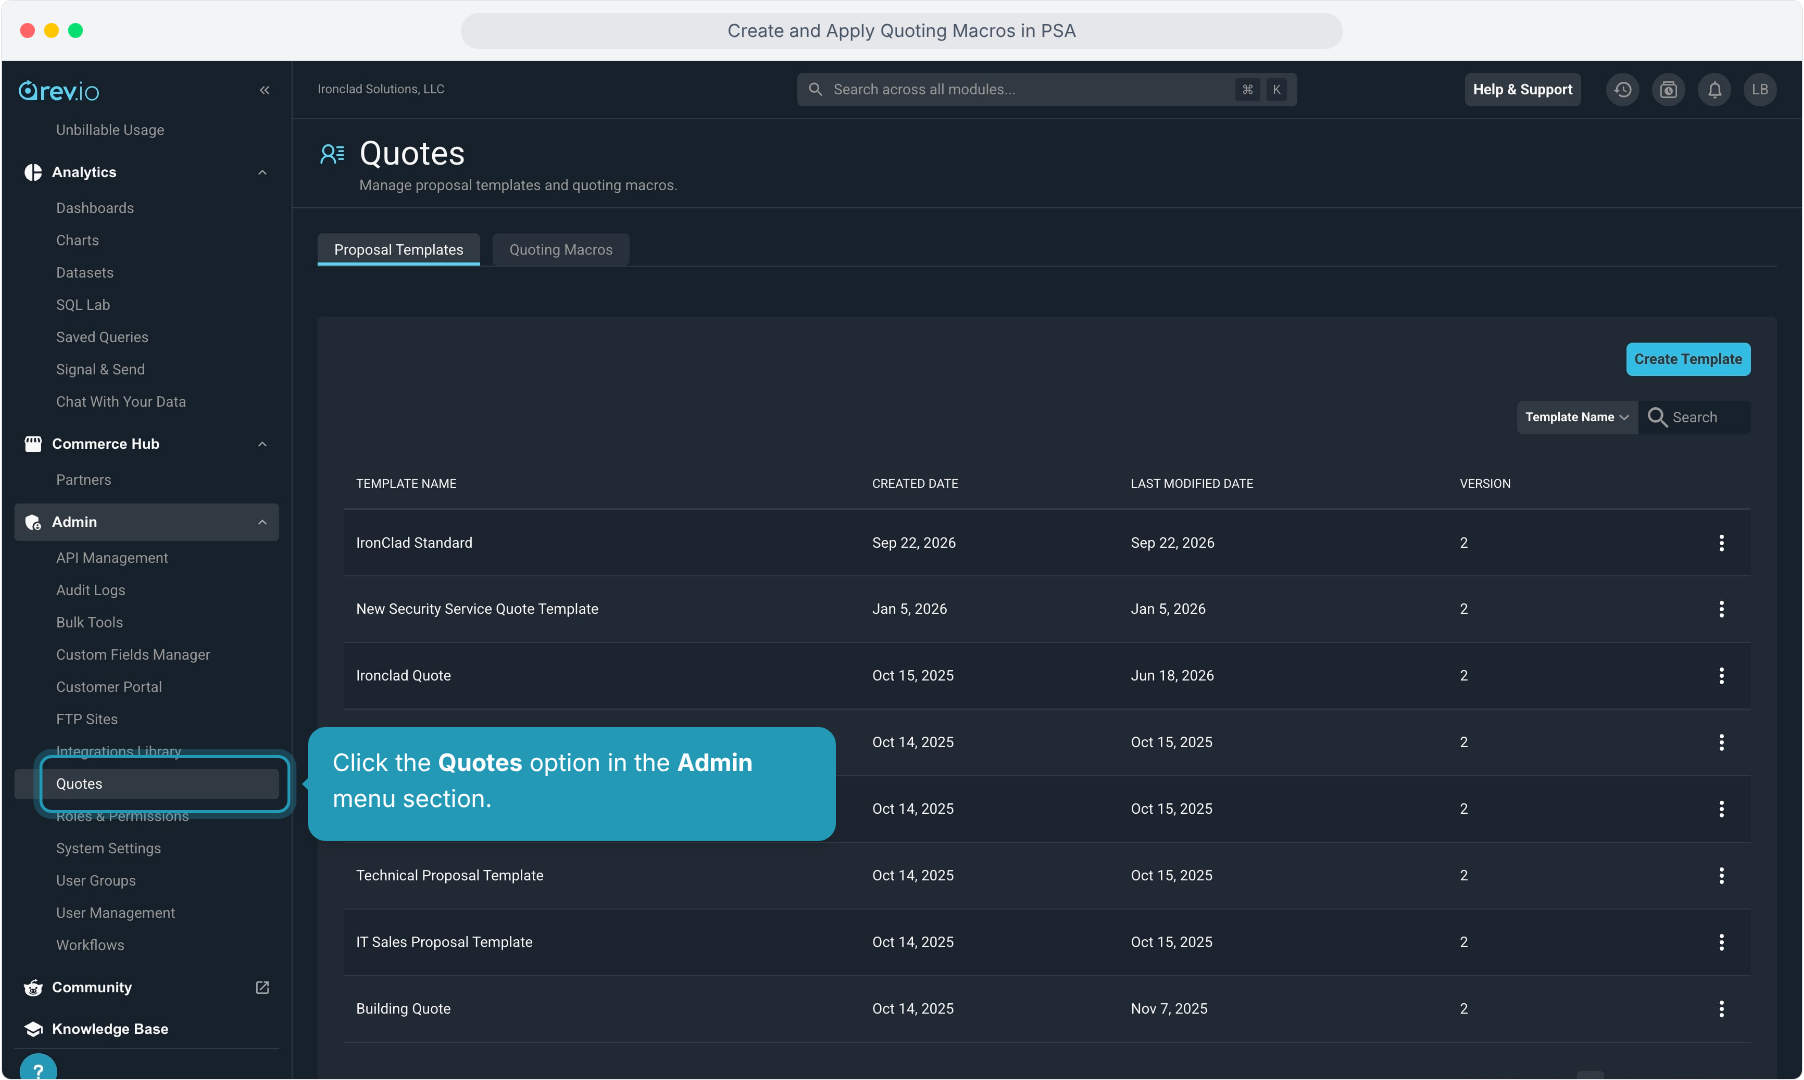
2. Click the Quotes option in the Admin menu section.
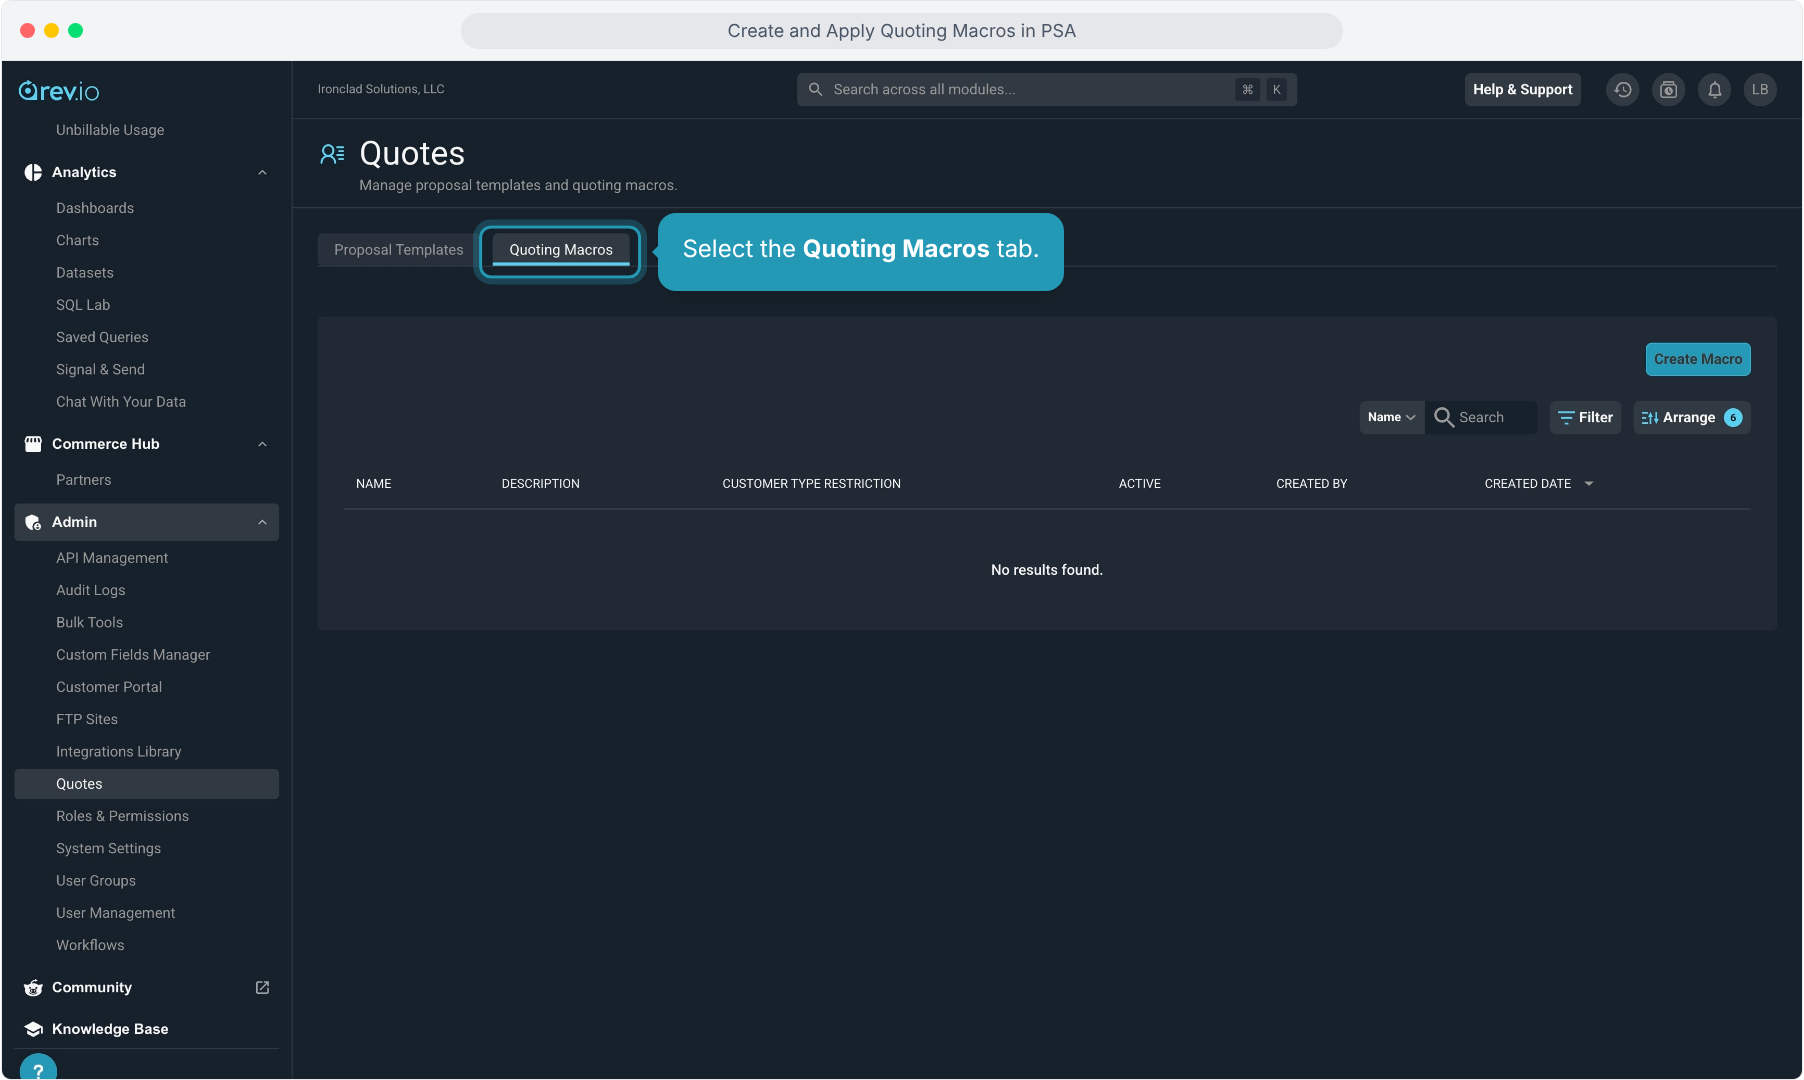
3. Select the Quoting Macros tab.
4. Click the Create Macro button to start building a new quoting macro.
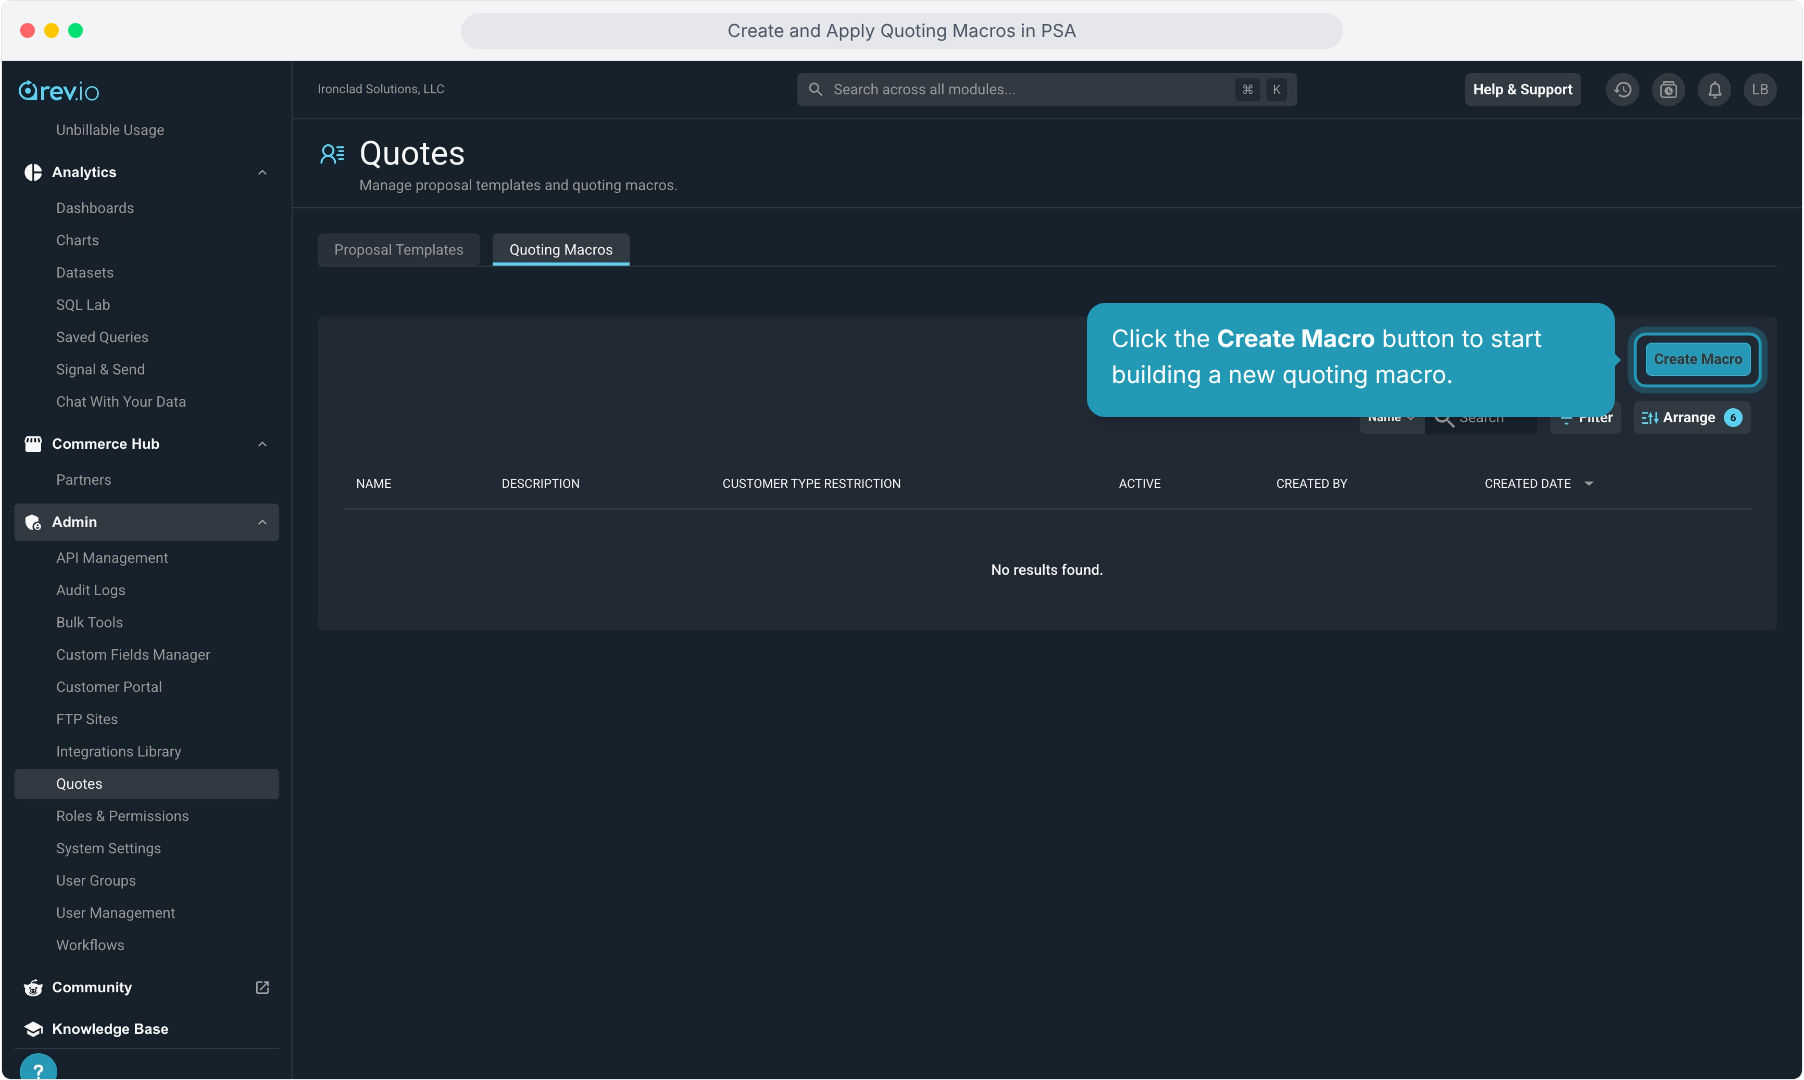
5. Enter a name for your new macro in the text field provided and click the Create Macro button.
Make sure the name is descriptive enough that your users will know what they are selecting and be able to tell different macros apart when using them.
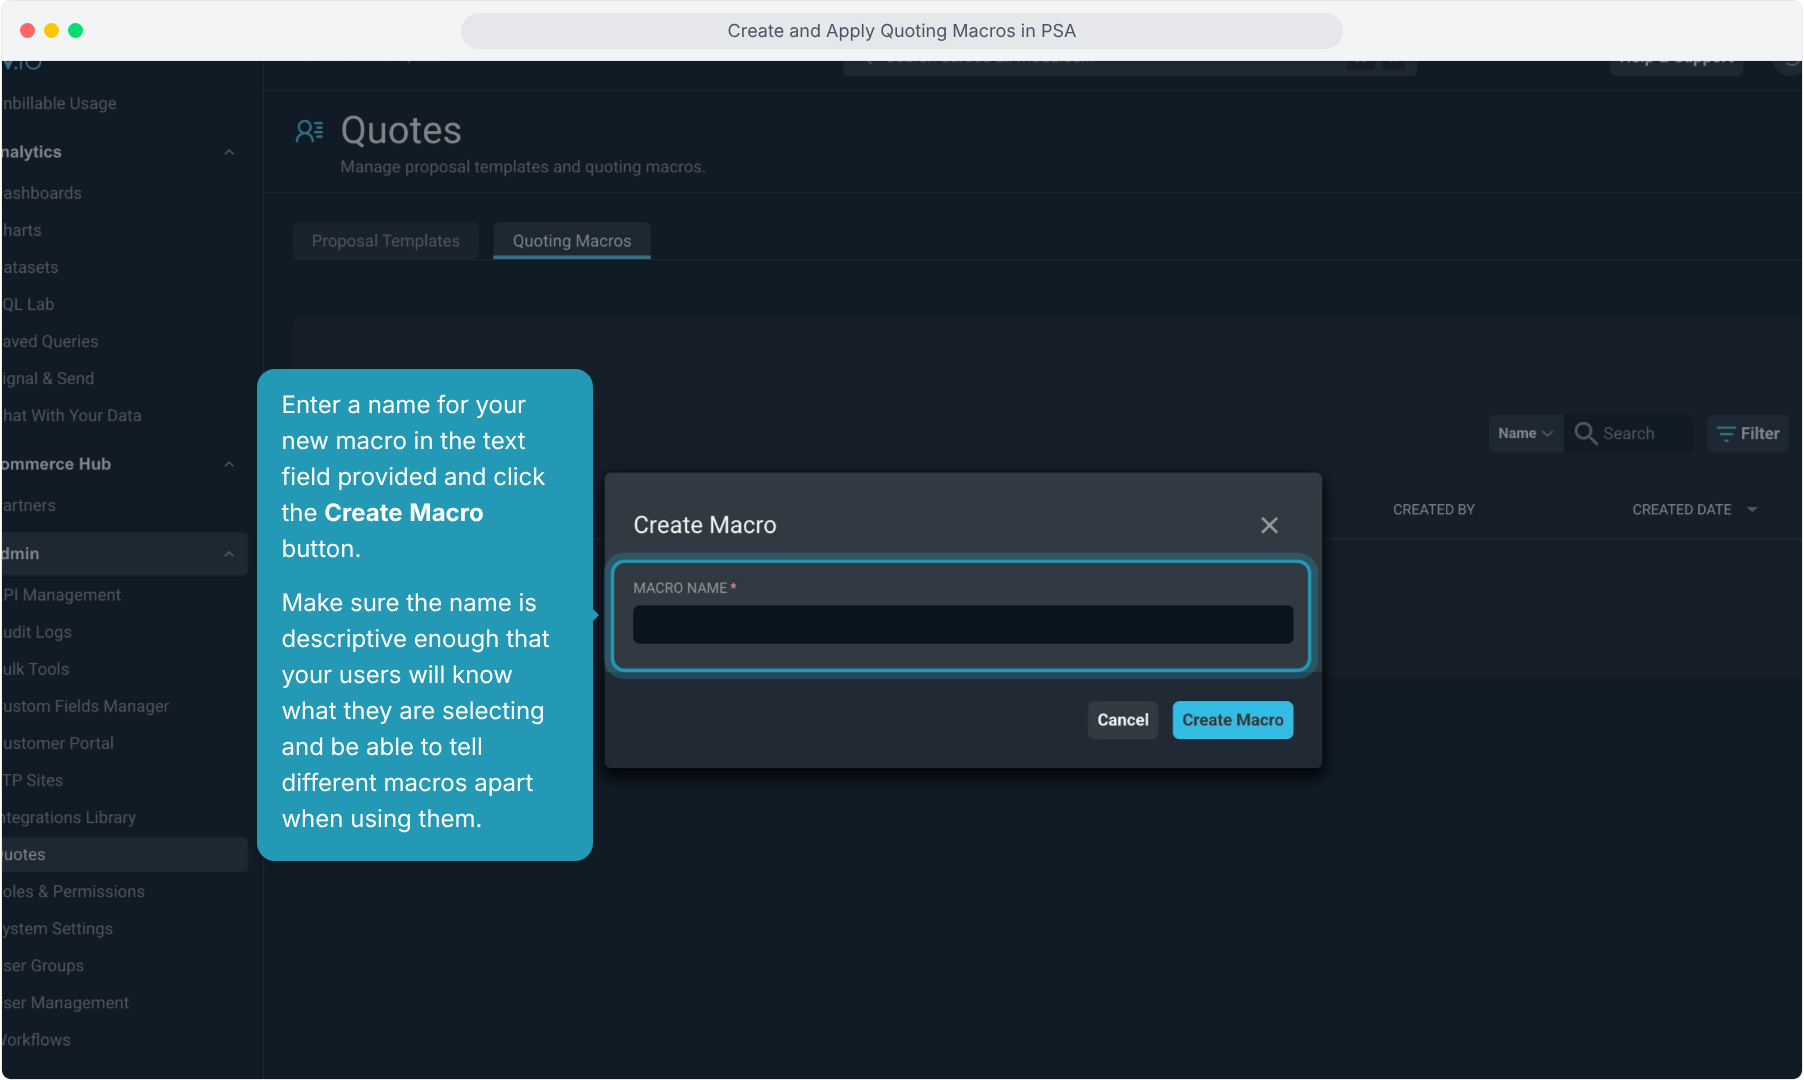
6. From here, click Add Your First Service to begin adding services to this macro. You can create this quote macro just as if you were quoting on an individual customer.
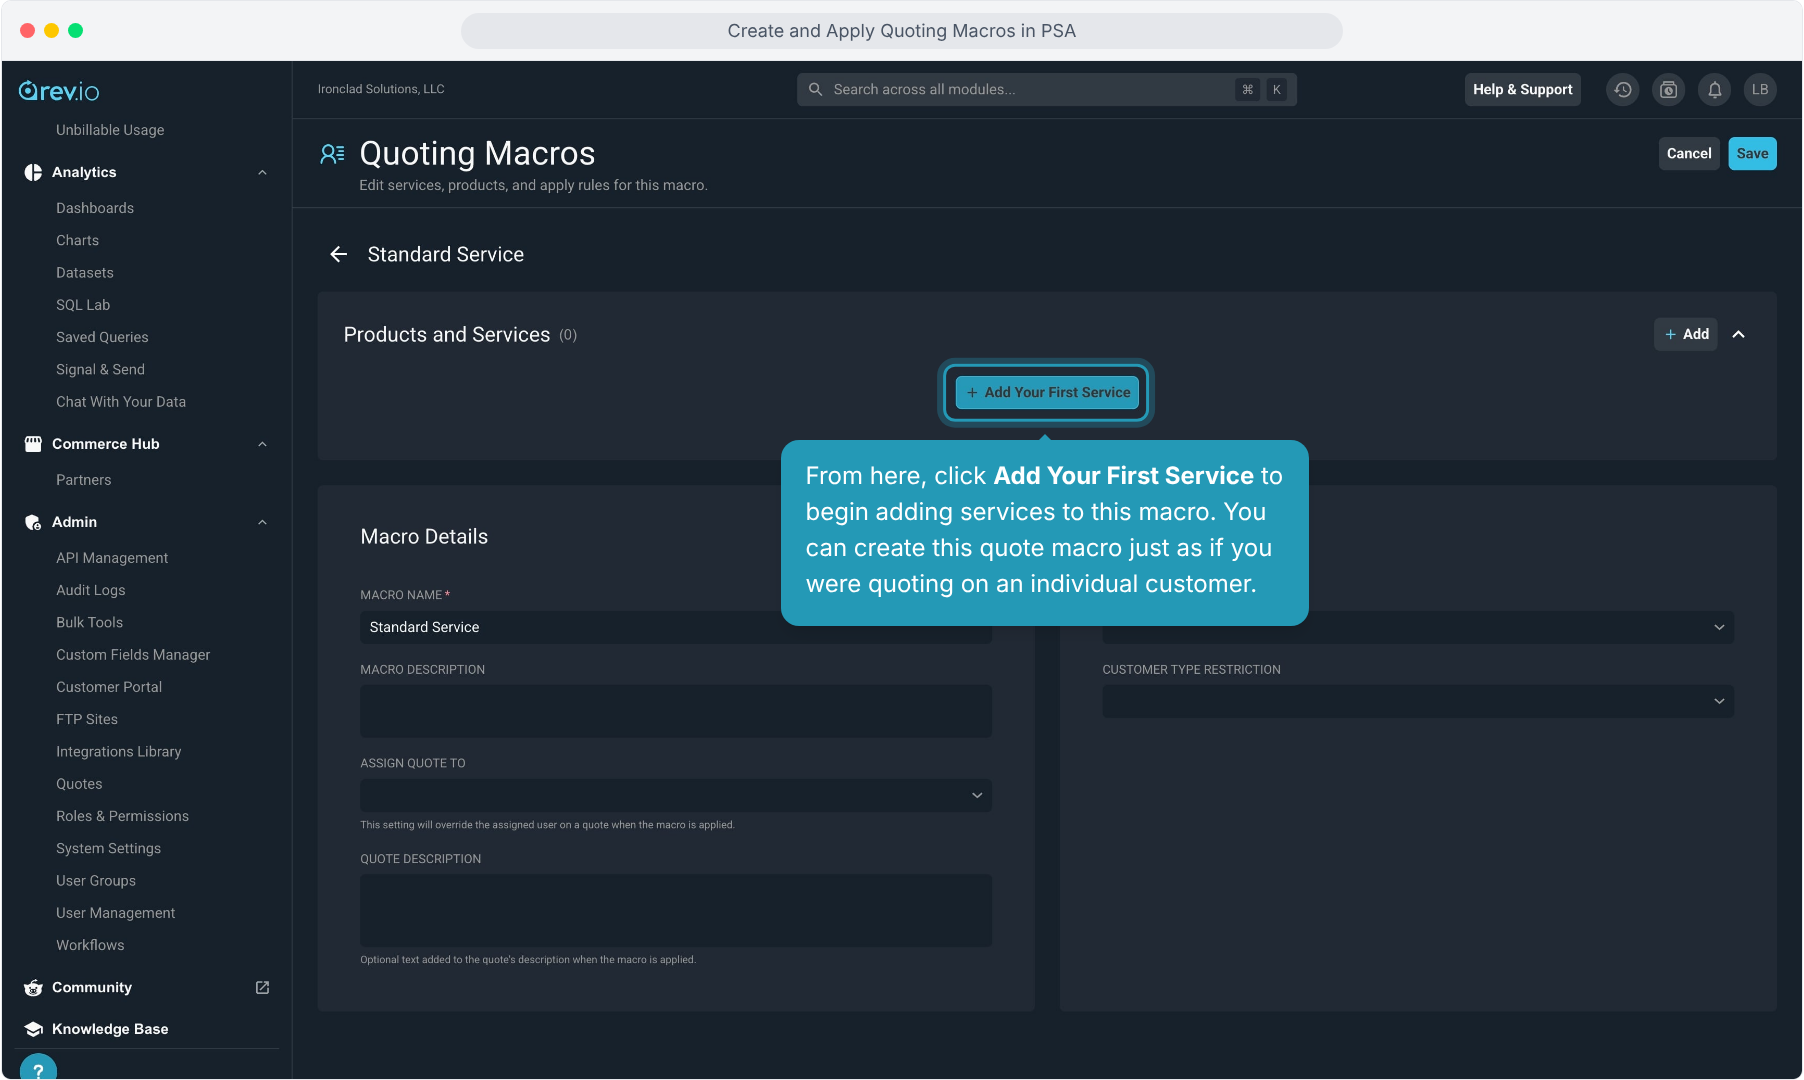
7. Add the service type, provider, package (if using packages), then click the checkmark to confirm and save the service configuration.
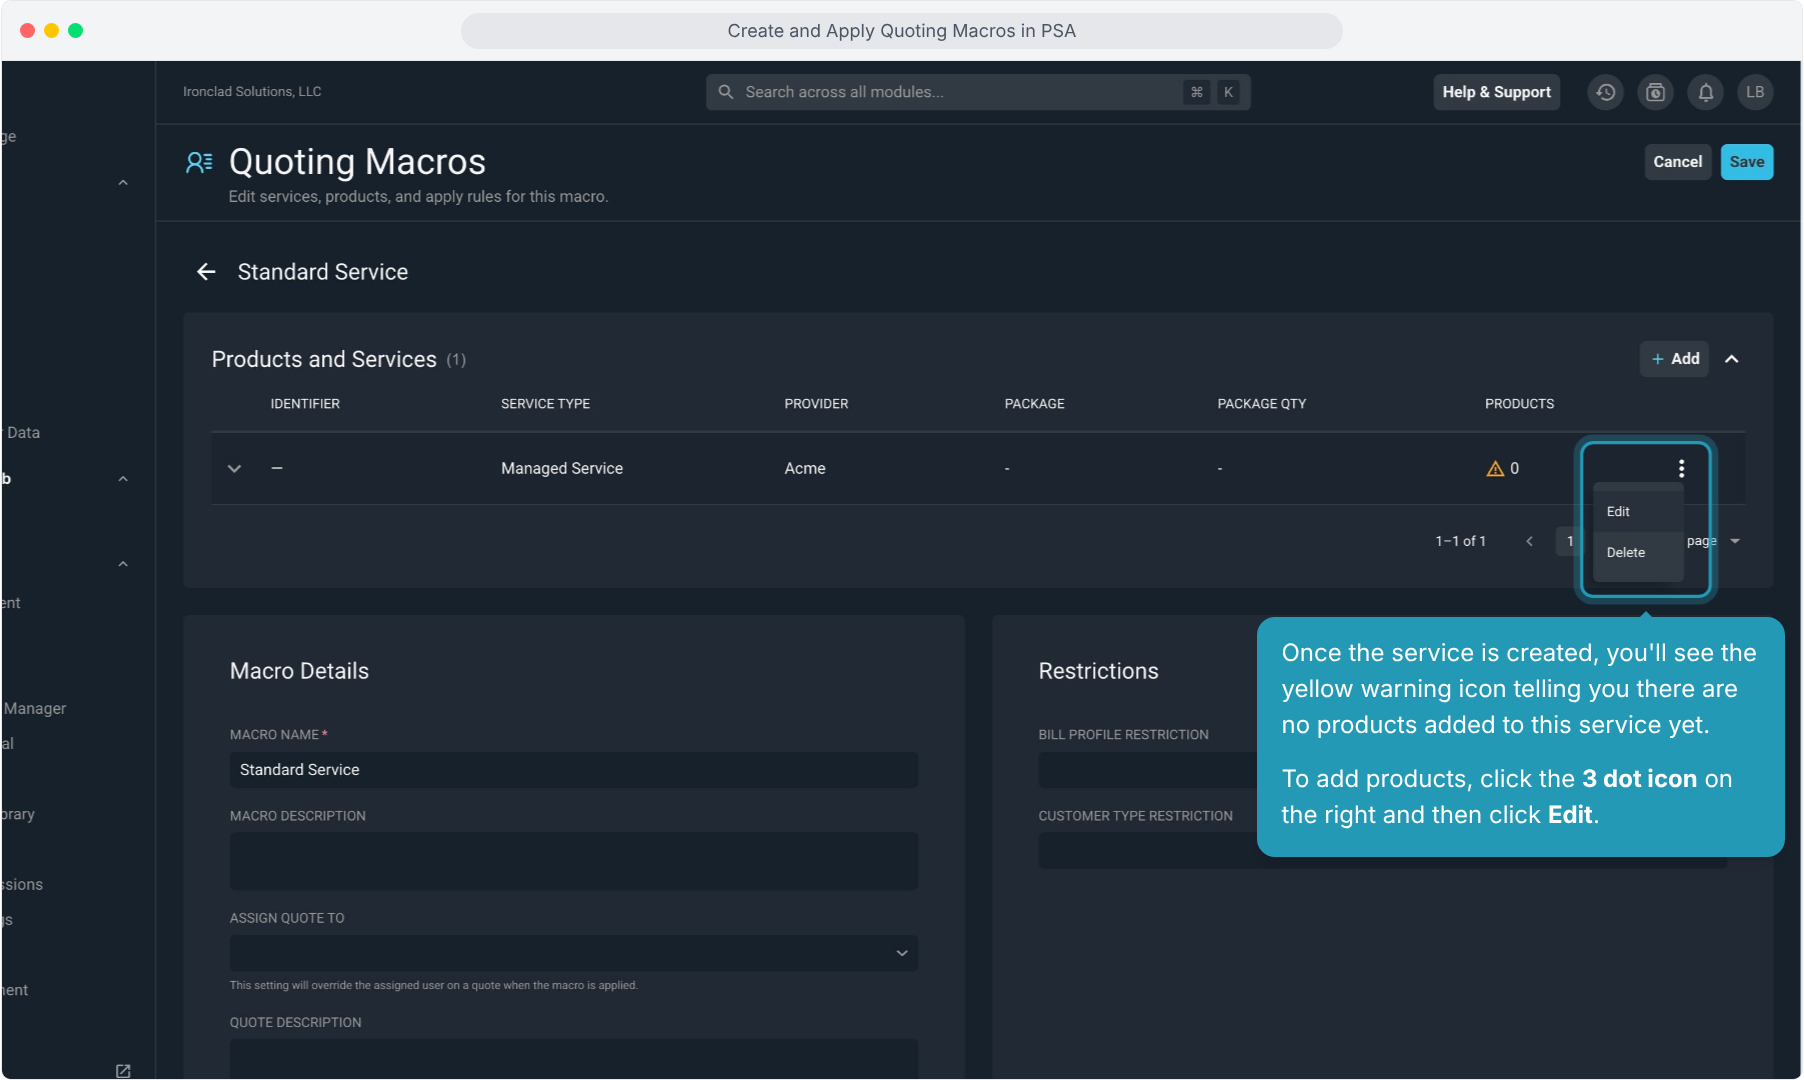
8. Once the service is created, you'll see the yellow warning icon telling you there are no products added to this service yet.
To add products, click the 3 dot icon on the right and then click Edit.
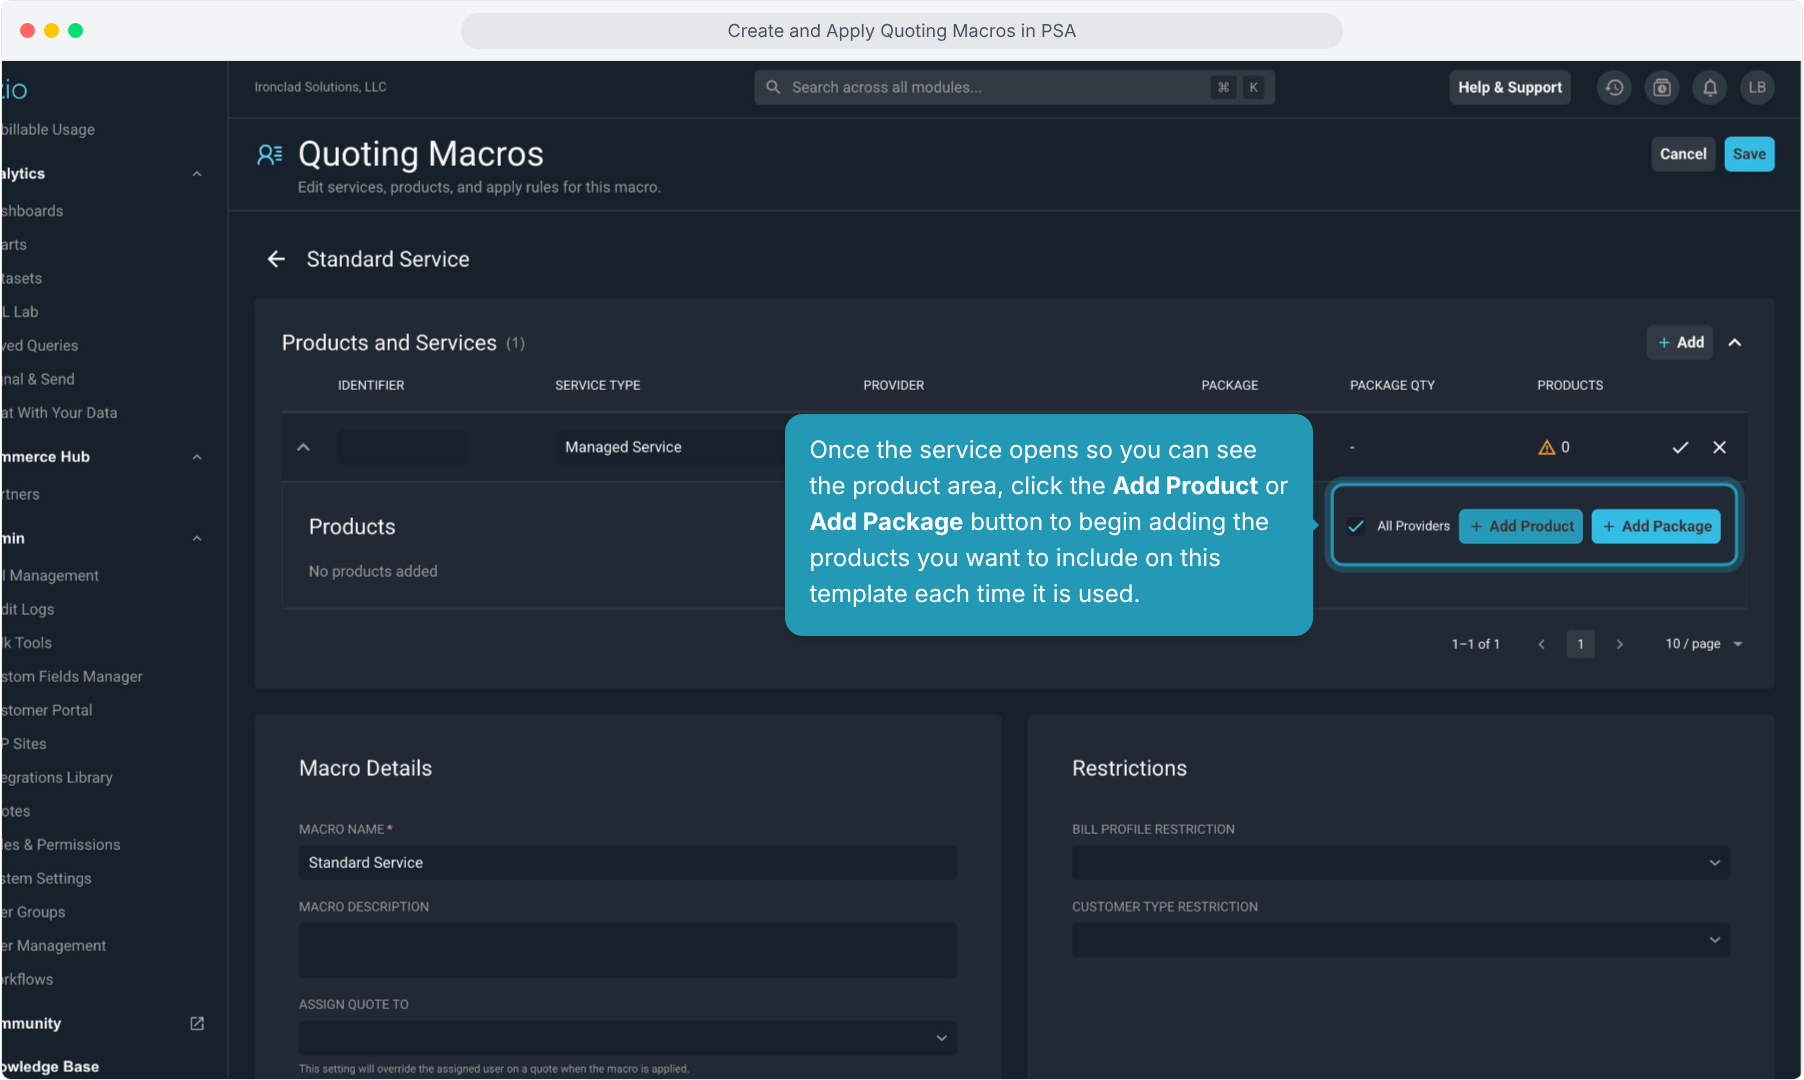
9. Once the service opens so you can see the product area, click the Add Product or Add Package button to begin adding the products you want to include on this template each time it is used.
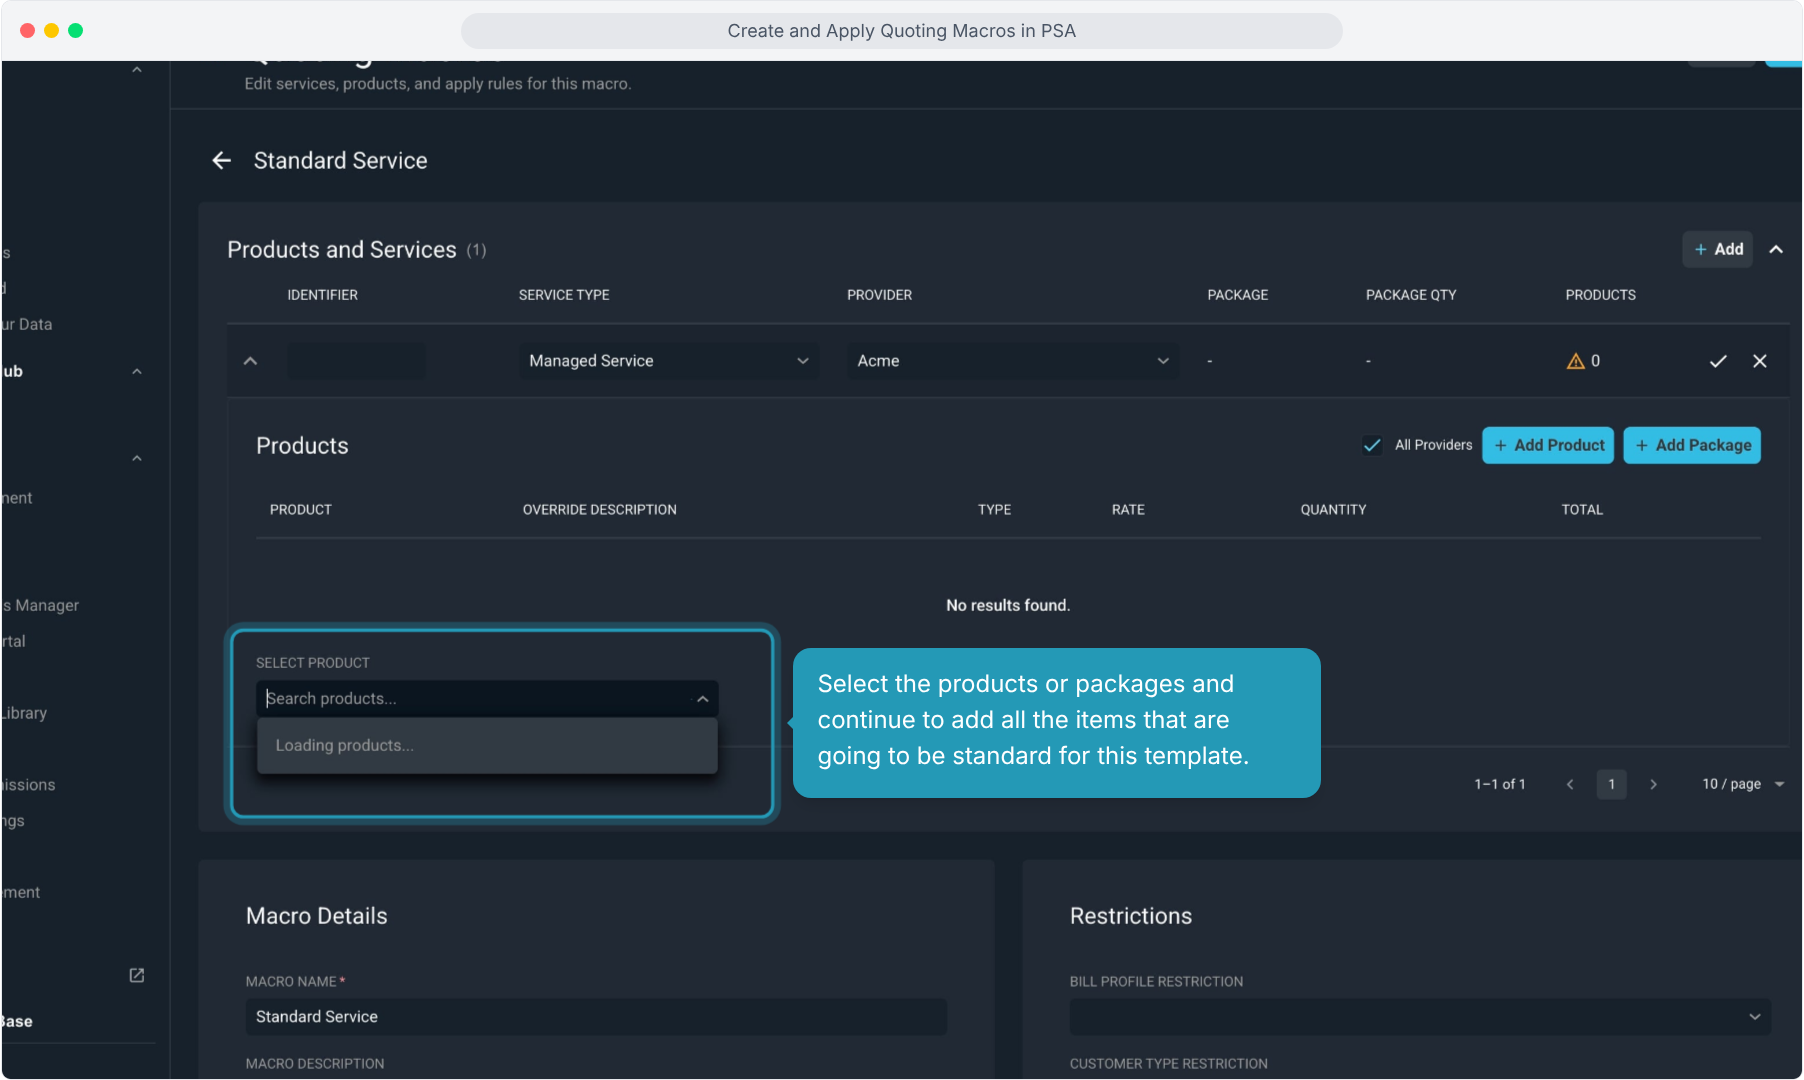
10. Select the products or packages and continue to add all the items that are going to be standard for this template.
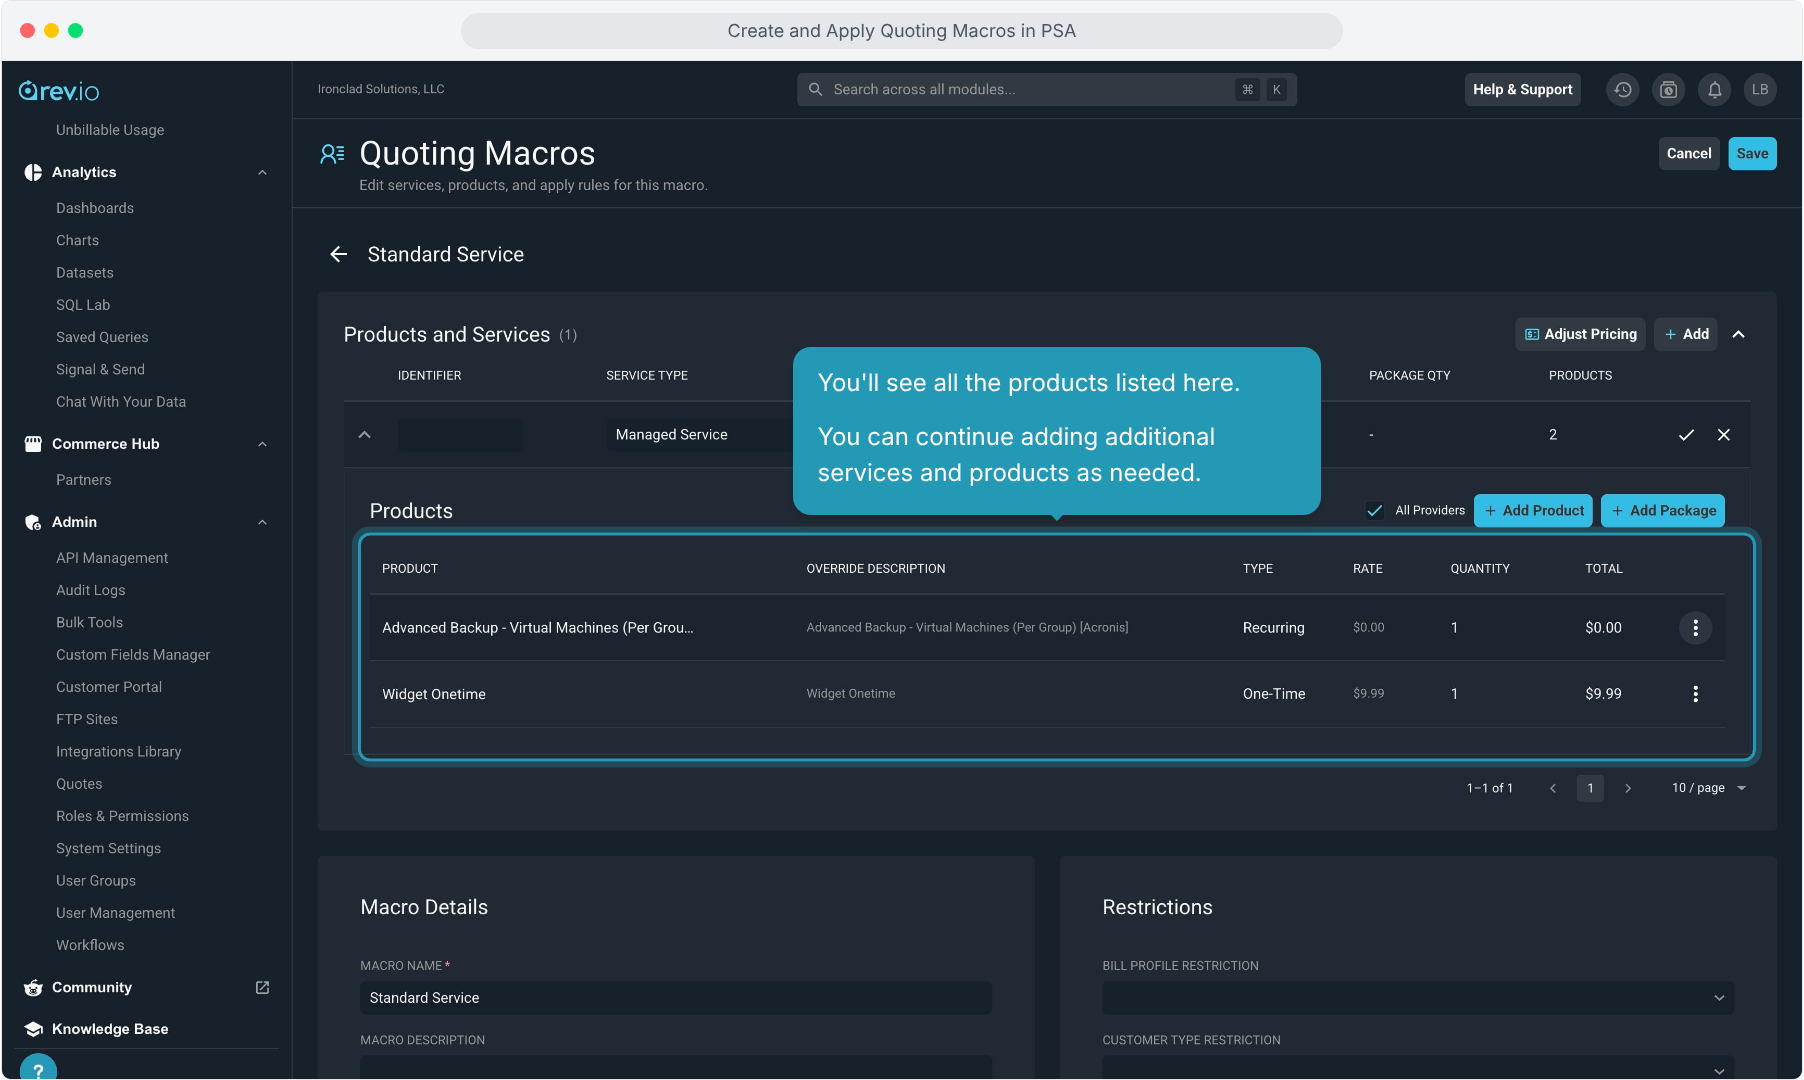
11. You'll see all the products listed here.
You can continue adding additional services and products as needed.
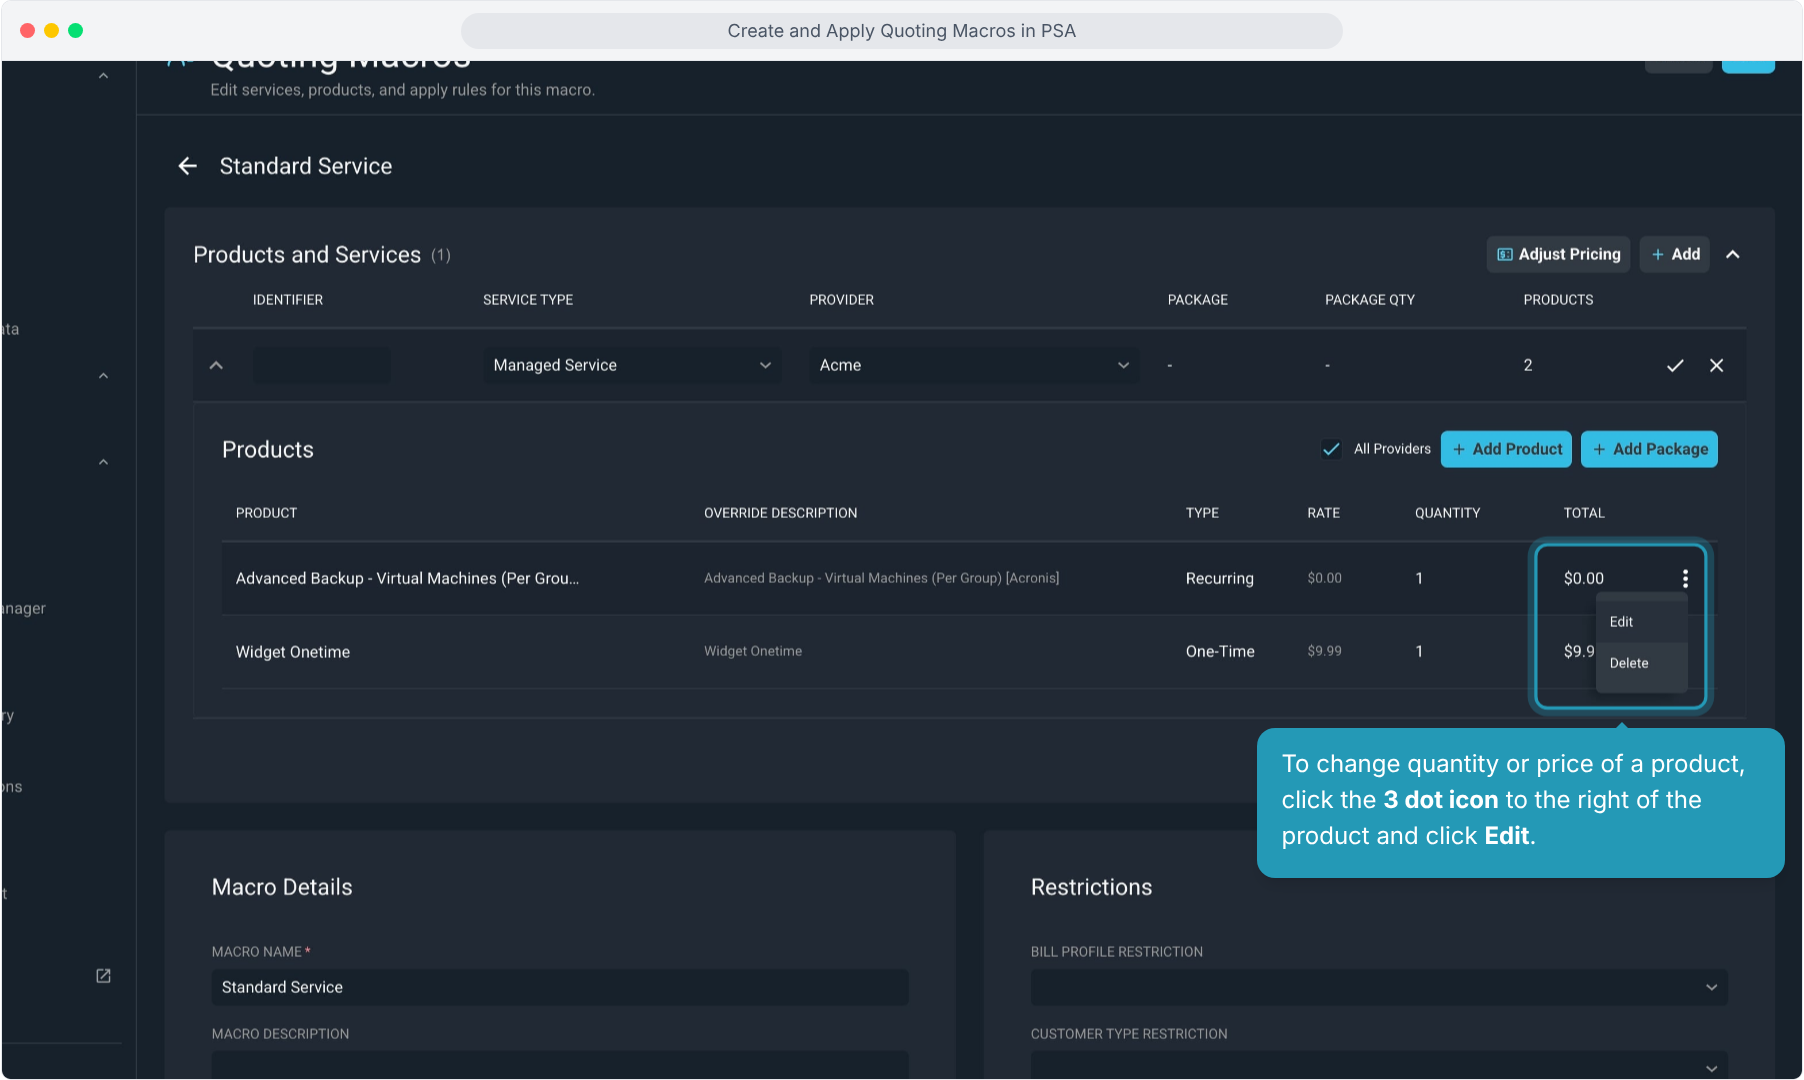
12. To change quantity or price of a product, click the 3 dot icon to the right of the product and click Edit.
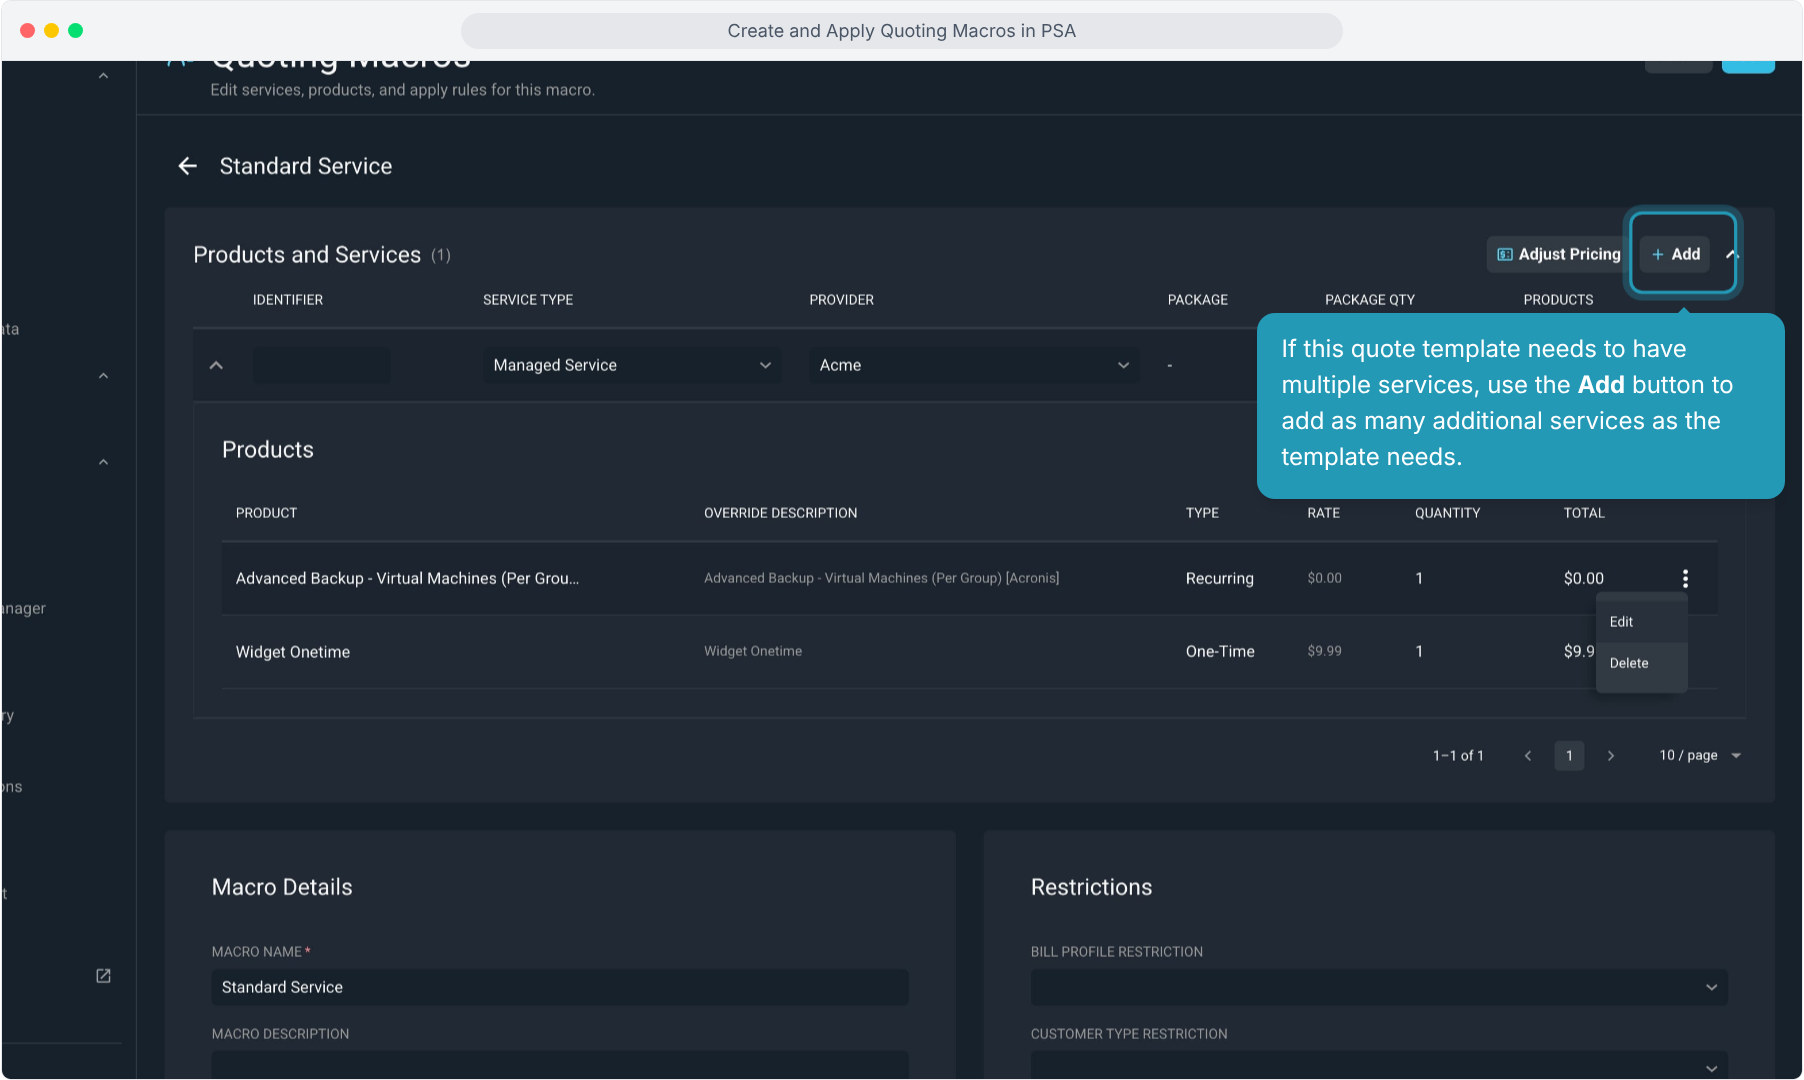
13. If this quote template needs to have multiple services, use the Add button to add as many additional services as the template needs.
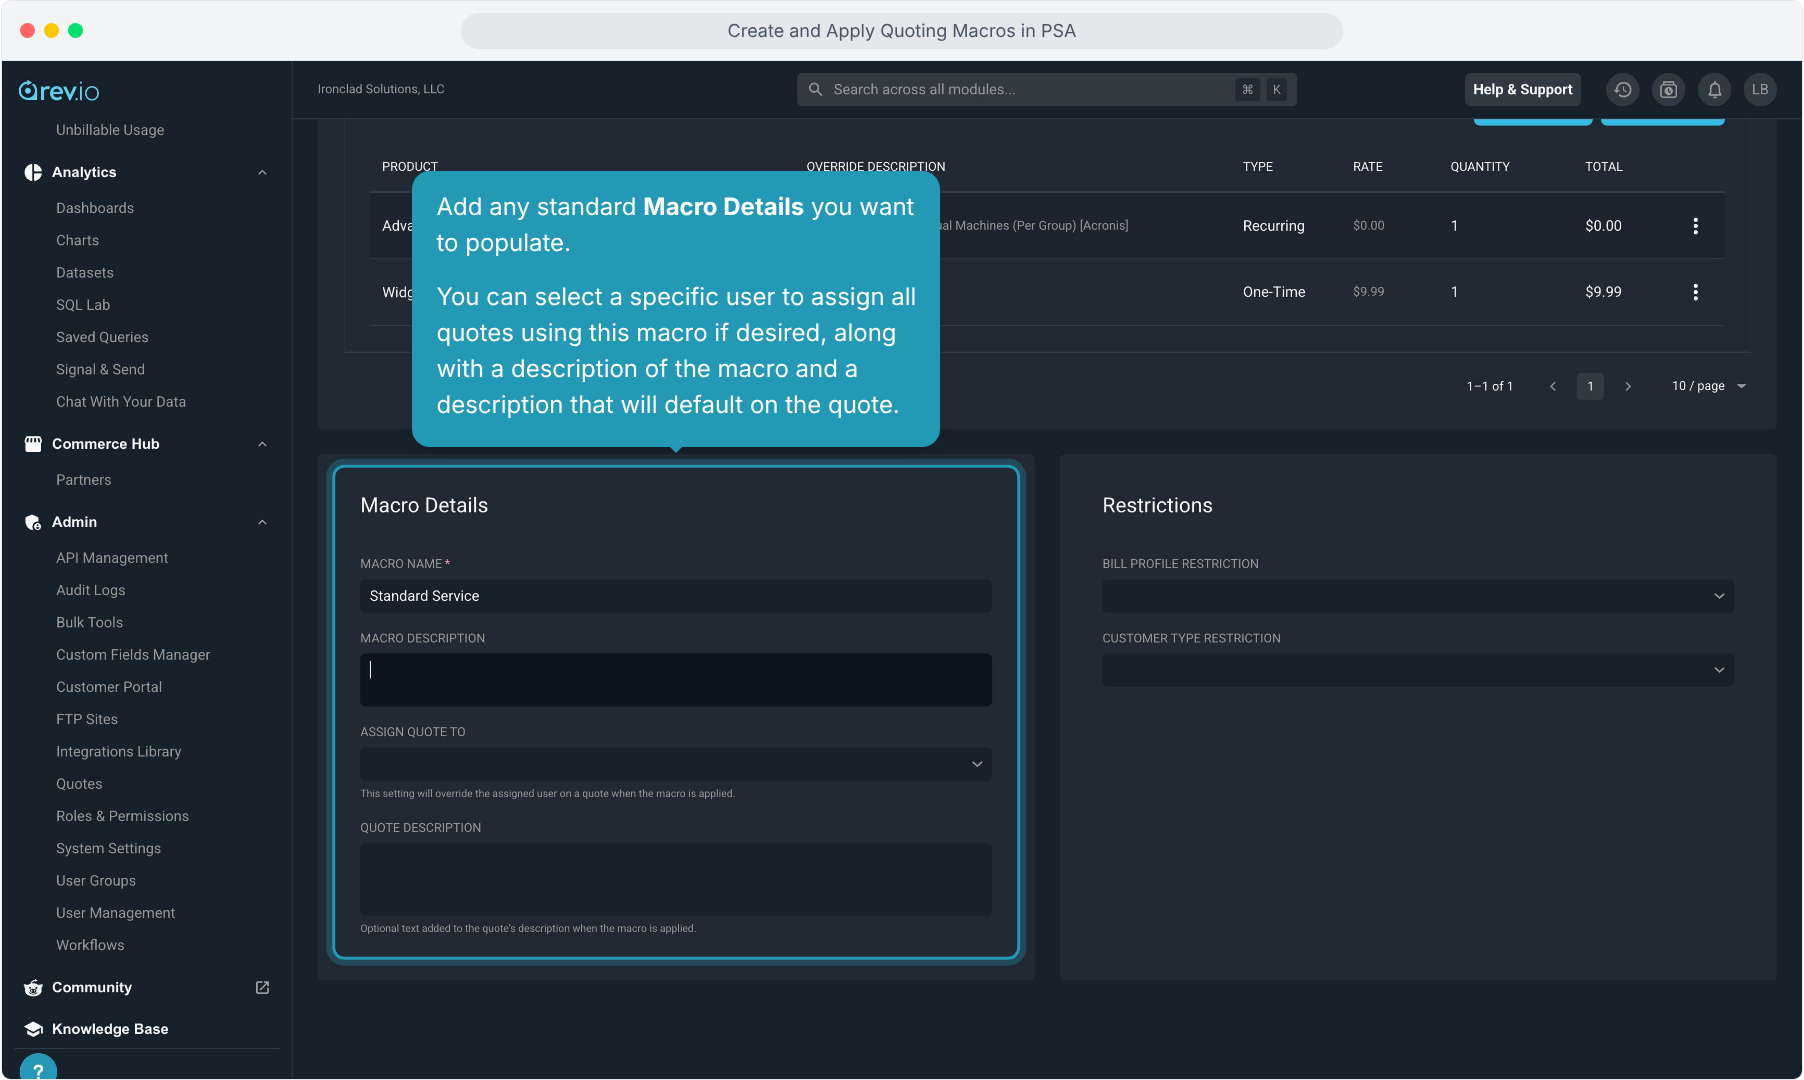
14. Add any standard Macro Details you want to populate.
You can select a specific user to assign all quotes using this macro if desired, along with a description of the macro and a description that will default on the quote.
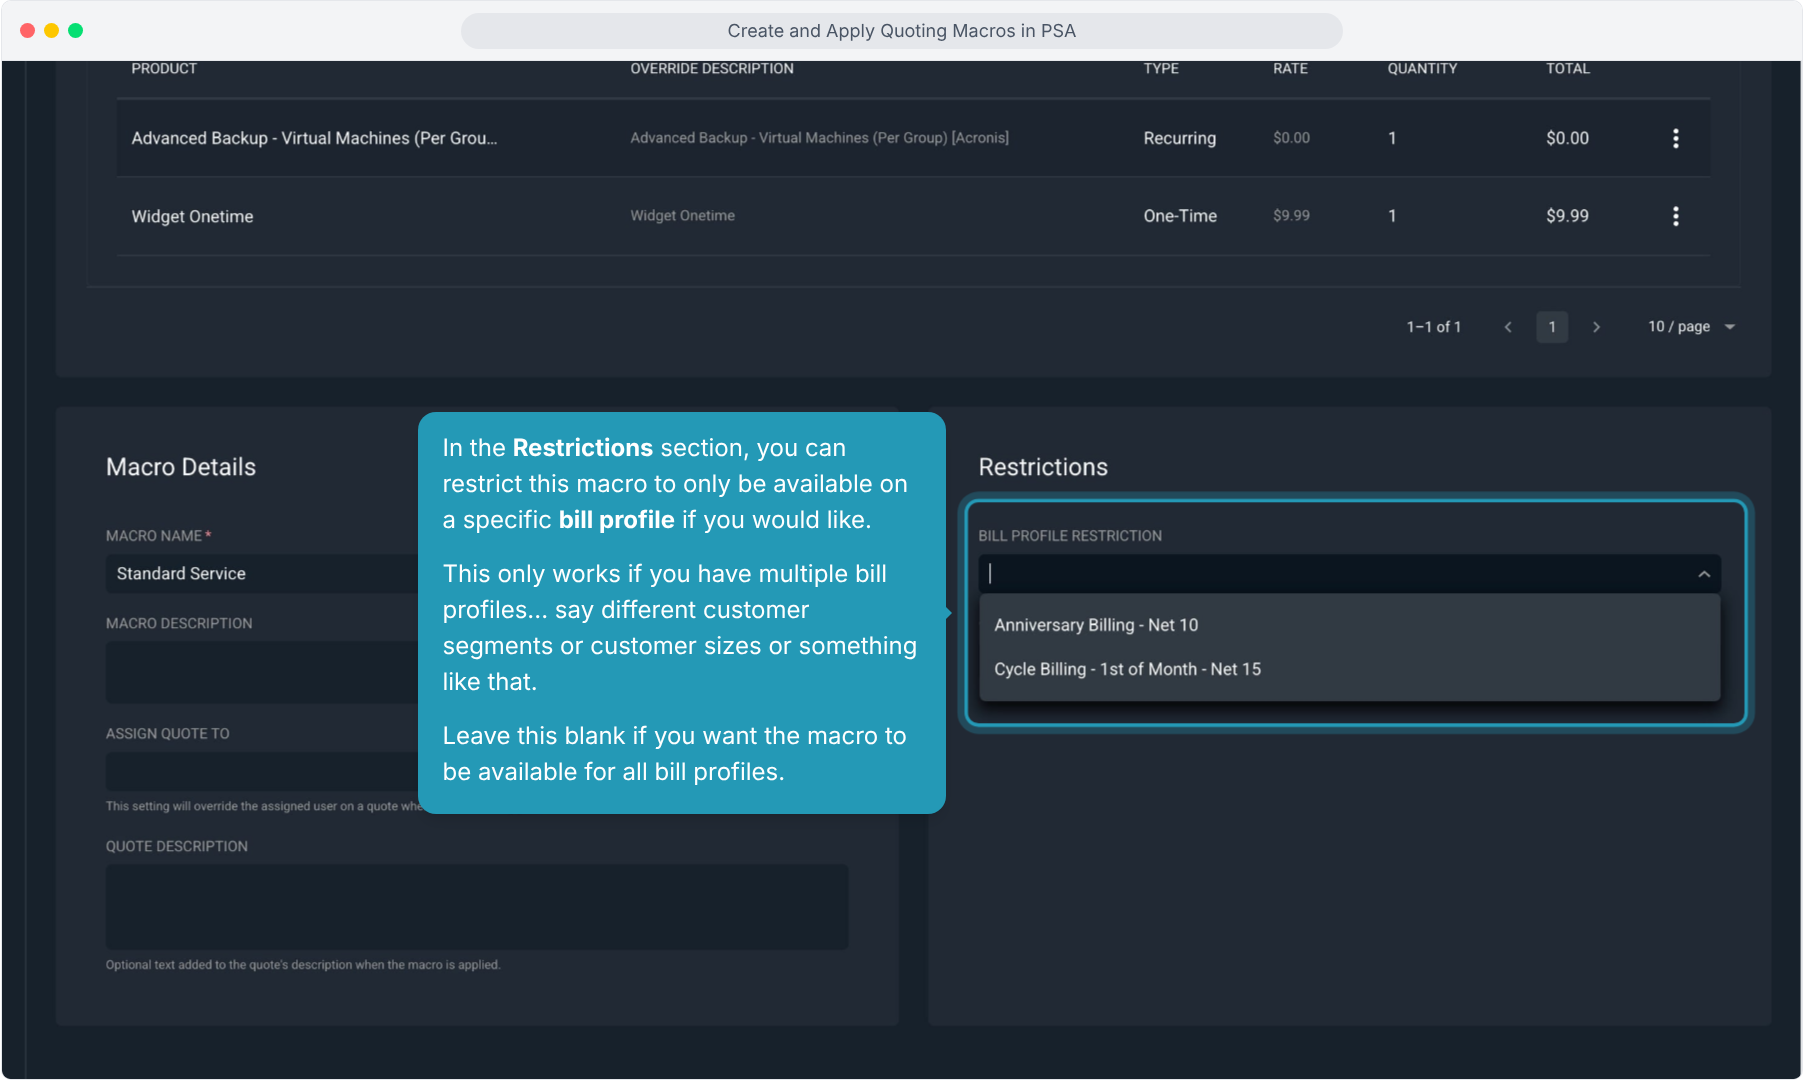
15. In the Restrictions section, you can restrict this macro to only be available on a specific bill profile if you would like.
This only works if you have multiple bill profiles... say different customer segments or customer sizes or something like that.
Leave this blank if you want the macro to be available for all bill profiles.
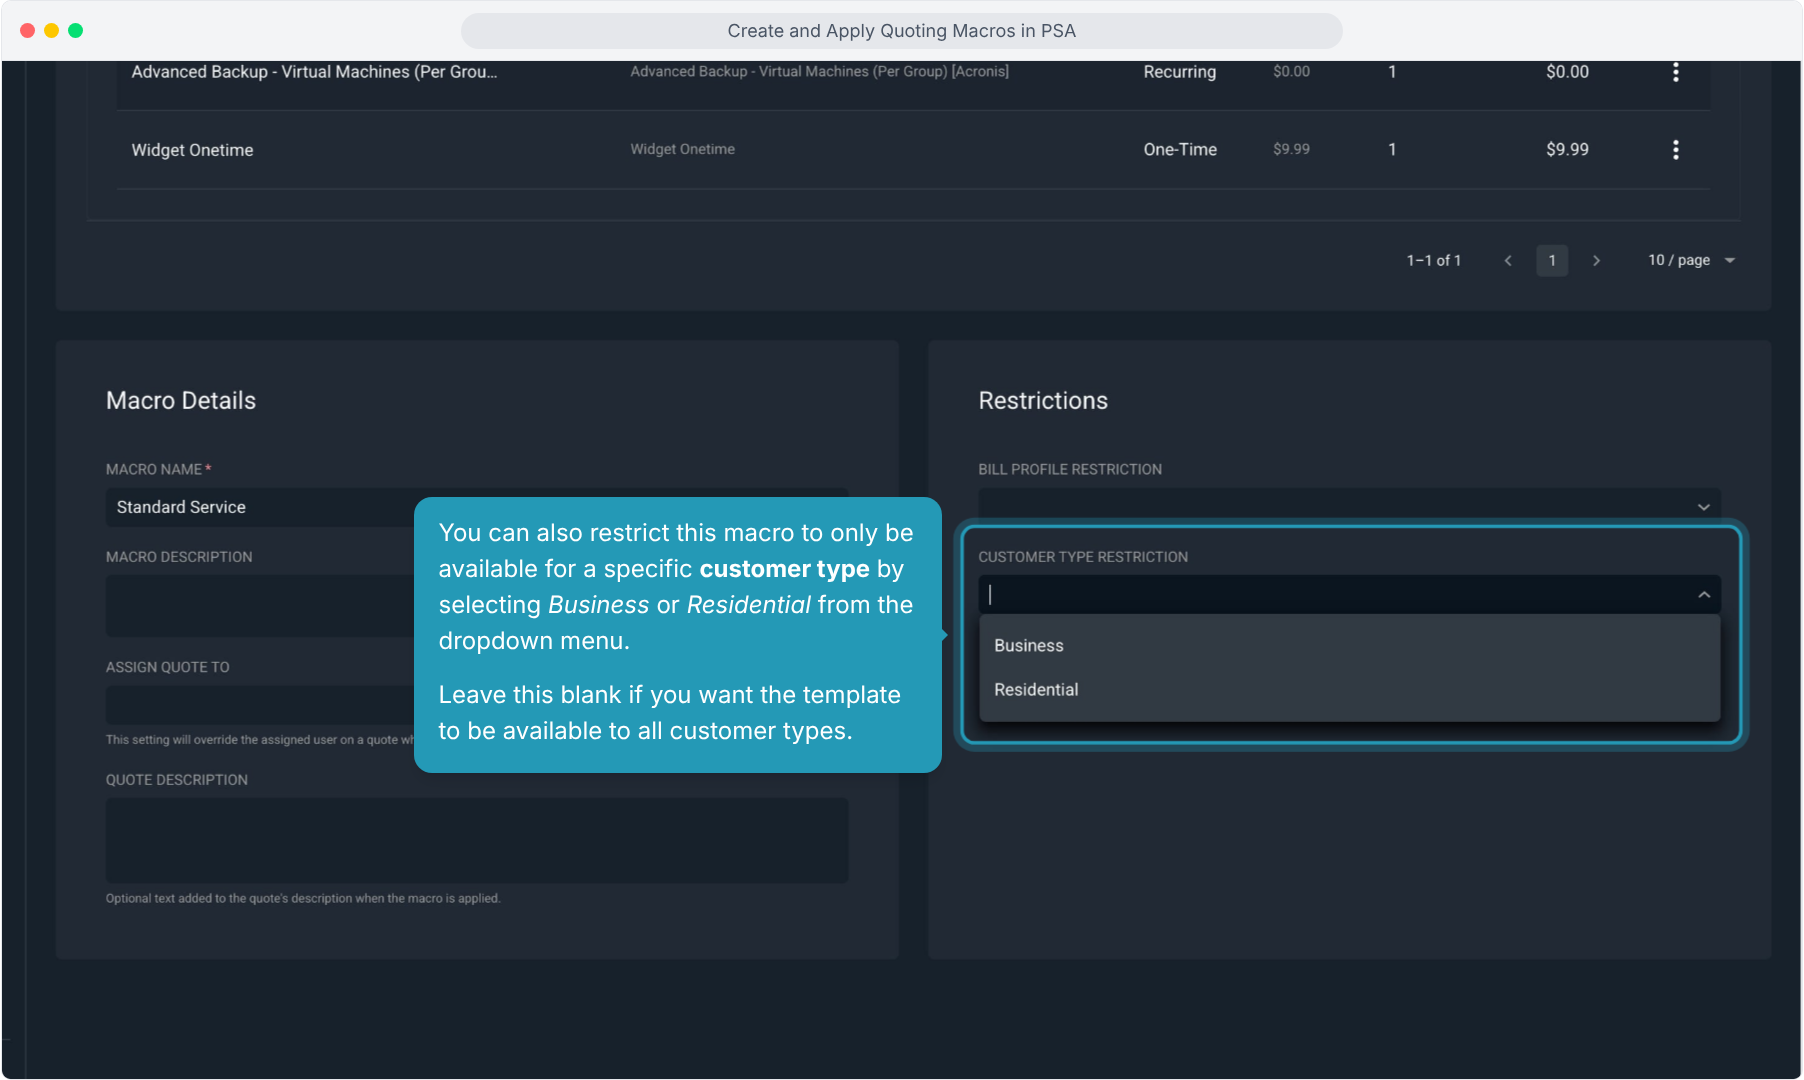
16. You can also restrict this macro to only be available for a specific customer type by selecting Business or Residential from the dropdown menu.
Leave this blank if you want the template to be available to all customer types.
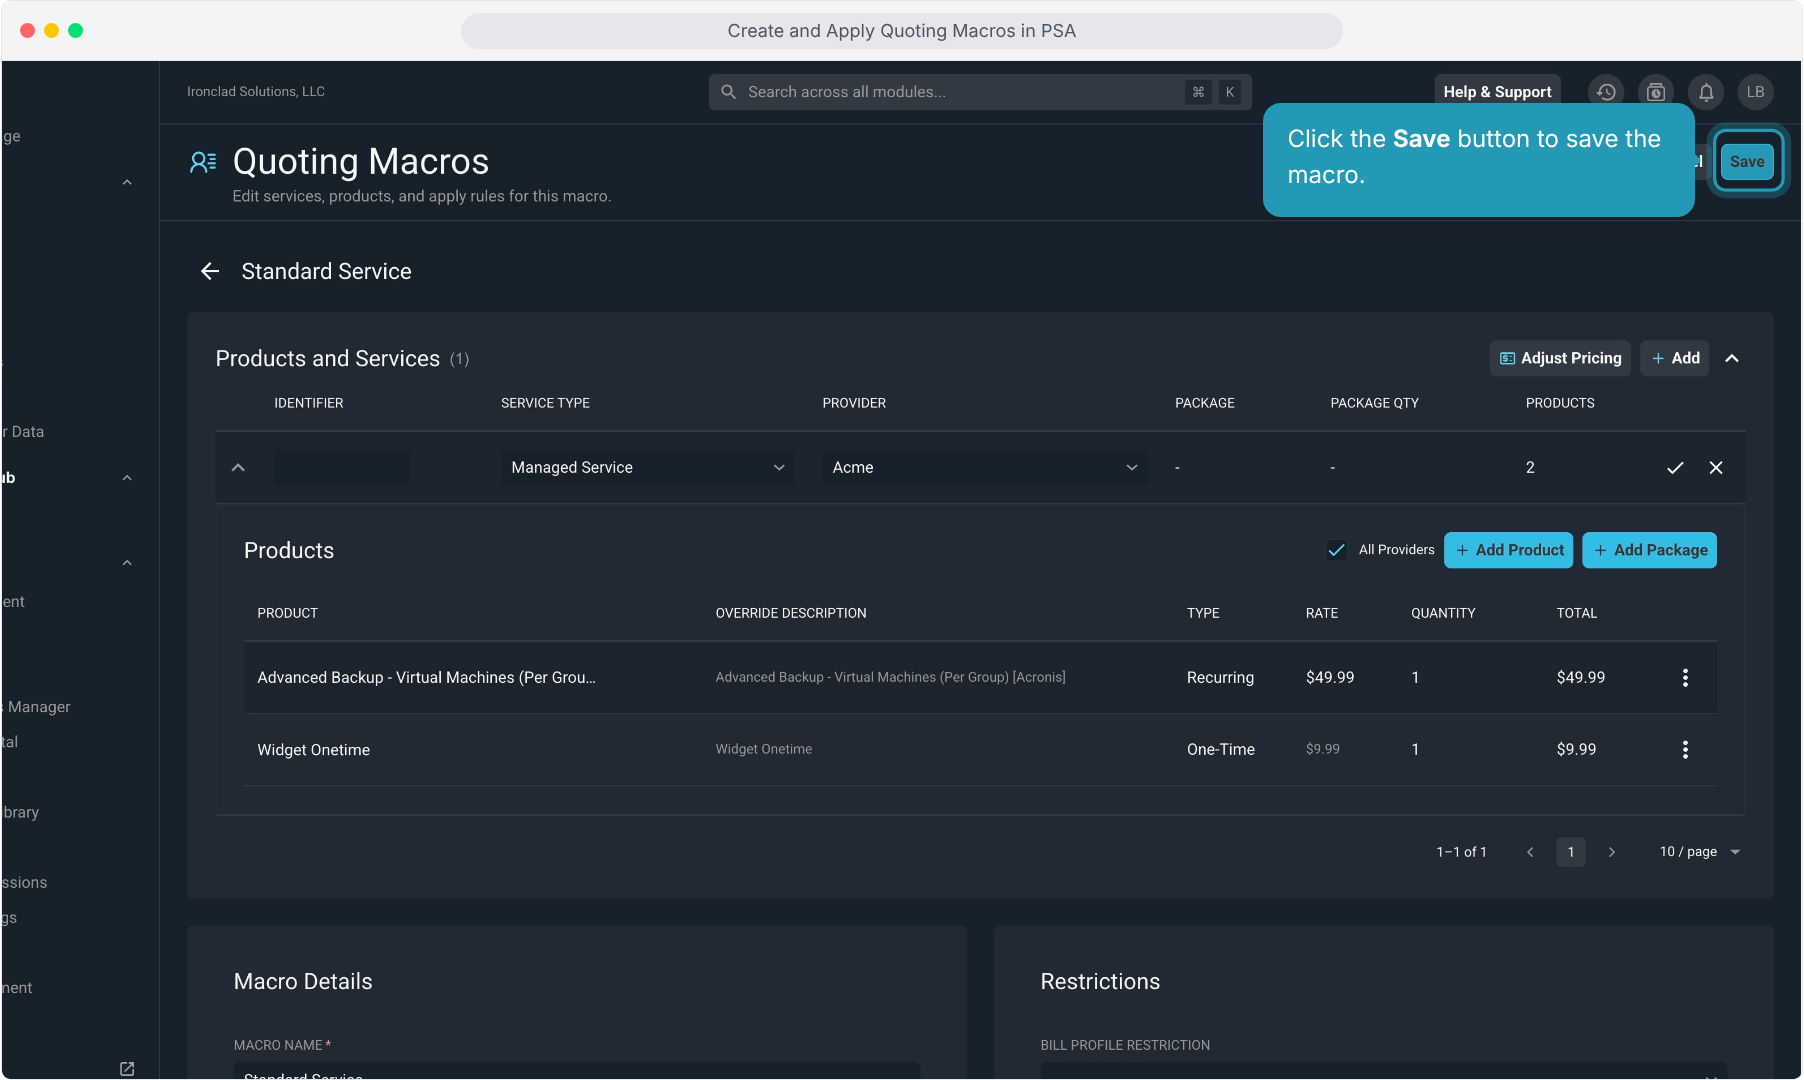
17. Click the Save button to save the macro.
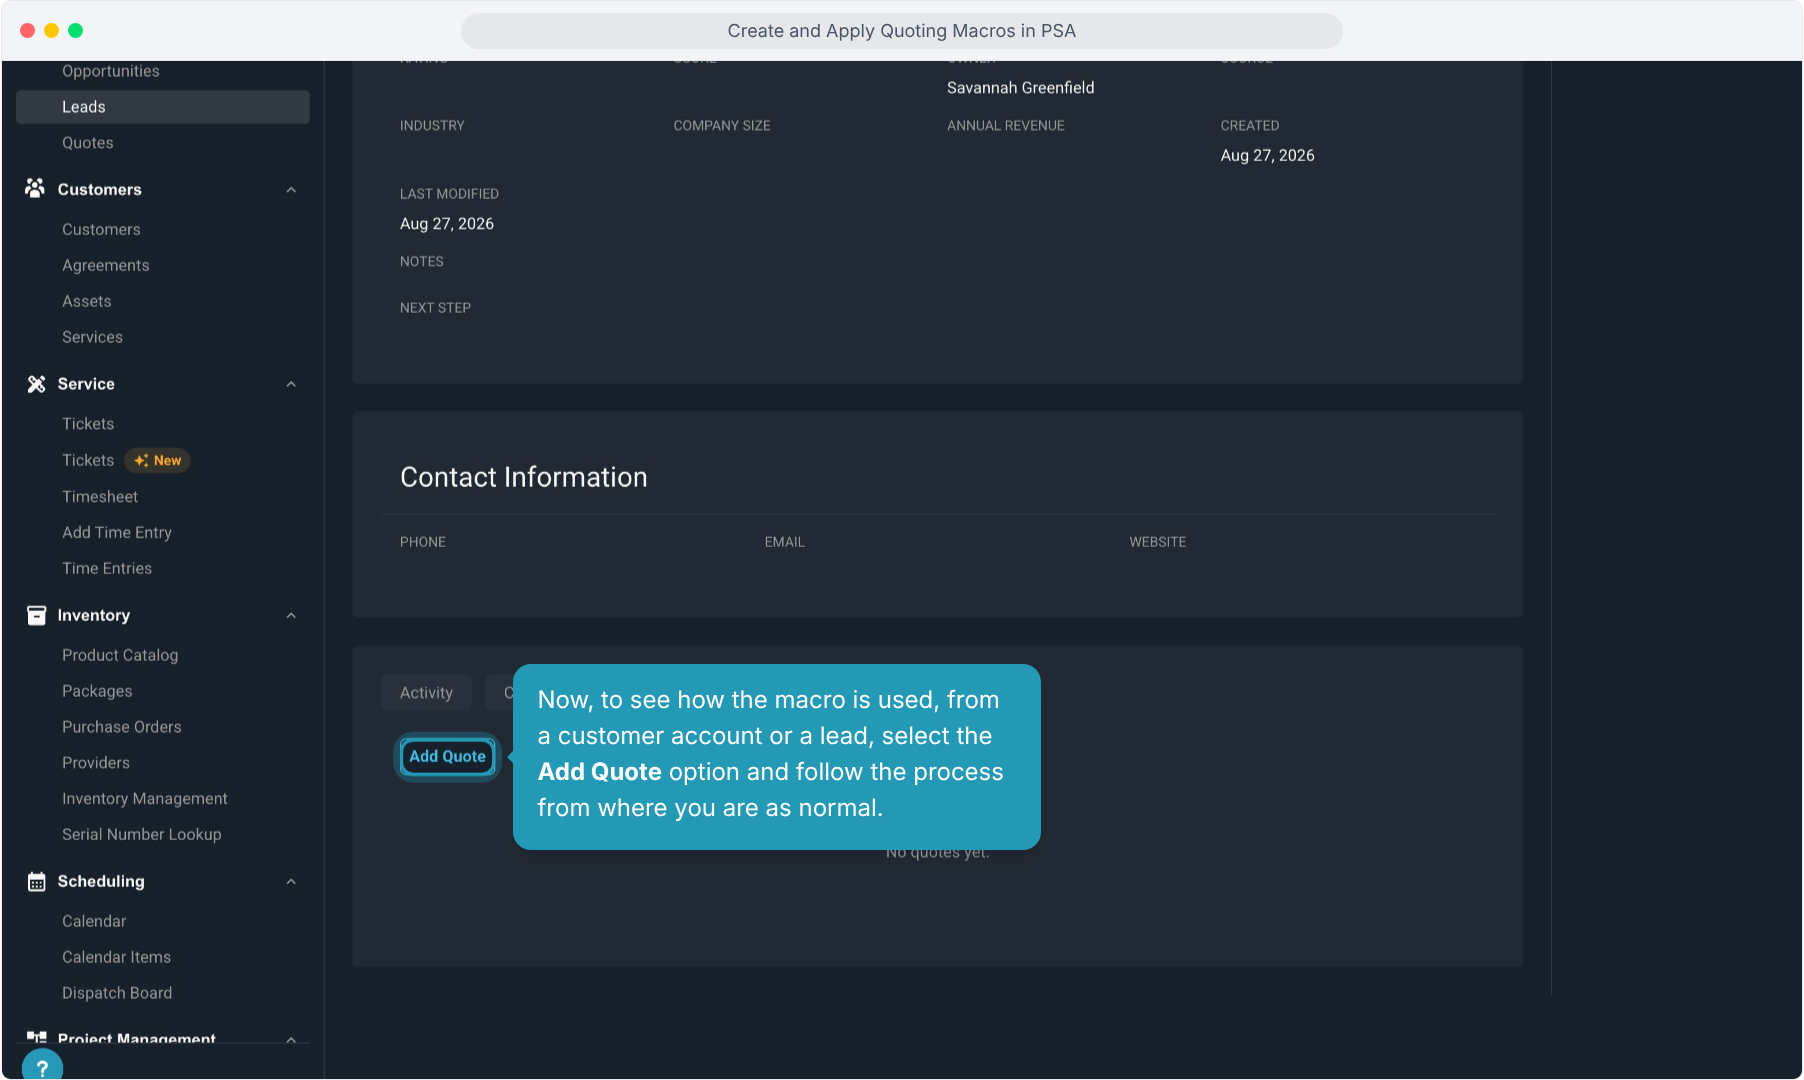
18. Now, to see how the macro is used, from a customer account or a lead, select the Add Quote option and follow the process from where you are as normal.
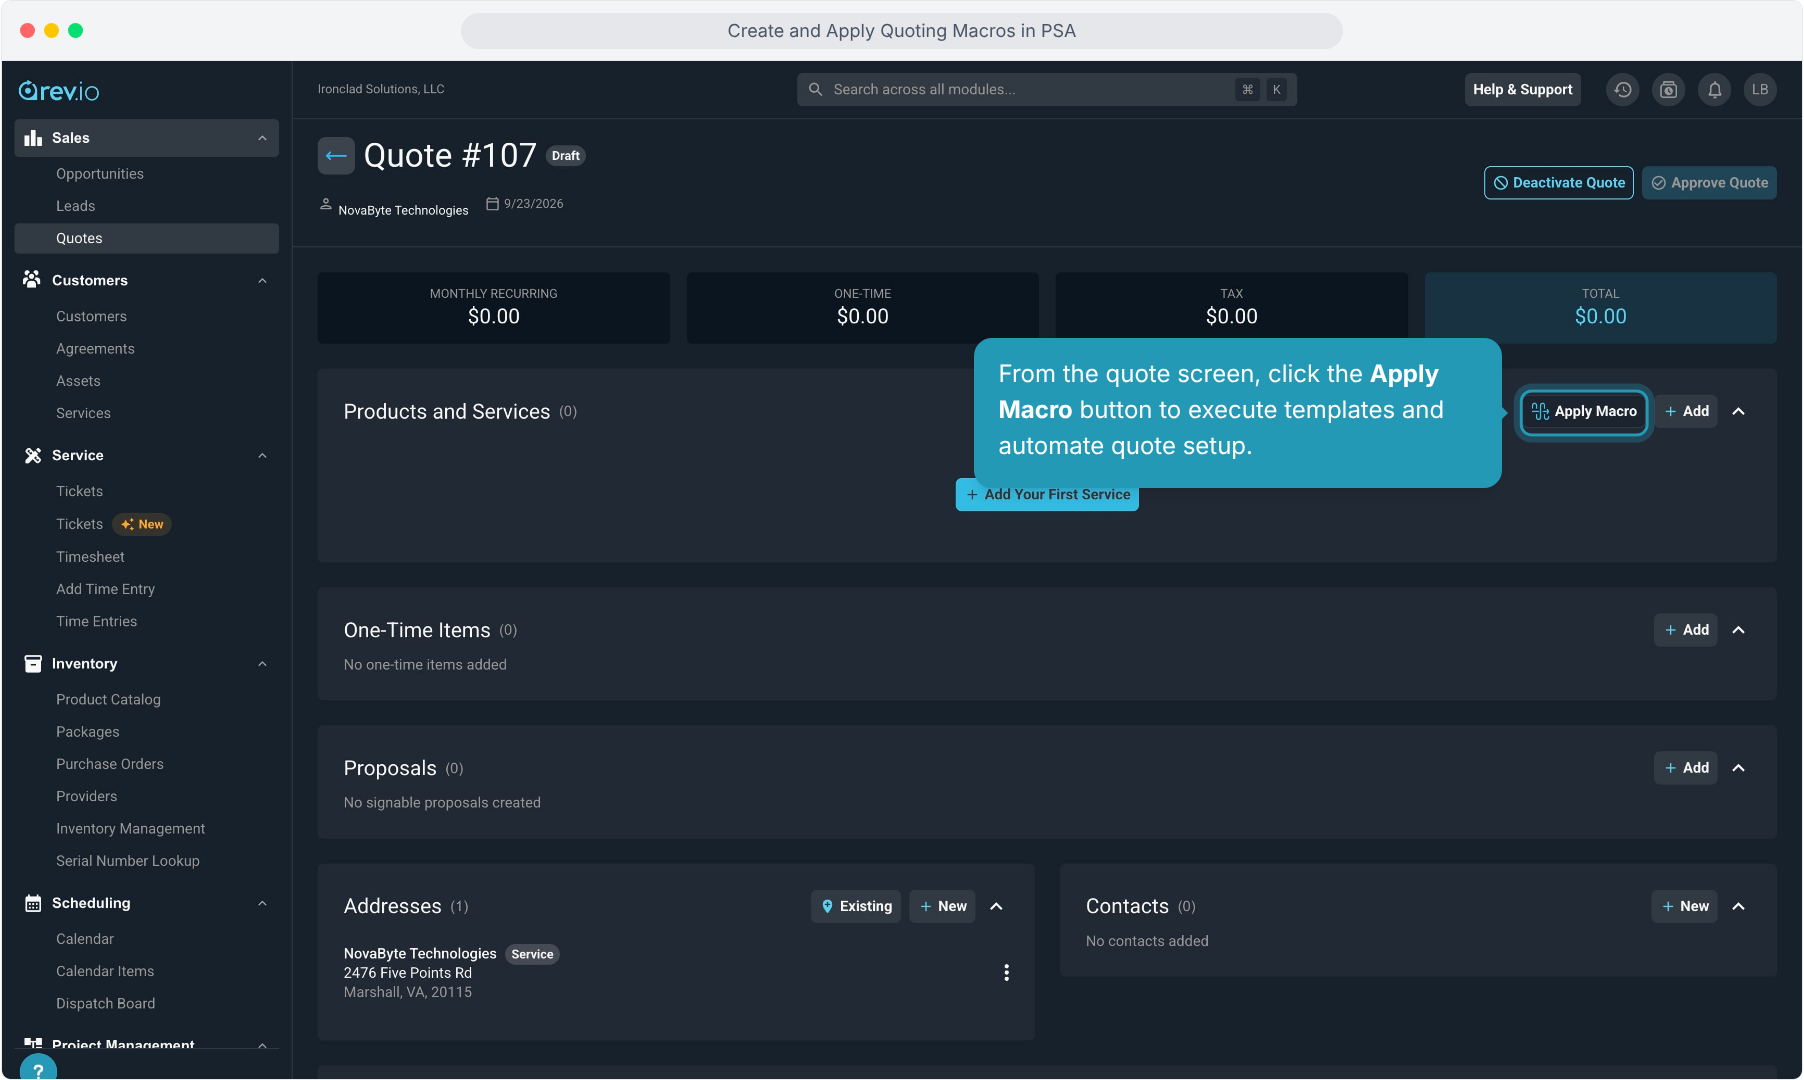
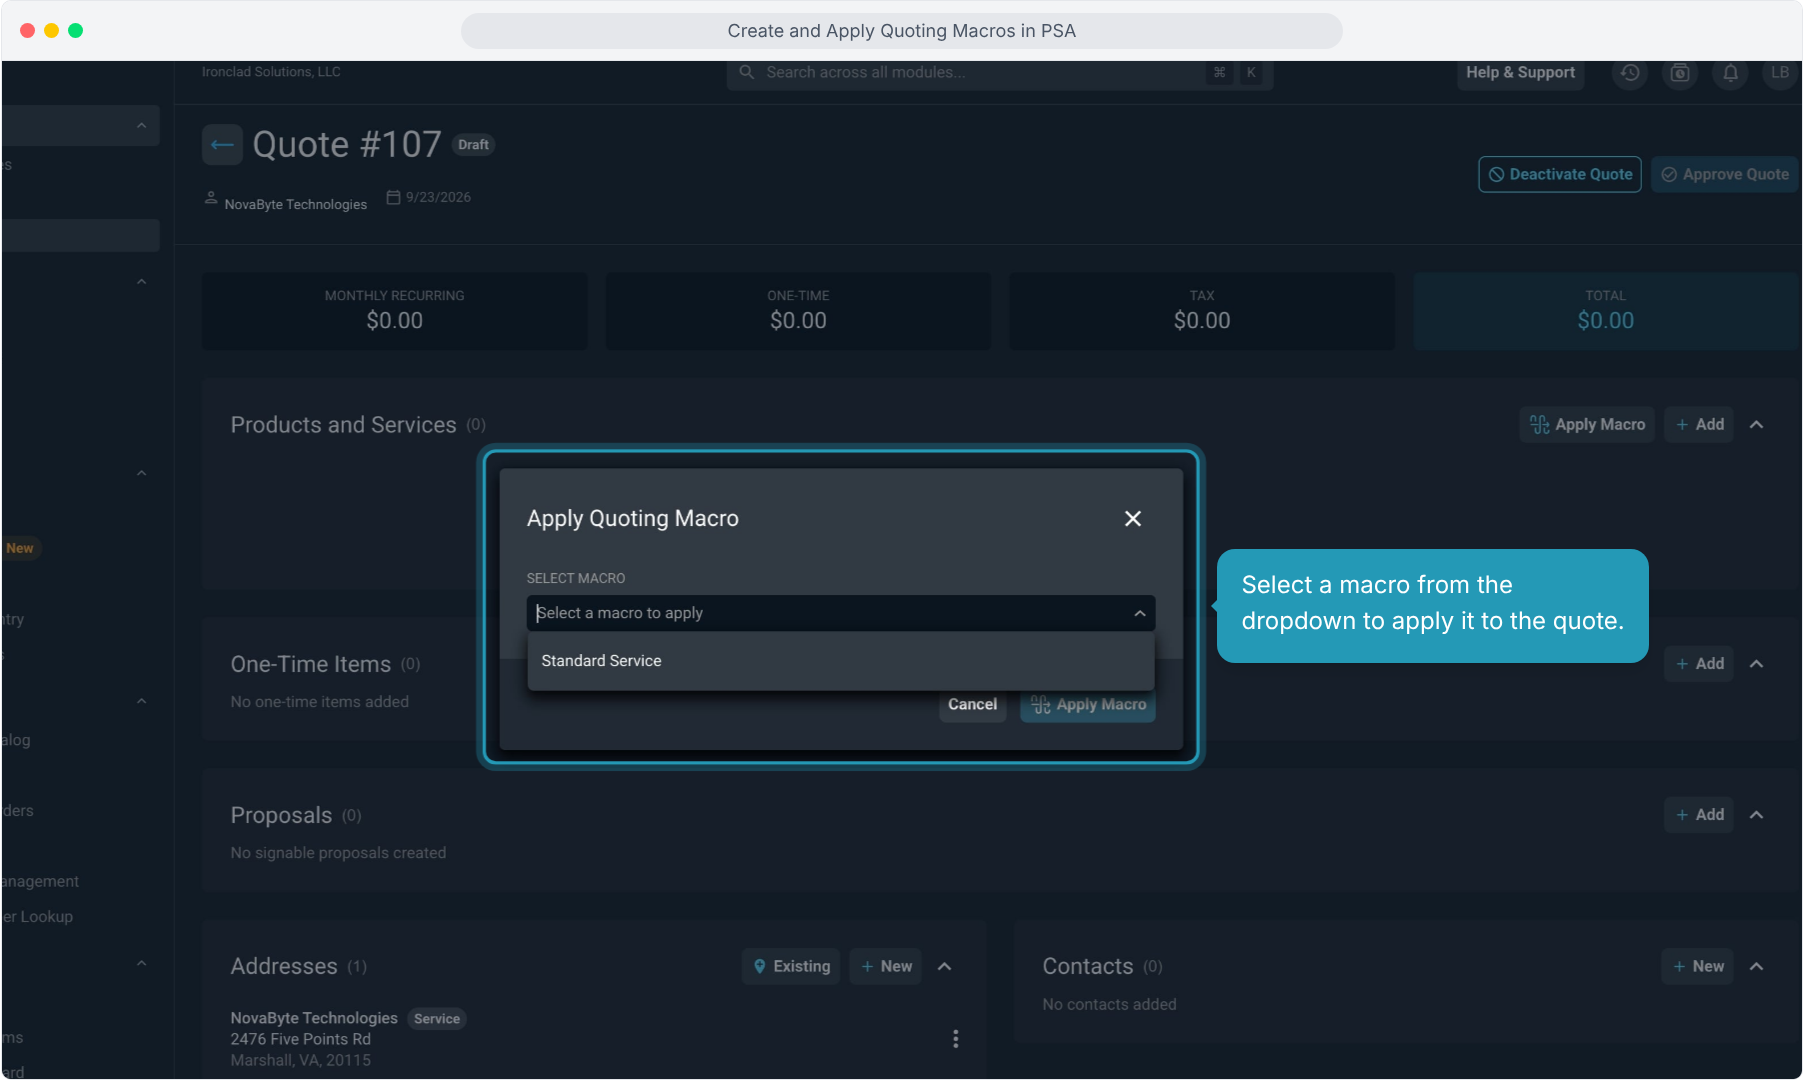
19. From the quote screen, click the Apply Macro button to execute templates and automate quote setup.
20. Select a macro from the dropdown to apply it to the quote.
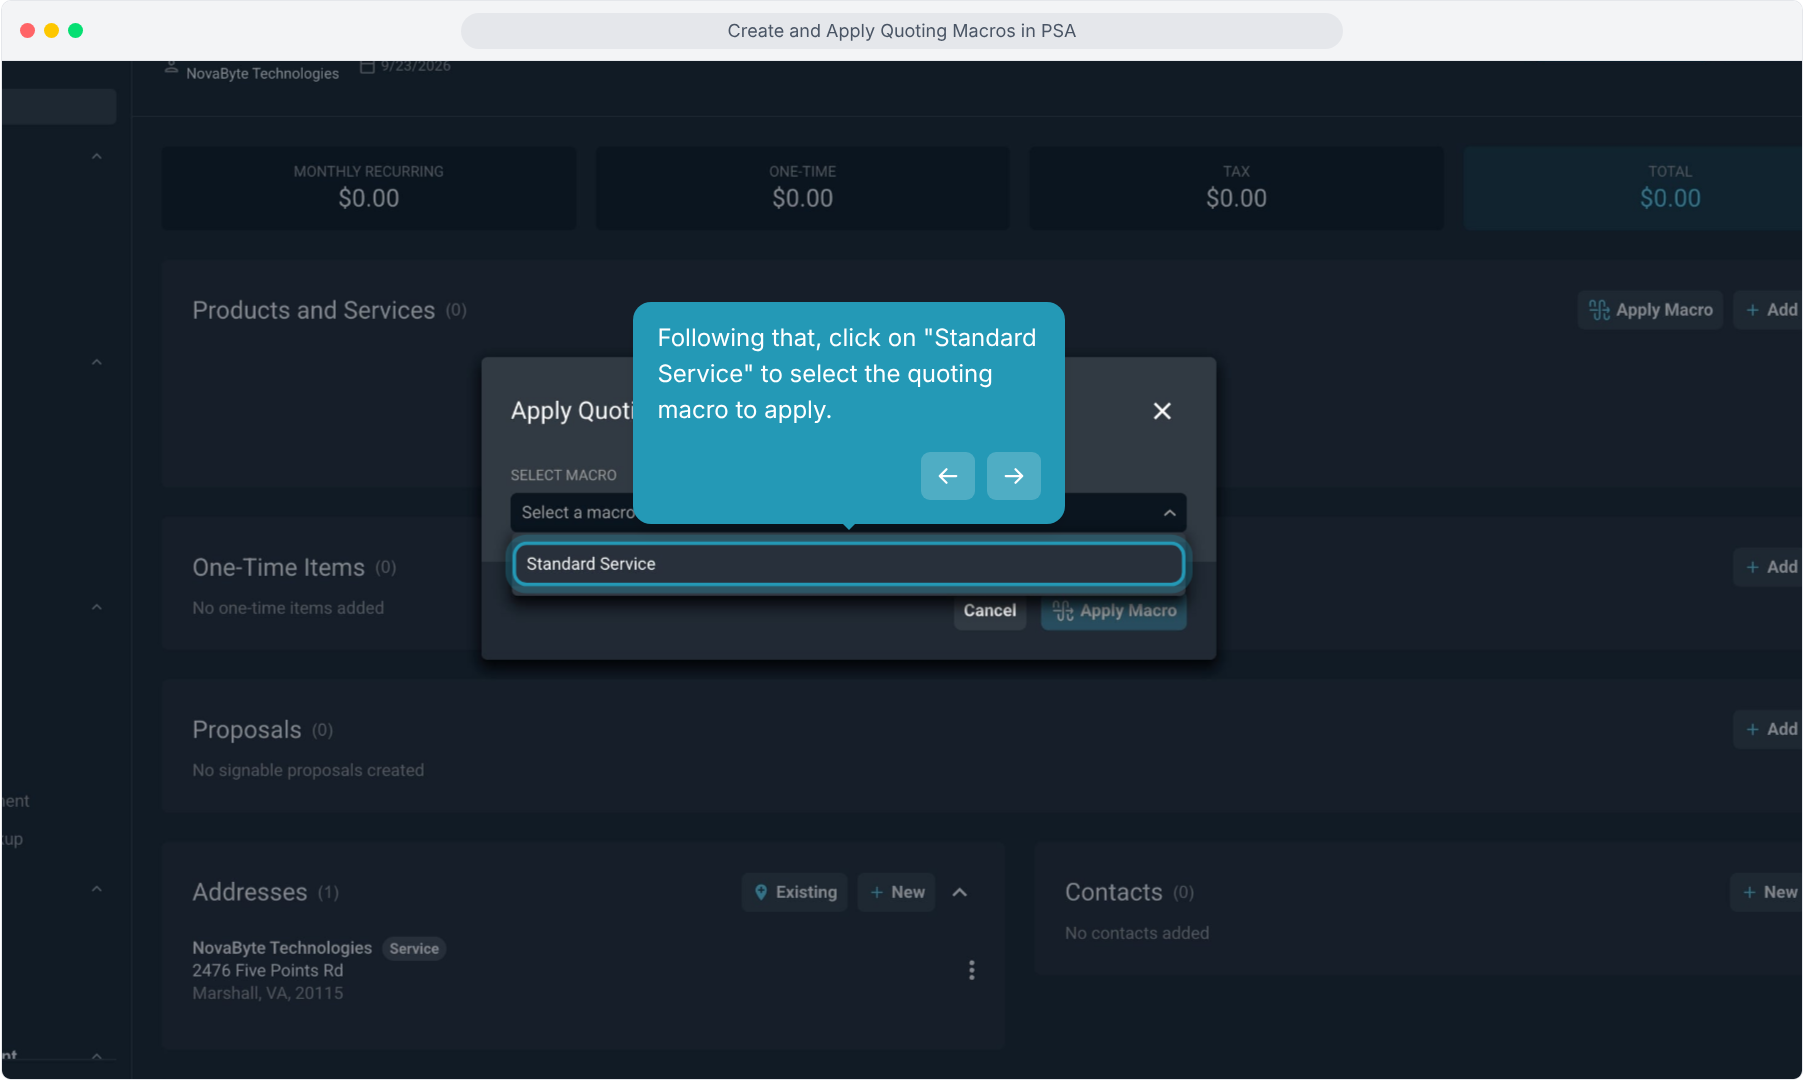
21. Following that, click on "Standard Service" to select the quoting macro to apply.
22. Then click Apply Macro to confirm and apply the selected macro.
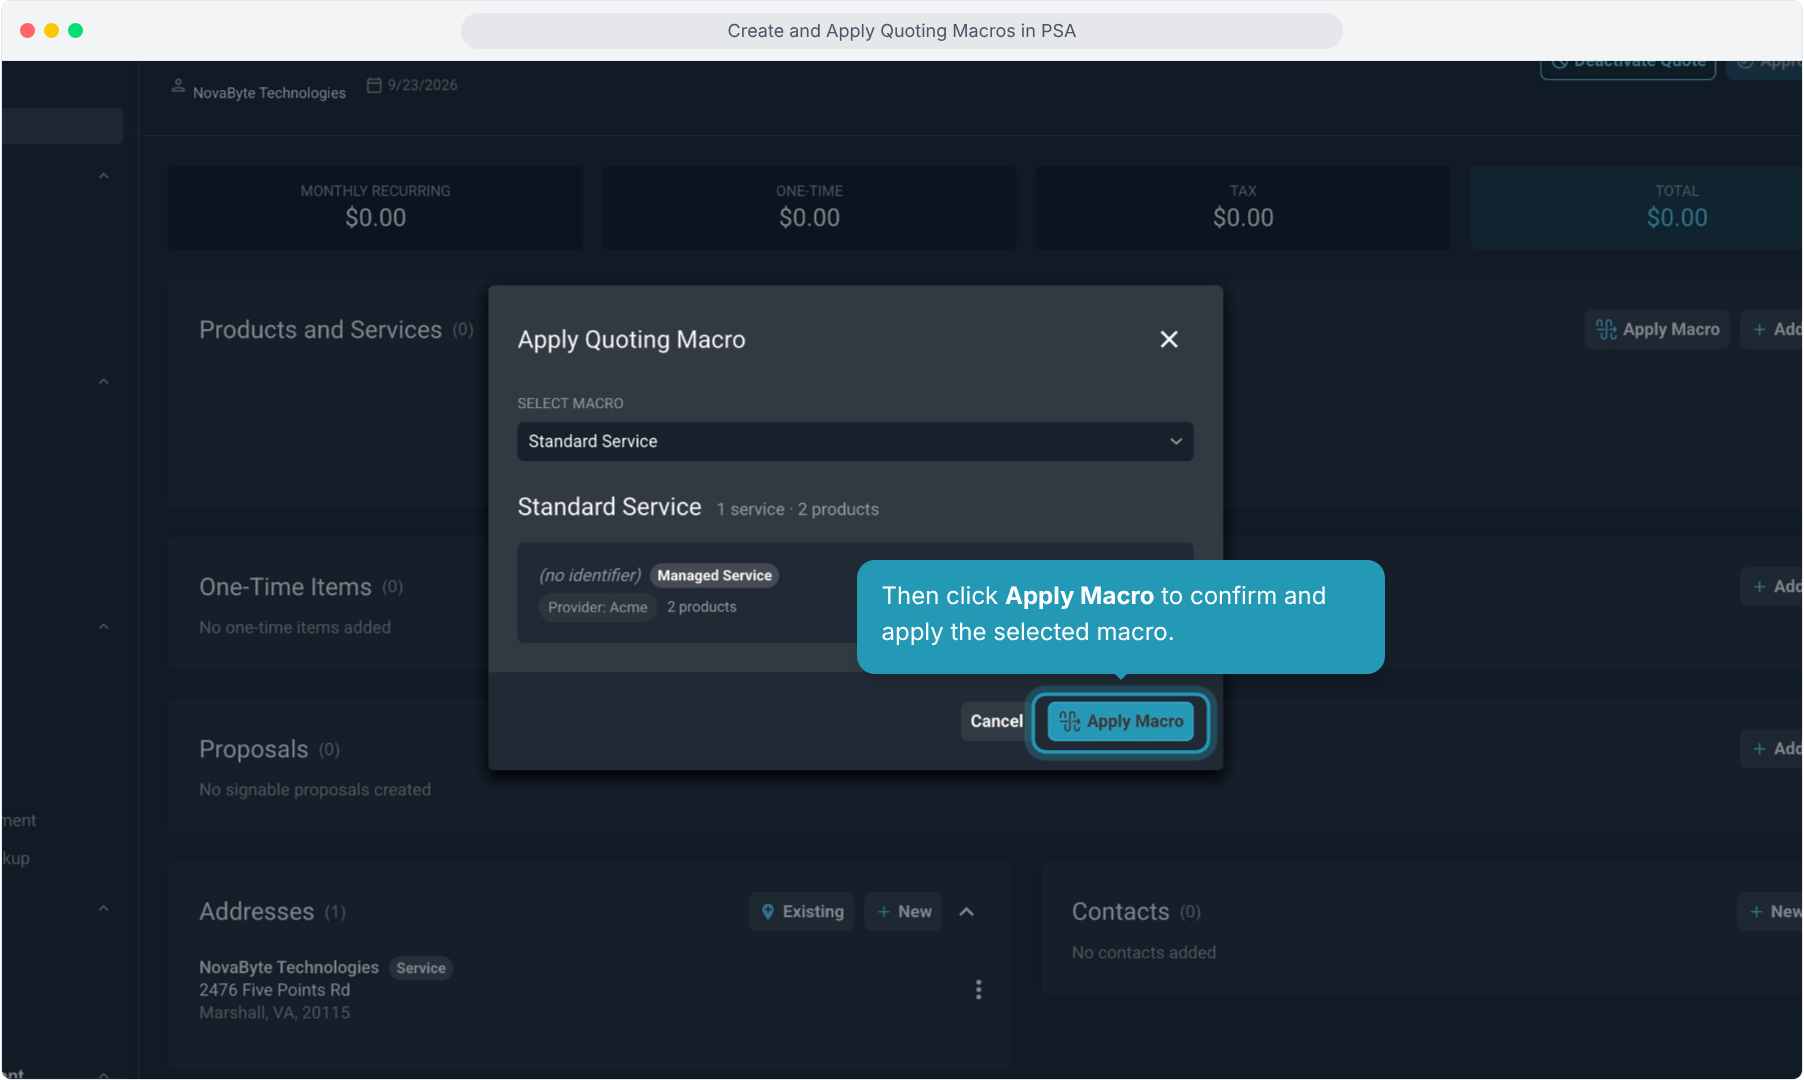
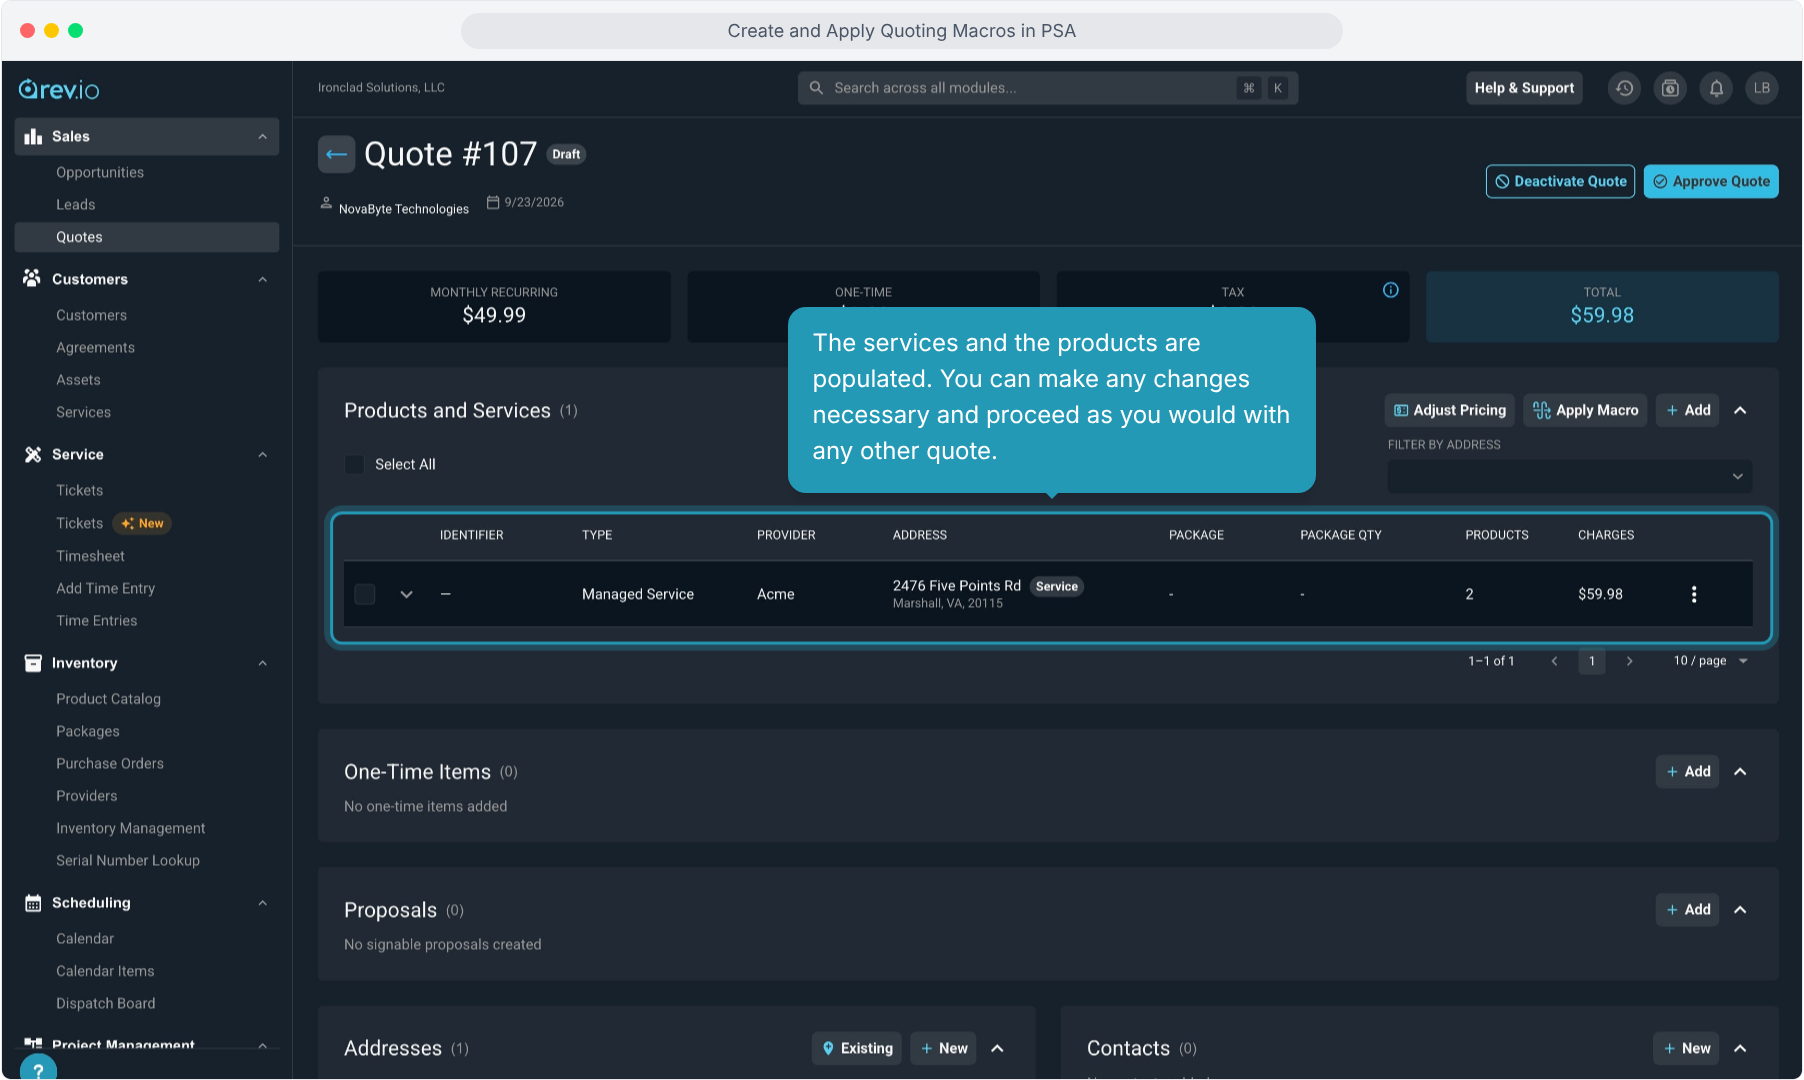
23. The services and the products are populated. You can make any changes necessary and proceed as you would with any other quote.