
How To Guide: Rev.io Community Overview
1. Introduction

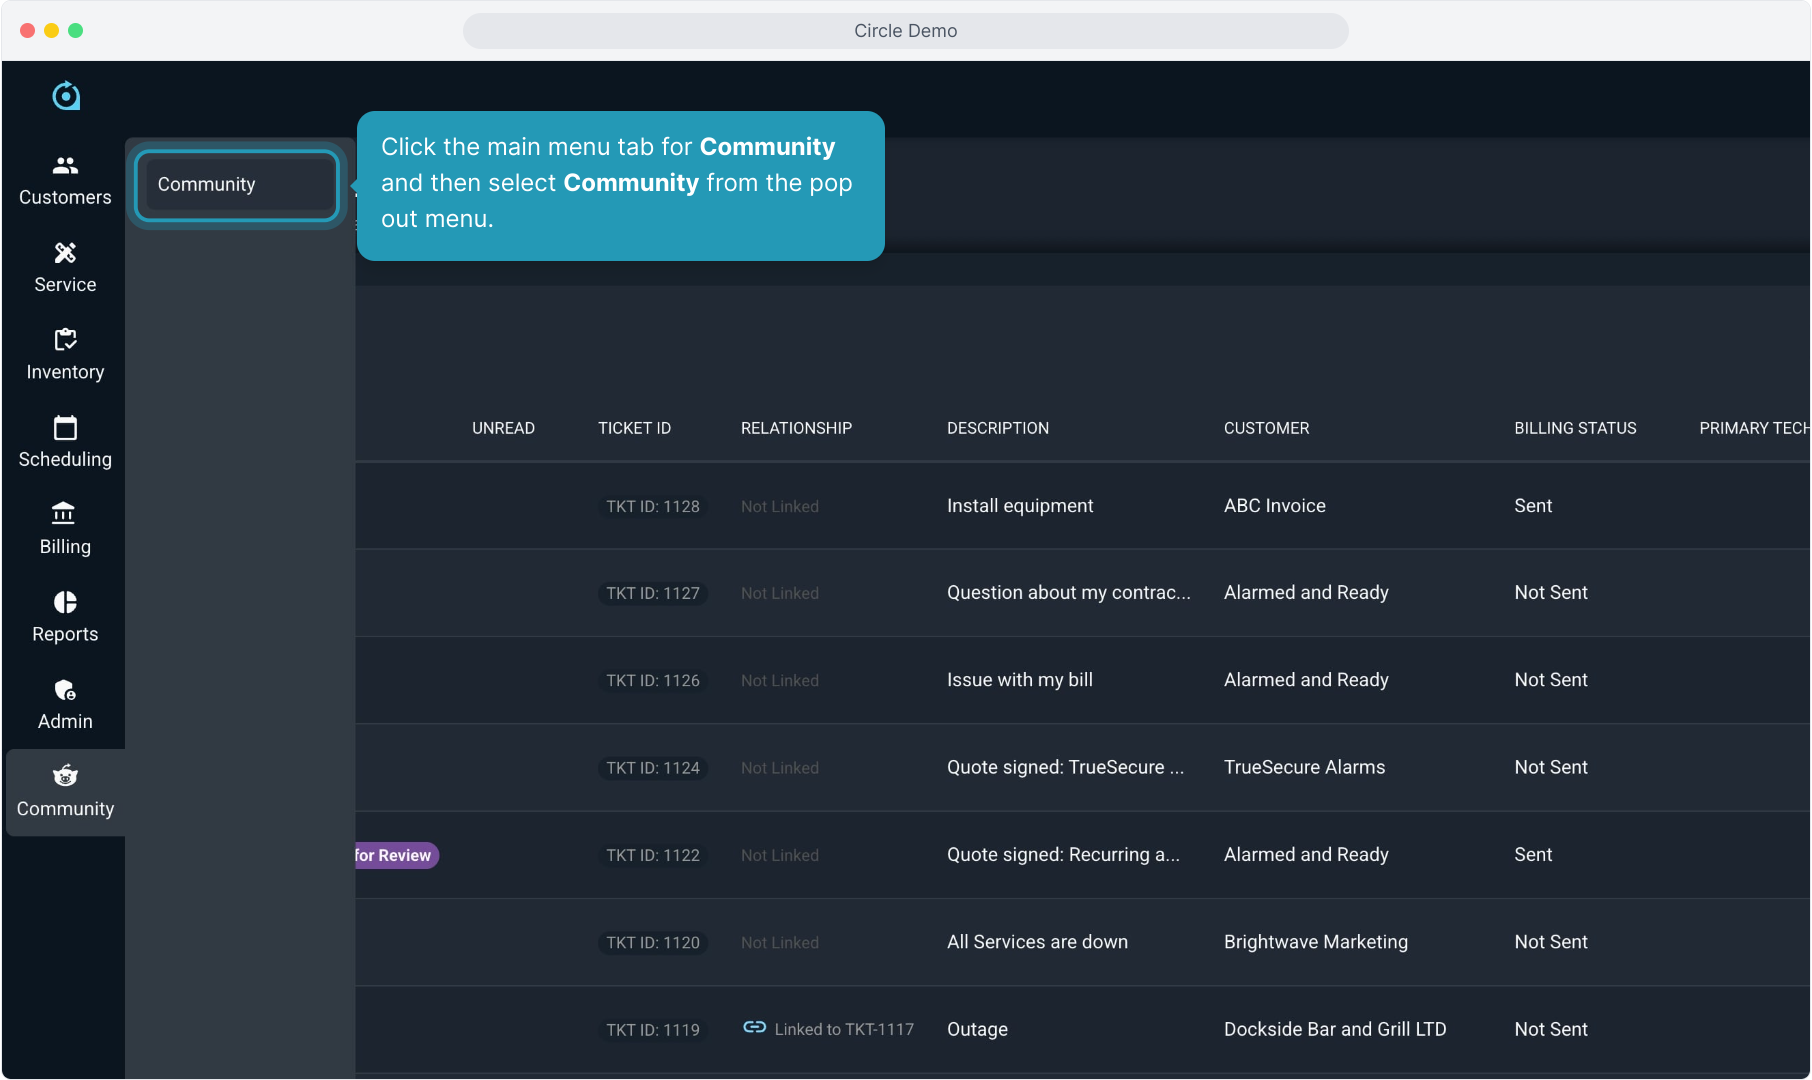
2. Click the main menu tab for Community and then select Community from the pop out menu.
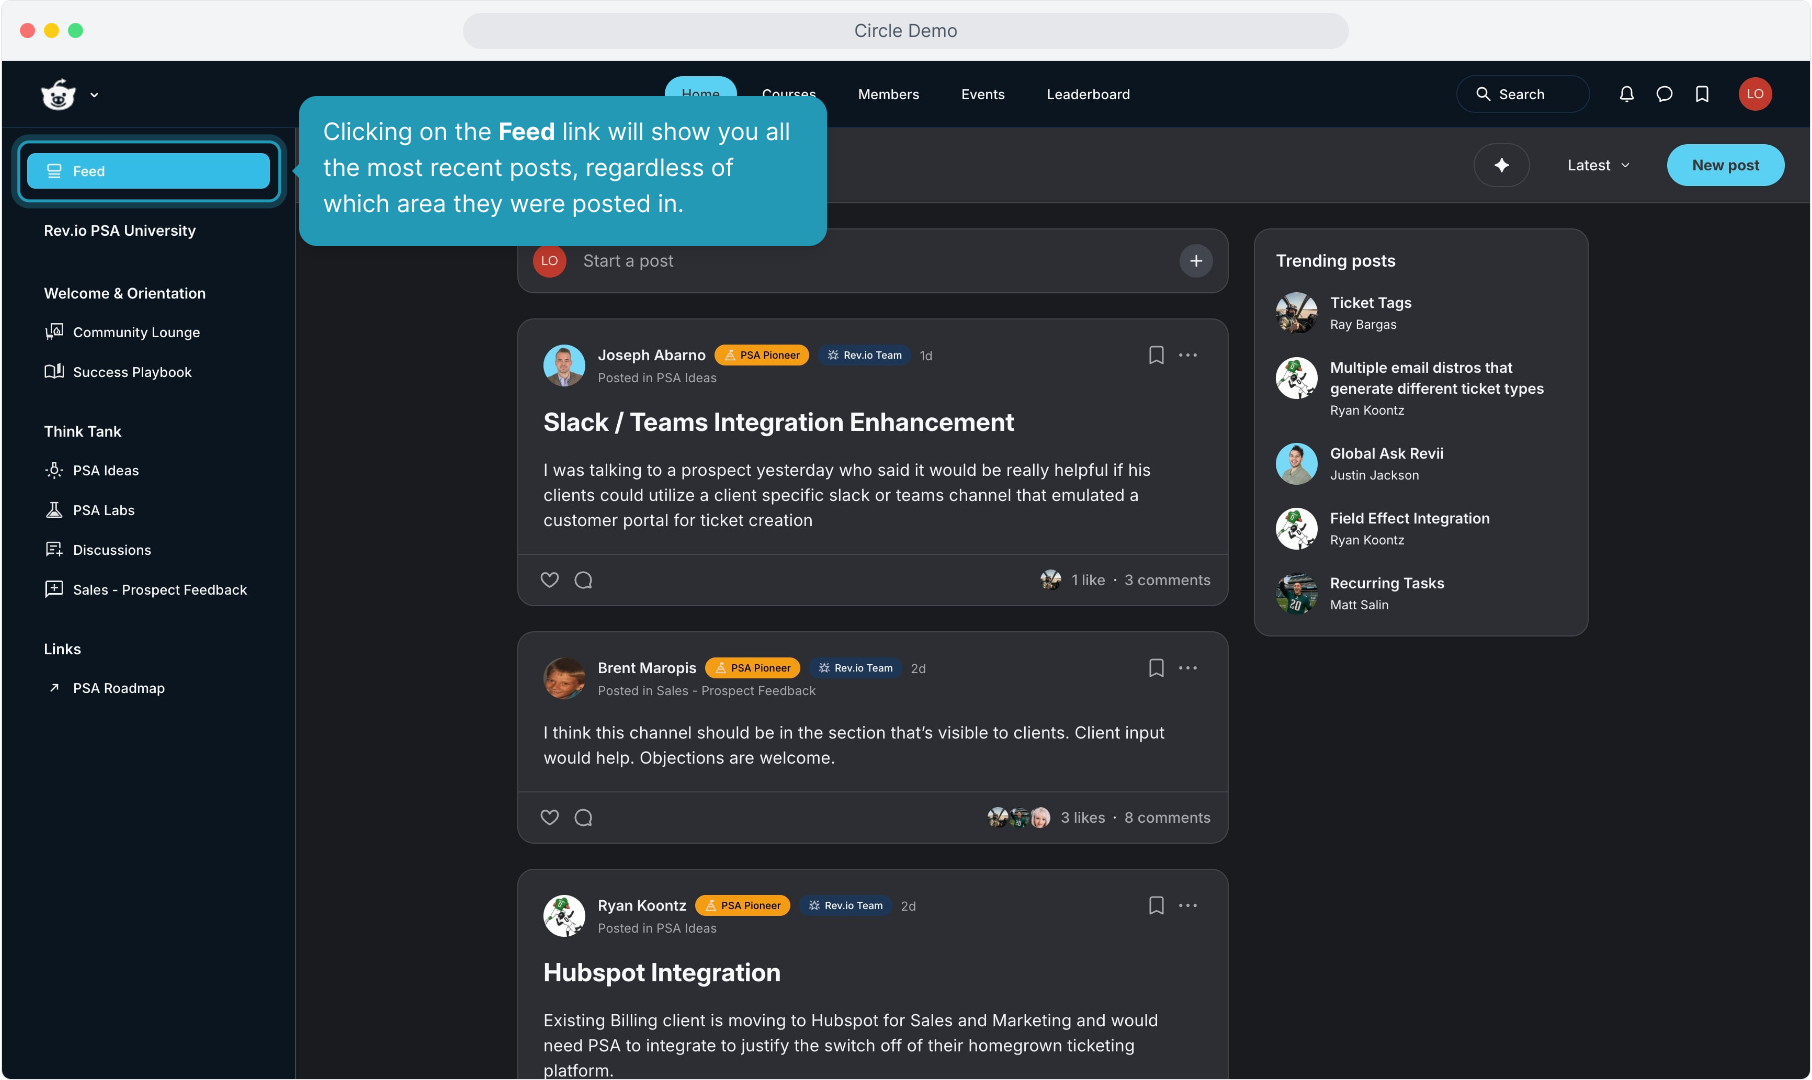
3. Clicking on the Feed link will show you all the most recent posts, regardless of which area they were posted in.
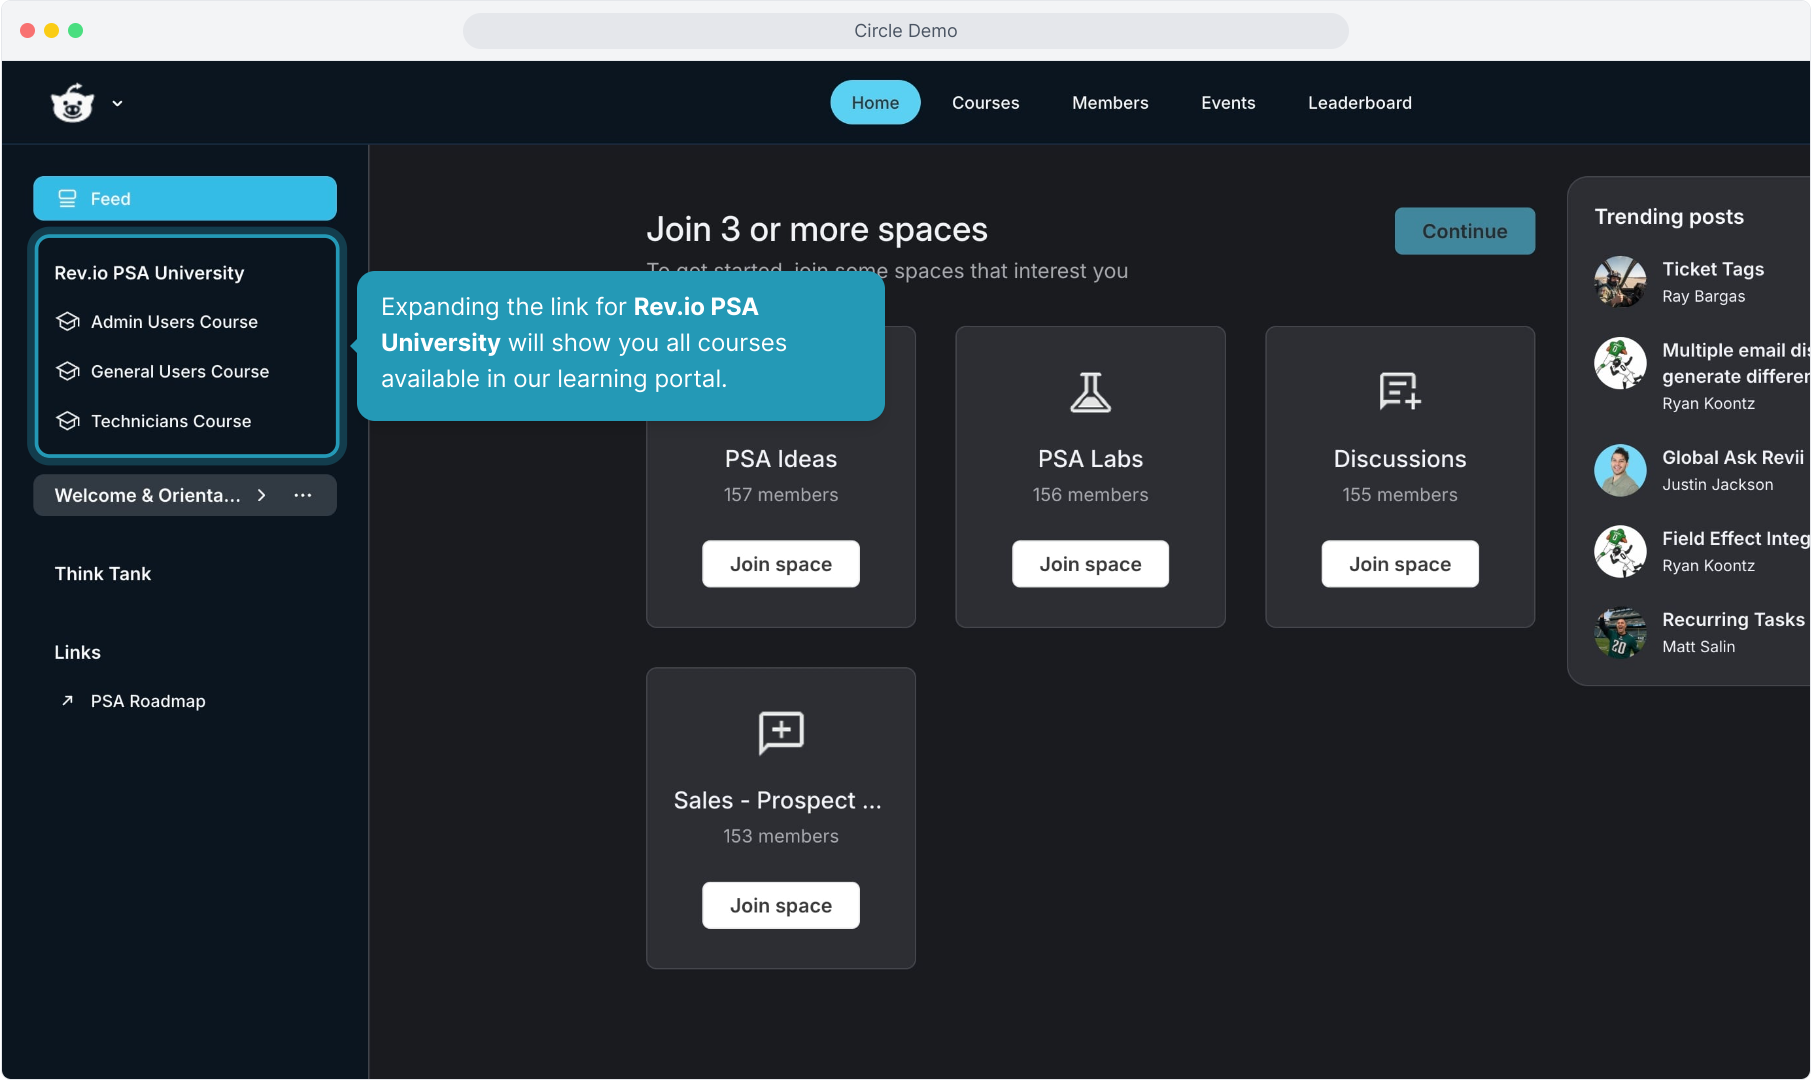
4. Expanding the link for Rev.io PSA University will show you all courses available in our learning portal.
5. Clicking on one of the courses will open that course for you to enroll and/or start. Your course progress is displayed and is saved so you can complete the lessons in the course at your convenience.

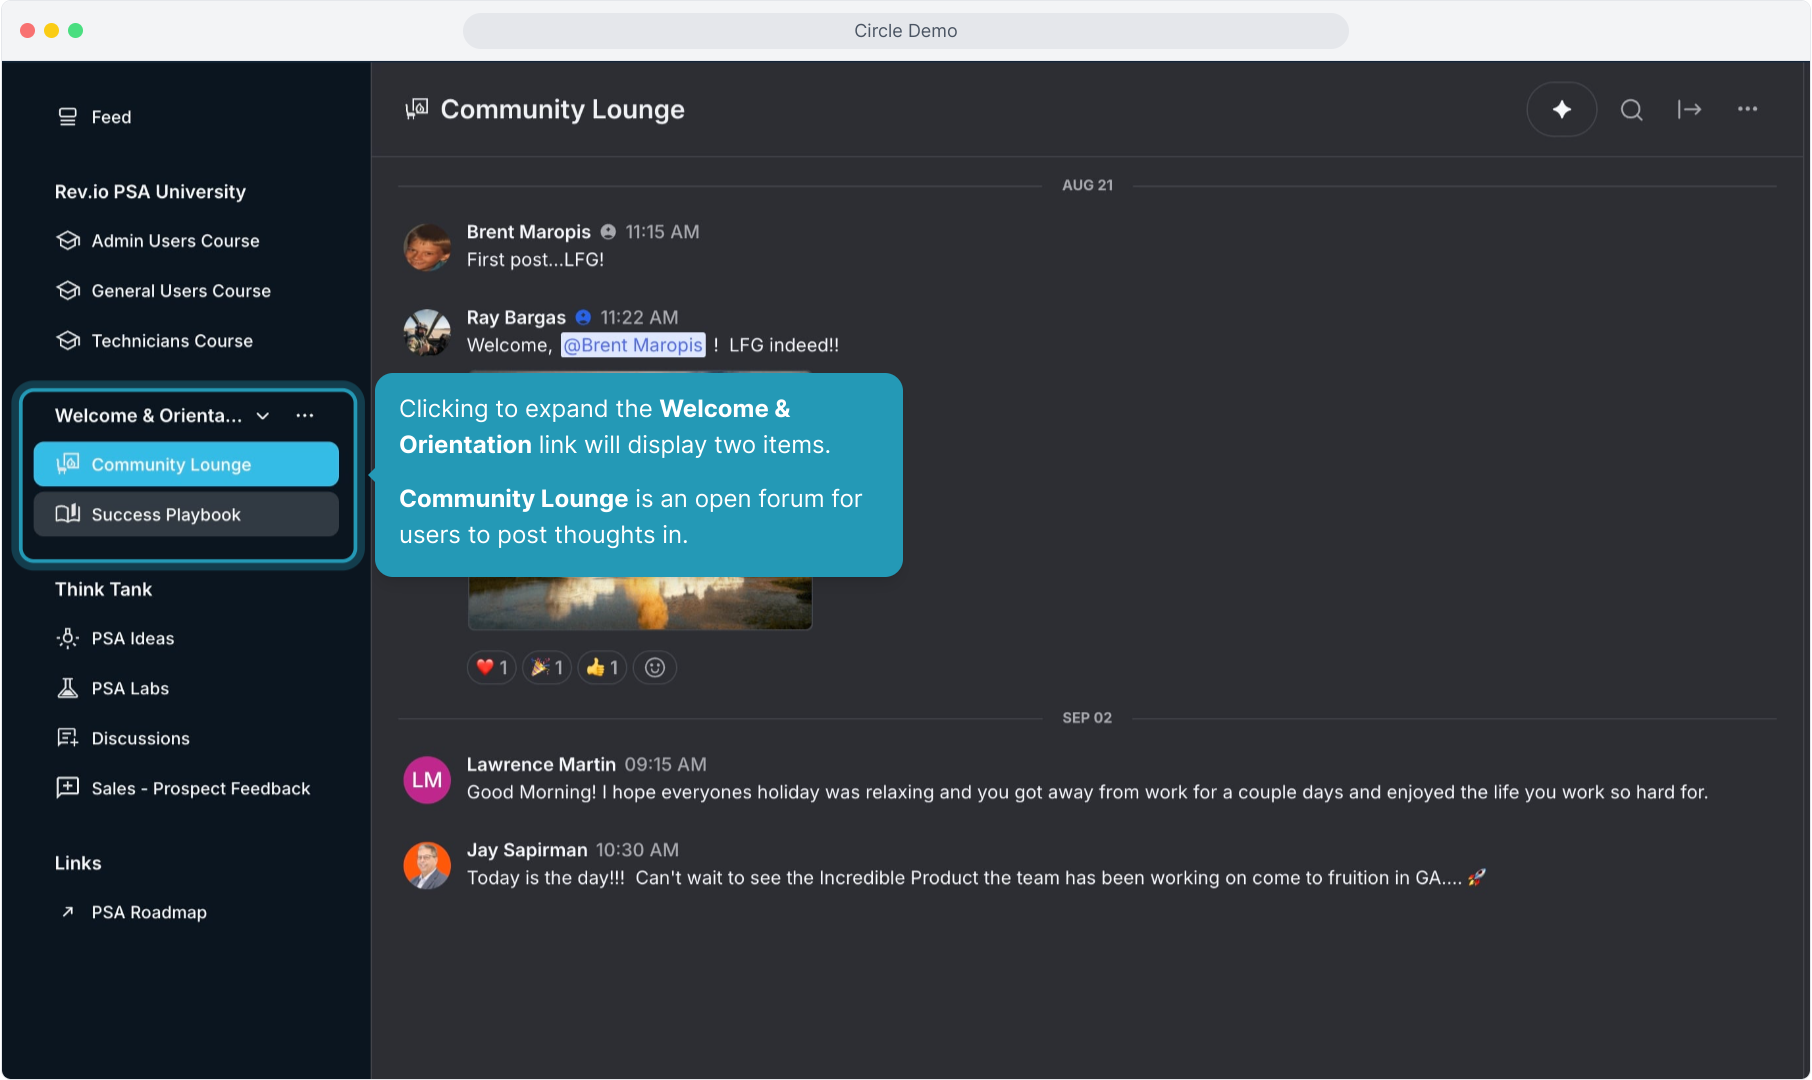
6. Clicking to expand the Welcome & Orientation link will display two items. Community Lounge is an open forum for users to post thoughts in.
7. Choosing the Success Playbook link will open the course designed for new users learning to use Community. Users can enroll themselves and take this short course.

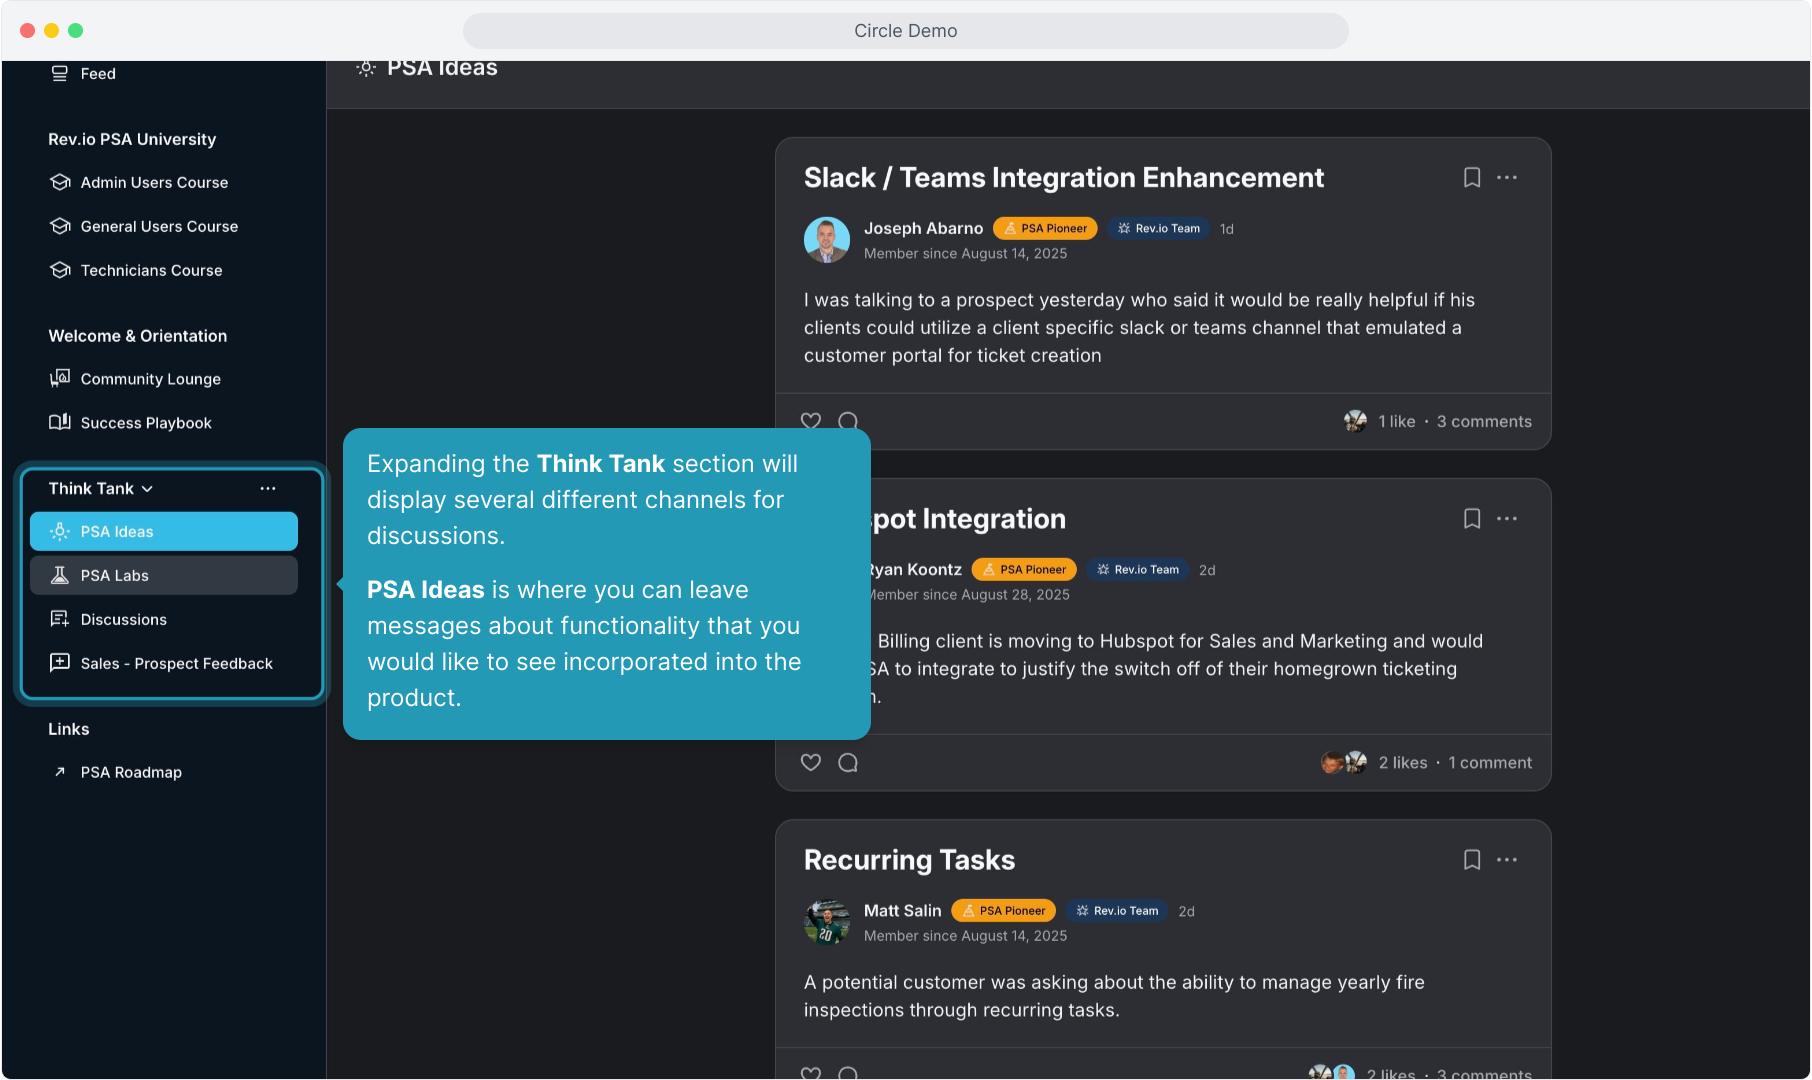
8. Expanding the Think Tank section will display several different channels for discussions. PSA Ideas is where you can leave messages about functionality that you would like to see incorporated into the product.
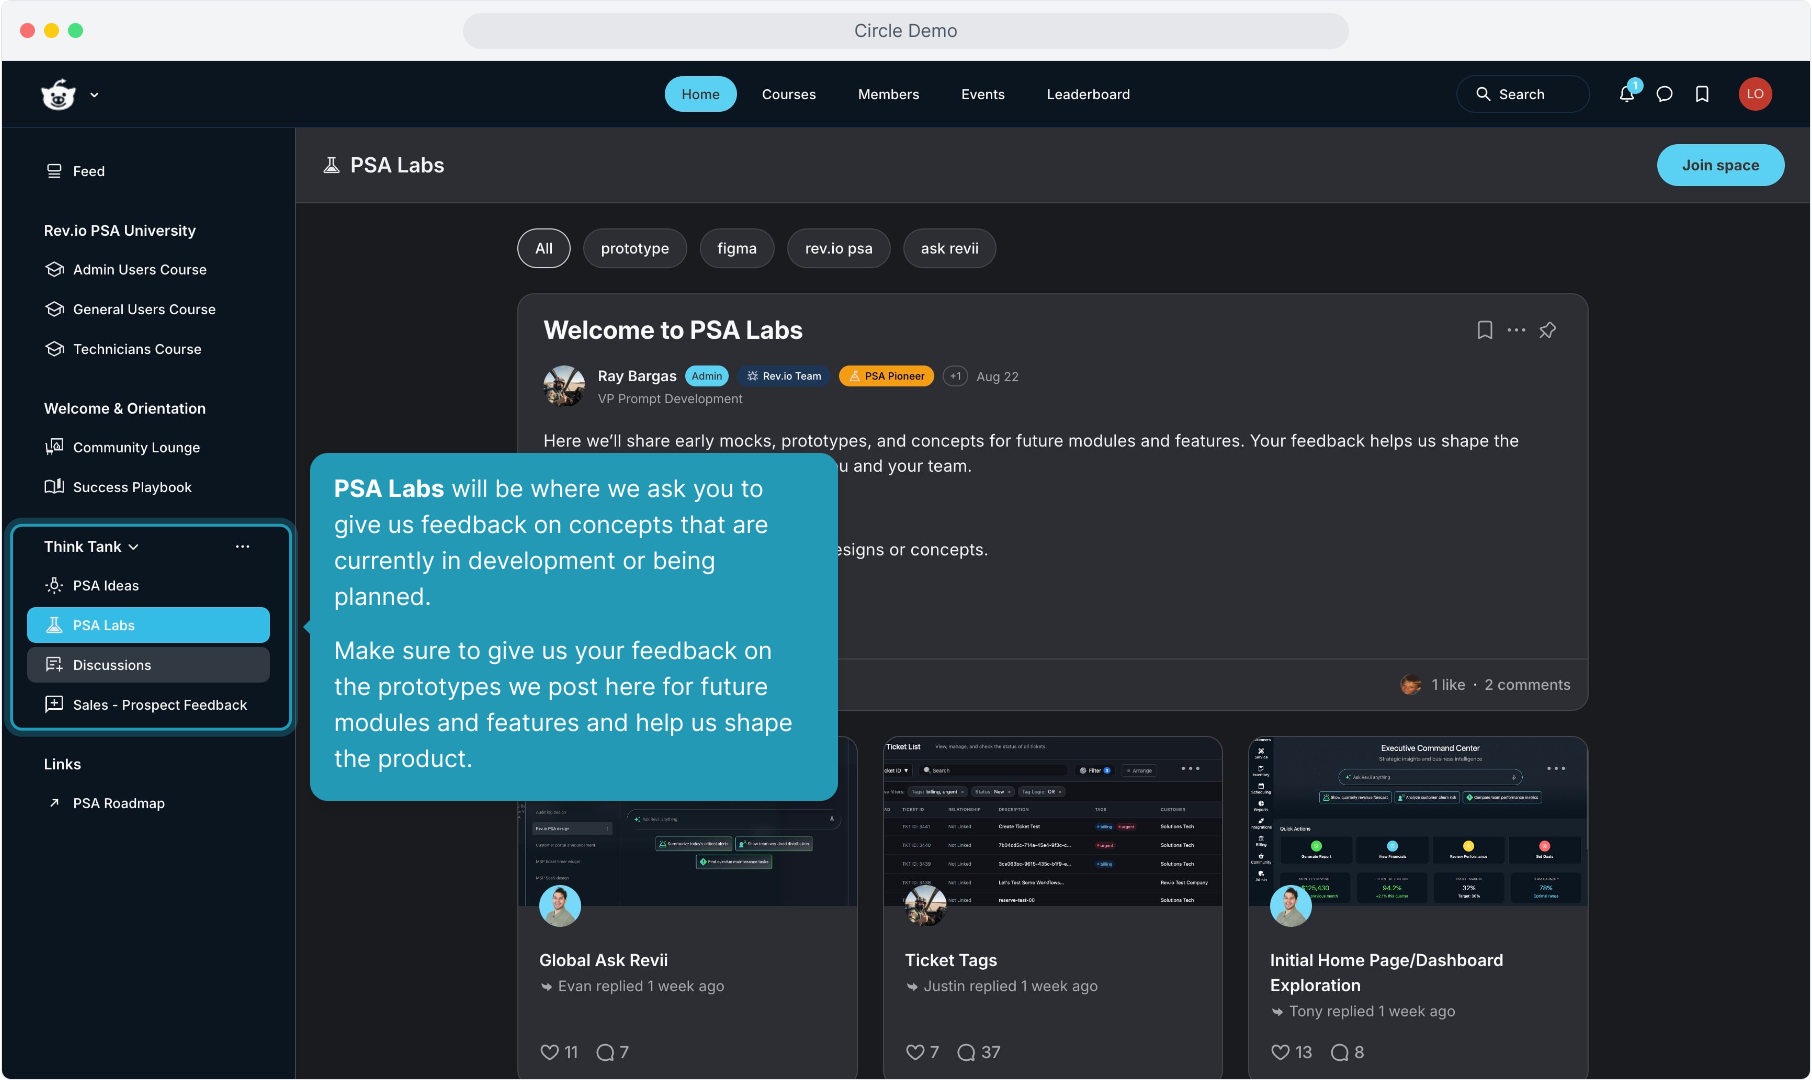
9. PSA Labs will be where we ask you to give us feedback on concepts that are currently in development or being planned. Make sure to give us your feedback on the prototypes we post here for future modules and features and help us shape the product.
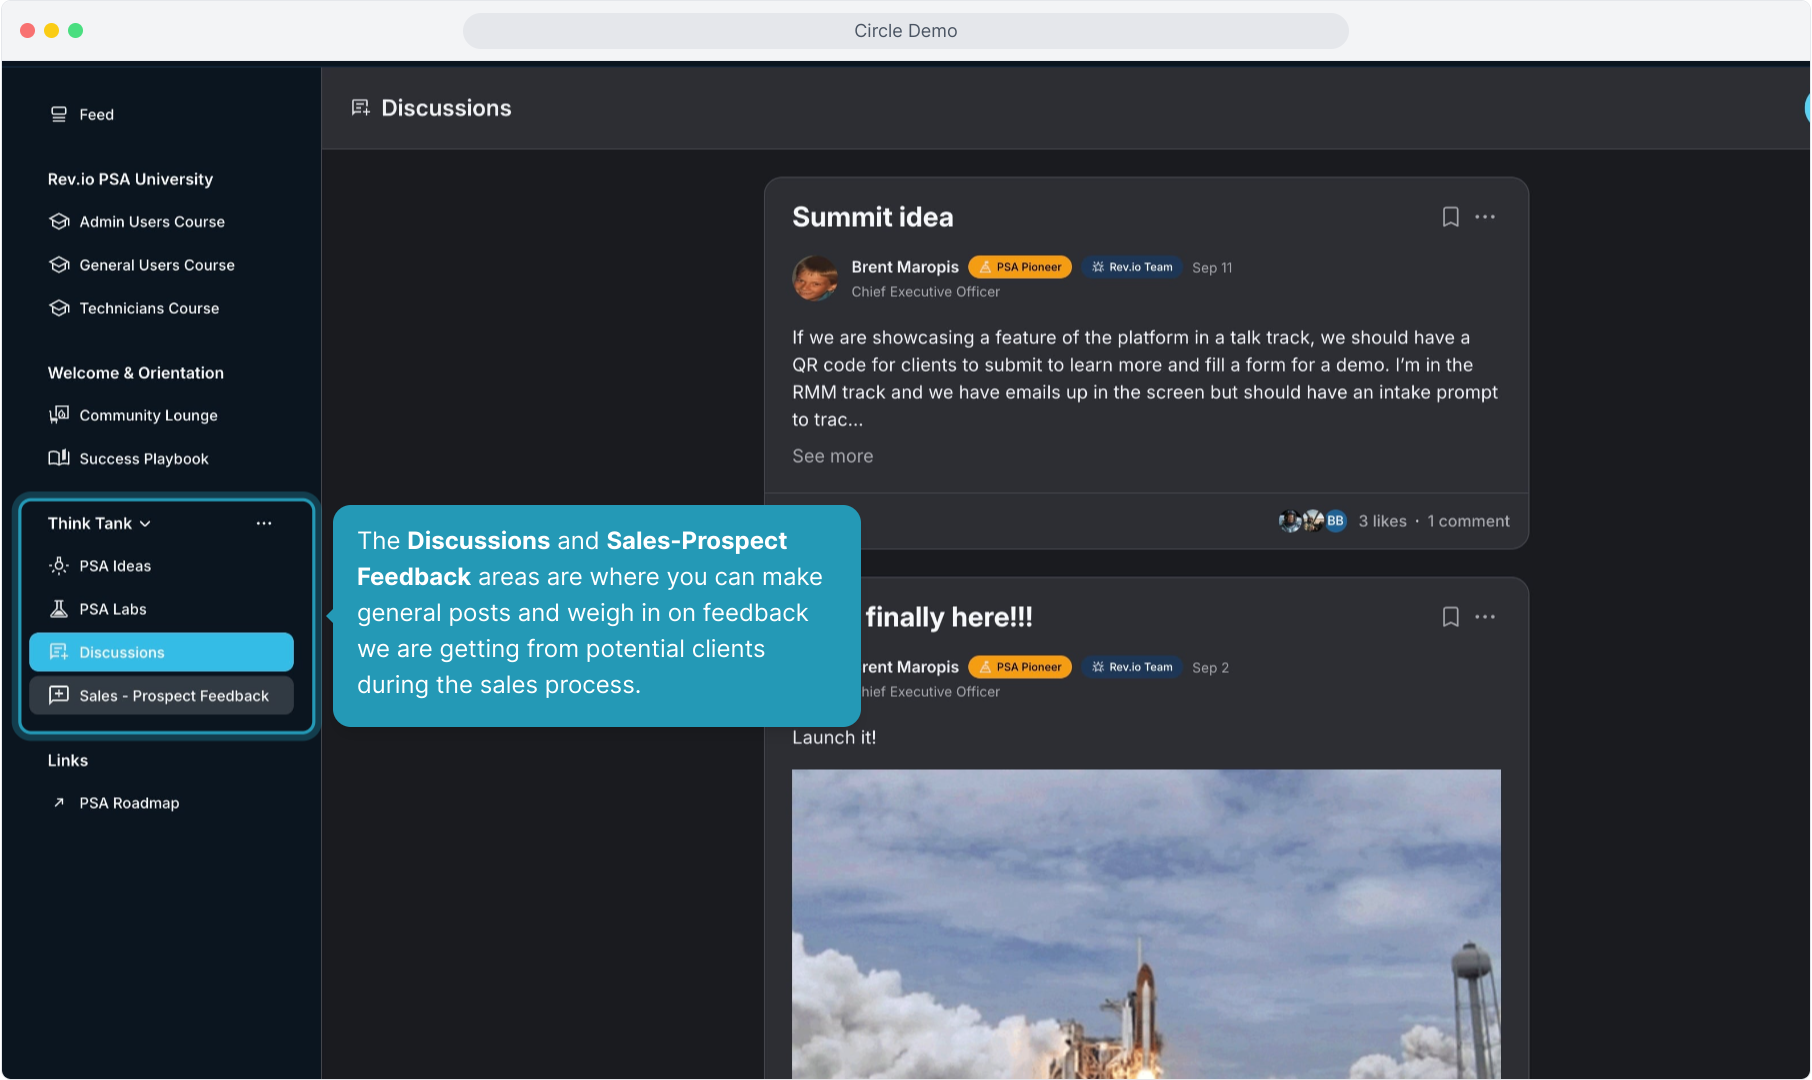
10. The Discussions and Sales-Prospect Feedback areas are where you can make general posts and weigh in on feedback we are getting from potential clients during the sales process.
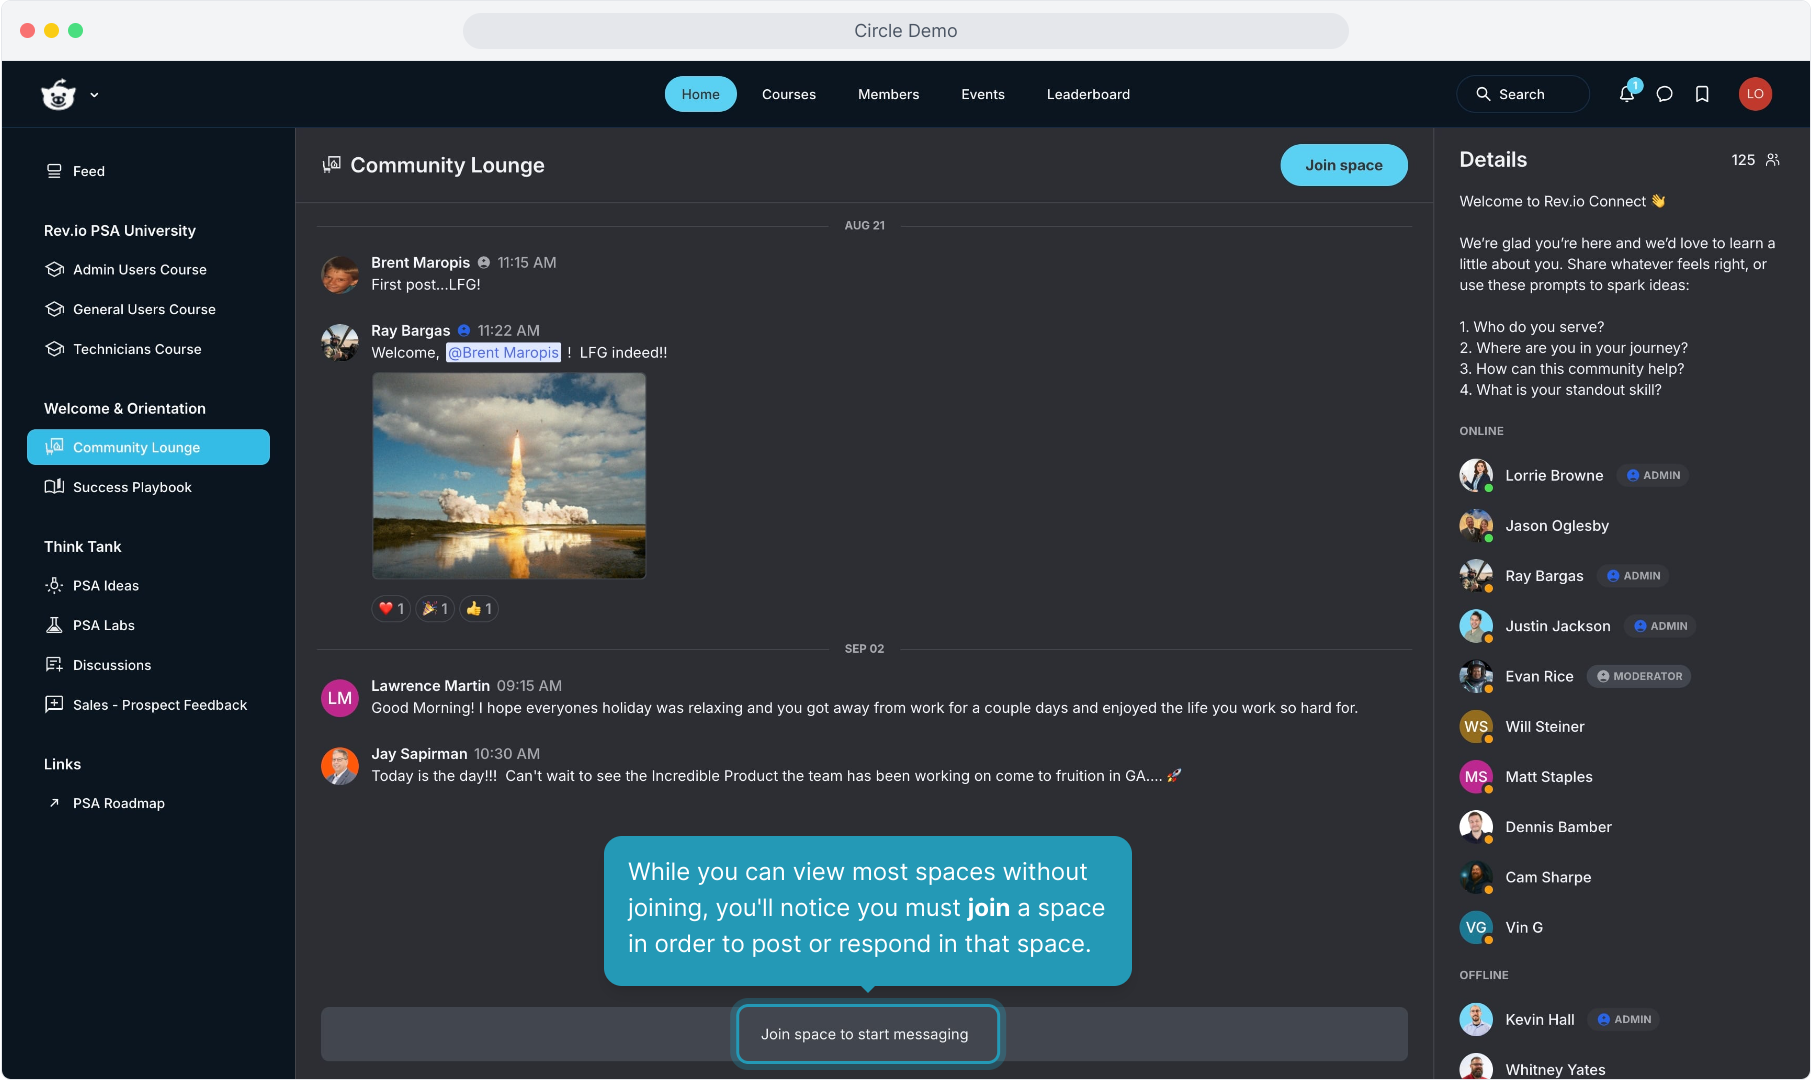
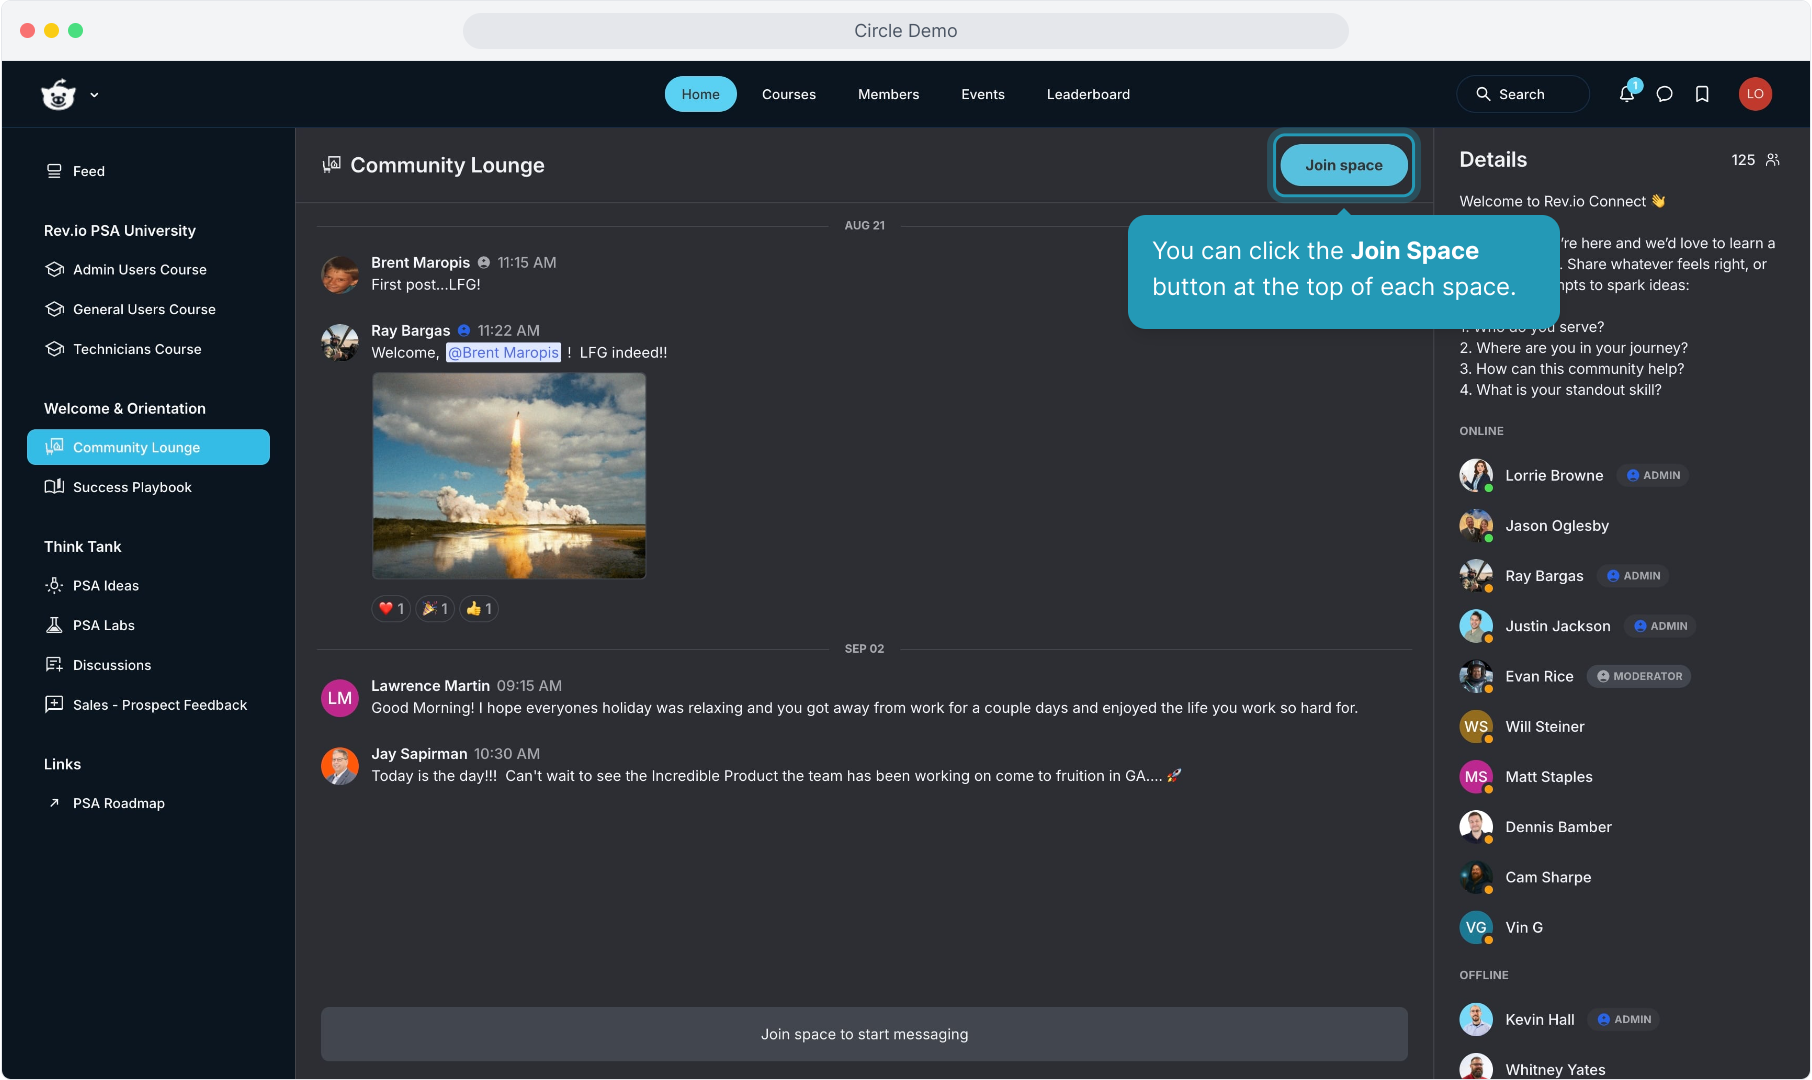
11. While you can view most spaces without joining, you'll notice you must join a space in order to post or respond in that space.
12. You can click the Join Space button at the top of each space.
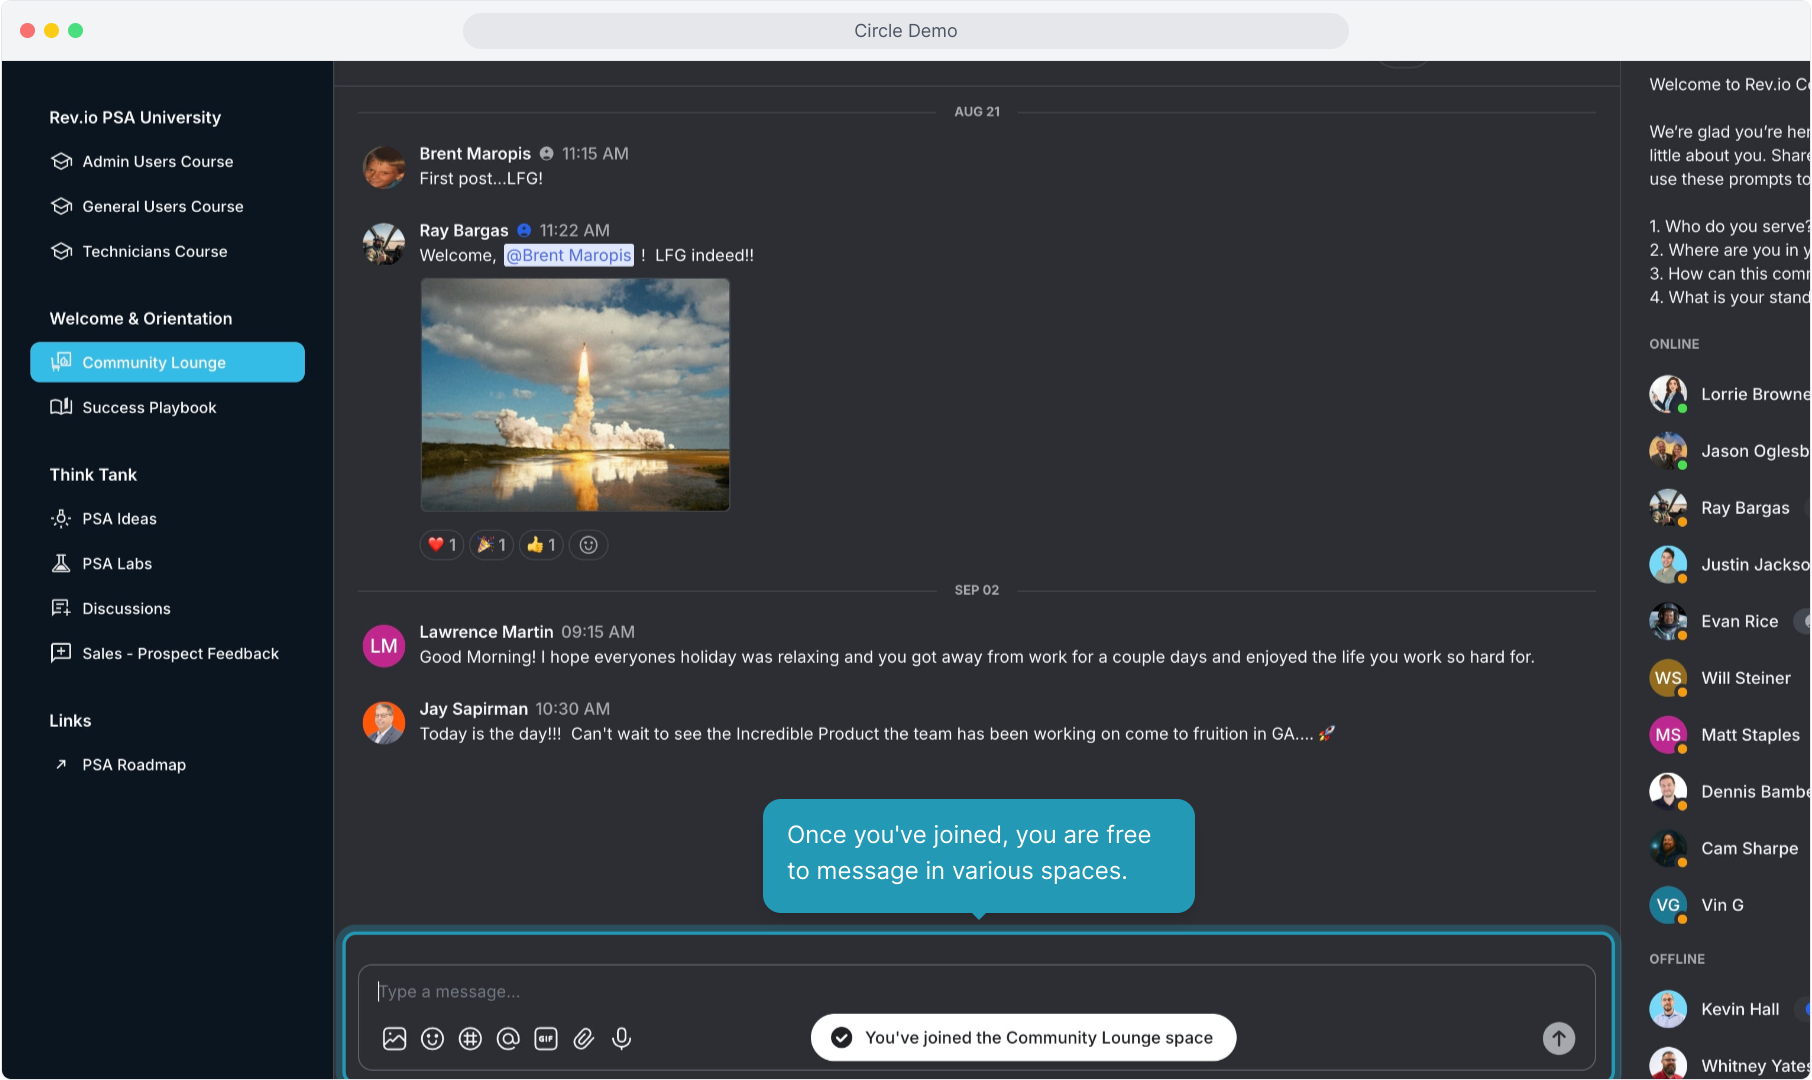
13. Once you've joined, you are free to message in various spaces.
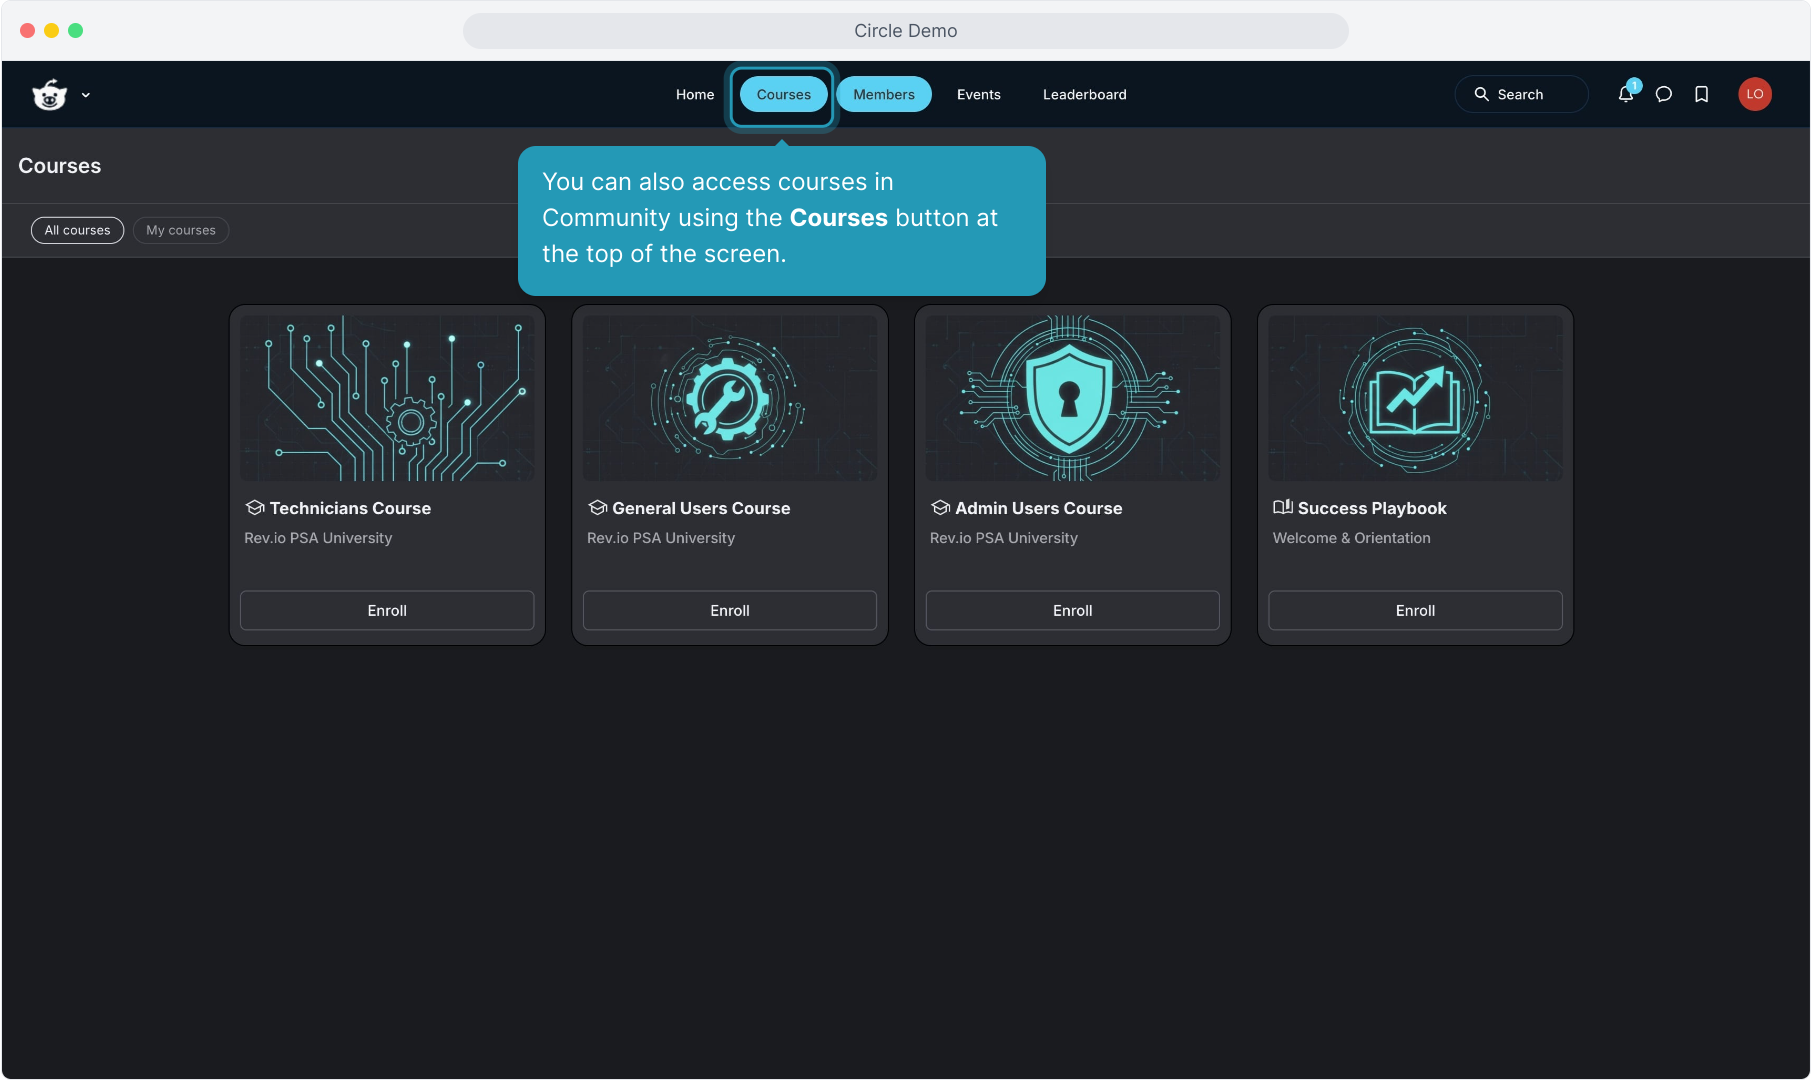
14. You can also access courses in Community using the Courses button at the top of the screen.
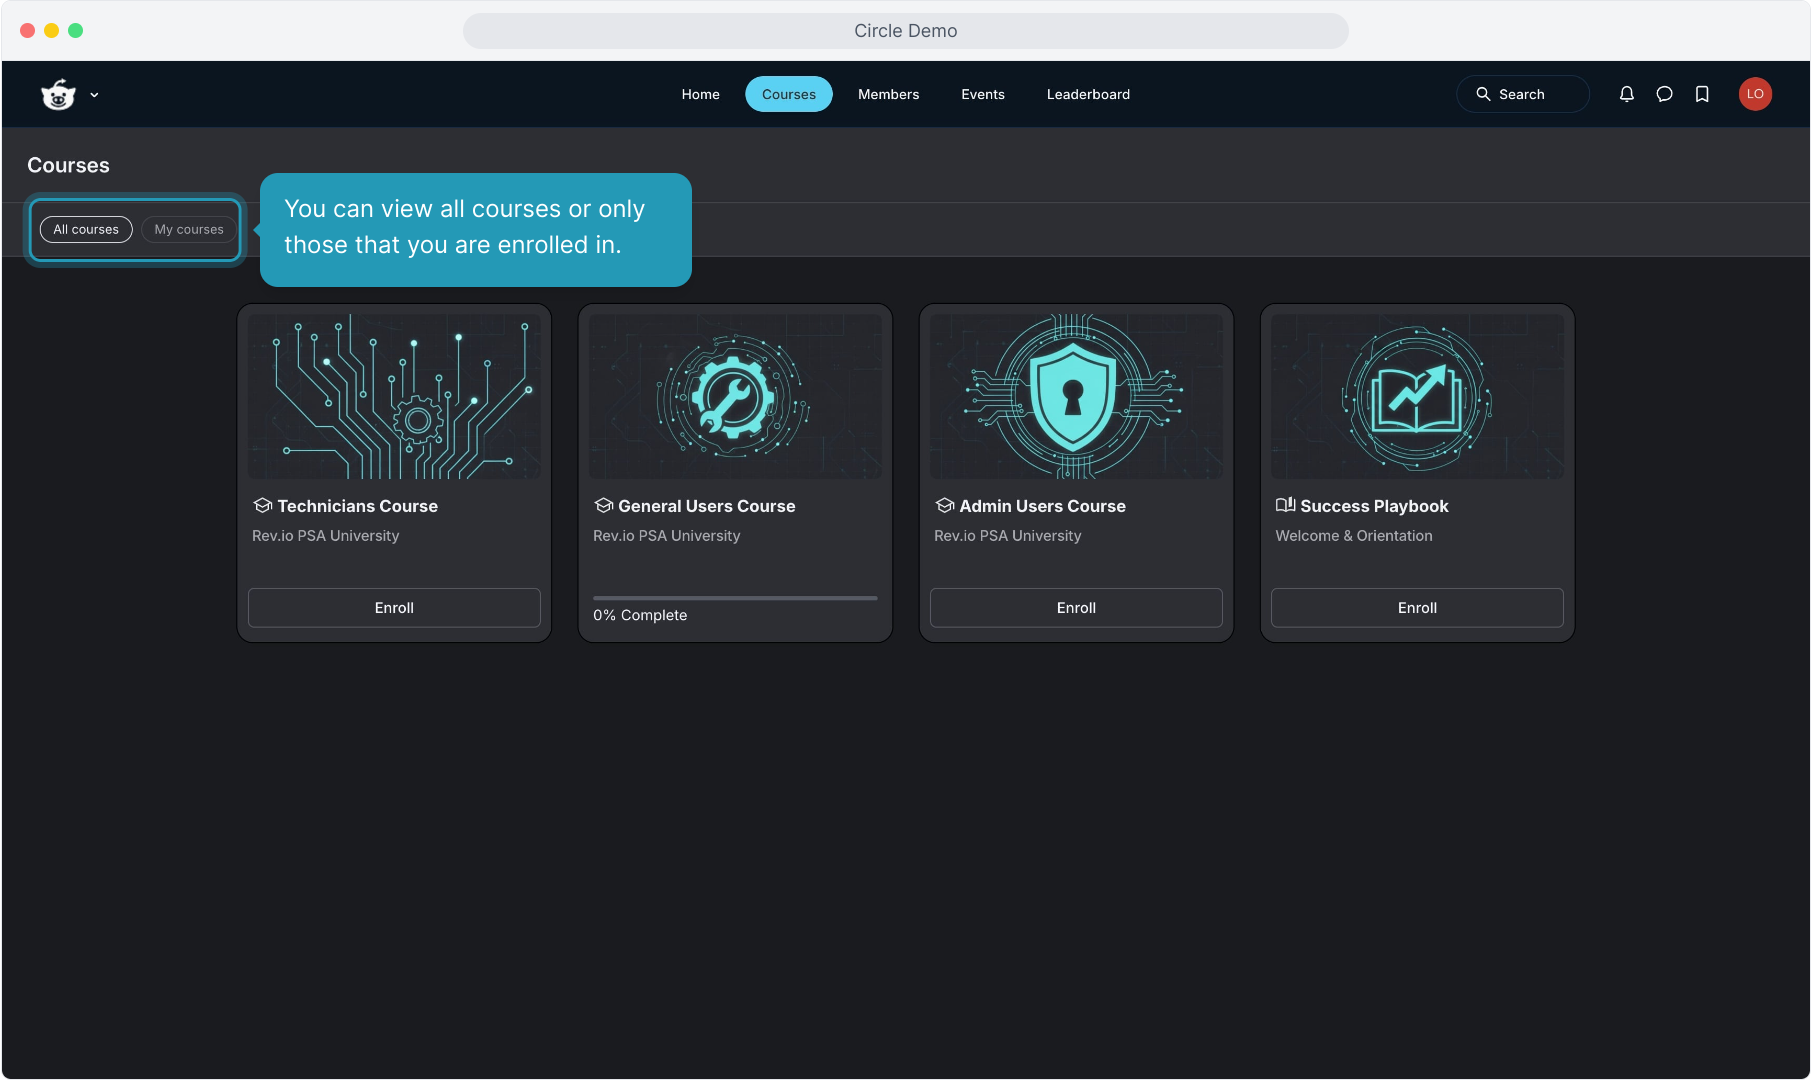
15. You can view all courses or only those that you are enrolled in.
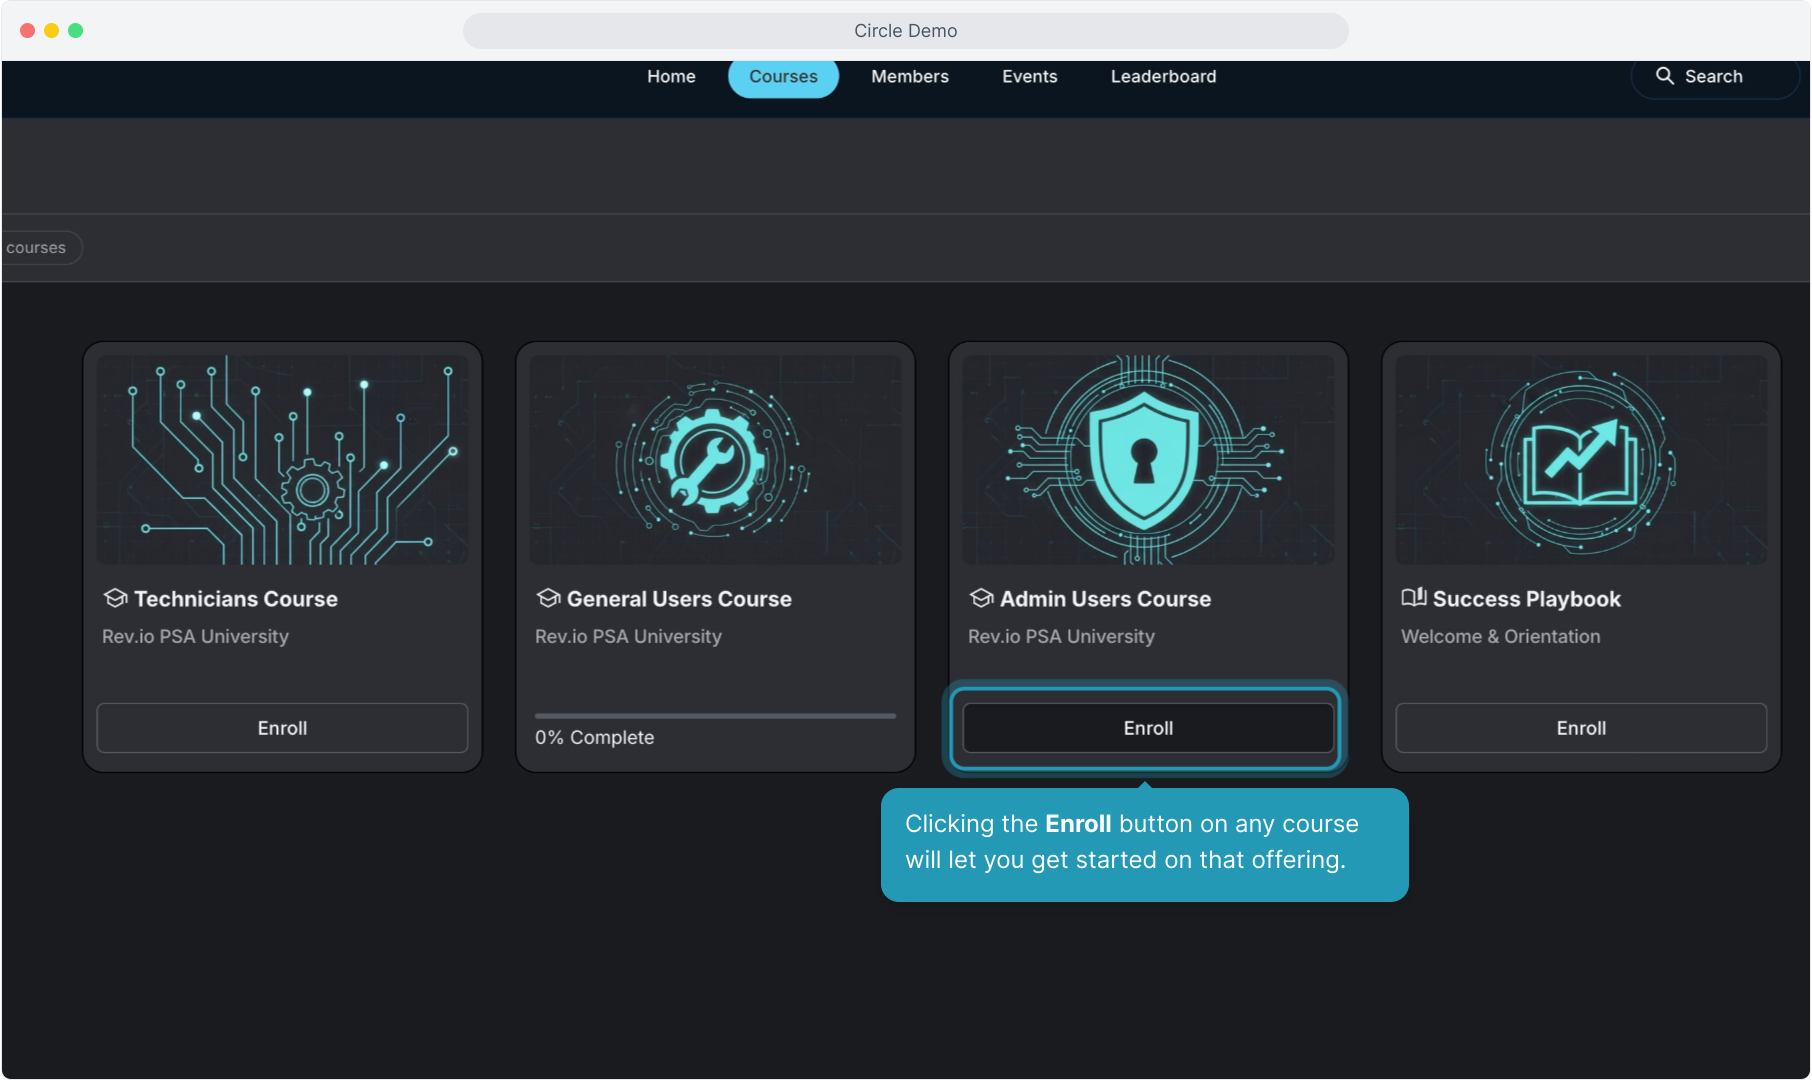
16. Clicking the Enroll button on any course will let you get started on that offering.
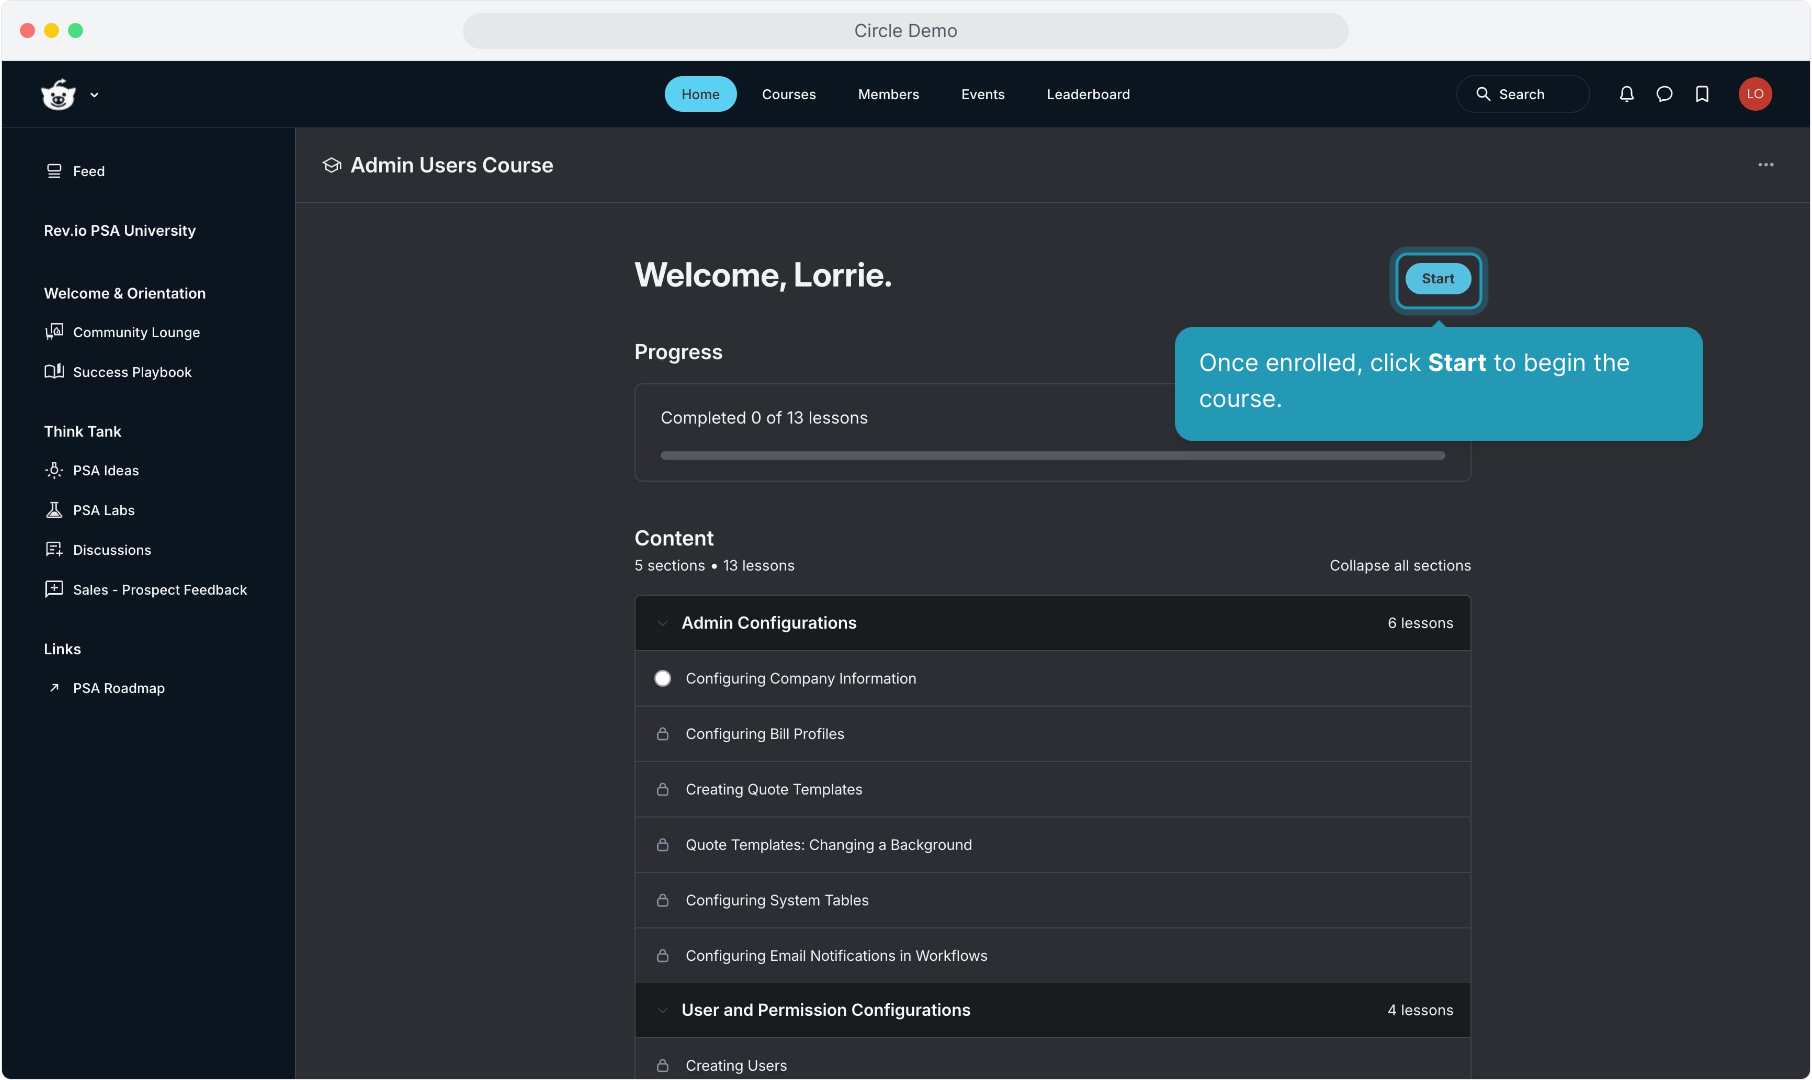
17. Once enrolled, click Start to begin the course.
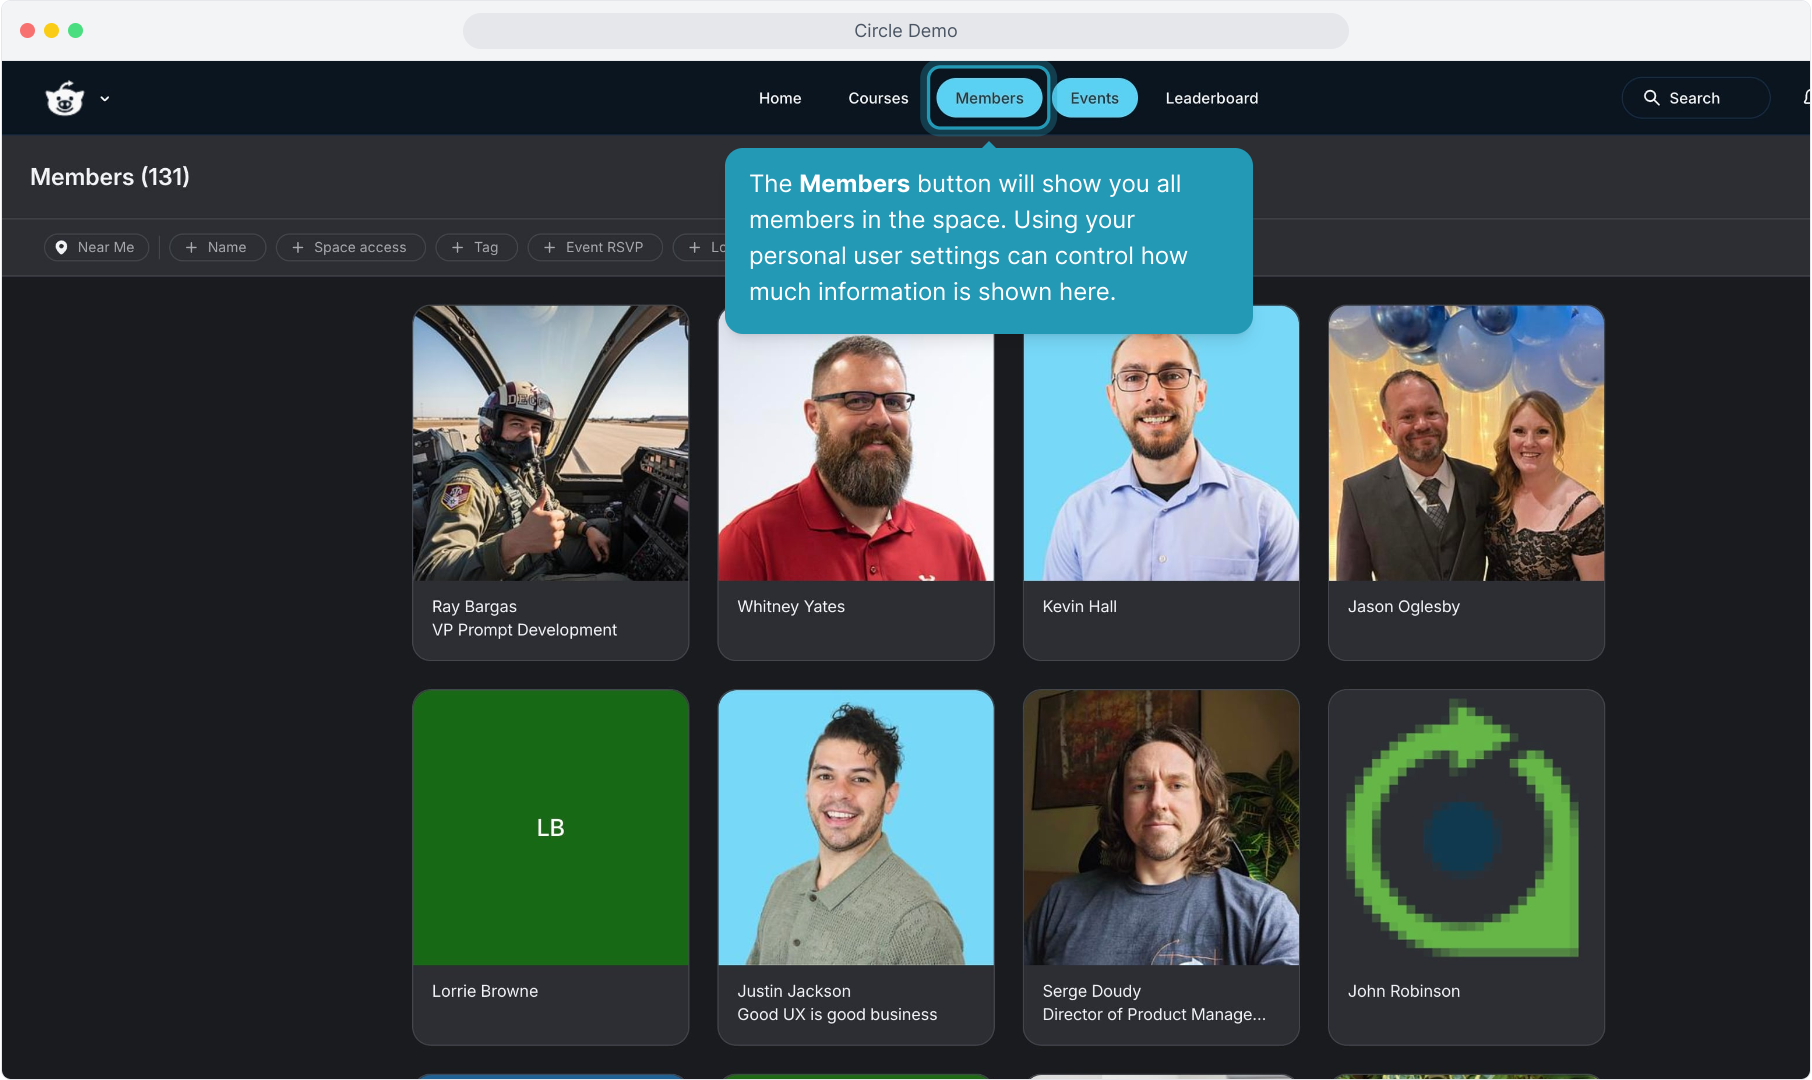
18. The Members button will show you all members in the space. Using your personal user settings can control how much information is shown here.
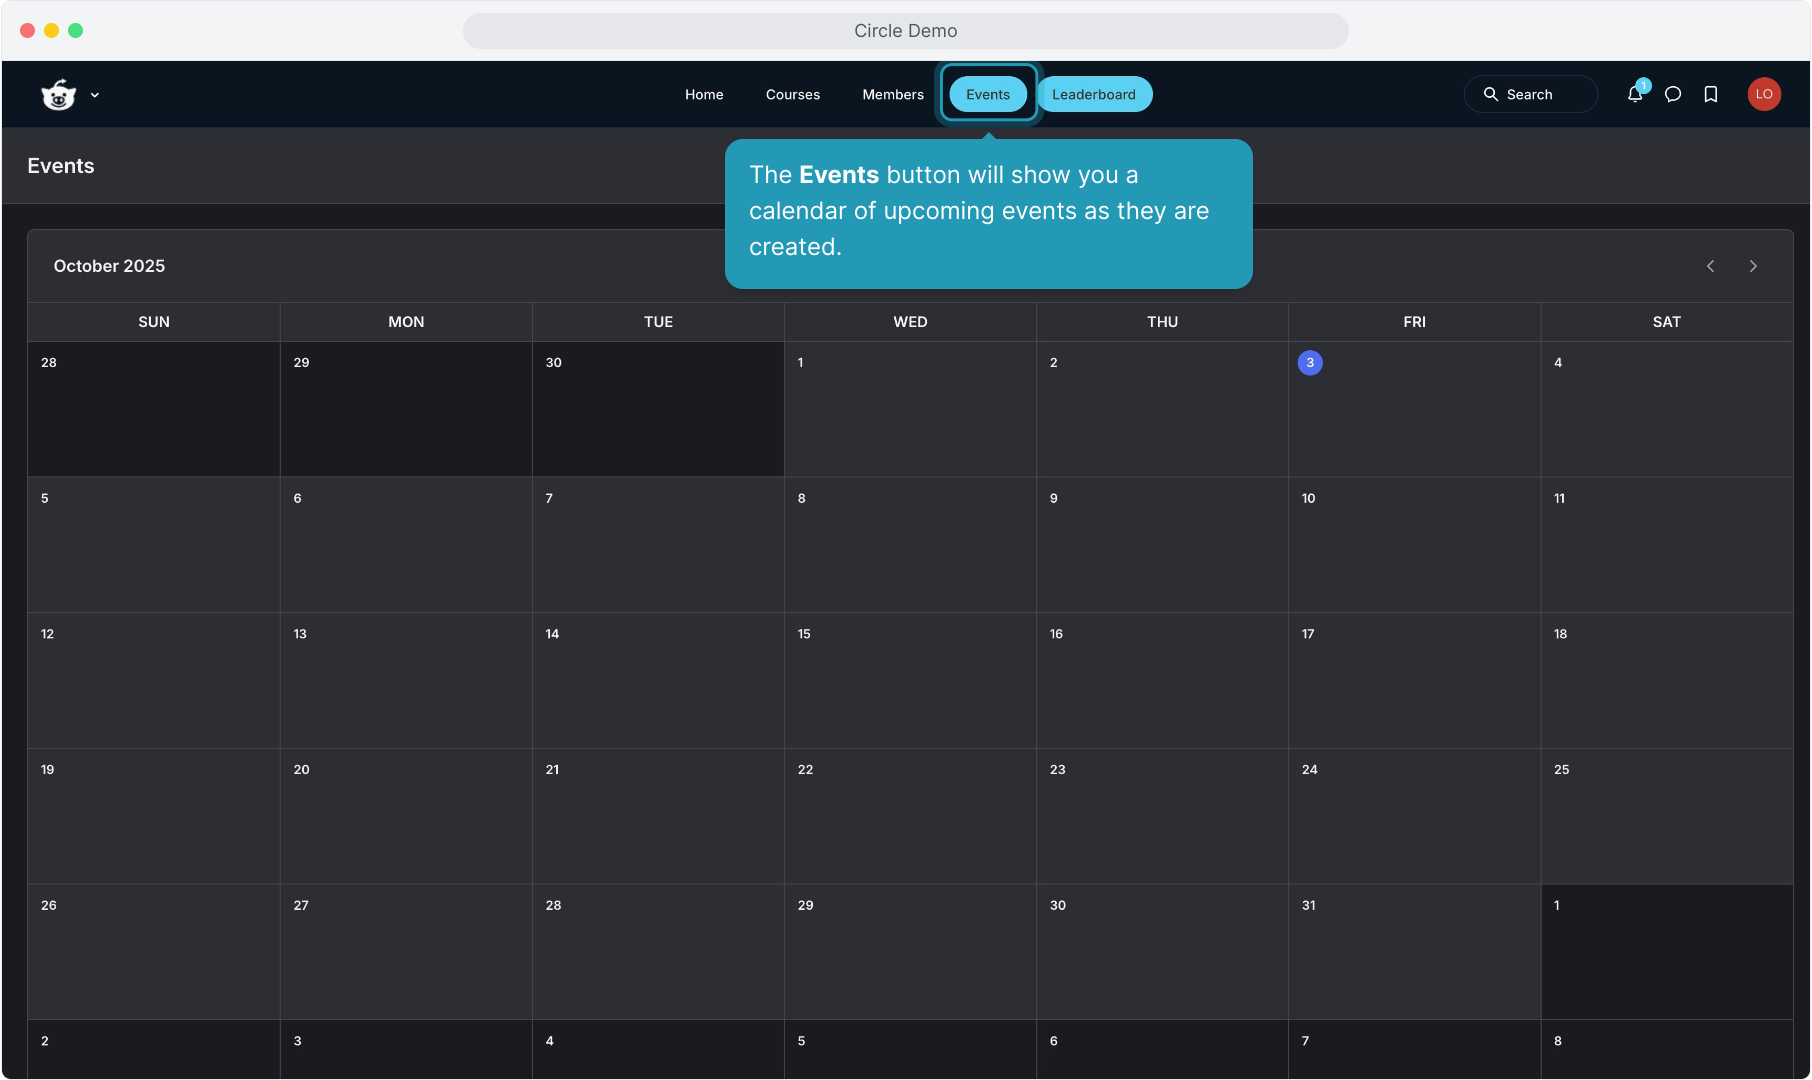
19. The Events button will show you a calendar of upcoming events as they are created.
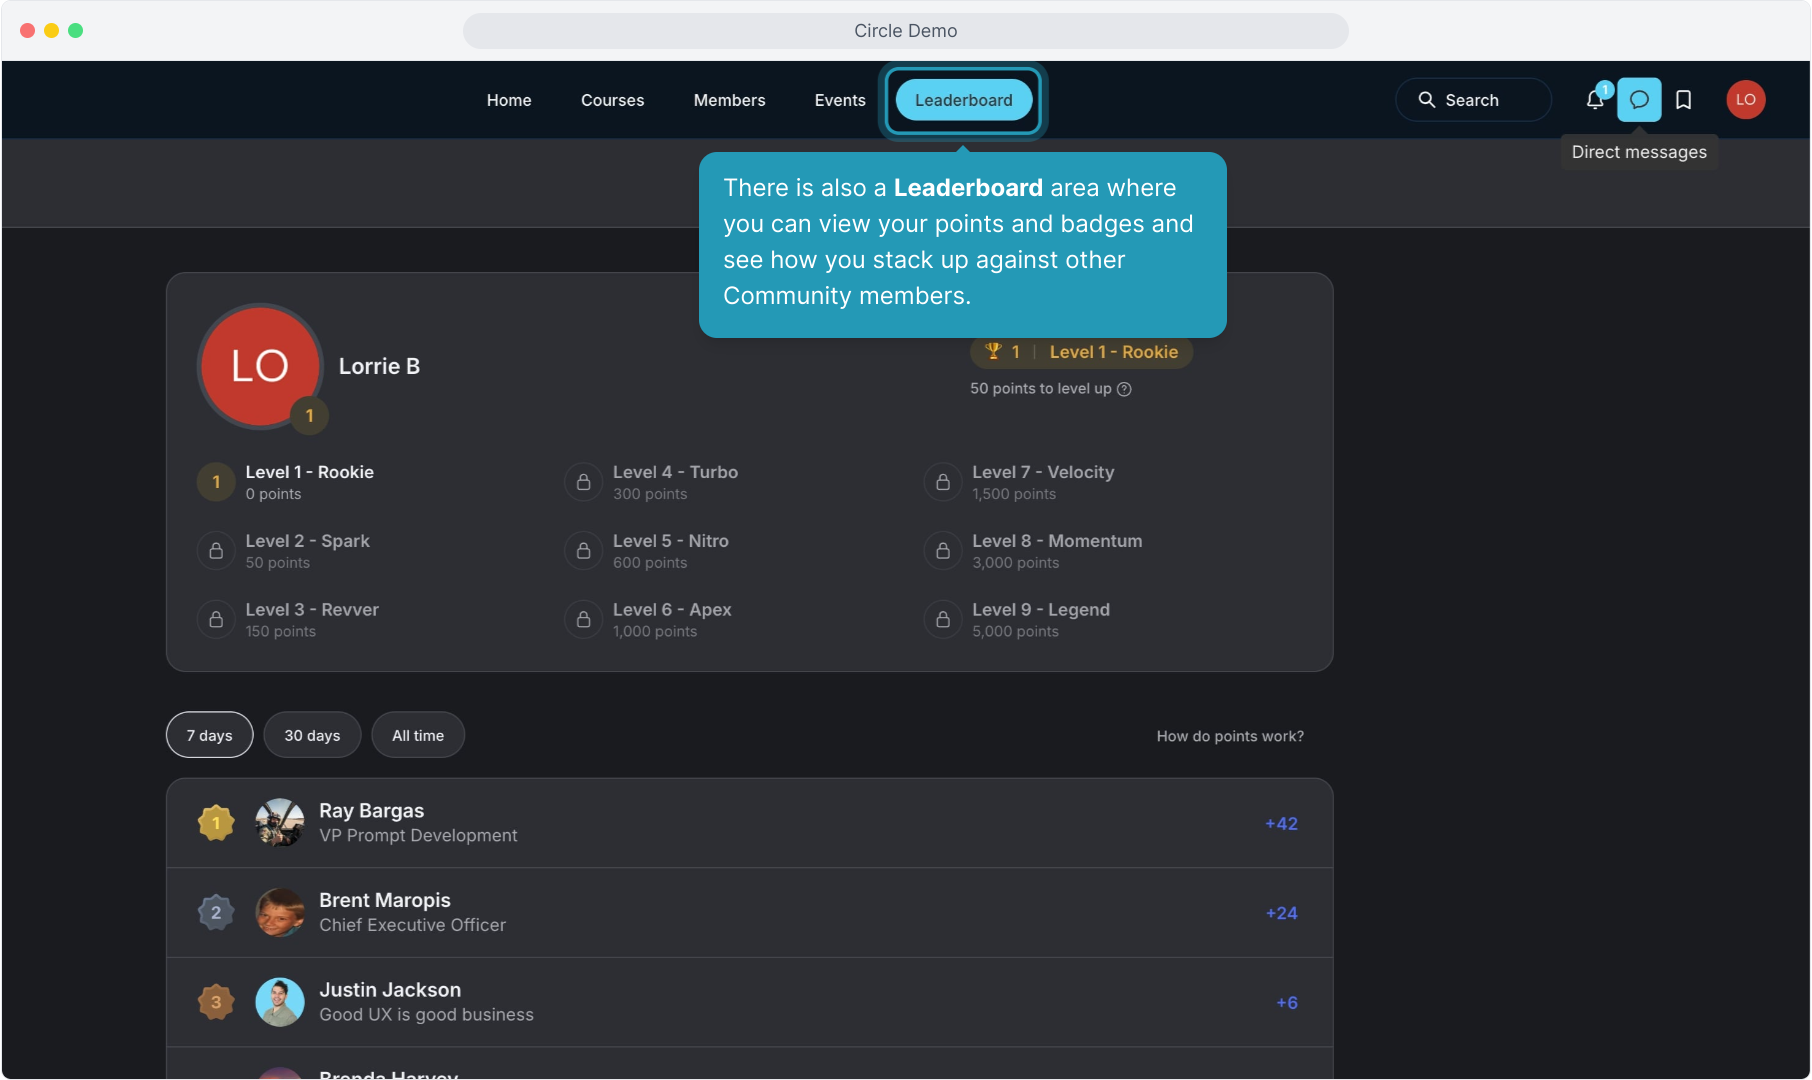
20. There is also a Leaderboard area where you can view your points and badges and see how you stack up against other Community members.
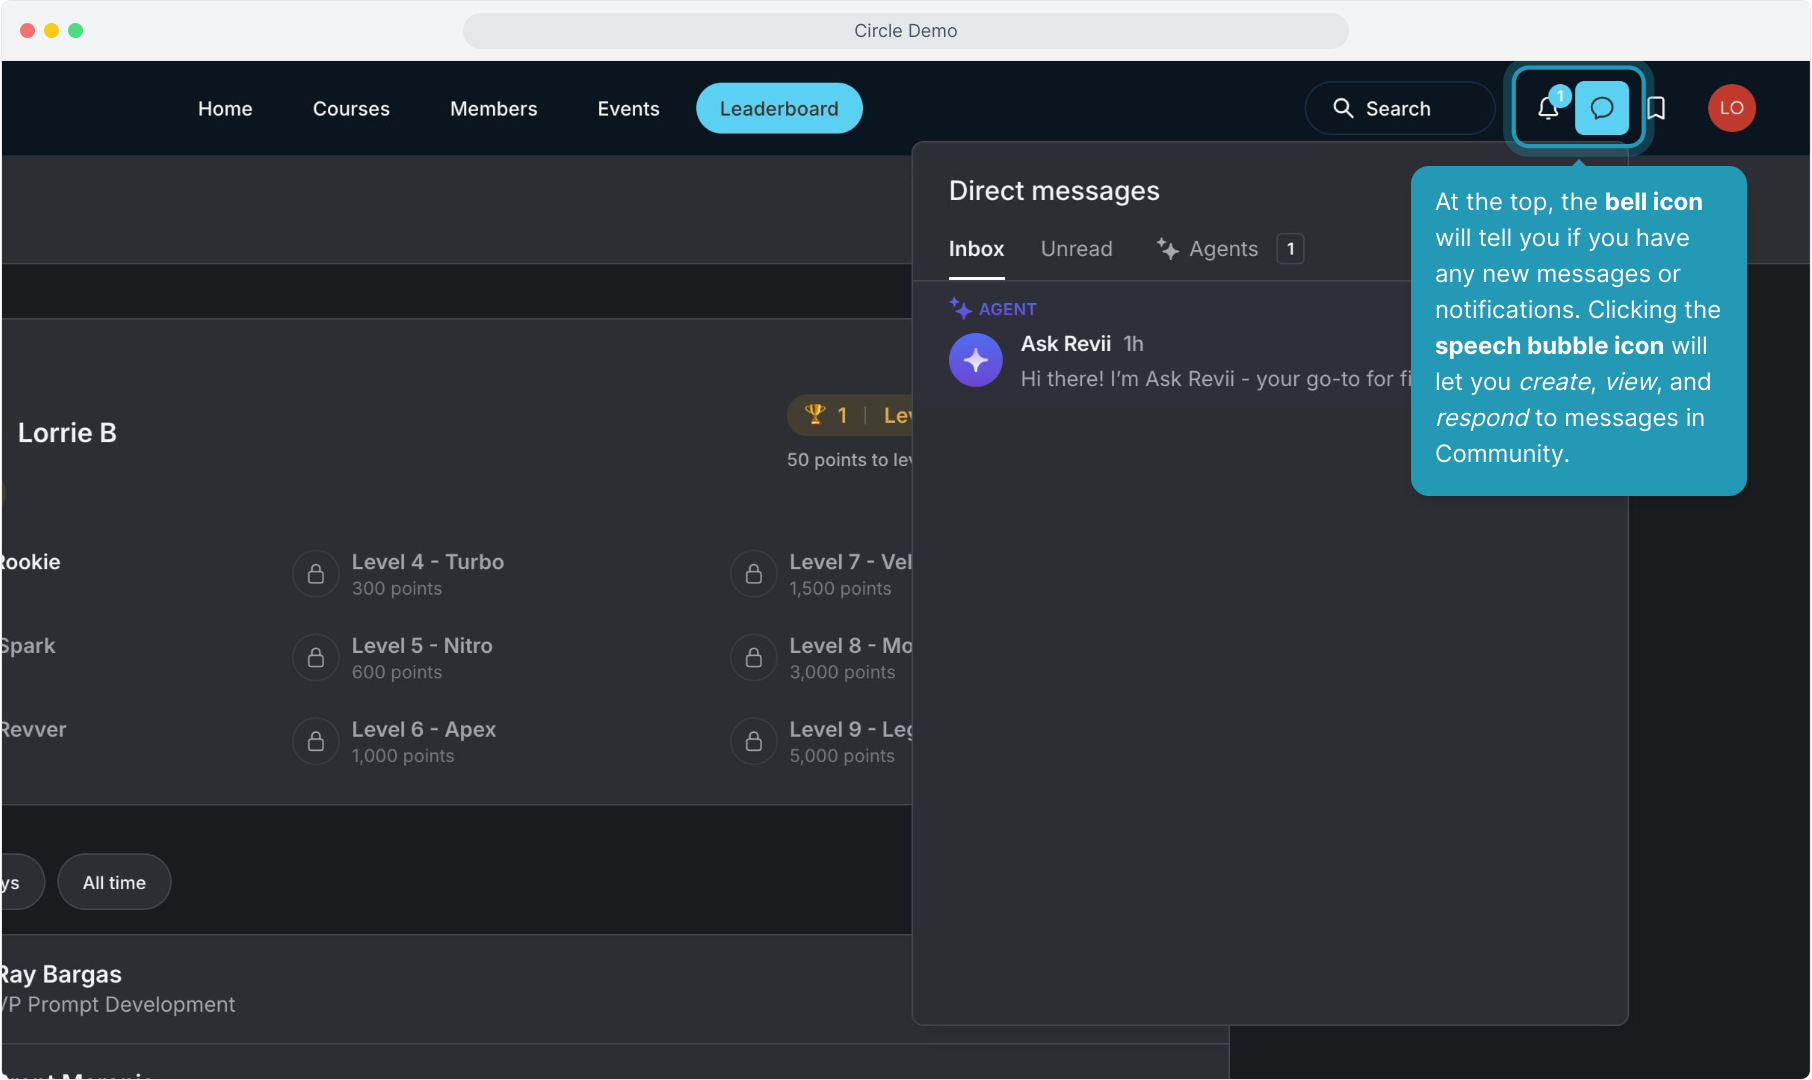
21. At the top, the bell icon will tell you if you have any new messages or notifications. Clicking the speech bubble icon will let you create, view, and respond to messages in Community.
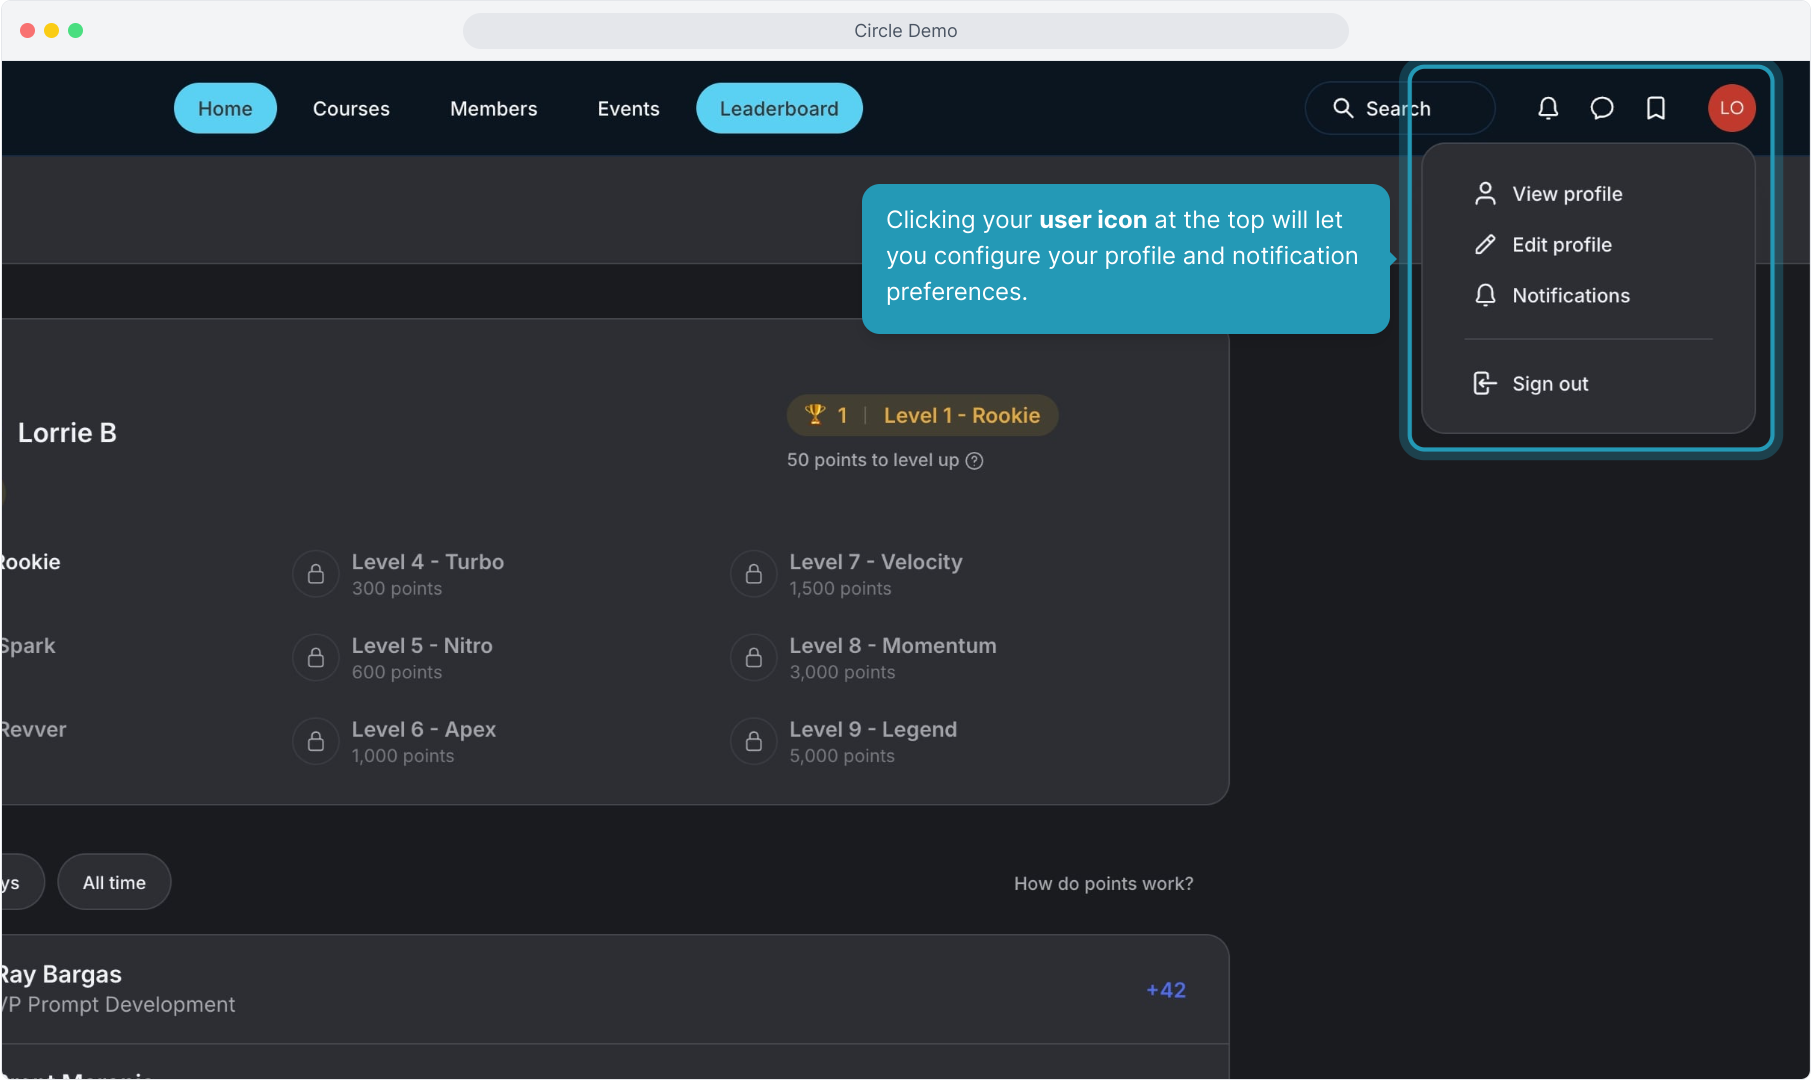
22. Clicking your user icon at the top will let you configure your profile and notification preferences.
23. Clicking the Revii icon in the upper left corner will give you access to Keyboard Shortcuts and allow you to switch between light and dark mode.

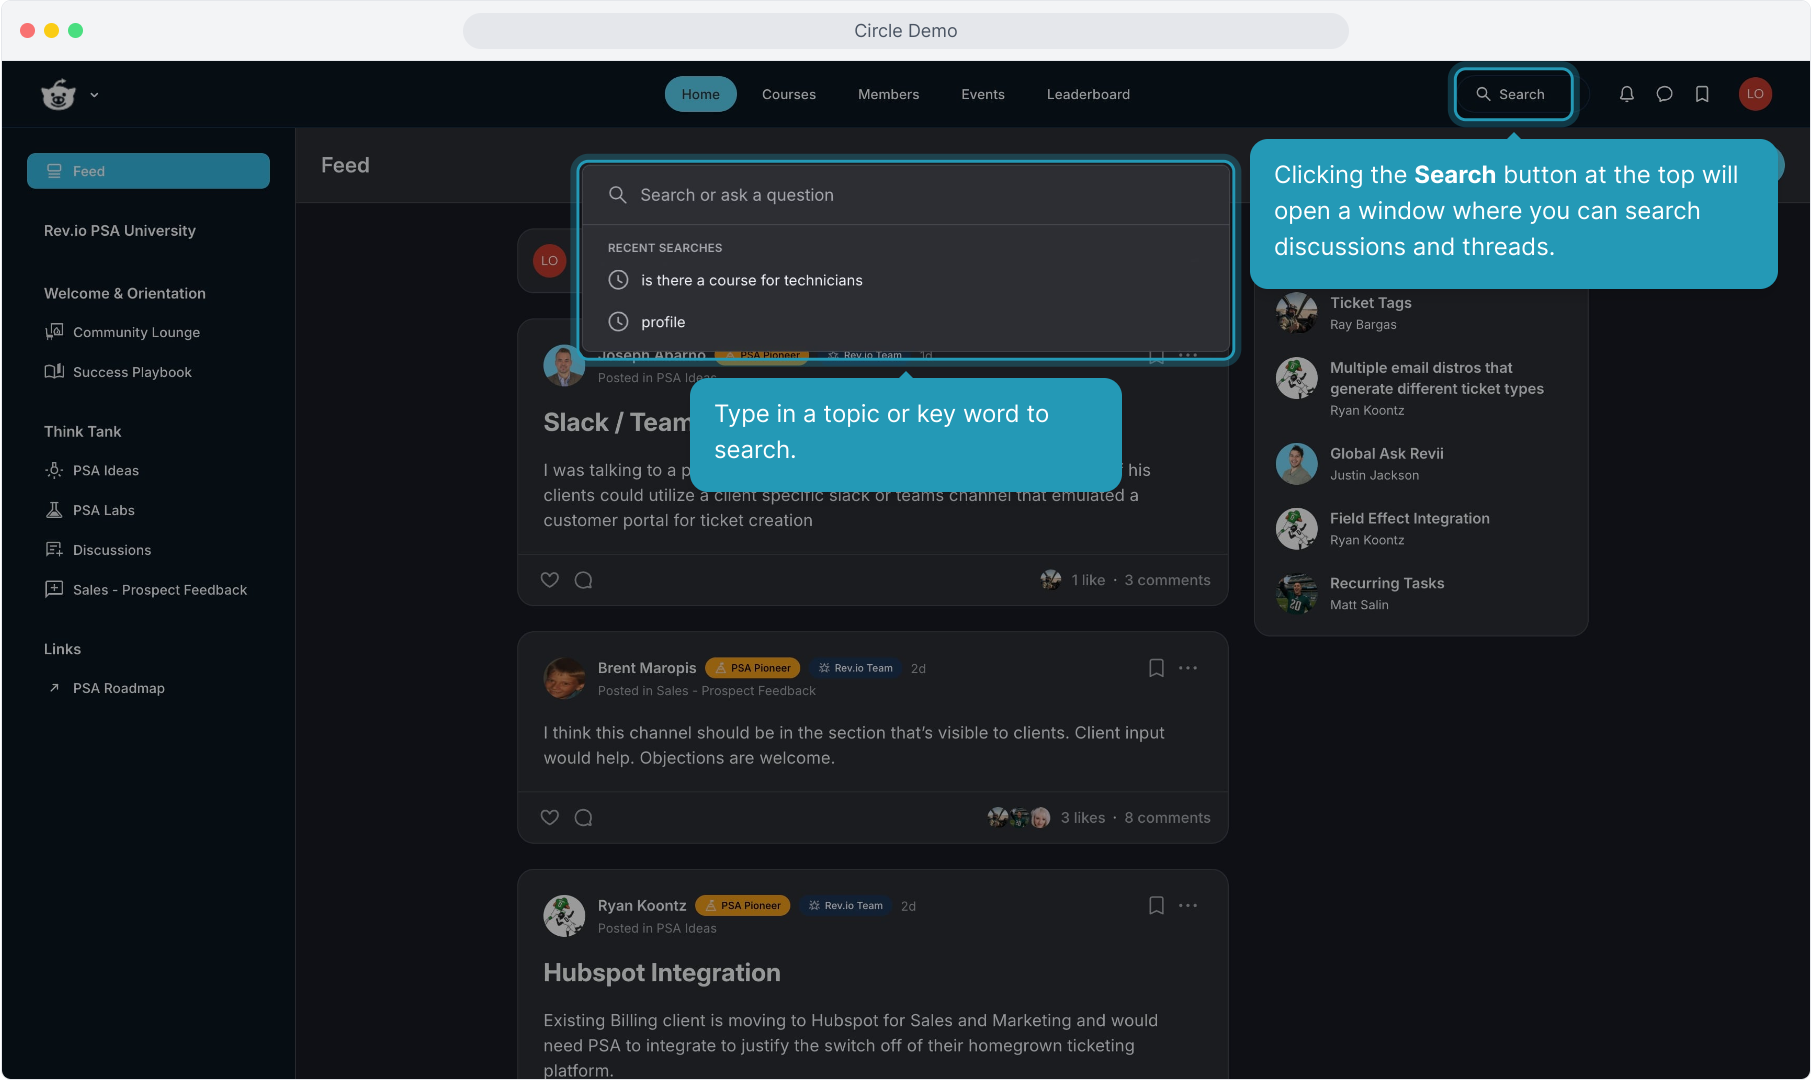
24. Clicking the Search button at the top will open a window where you can search discussions and threads.
25. Clicking the AI-powered Summarize button will allow you to select to get a recap of the last 7 days or the last month in Community.

26. The summary will display in the panel on the right side of the screen.
