
How To Guide: Customer - Overview Tab
1. Introduction

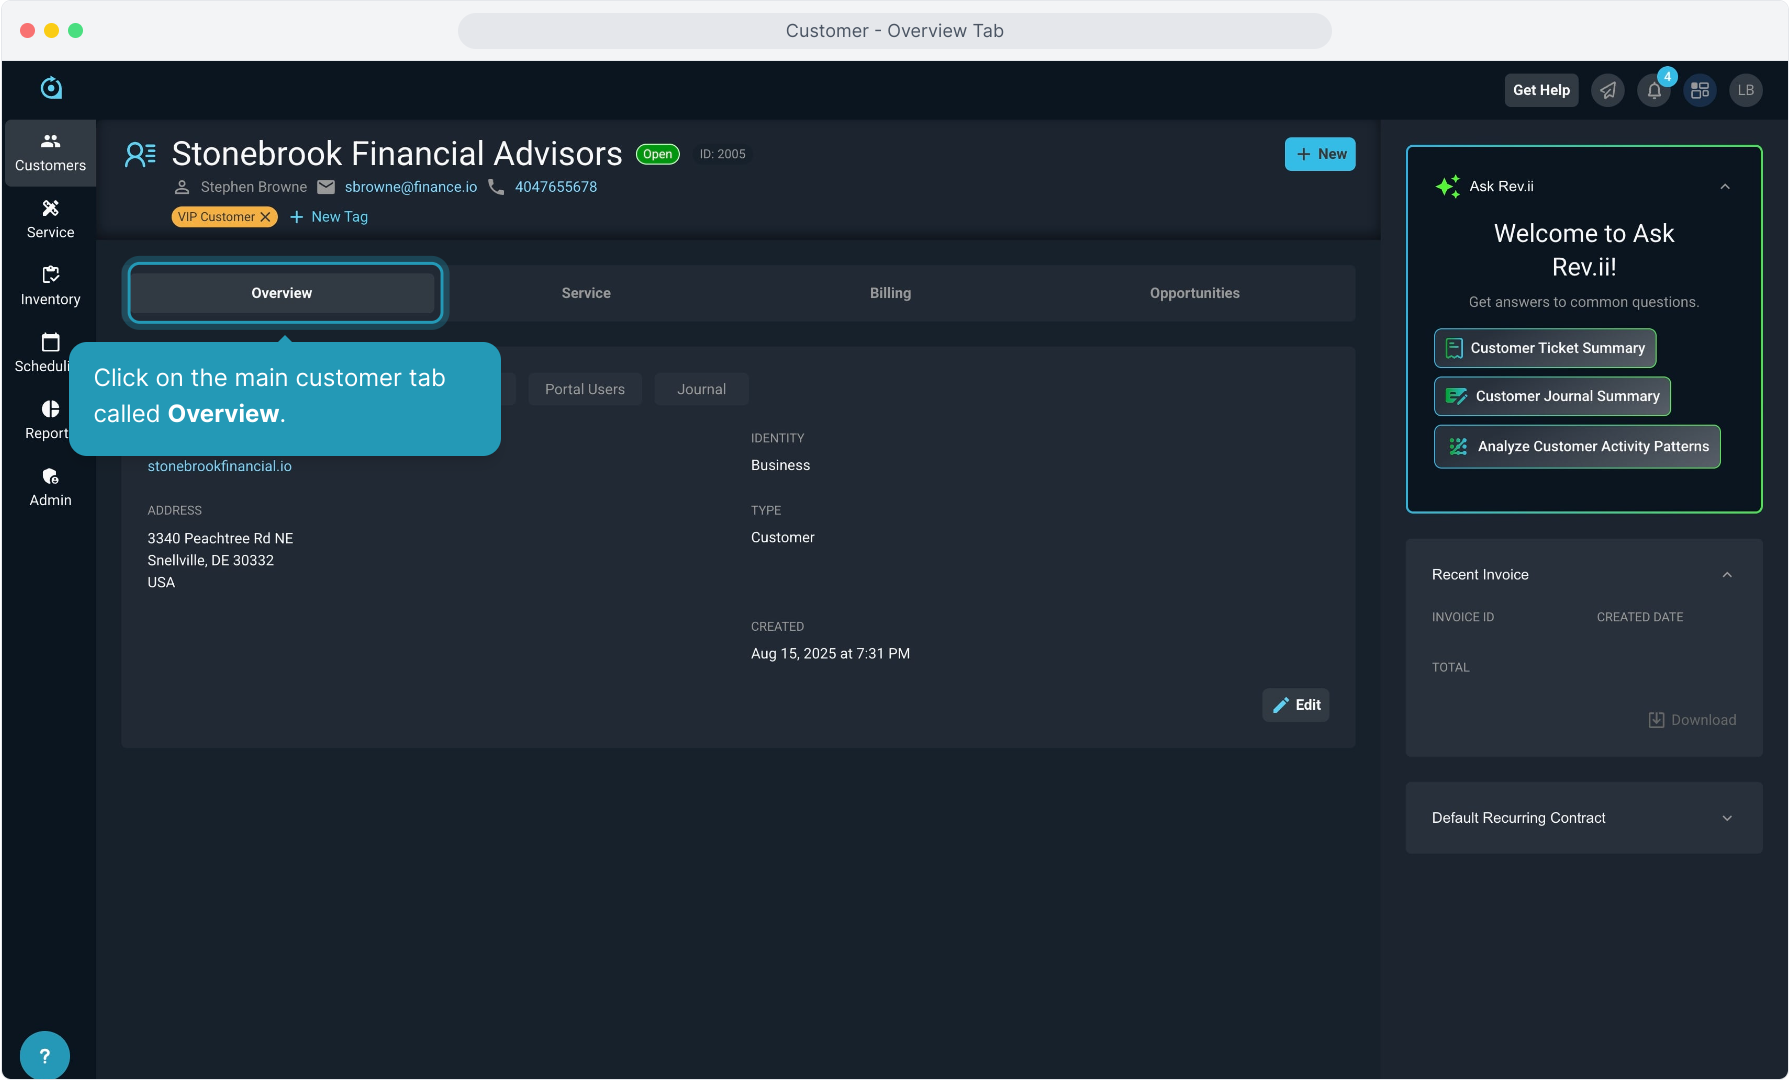
2. Click on the main customer tab called Overview.
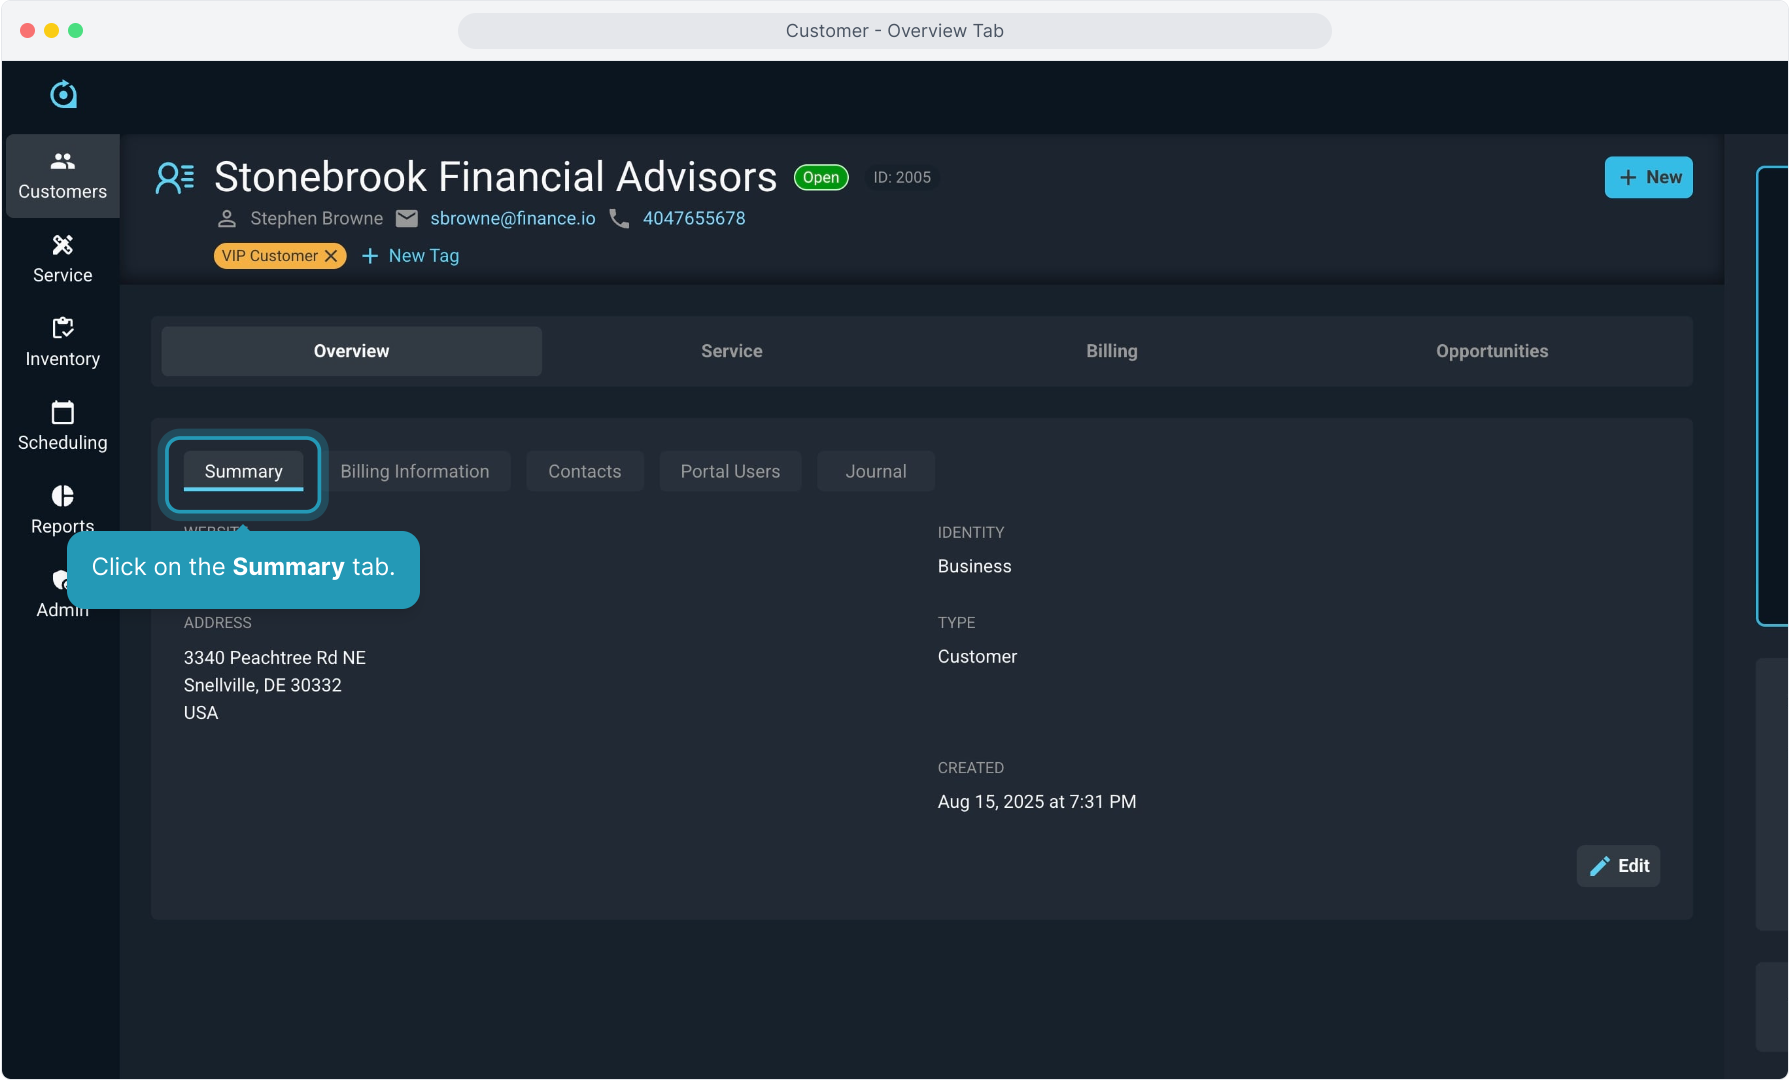
3. Click on the Summary tab.
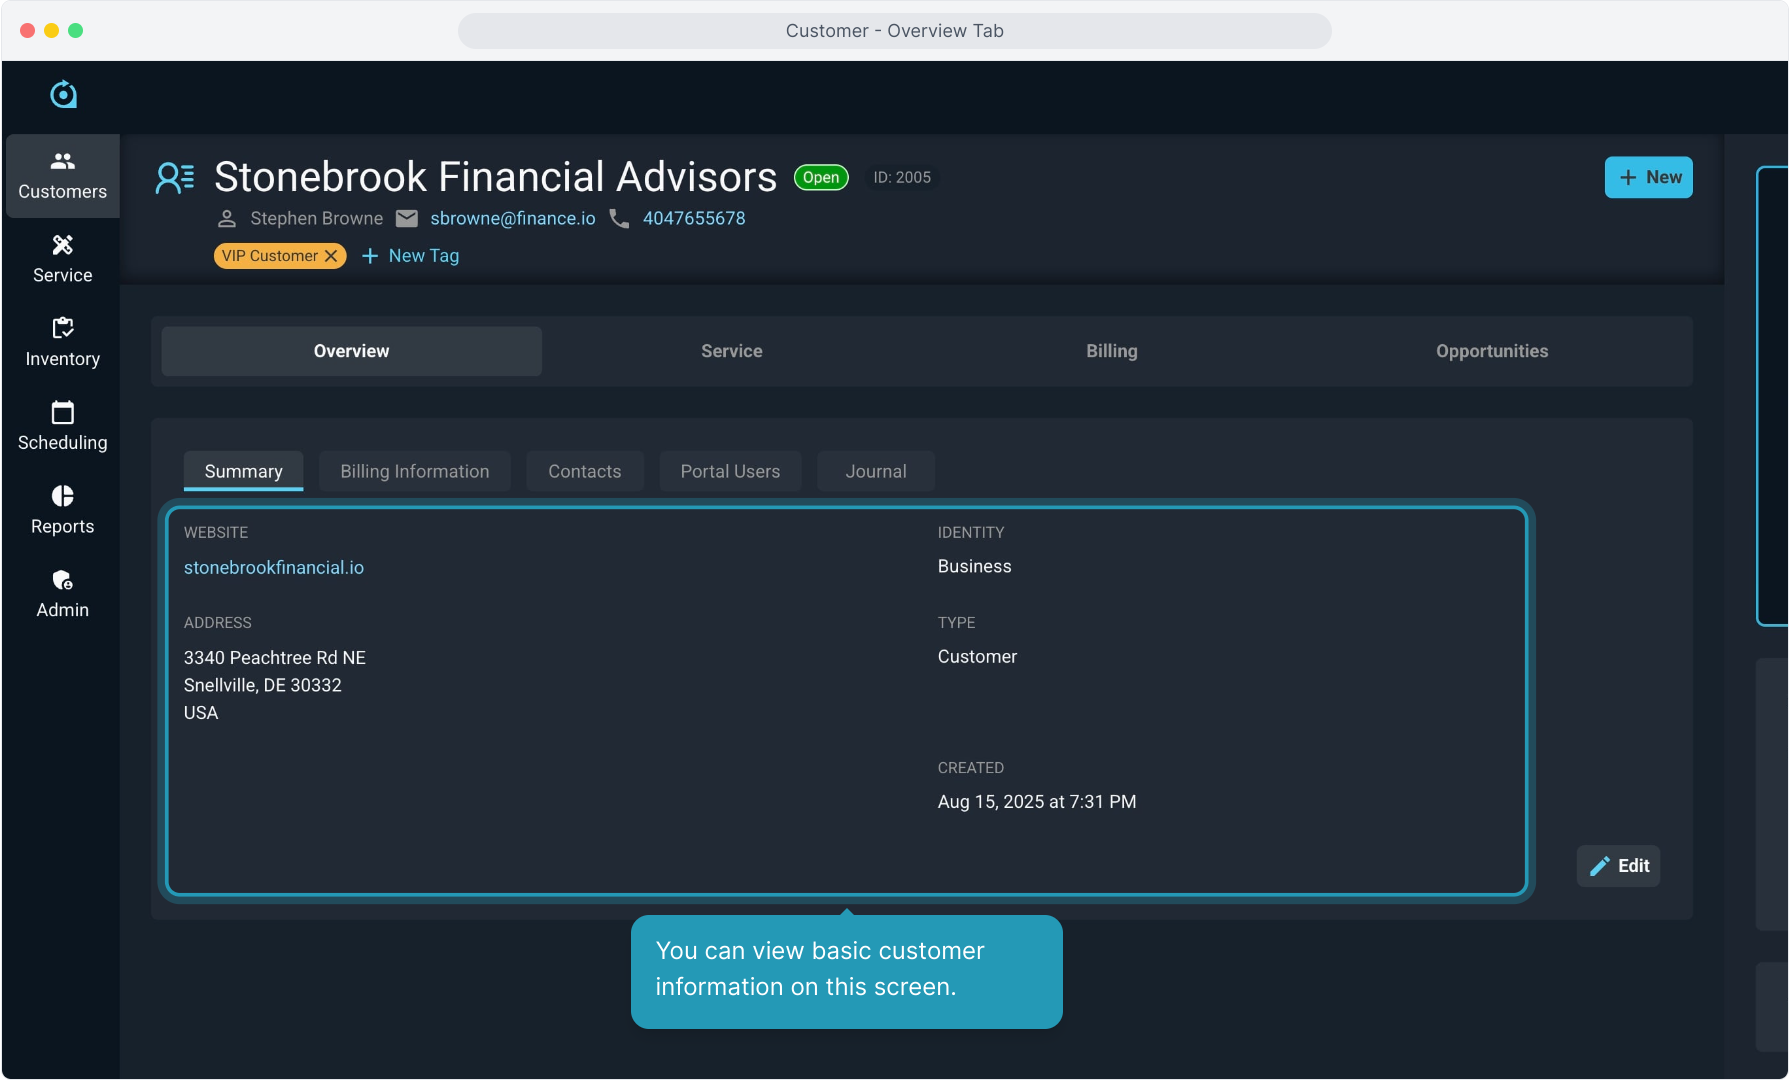
4. You can view basic customer information on this screen.
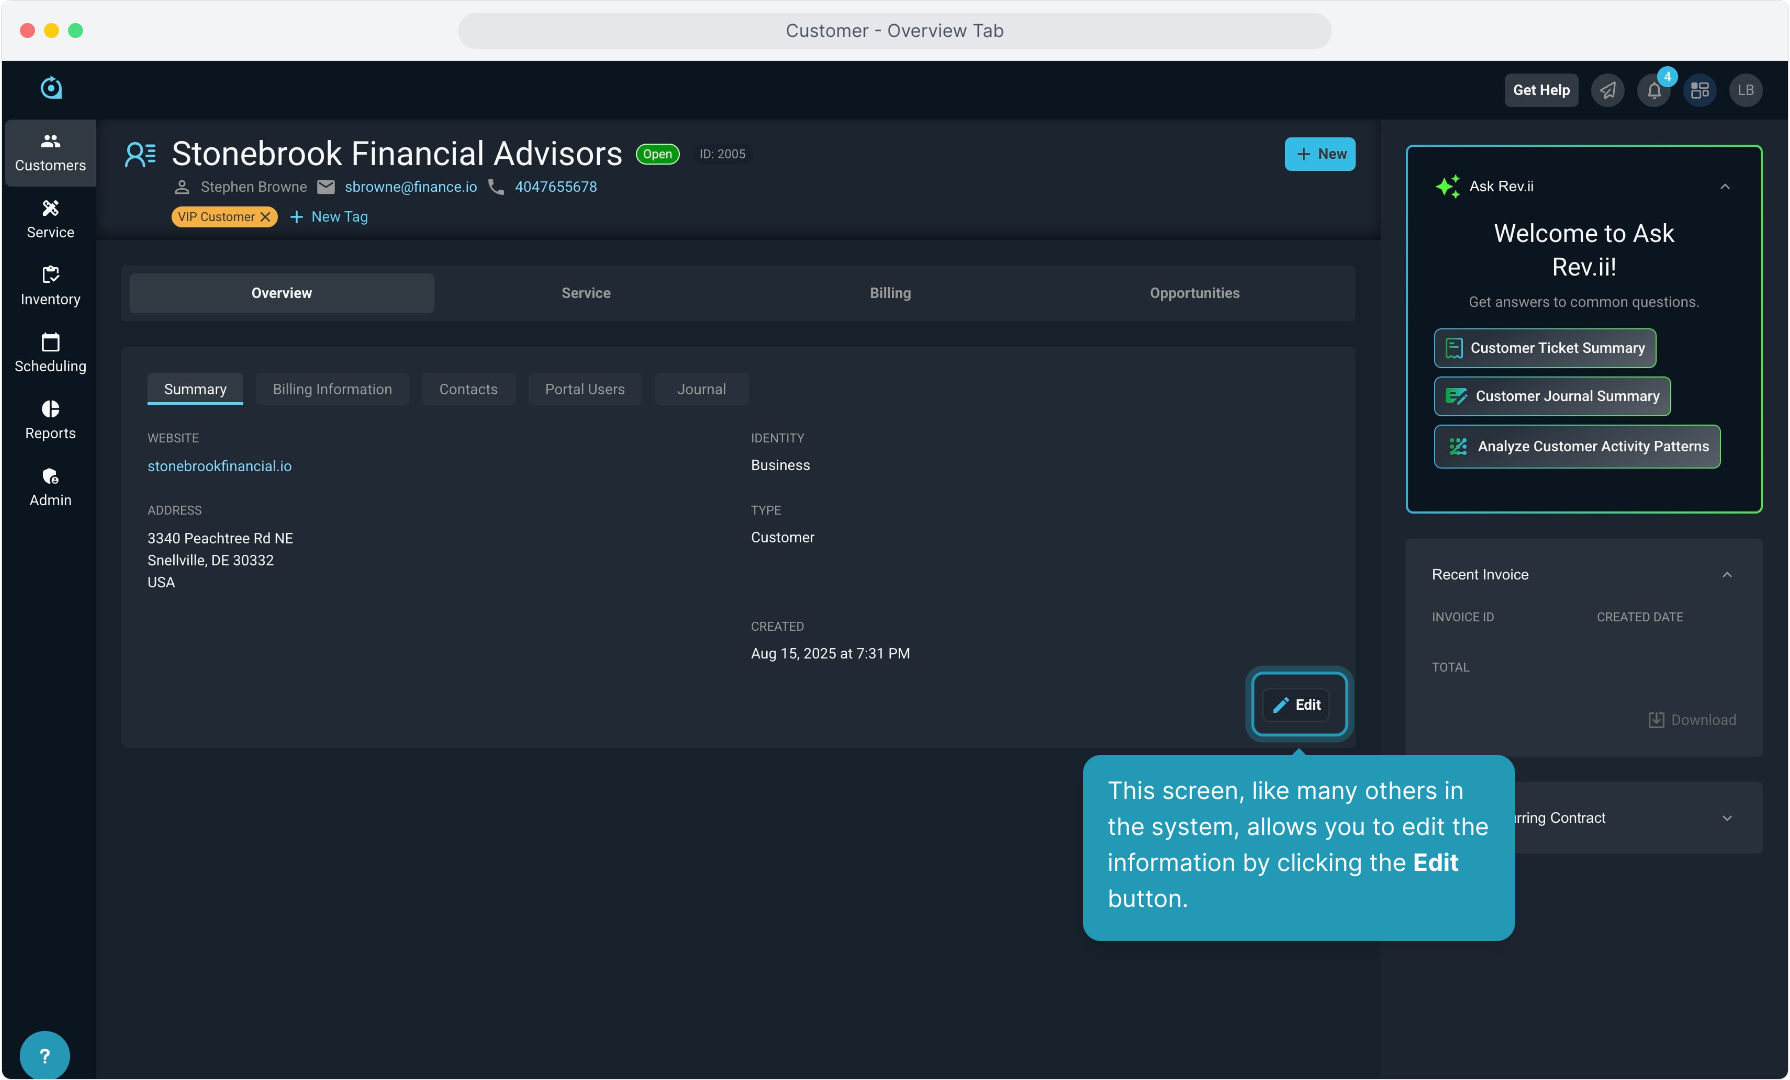
5. This screen, like many others in the system, allows you to edit the information by clicking the Edit button.
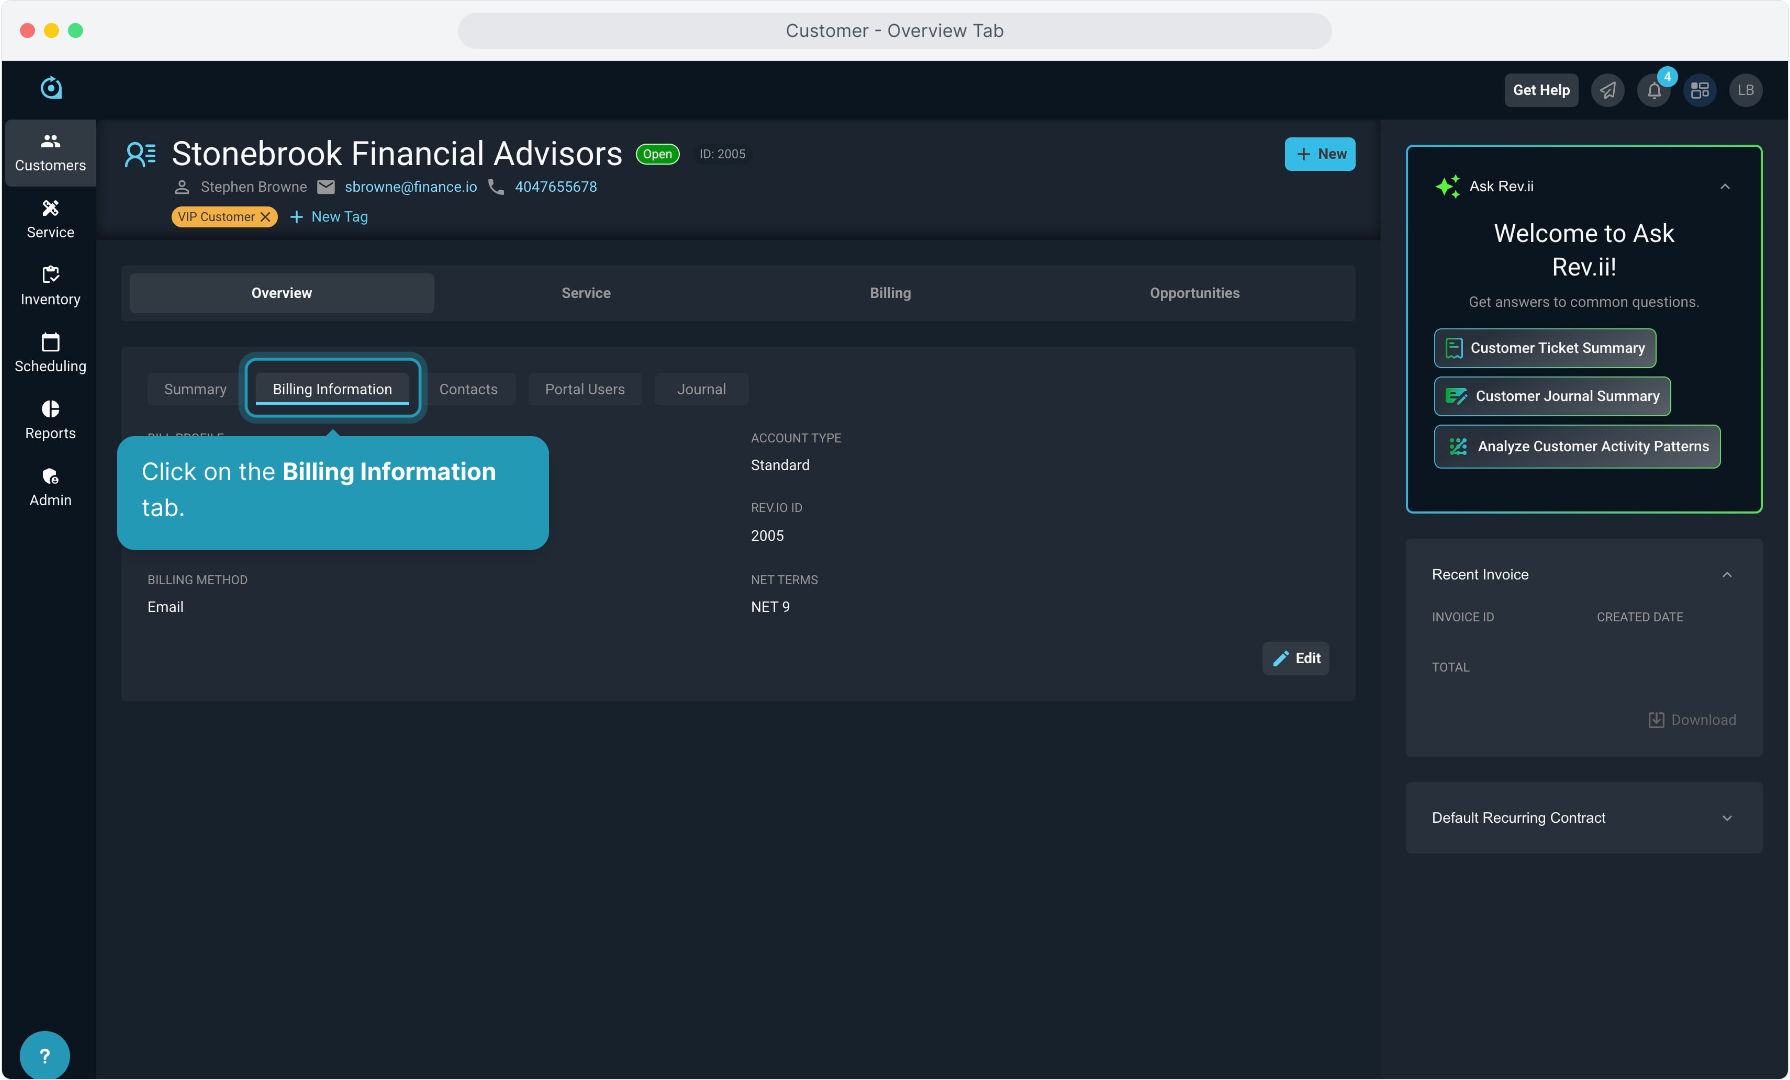
6. Click on the Billing Information tab.
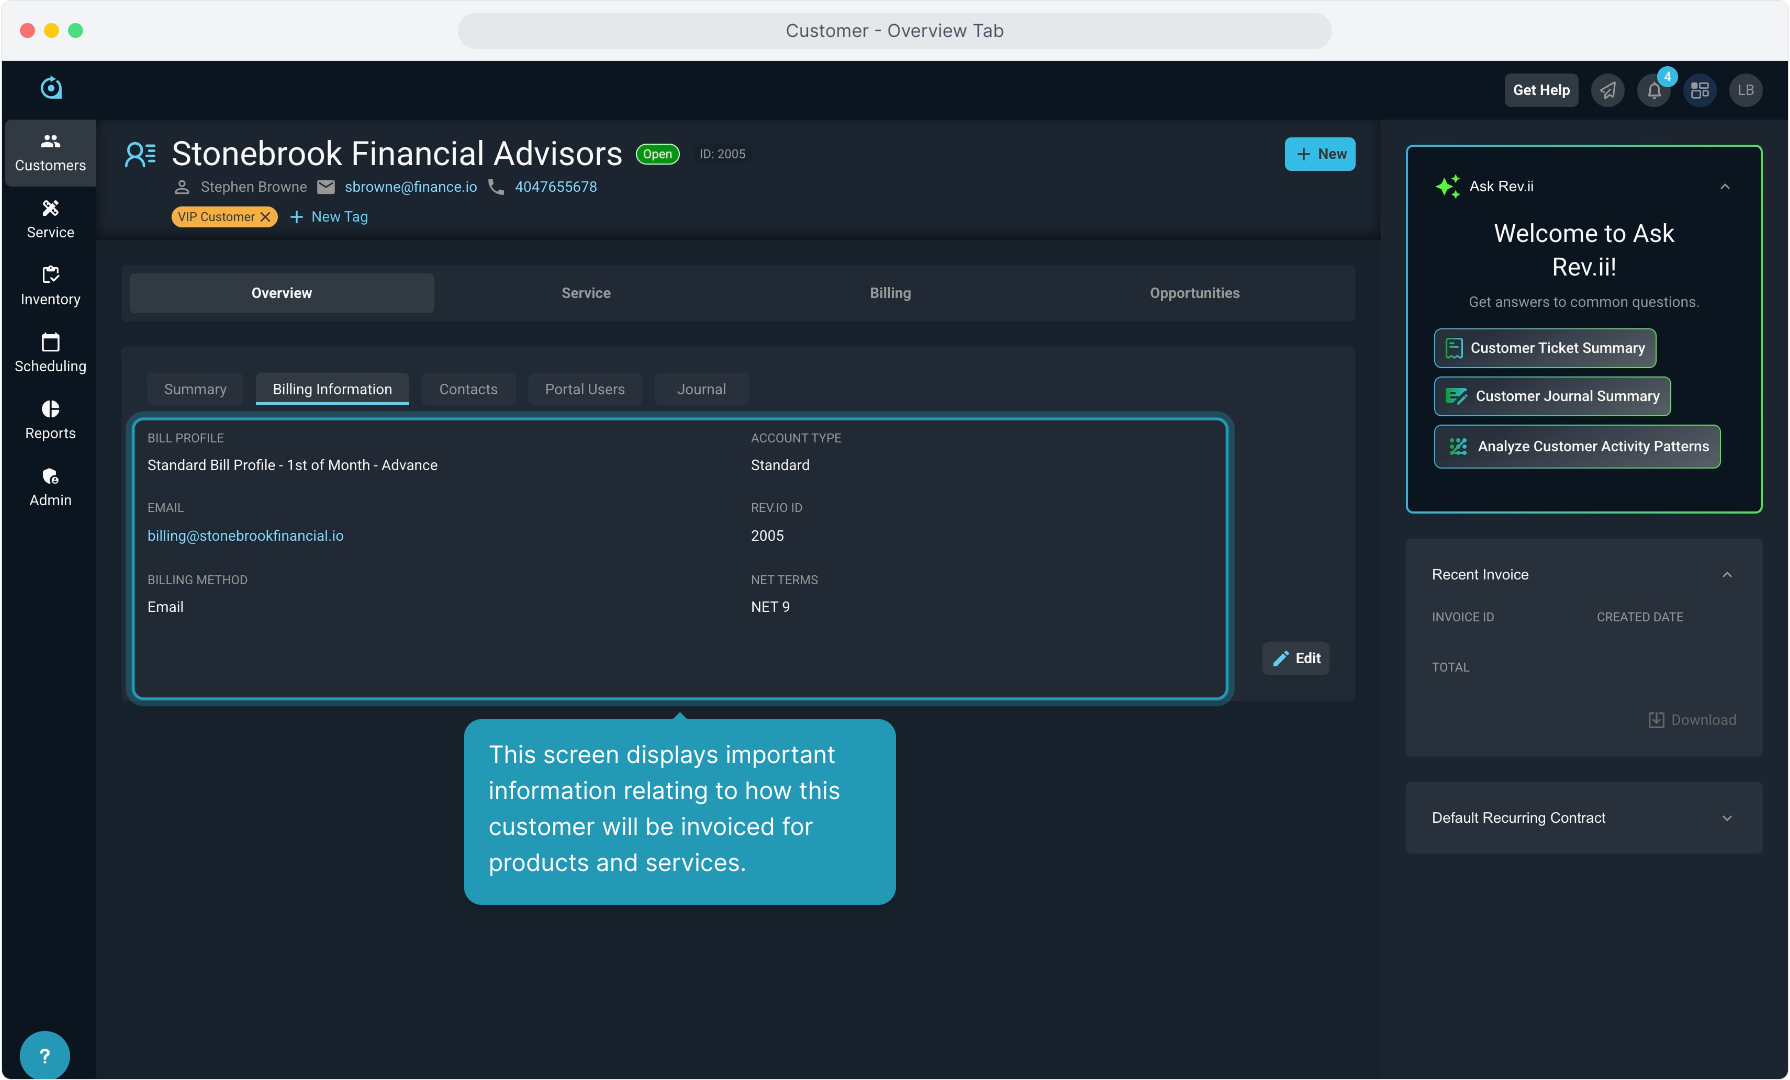
7. This screen displays important information relating to how this customer will be invoiced for products and services.
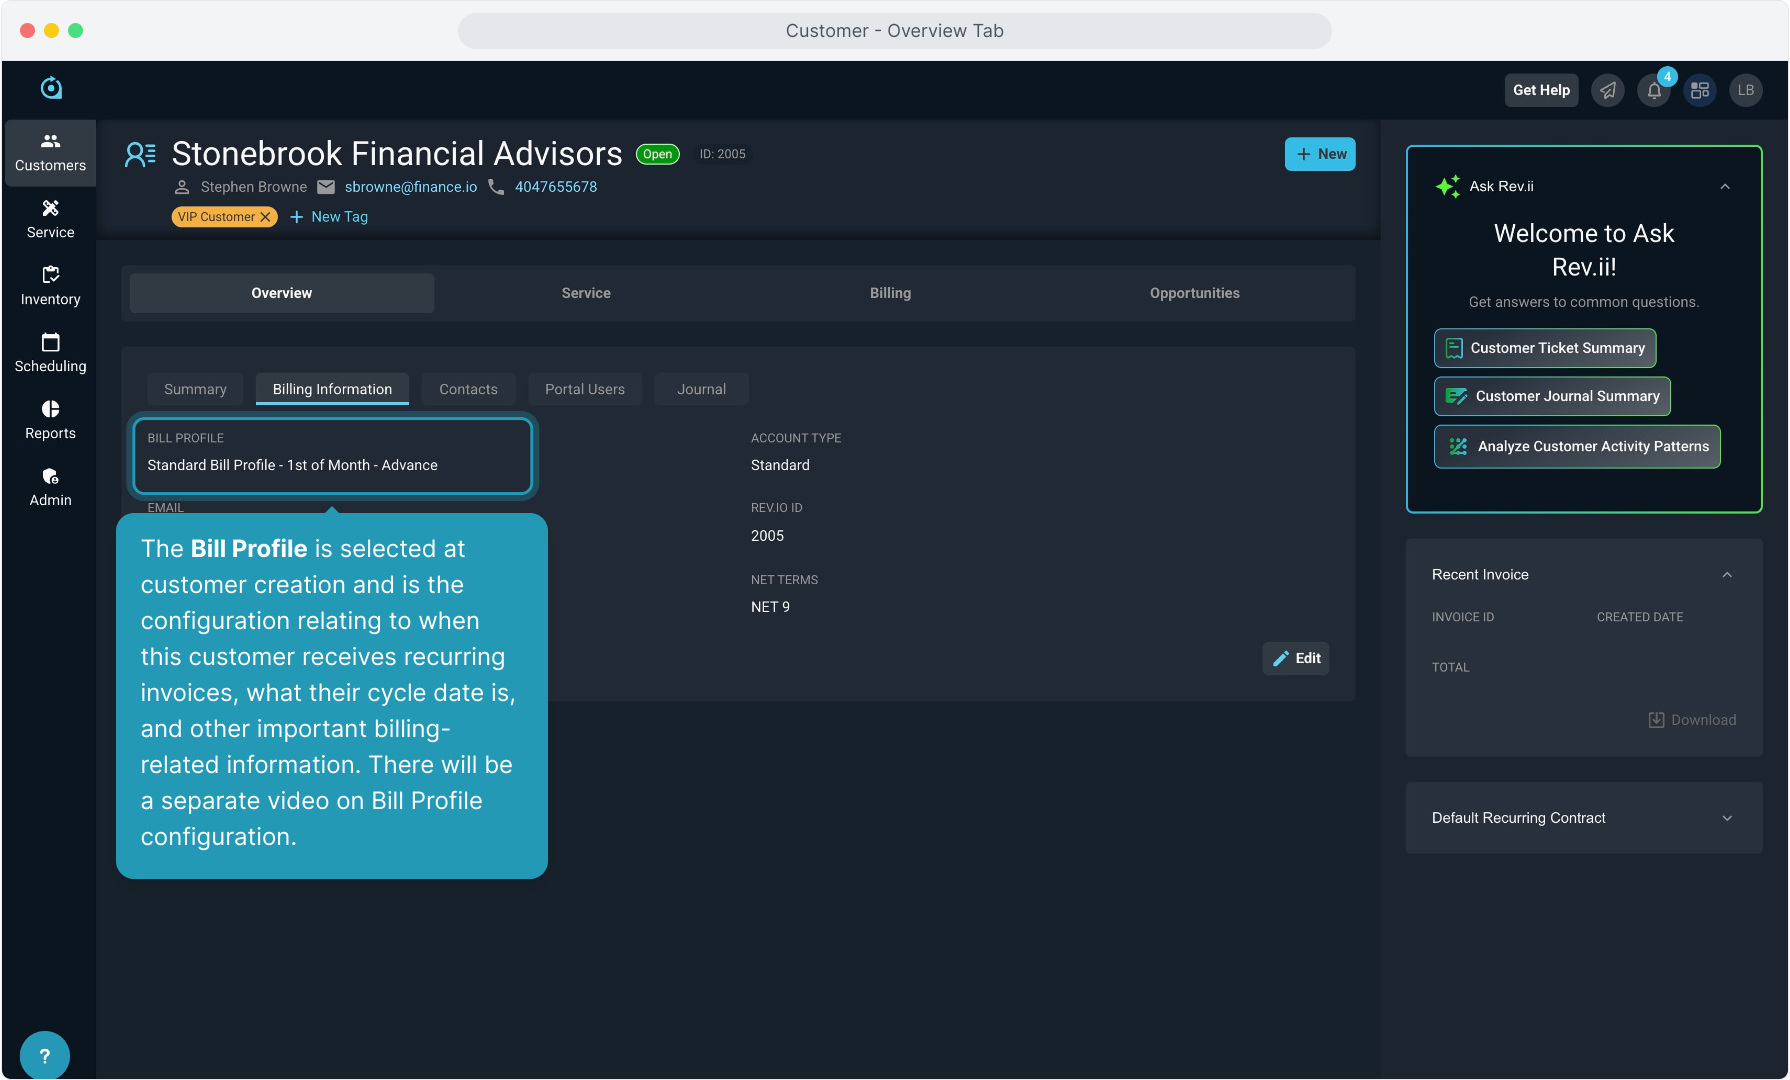
8. The Bill Profile is selected at customer creation and is the configuration relating to when this customer receives recurring invoices, what their cycle date is, and other important billing-related information. There will be a separate video on Bill Profile configuration.
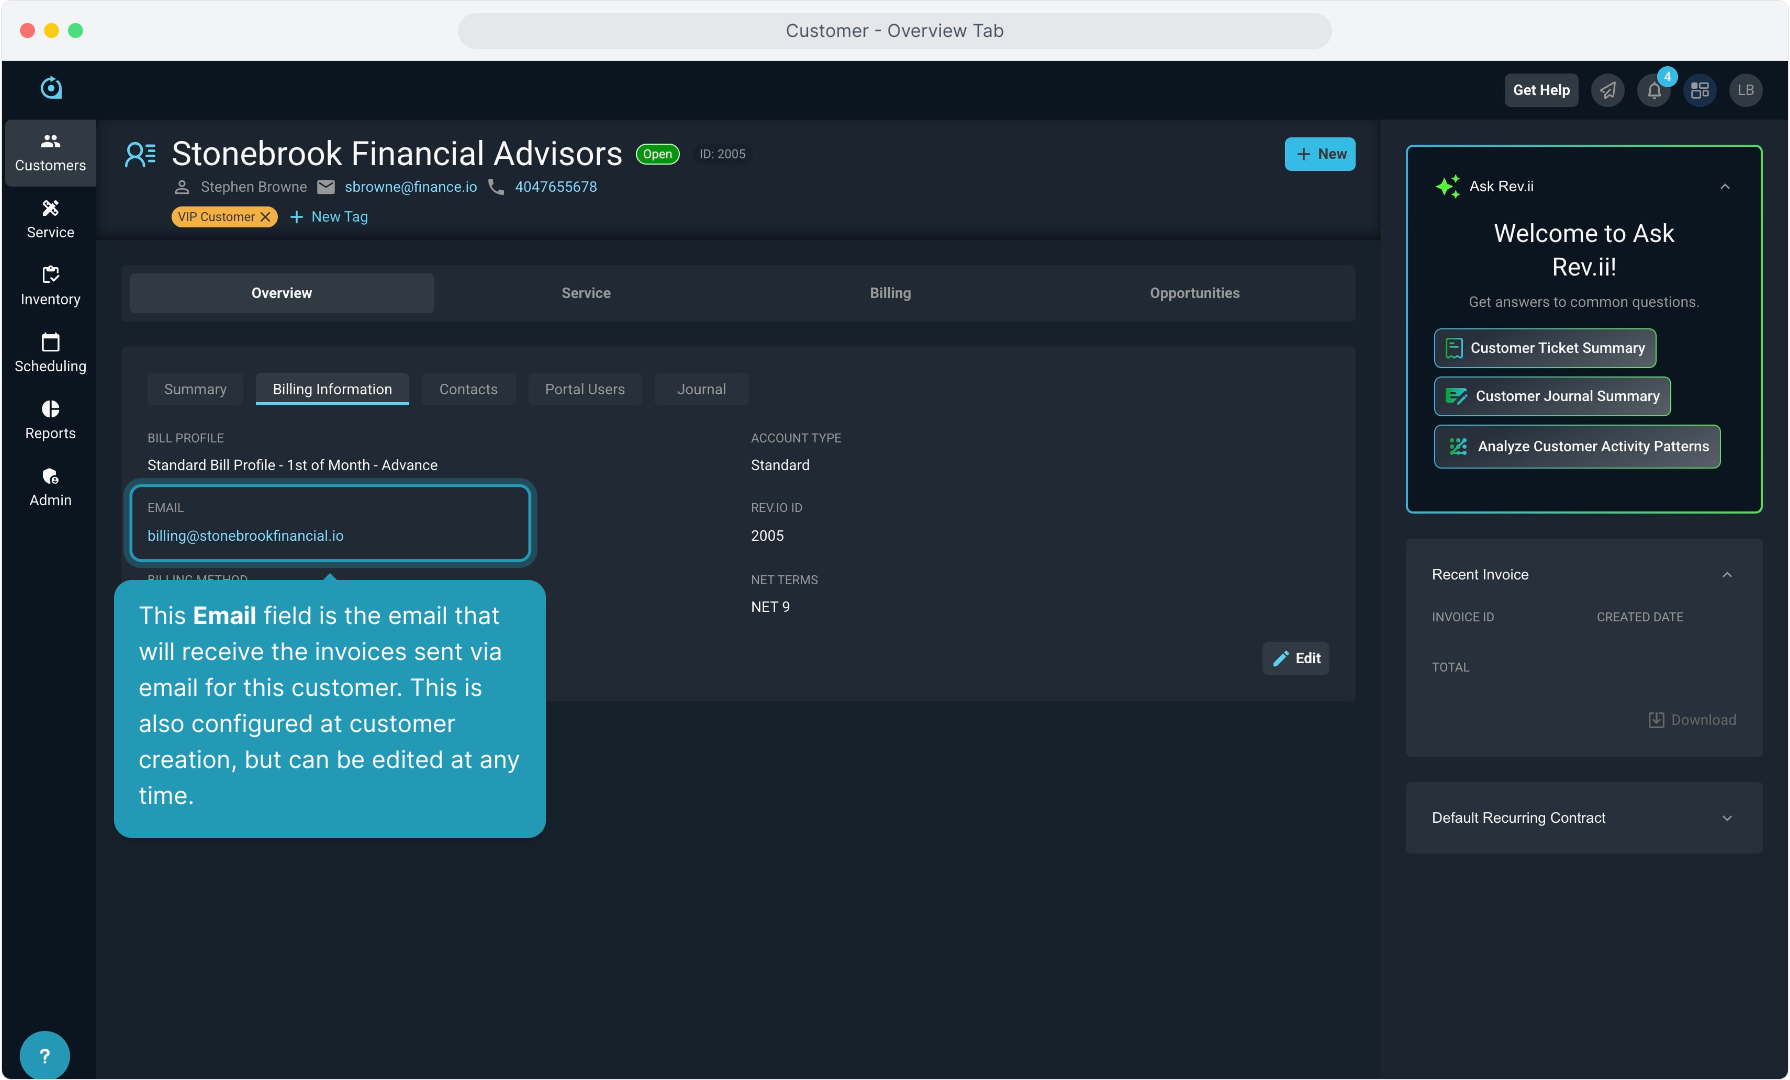
9. This Email field is the email that will receive the invoices sent via email for this customer. This is also configured at customer creation, but can be edited at any time.
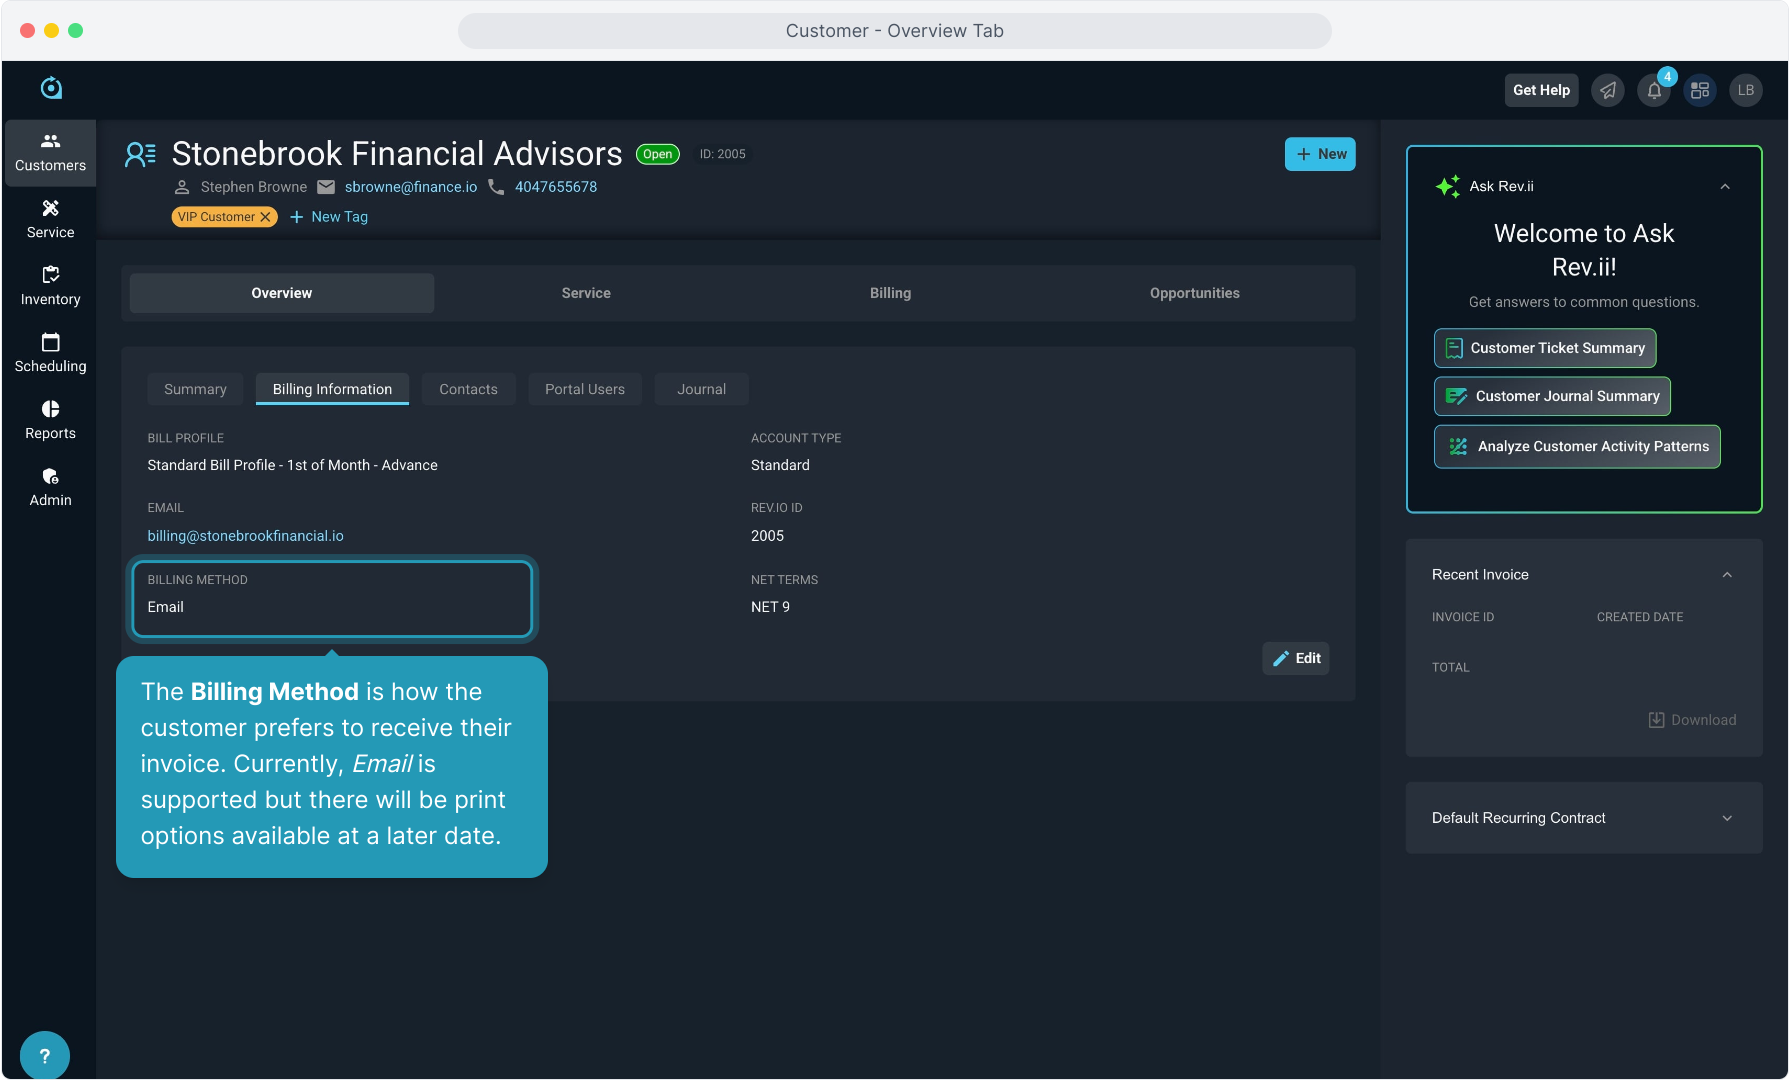
10. The Billing Method is how the customer prefers to receive their invoice. Currently, Email is supported but there will be print options available at a later date.
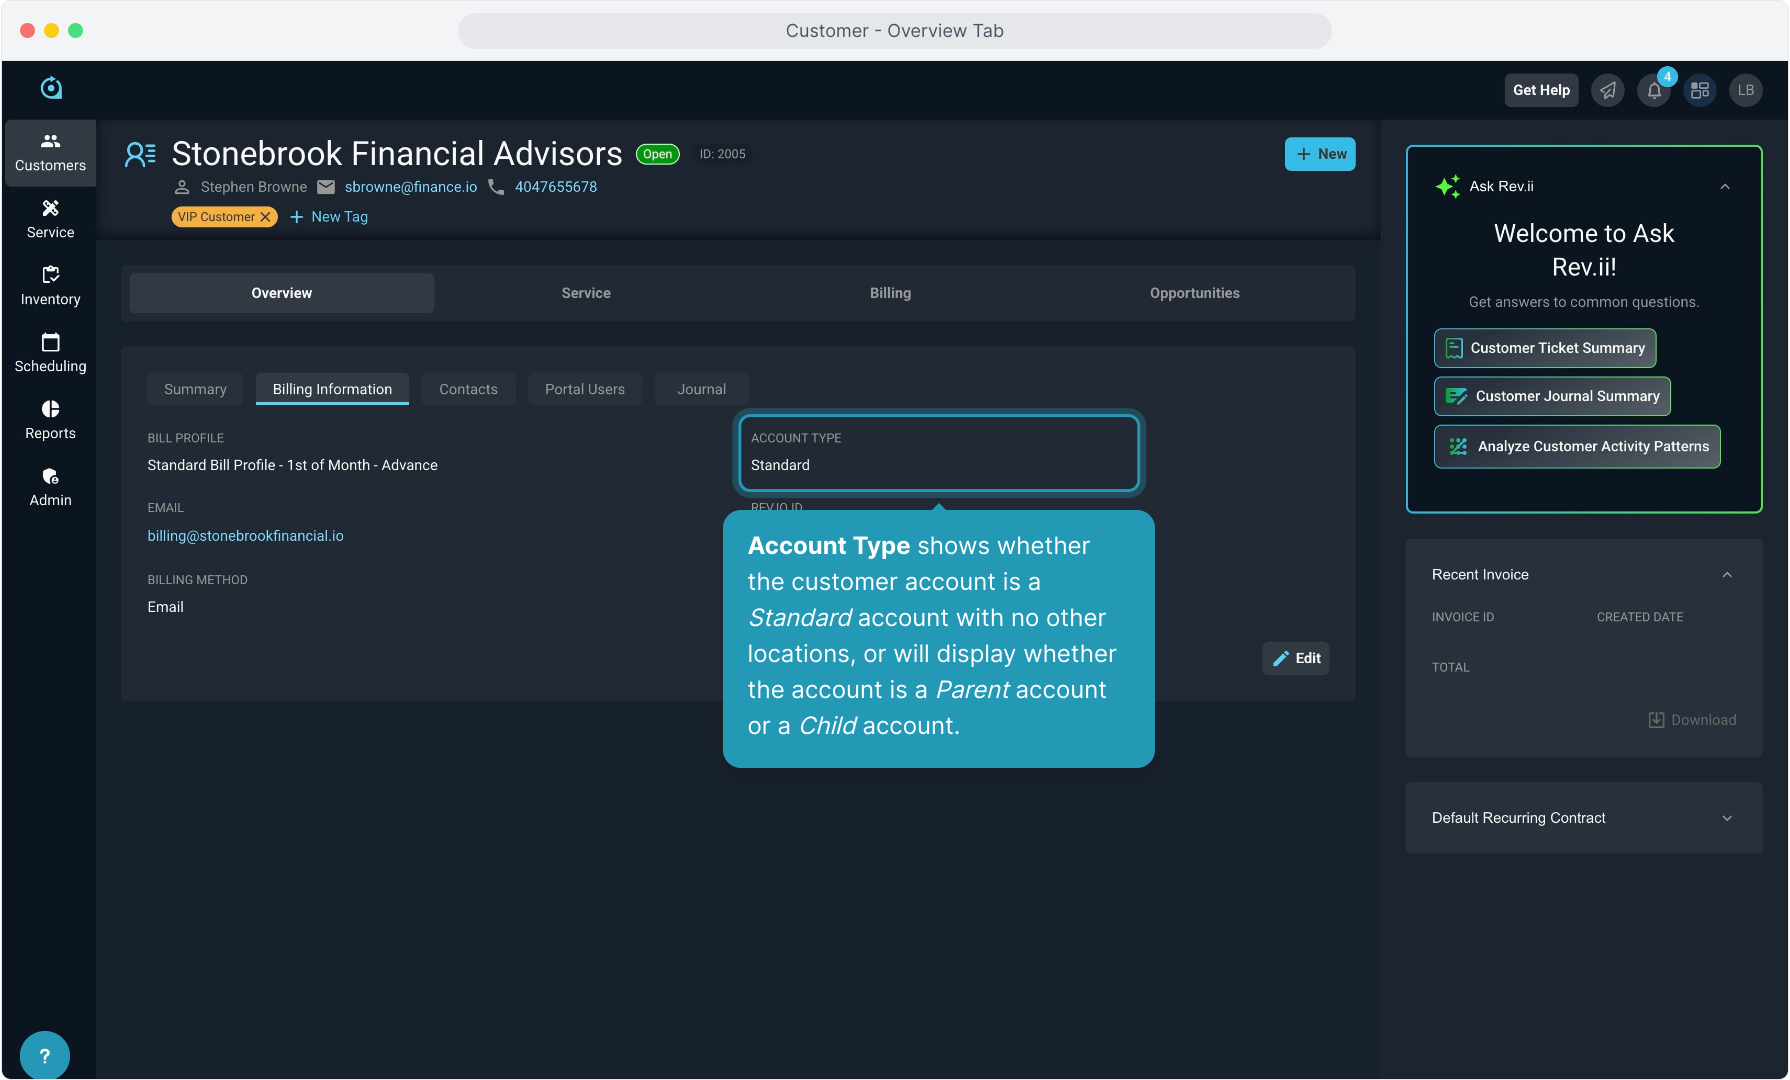
11. Account Type shows whether the customer account is a Standard account with no other locations, or will display whether the account is a Parent account or a Child account.
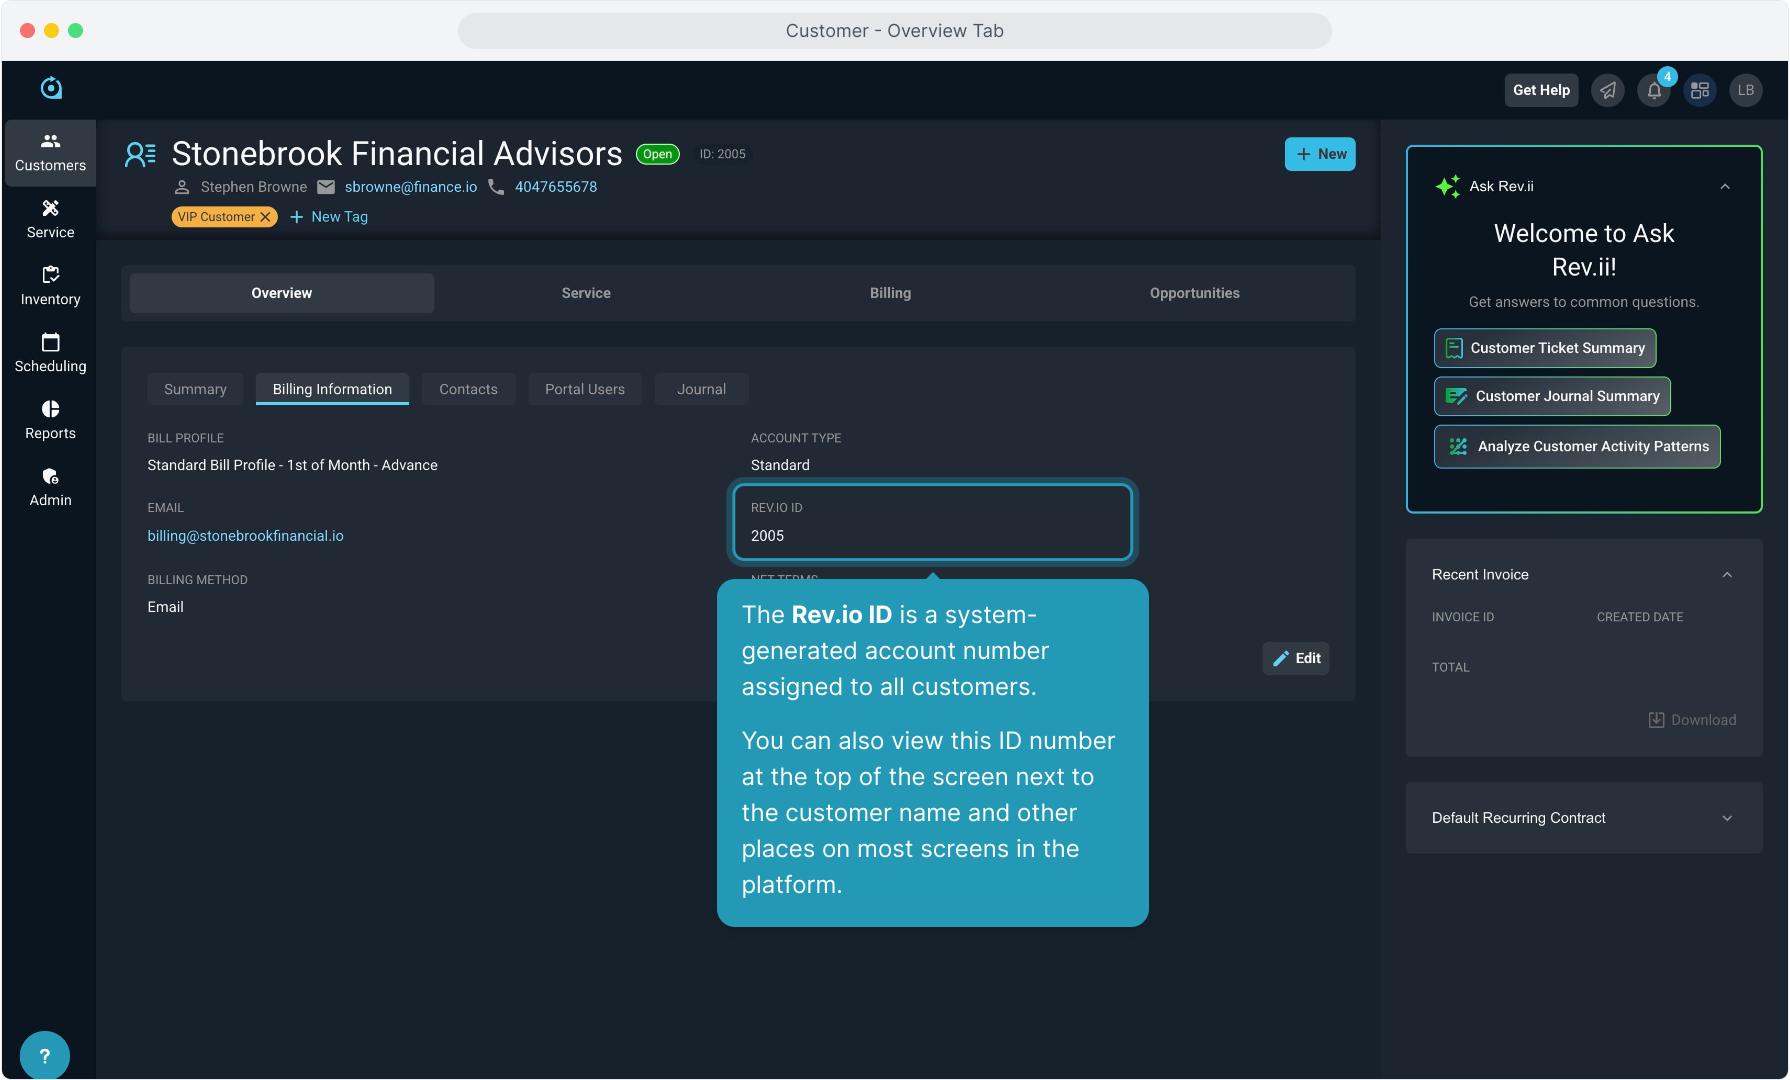
12. The Rev.io ID is a system-generated account number assigned to all customers.
You can also view this ID number at the top of the screen next to the customer name and other places on most screens in the platform.
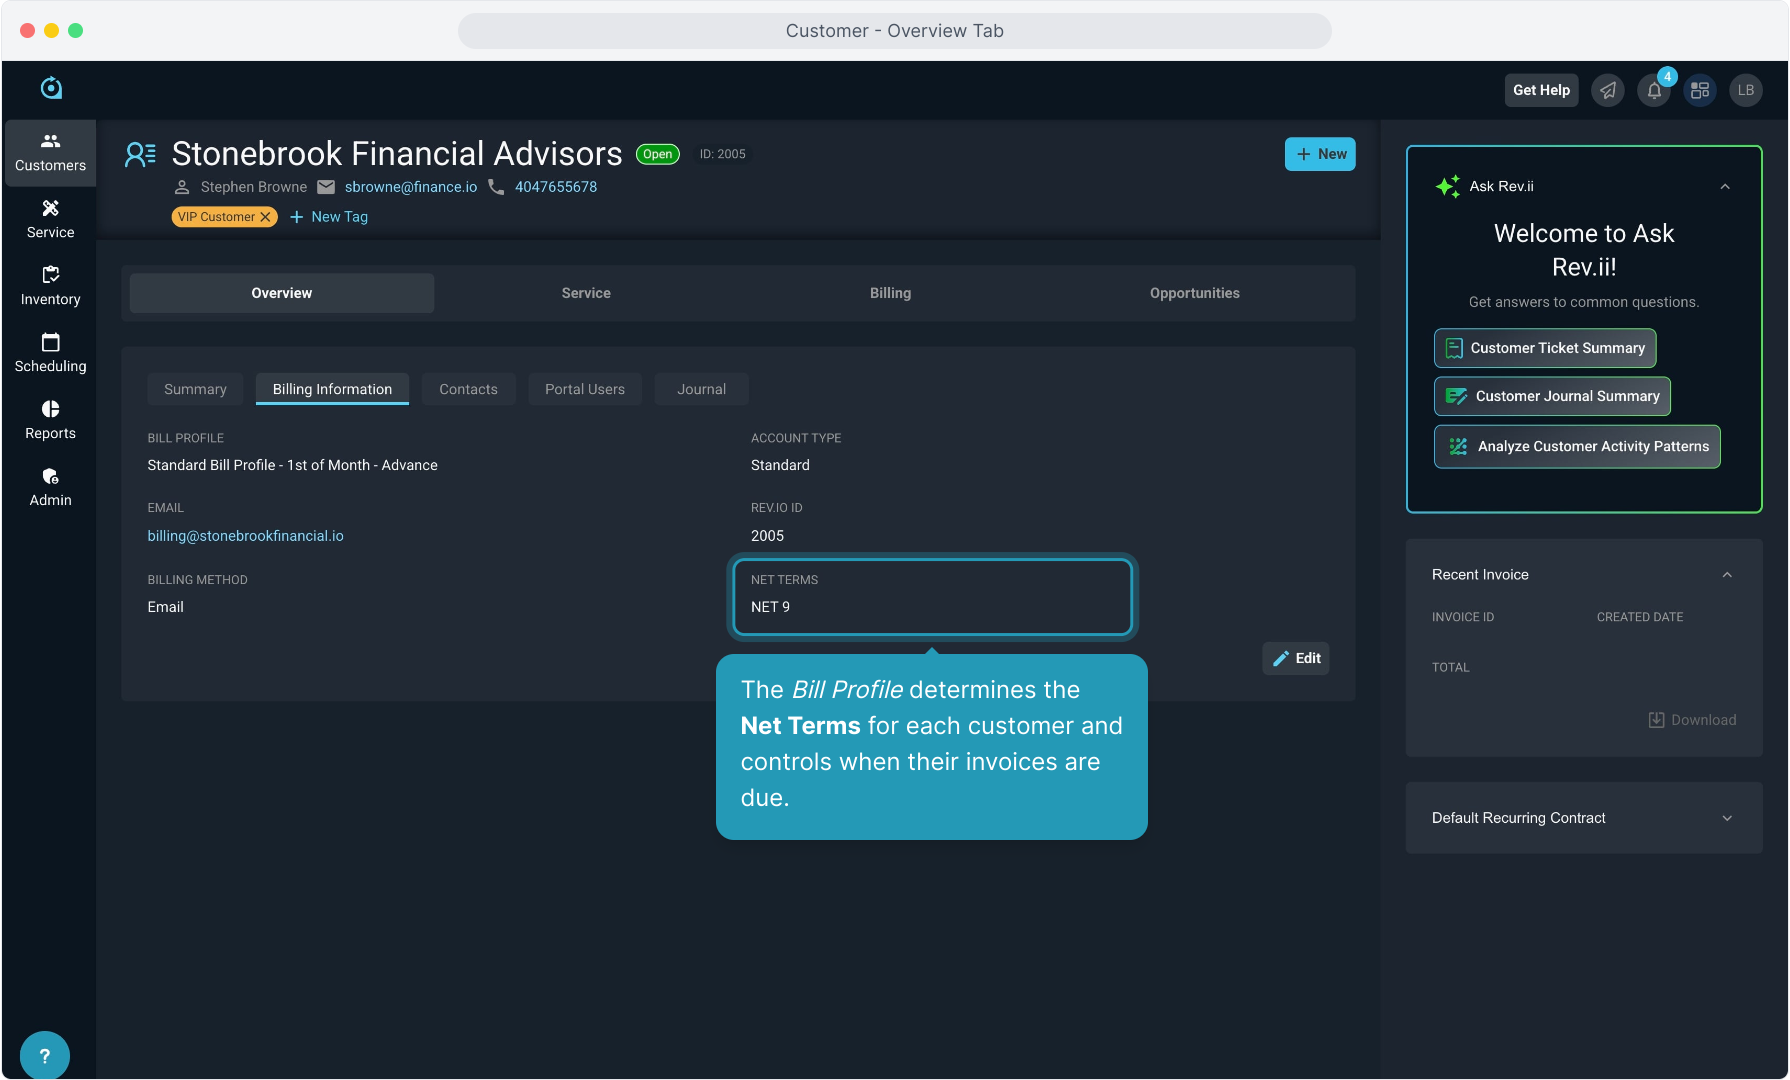
13. The Bill Profile determines the Net Terms for each customer and controls when their invoices are due.
14. Clicking the Contacts tab will display any contacts associated with the account.
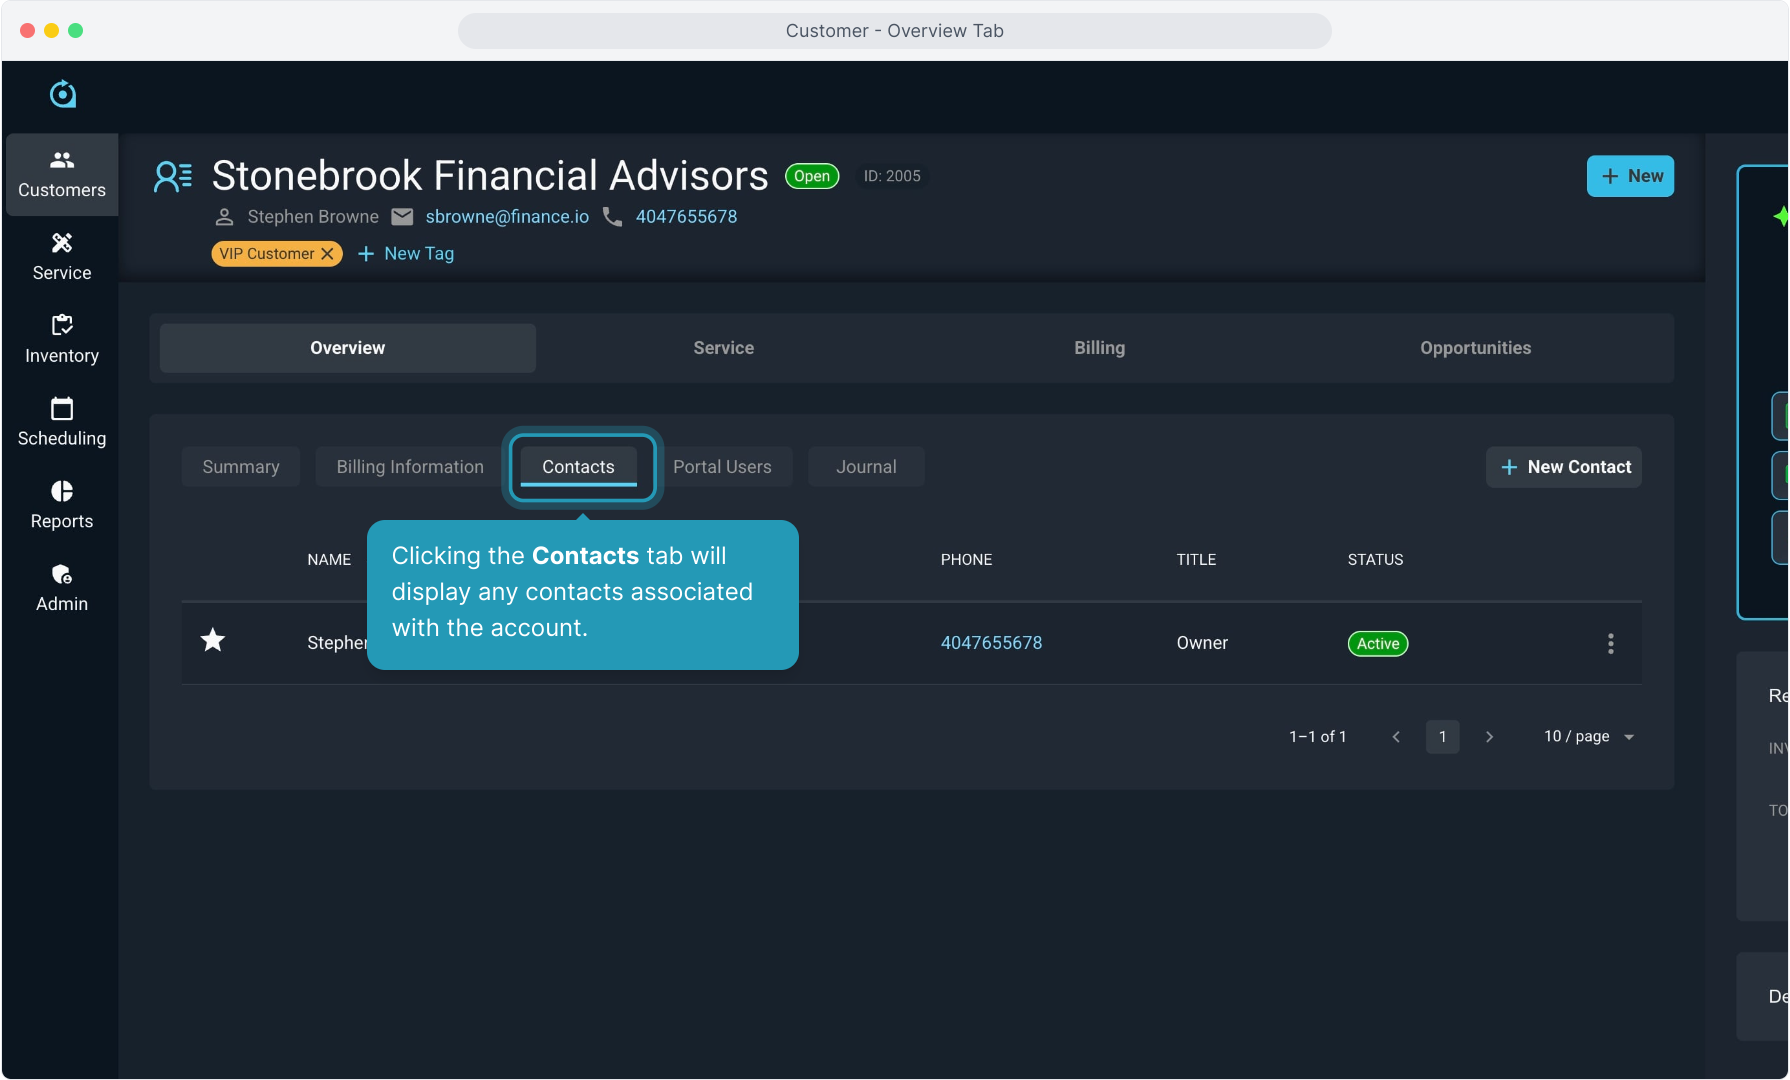
15. Primary Contacts are denoted with the star icon on the left of that contact.
You can edit a contact by clicking the 3 dot icon at the right side of the row and selecting the Edit option, or you can add a new contact by clicking the New Contact button on this screen.

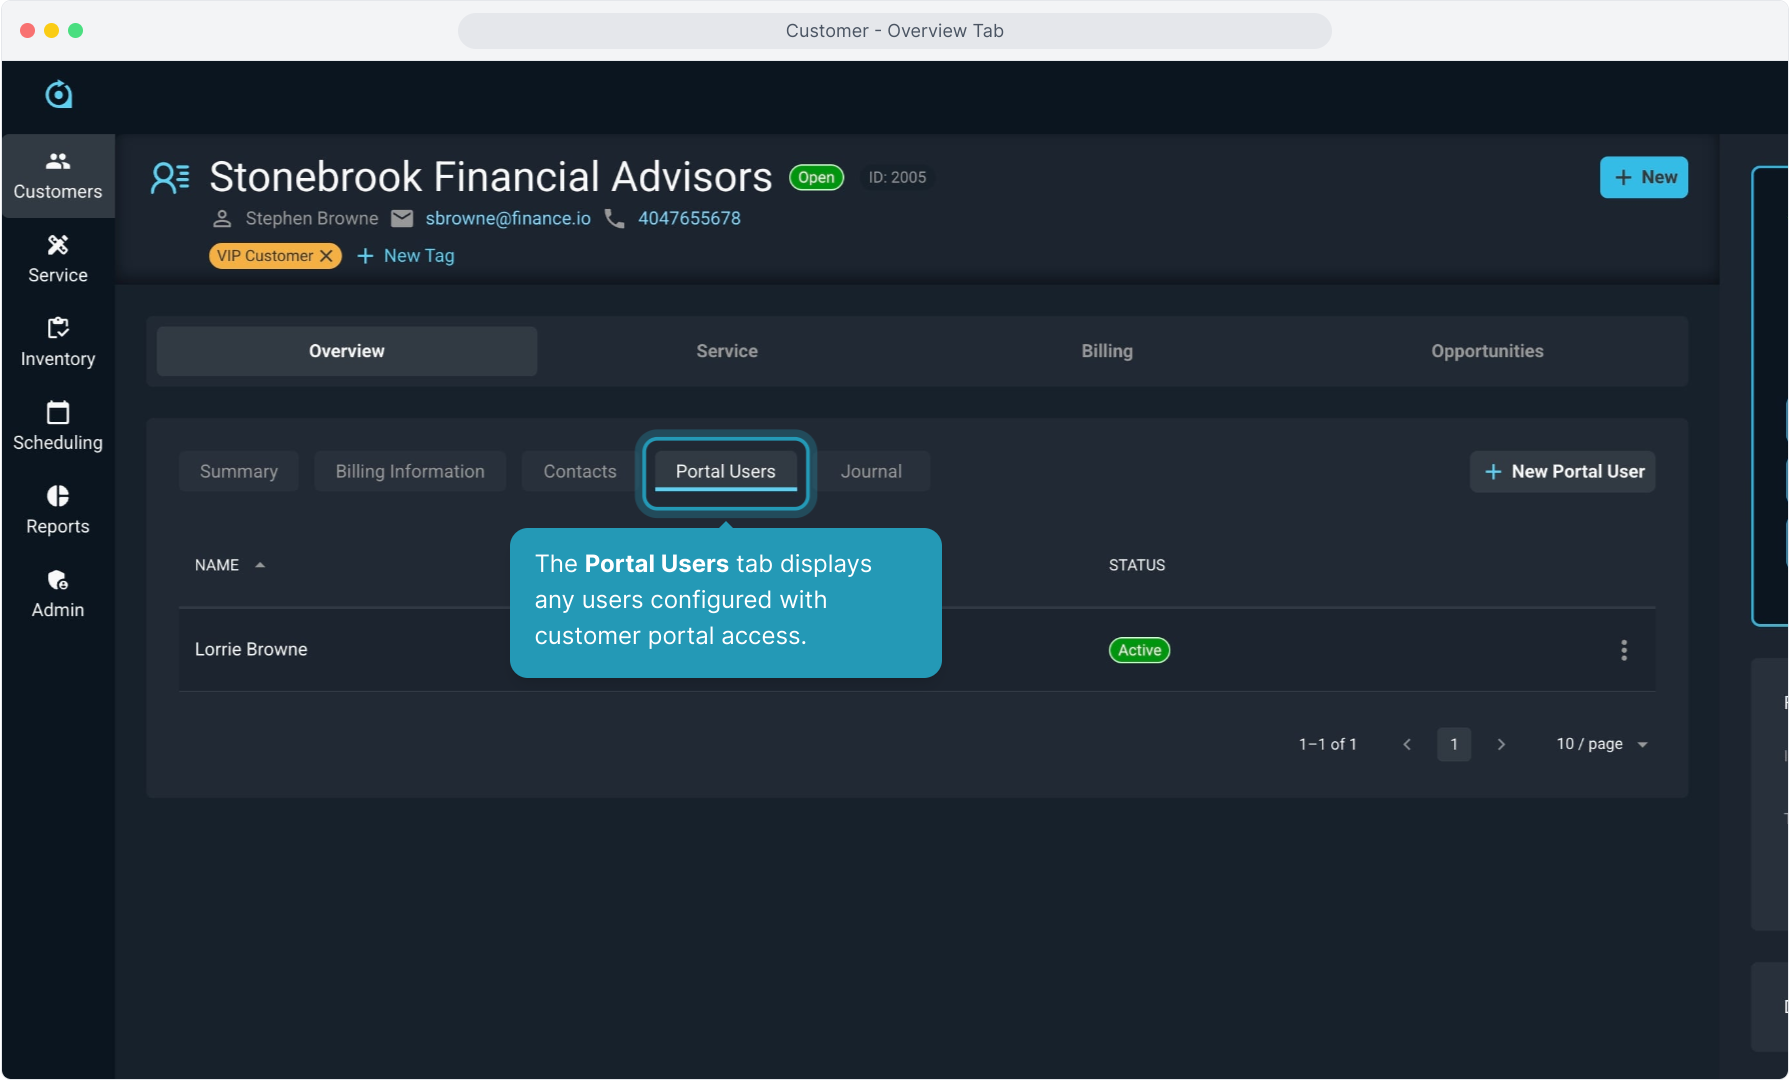
16. The Portal Users tab displays any users configured with customer portal access.
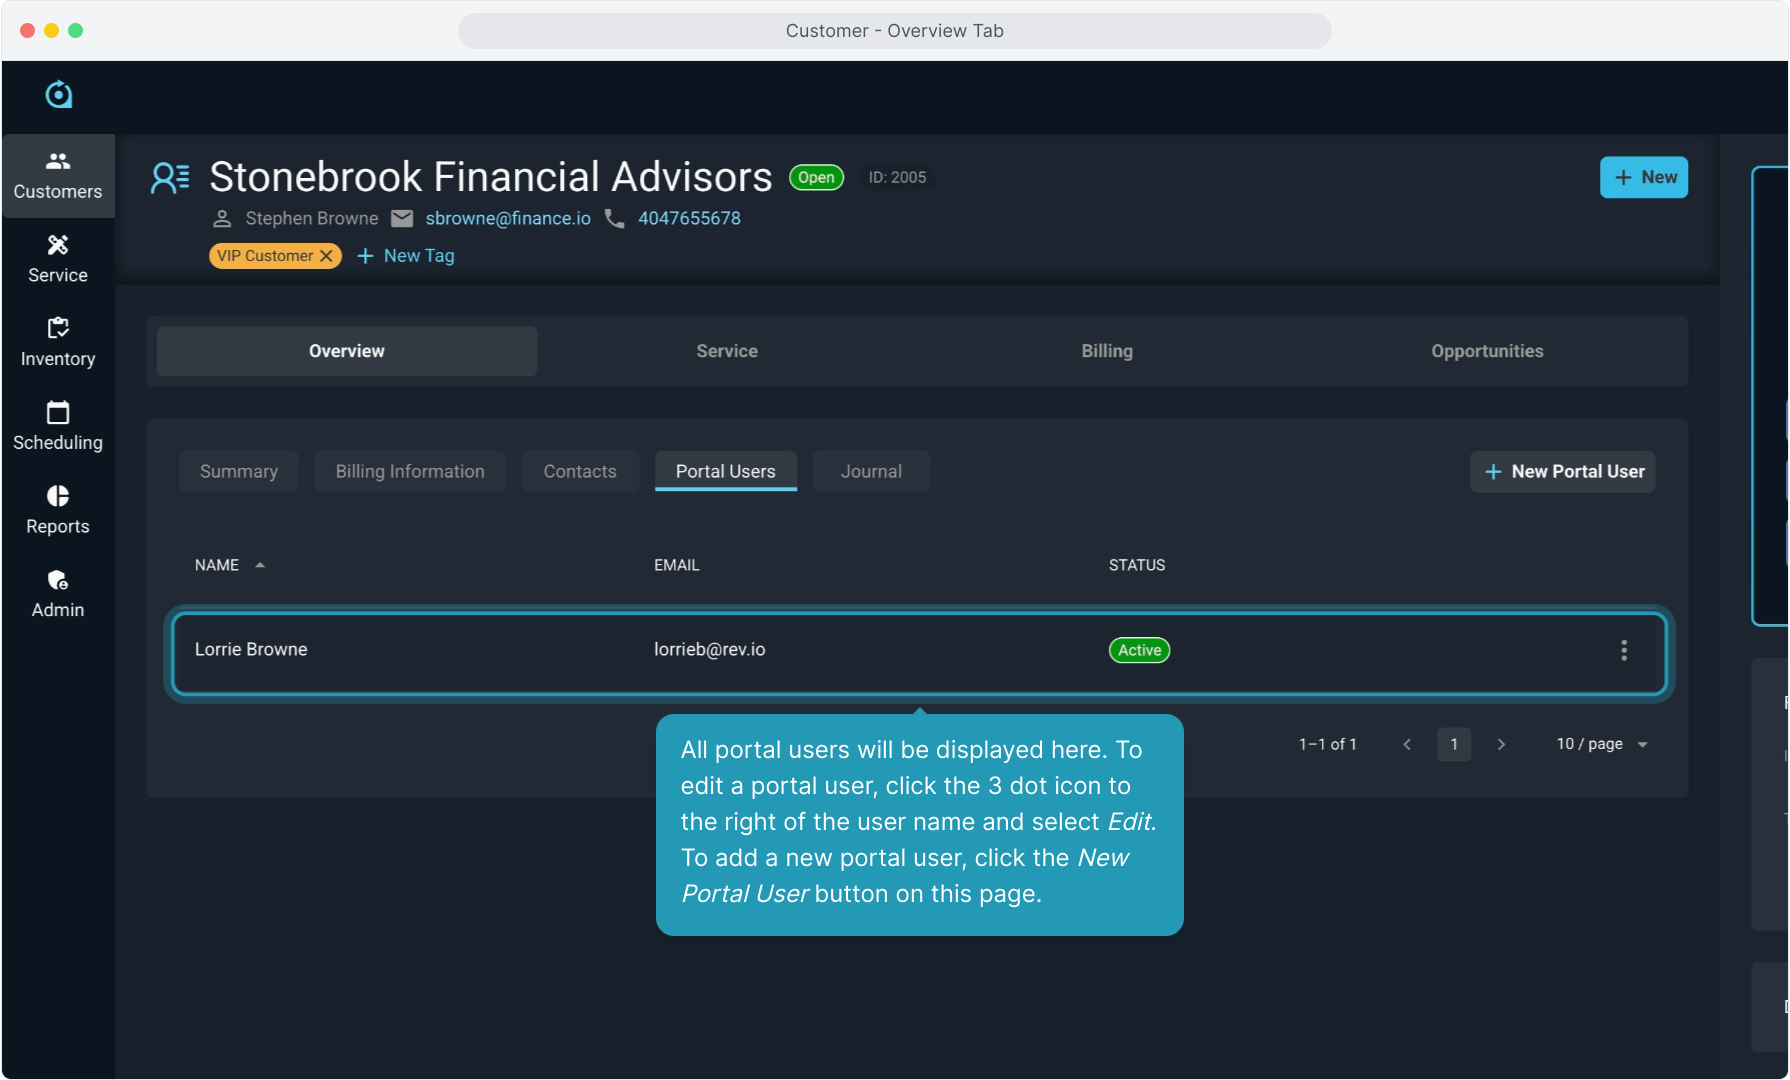
17. All portal users will be displayed here. To edit a portal user, click the 3 dot icon to the right of the user name and select Edit. To add a new portal user, click the New Portal User button on this page.
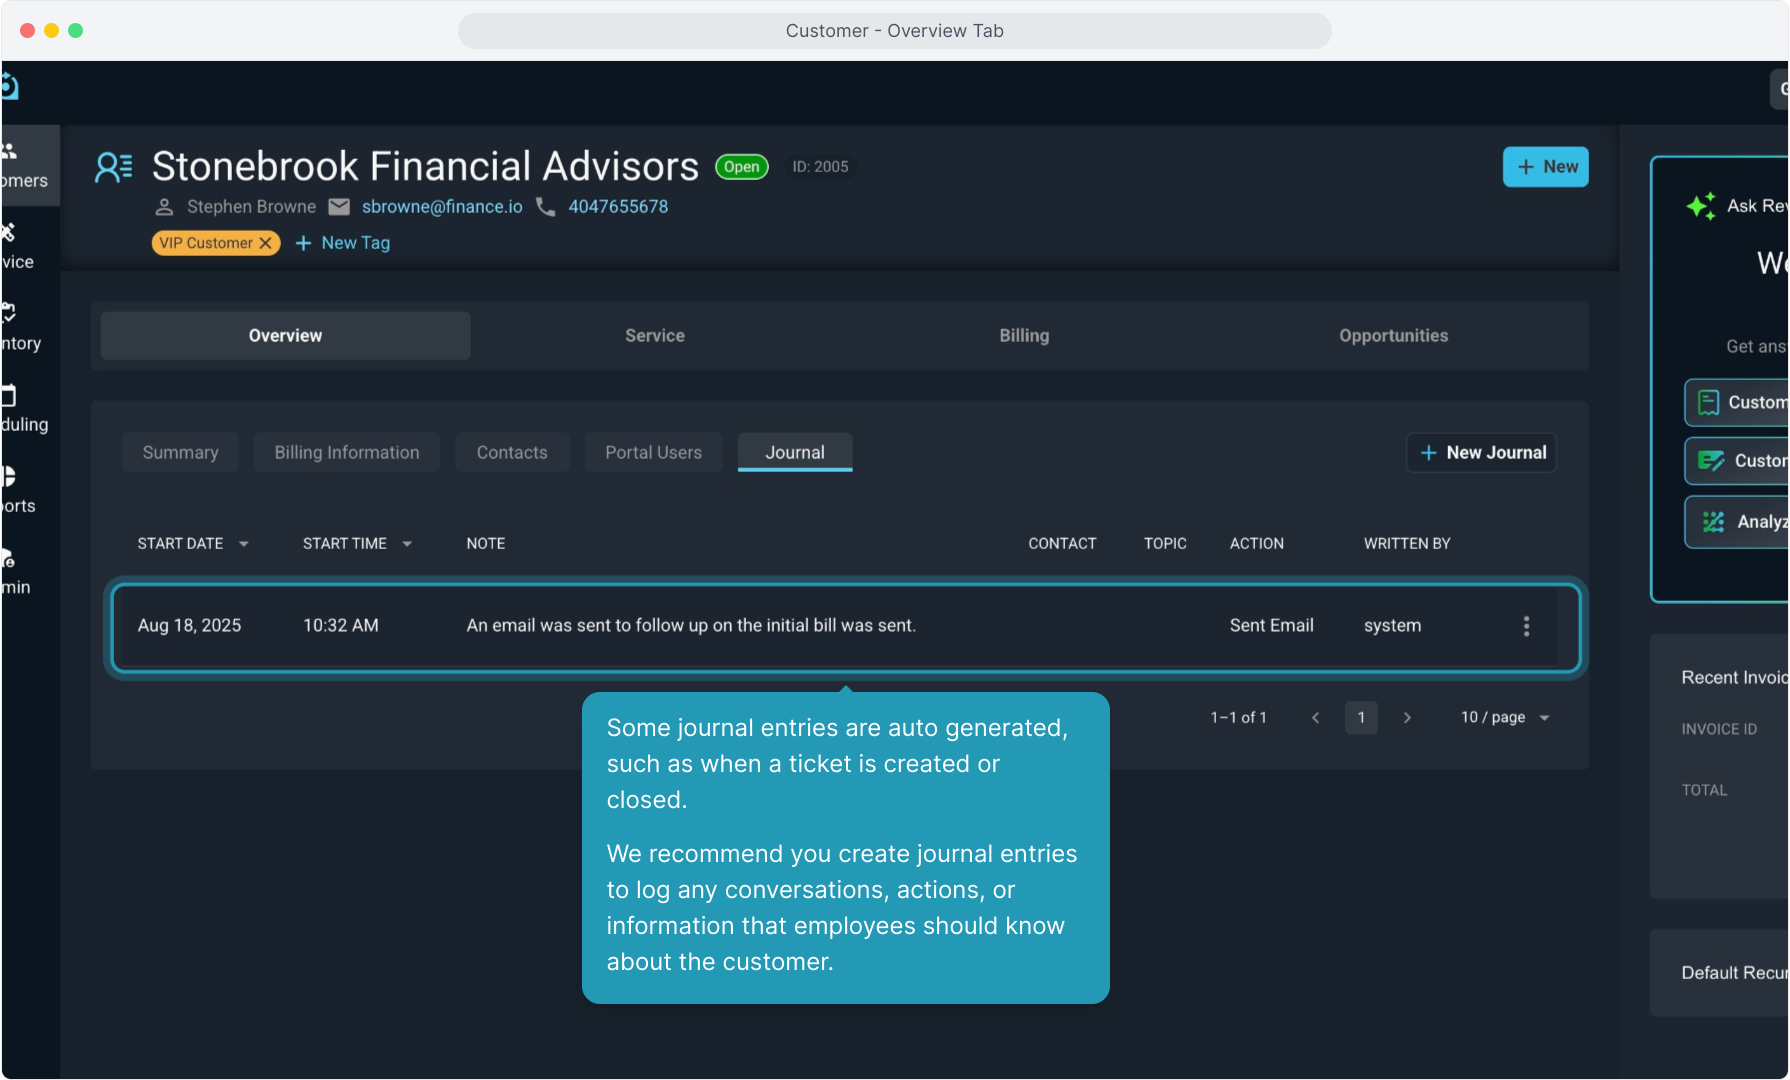
18. To view the customer journal, click the Journal tab. The journal tracks the history of your interactions with the customer.
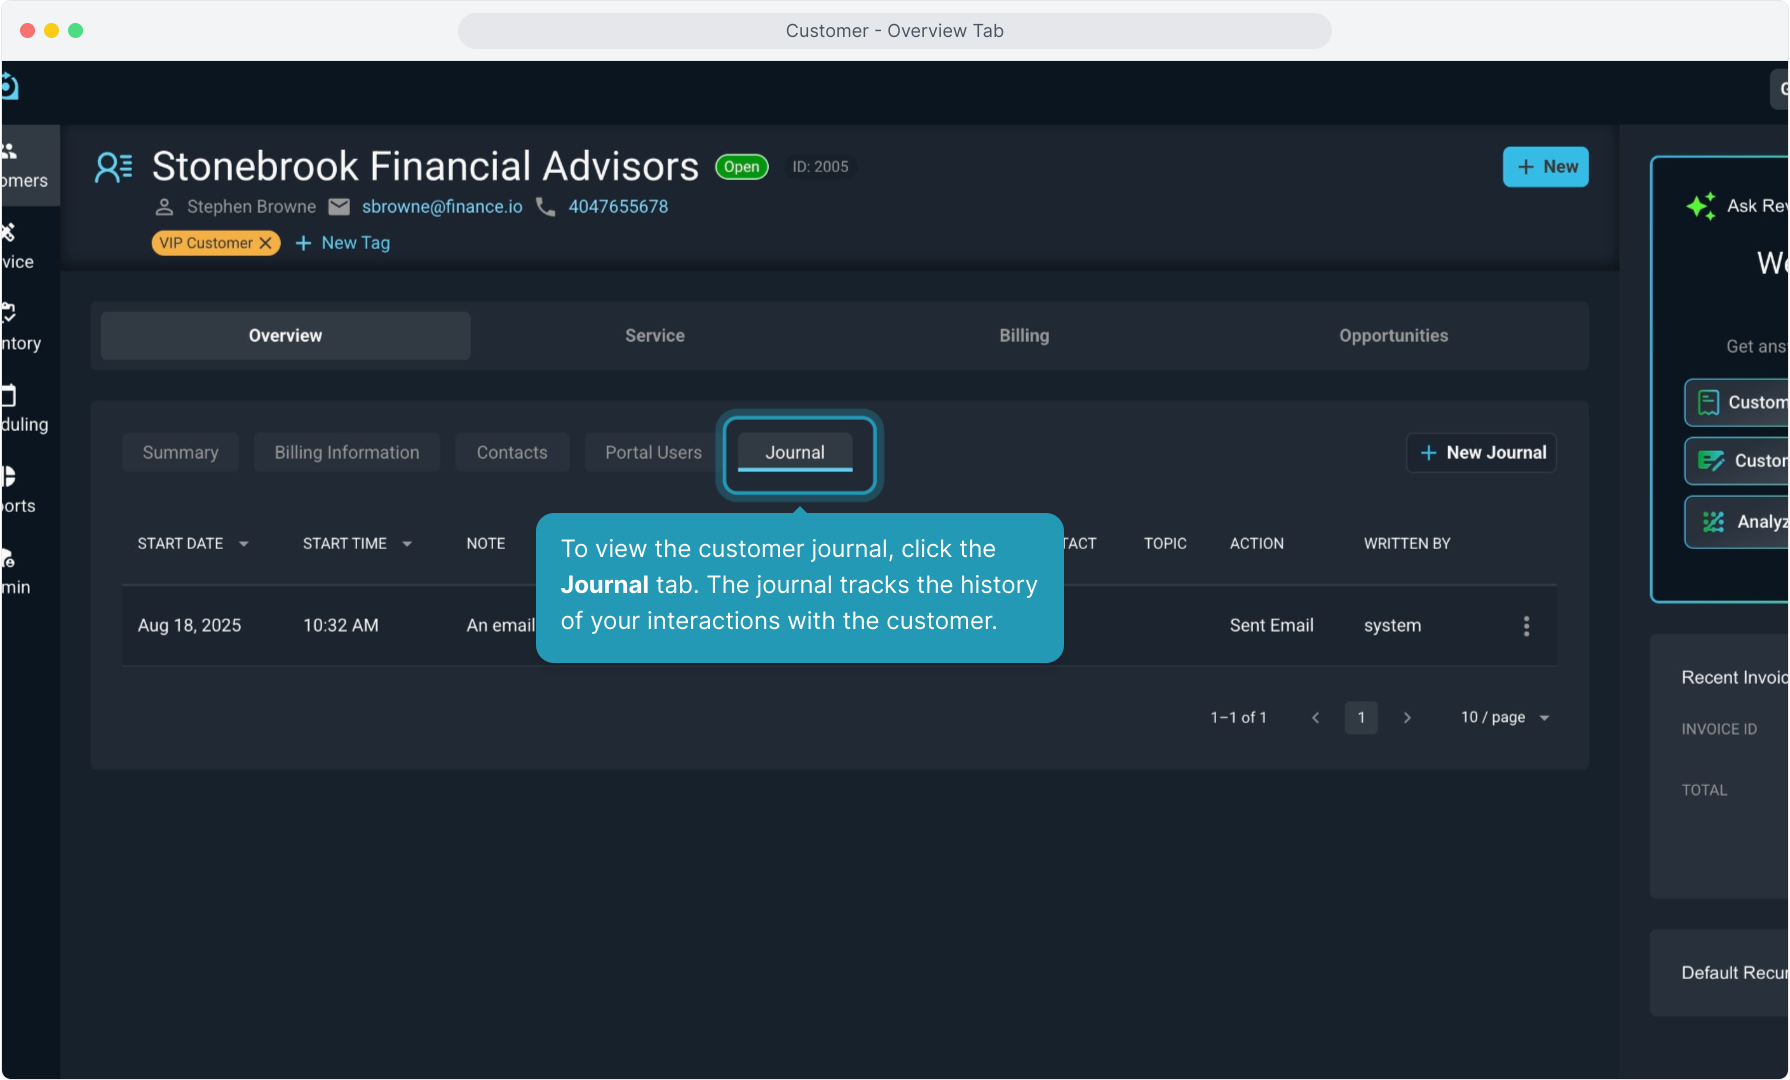
19. Some journal entries are auto generated, such as when a ticket is created or closed.
We recommend you create journal entries to log any conversations, actions, or information that employees should know about the customer.
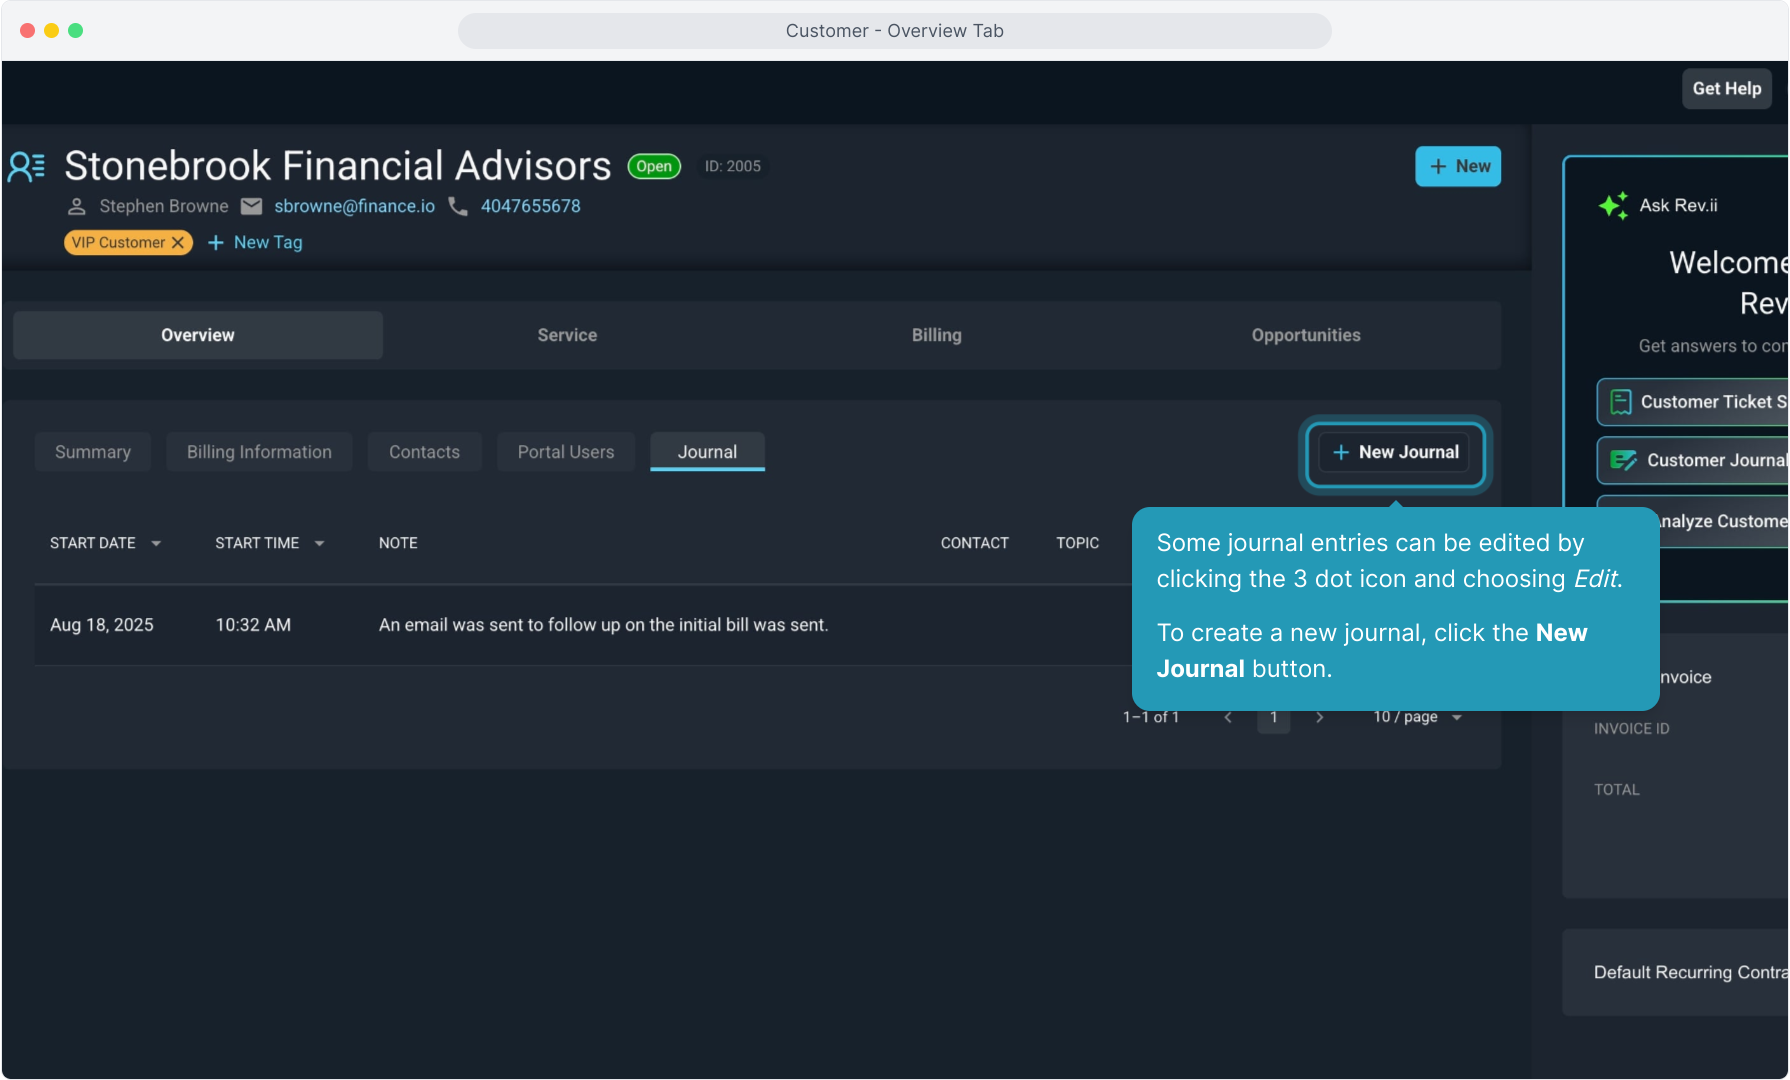
20. Some journal entries can be edited by clicking the 3 dot icon and choosing Edit.
To create a new journal, click the New Journal button.
21. Complete the New Journal Note screen, making sure to complete any required fields denoted by the small asterisks.
For the Note field, once you type your information, select the Rev.iize button to get an option for some AI-powered revisions to your note. You can always, accept, modify, or reject the Rev.iize content after it is generated.
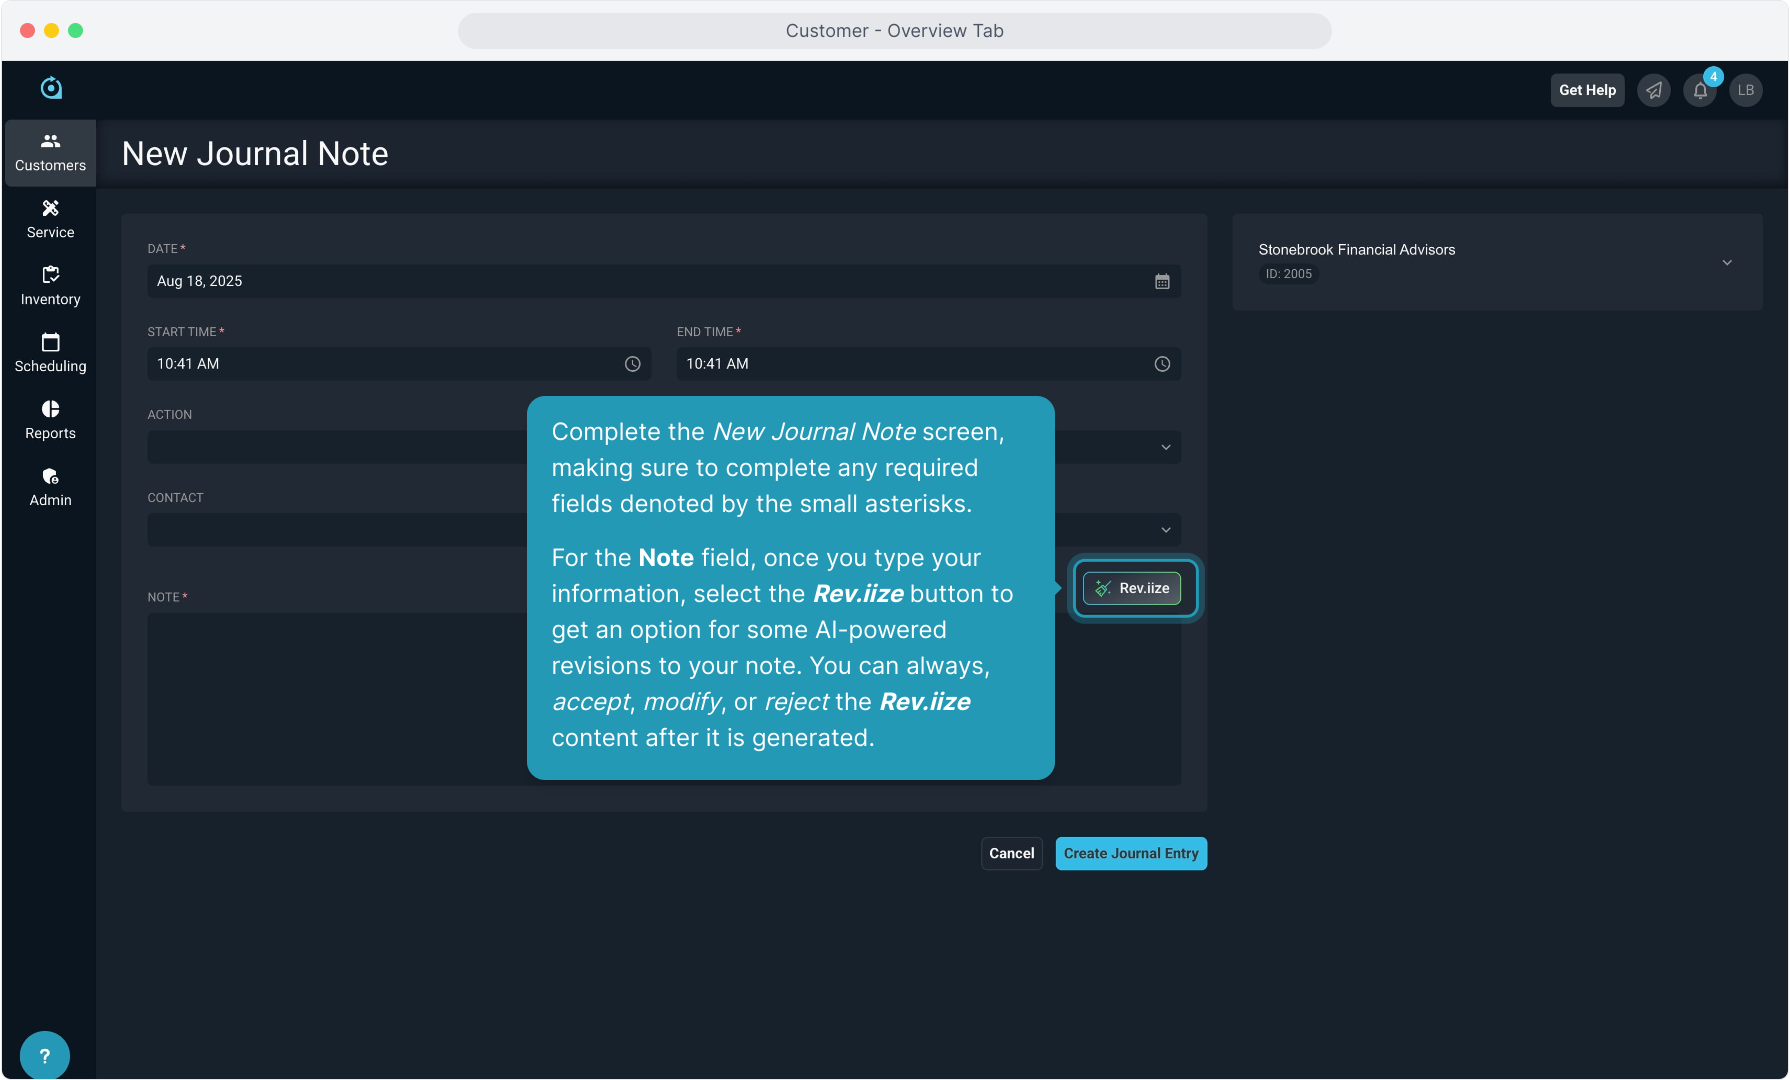
22. When finished, click the Create Journal Entry button to save the note.
