How To Guide: Creating and Reviewing an Agreement
1. Introduction
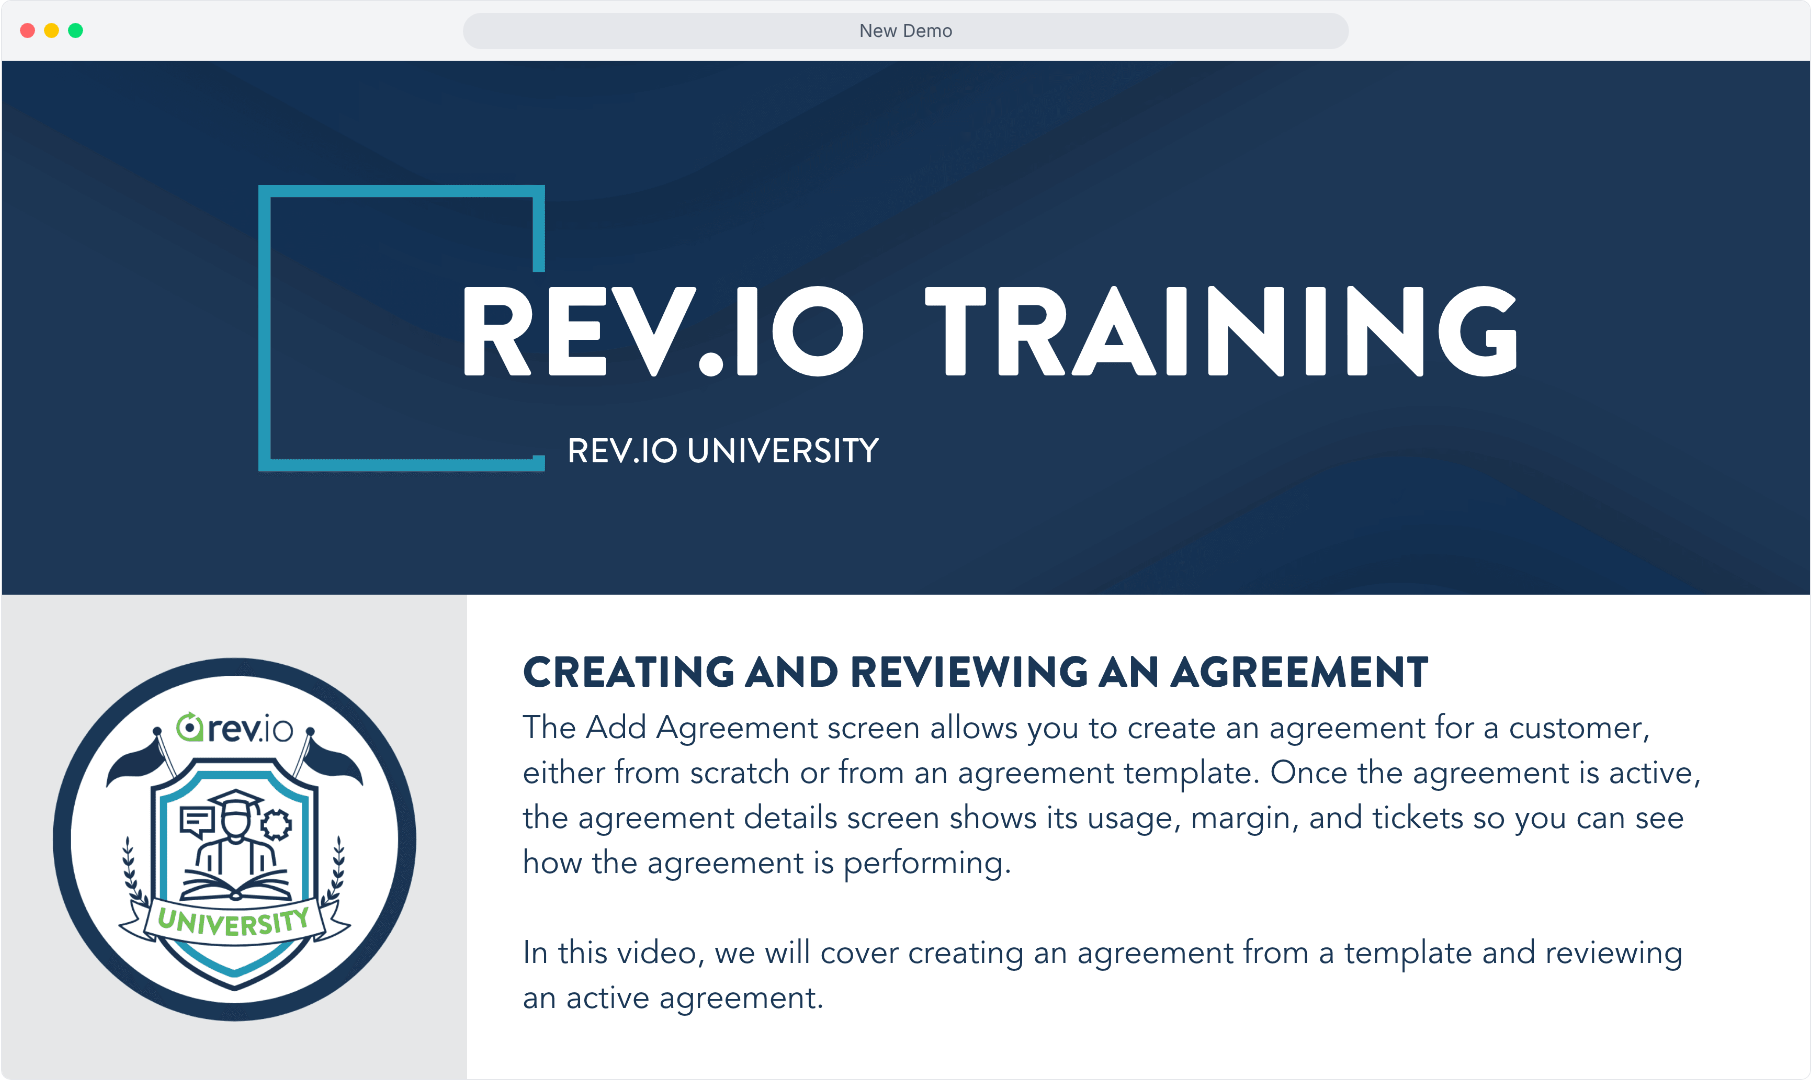
2. From the Agreements list, click Add Agreement to start from scratch, or Create from Template to start from a template.
Select the customer and click Continue.
You can also start from the Agreements tab on a customer's profile, where the customer is already selected.
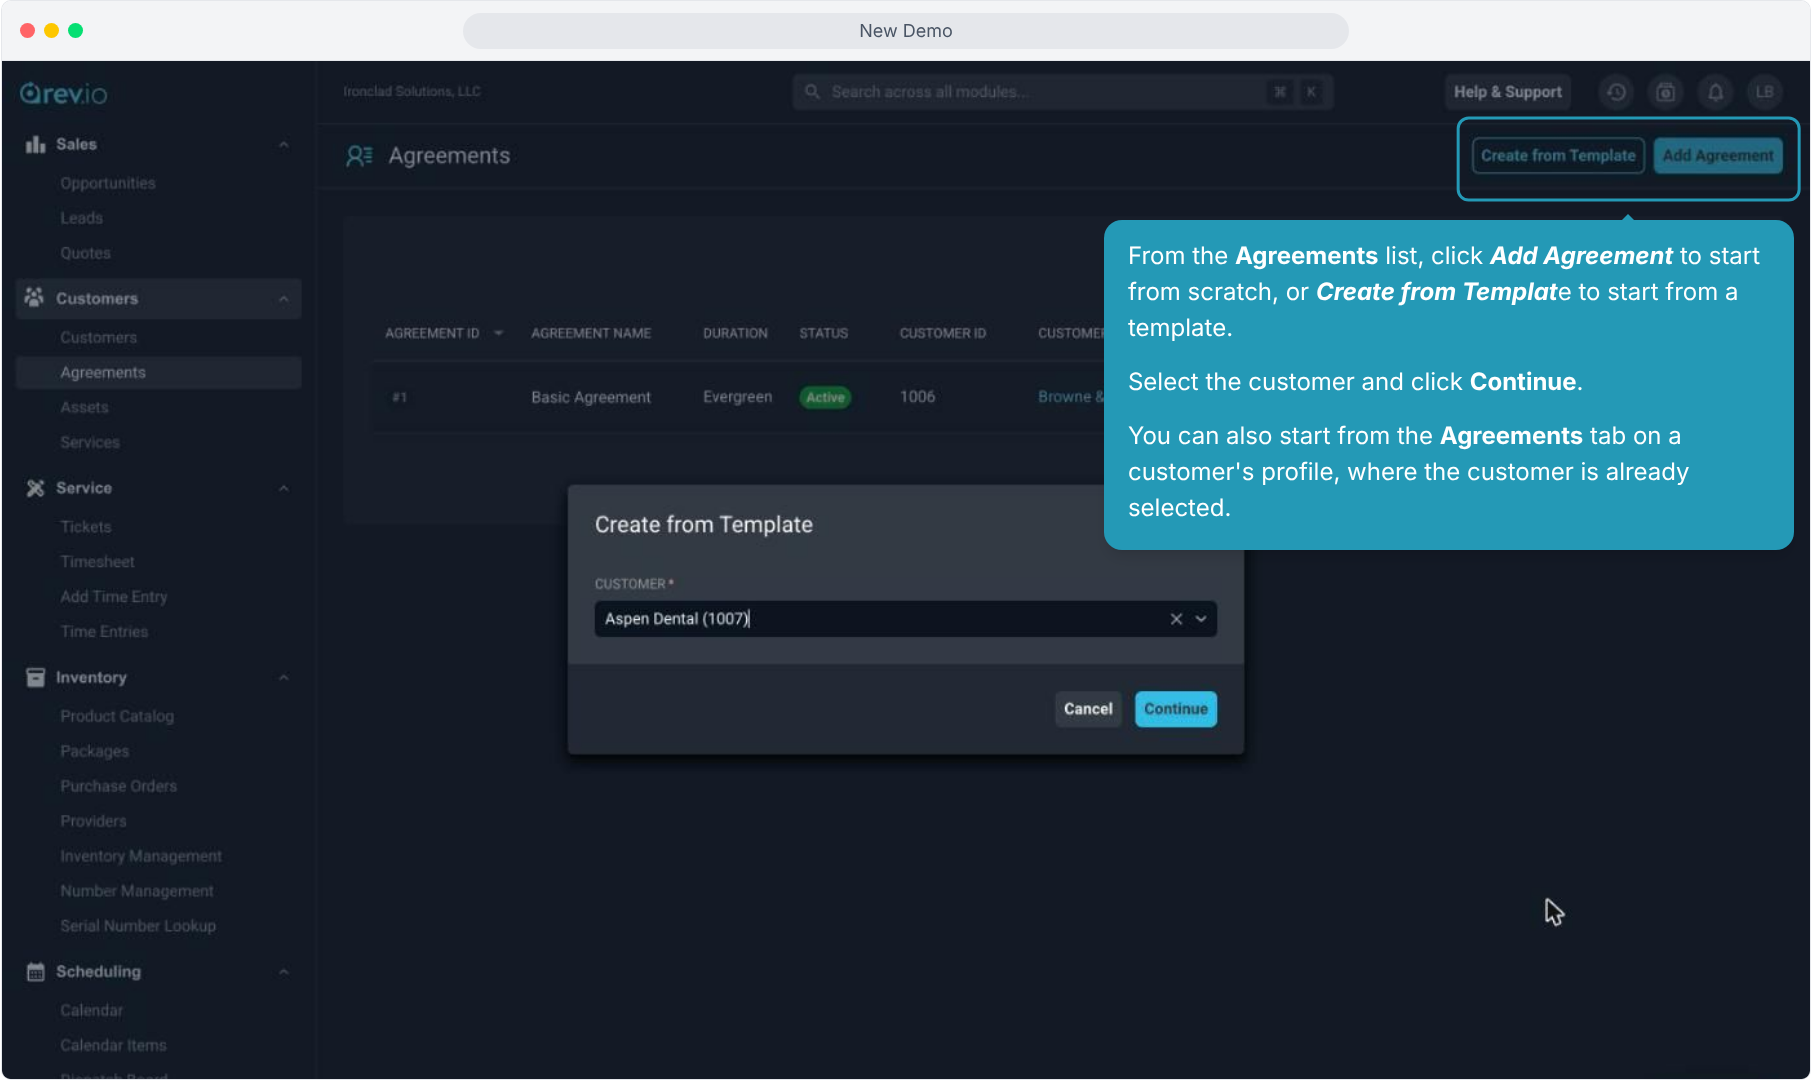
3. If creating from an agreement template, select the template and click Continue.
The template's components and rates are filled in on the new agreement for you.
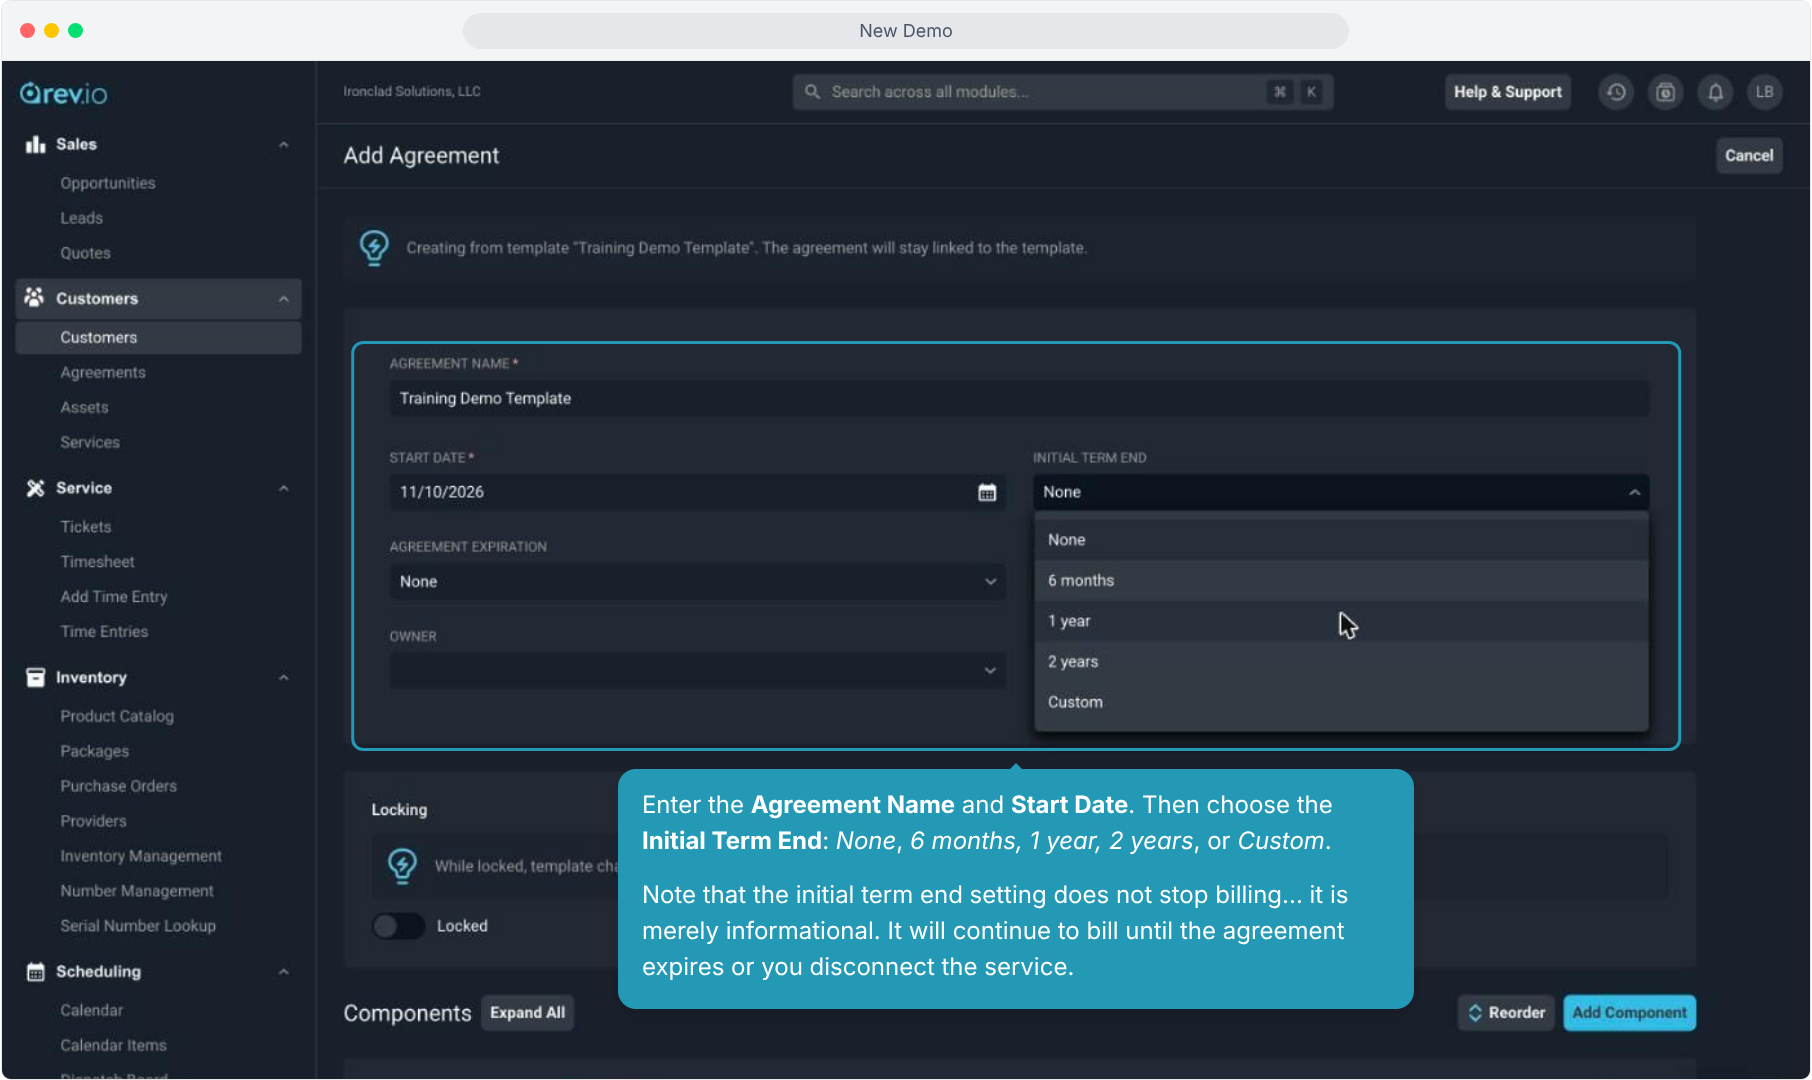
4. Enter the Agreement Name and Start Date. Then choose the Initial Term End: None, 6 months, 1 year, 2 years, or Custom.
Note that the initial term end setting does not stop billing... it is merely informational. It will continue to bill until the agreement expires or you disconnect the service.
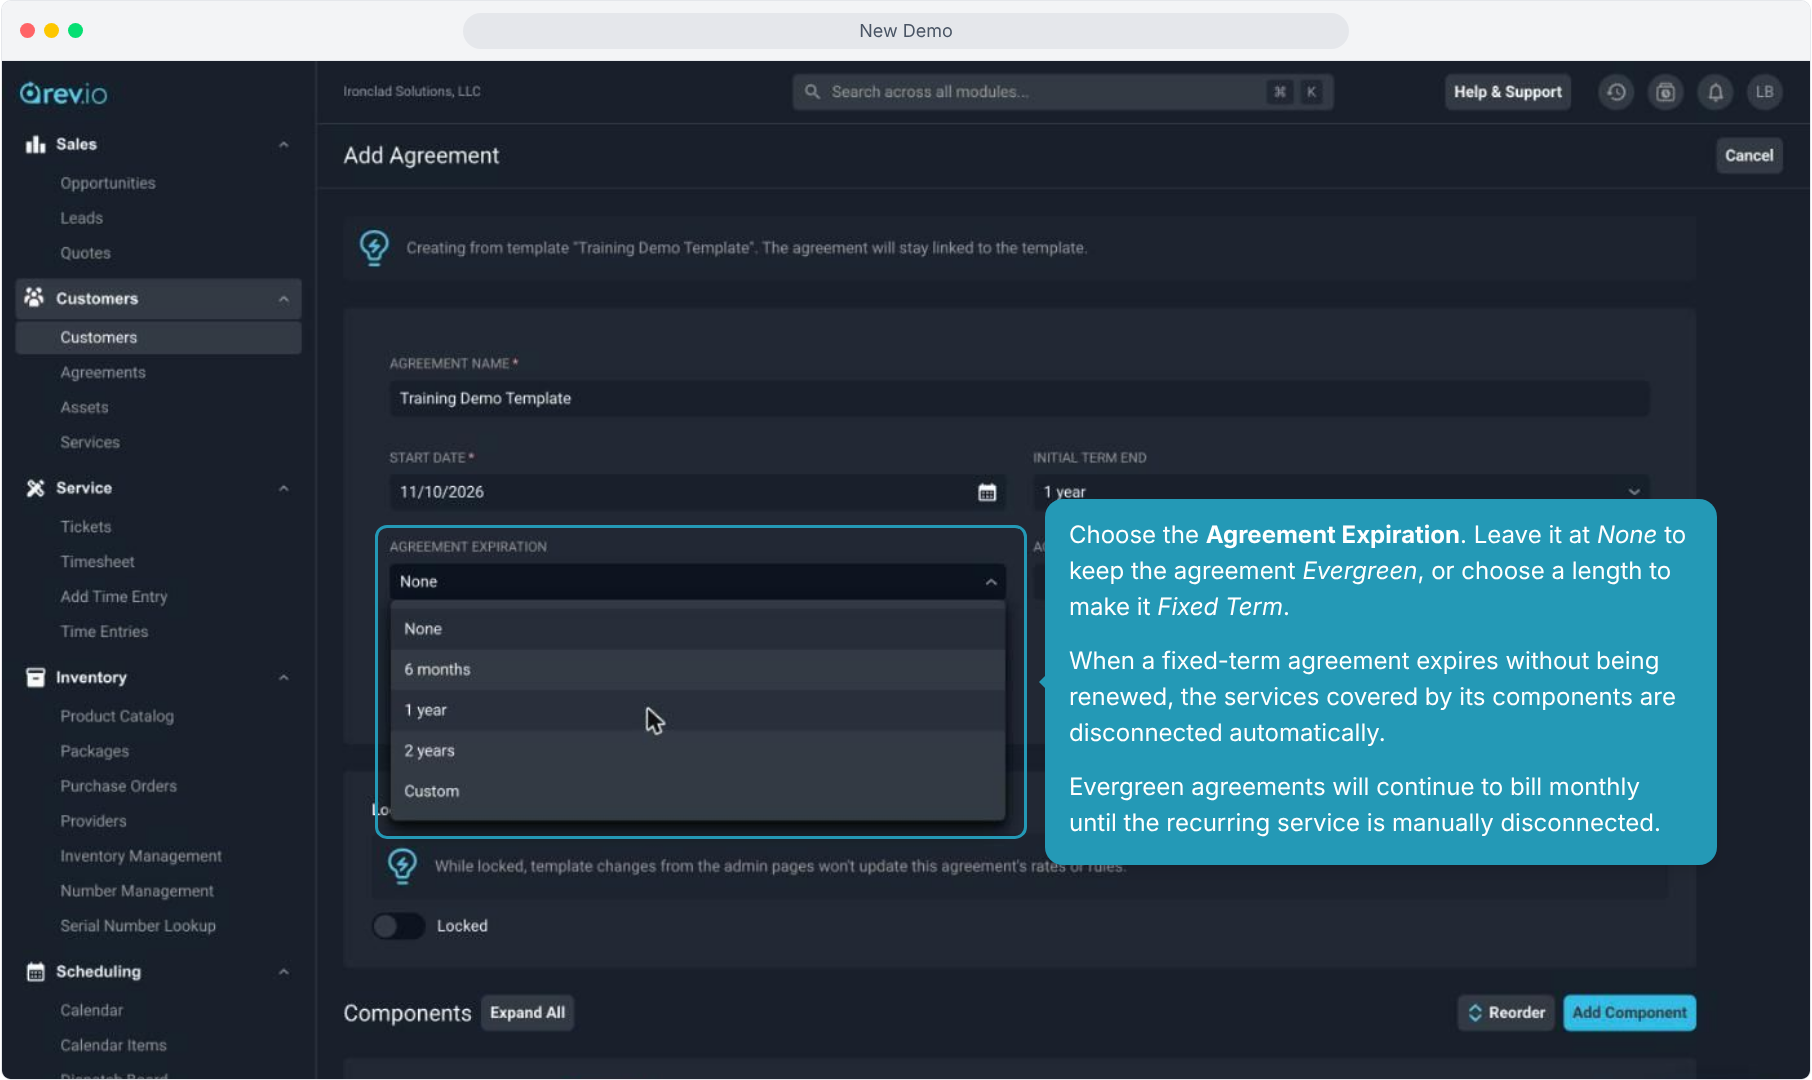
5. Choose the Agreement Expiration. Leave it at None to keep the agreement Evergreen, or choose a length to make it Fixed Term.
When a fixed-term agreement expires without being renewed, the services covered by its components are disconnected automatically.
Evergreen agreements will continue to bill monthly until the recurring service is manually disconnected.
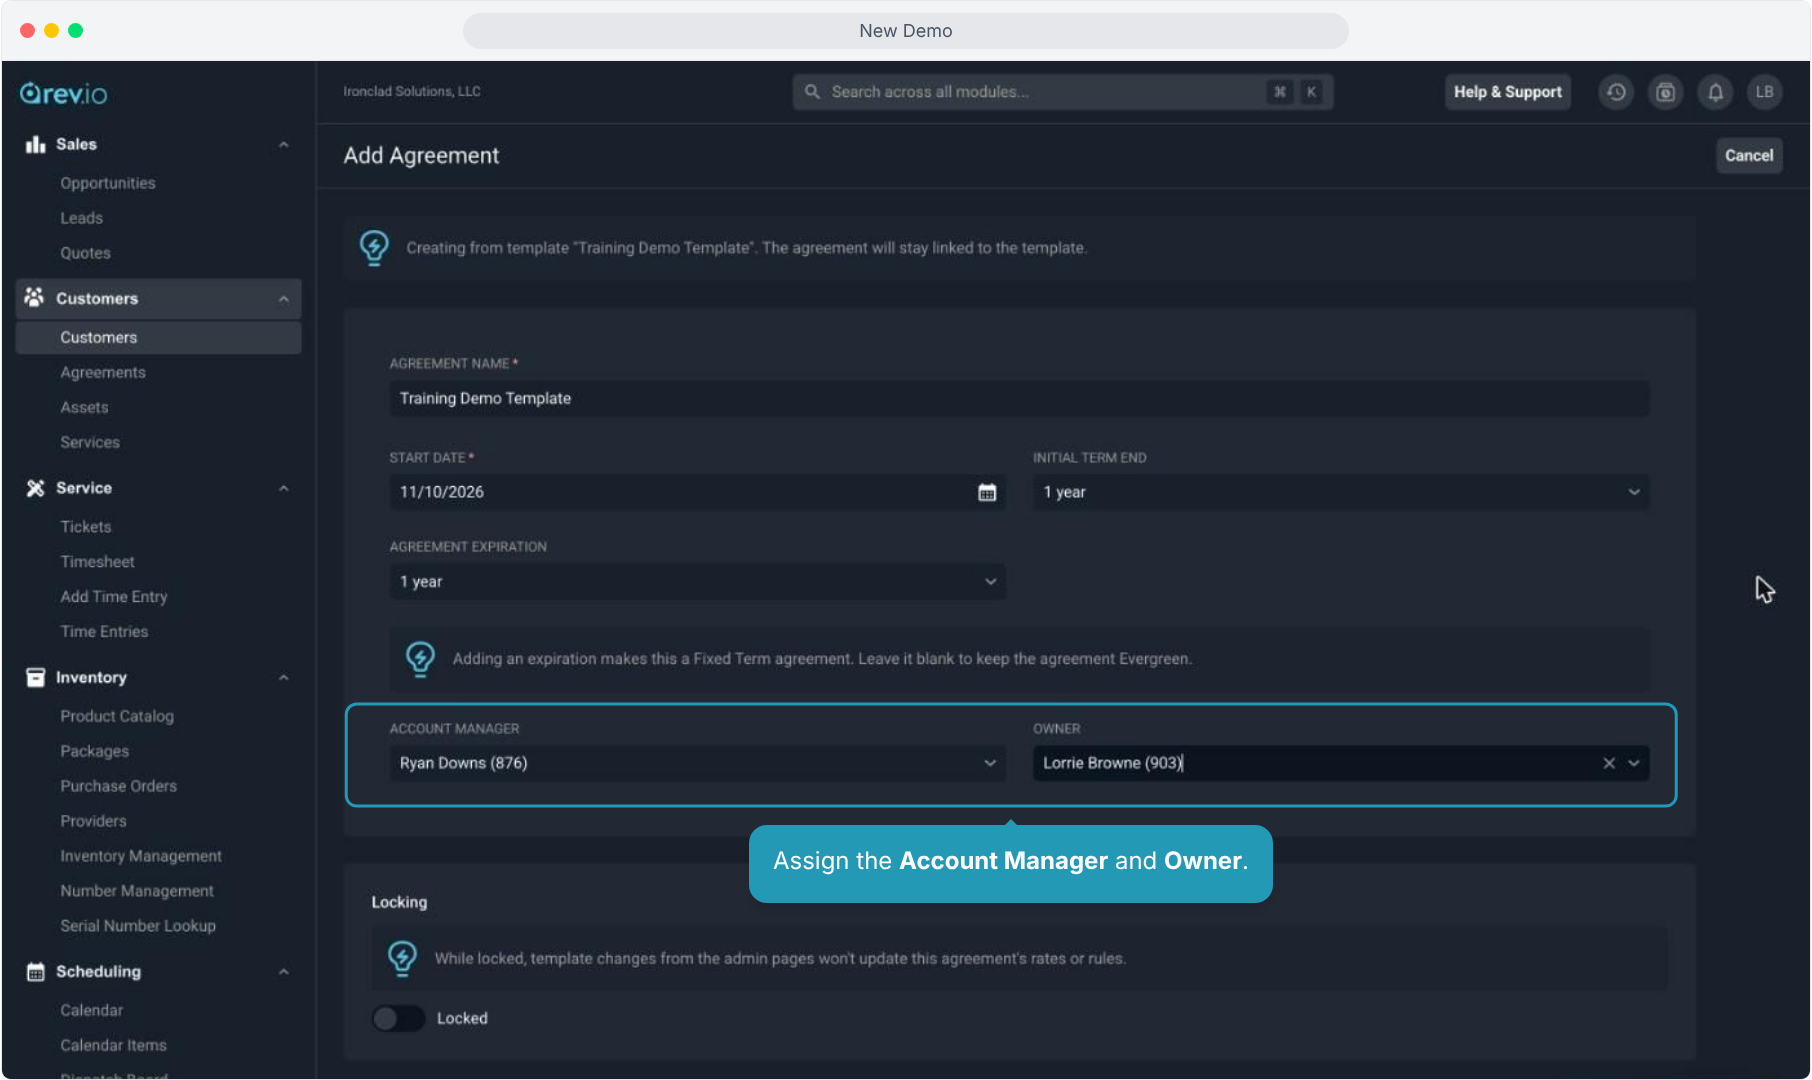
6. Assign the Account Manager and Owner.
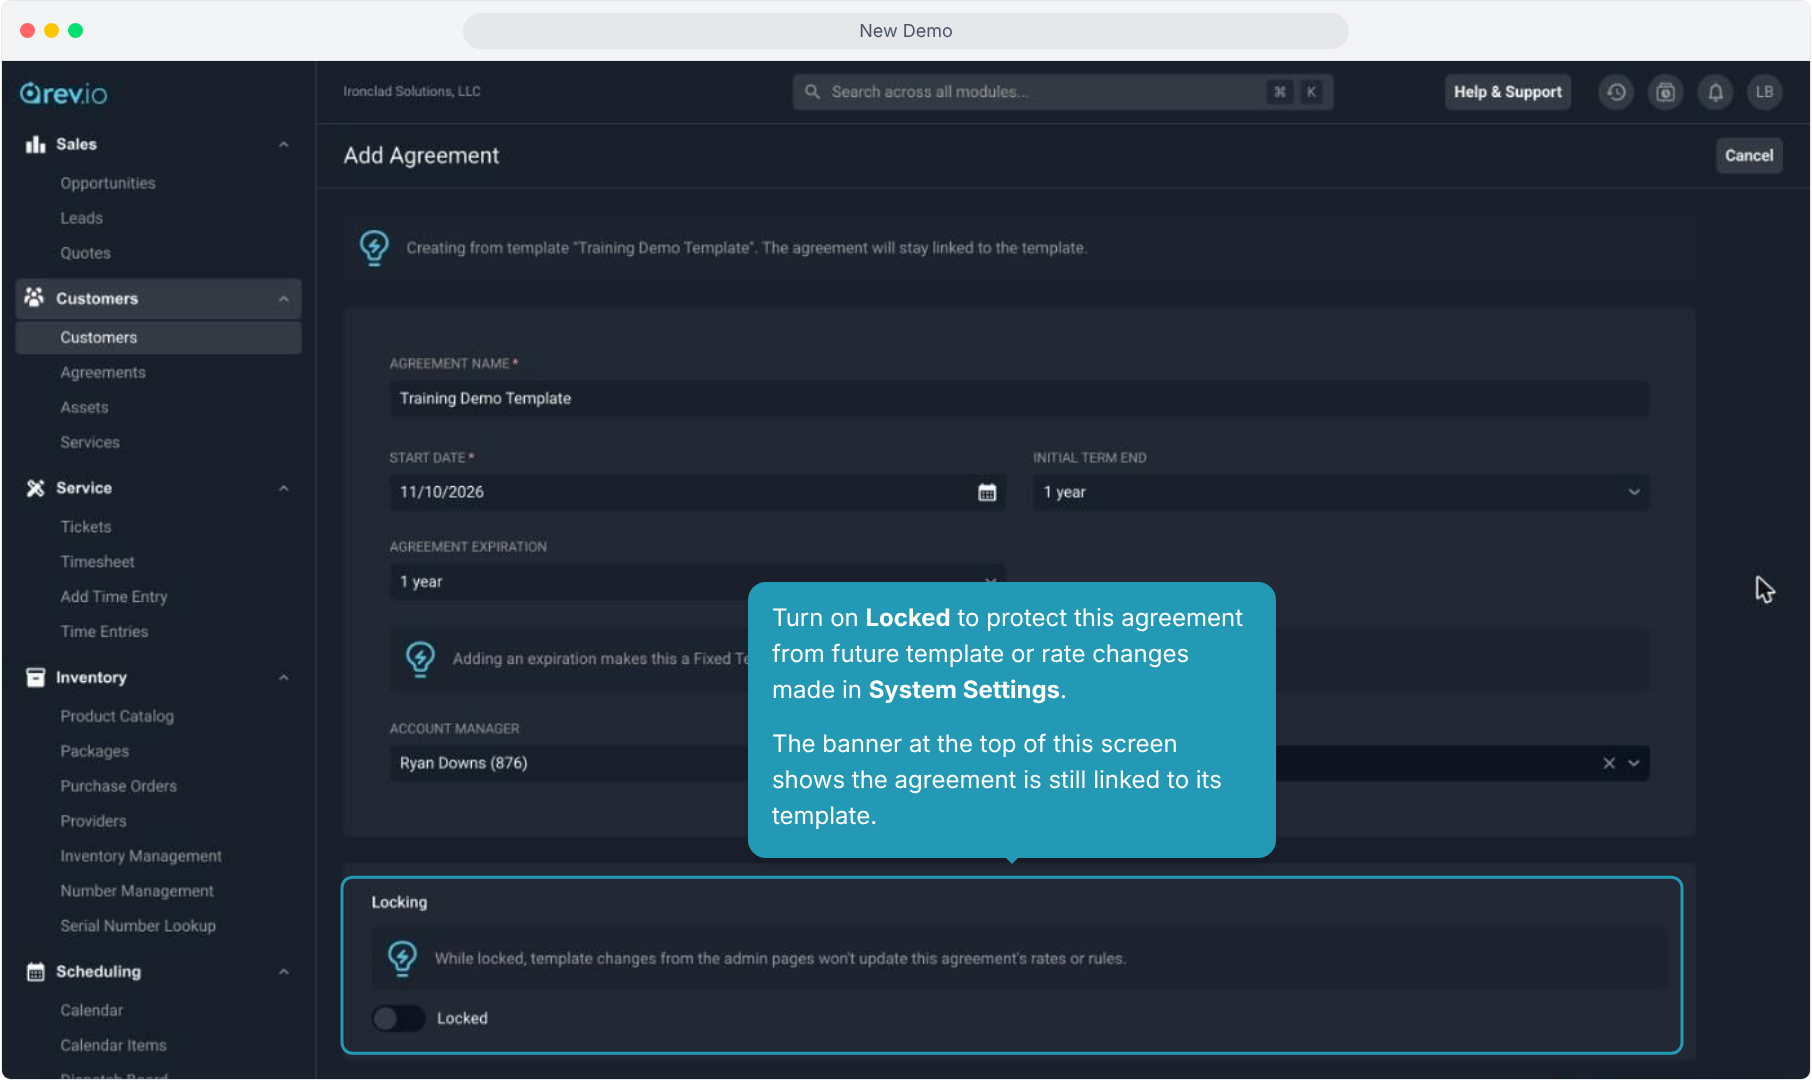
7. Turn on Locked to protect this agreement from future template or rate changes made in System Settings.
The banner at the top of this screen shows the agreement is still linked to its template.
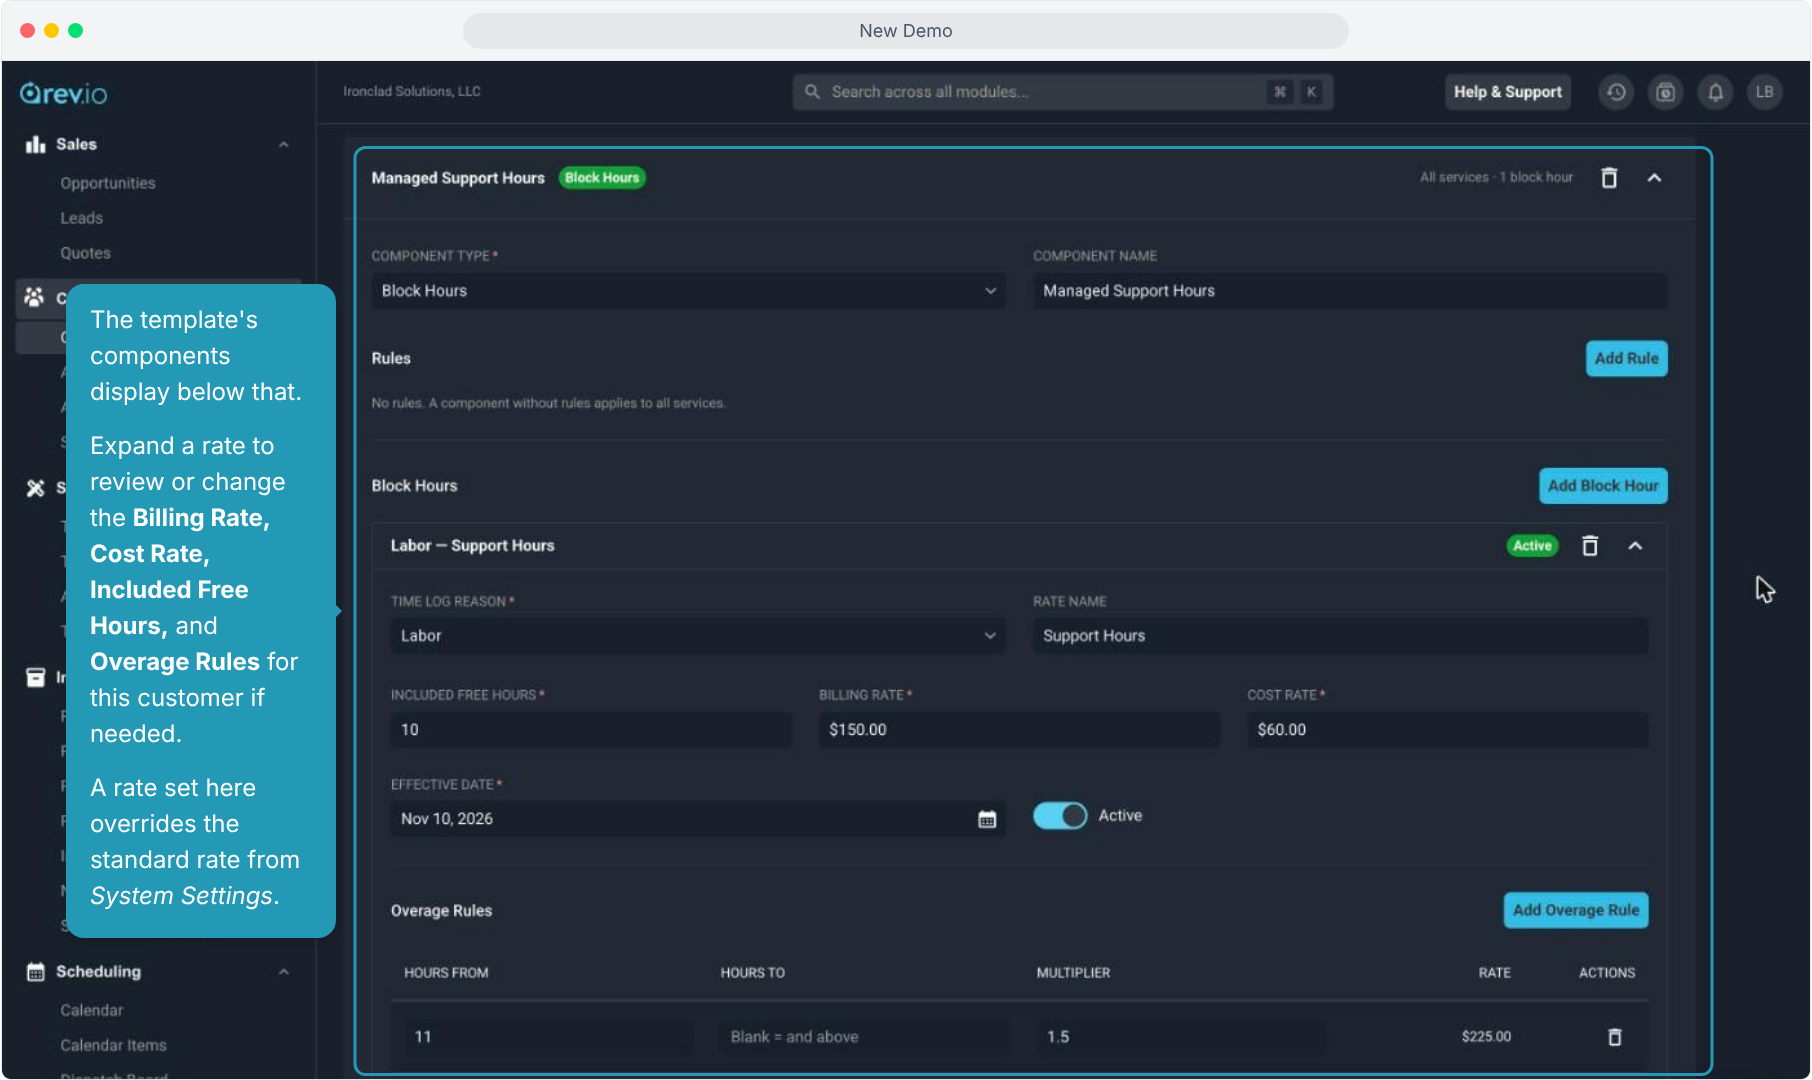
8. The template's components display below that.
Expand a rate to review or change the Billing Rate, Cost Rate, Included Free Hours, and Overage Rules for this customer if needed.
A rate set here overrides the standard rate from System Settings.
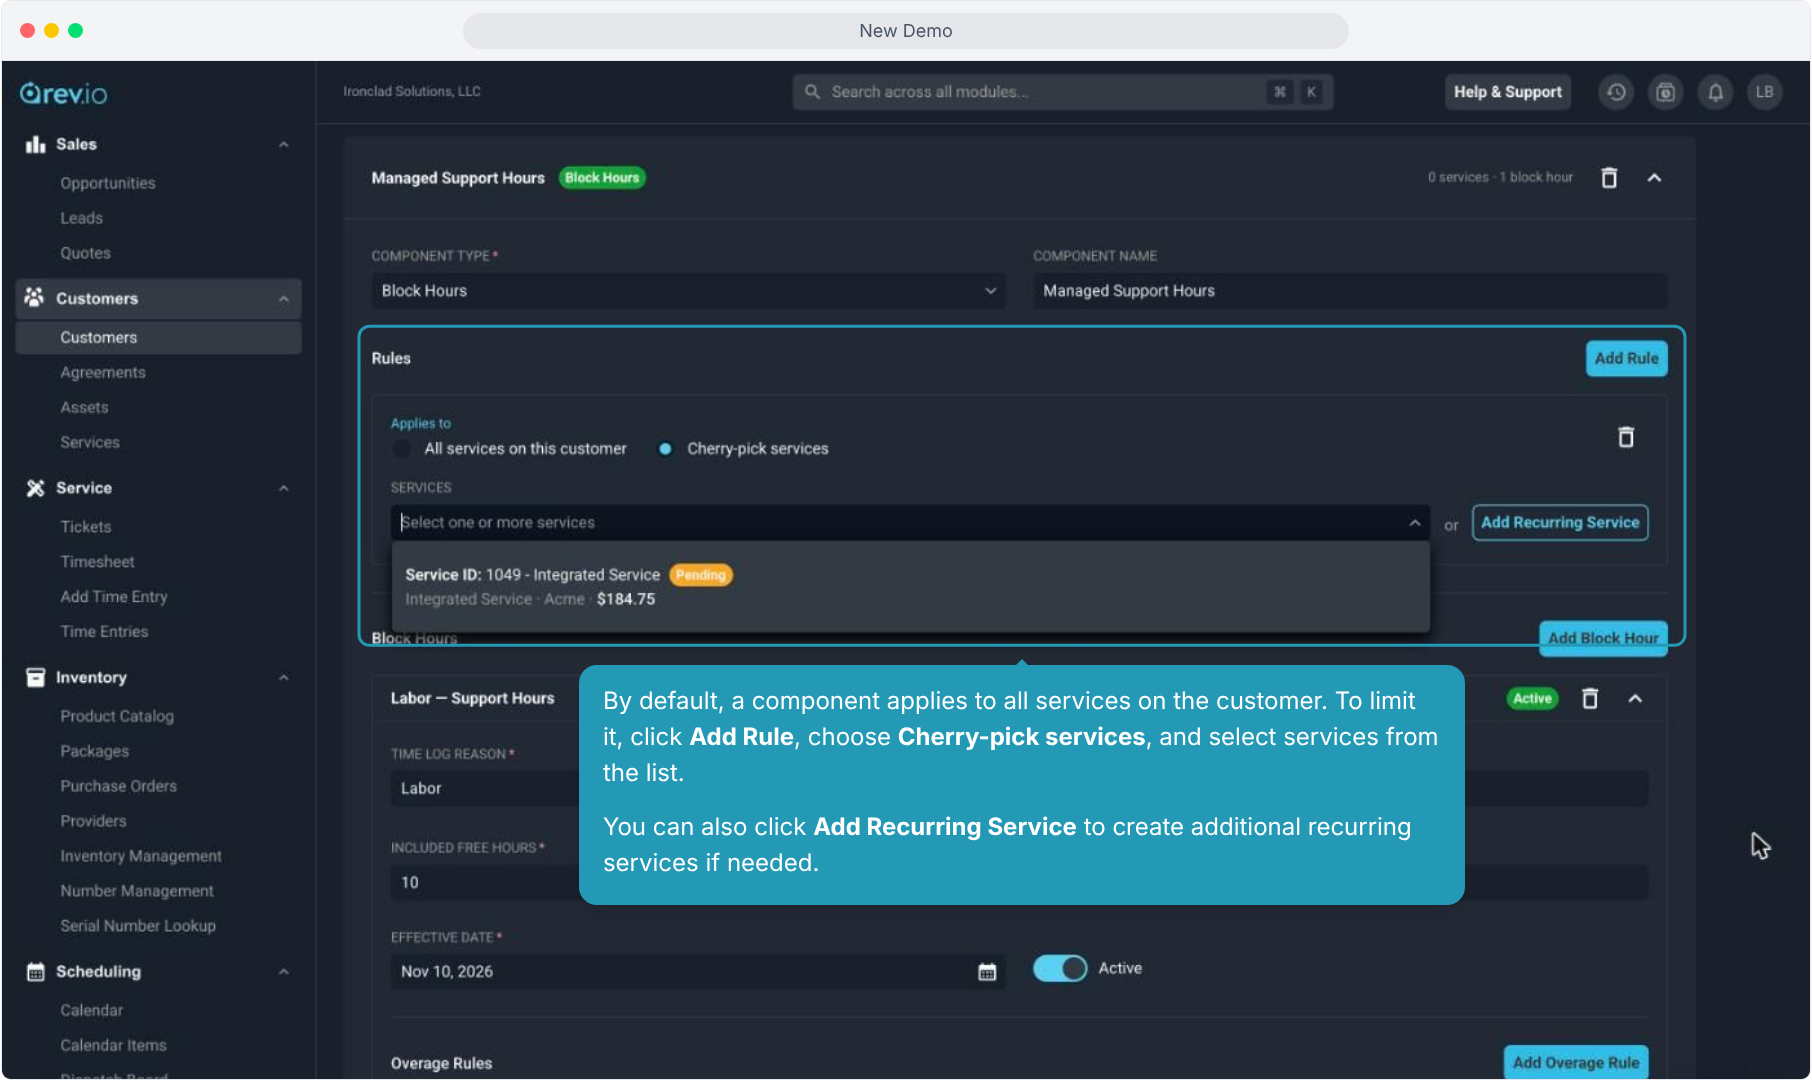
9. By default, a component applies to all services on the customer. To limit it, click Add Rule, choose Cherry-pick services, and select services from the list.
You can also click Add Recurring Service to create additional recurring services if needed.
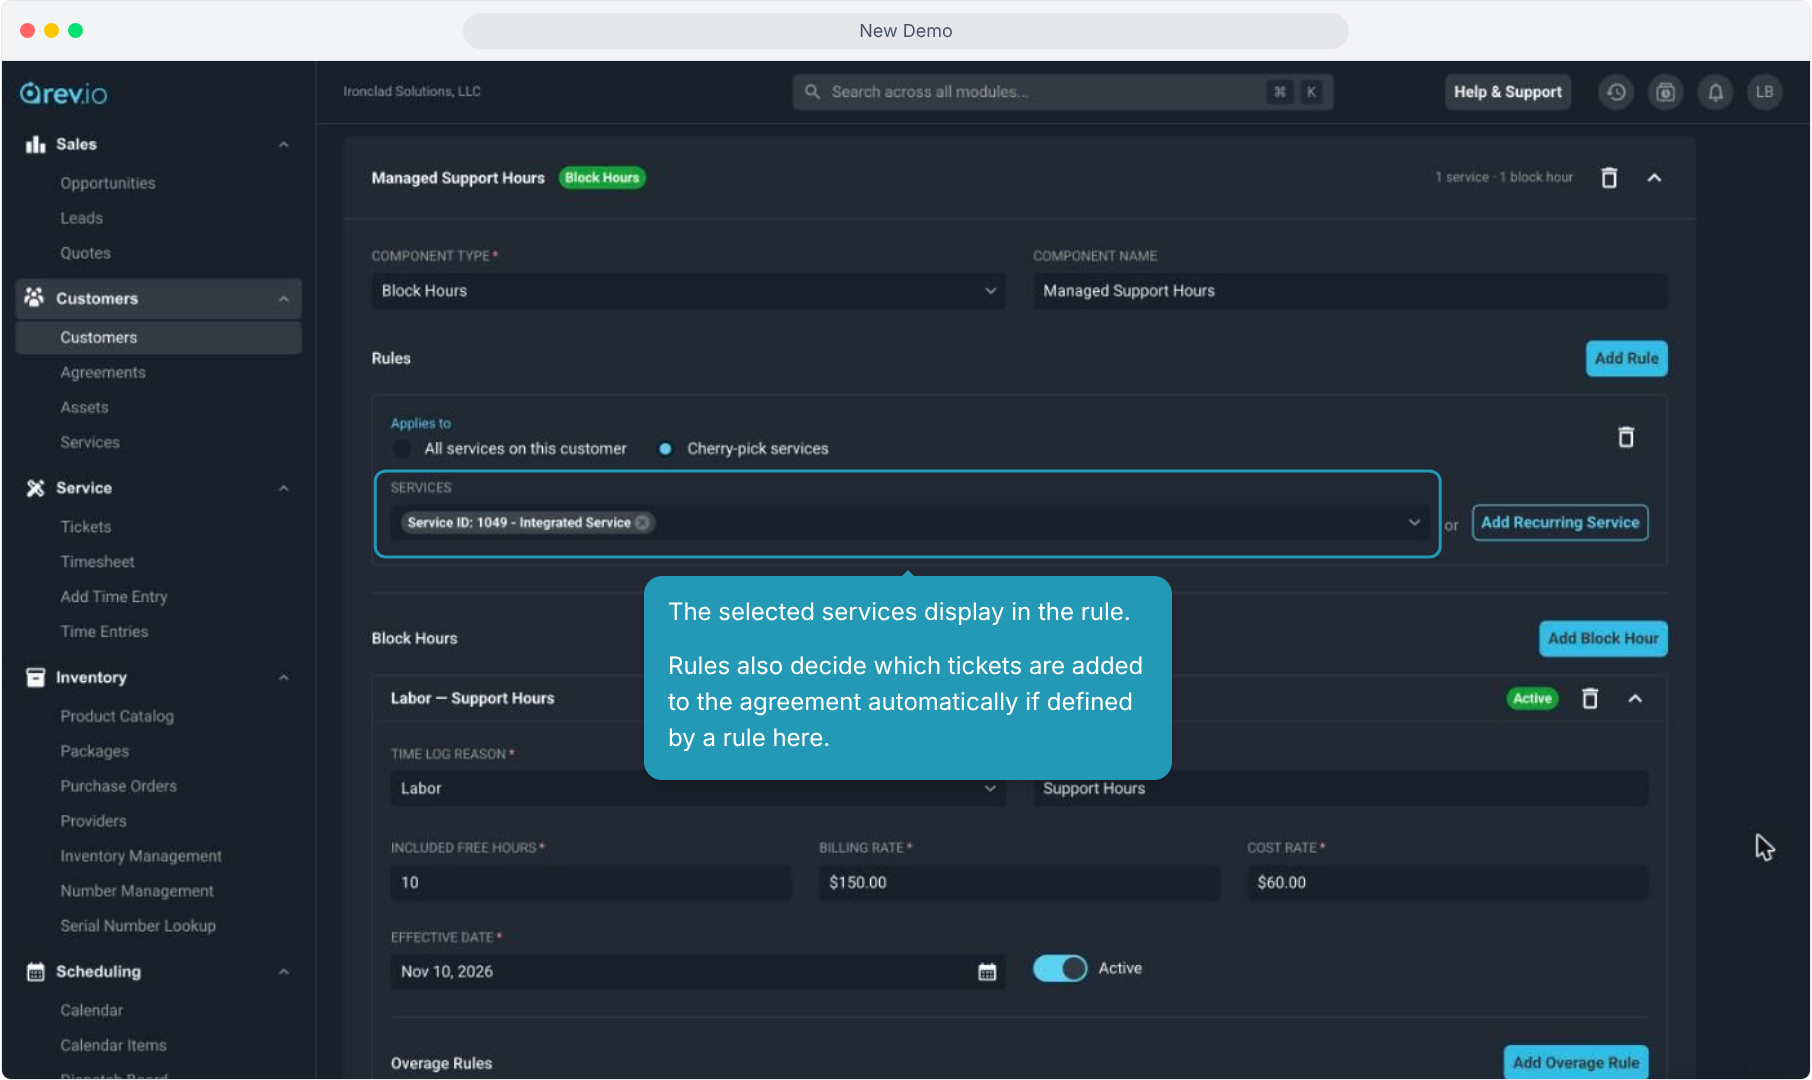
10. The selected services display in the rule.
Rules also decide which tickets are added to the agreement automatically if defined by a rule here.
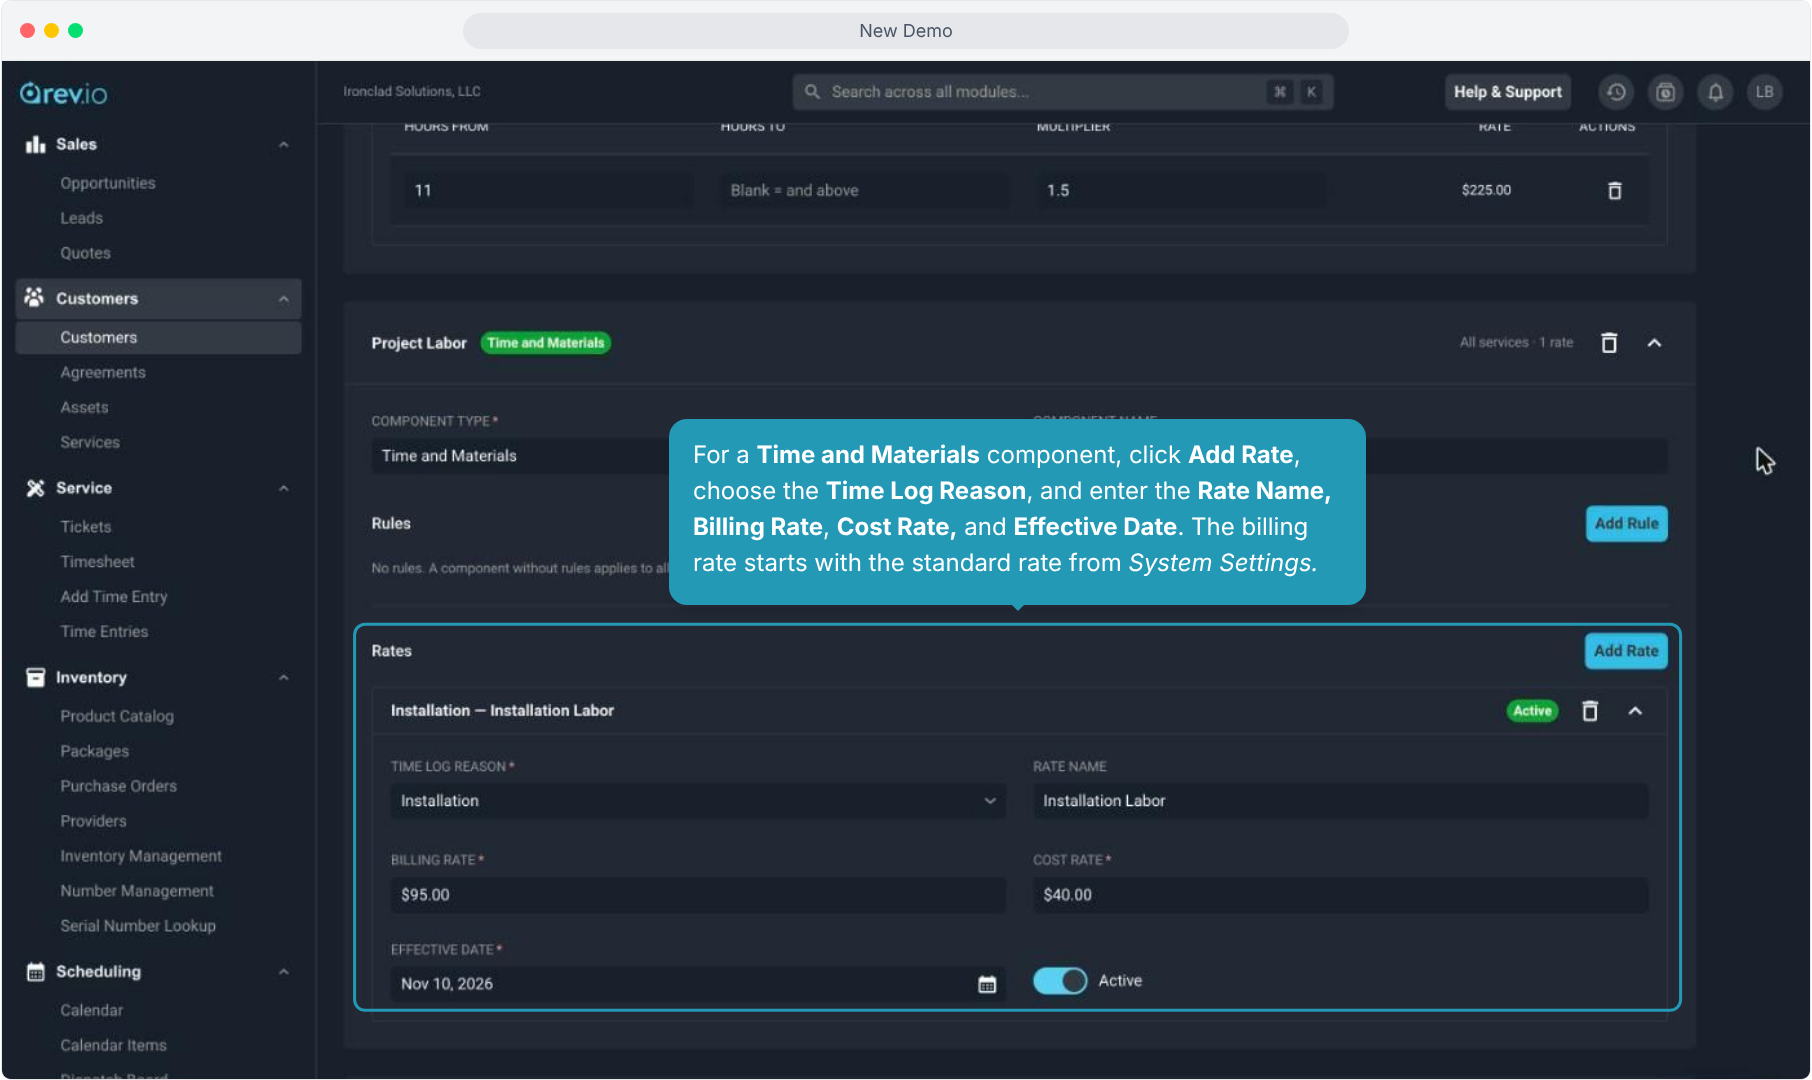
11. For a Time and Materials component, click Add Rate, choose the Time Log Reason, and enter the Rate Name, Billing Rate, Cost Rate, and Effective Date. The billing rate starts with the standard rate from System Settings.
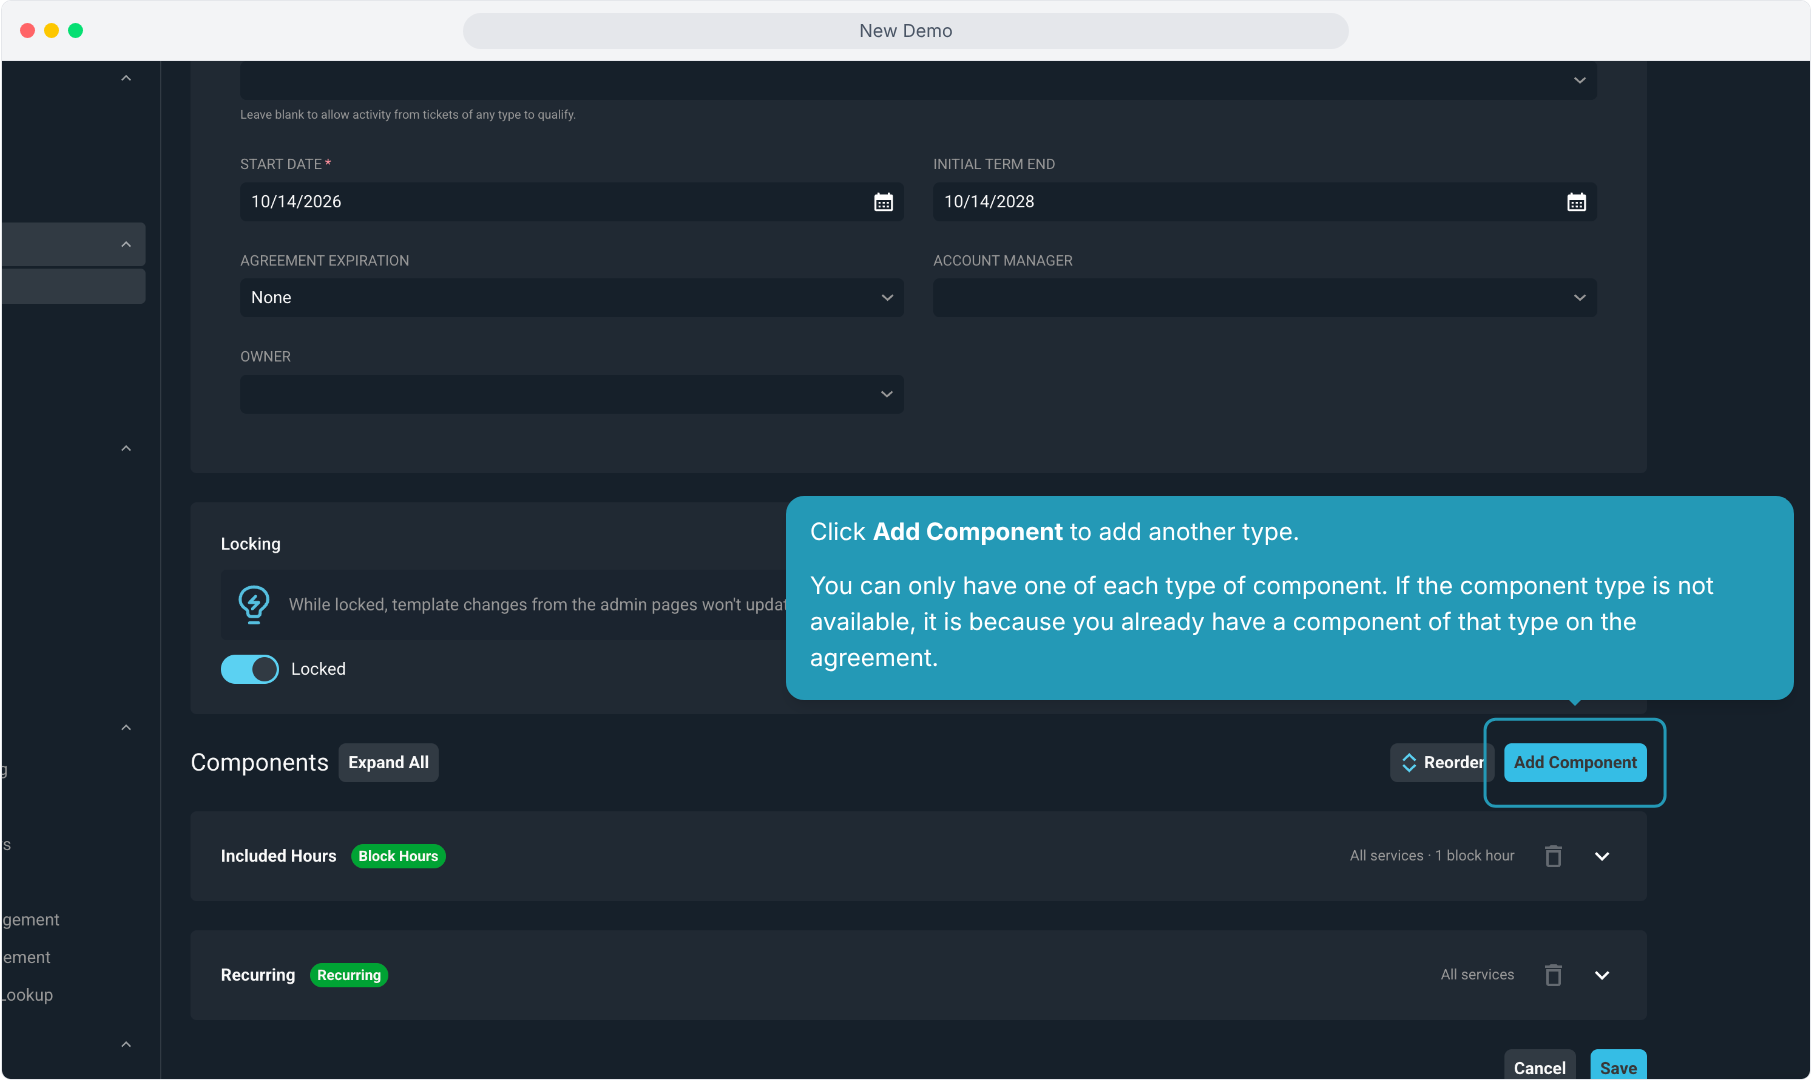
12. Click Add Component to add another type.
You can only have one of each type of component. If the component type is not available, it is because you already have a component of that type on the agreement.
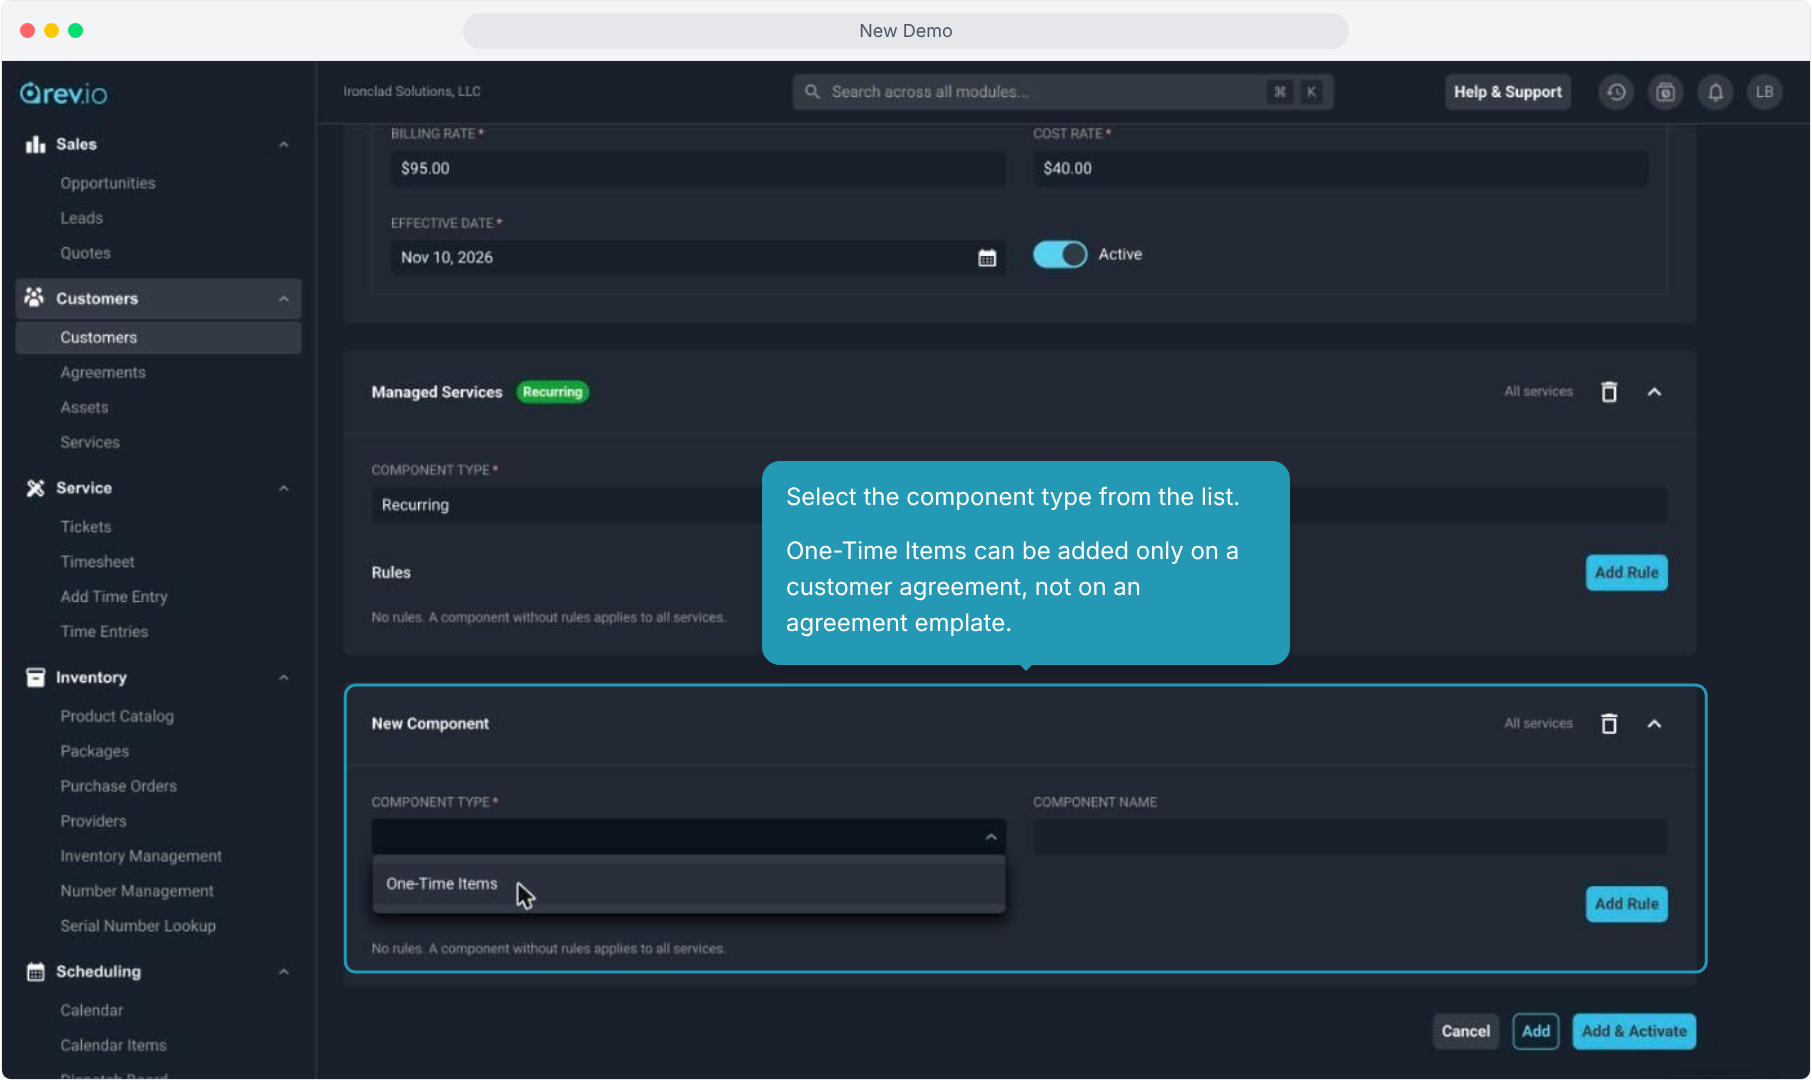
13. Select the component type from the list.
One-Time Items can be added only on a customer agreement, not on an agreement emplate.
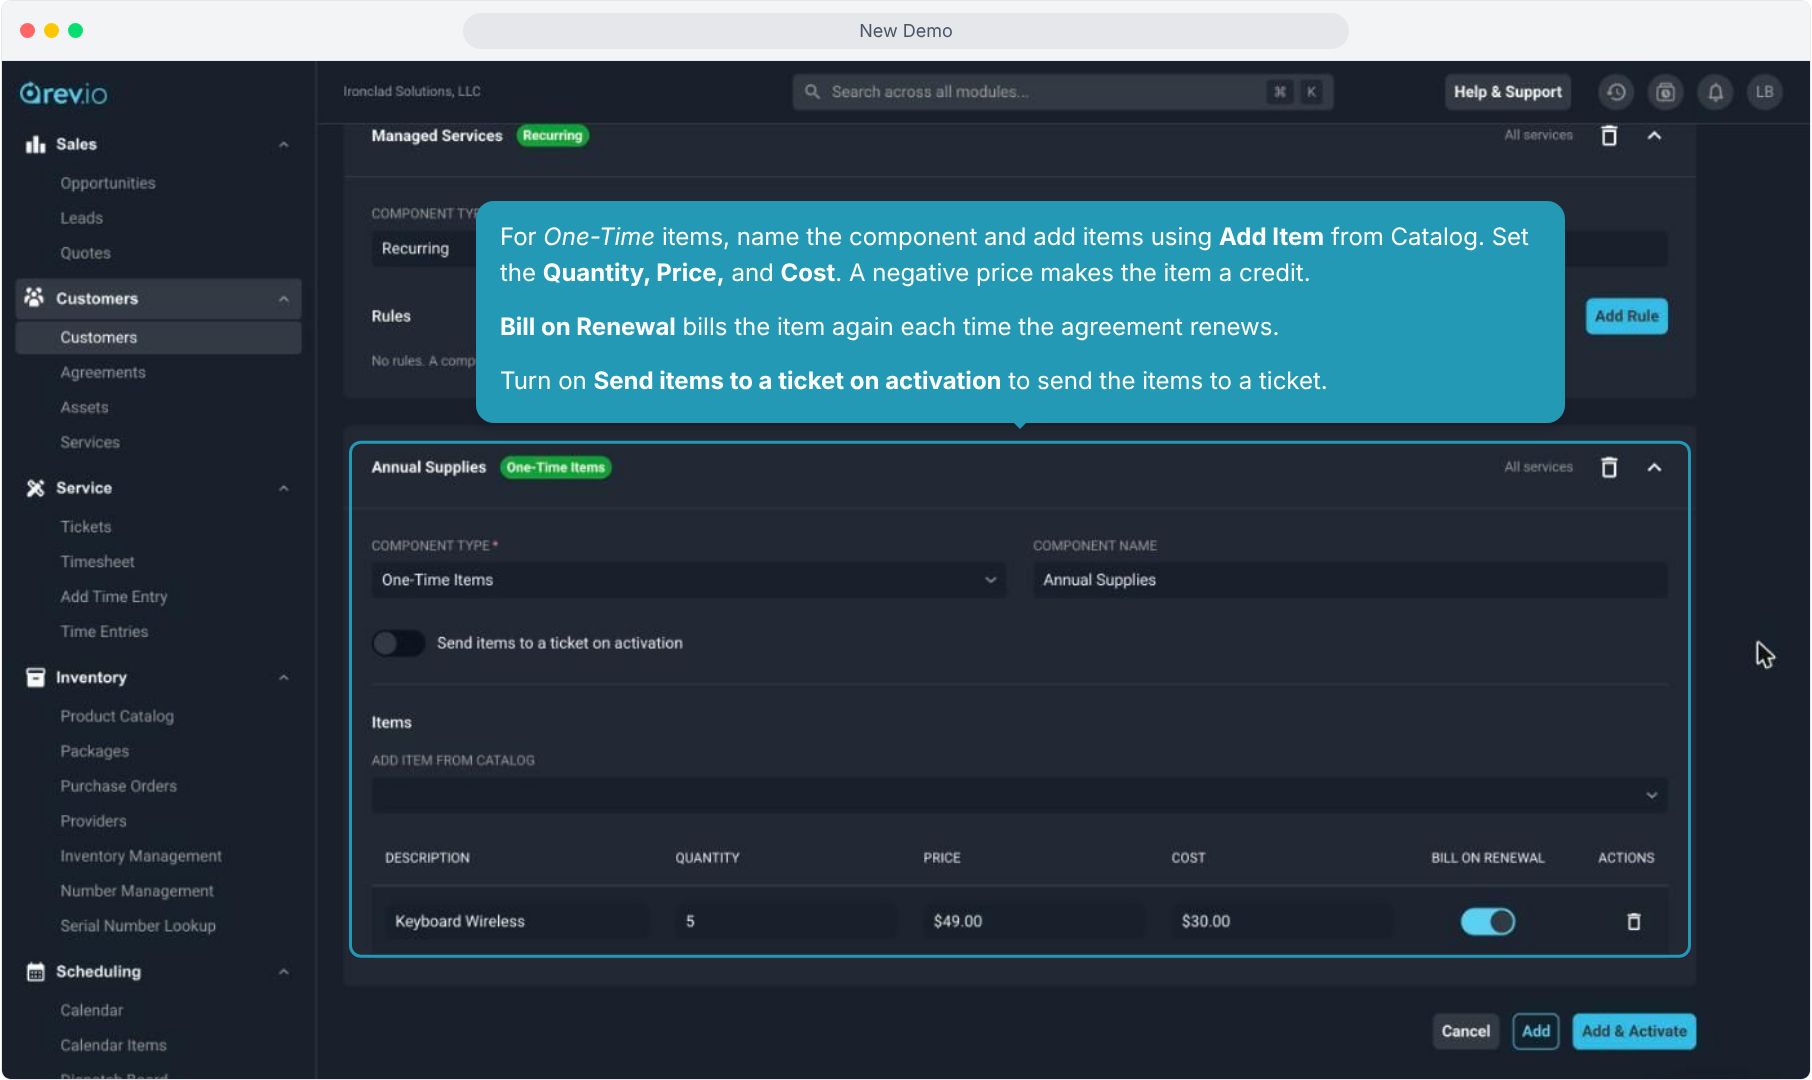
14. For One-Time items, name the component and add items using Add Item from Catalog. Set the Quantity, Price, and Cost. A negative price makes the item a credit.
Bill on Renewal bills the item again each time the agreement renews.
Turn on Send items to a ticket on activation to send the items to a ticket.
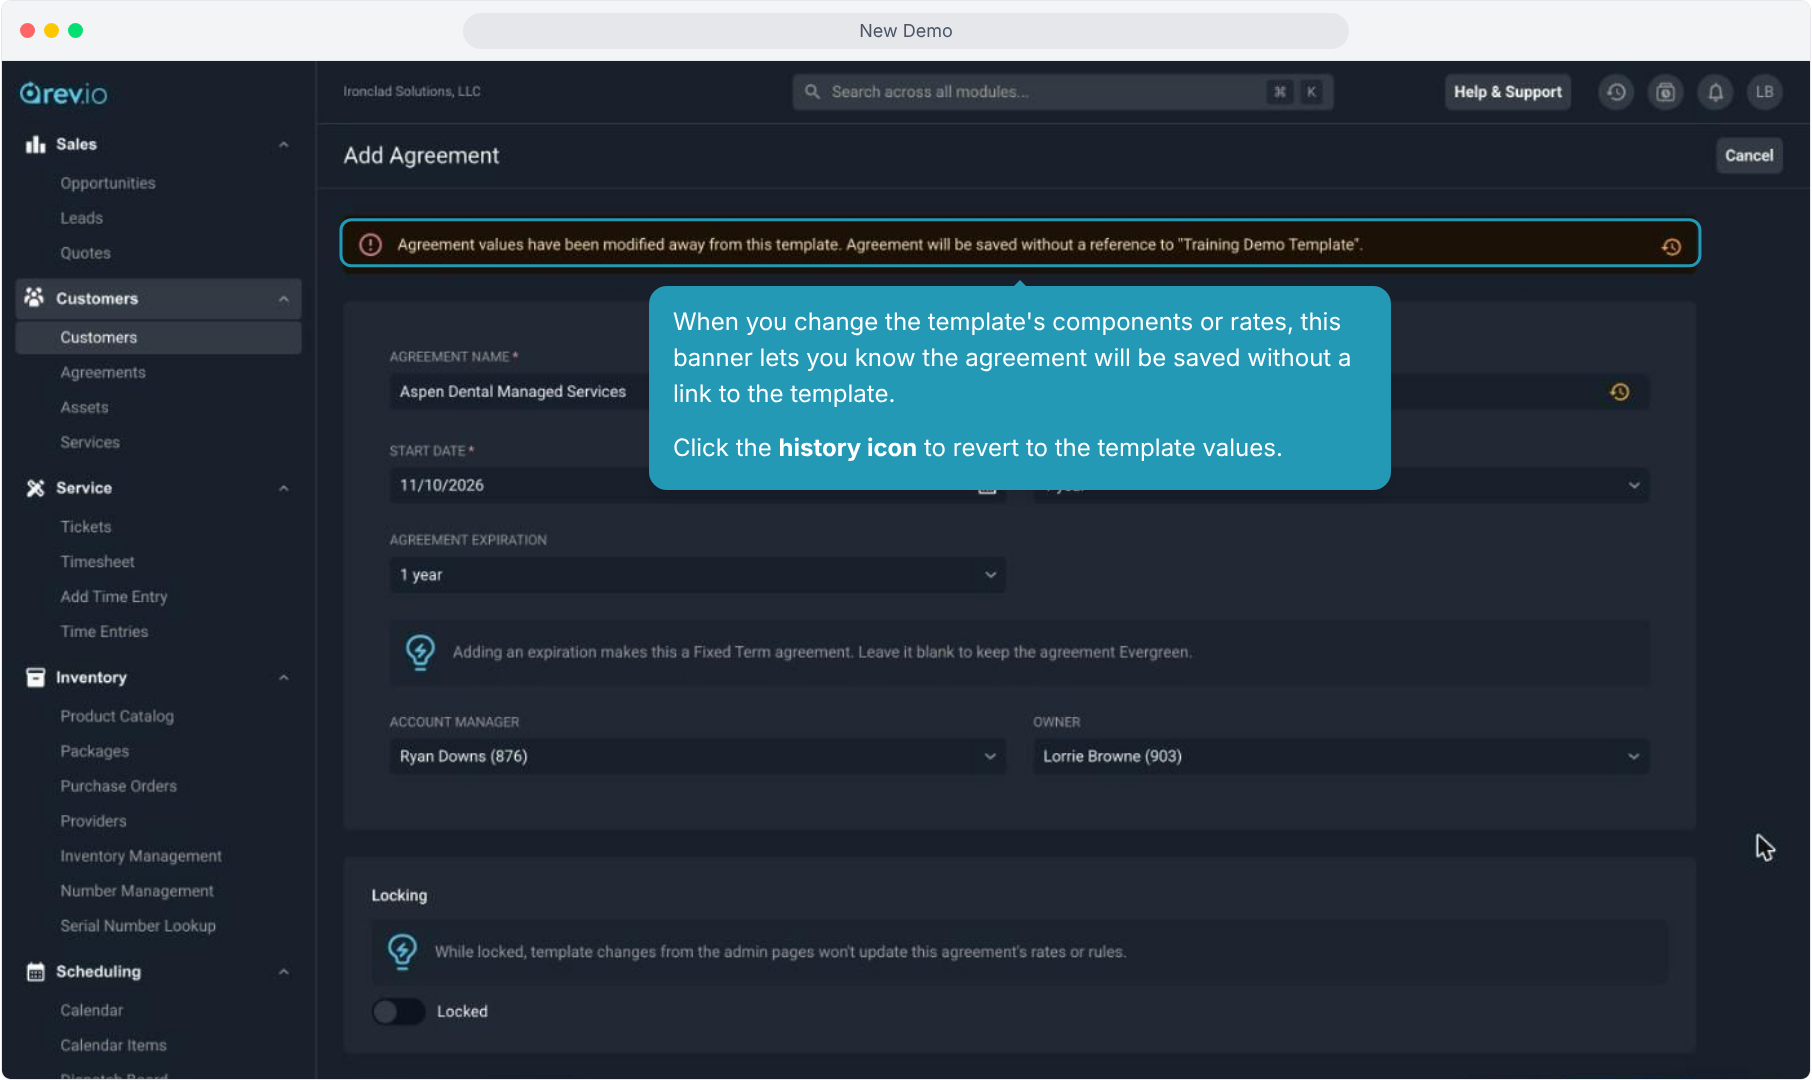
15. When you change the template's components or rates, this banner lets you know the agreement will be saved without a link to the template.
Click the history icon to revert to the template values.
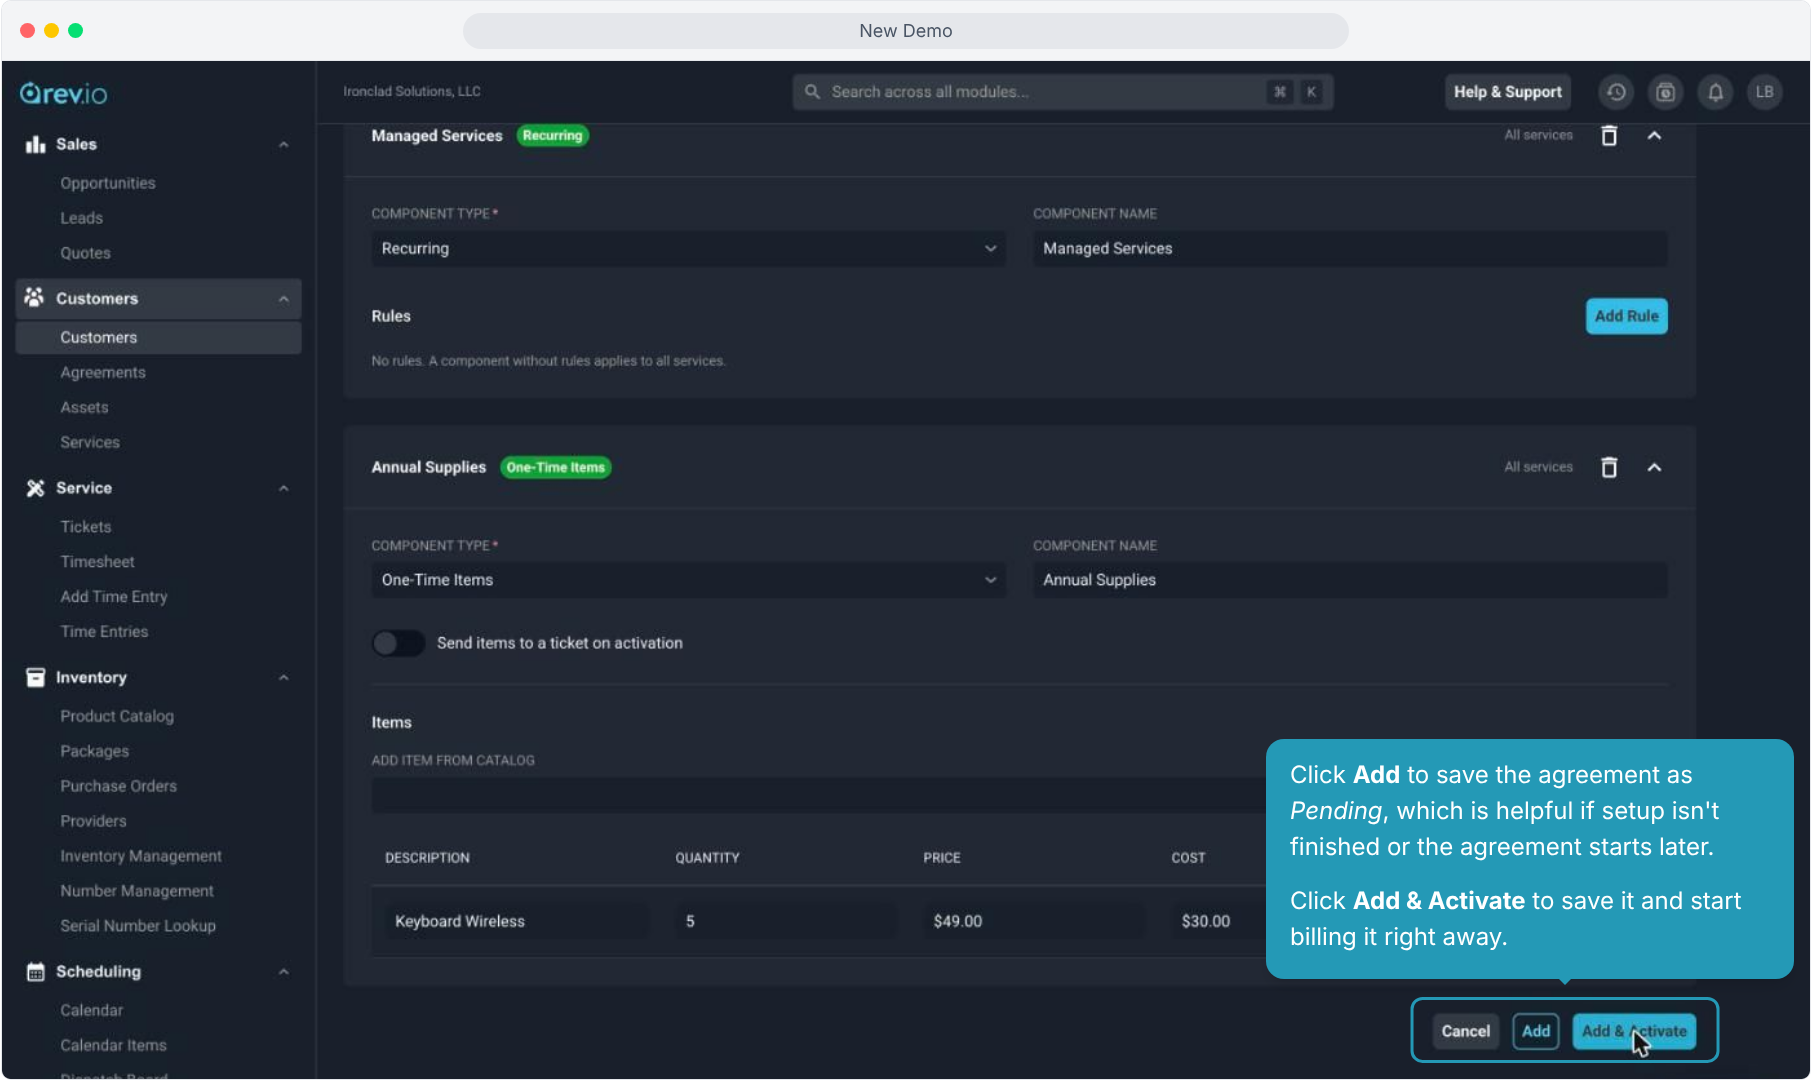
16. Click Add to save the agreement as Pending, which is helpful if setup isn't finished or the agreement starts later.
Click Add & Activate to save it and start billing it right away.
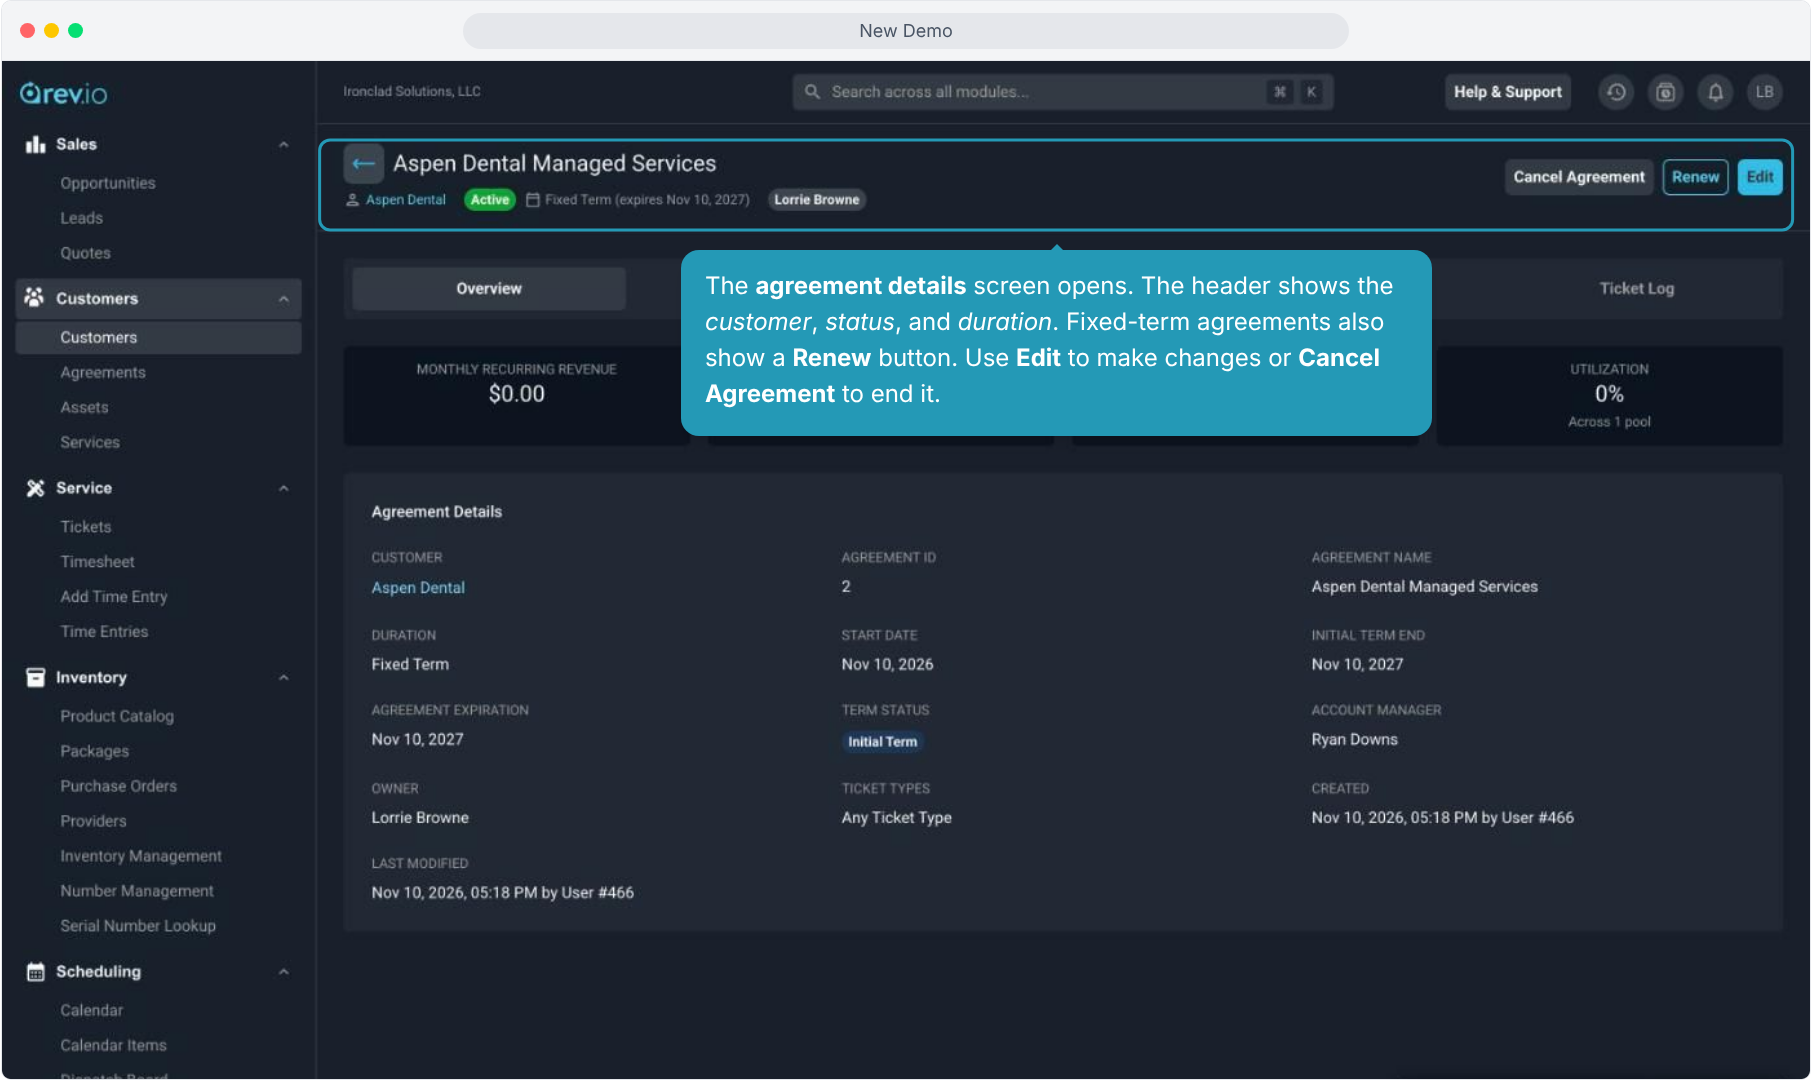
17. The agreement details screen opens. The header shows the customer, status, and duration. Fixed-term agreements also show a Renew button. Use Edit to make changes or Cancel Agreement to end it.
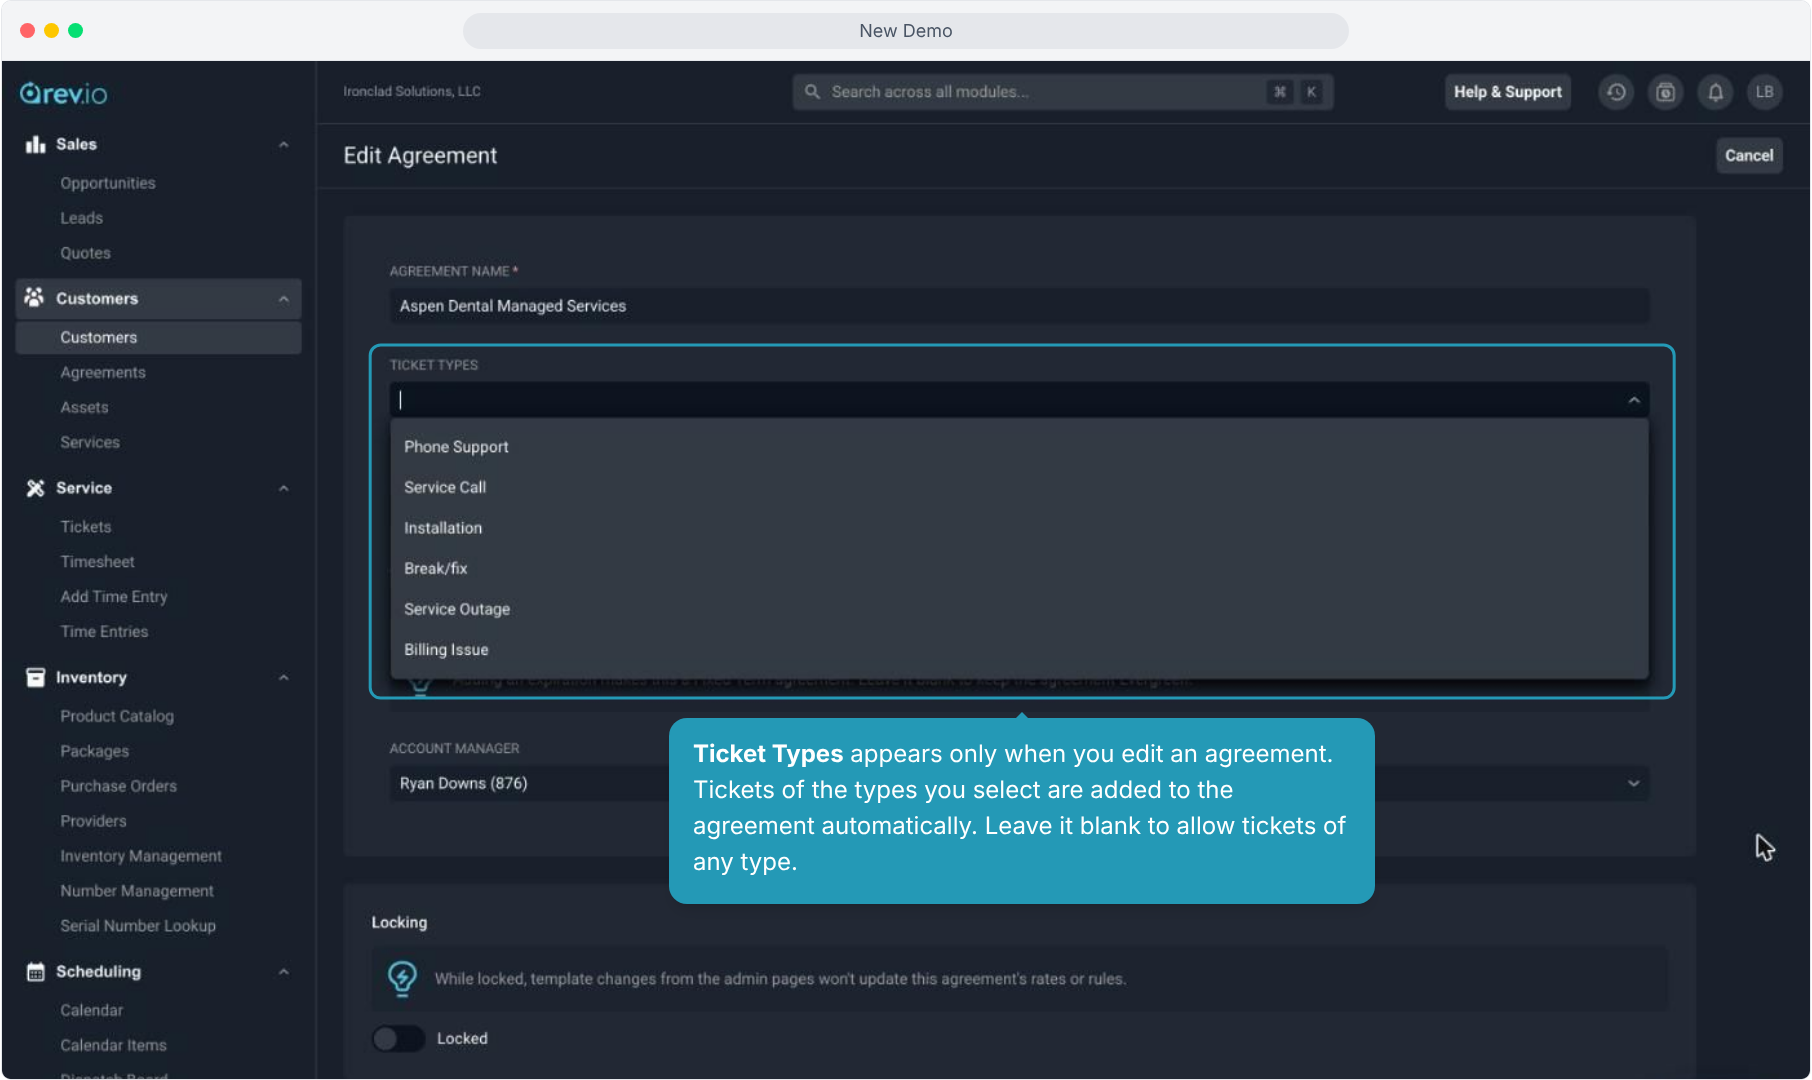
18. Ticket Types appears only when you edit an agreement. Tickets of the types you select are added to the agreement automatically. Leave it blank to allow tickets of any type.
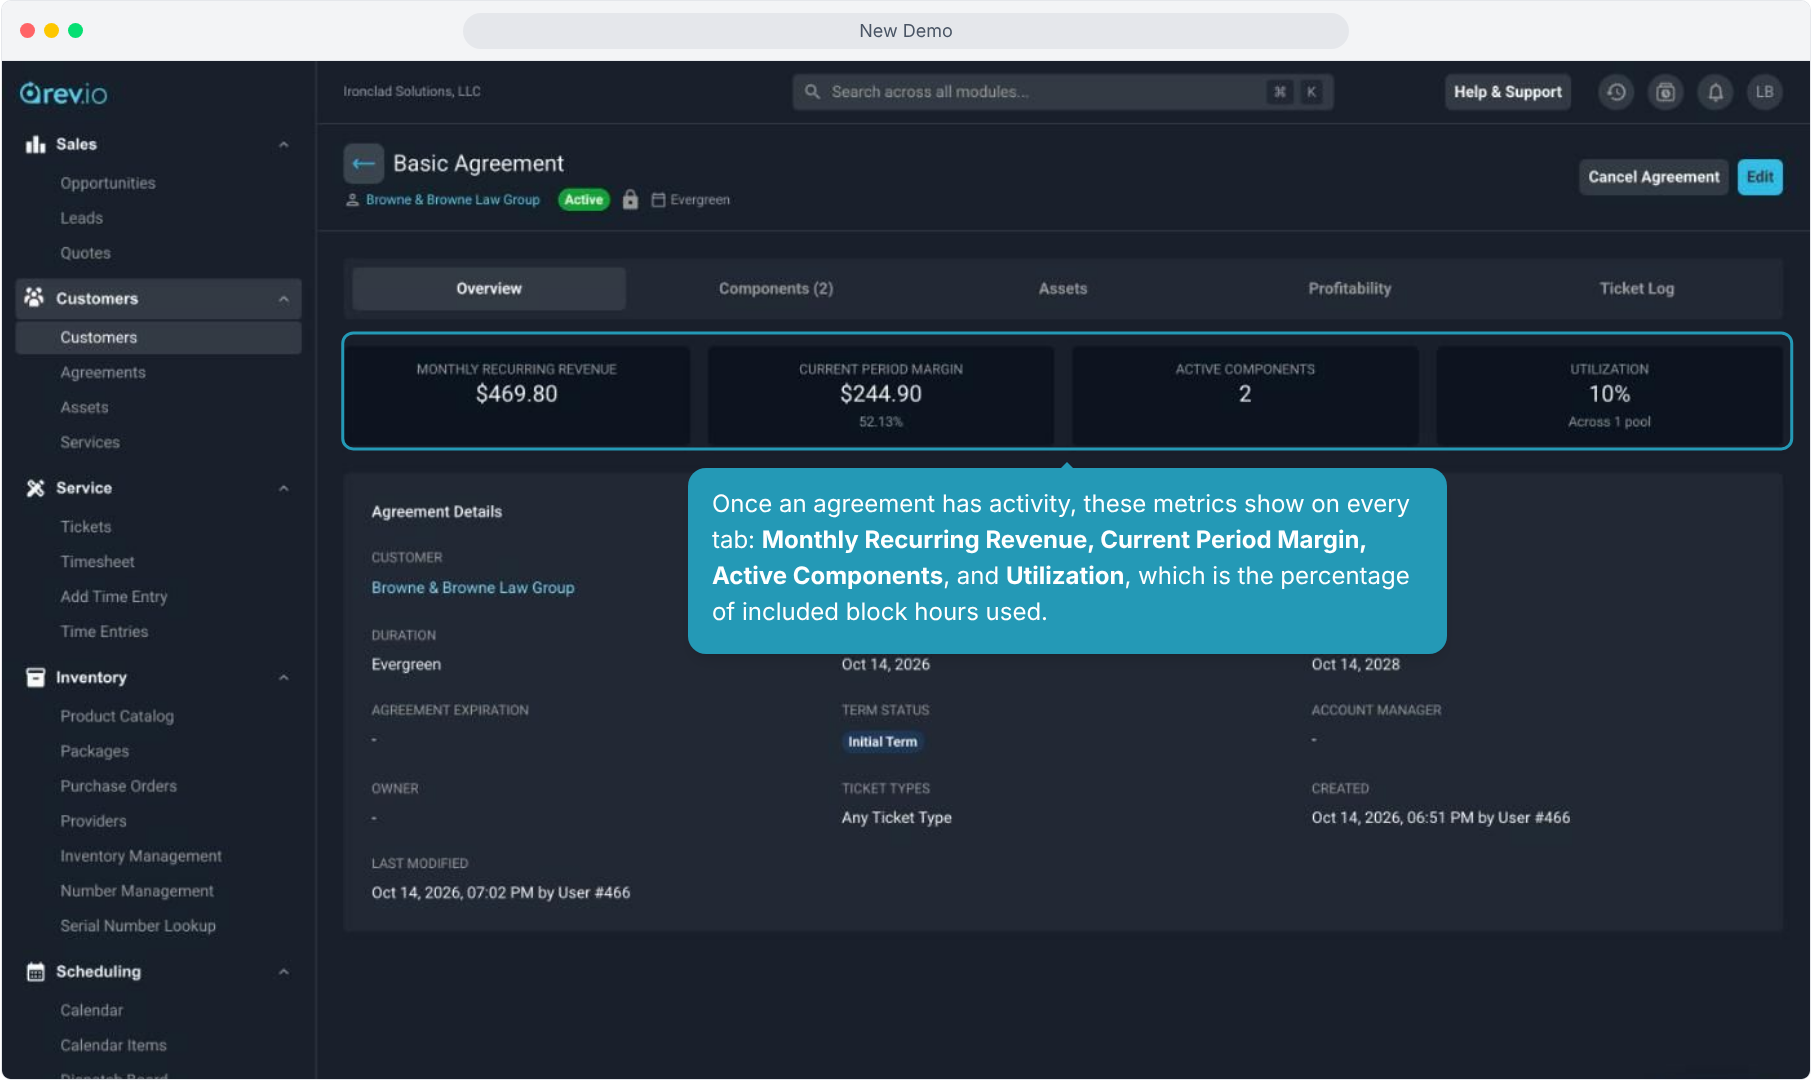
19. Once an agreement has activity, these metrics show on every tab: Monthly Recurring Revenue, Current Period Margin, Active Components, and Utilization, which is the percentage of included block hours used.
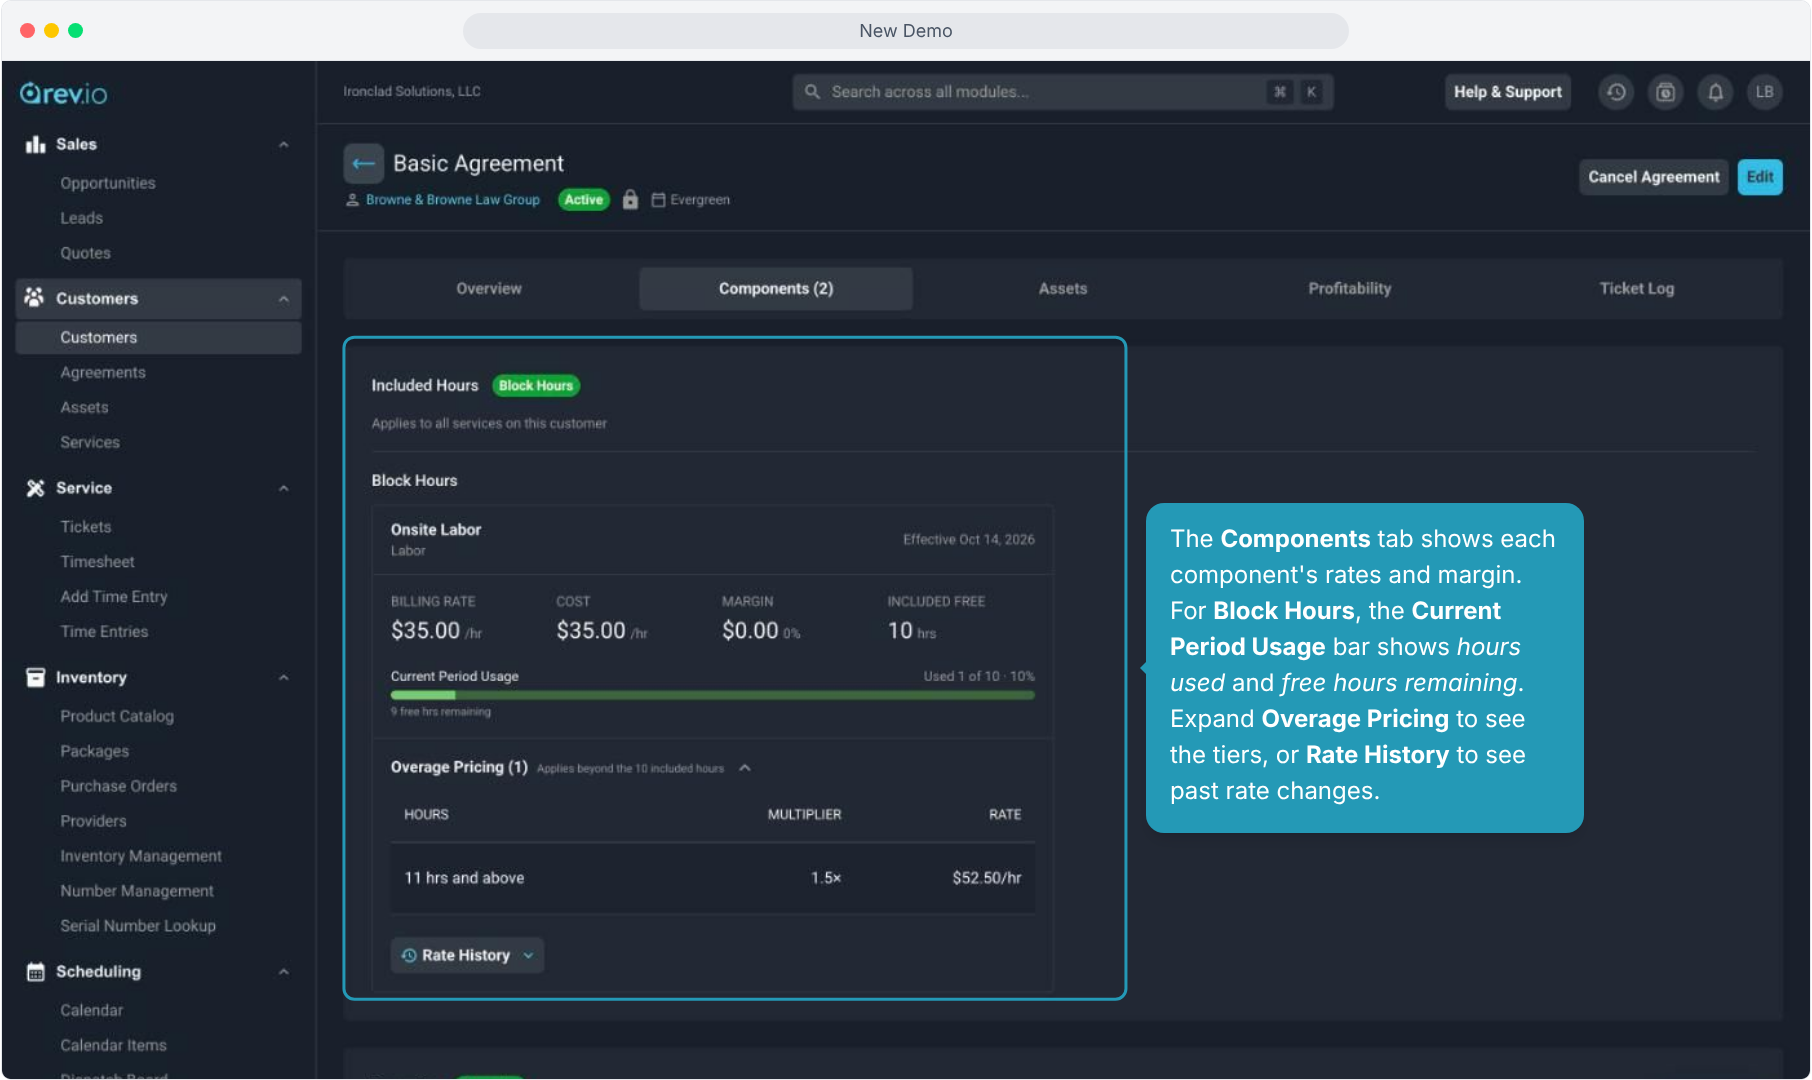
20. The Components tab shows each component's rates and margin. For Block Hours, the Current Period Usage bar shows hours used and free hours remaining. Expand Overage Pricing to see the tiers, or Rate History to see past rate changes.
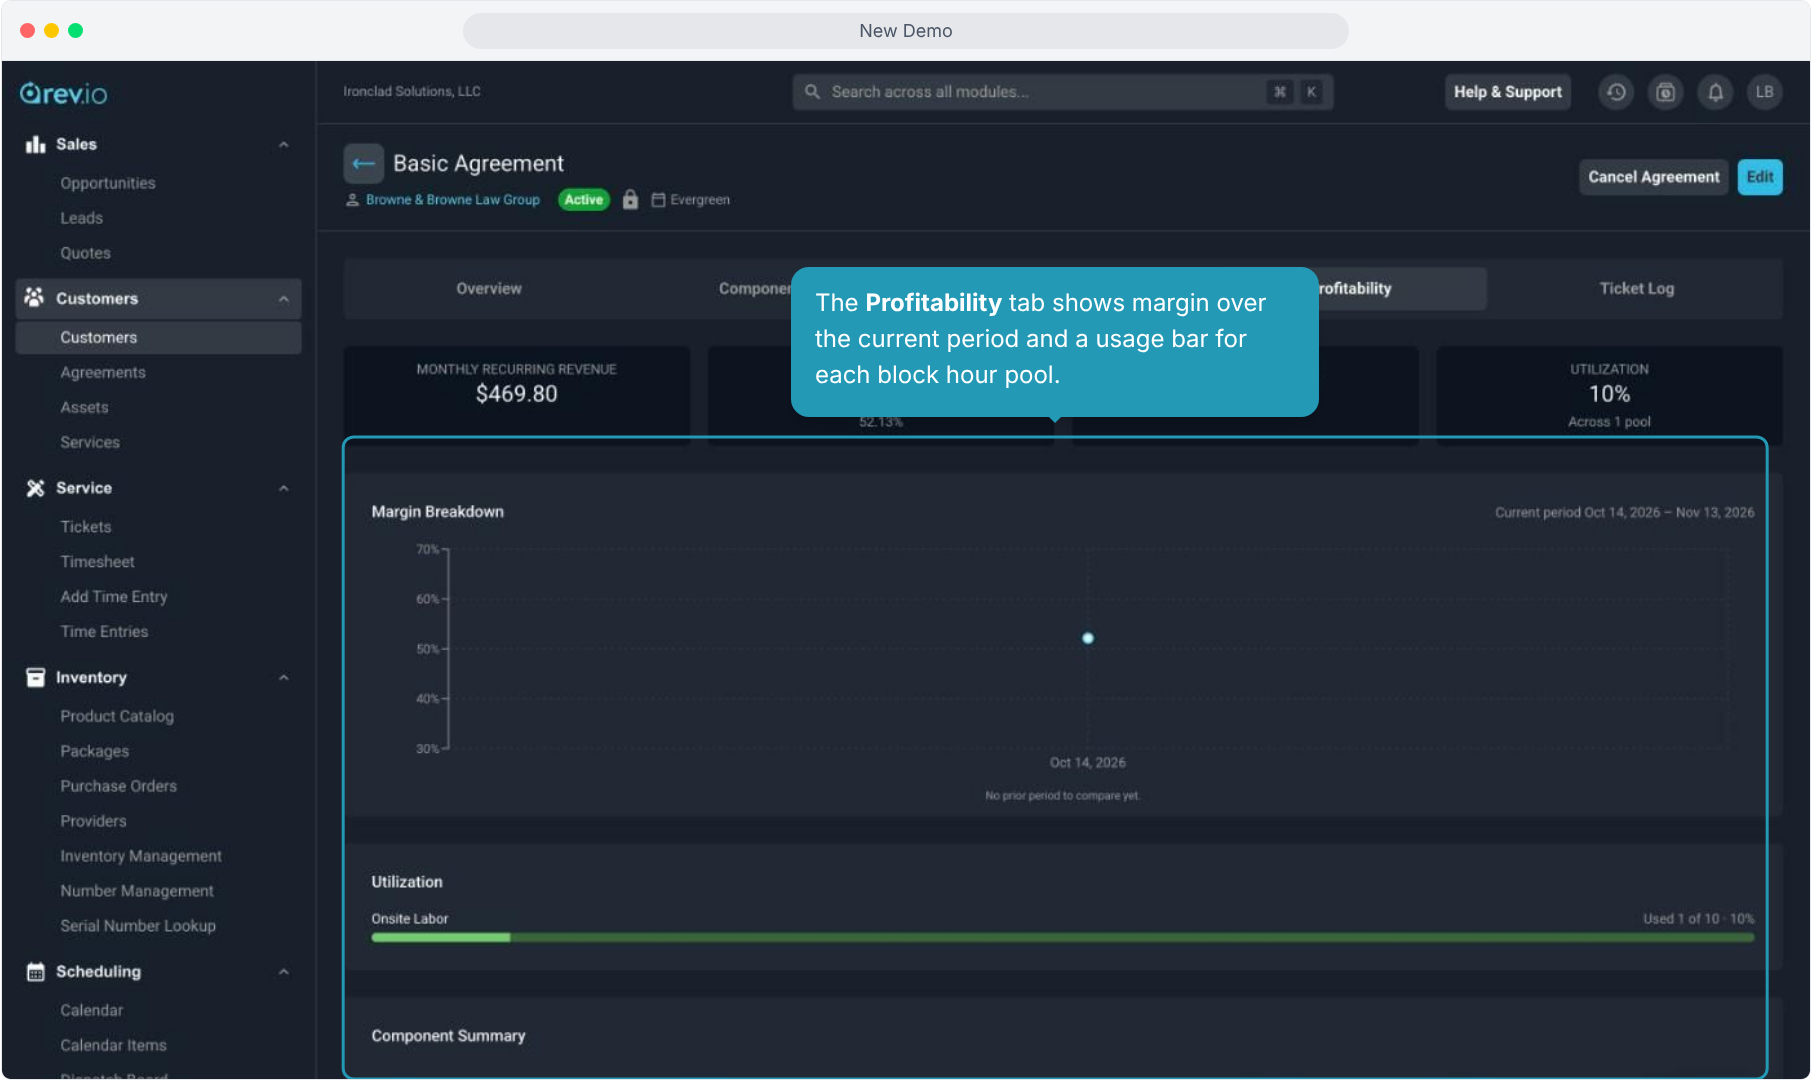
21. The Profitability tab shows margin over the current period and a usage bar for each block hour pool.
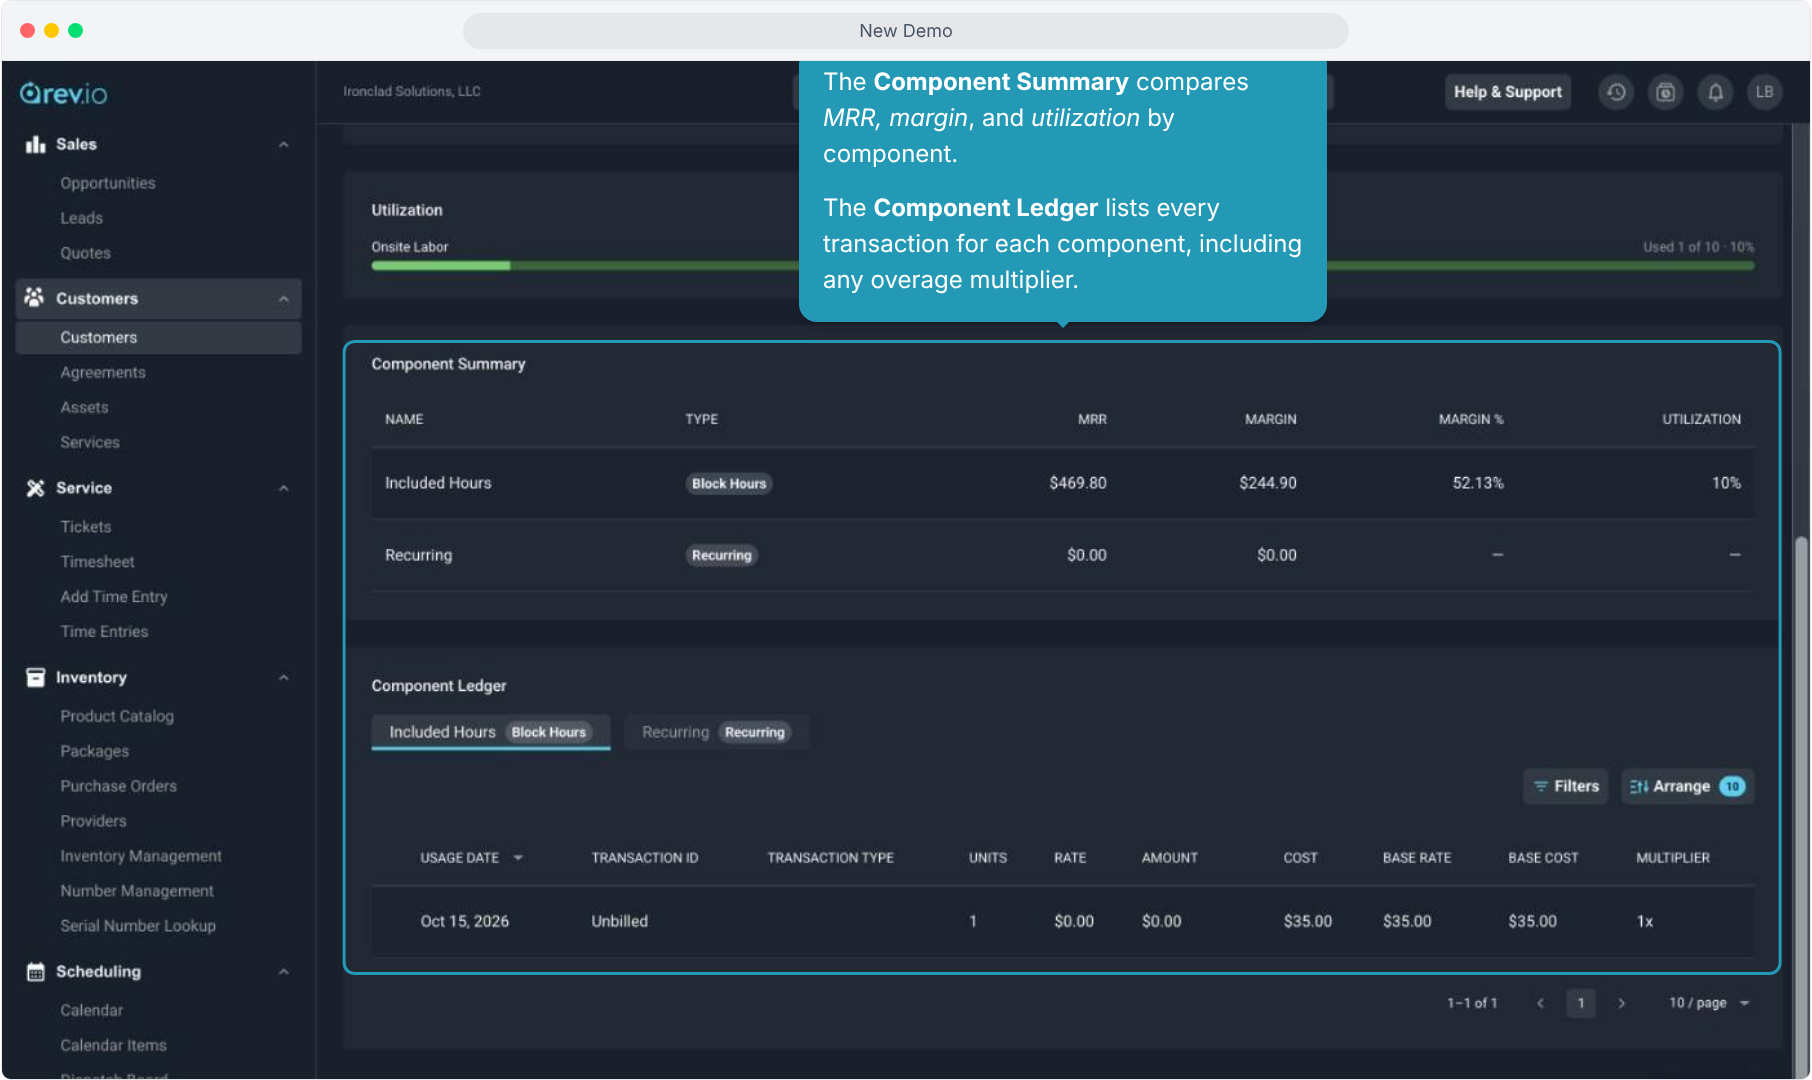
22. The Component Summary compares MRR, margin, and utilization by component.
The Component Ledger lists every transaction for each component, including any overage multiplier.
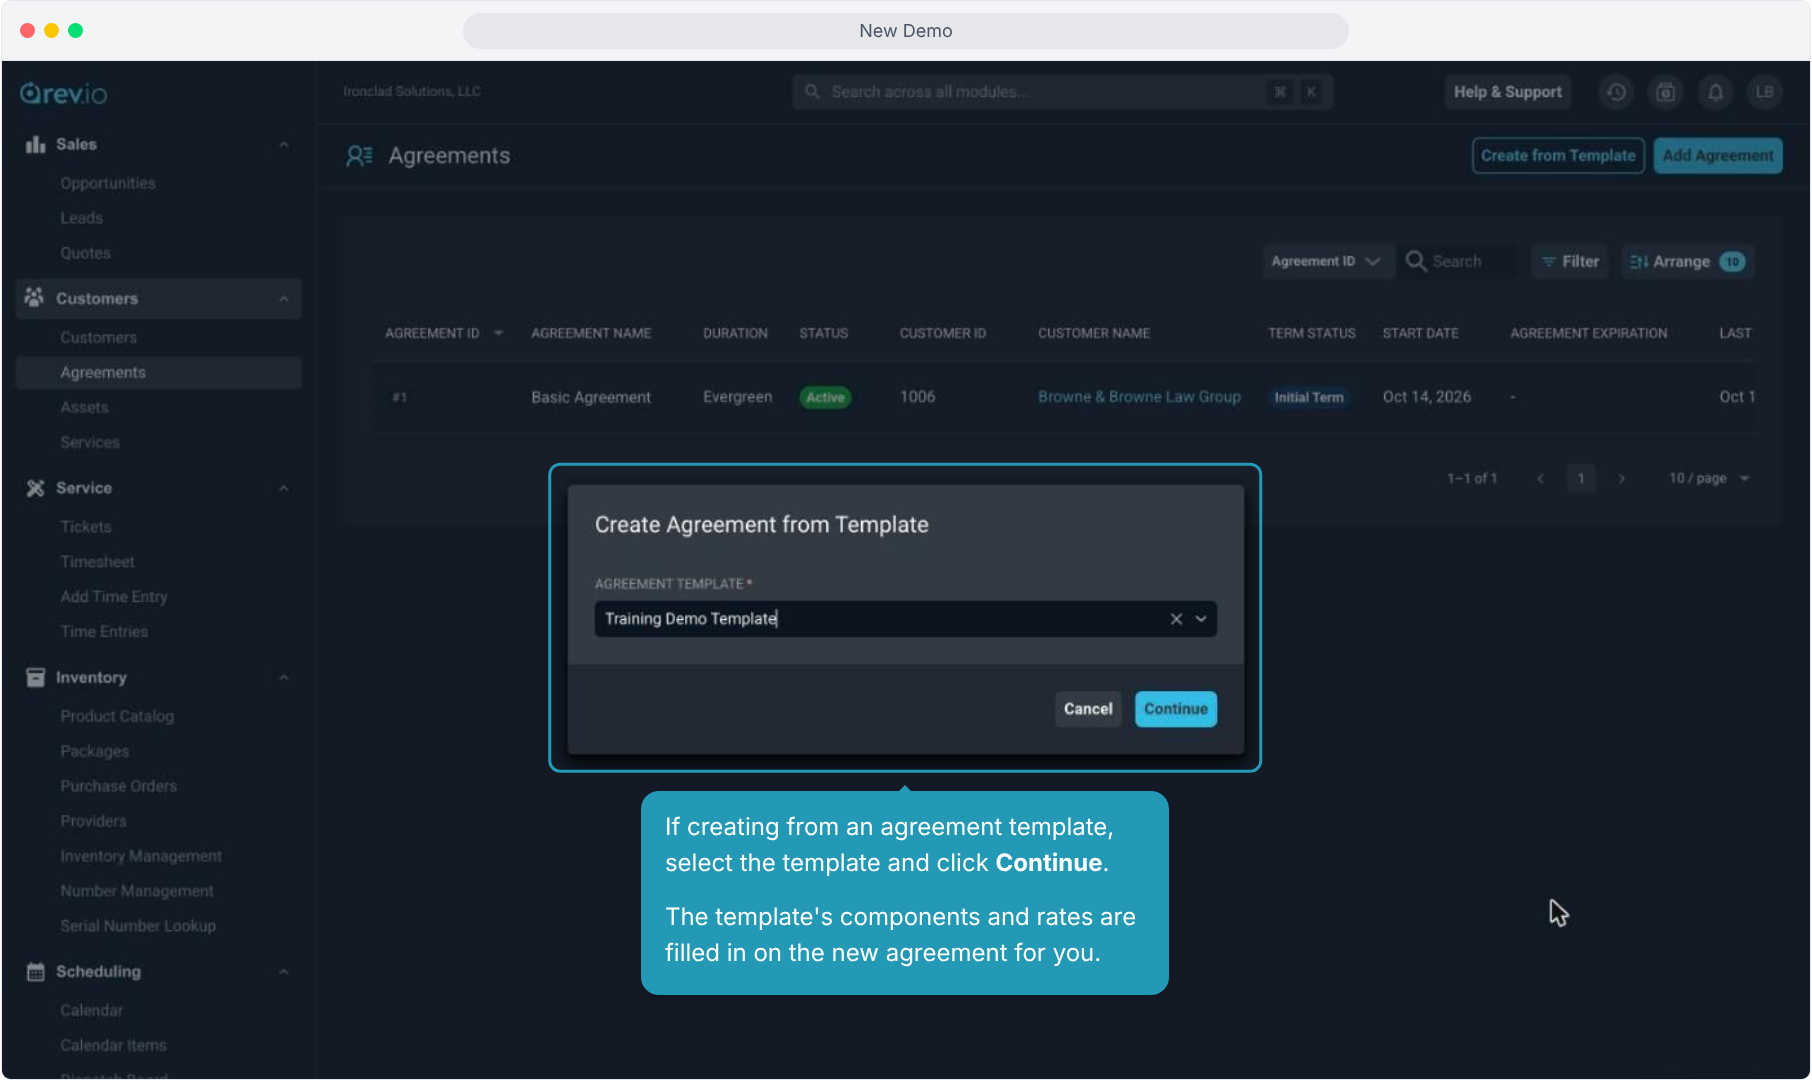
23. The Ticket Log tab lists every ticket on the agreement, with totals for tickets, hours, open, and closed.
If a ticket you expect is missing, check that the agreement's components or ticket types cover it.