How To Guide: Customer - Billing Tab
1. Introduction
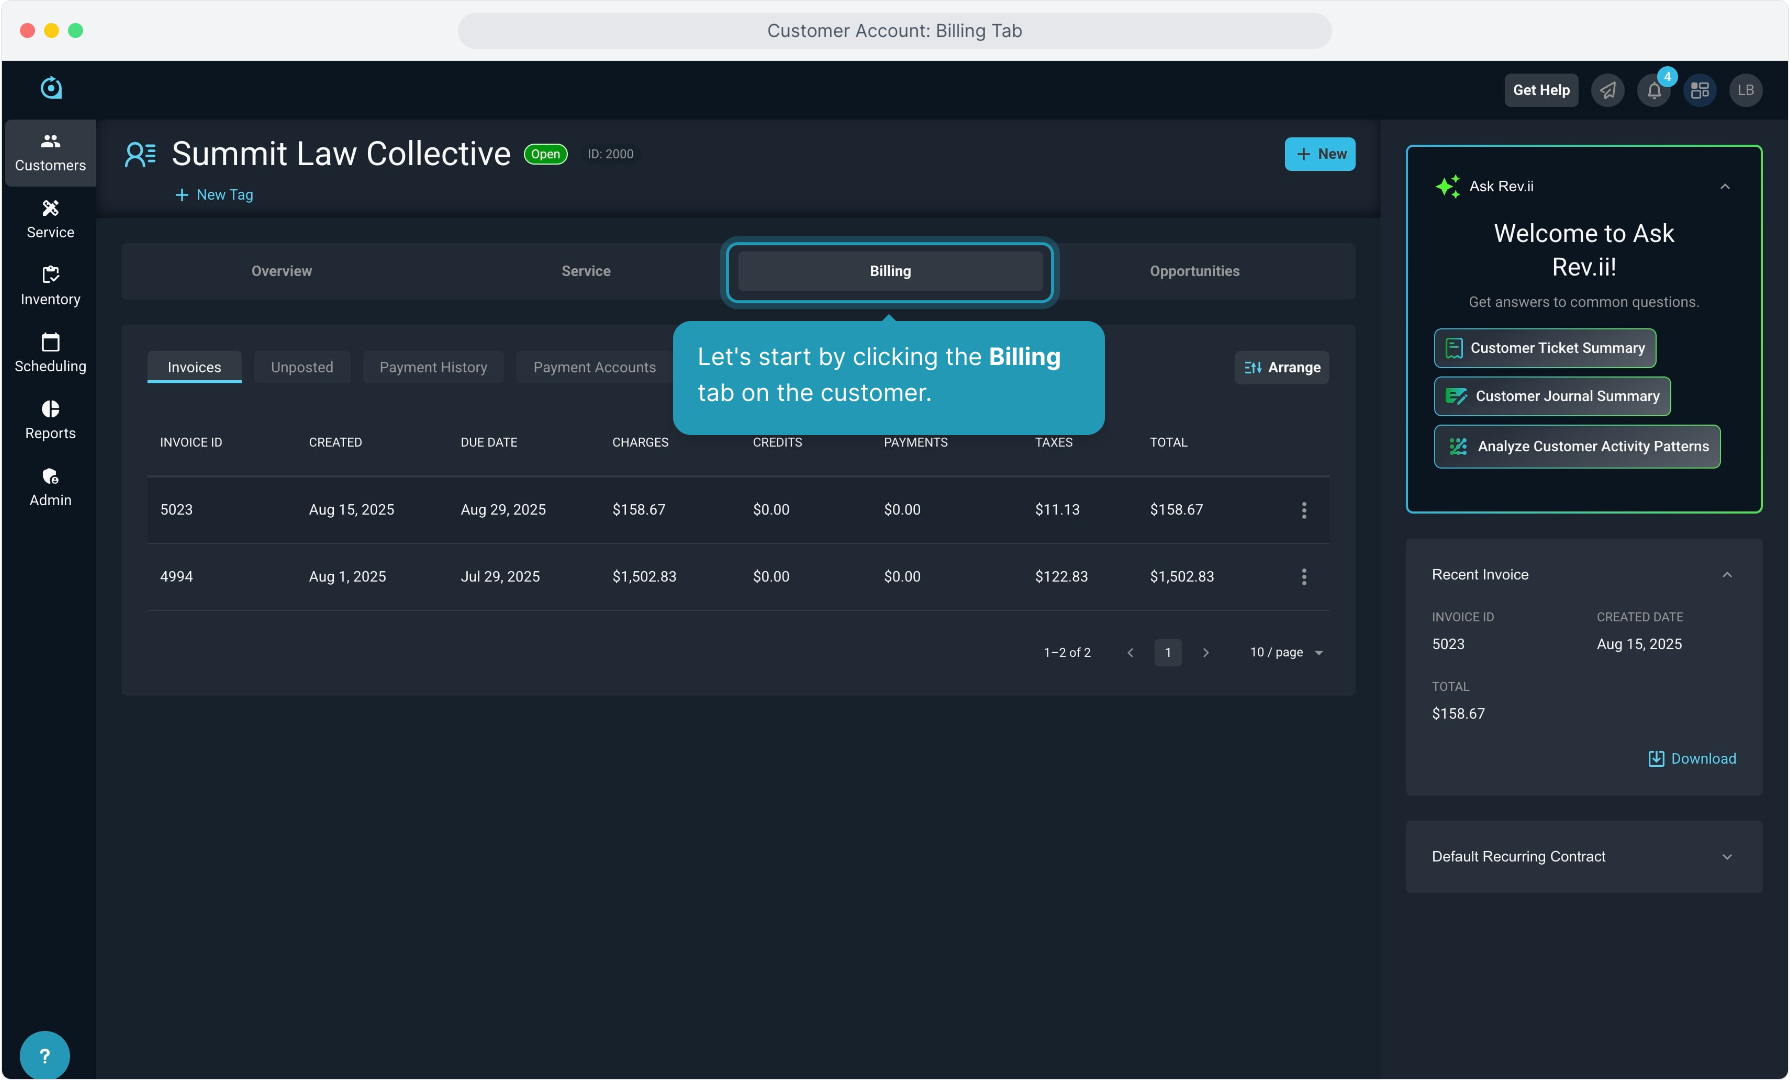
2. Let's start by clicking the Billing tab on the customer.
3. Click on the Invoices tab.
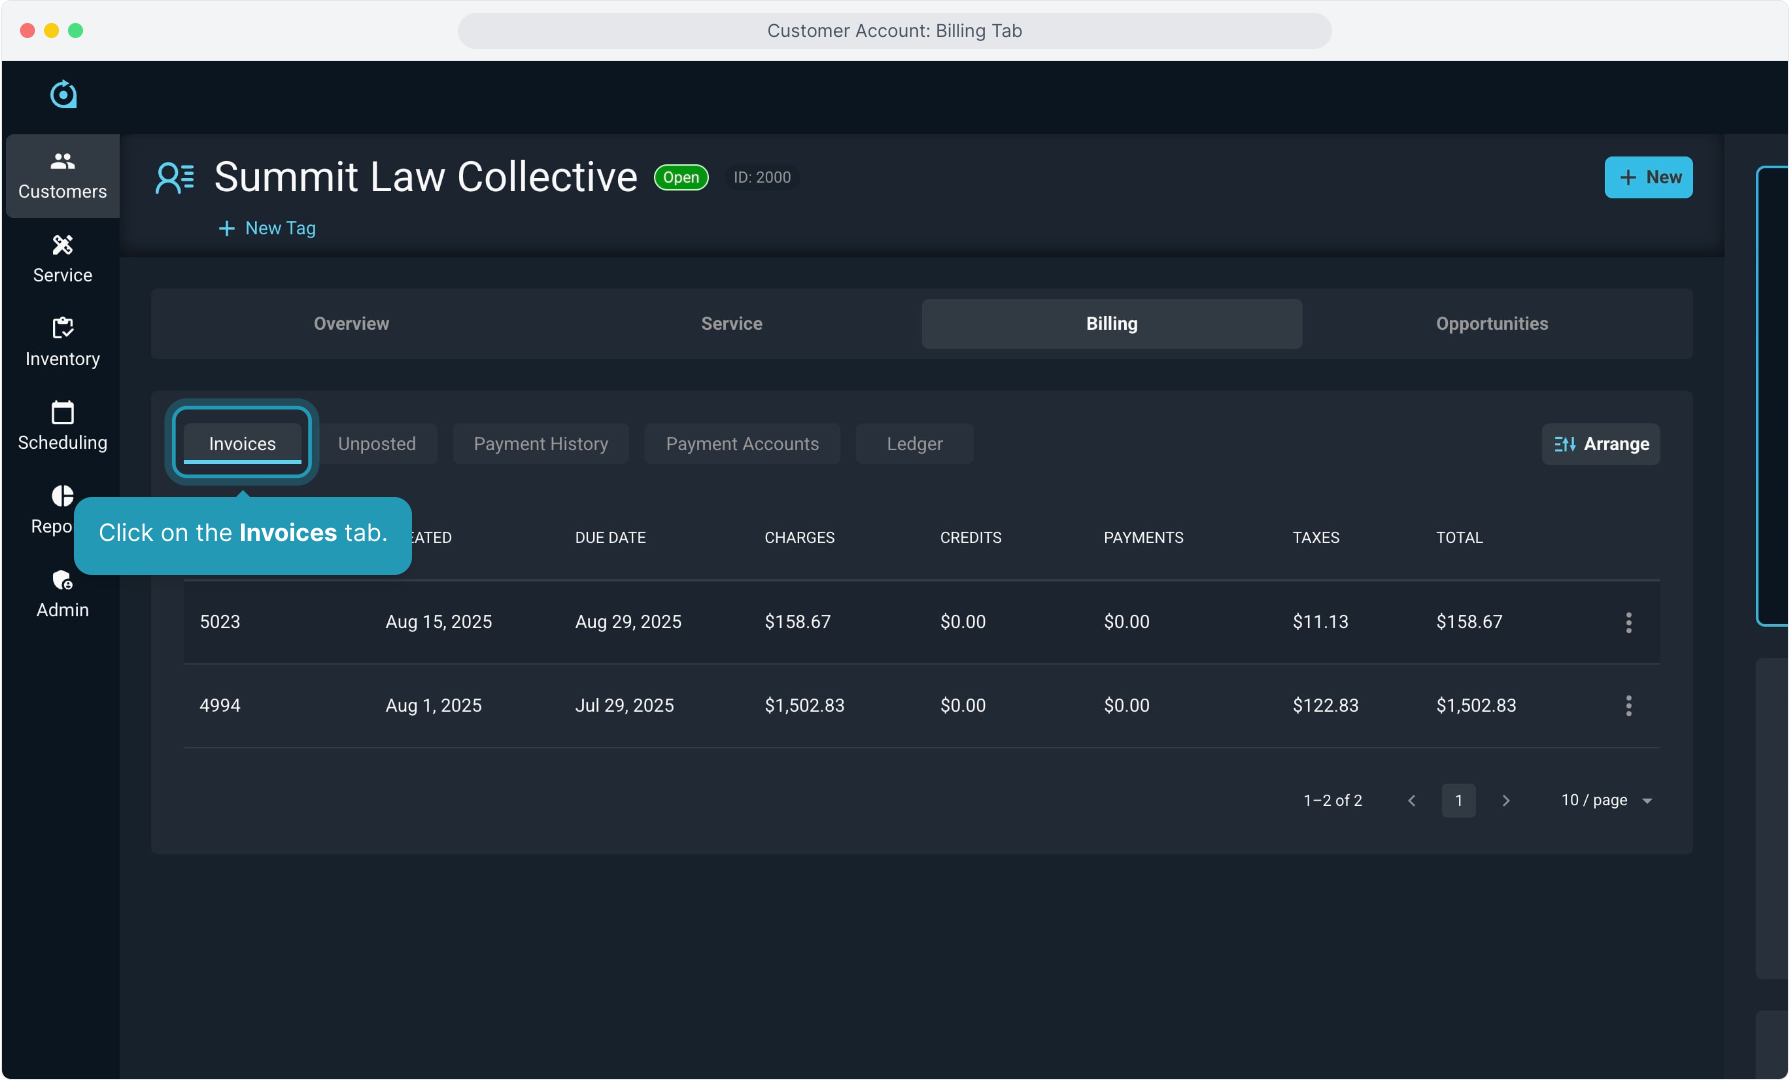
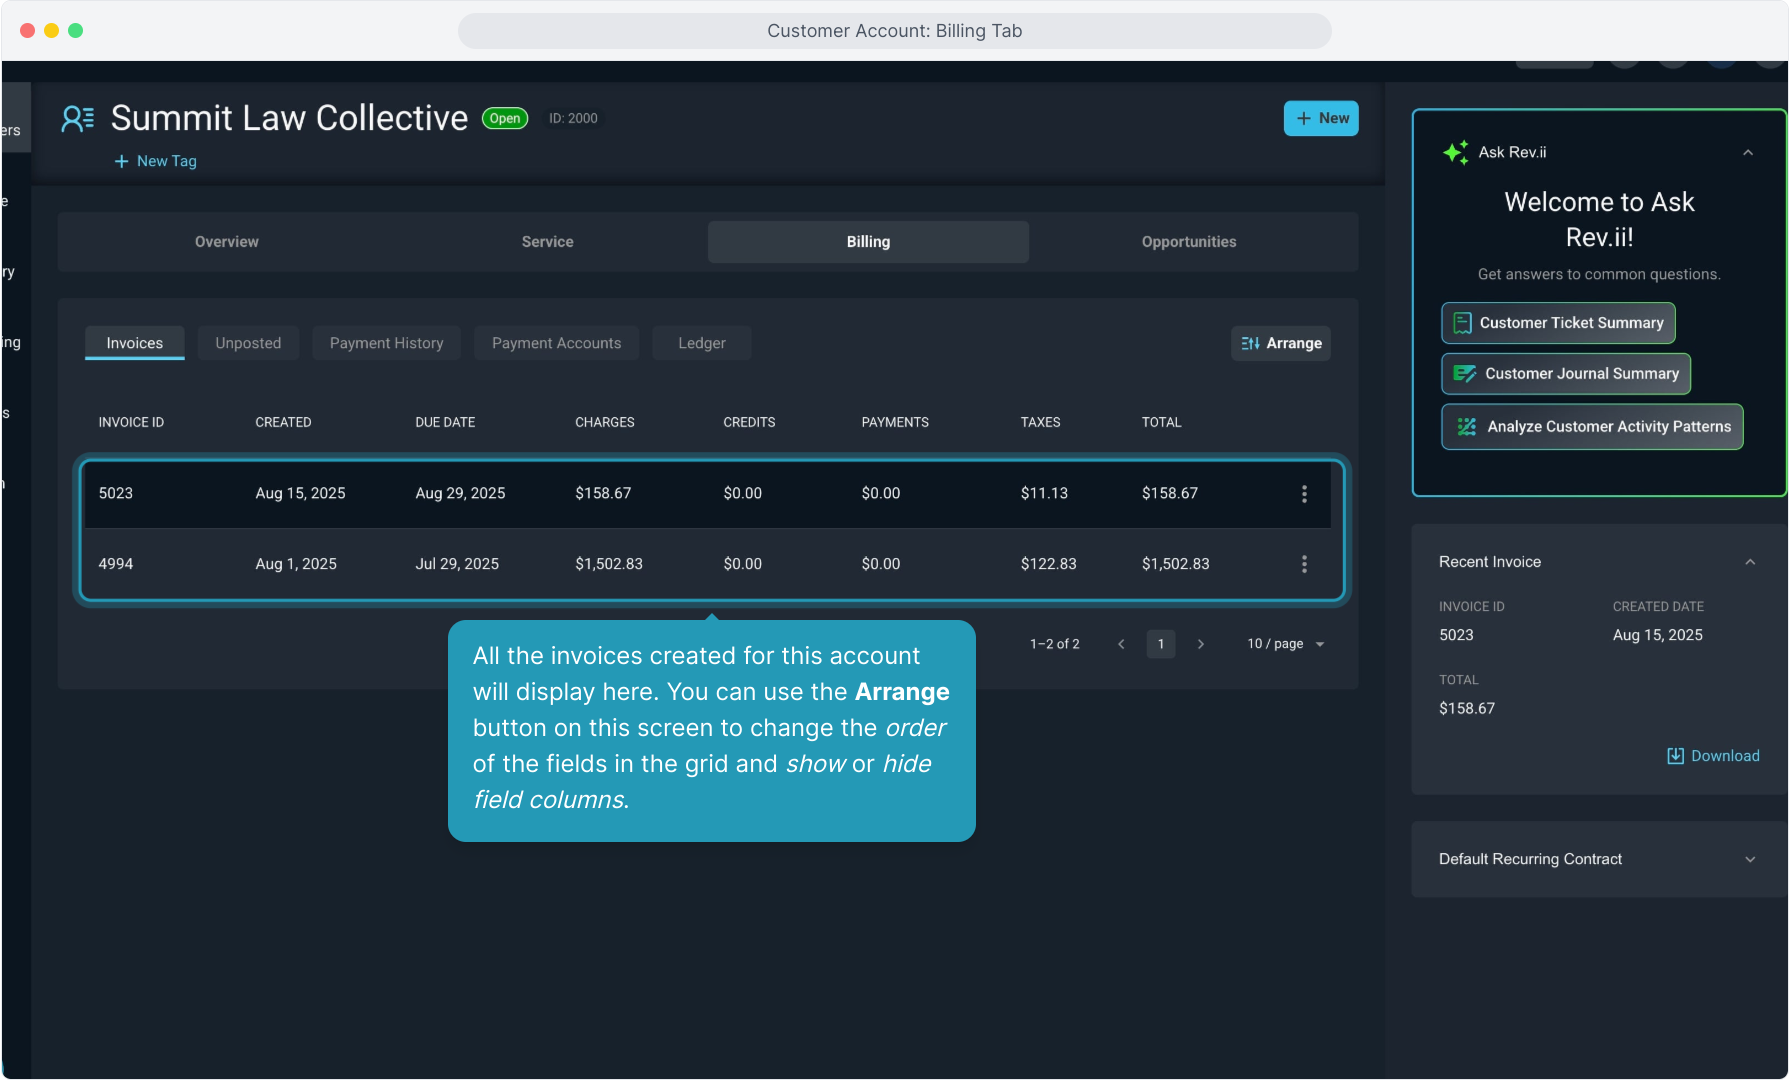
4. All the invoices created for this account will display here. You can use the Arrange button on this screen to change the order of the fields in the grid and show or hide field columns.
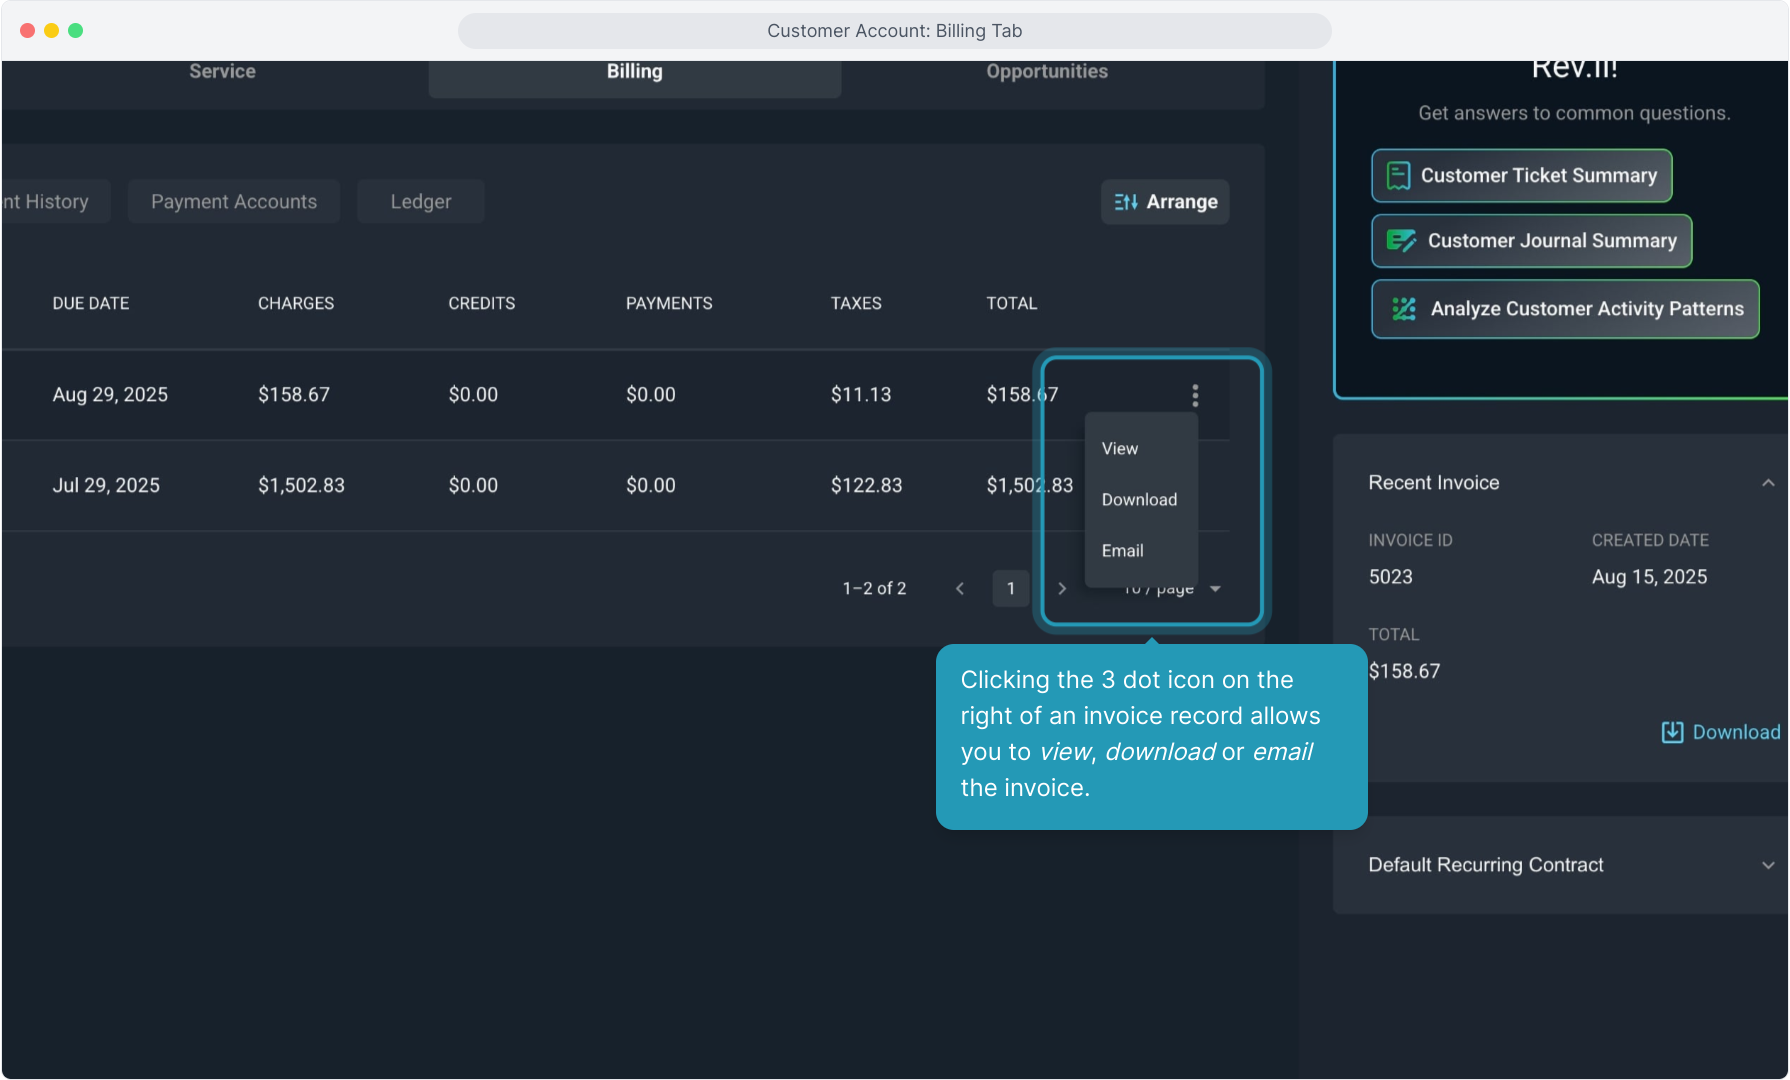
5. Clicking the 3 dot icon on the right of an invoice record allows you to view, download or email the invoice.
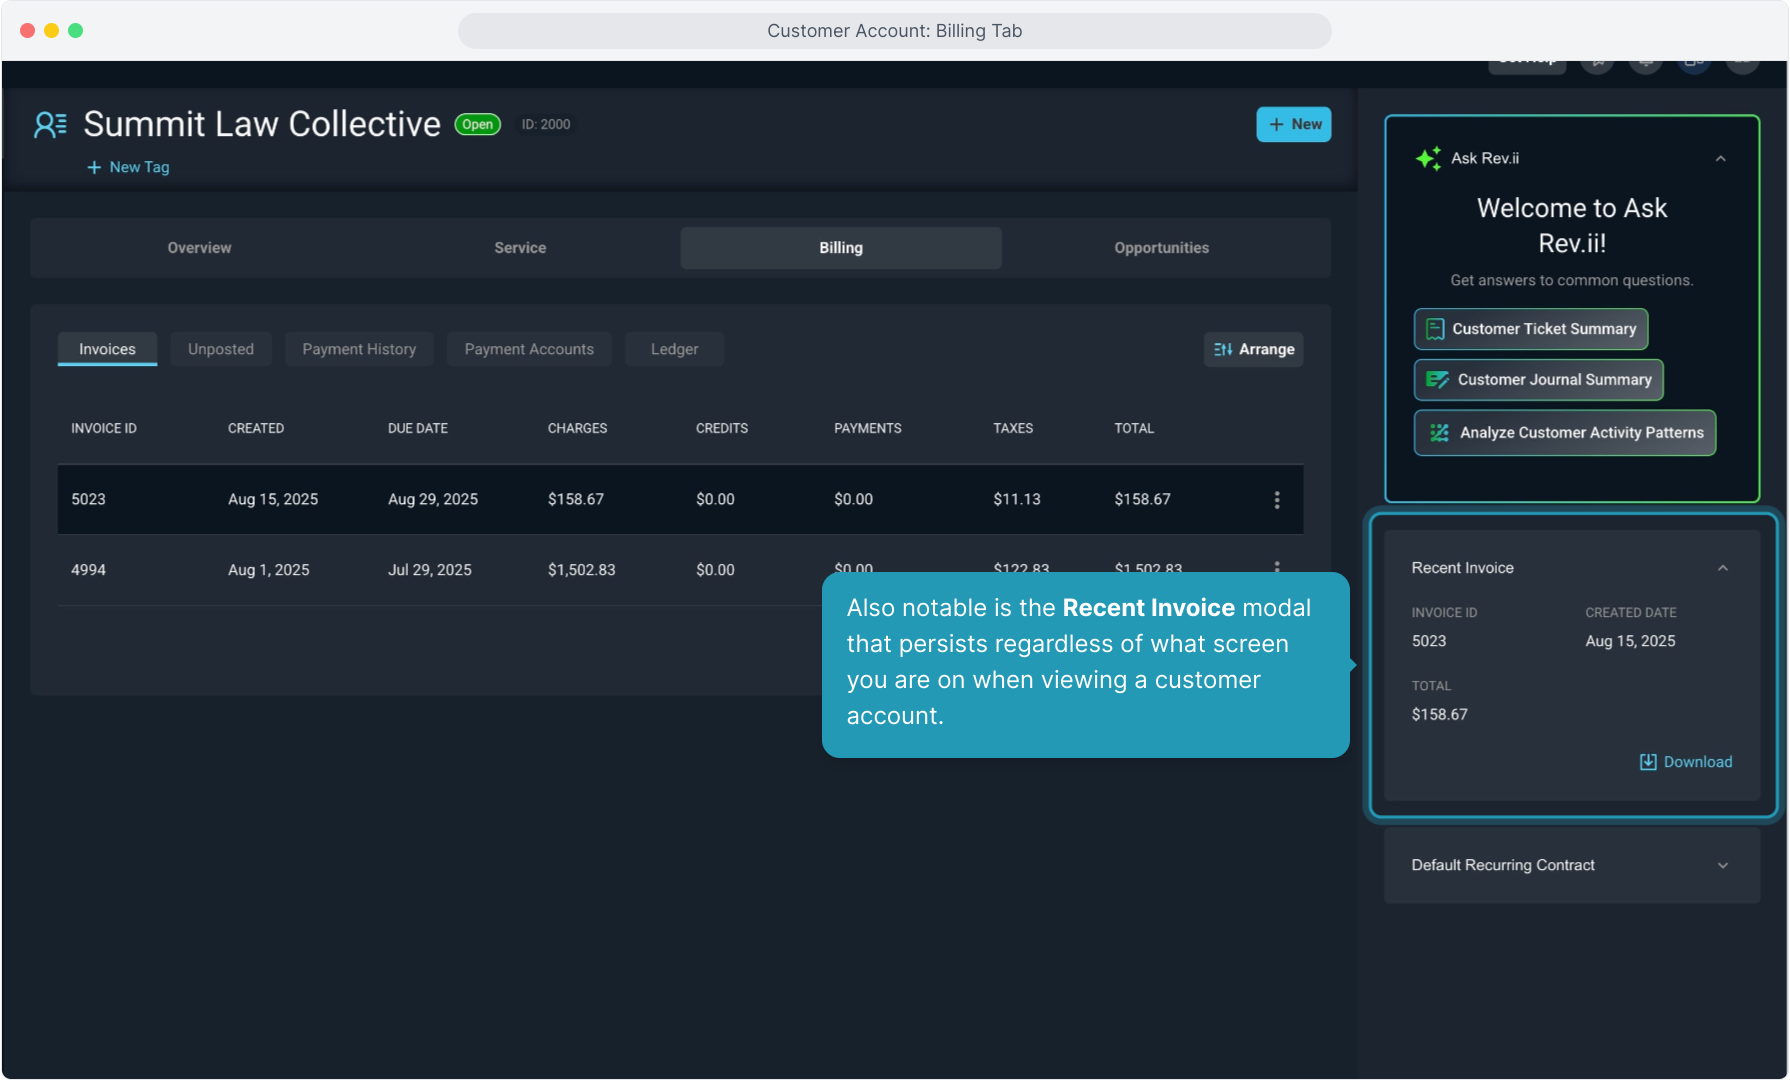
6. Also notable is the Recent Invoice modal that persists regardless of what screen you are on when viewing a customer account.
7. Clicking on the Unposted tab will display any charges or credits that have not yet been sent to a customer on an invoice.
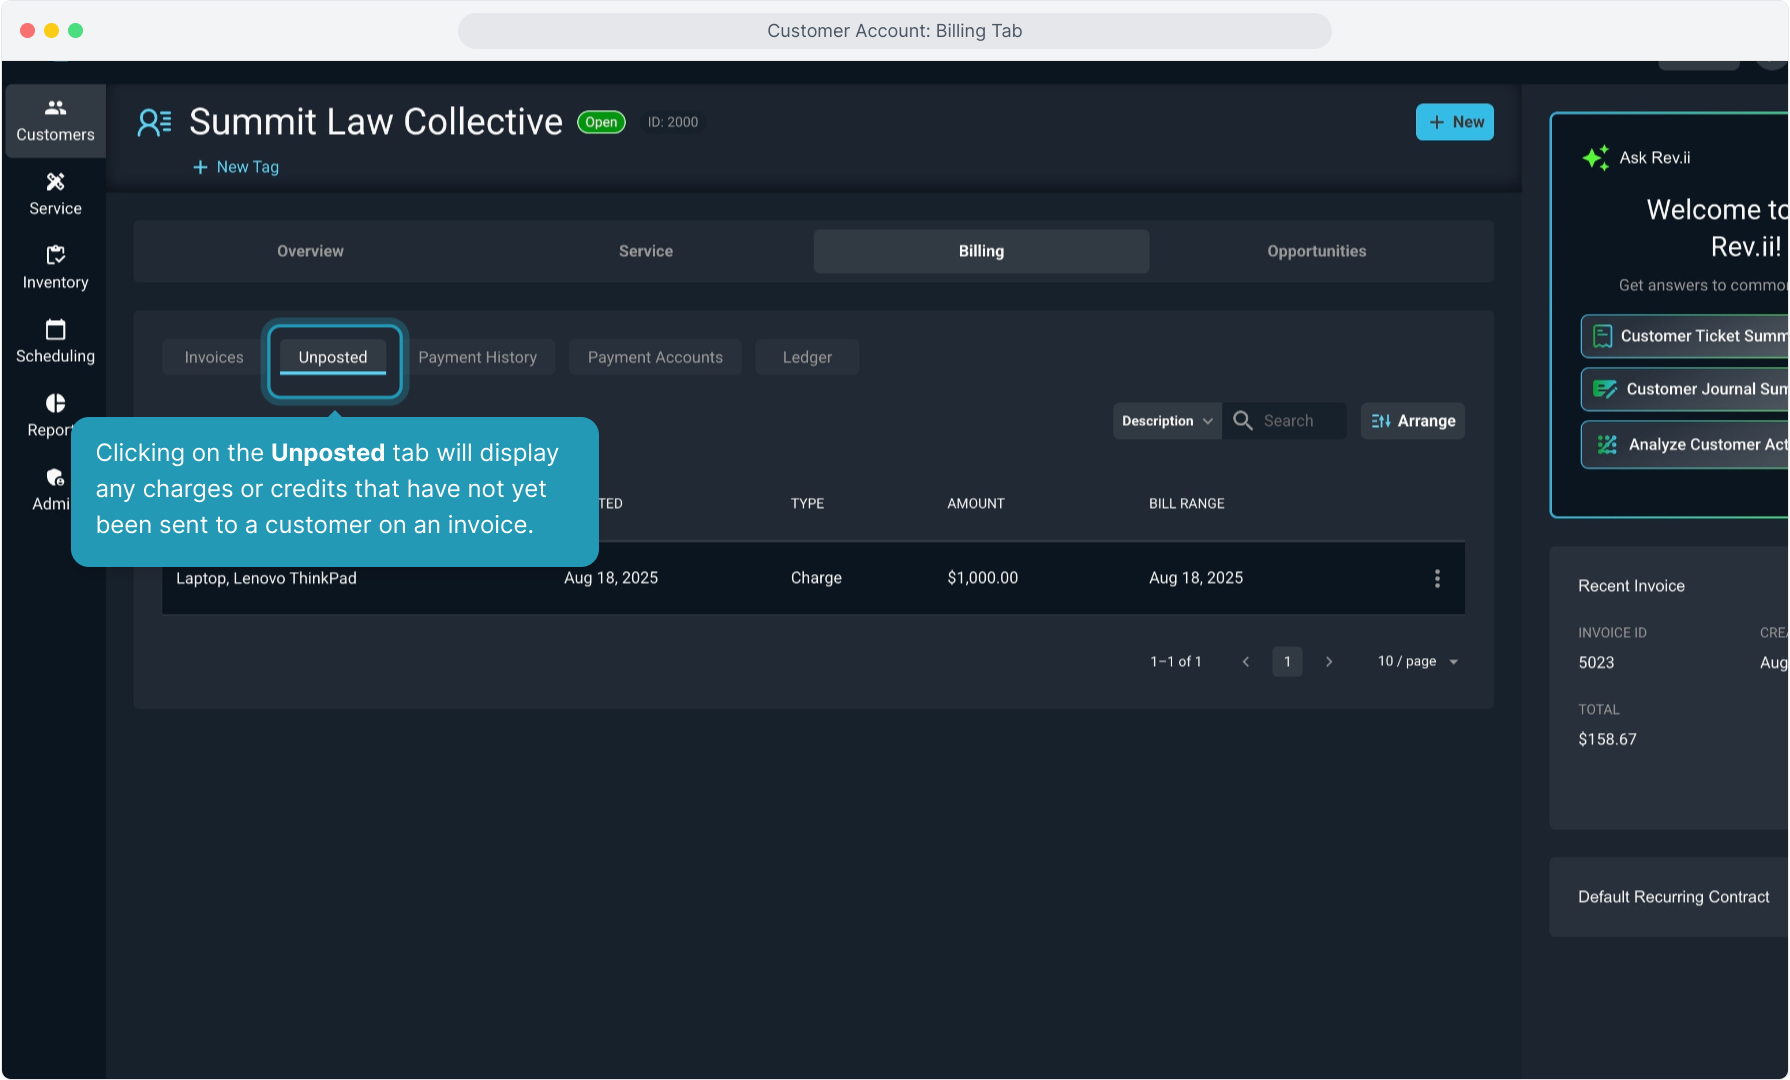
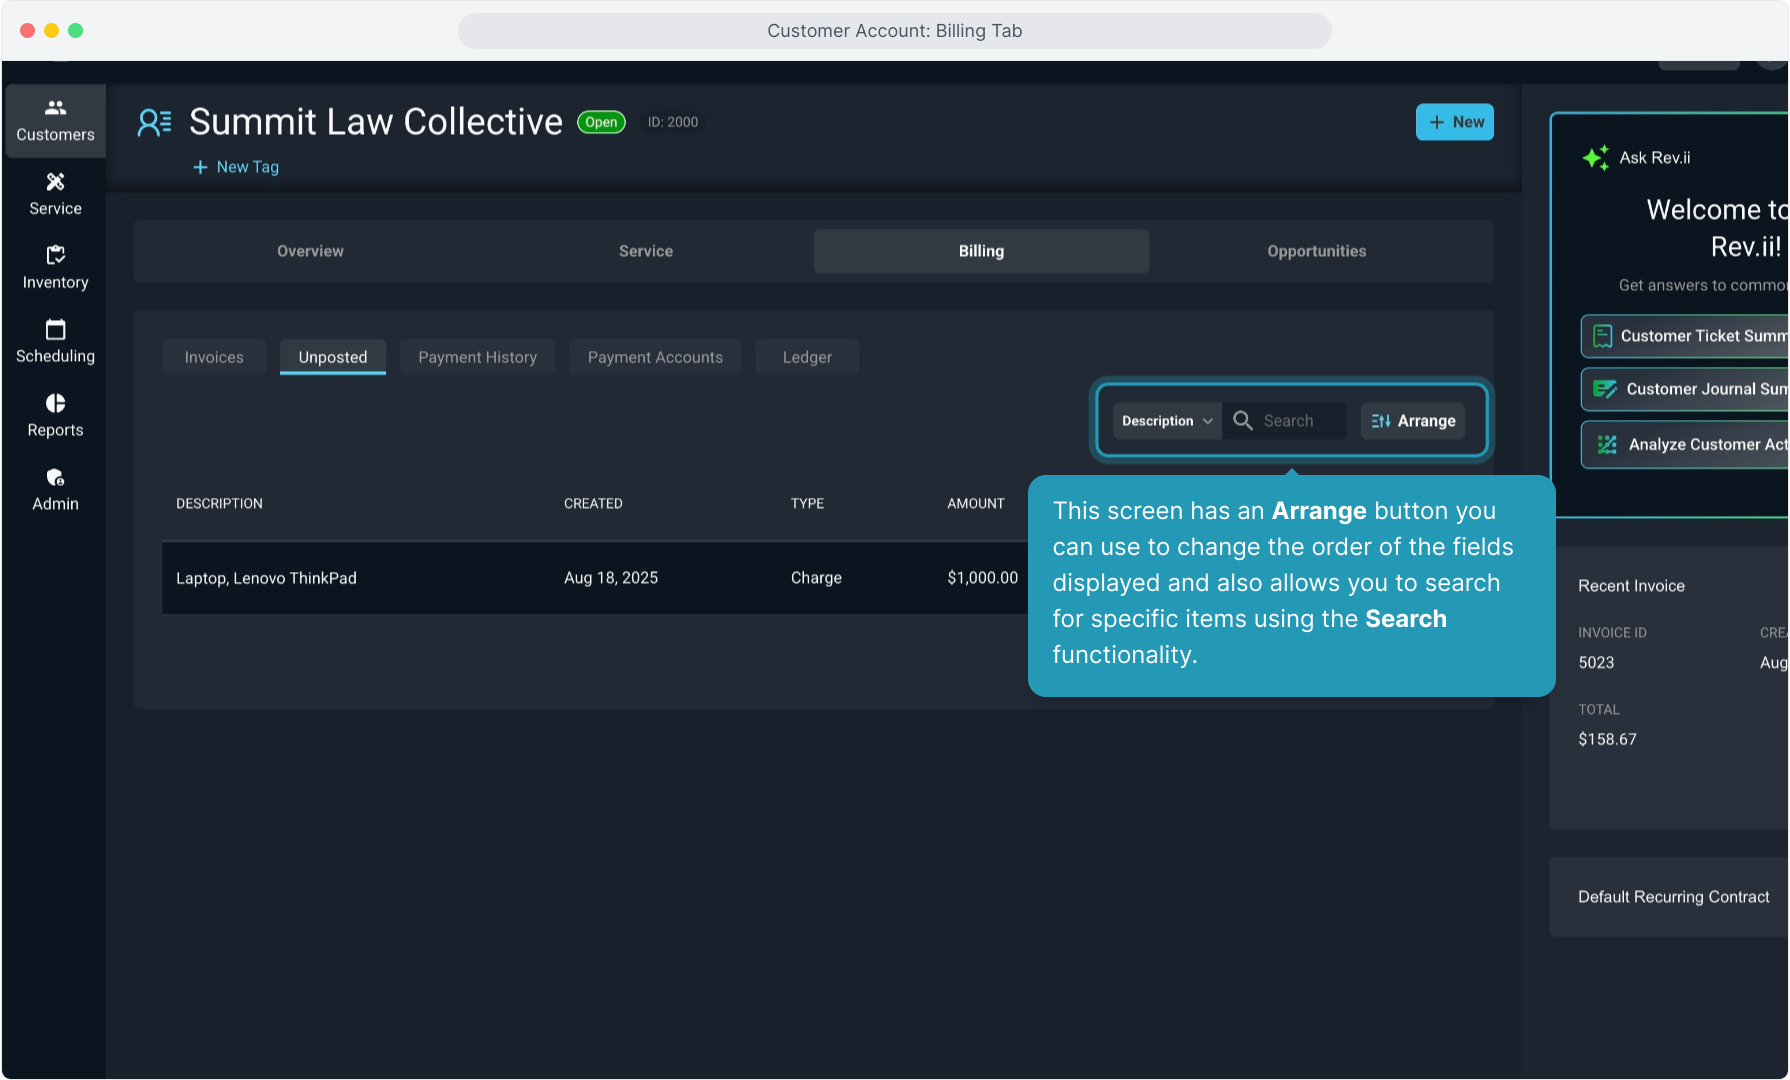
8. This screen has an Arrange button you can use to change the order of the fields displayed and also allows you to search for specific items using the Search functionality.
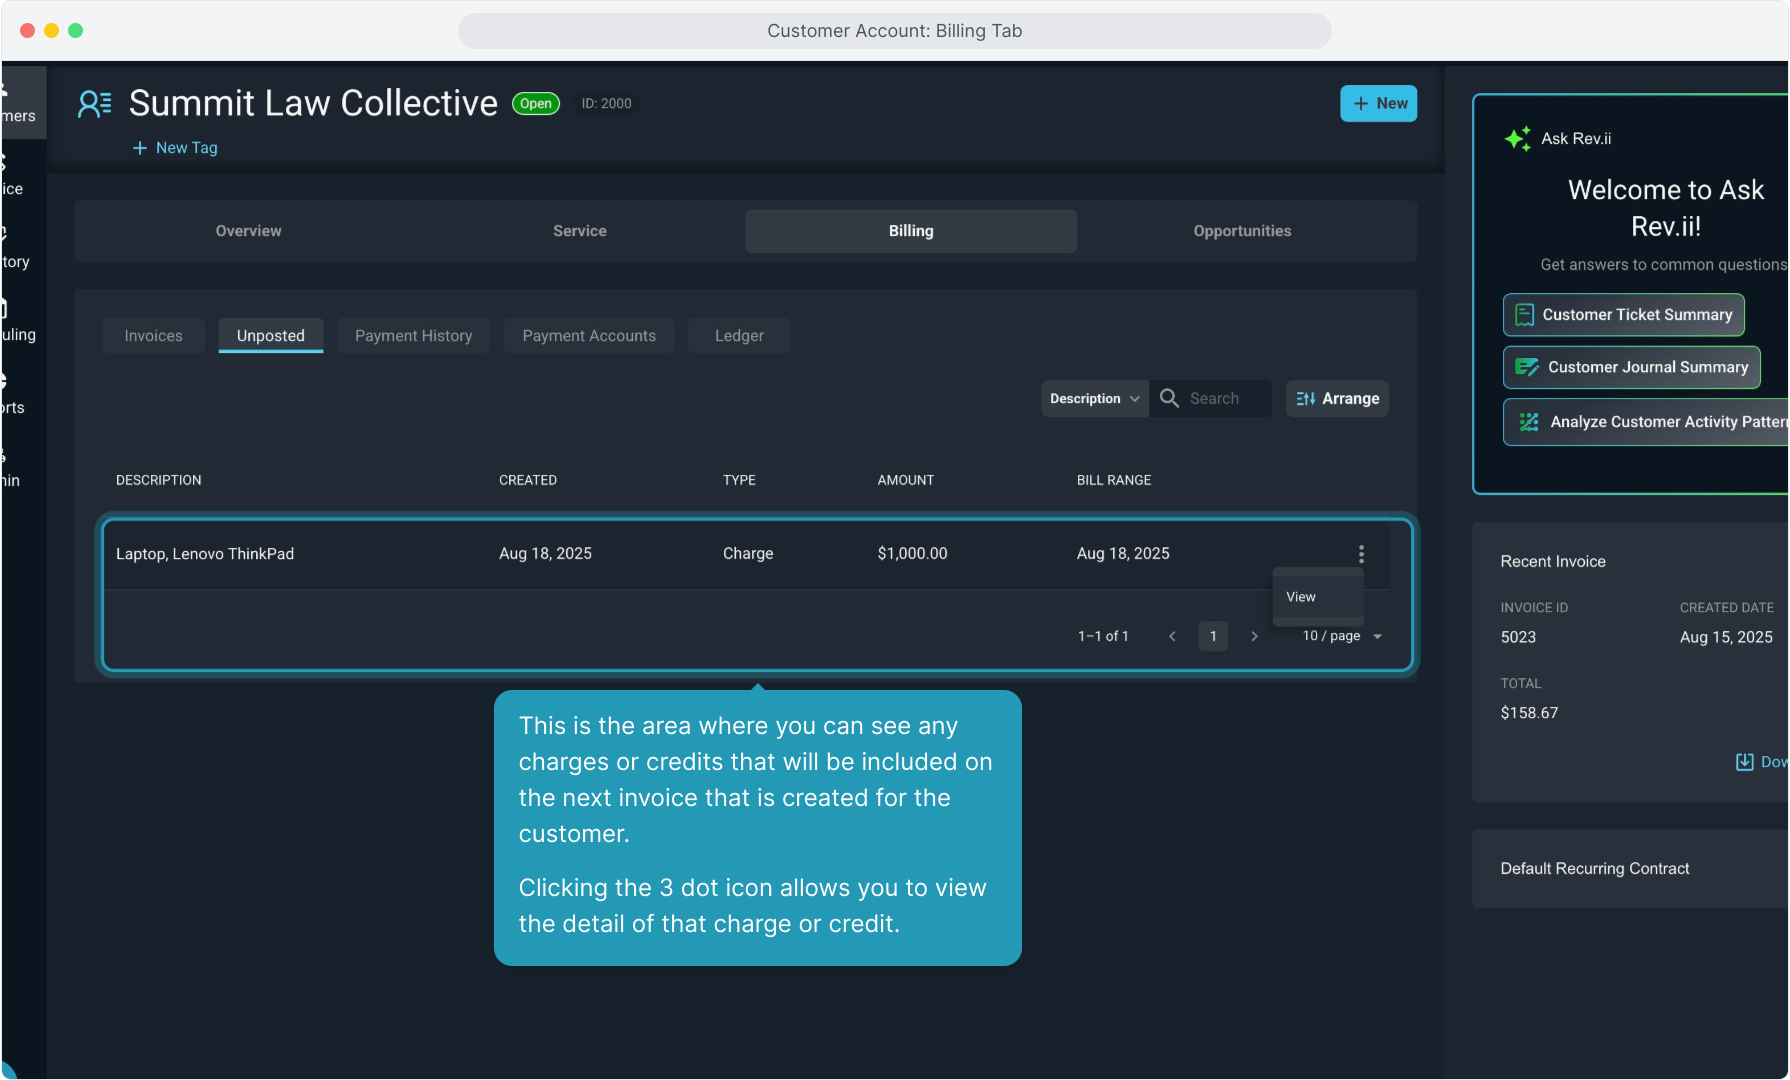
9. This is the area where you can see any charges or credits that will be included on the next invoice that is created for the customer.
Clicking the 3 dot icon allows you to view the detail of that charge or credit.
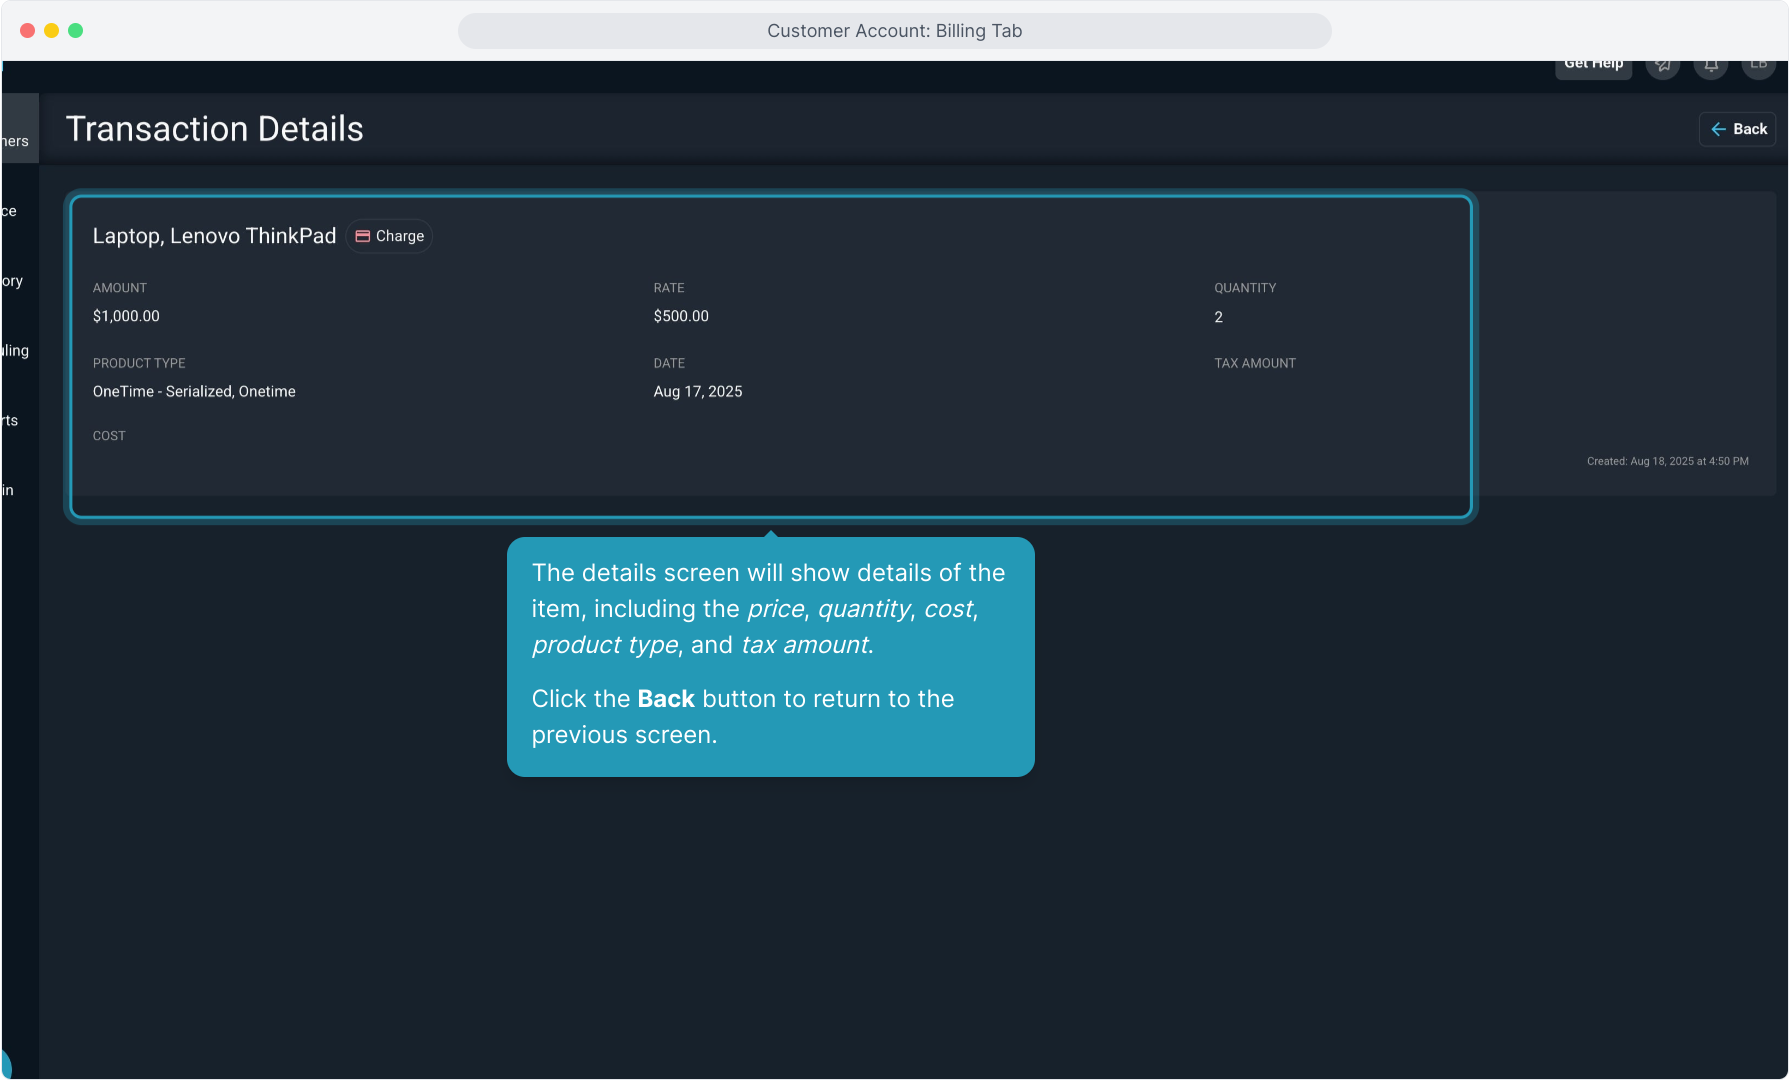
10. The details screen will show details of the item, including the price, quantity, cost, product type, and tax amount.
Click the Back button to return to the previous screen.
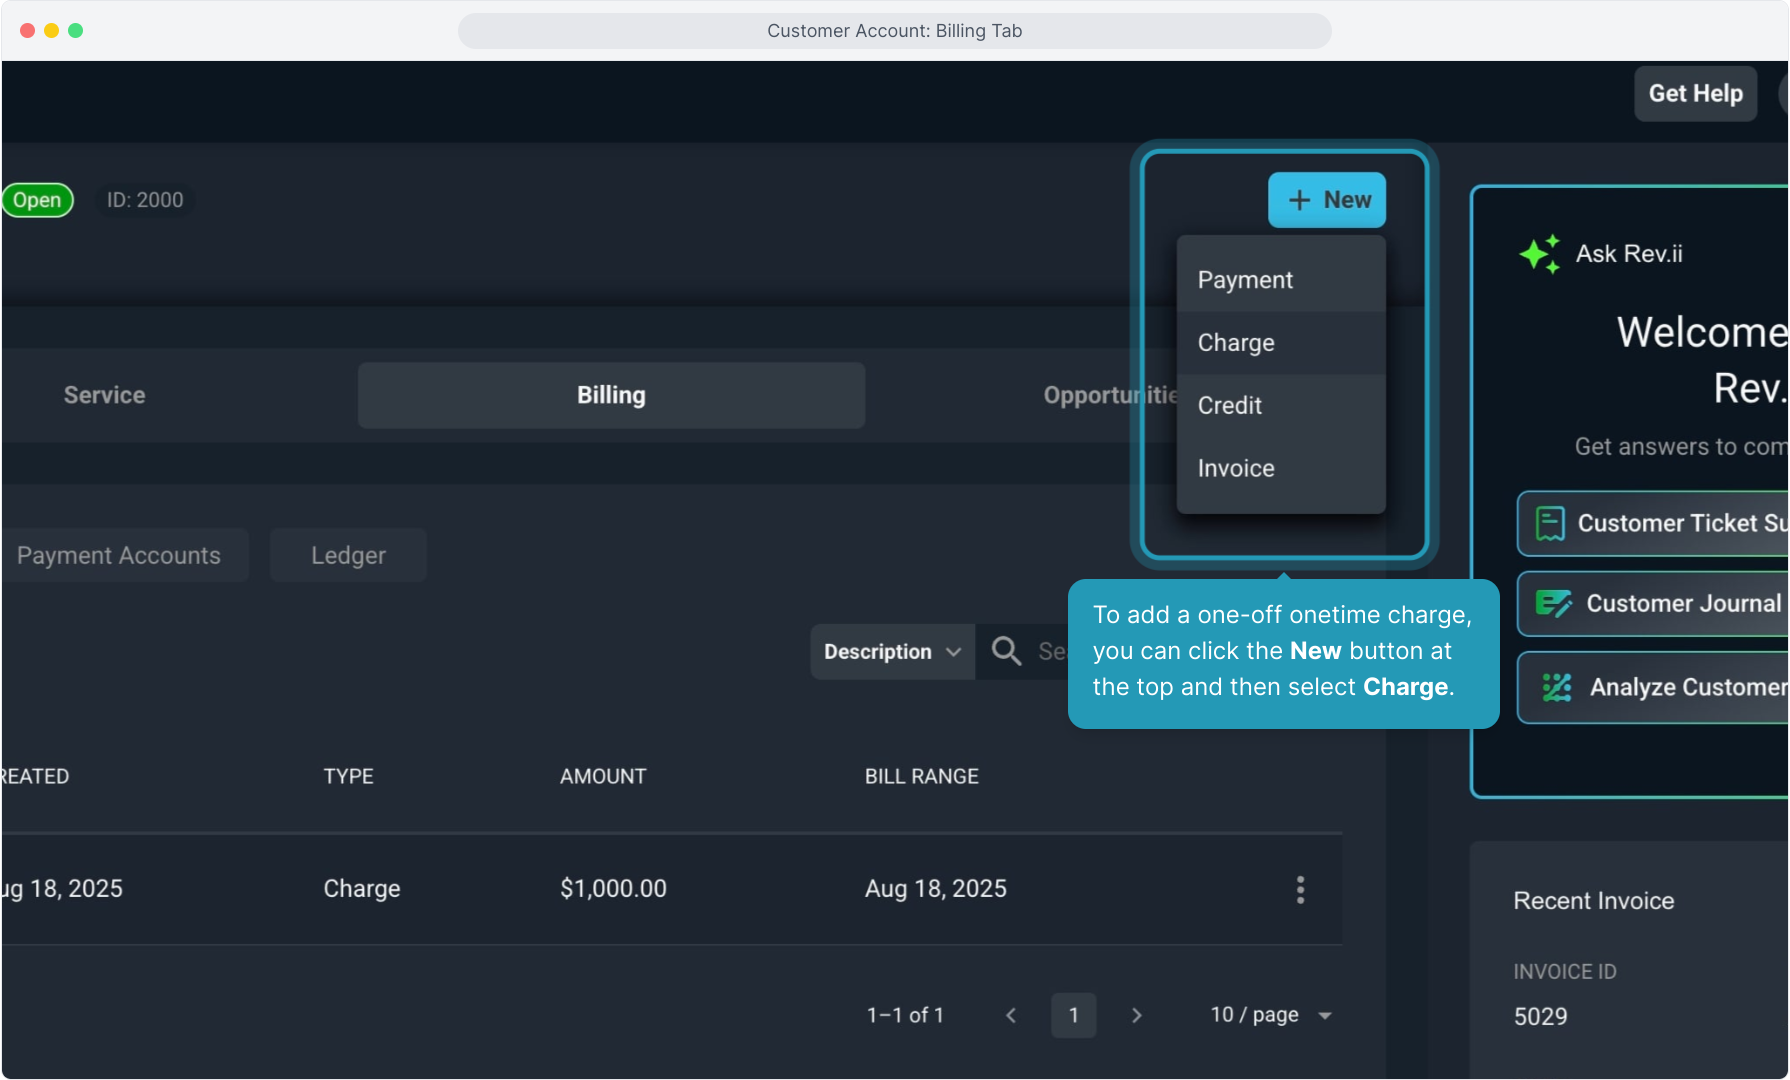
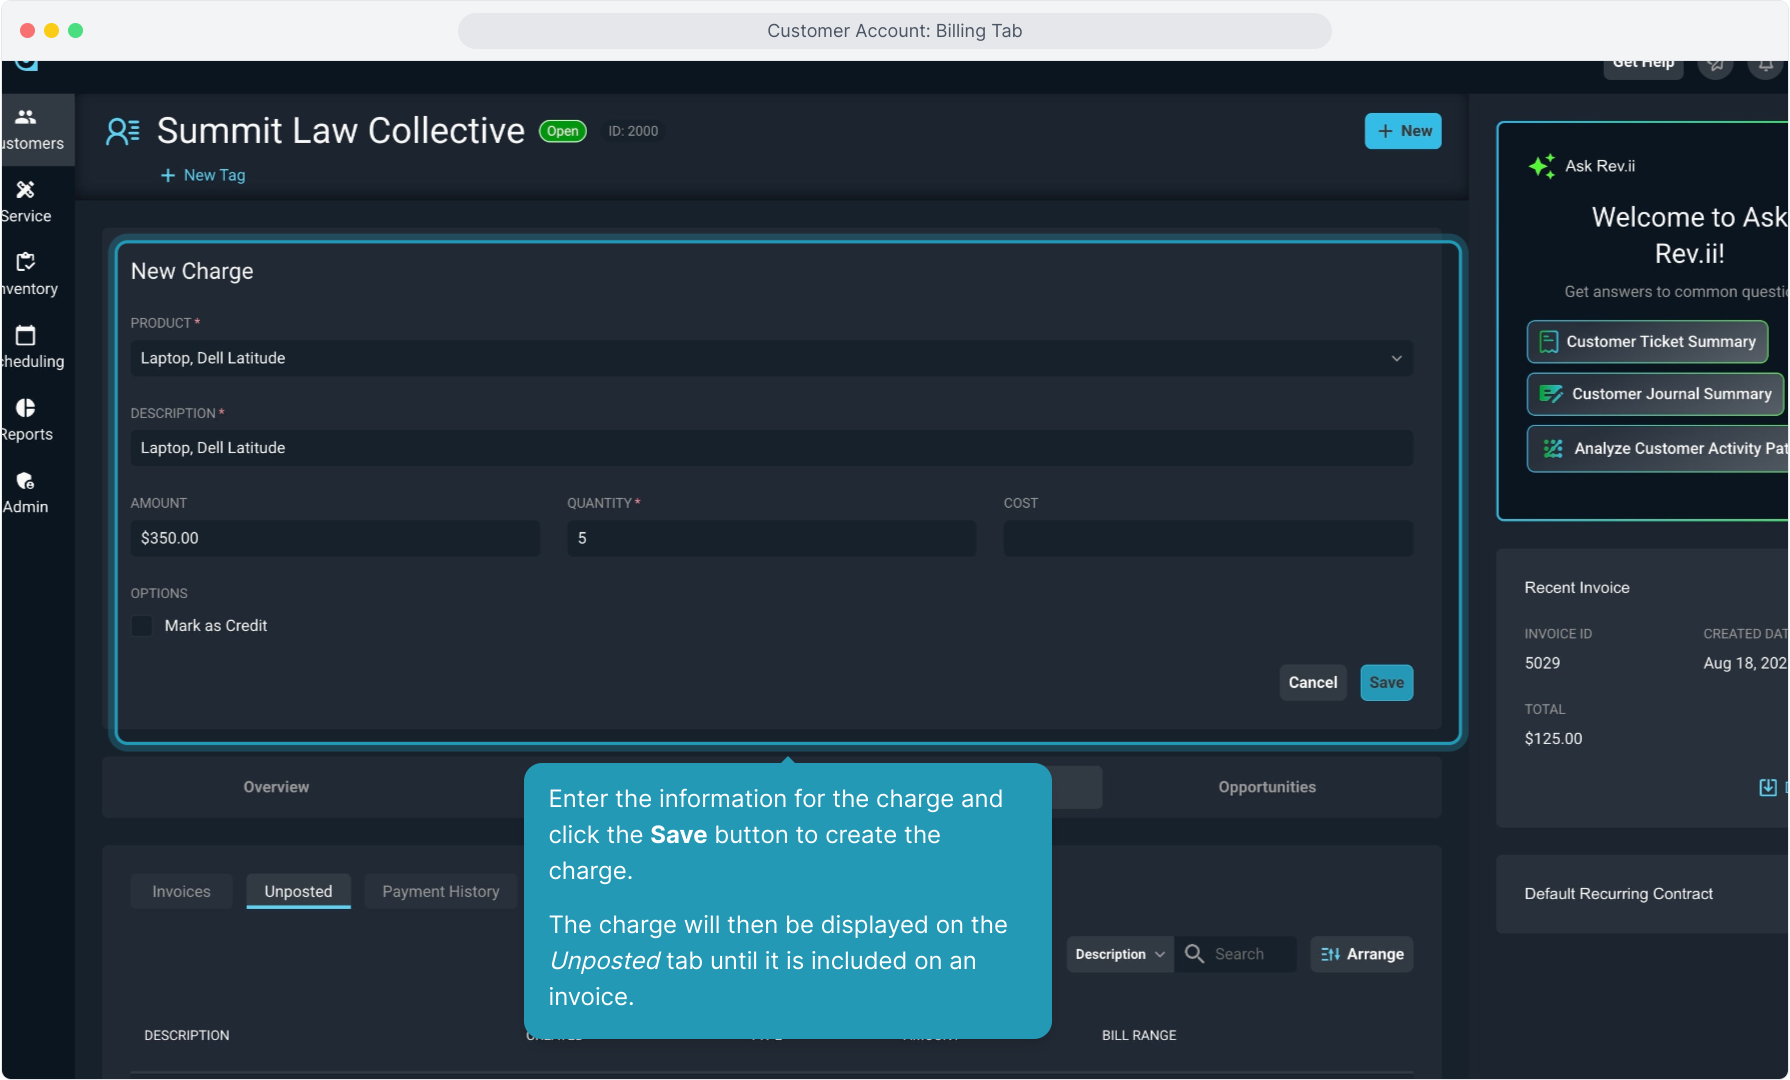
11. To add a one-off onetime charge, you can click the New button at the top and then select Charge.
12. Enter the information for the charge and click the Save button to create the charge.
The charge will then be displayed on the Unposted tab until it is included on an invoice.
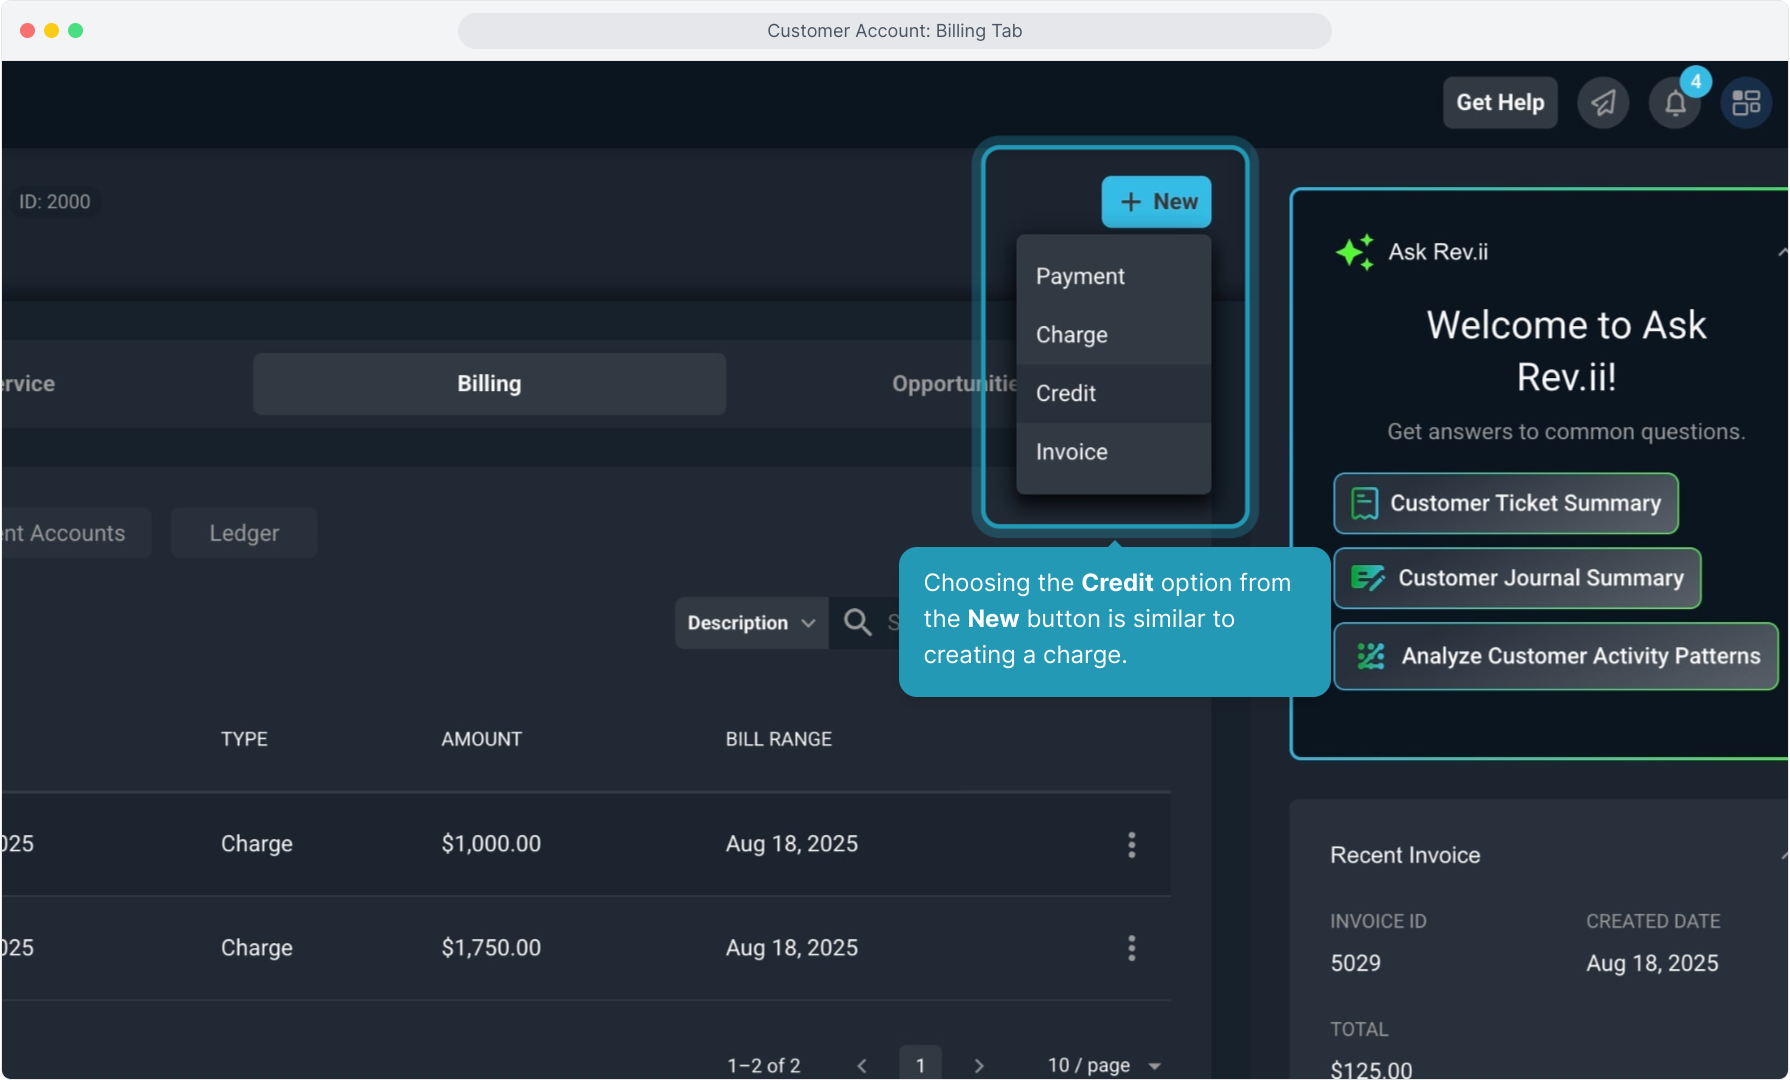
13. Choosing the Credit option from the New button is similar to creating a charge.
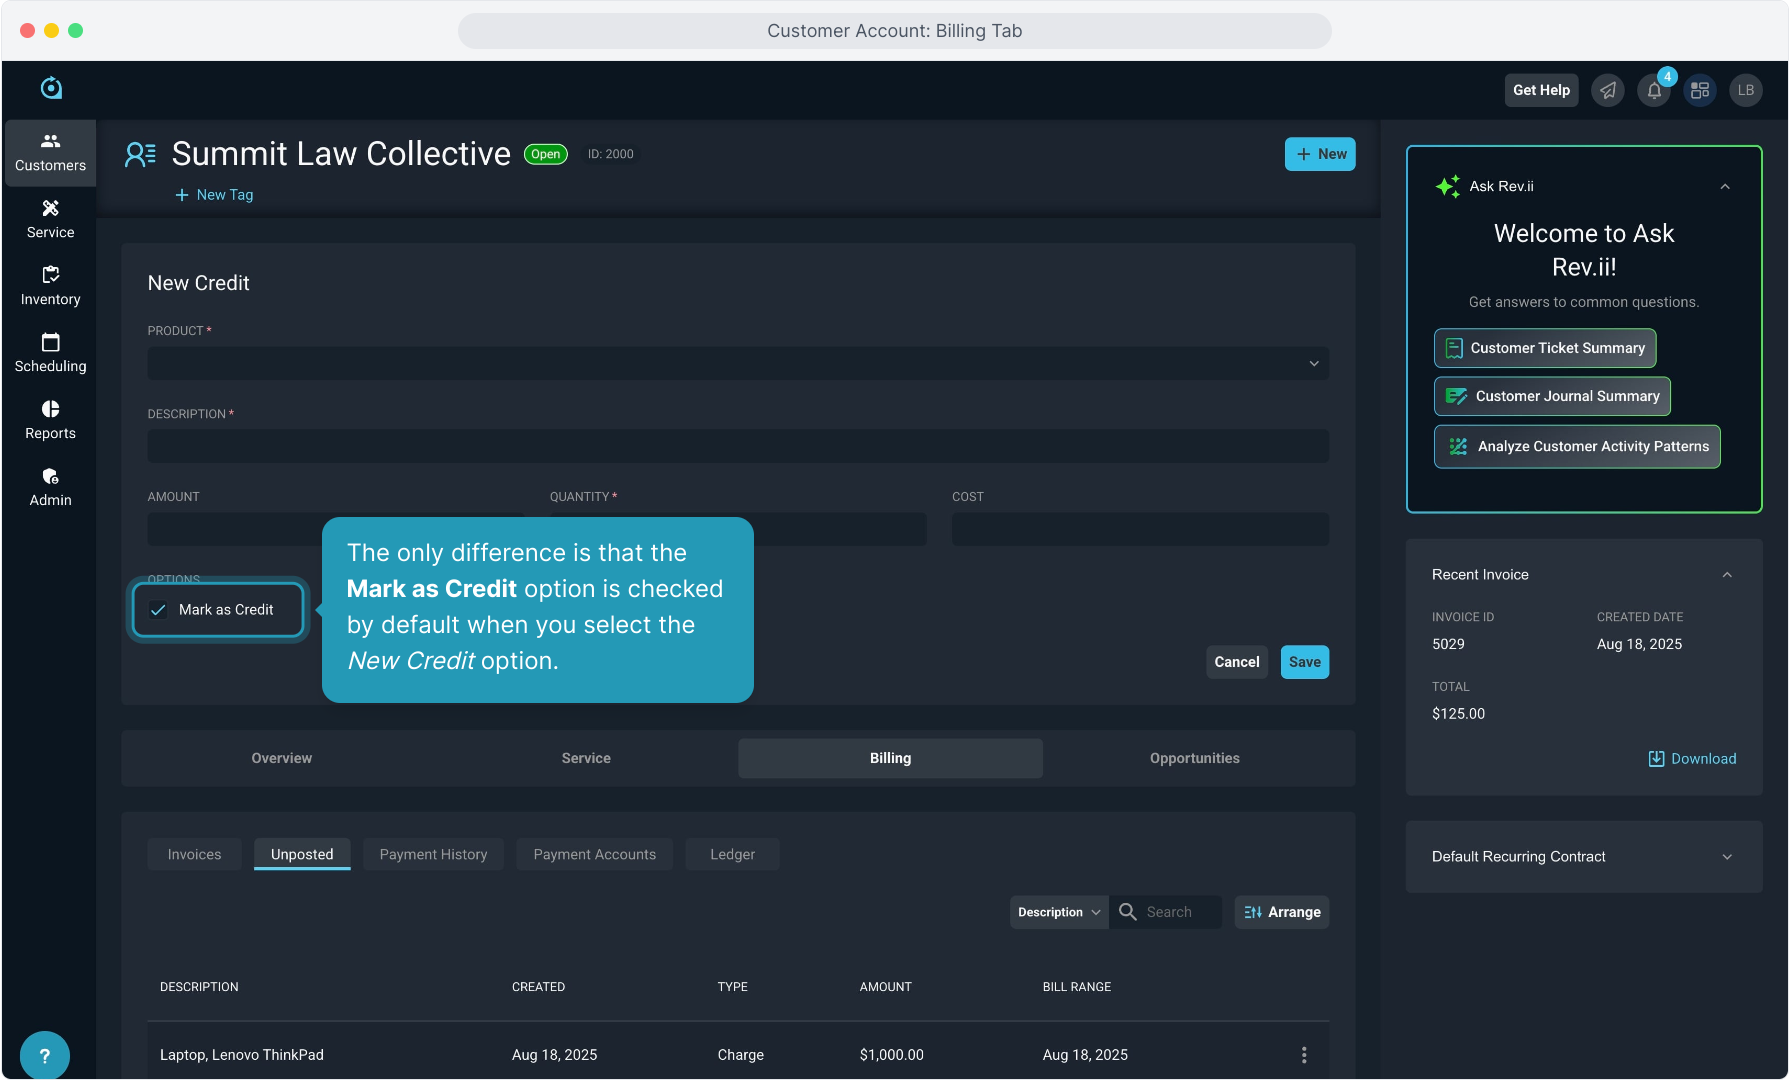
14. The only difference is that the Mark as Credit option is checked by default when you select the New Credit option.
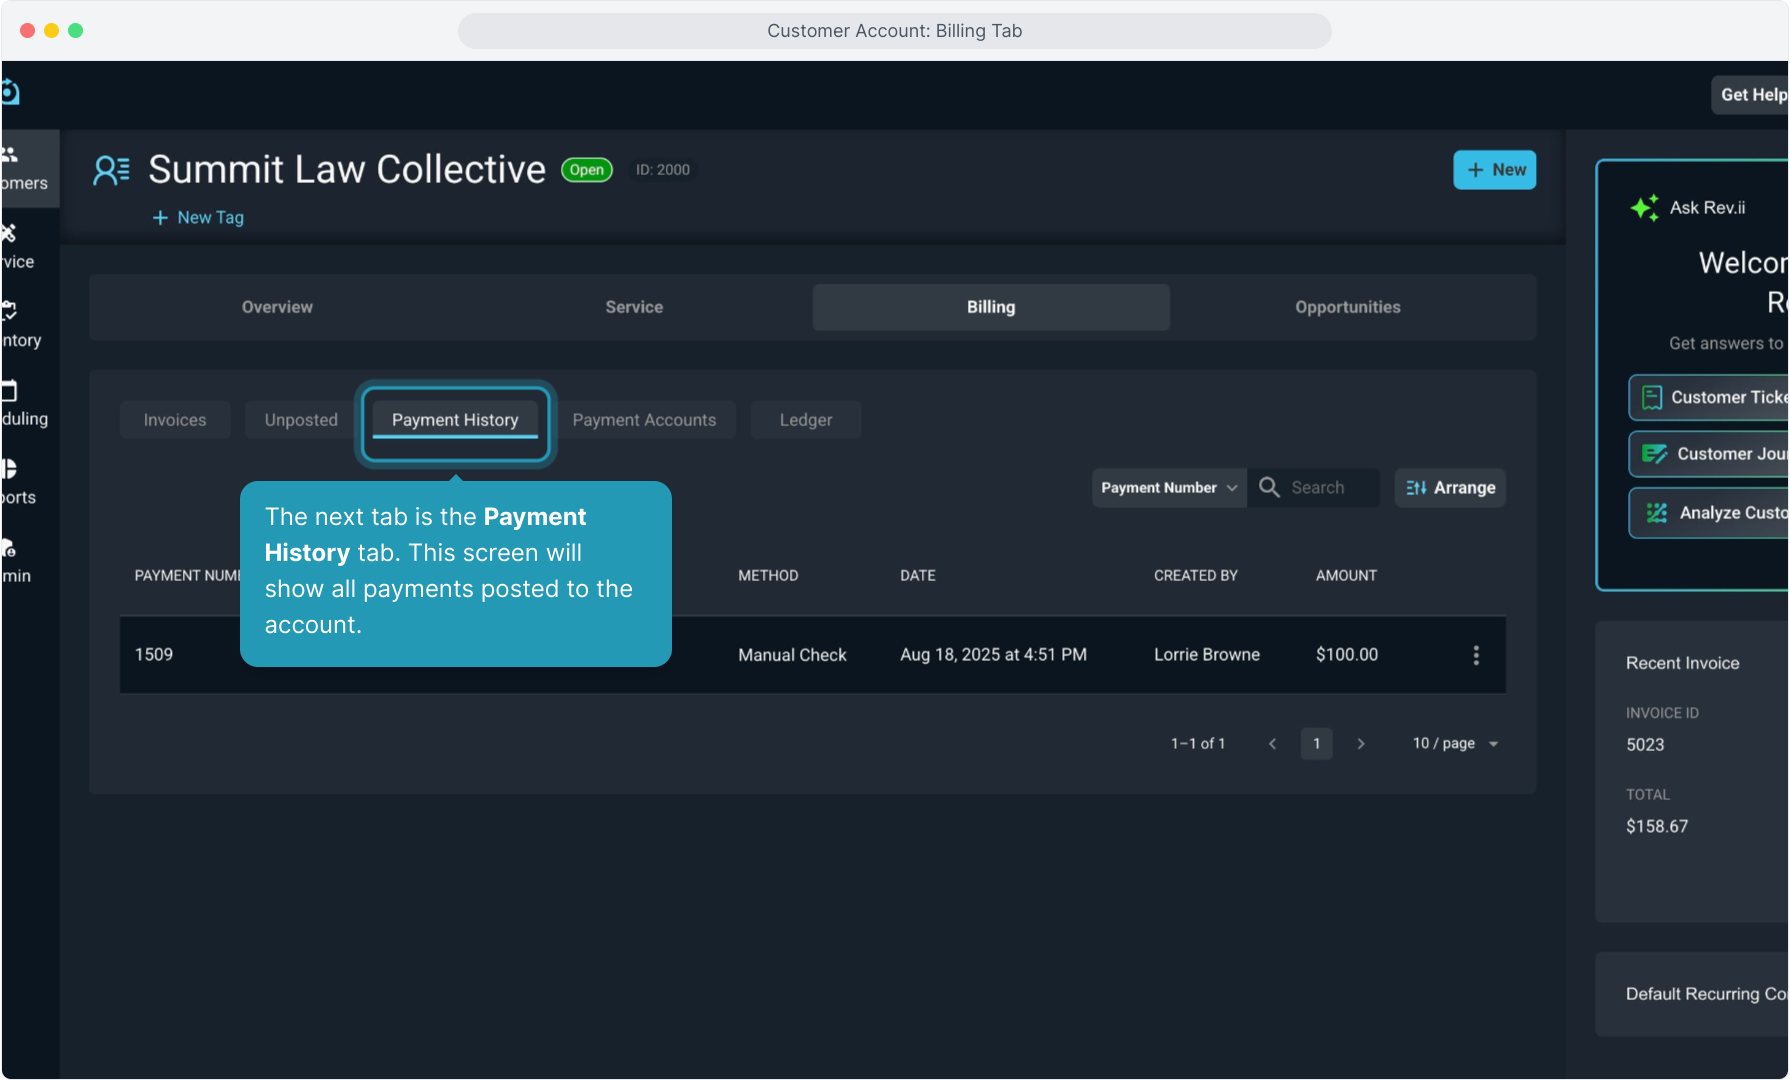
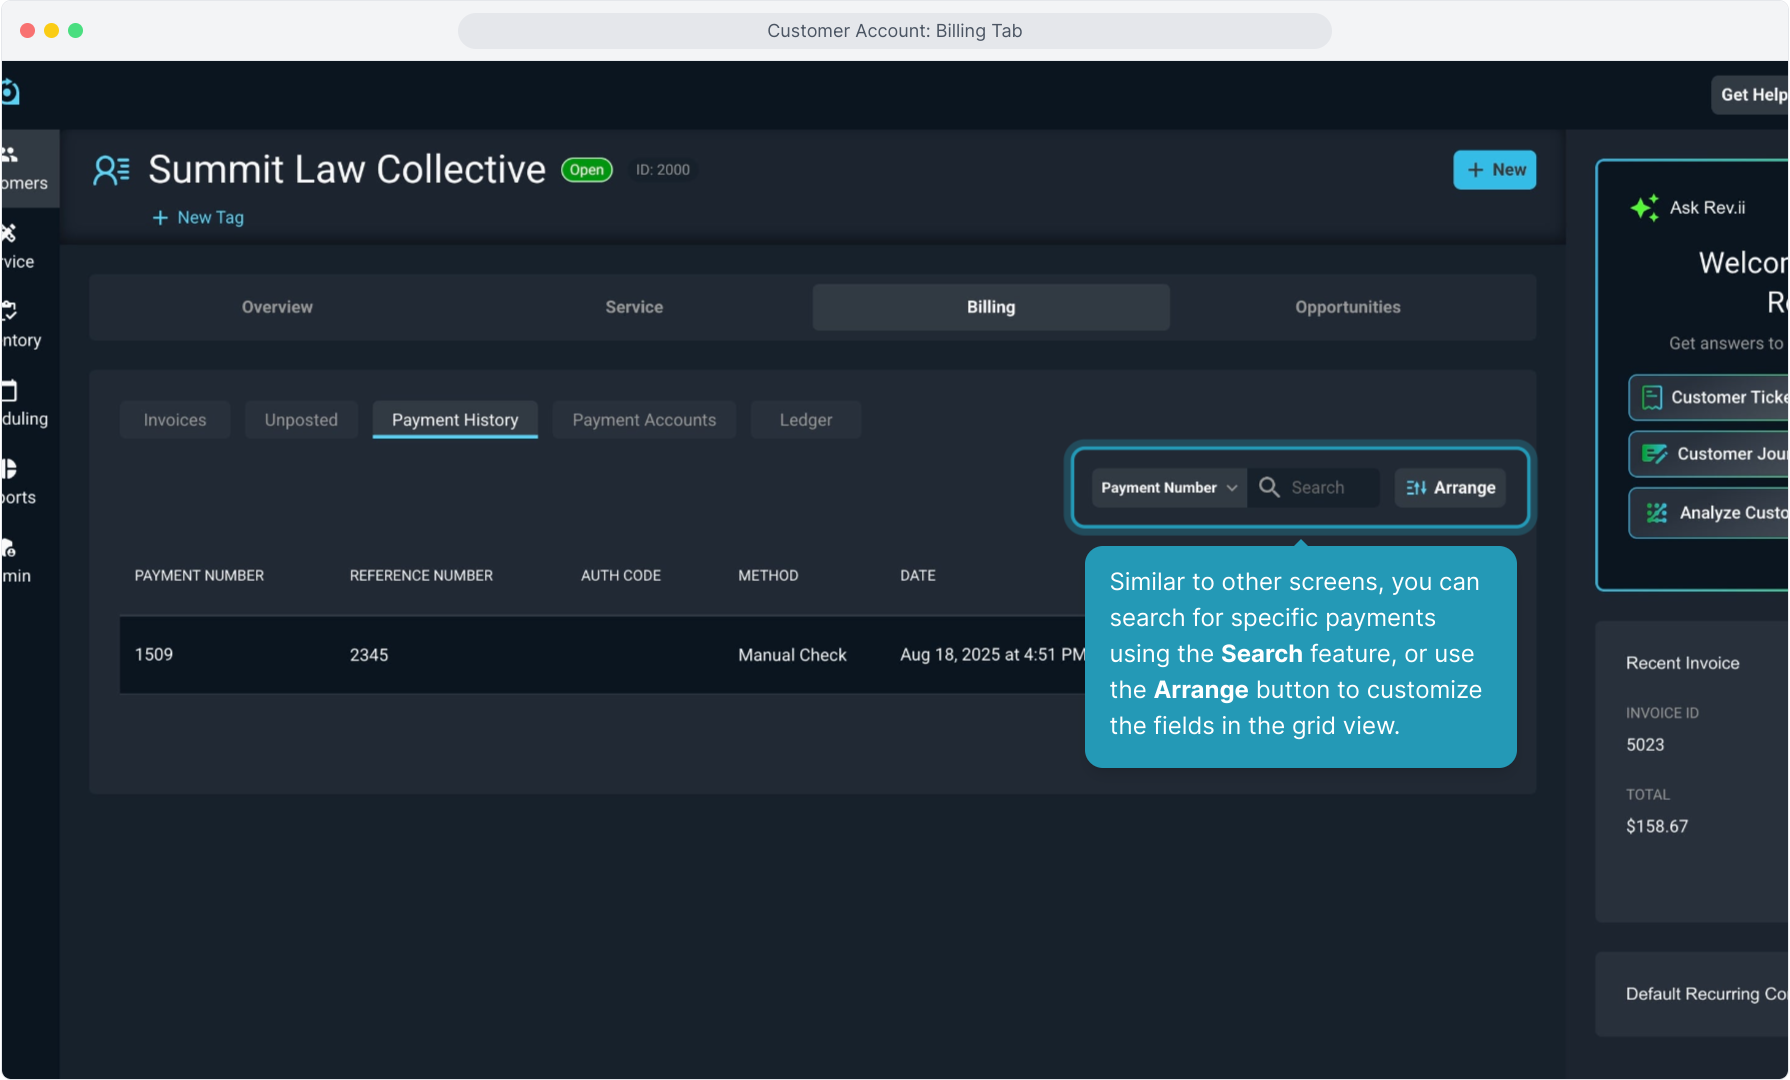
15. The next tab is the Payment History tab. This screen will show all payments posted to the account.
16. Similar to other screens, you can search for specific payments using the Search feature, or use the Arrange button to customize the fields in the grid view.
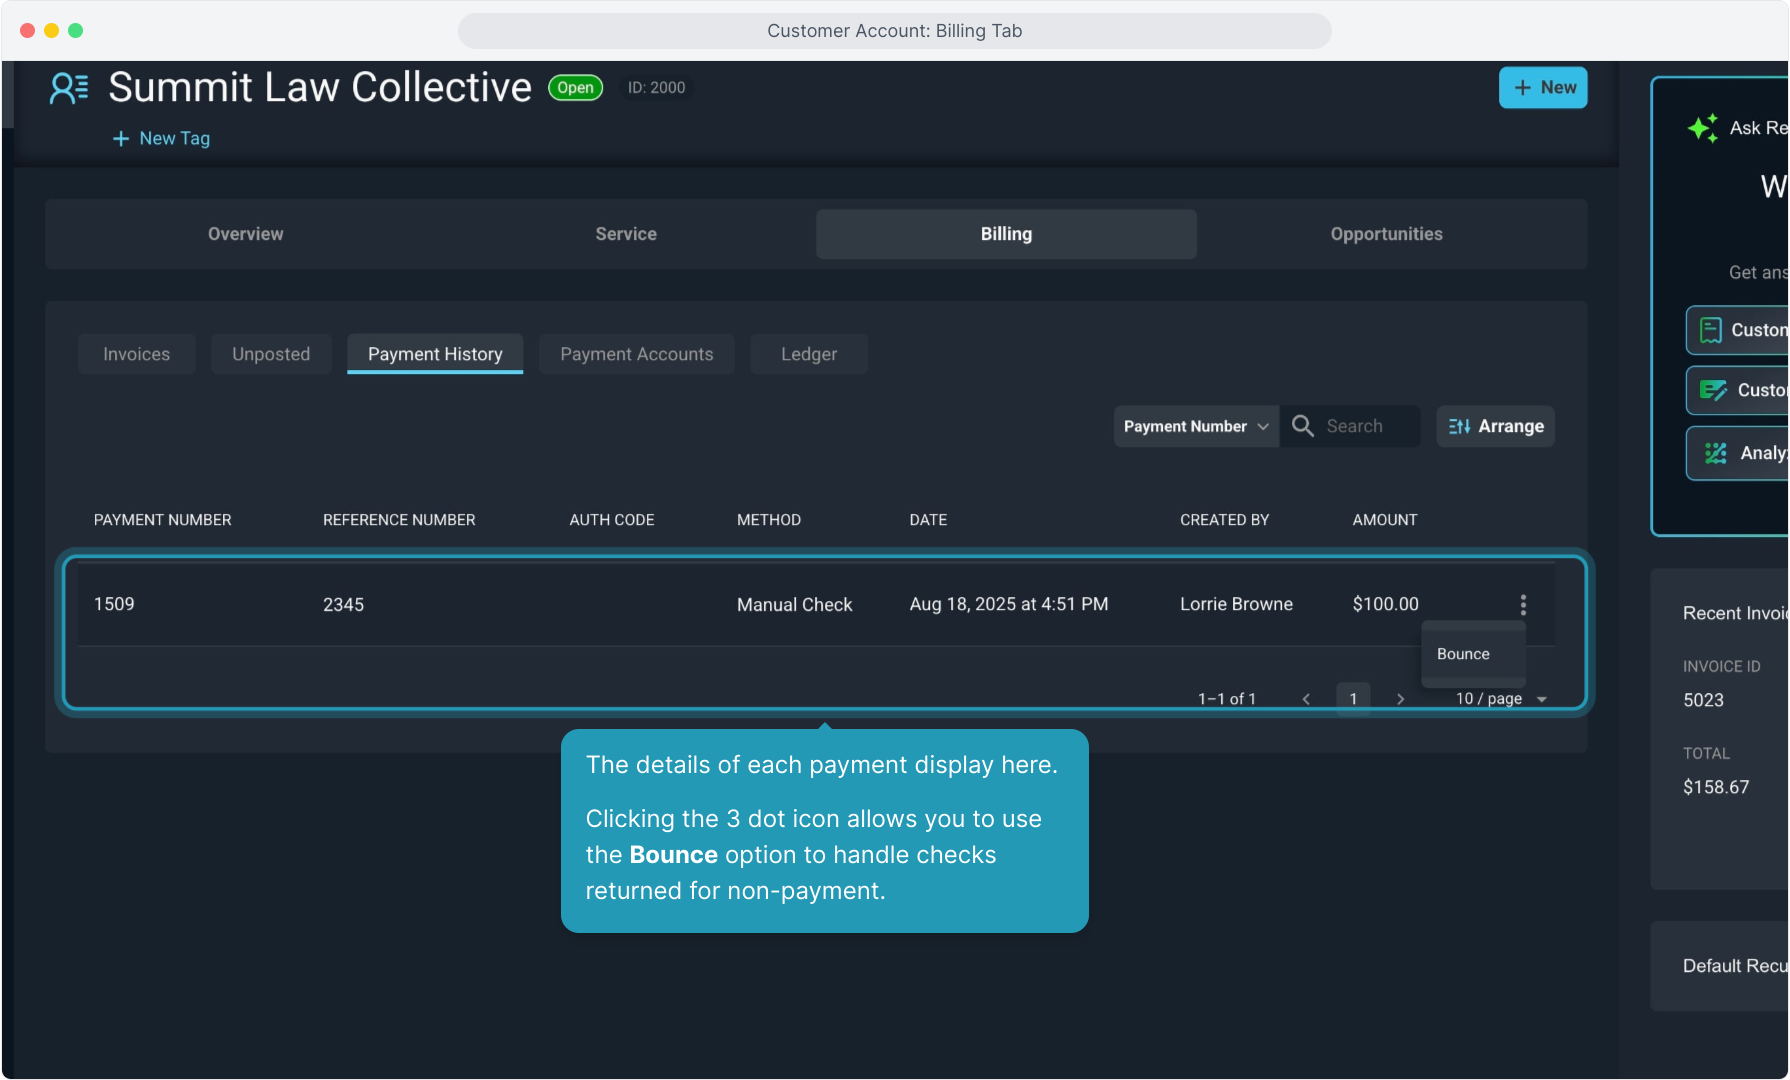
17. The details of each payment display here.
Clicking the 3 dot icon allows you to use the Bounce option to handle checks returned for non-payment.
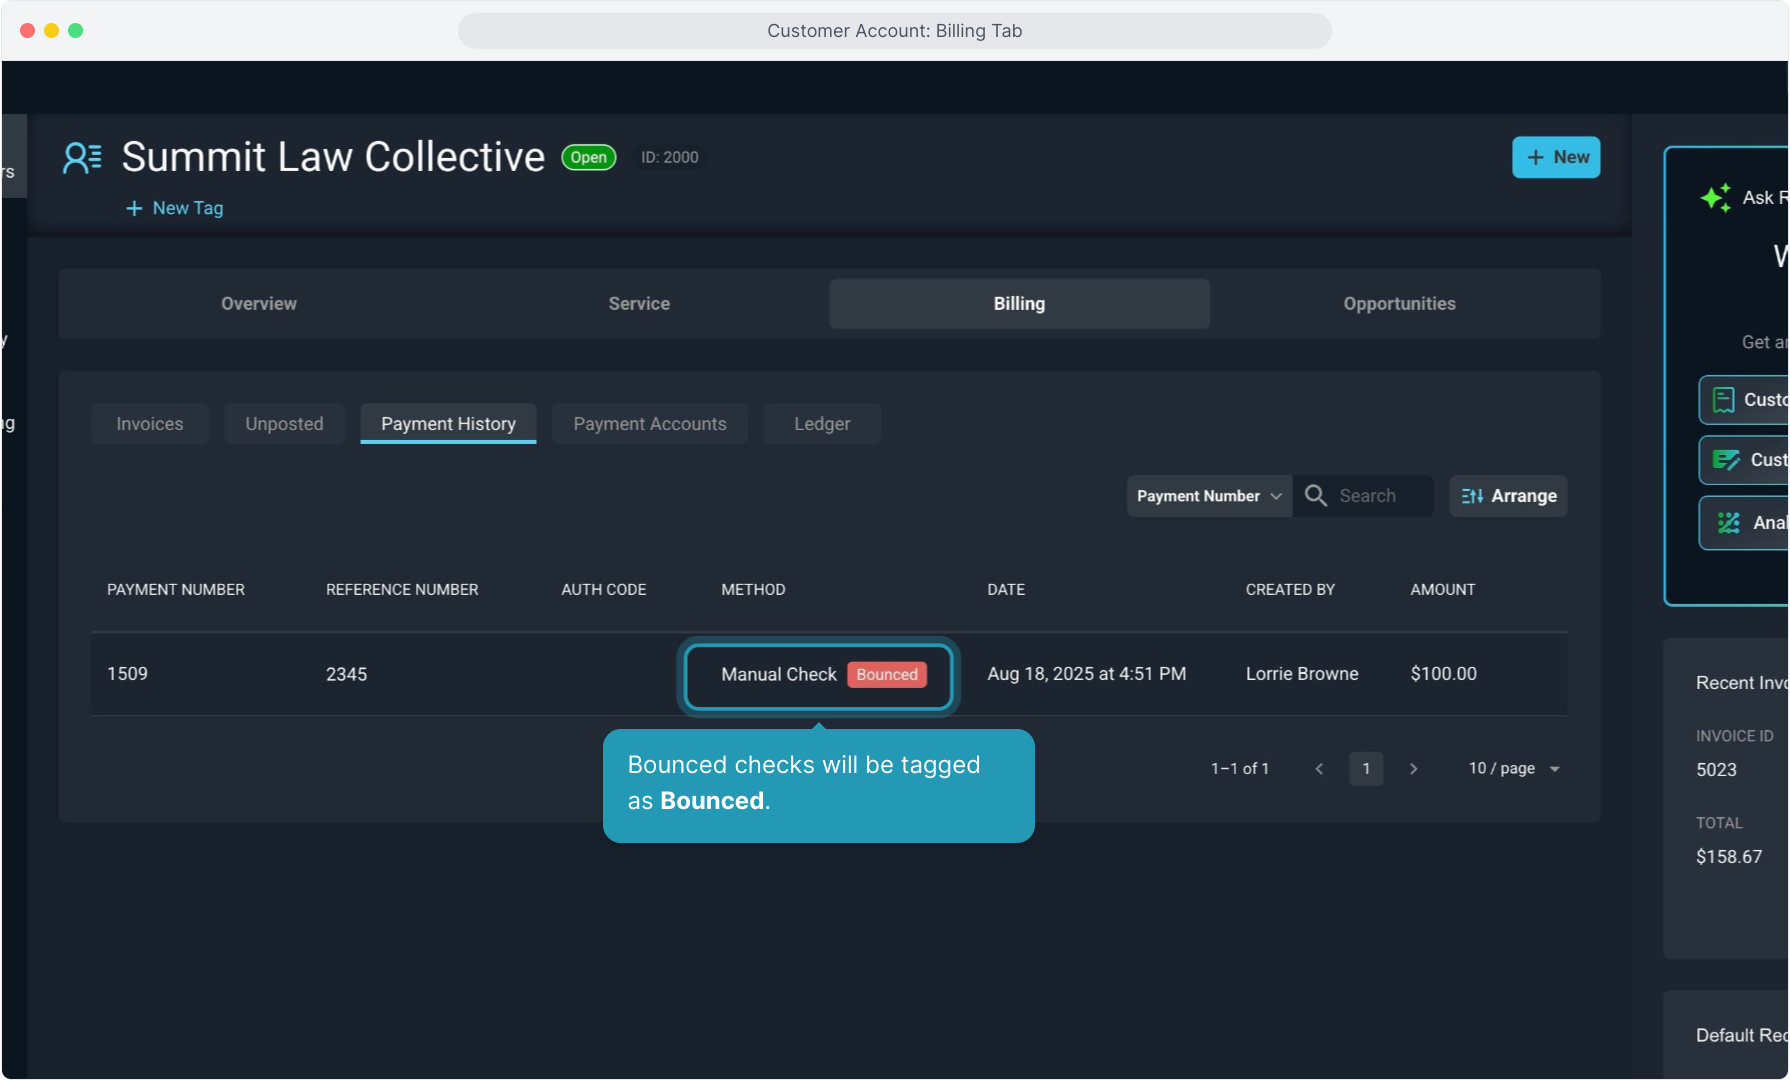
18. Bounced checks will be tagged as Bounced.
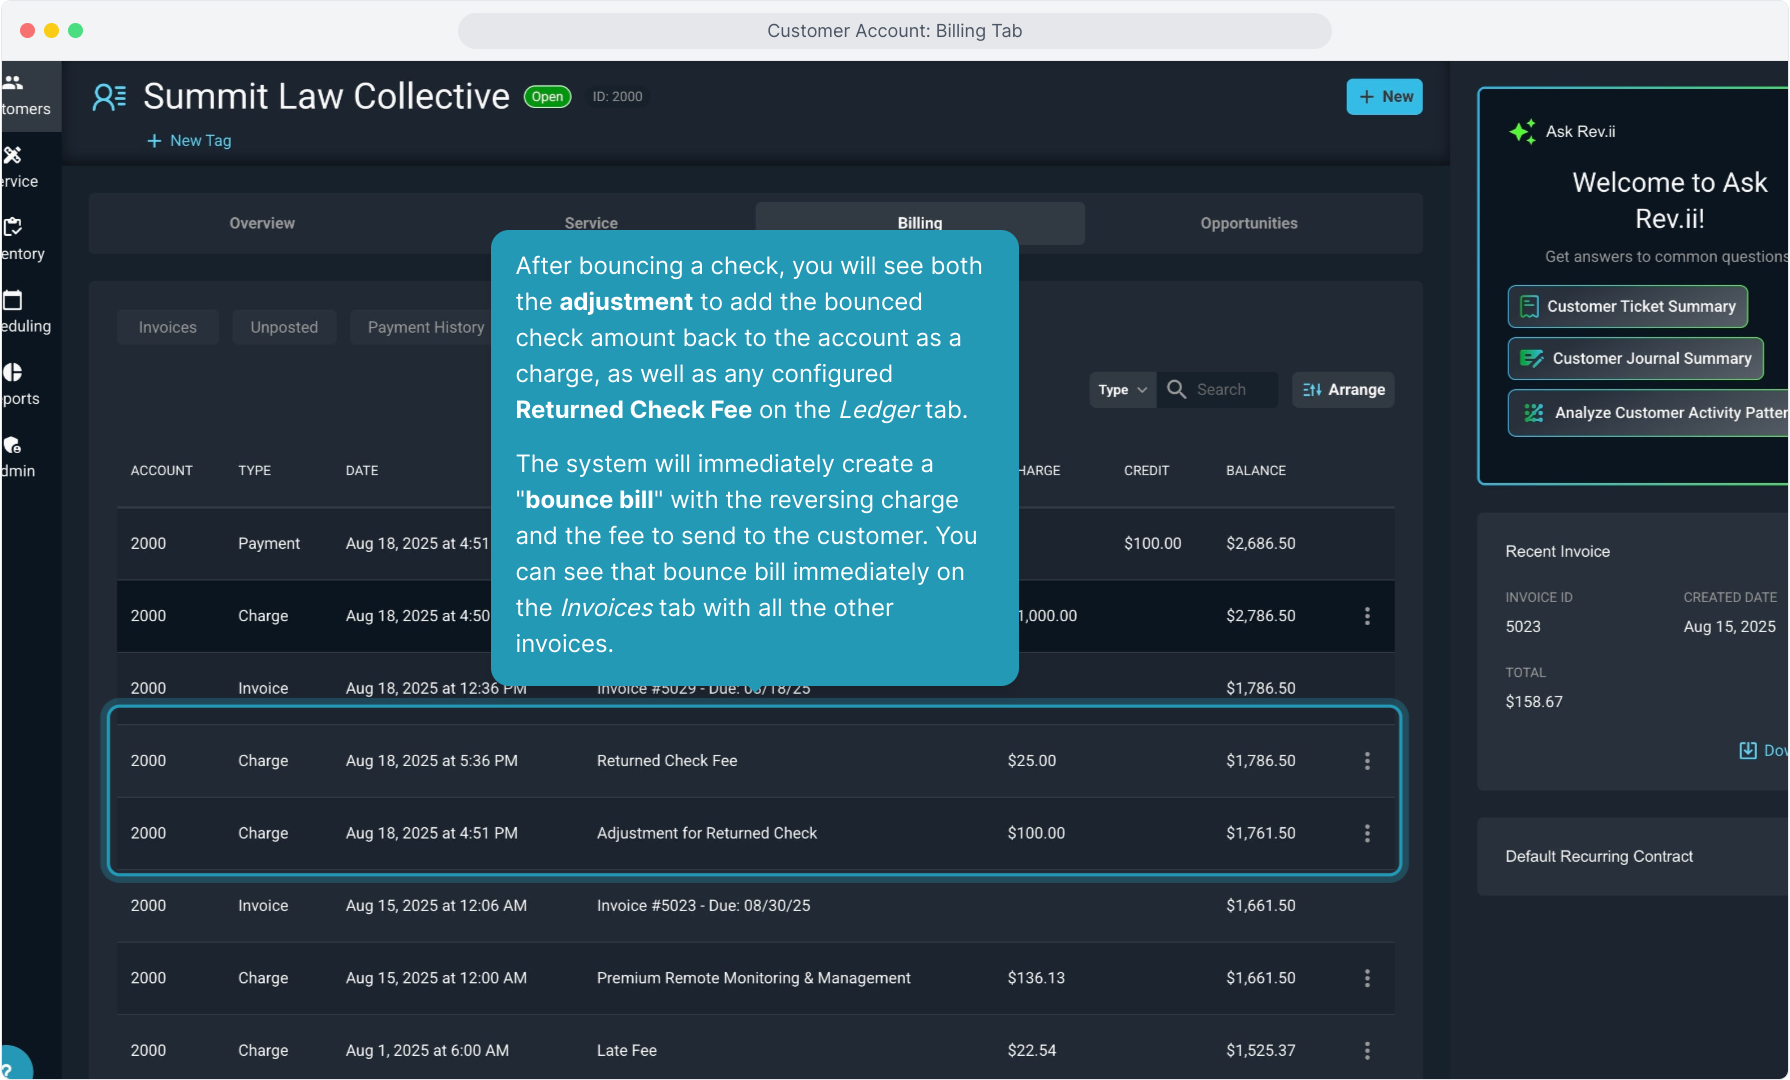
19. After bouncing a check, you will see both the adjustment to add the bounced check amount back to the account as a charge, as well as any configured Returned Check Fee on the Ledger tab.
The system will immediately create a "bounce bill" with the reversing charge and the fee to send to the customer. You can see that bounce bill immediately on the Invoices tab with all the other invoices.
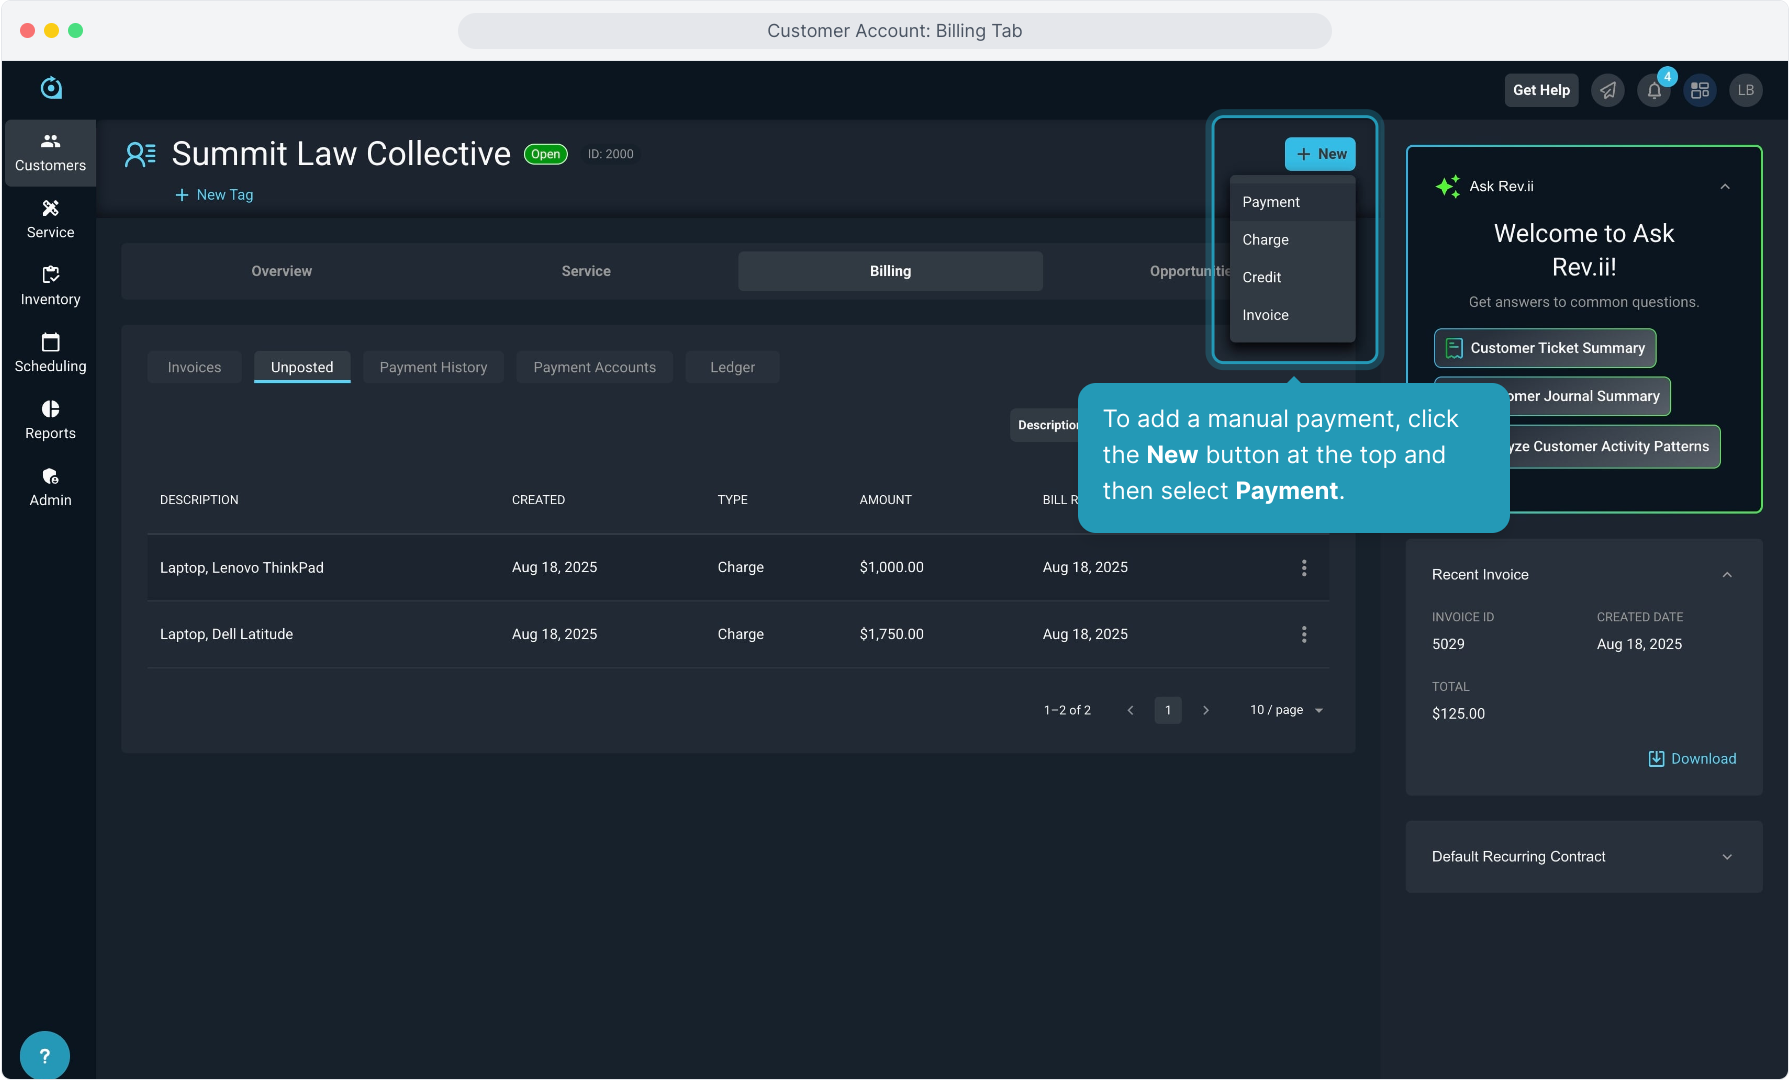
20. To add a manual payment, click the New button at the top and then select Payment.
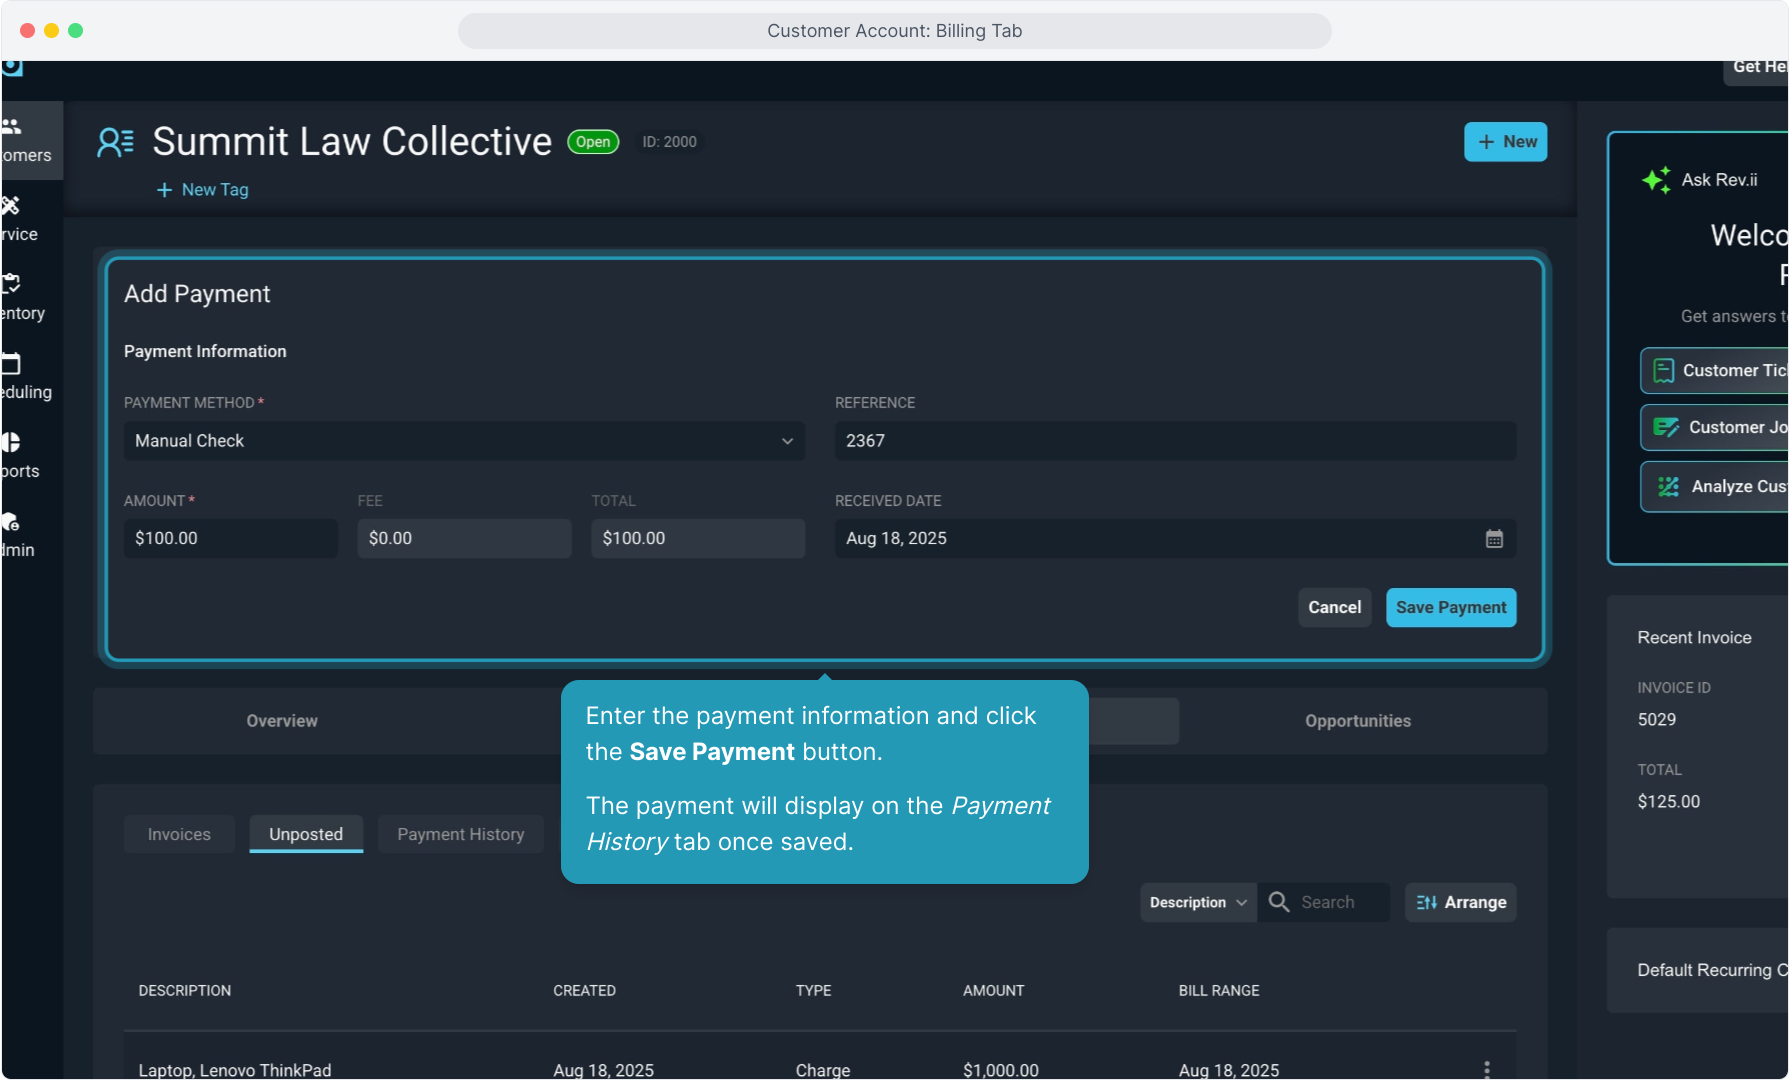
21. Enter the payment information and click the Save Payment button.
The payment will display on the Payment History tab once saved.
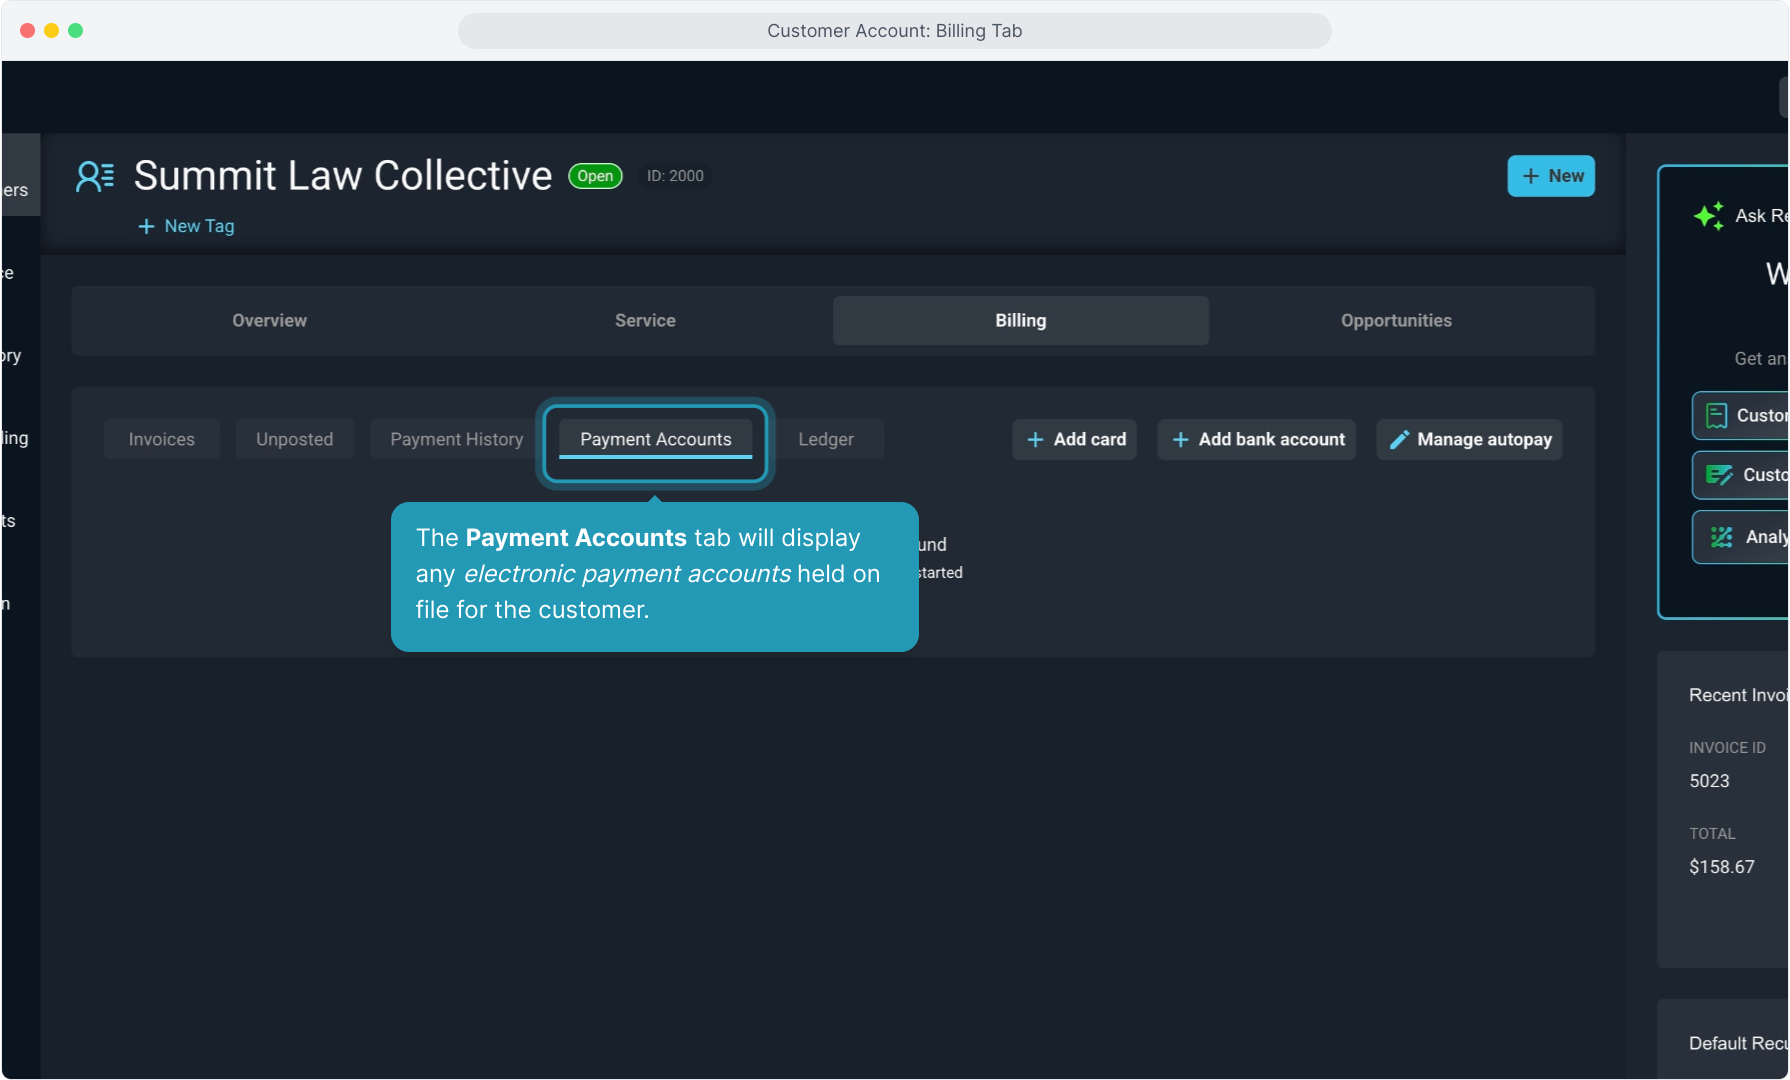
22. The Payment Accounts tab will display any electronic payment accounts held on file for the customer.
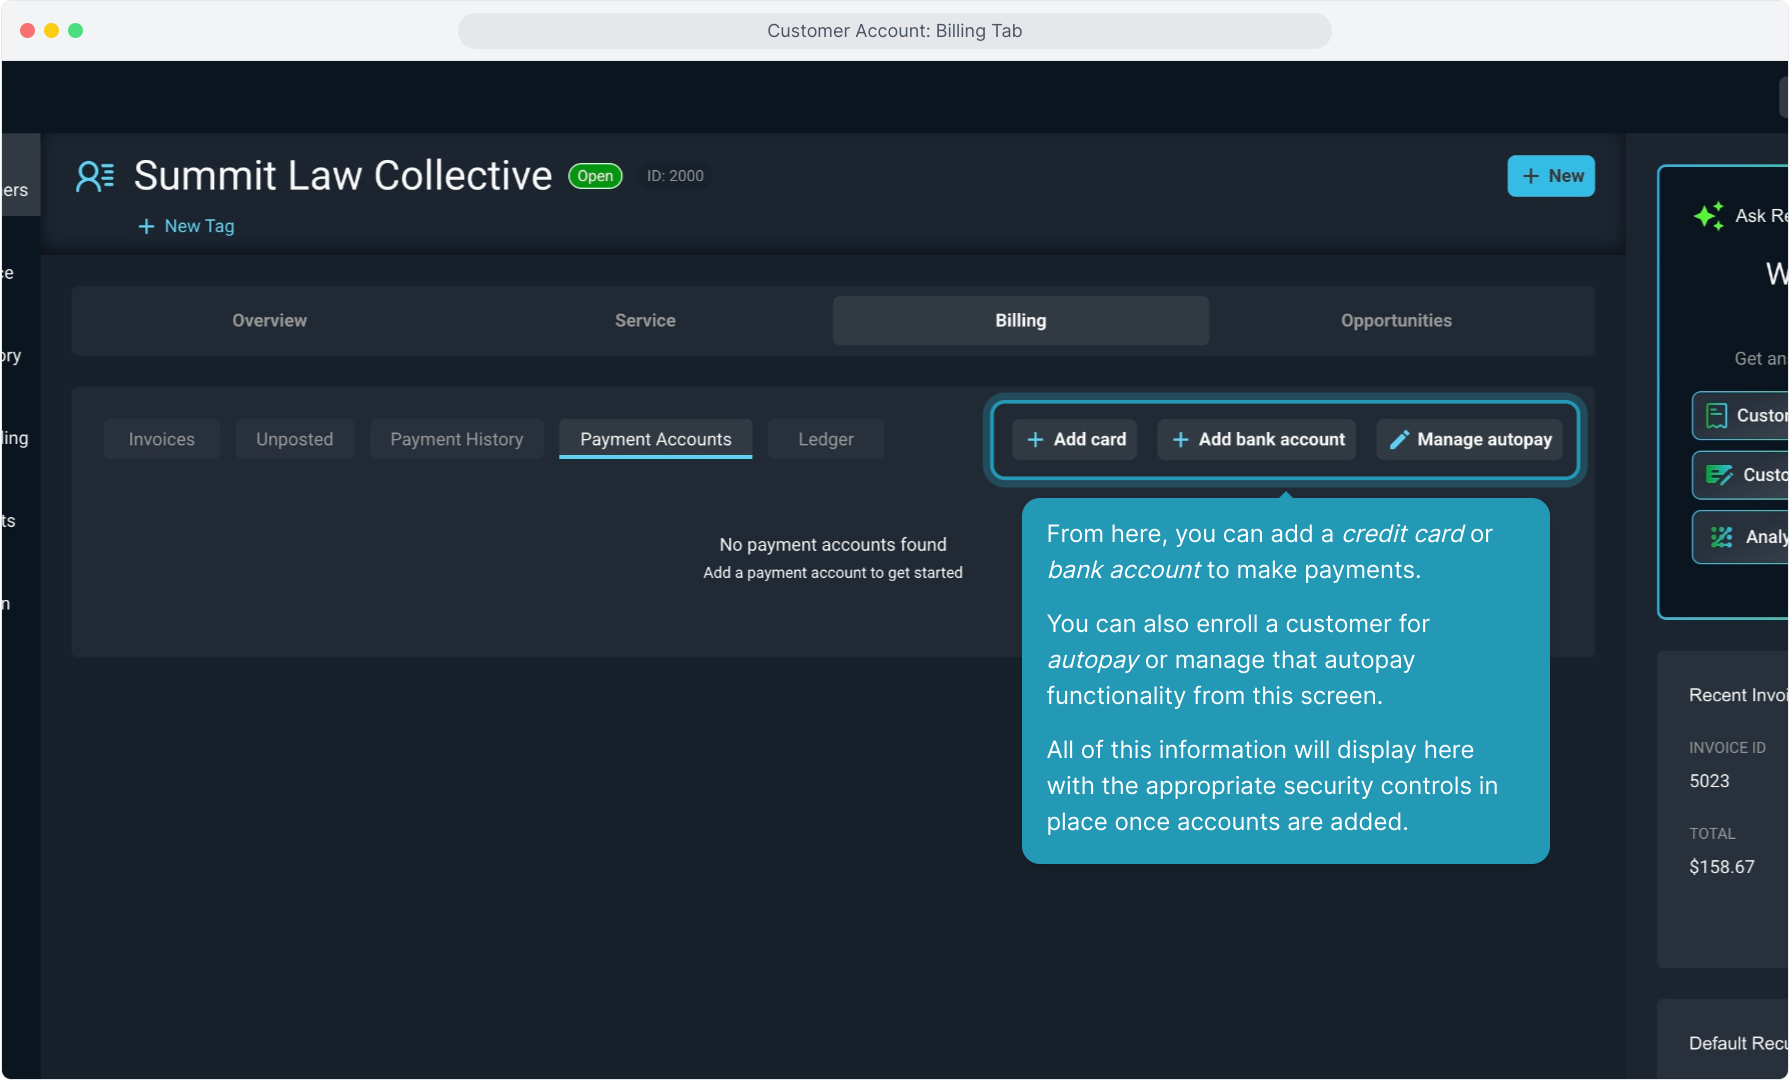
23. From here, you can add a credit card or bank account to make payments.
You can also enroll a customer for autopay or manage that autopay functionality from this screen.
All of this information will display here with the appropriate security controls in place once accounts are added.
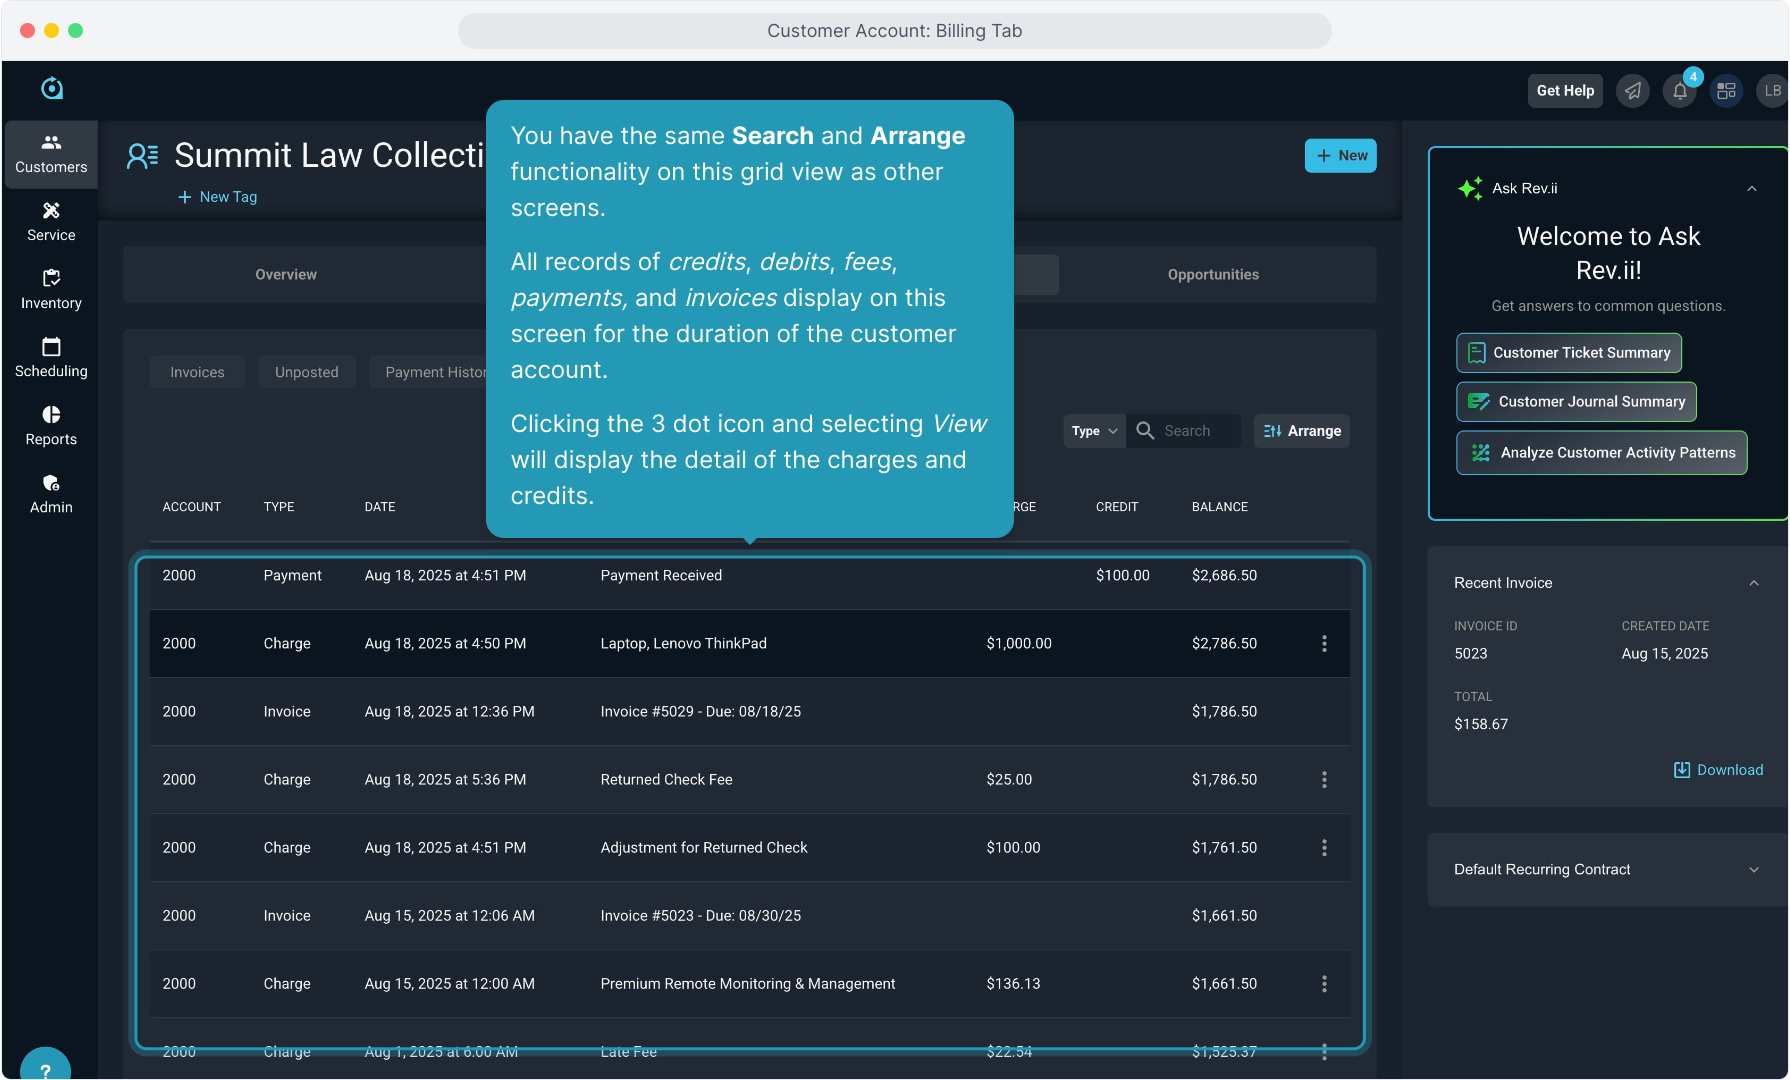
24. Lastly, the Ledger tab displays a running view of all activity from a monetary perspective on the account.
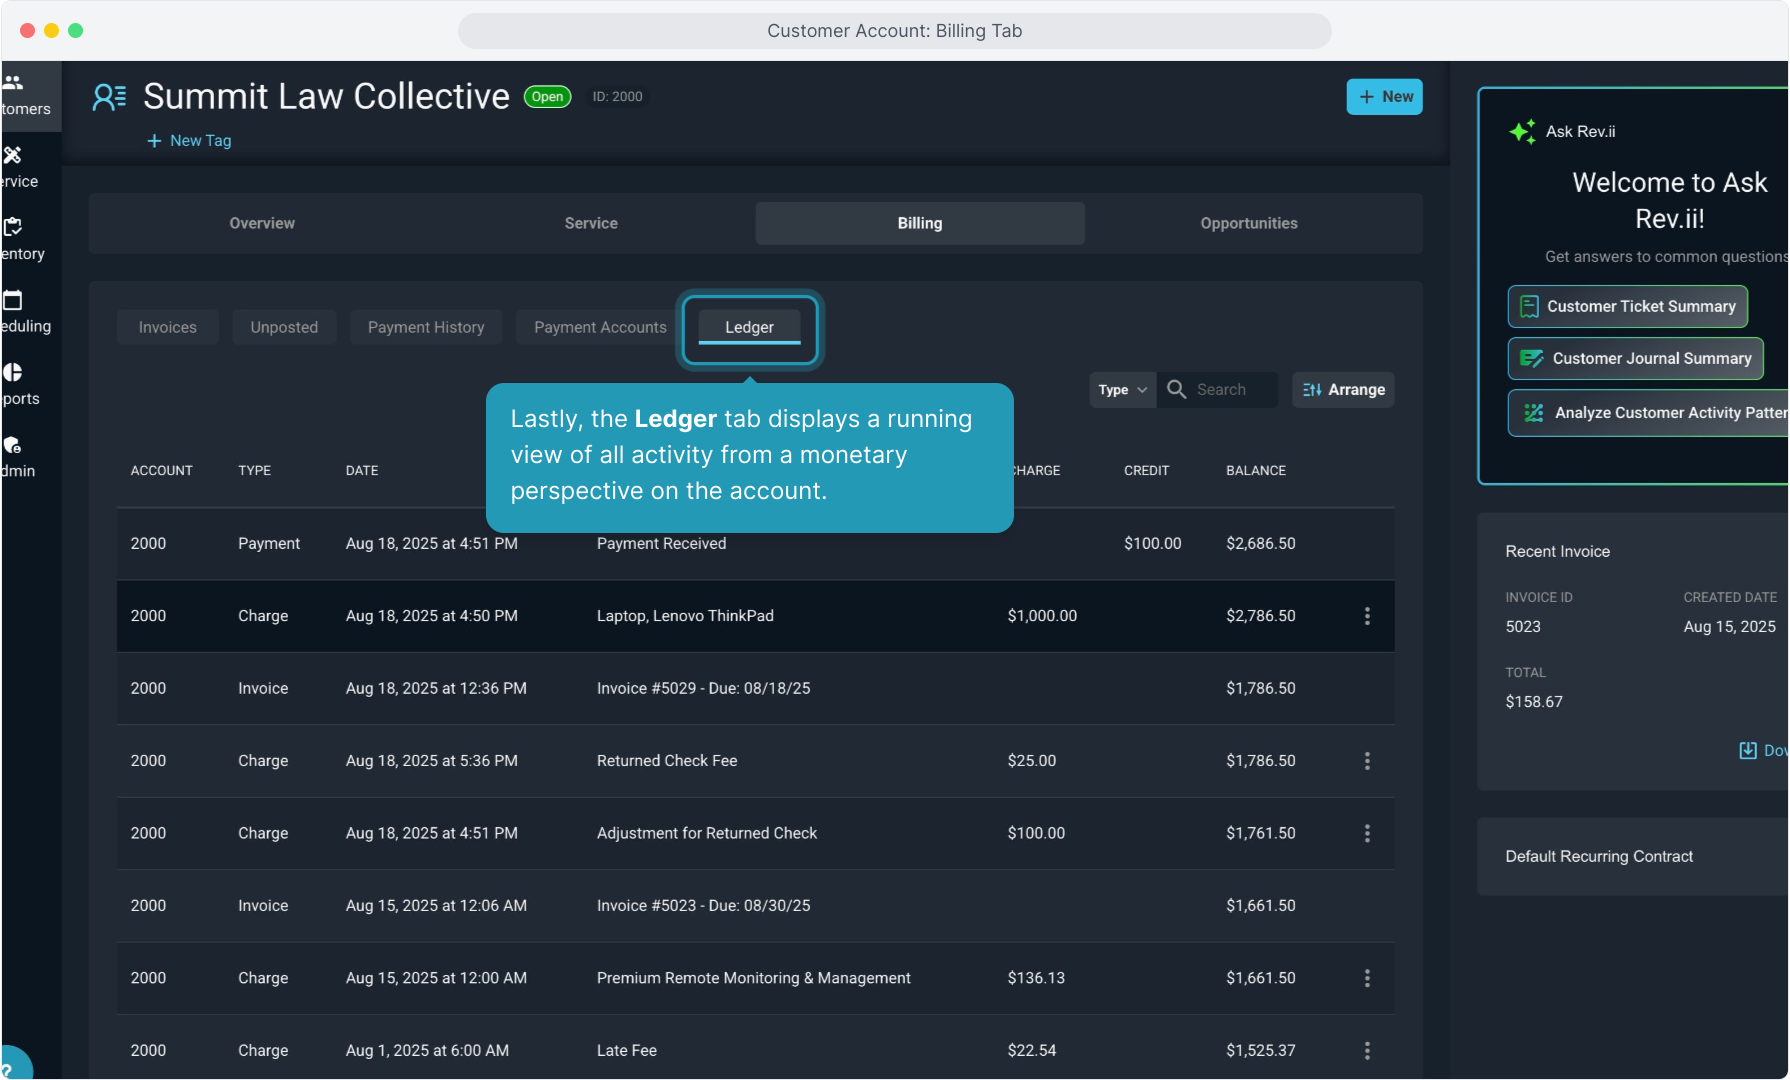
25. You have the same Search and Arrange functionality on this grid view as other screens.
All records of credits, debits, fees, payments, and invoices display on this screen for the duration of the customer account.
Clicking the 3 dot icon and selecting View will display the detail of the charges and credits.