
How To Guide: Managing the Service Ticket Lifecycle using Revii
1. Introduction
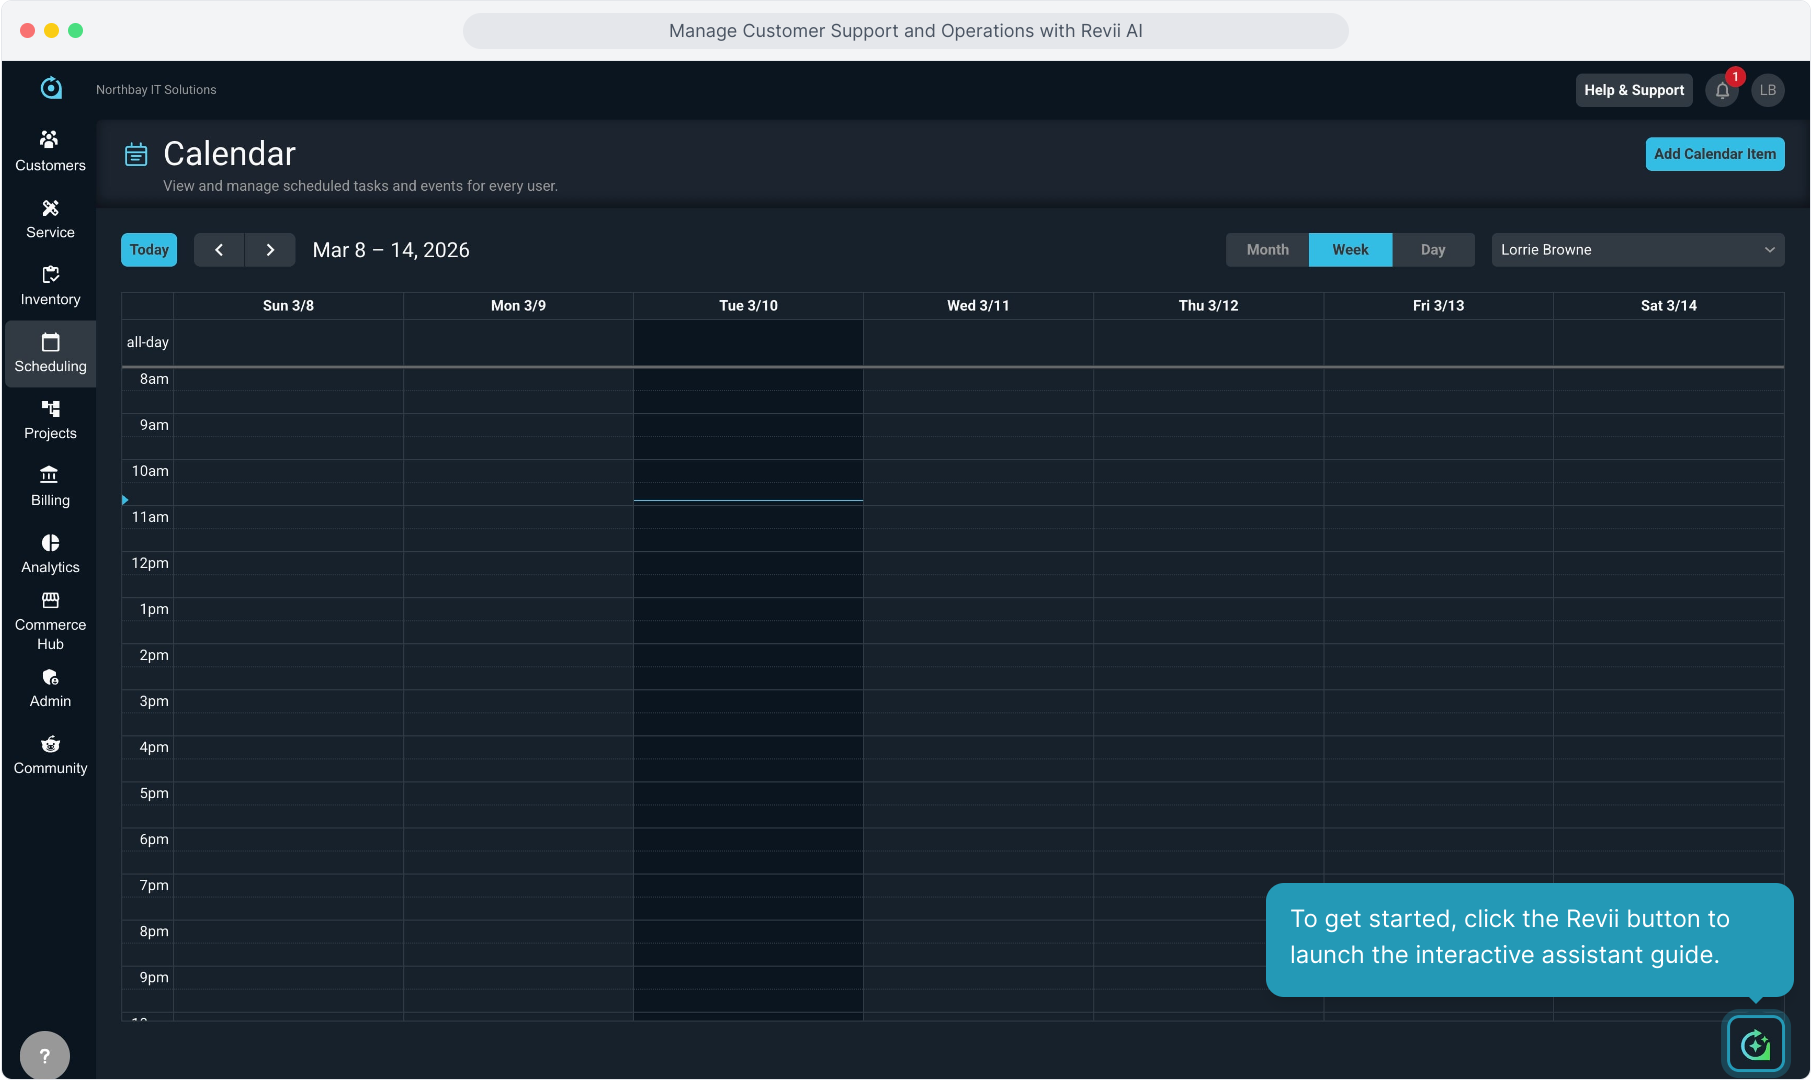
2. To get started, click the Revii button to launch the interactive assistant guide.
3. There are 2 ways to interact with Revii. You can type your instructions or question into the text box here.

4. Or you can click the microphone icon and use voice-to-text capability.

5. Just talk to Revii in normal language and it is captured.

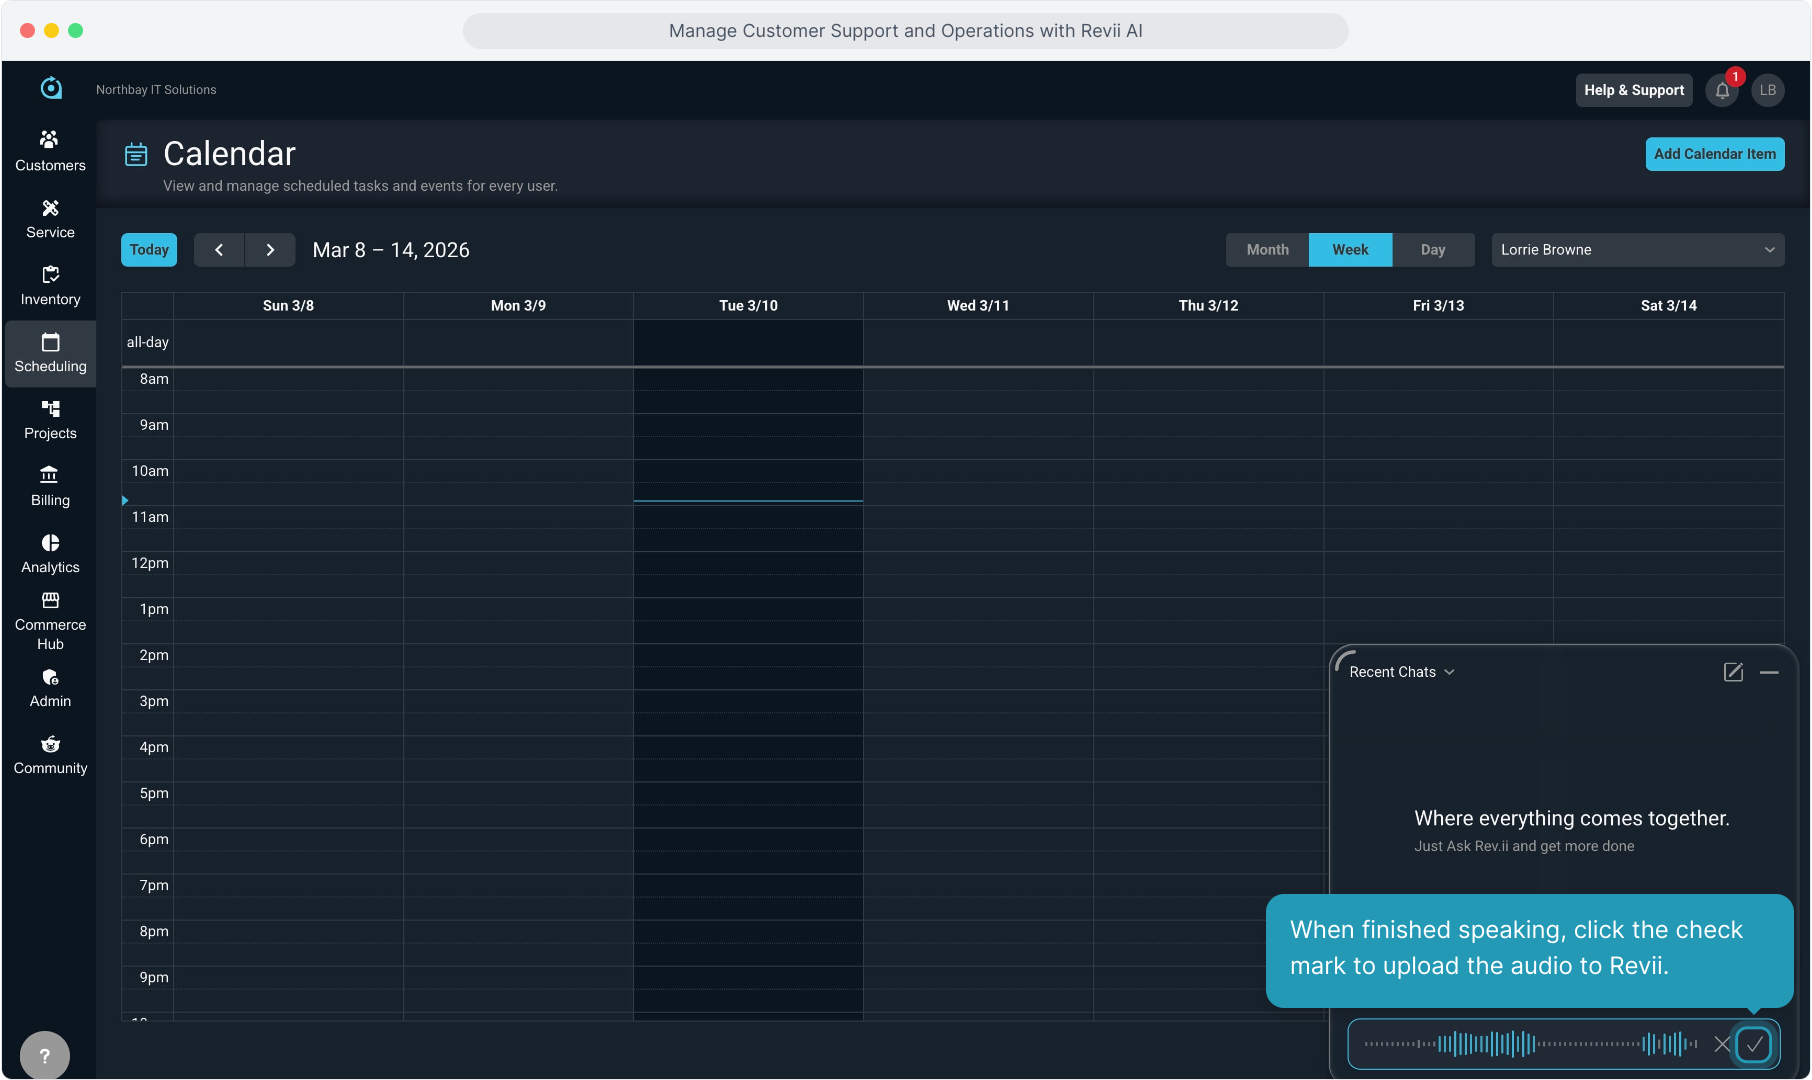
6. When finished speaking, click the check mark to upload the audio to Revii.
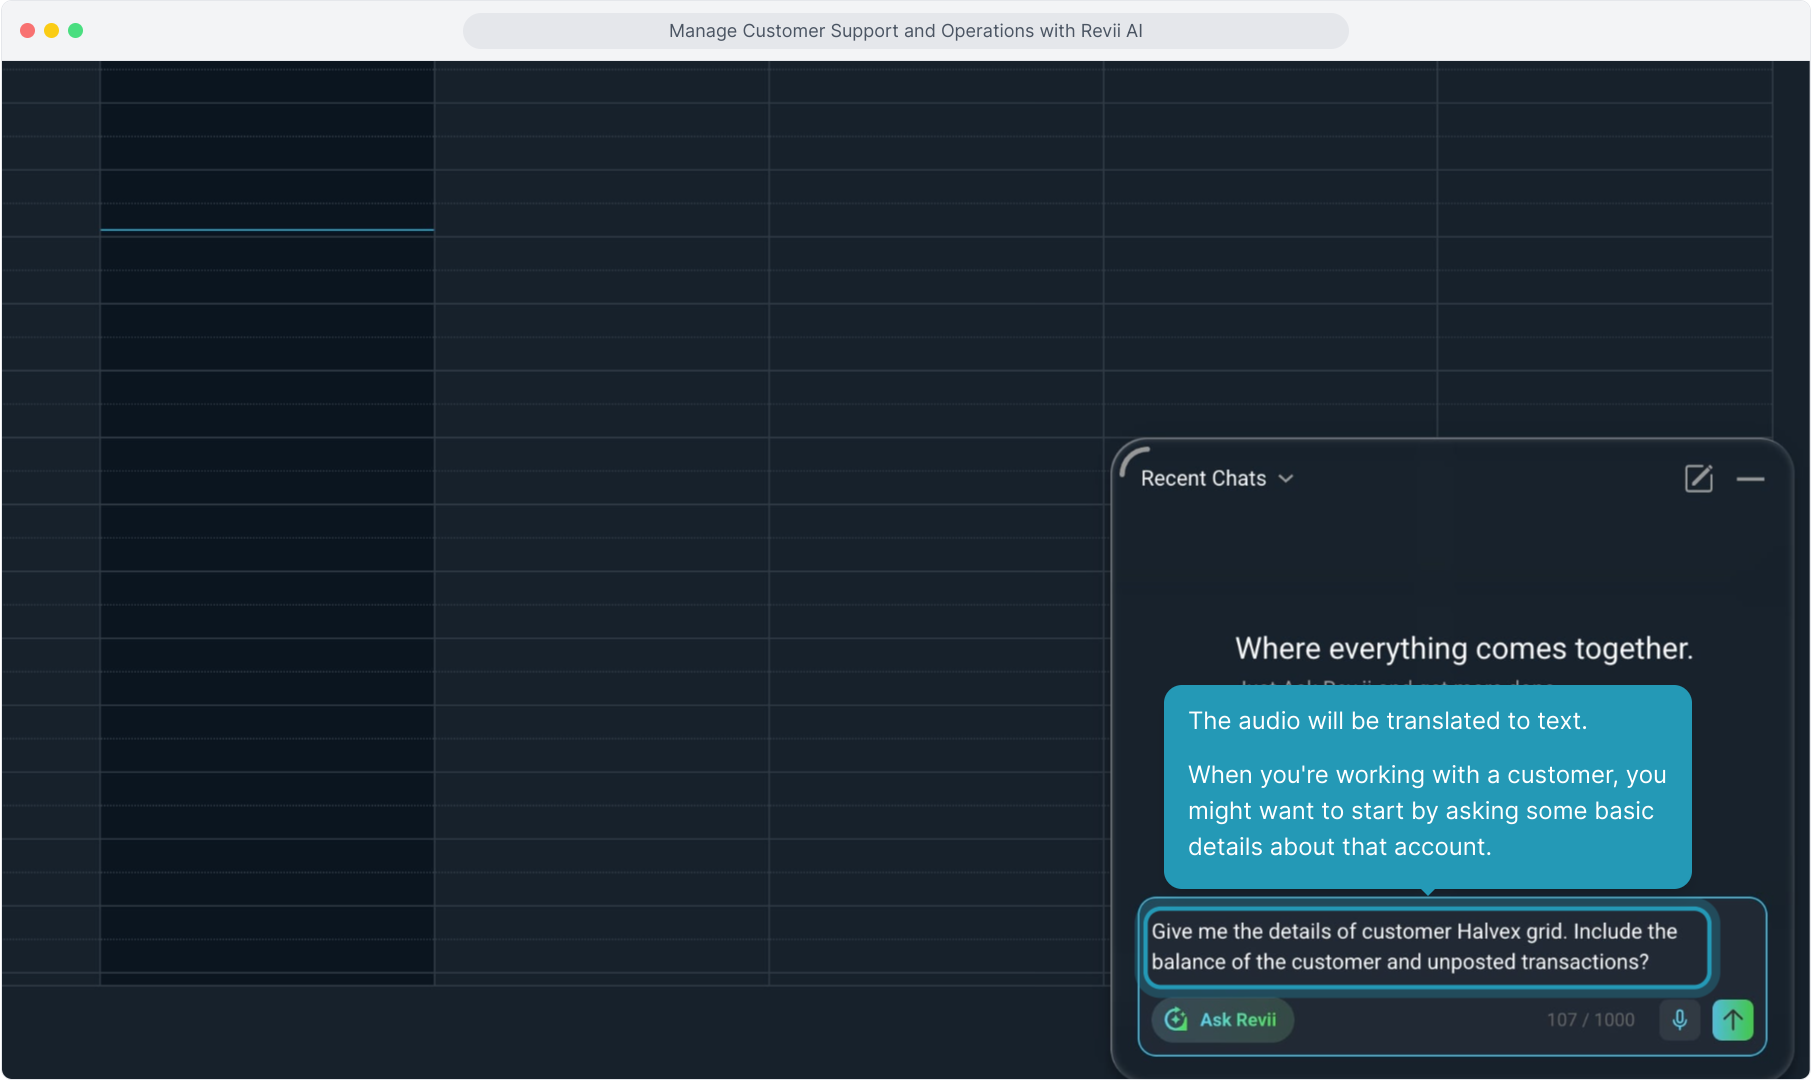
7. The audio will be translated to text.
When you're working with a customer, you might want to start by asking some basic details about that account.
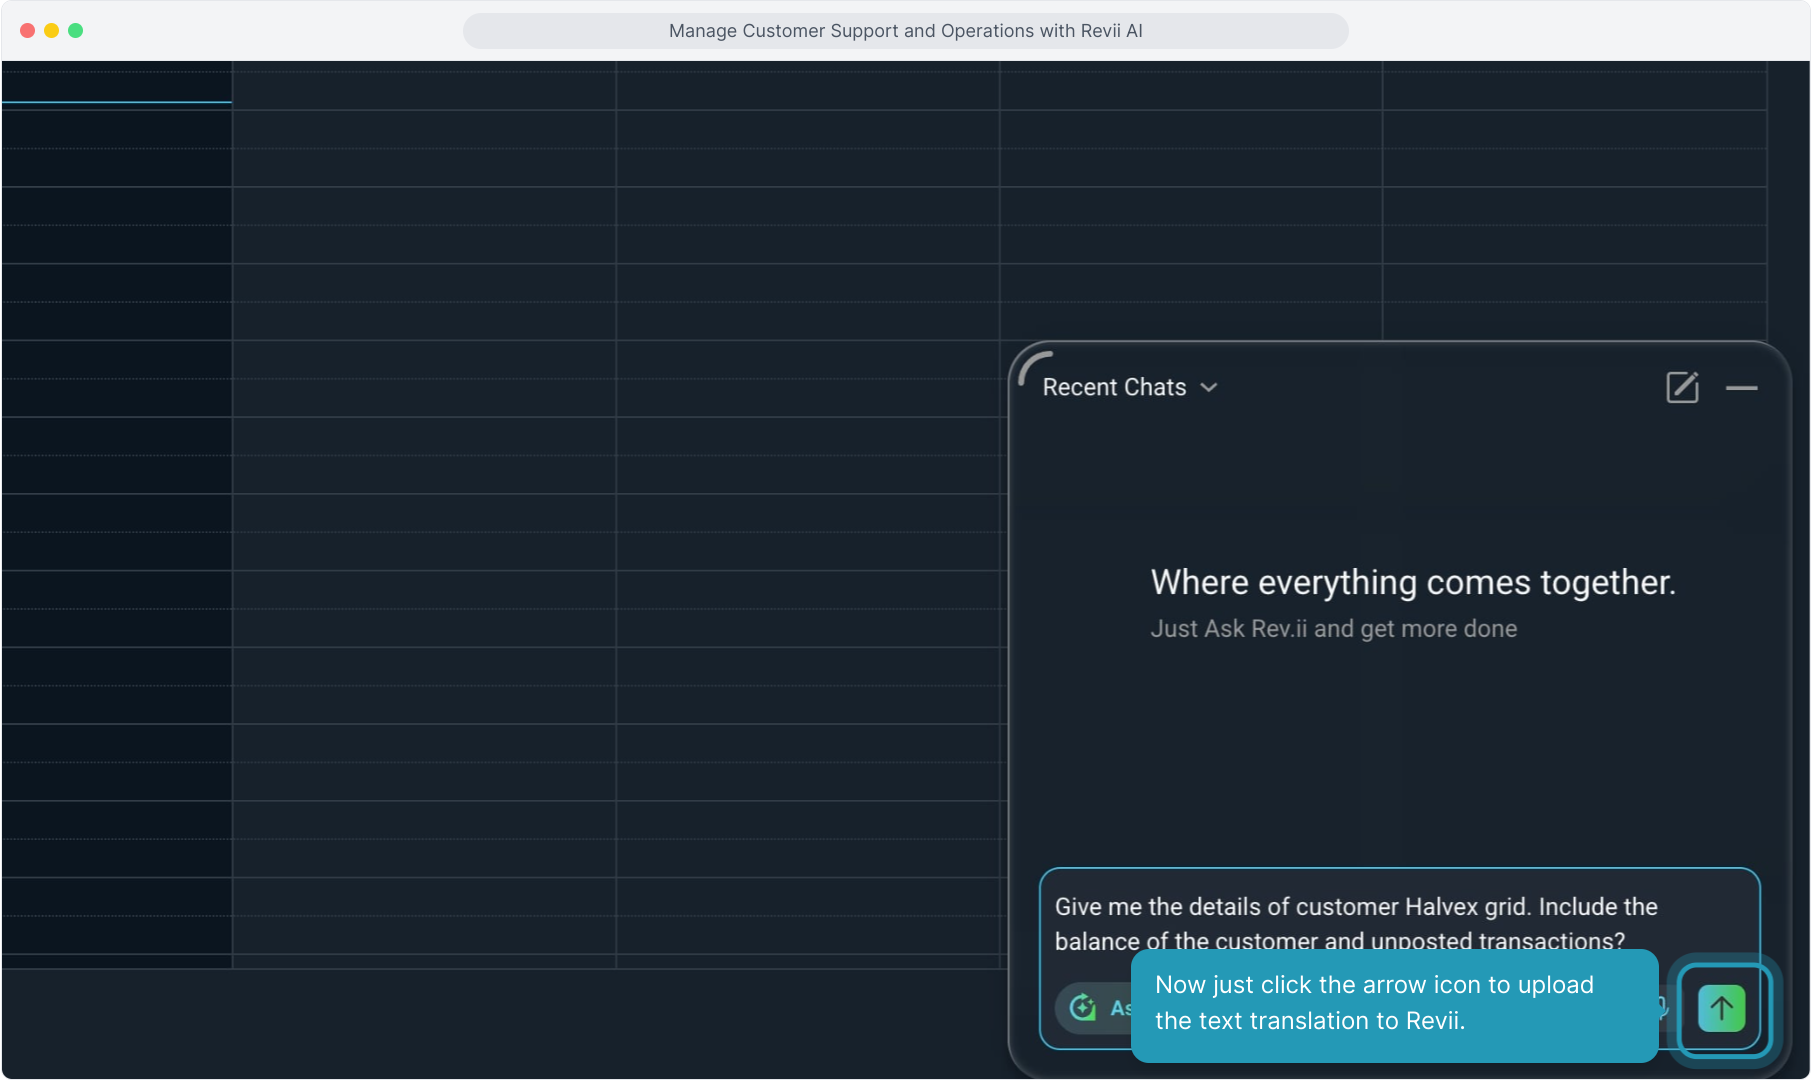
8. Now just click the arrow icon to upload the text translation to Revii.
9. Revii will display the information or confirm the action you requested.

10. You can scroll up or down in the chat history to view more information.

11. Revii will give you any relevant links to data you asked about.

12. Next, we'll either dictate or type a question about the most recent tickets on this account to get an idea of what is going on with this customer.

13. Revii will display the information you asked for, along with any relevant links for easy navigation.

14. Next up, we can ask how many open tickets this customer has.
Revii has context because we are on the customer account when we ask this question, but if we were anywhere else in the platform, we could simply give Revii the customer name or ID and ask the same question.

15. Again, Revii comes back with the requested information.

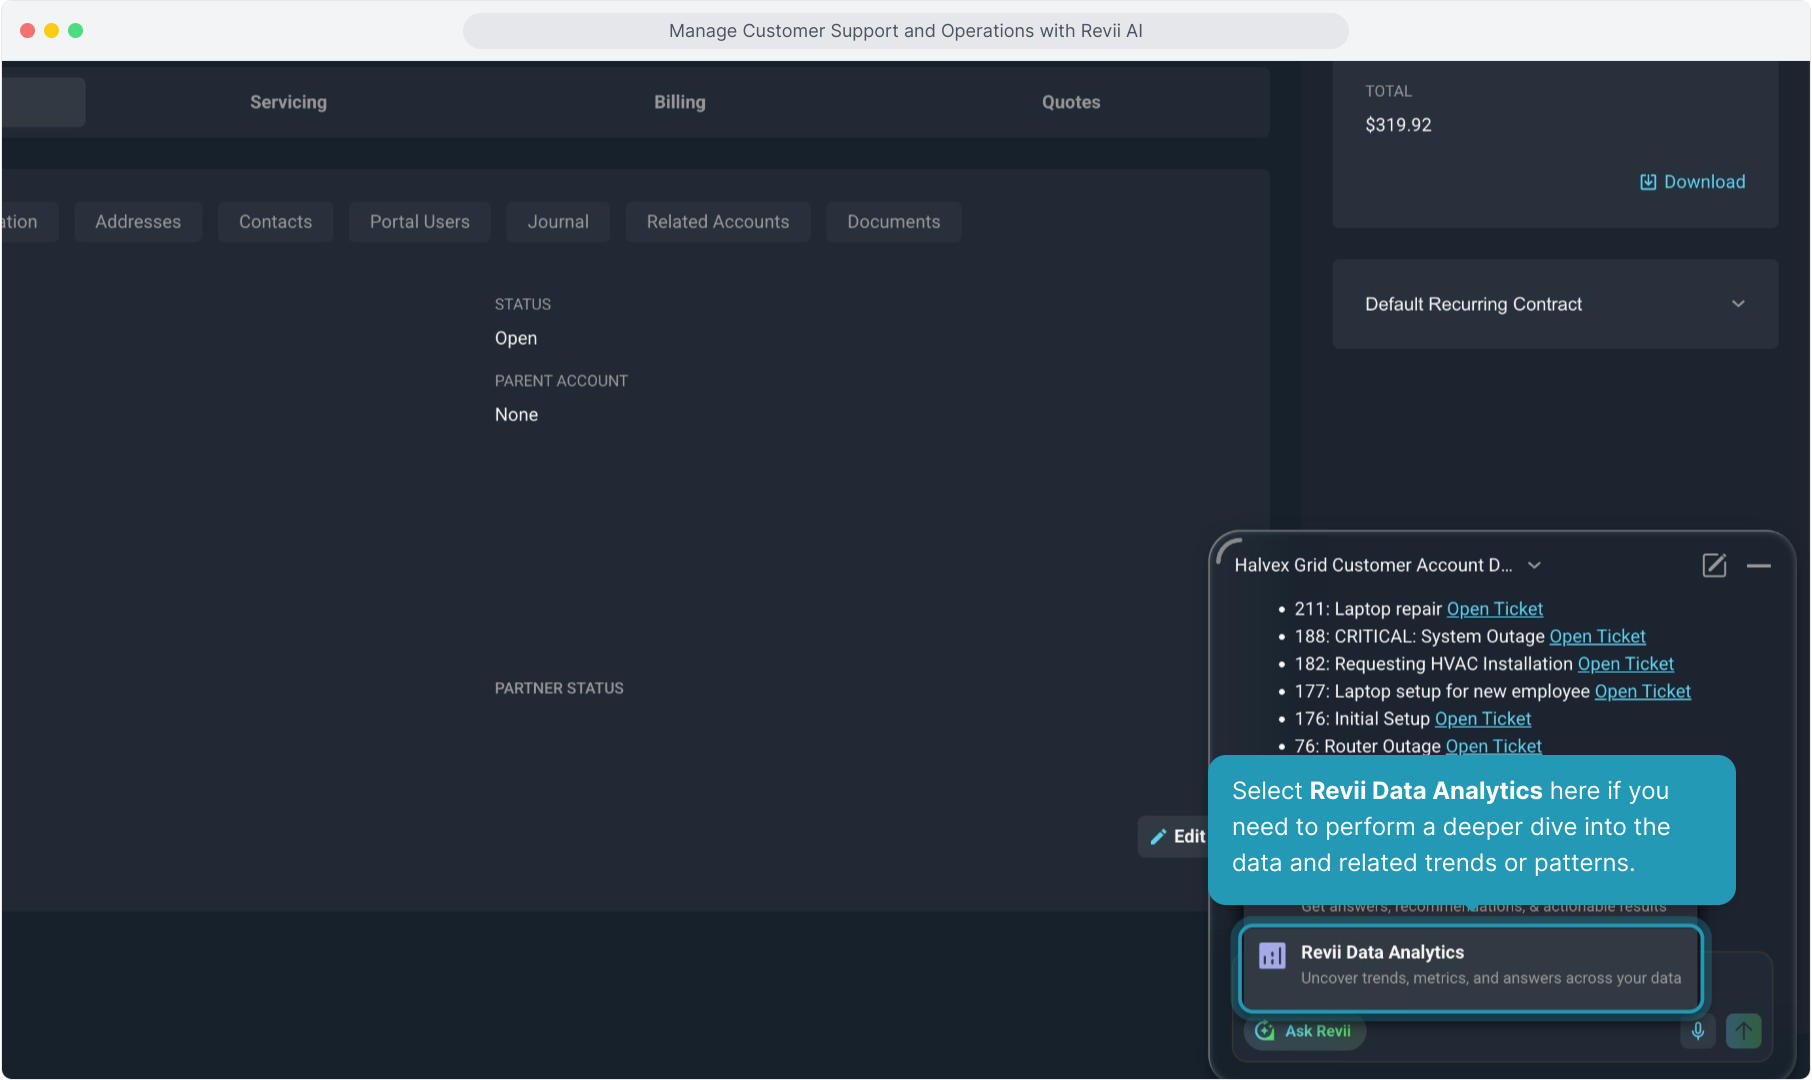
16. We've been in the default Ask Revii side of our AI agent so far. This is where you can ask specific questions about a customer and you can ask Revii to perform tasks on things like customers or tickets.
Clicking the Ask Revii button allows you to switch to a different mode of Revii.

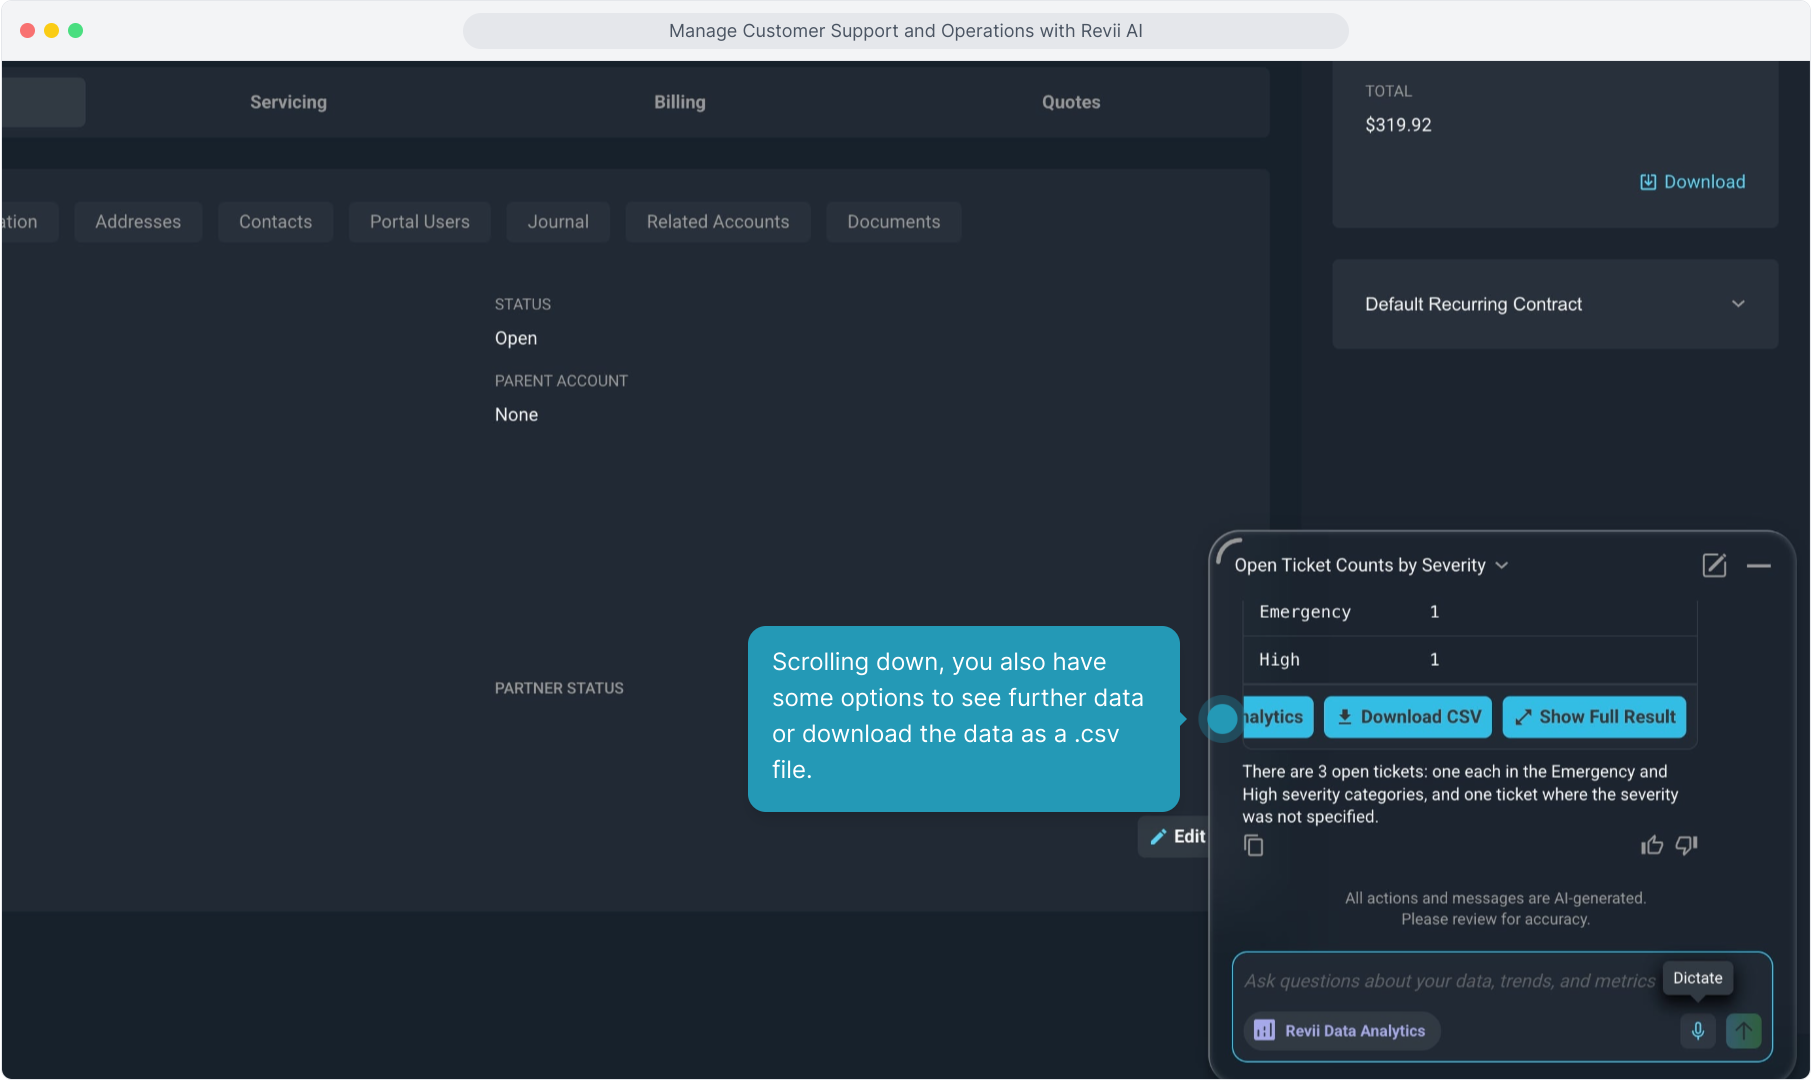
17. Select Revii Data Analytics here if you need to perform a deeper dive into the data and related trends or patterns.
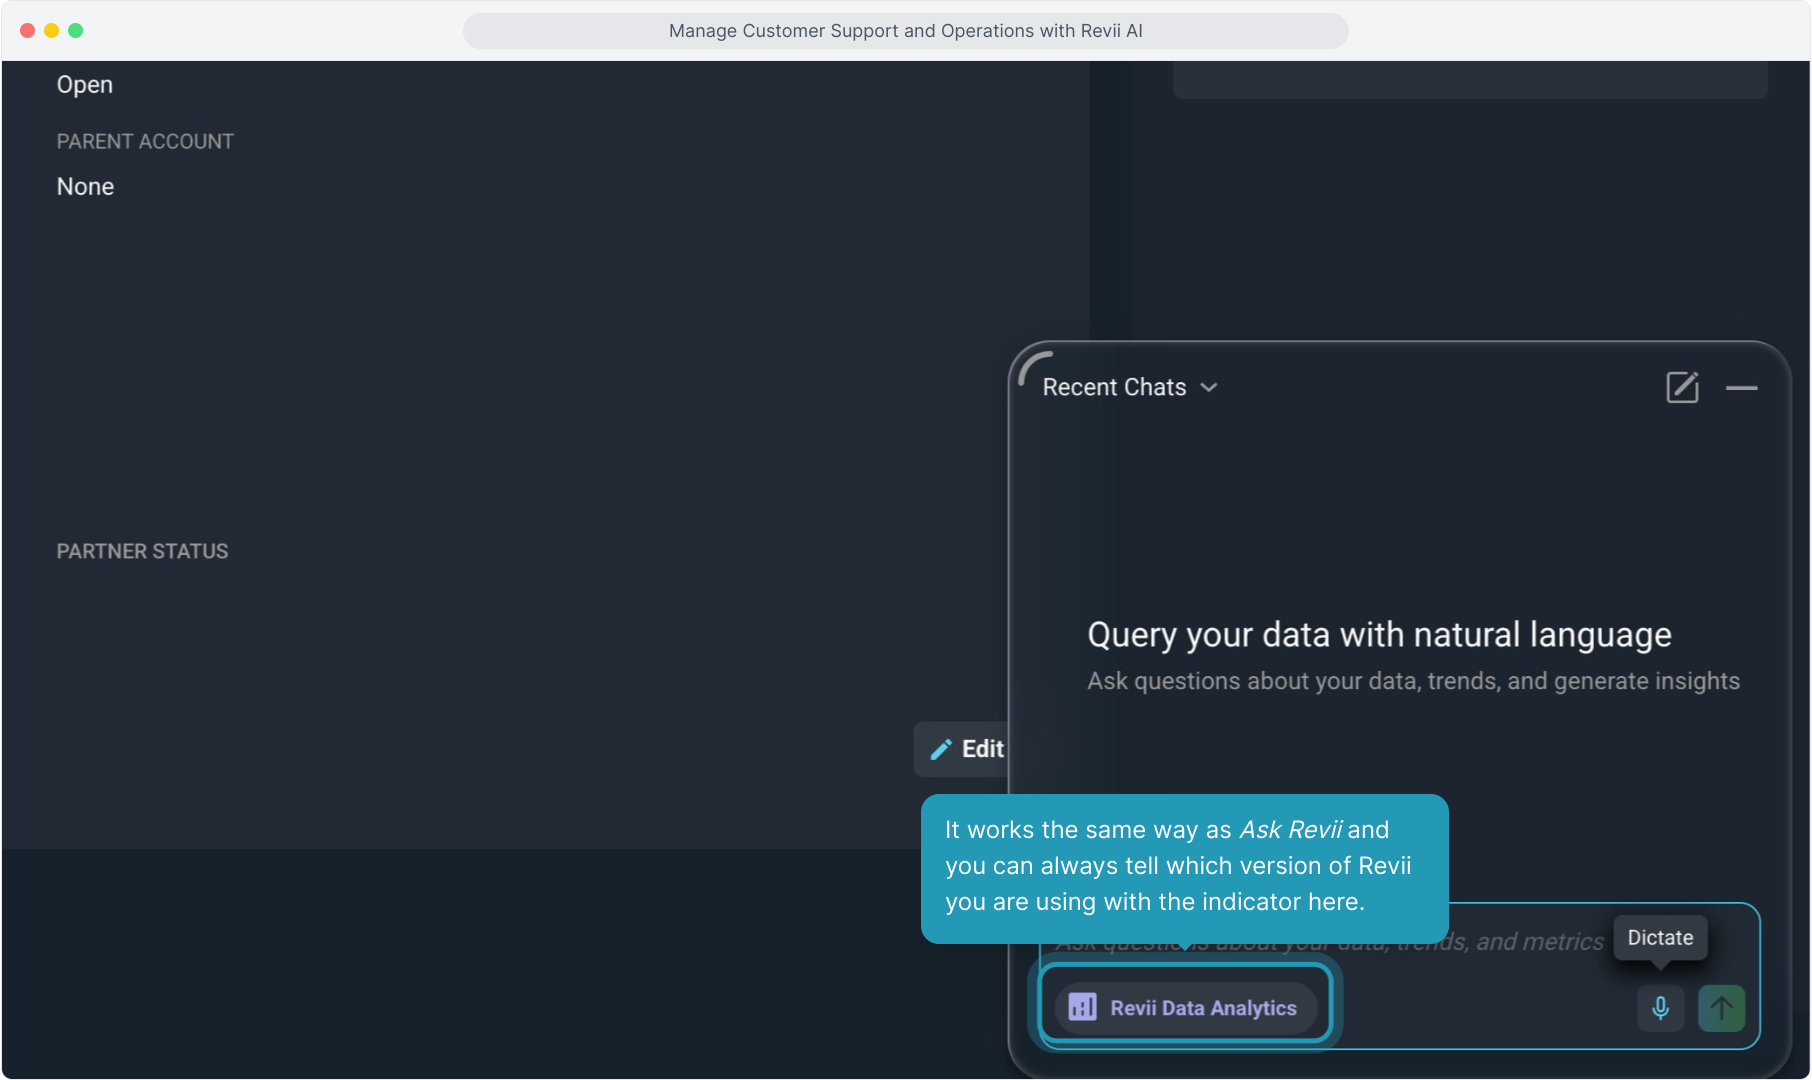
18. It works the same way as Ask Revii and you can always tell which version of Revii you are using with the indicator here.
19. We can still type our prompt or use the voice-to-text option.

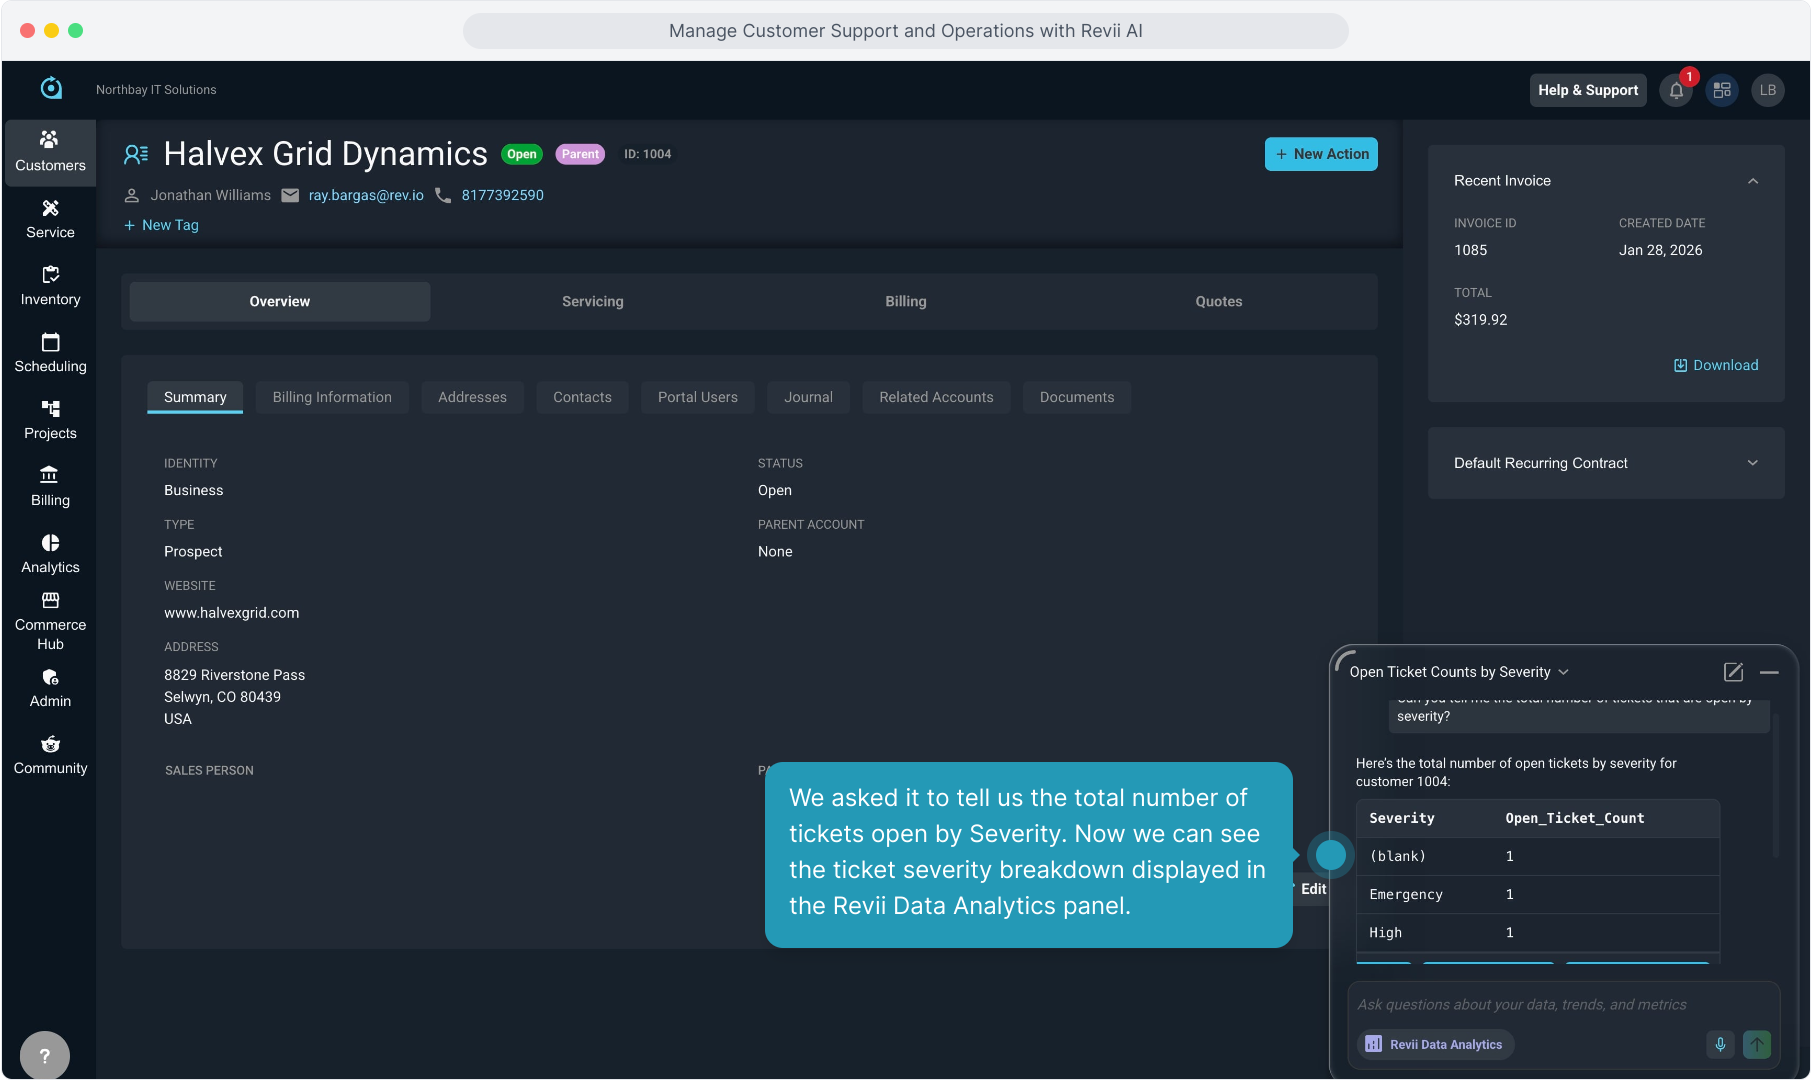
20. We asked it to tell us the total number of tickets open by Severity. Now we can see the ticket severity breakdown displayed in the Revii Data Analytics panel.
21. Scrolling down, you also have some options to see further data or download the data as a .csv file.
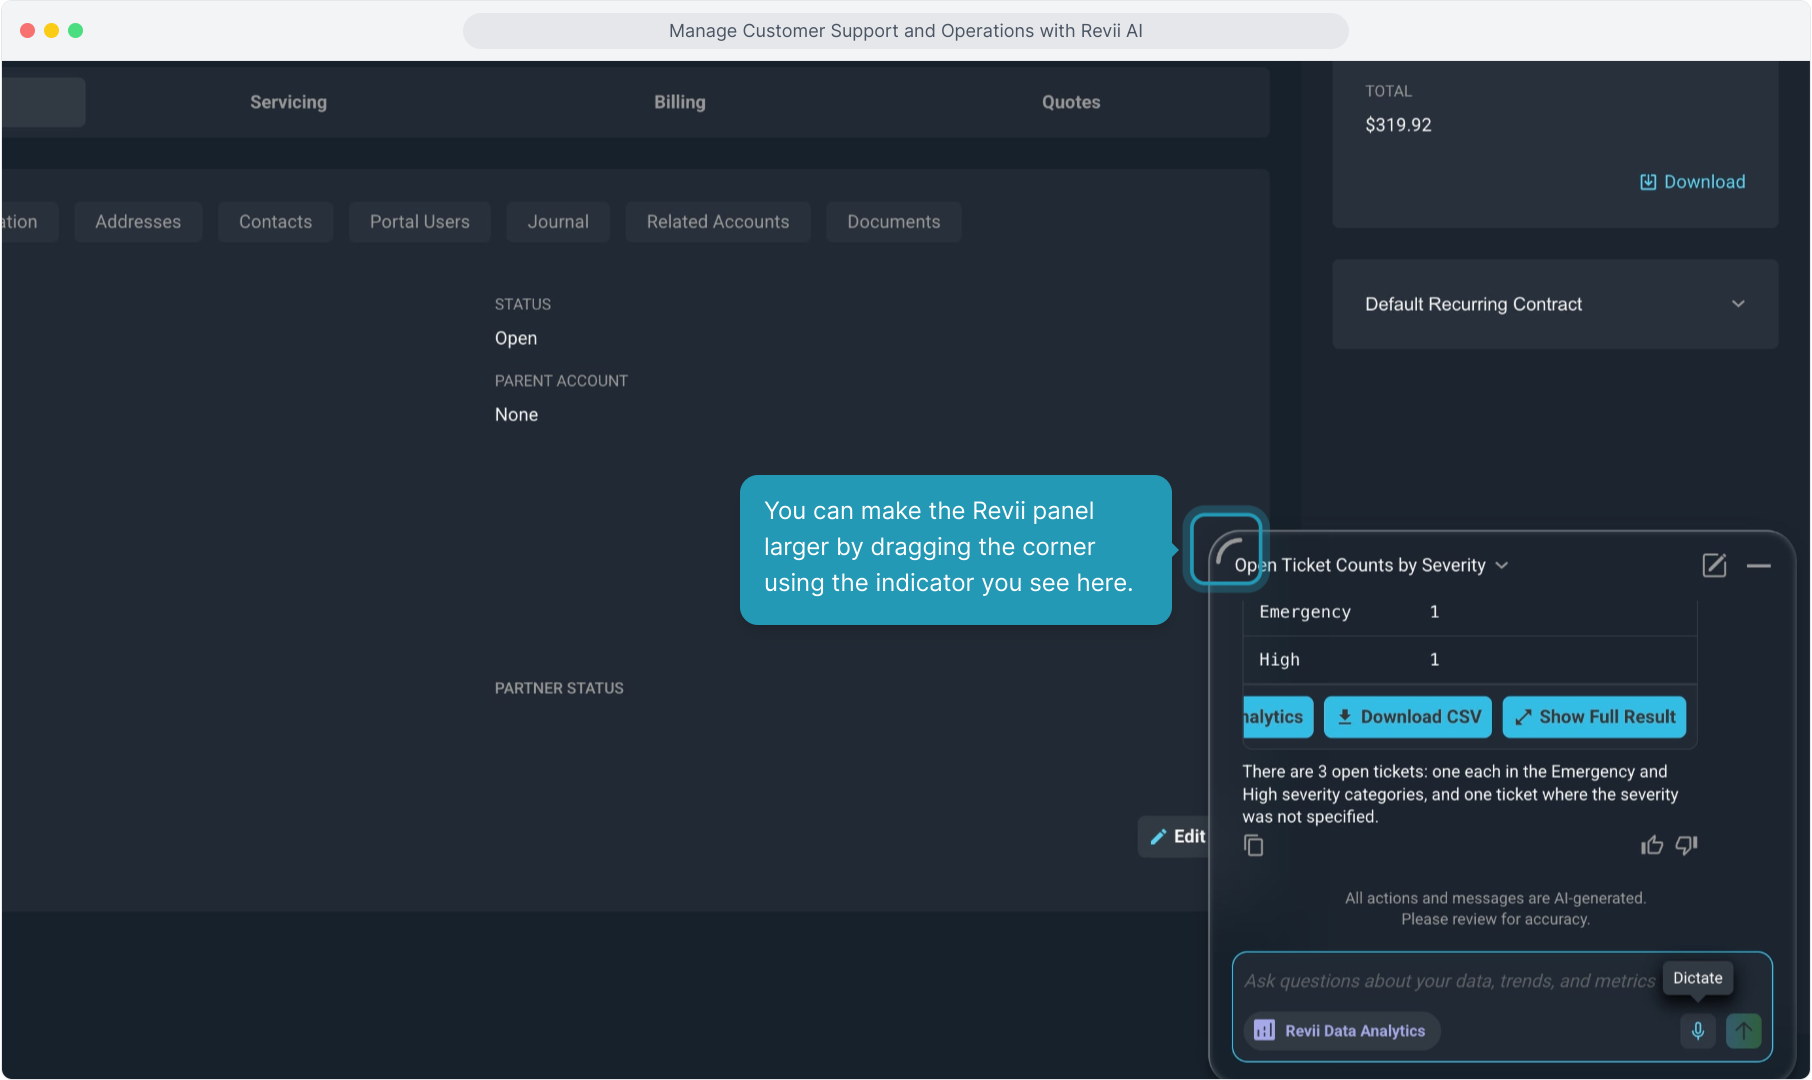
22. You can make the Revii panel larger by dragging the corner using the indicator you see here.
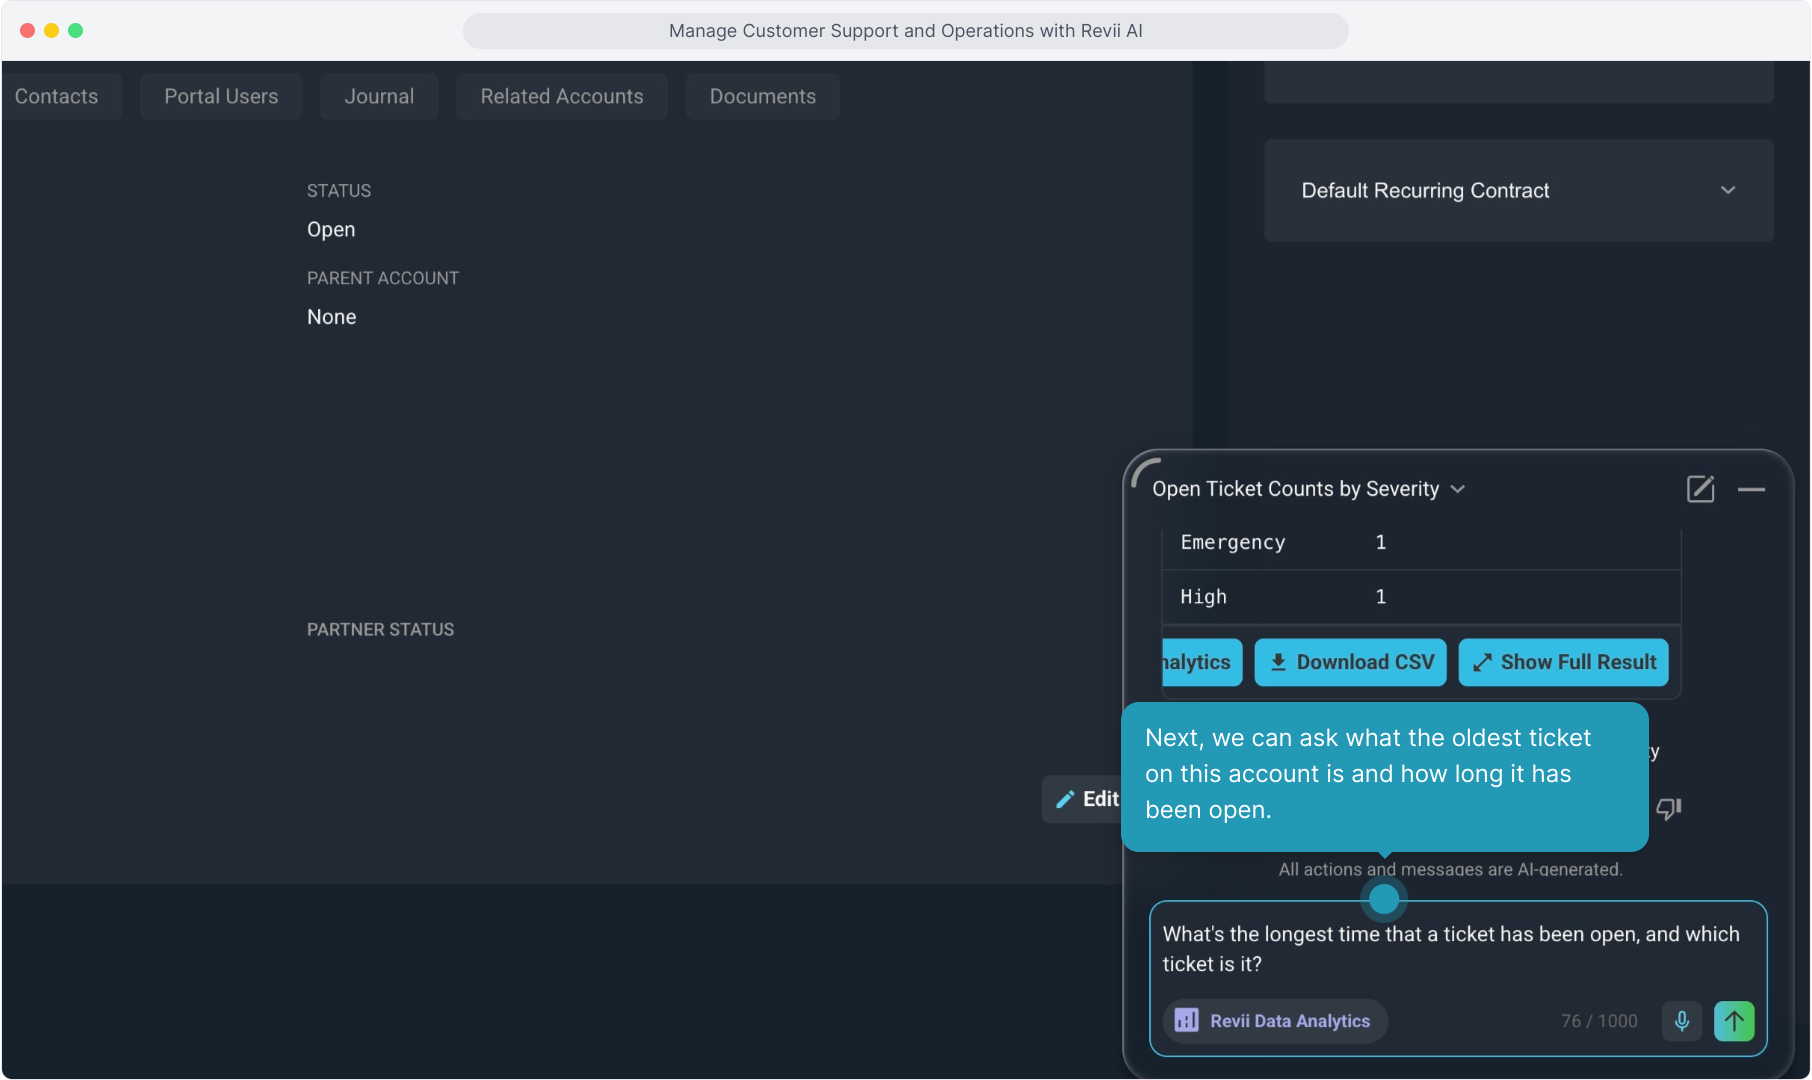
23. Next, we can ask what the oldest ticket on this account is and how long it has been open.
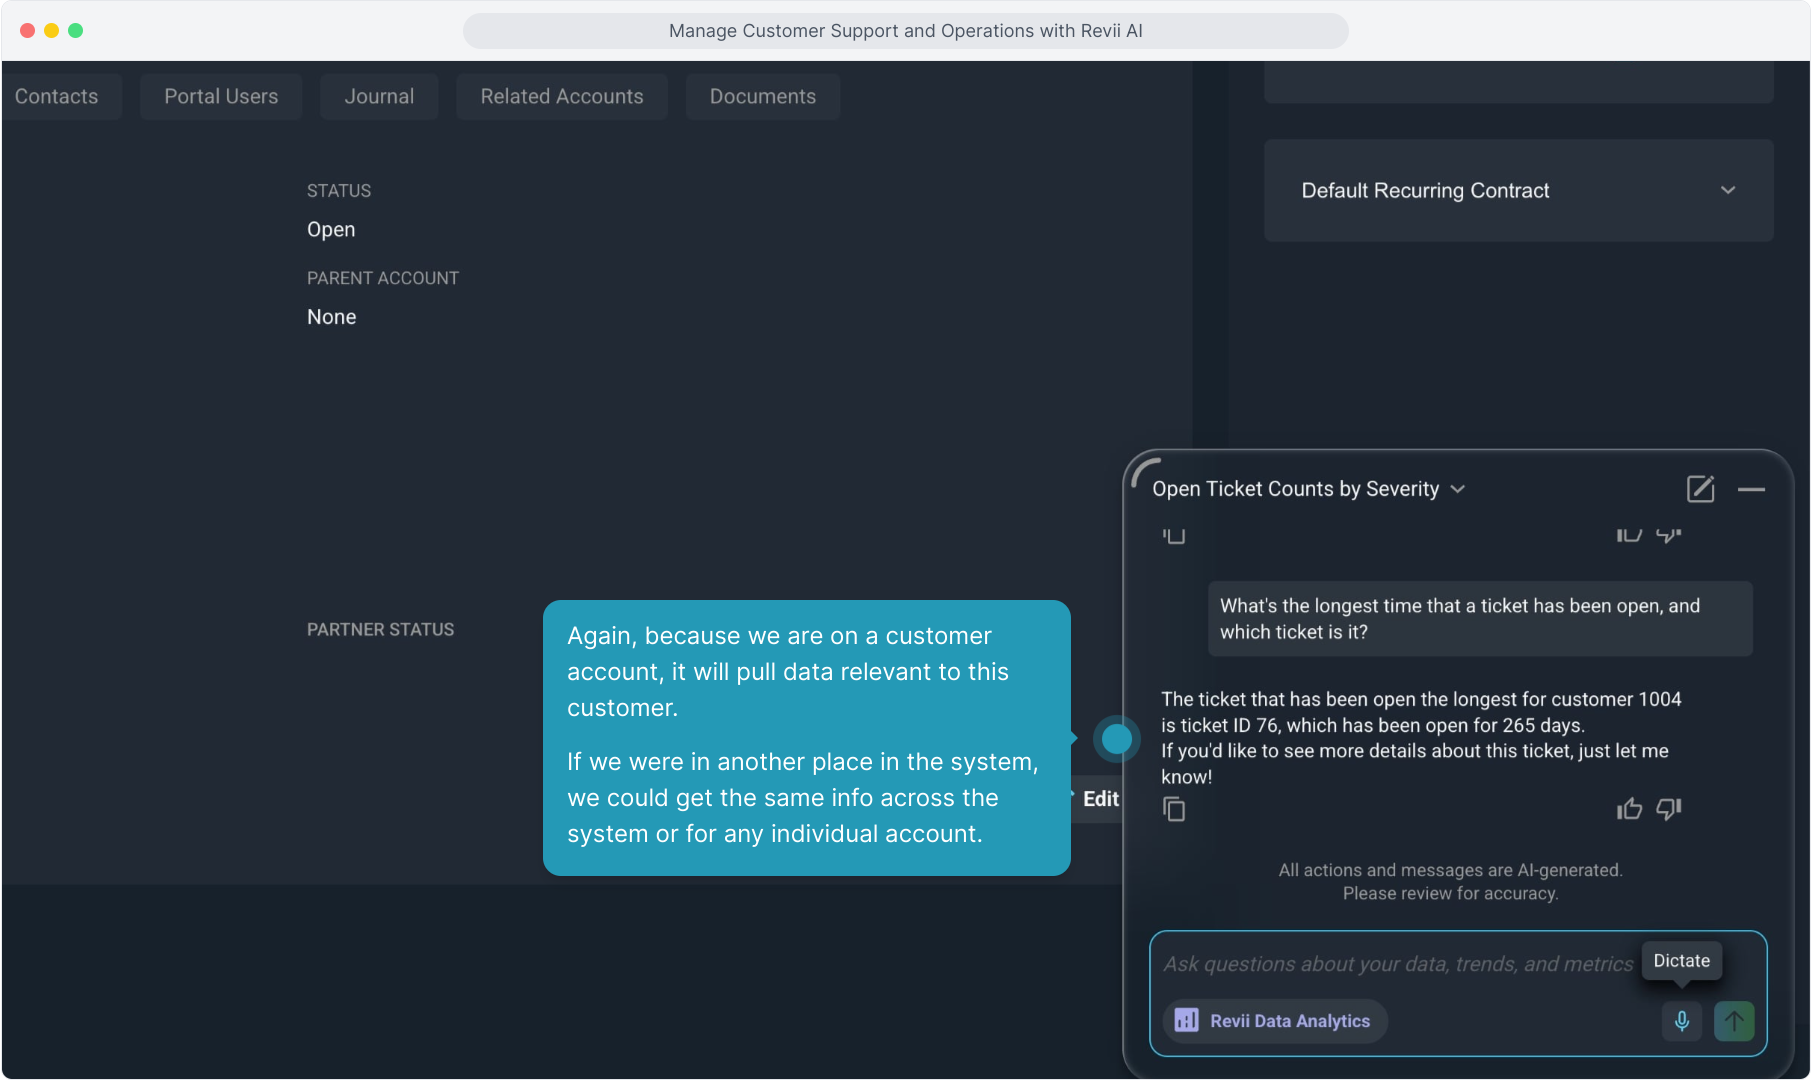
24. Again, because we are on a customer account, it will pull data relevant to this customer.
If we were in another place in the system, we could get the same info across the system or for any individual account.
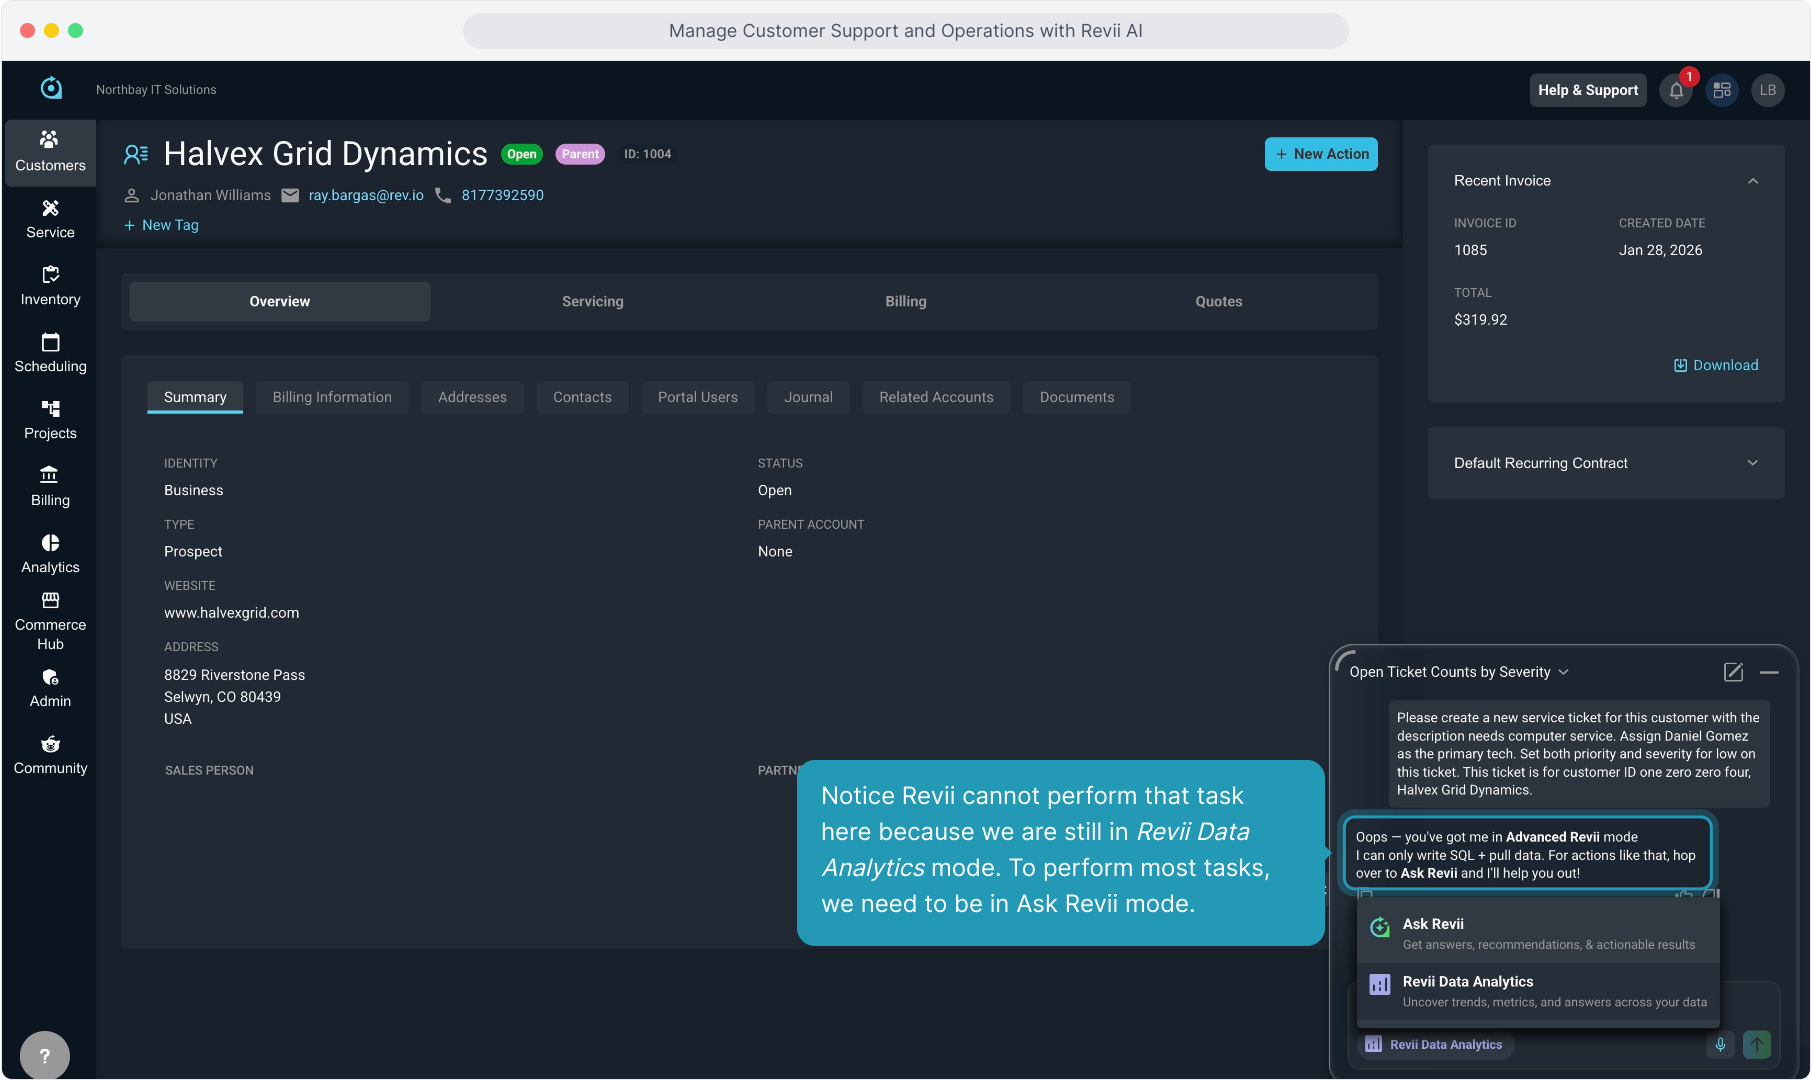
25. Now that we have a handle on what is generally going on with this customer, let's create a new ticket on this customer.
We want to make a point here about where you ask specific questions, so we'll just type the info here about the ticket we want to create and see what happens.

26. Notice Revii cannot perform that task here because we are still in Revii Data Analytics mode. To perform most tasks, we need to be in Ask Revii mode.
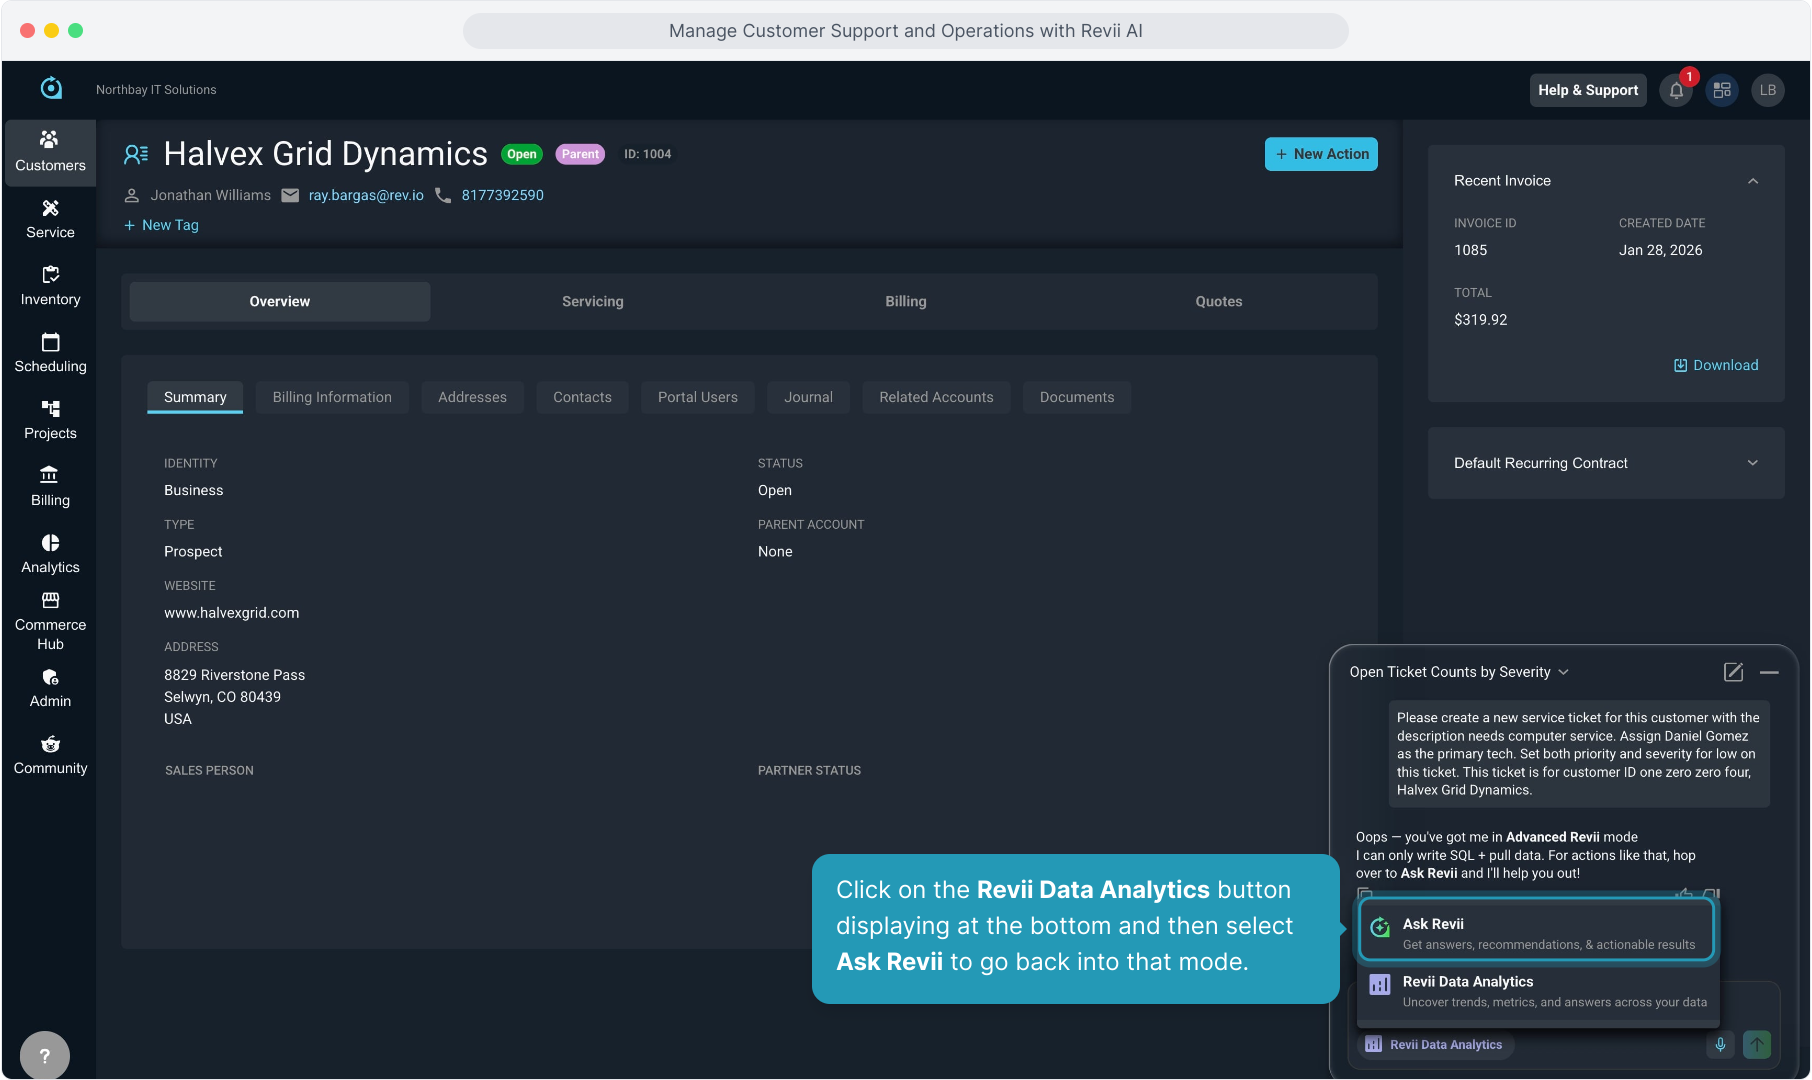
27. Click on the Revii Data Analytics button displaying at the bottom and then select Ask Revii to go back into that mode.
28. Now we can ask to create that ticket in Ask Revii mode.

29. Revii created the ticket with the information you provided.
If you don't give Revii enough information to perform the task, he will ask you for the missing details before proceeding.

30. Now that the ticket is created, we can ask Revii to add an activity note to the ticket.
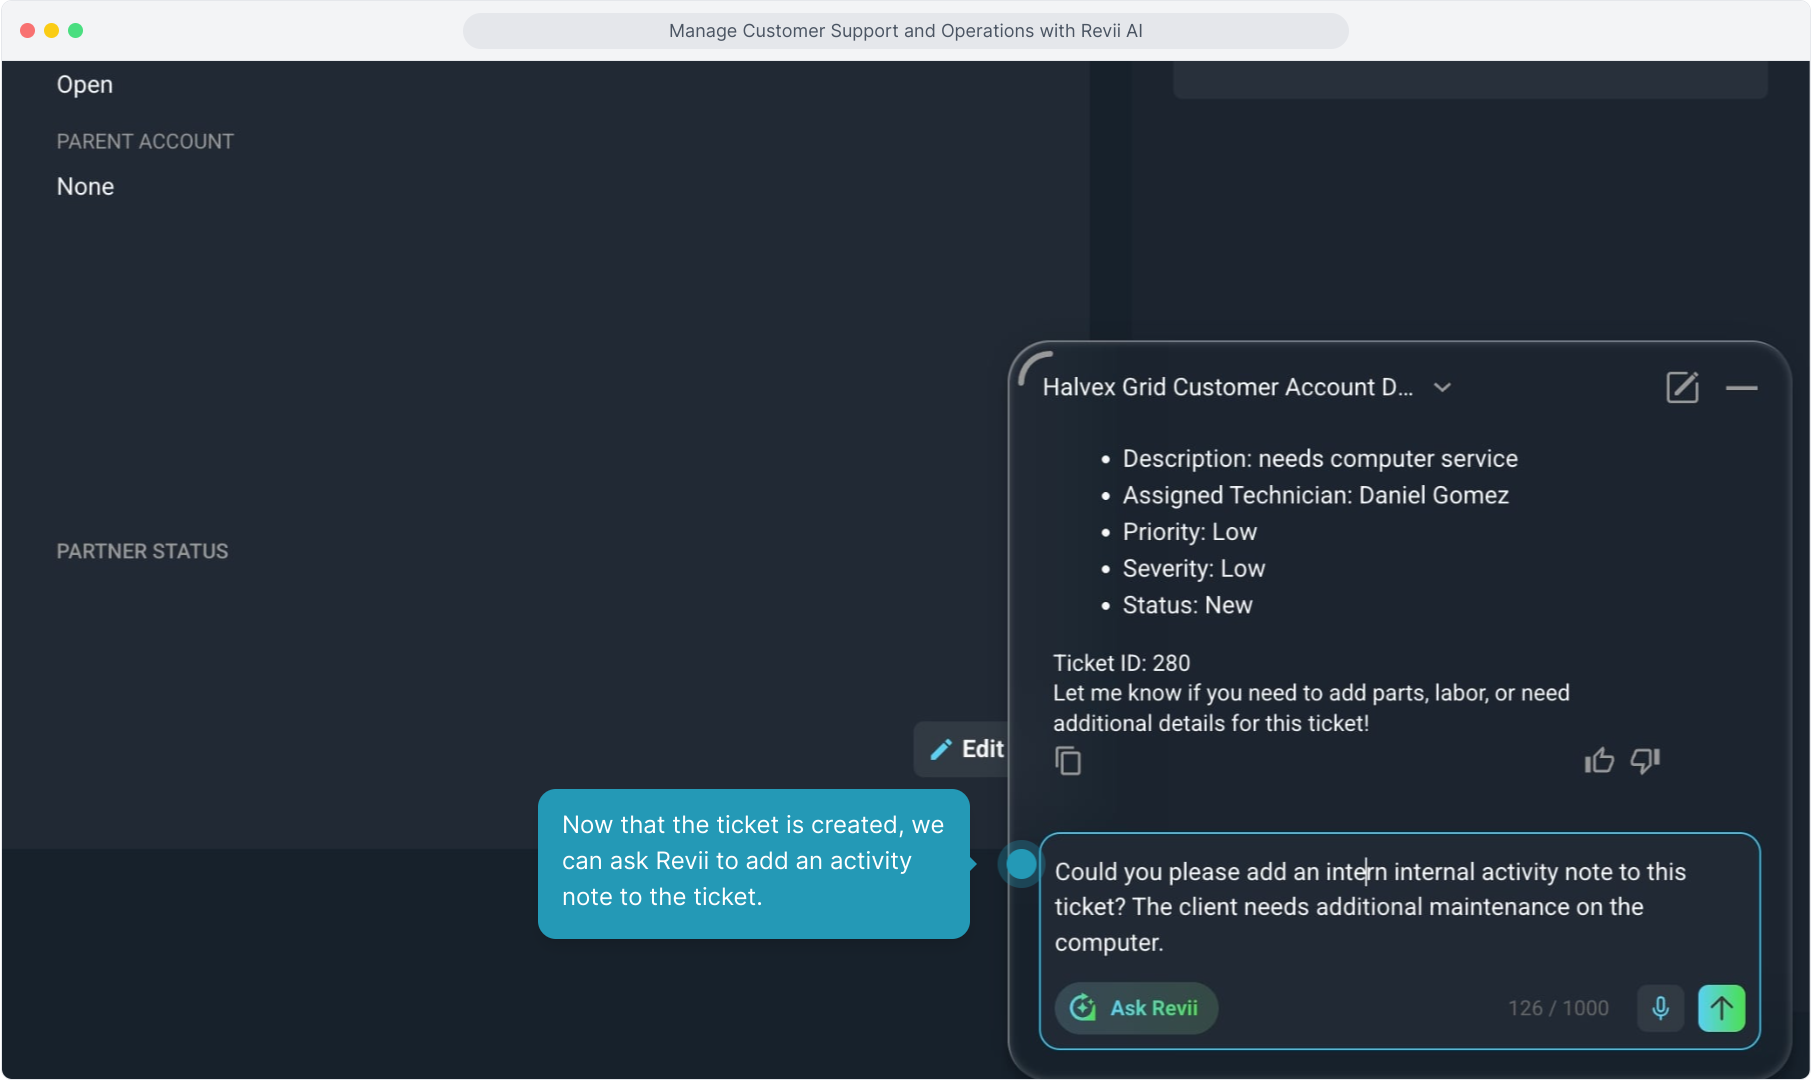
31. Revii confirms the note has been added and gives you the link to the ticket if you'd like to view the ticket to confirm the action.

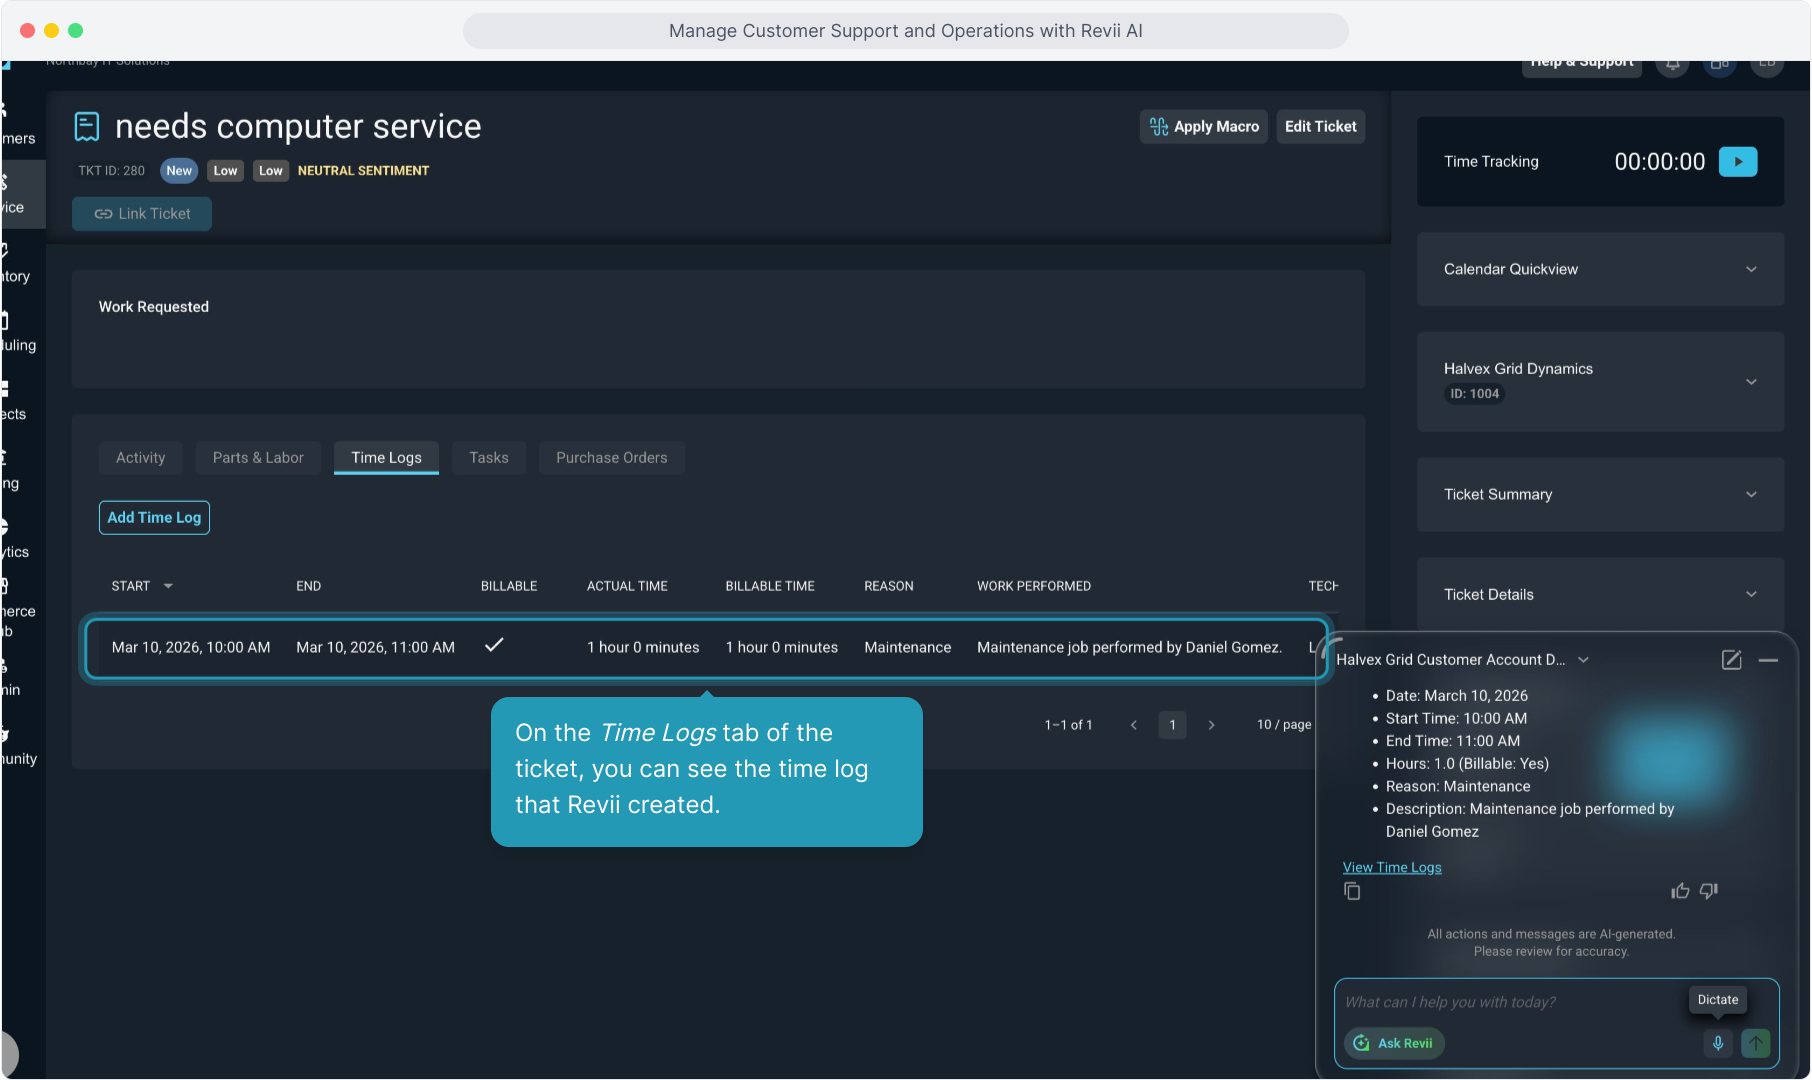
32. You can also ask Revii to add time logs to tickets.

33. And again Revii provides the details of the task performed. You can always confirm the action using the quick links Revii provides. We'll click View Time Logs to review the hours logged.
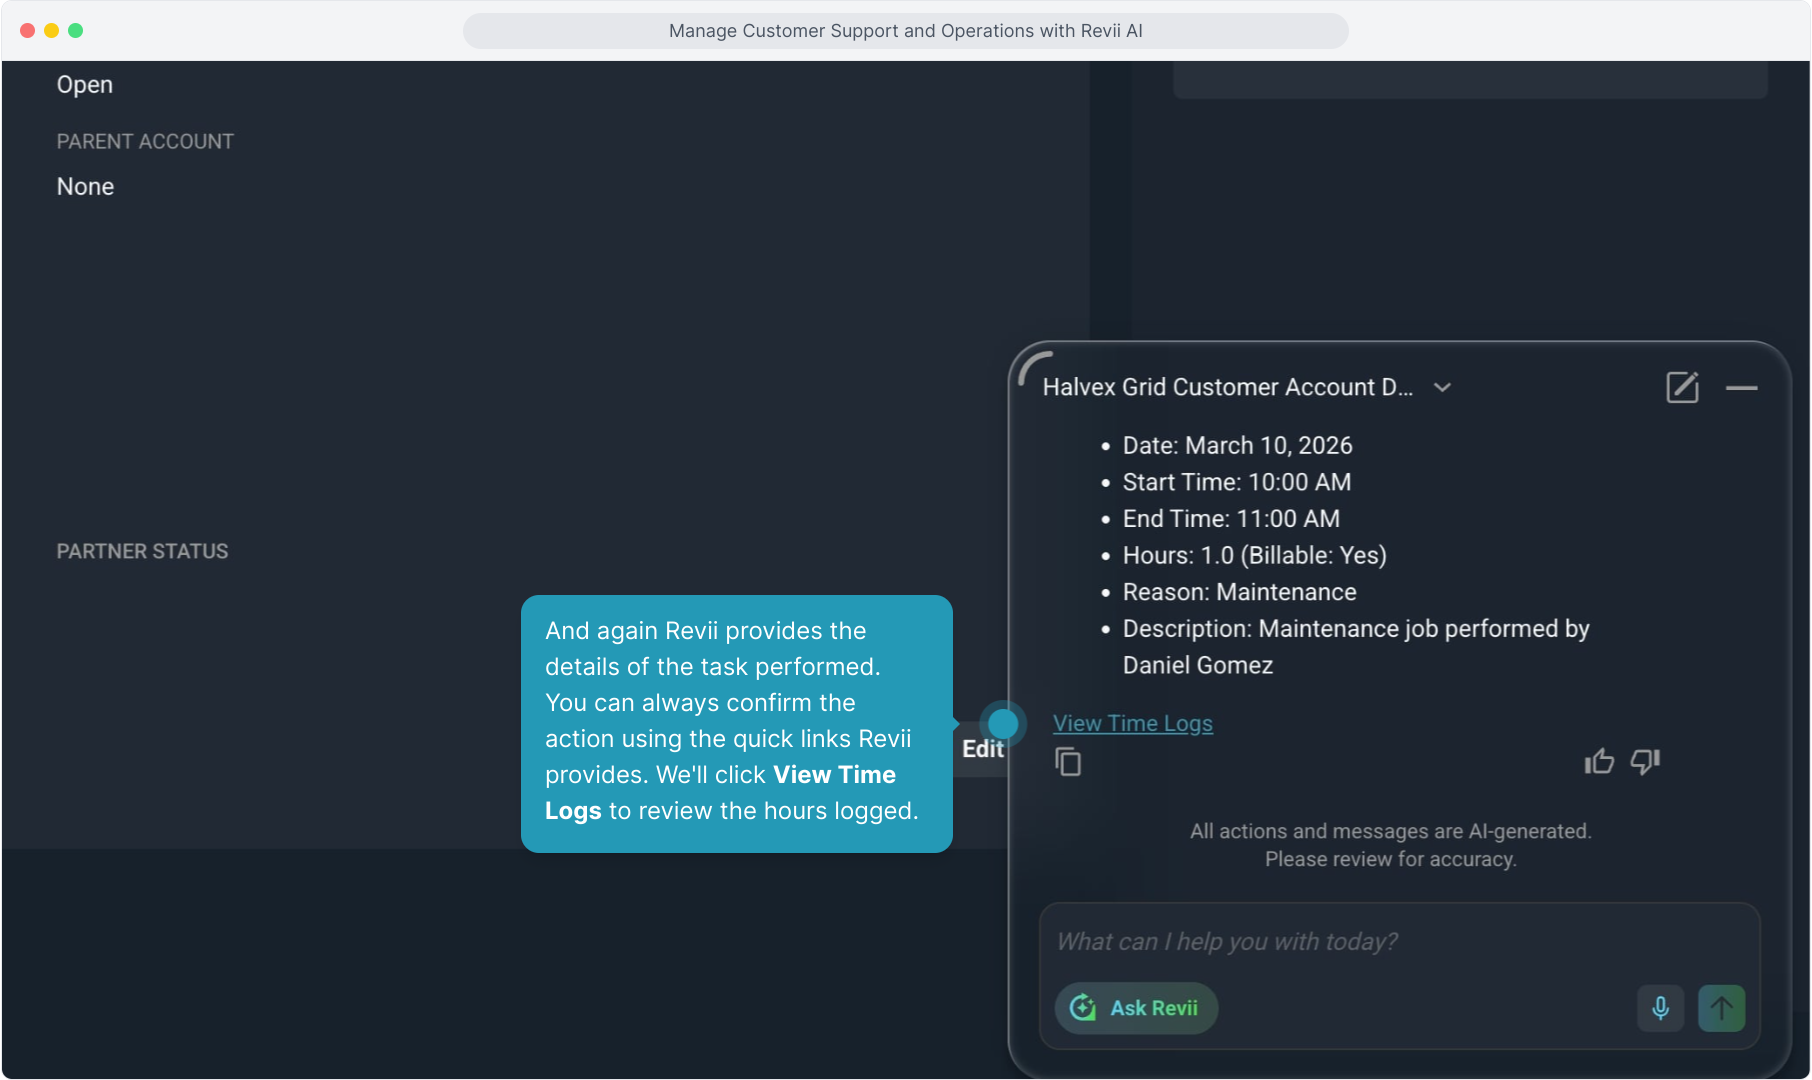
34. On the Time Logs tab of the ticket, you can see the time log that Revii created.
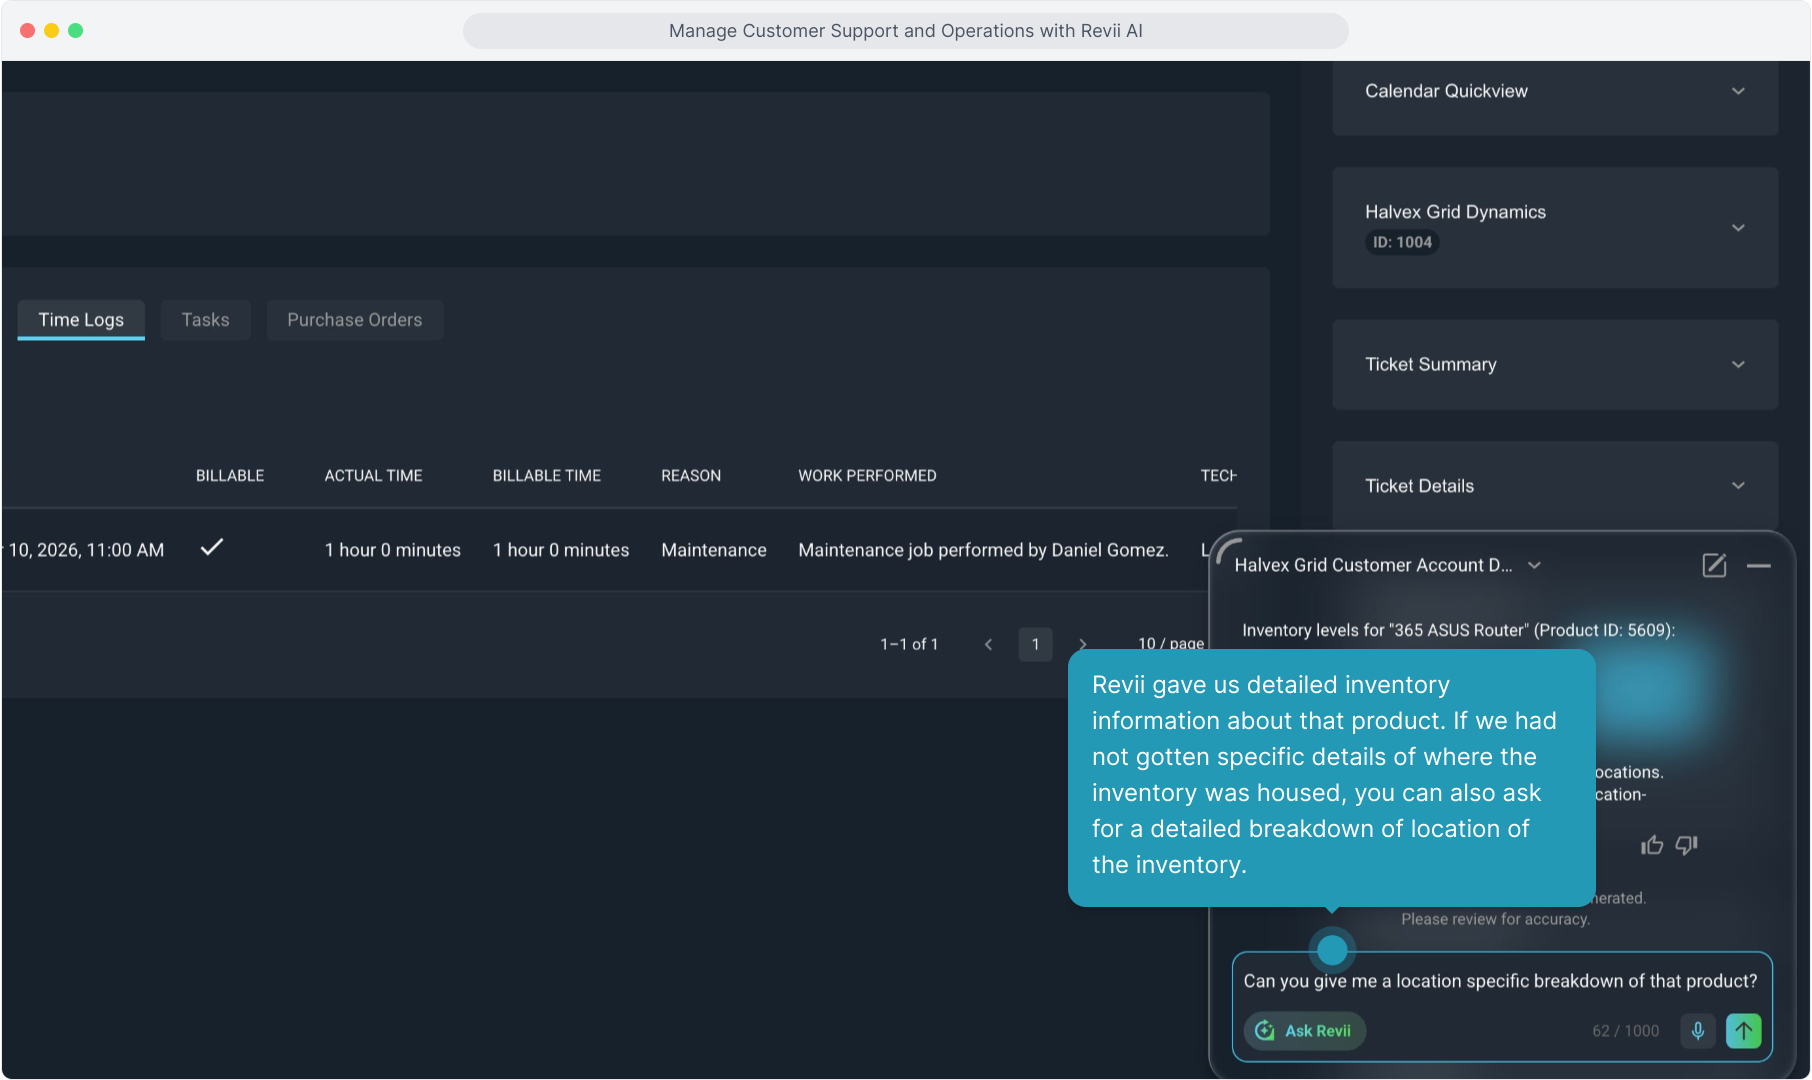
35. Next we can check inventory levels of a product we know we need to add to this ticket.
I'm giving Revii the name and the product ID of the product I want to check on, but you don't have to give it both.

36. Again, Revii provides the details.

37. Revii gave us detailed inventory information about that product. If we had not gotten specific details of where the inventory was housed, you can also ask for a detailed breakdown of location of the inventory.
38. Revii provides the details.

39. Now that we know we have inventory available, we can ask Revii to add that product to the parts and labor on the ticket. Make sure to provide any relevant details so that Revii has accurate information for things like price, quantity, and cost.
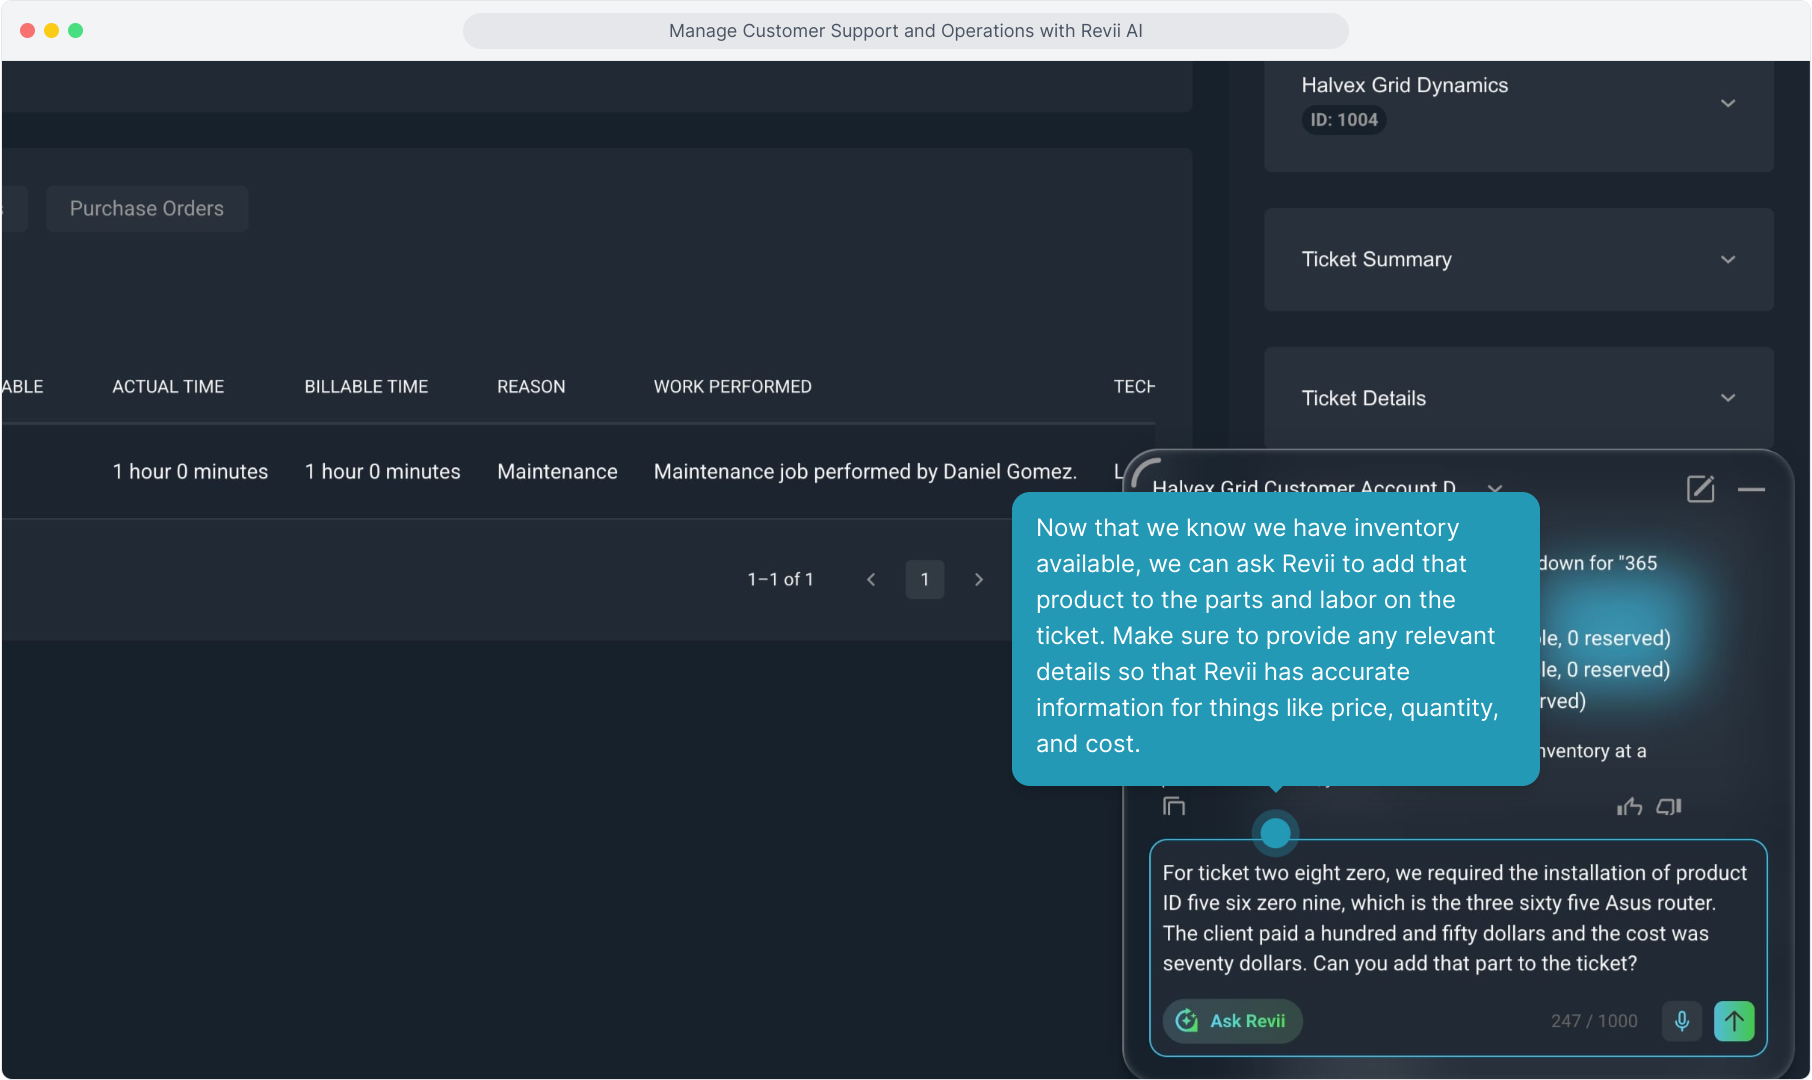
40. Revii confirms and gives you the link to view the part added to the ticket.

41. You can confirm on the ticket the part was added.
Important note: Currently, you cannot reserve the product using Revii, nor can you send the charges to billing using Revii, but that functionality is coming soon. Make sure to keep checking back as that will be a fast follow, but for now you can reserve inventory and send charges to billing using the standard user interface.

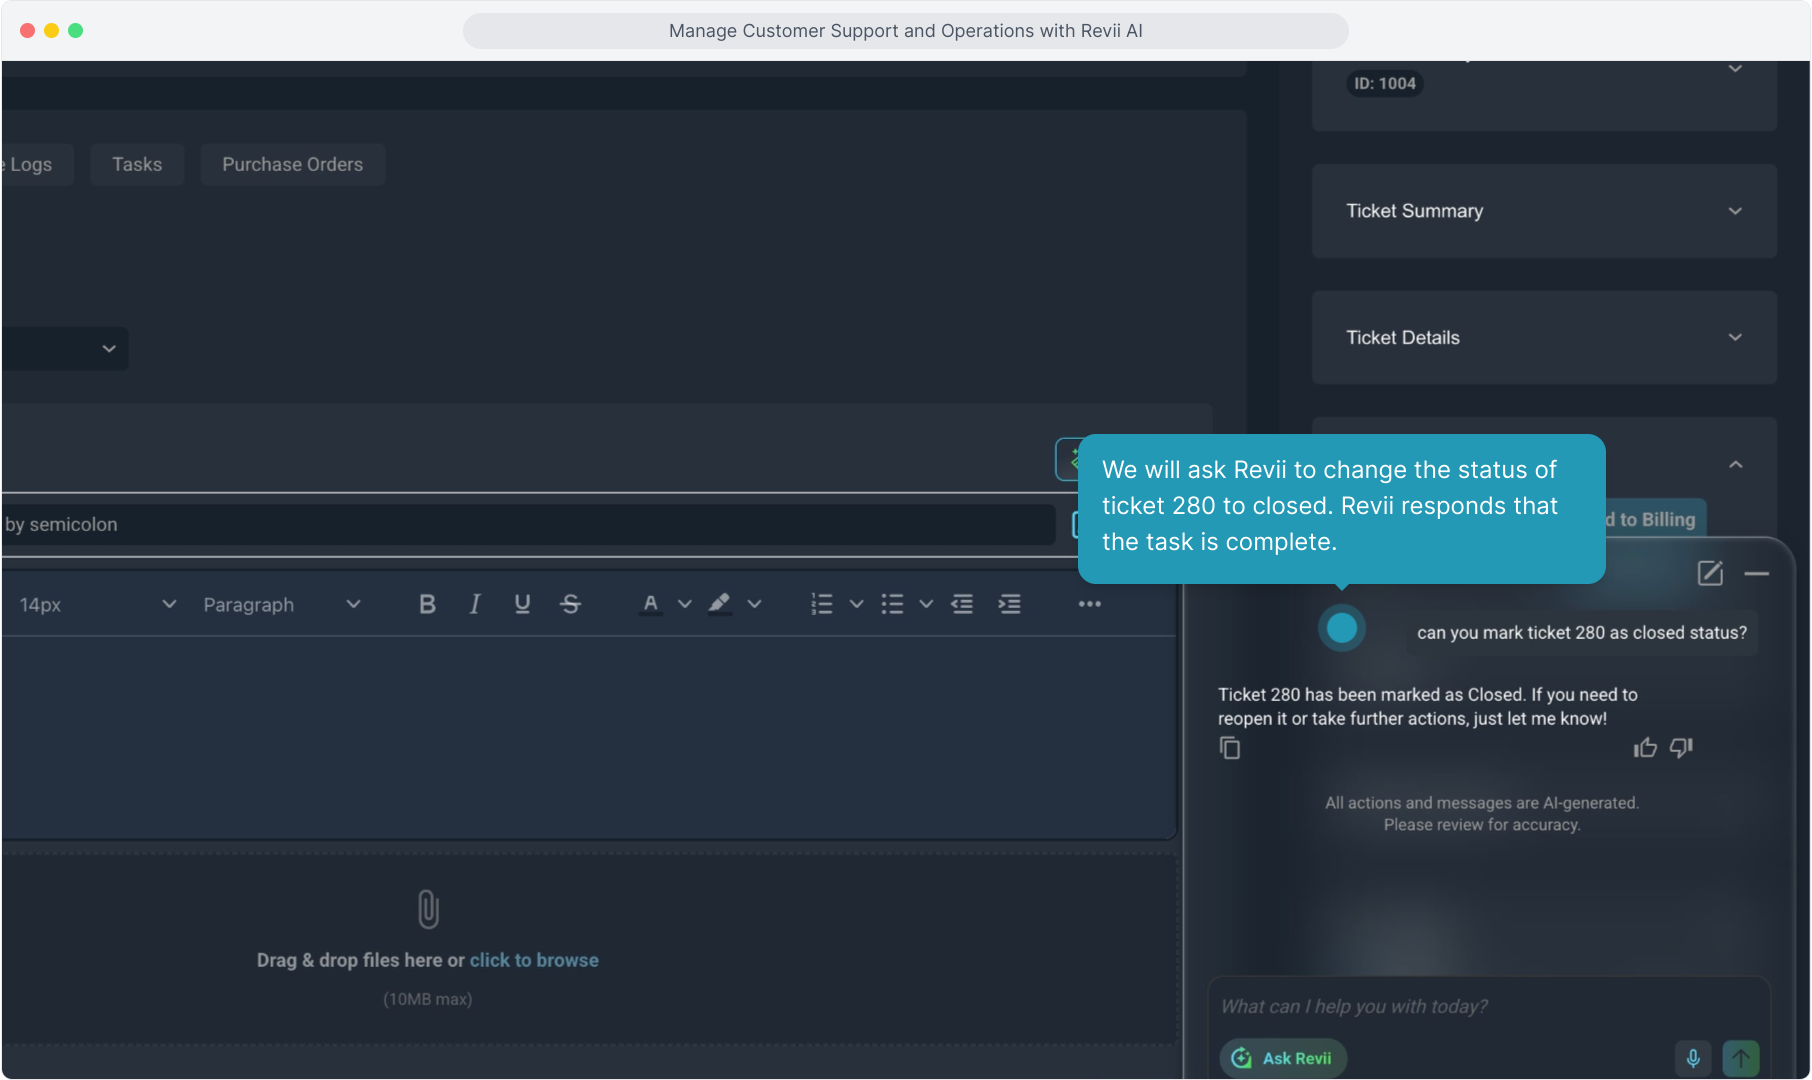
42. After you have reserved any inventory and sent all charges to billing, you can have Revii change the status of the ticket to closed.
Let's click to open Ask Revii once more.

43. We will ask Revii to change the status of ticket 280 to closed. Revii responds that the task is complete.
44. Viewing the ticket you can confirm the status has been changed.
