How To Guide: Creating a Customer without using Leads
1. Introduction
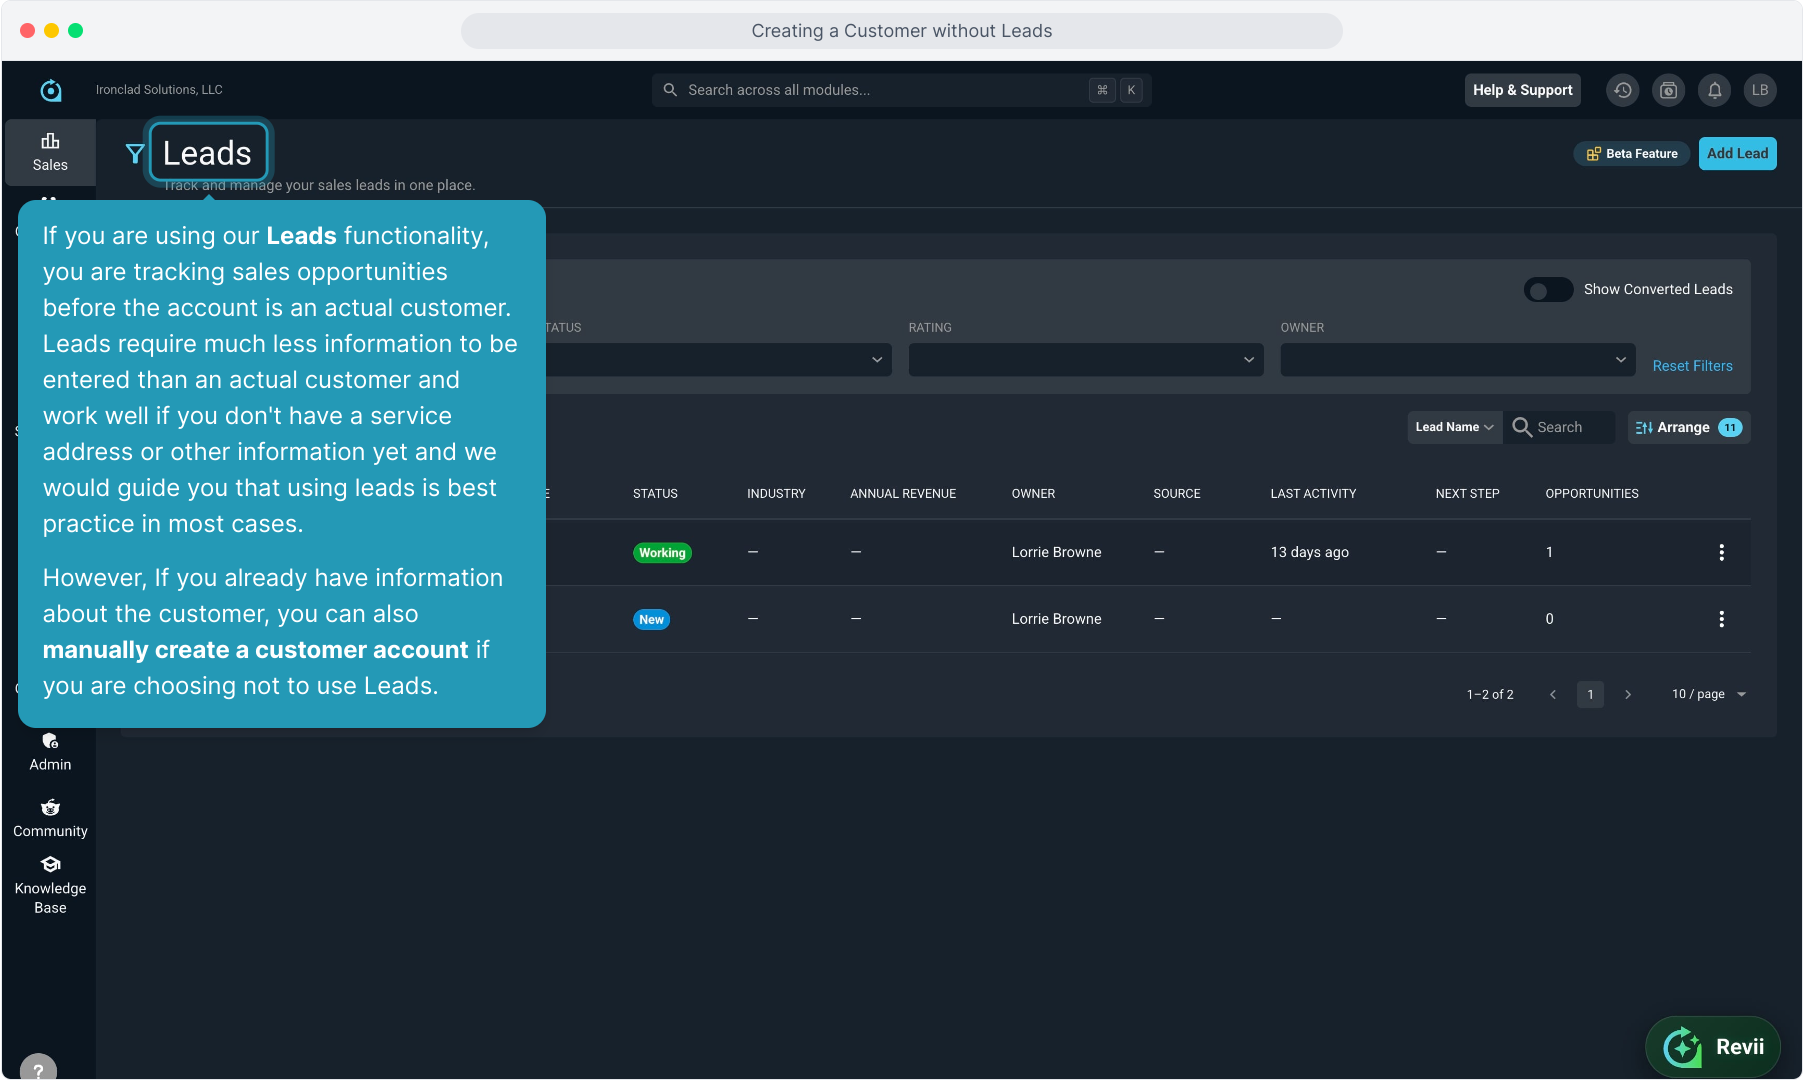
2. If you are using our Leads functionality, you are tracking sales opportunities before the account is an actual customer. Leads require much less information to be entered than an actual customer and work well if you don't have a service address or other information yet and we would guide you that using leads is best practice in most cases.
However, If you already have information about the customer, you can also manually create a customer account if you are choosing not to use Leads.
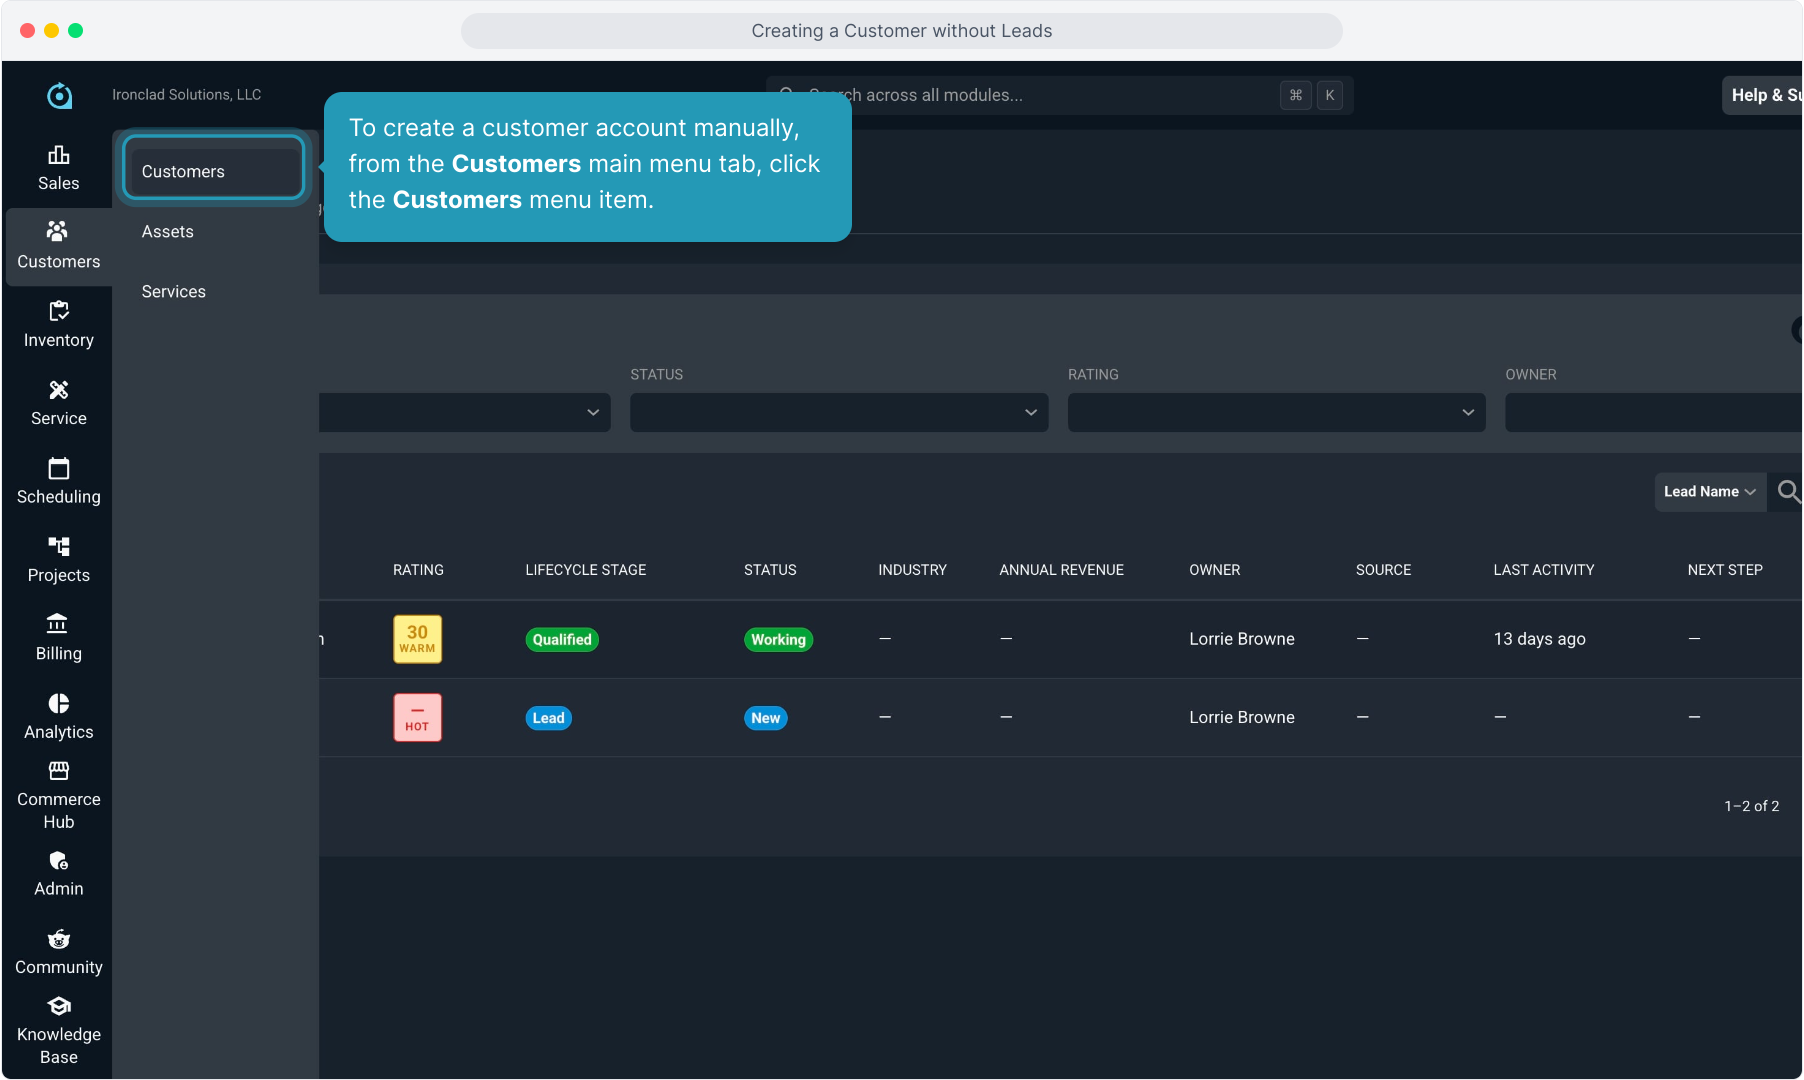
3. To create a customer account manually, from the Customers main menu tab, click the Customers menu item.
4. Click the Add Customer button.
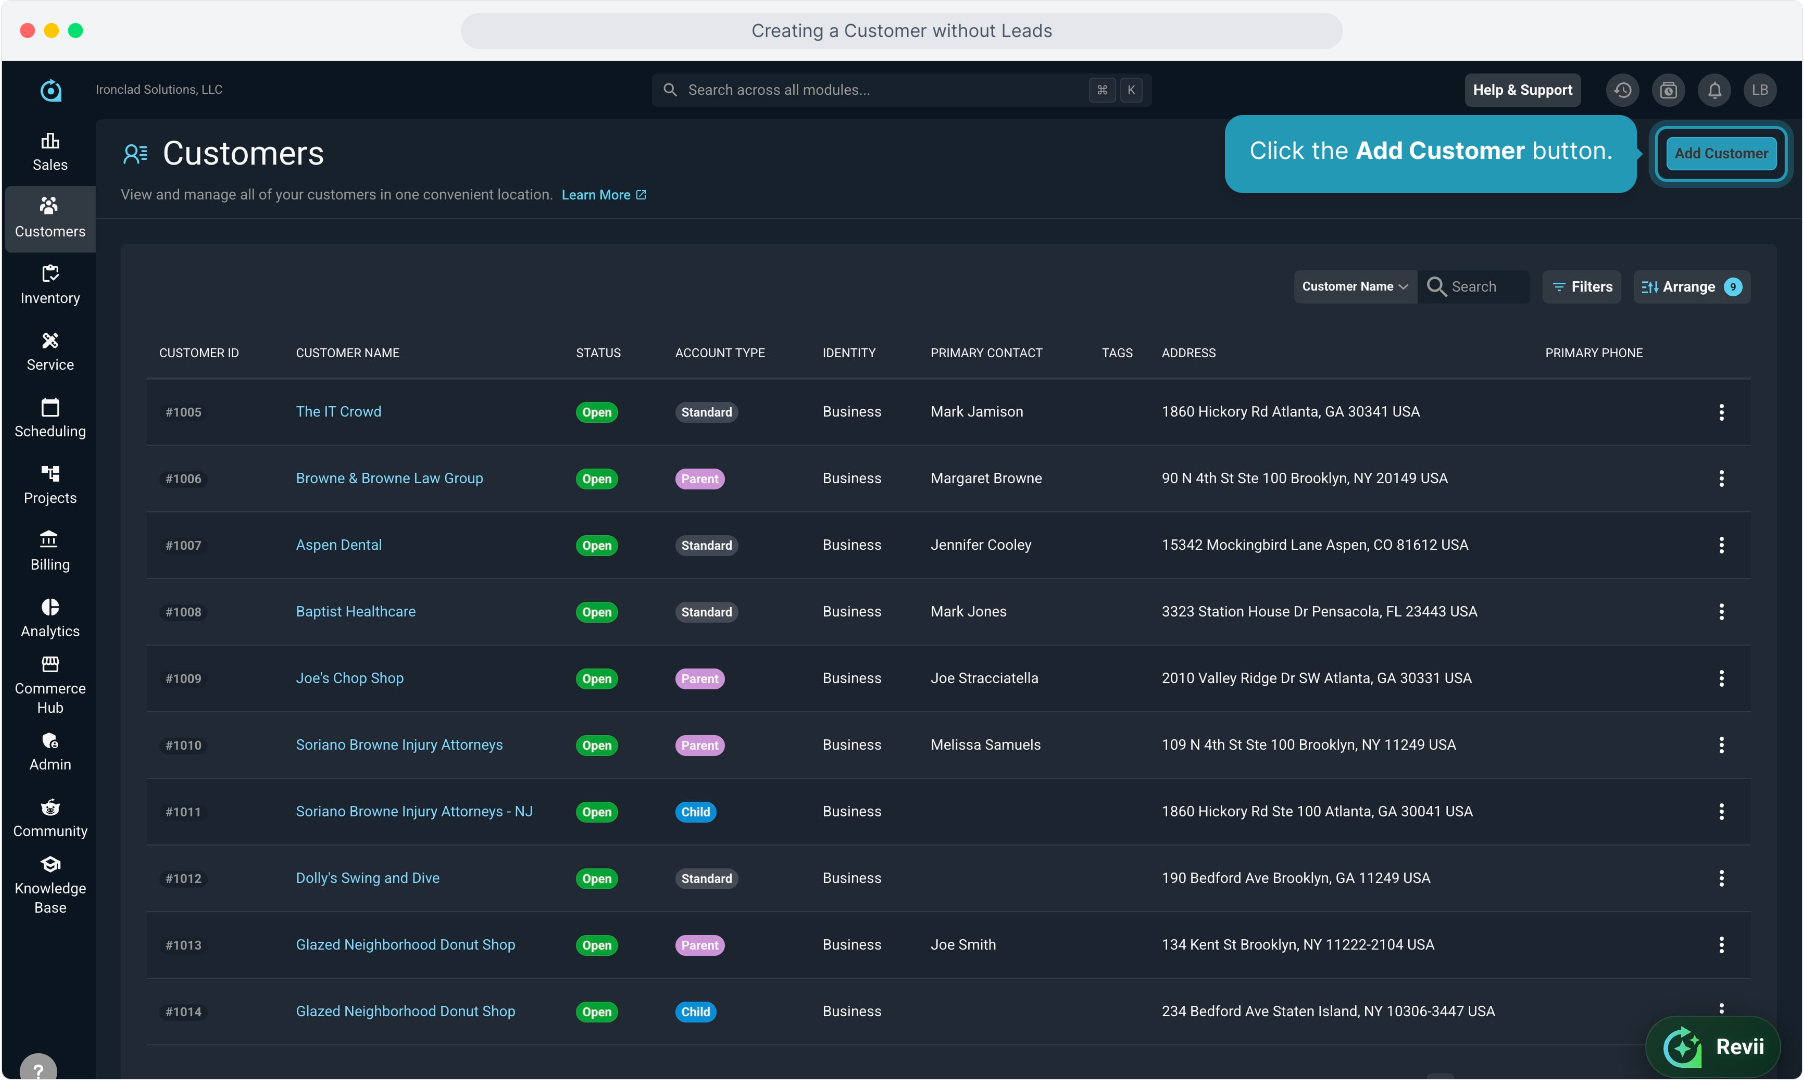
5. Enter all the customer information in the screen. Unlike creating a lead, when creating a customer you must have a customer Name, Billing Email, and the service Address, as these are required fields.
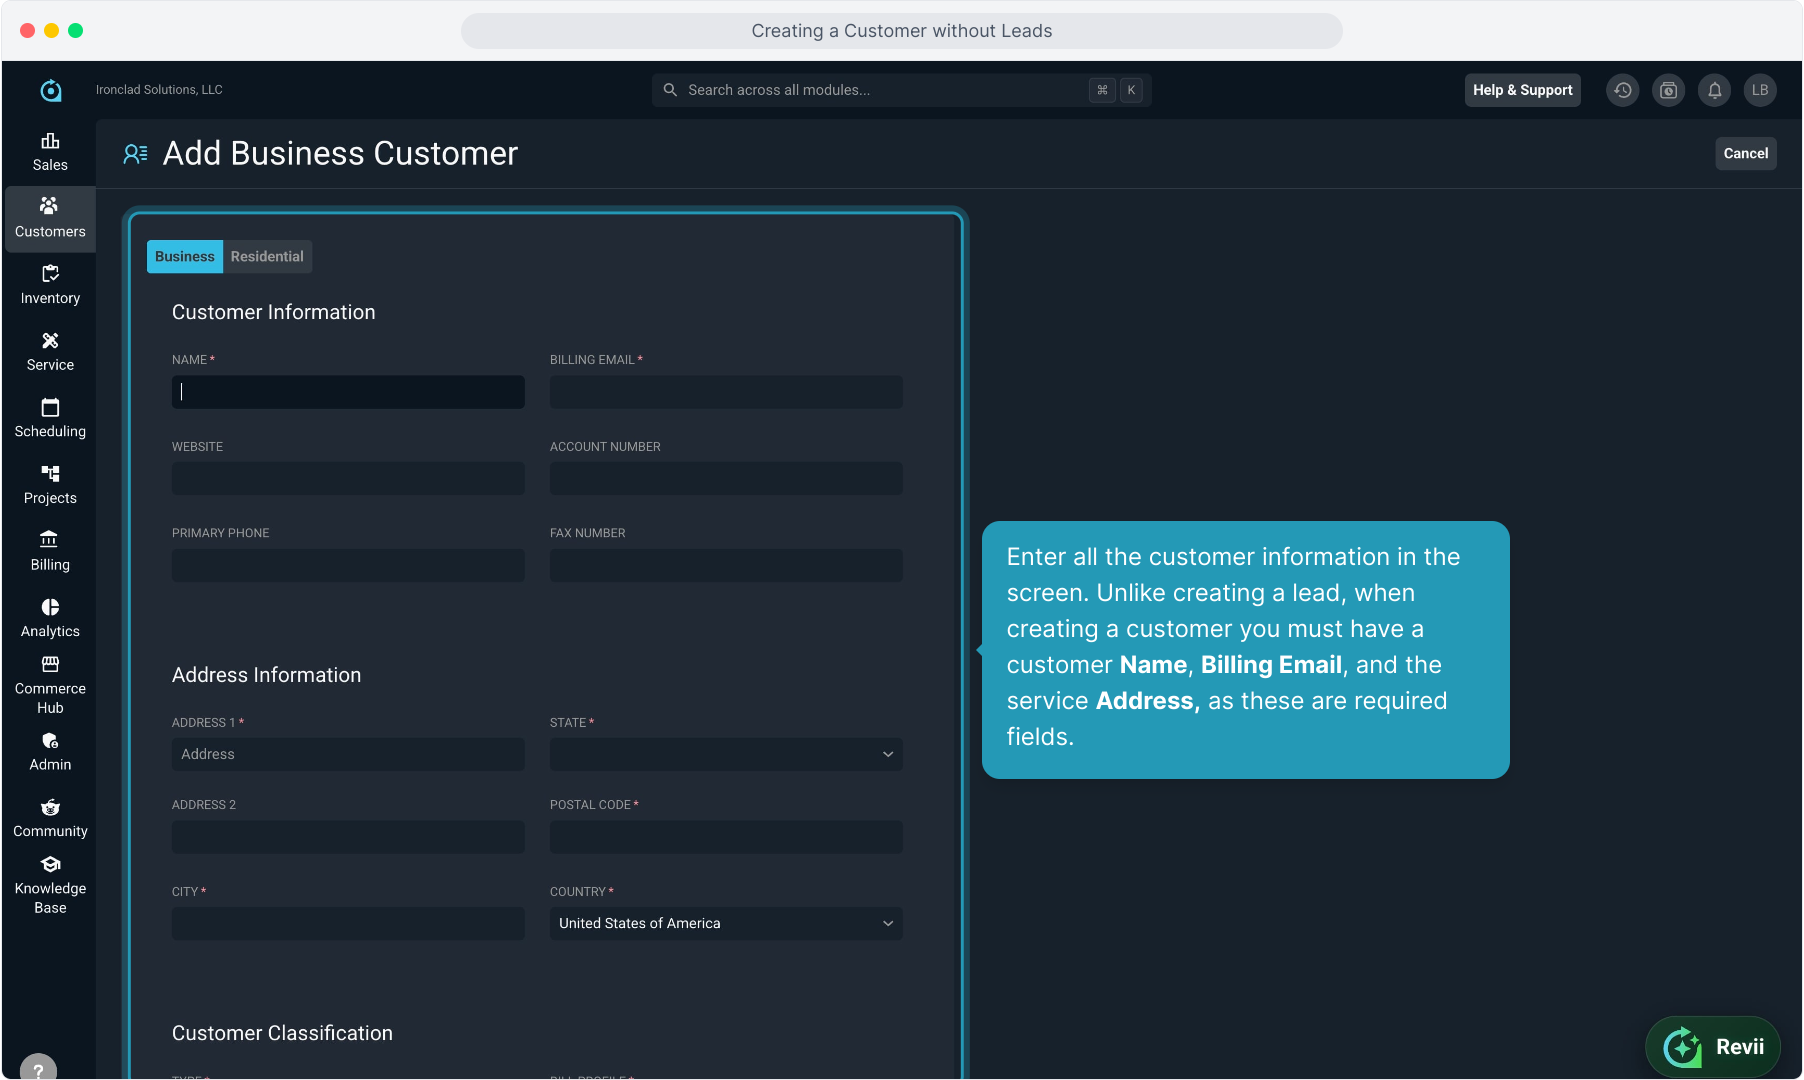
6. When creating the customer, you can choose to set the customer Type to Customer or Prospect.
This can help distinguish live customers from prospects, but best practice would be to use our Leads functionality if you need this distinction as this field does not ever automatically update.
If you use this field, you must remember to come back and edit the customer and change the Type to Customer after they are active.
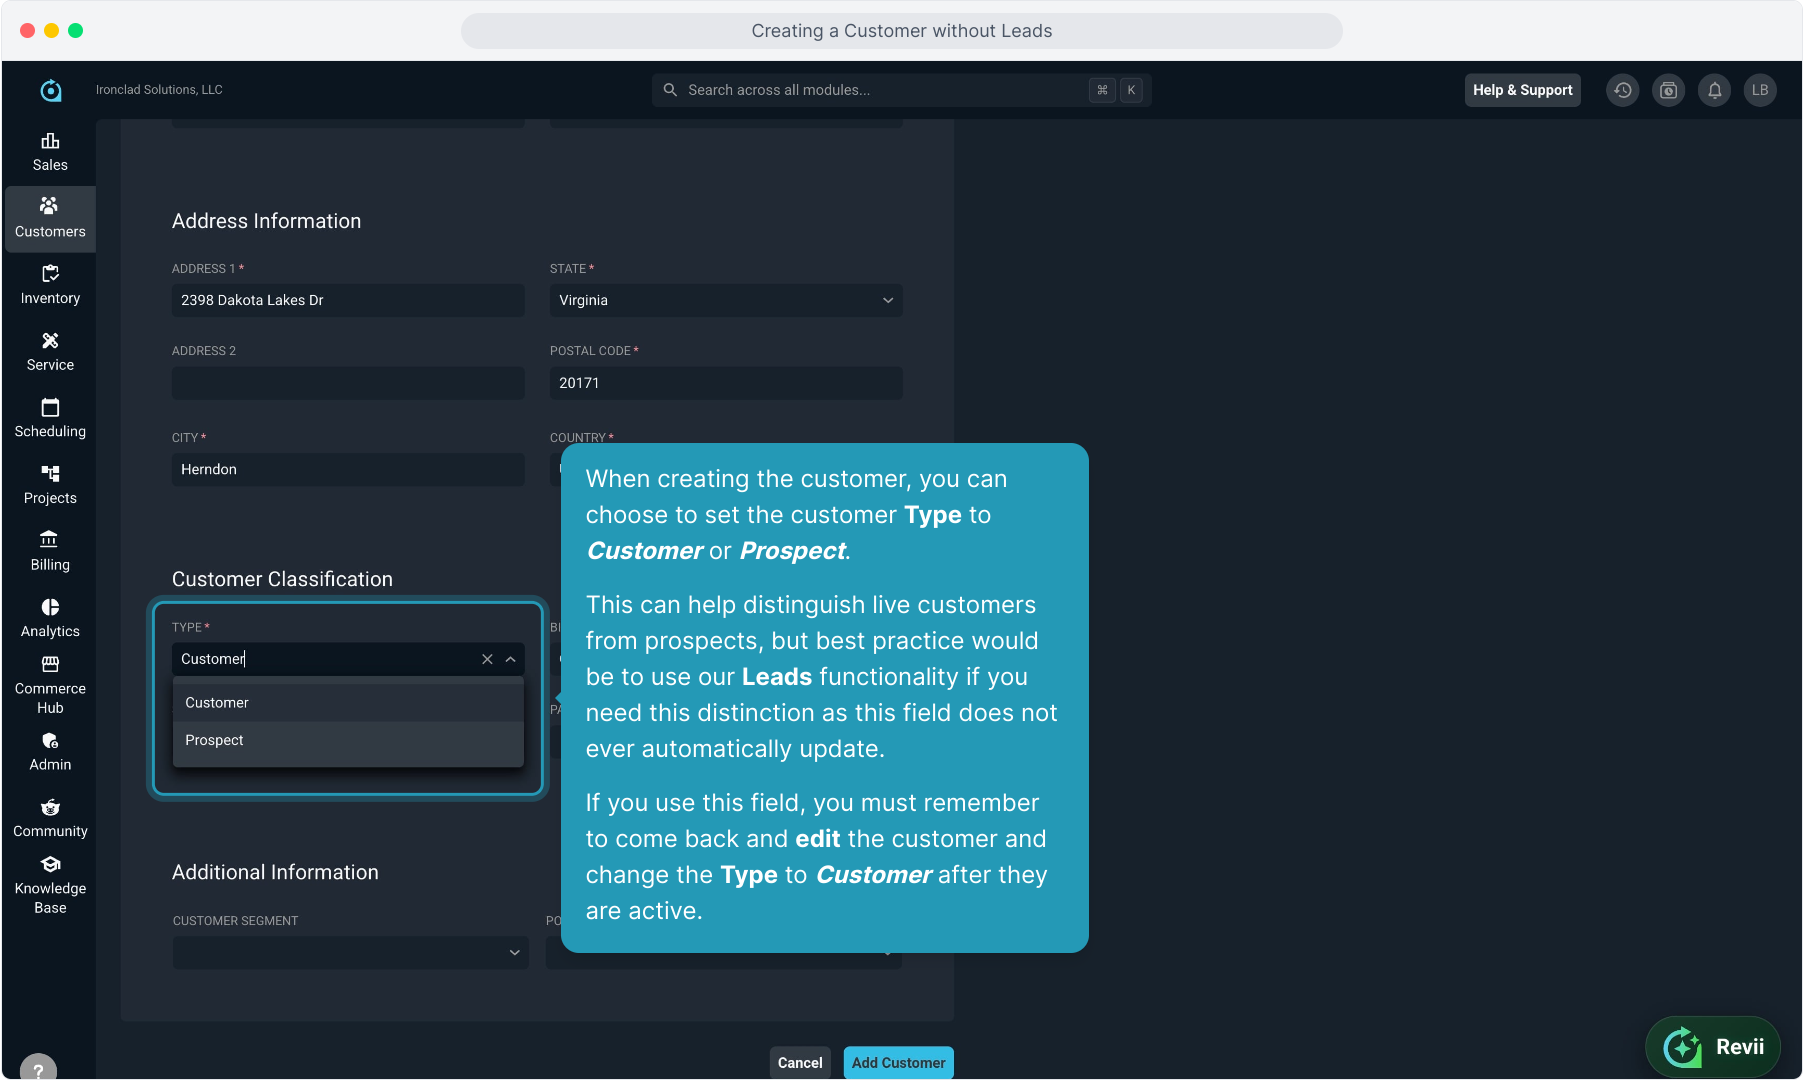
7. We've selected Customer here as we have already won this company's business and we have all the pertinent details including the service address and we know how we'll be billing this customer.
Again, if we are just working this deal and trying to win the business for the first time, creating this account as a Lead instead is best practice, knowing you will convert leads to customers when you win the account and have more information on the customer.
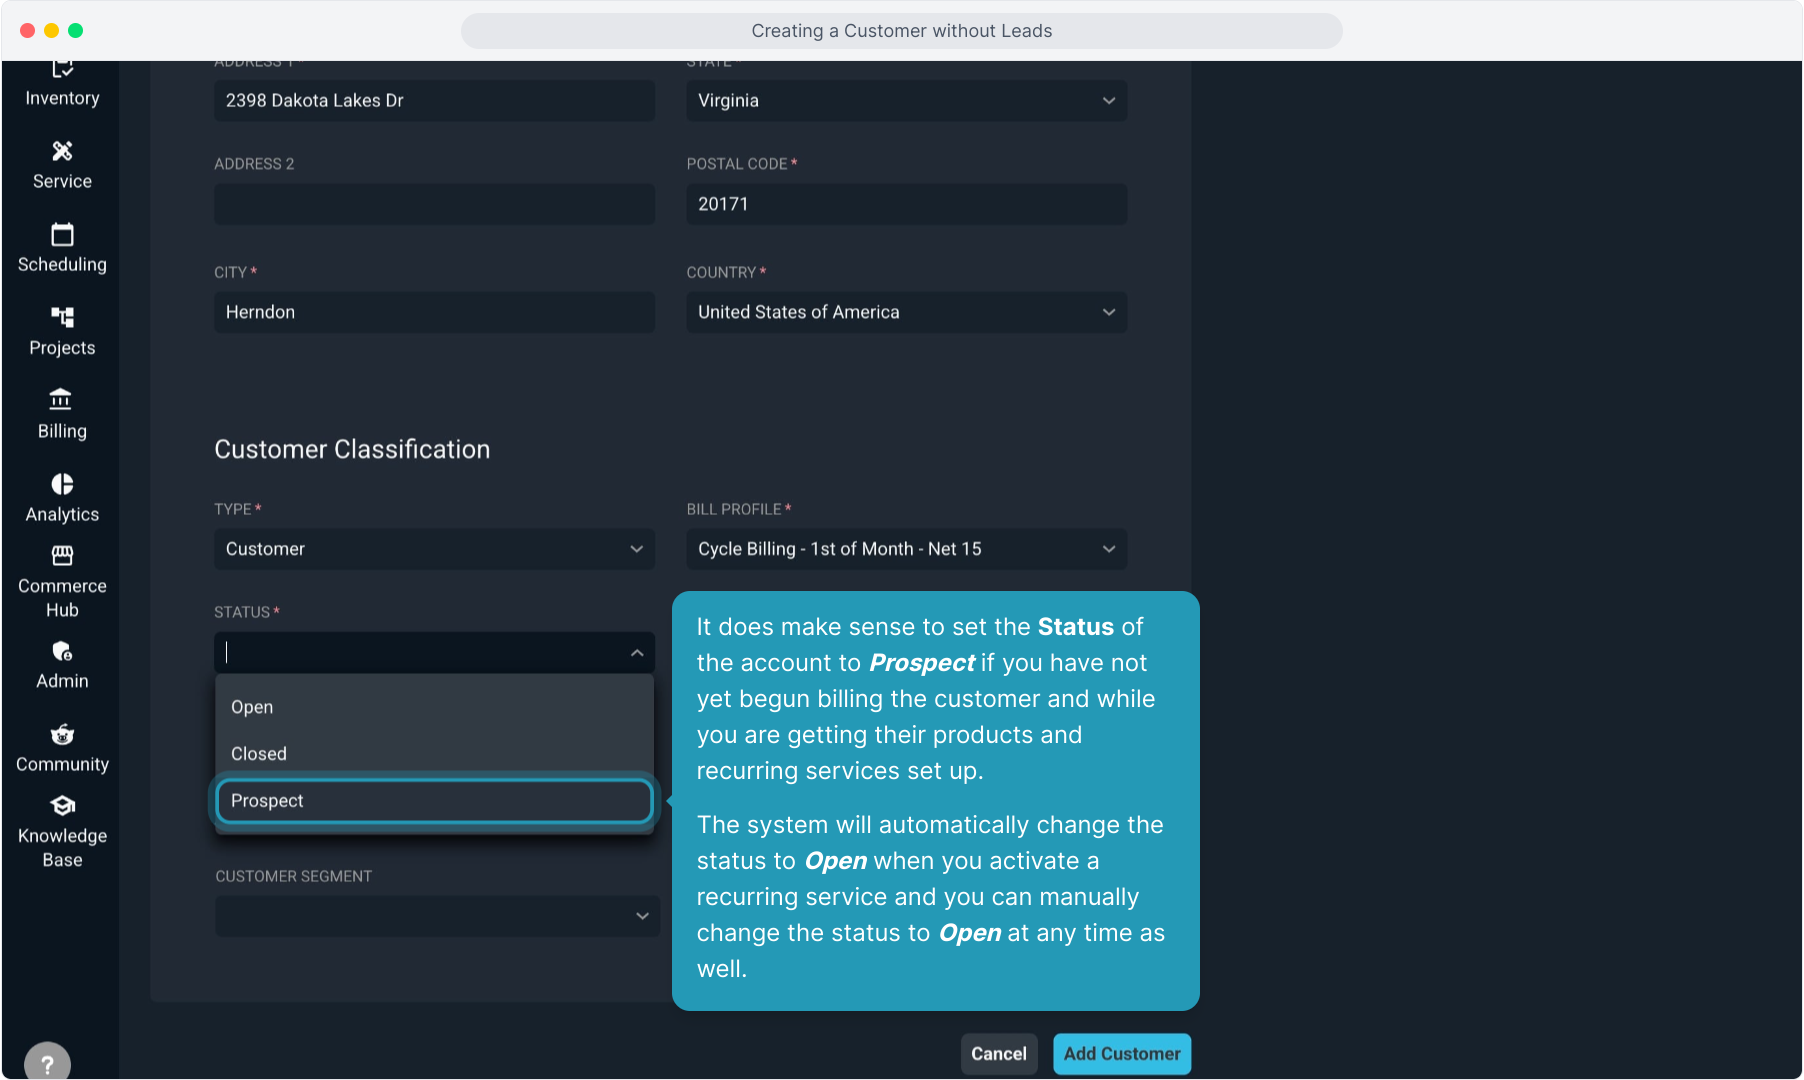
8. It does make sense to set the Status of the account to Prospect if you have not yet begun billing the customer and while you are getting their products and recurring services set up.
The system will automatically change the status to Open when you activate a recurring service and you can manually change the status to Open at any time as well.
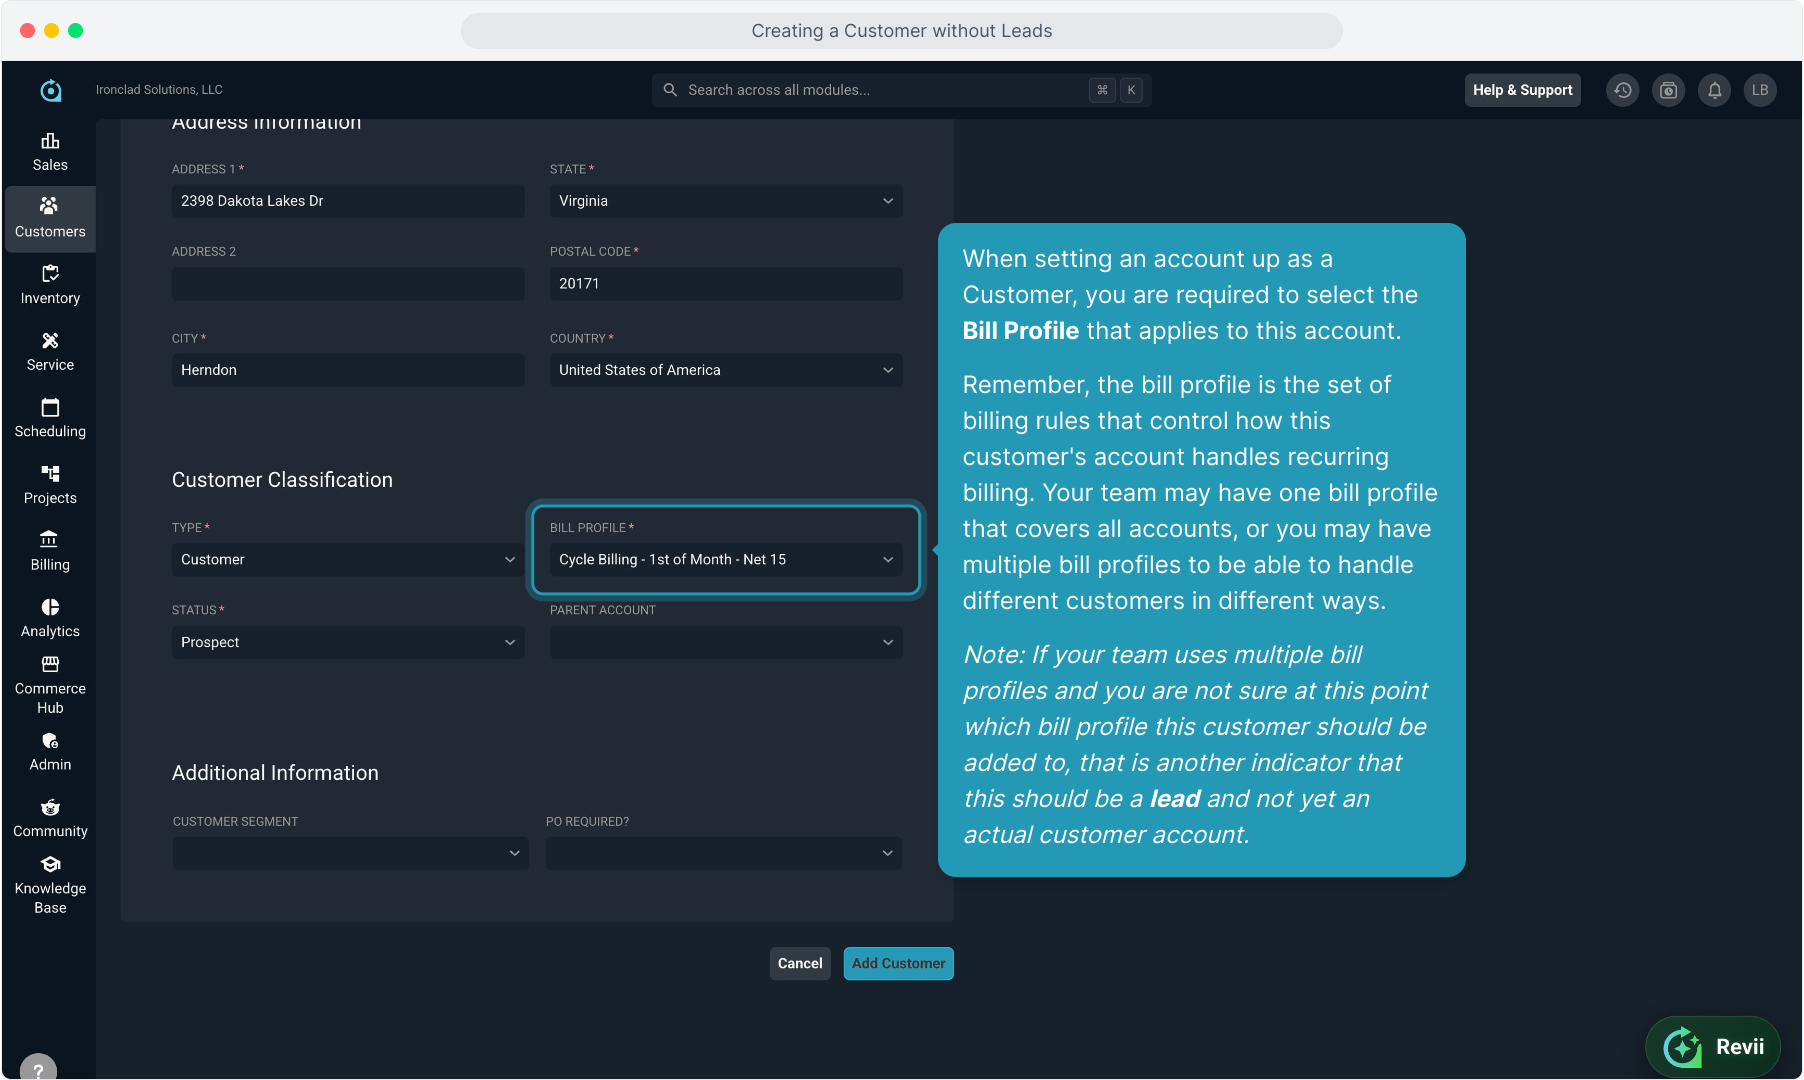
9. When setting an account up as a Customer, you are required to select the Bill Profile that applies to this account.
Remember, the bill profile is the set of billing rules that control how this customer's account handles recurring billing. Your team may have one bill profile that covers all accounts, or you may have multiple bill profiles to be able to handle different customers in different ways.
Note: If your team uses multiple bill profiles and you are not sure at this point which bill profile this customer should be added to, that is another indicator that this should be a lead and not yet an actual customer account.
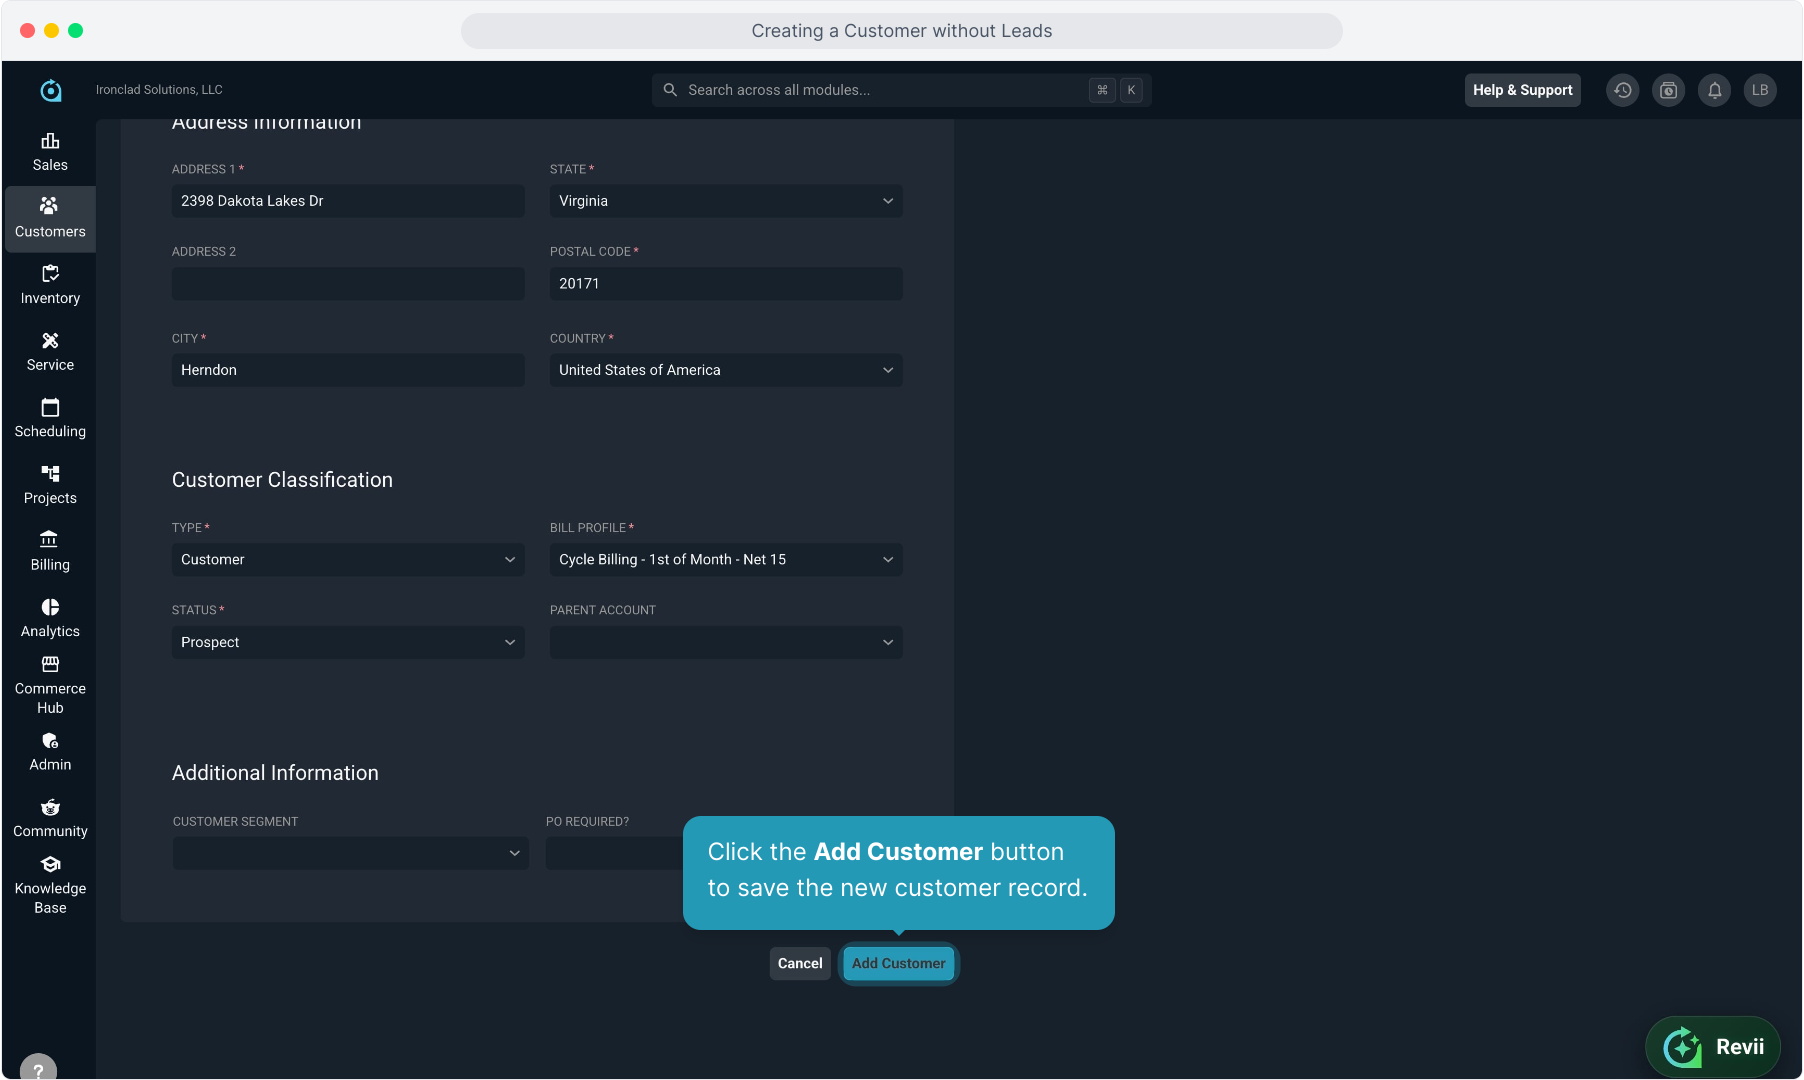
10. Click the Add Customer button to save the new customer record.
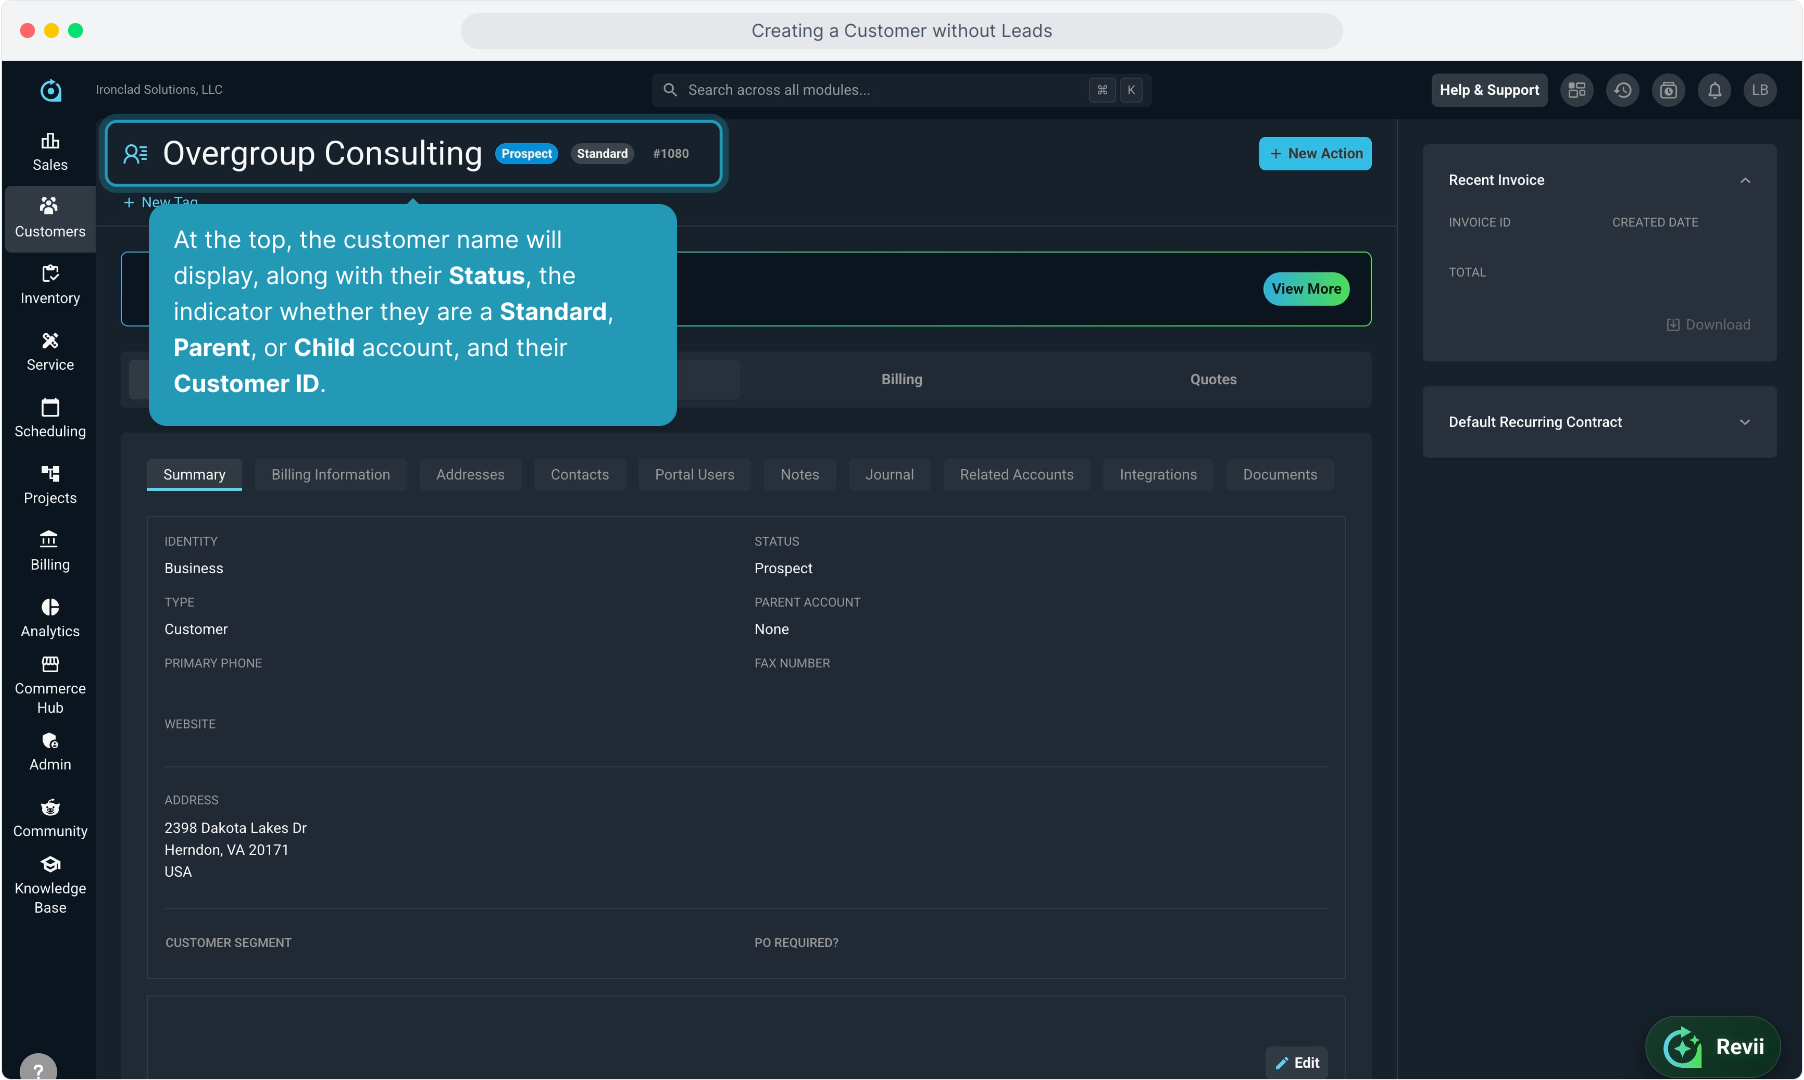
11. At the top, the customer name will display, along with their Status, the indicator whether they are a Standard, Parent, or Child account, and their Customer ID.
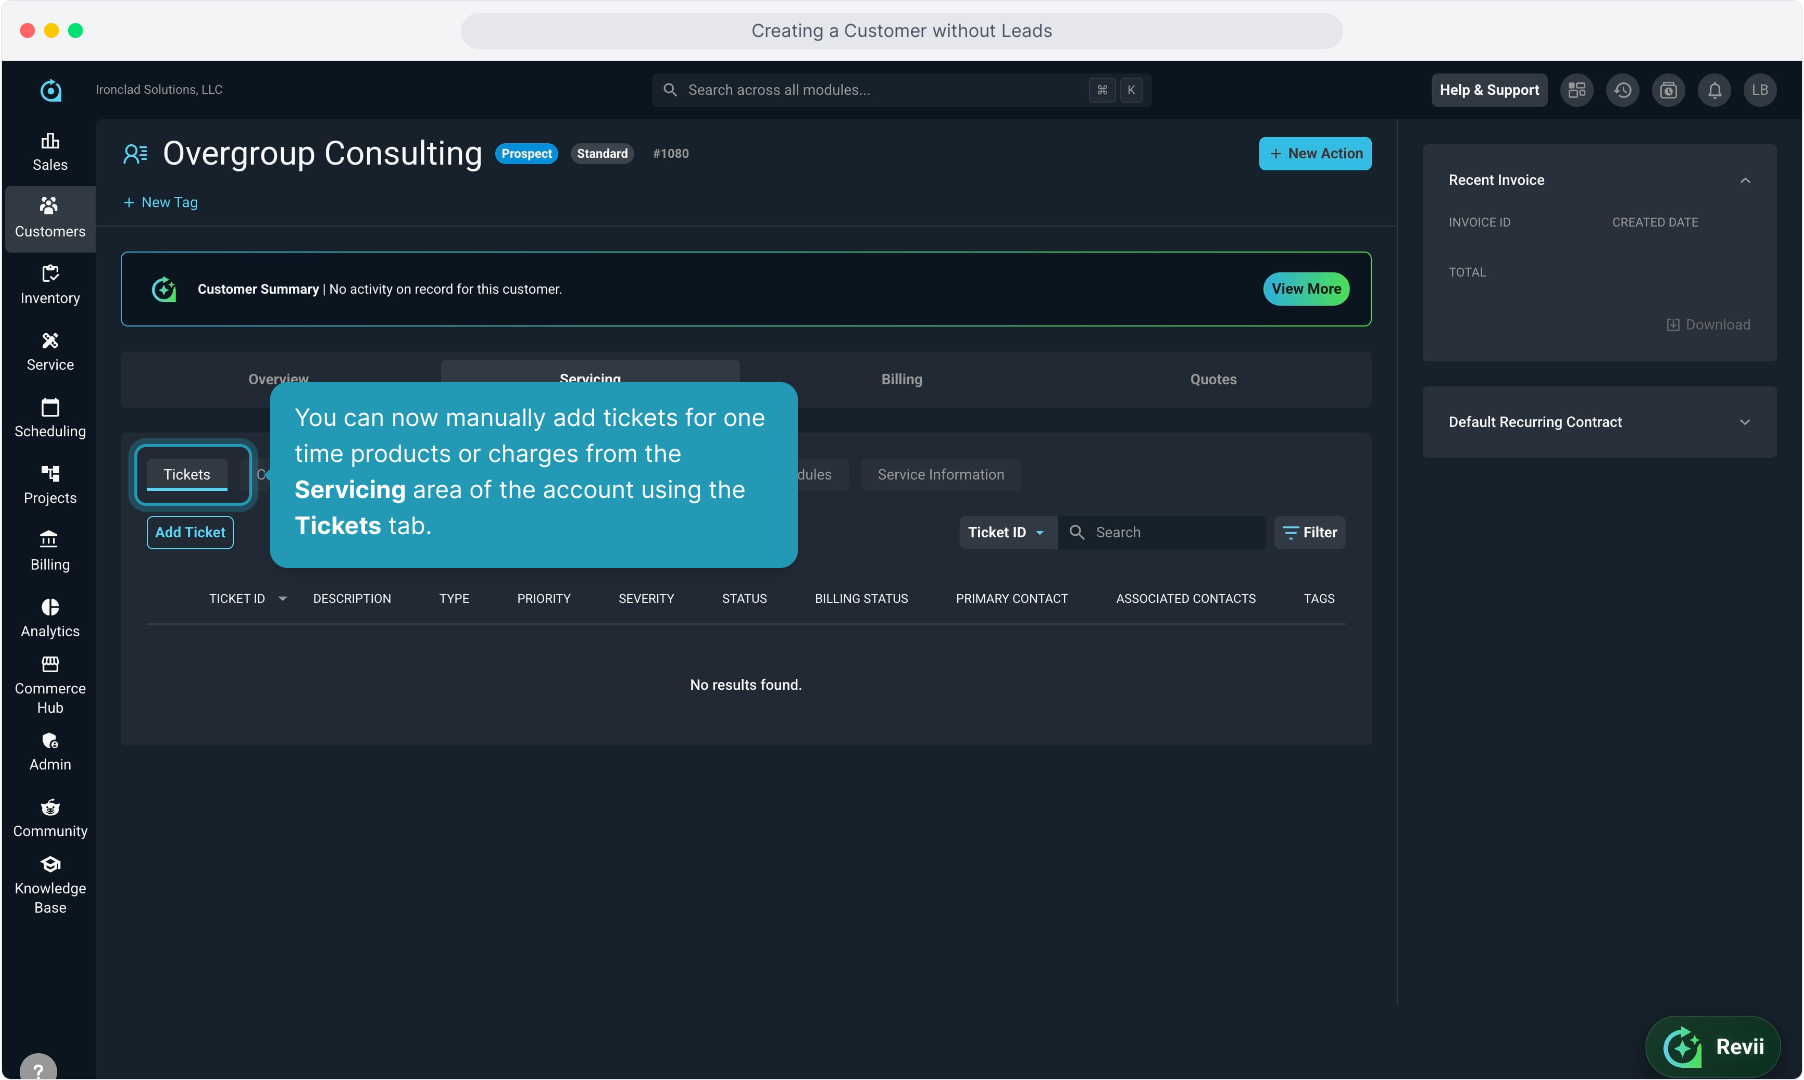
12. You can now manually add tickets for one time products or charges from the Servicing area of the account using the Tickets tab.
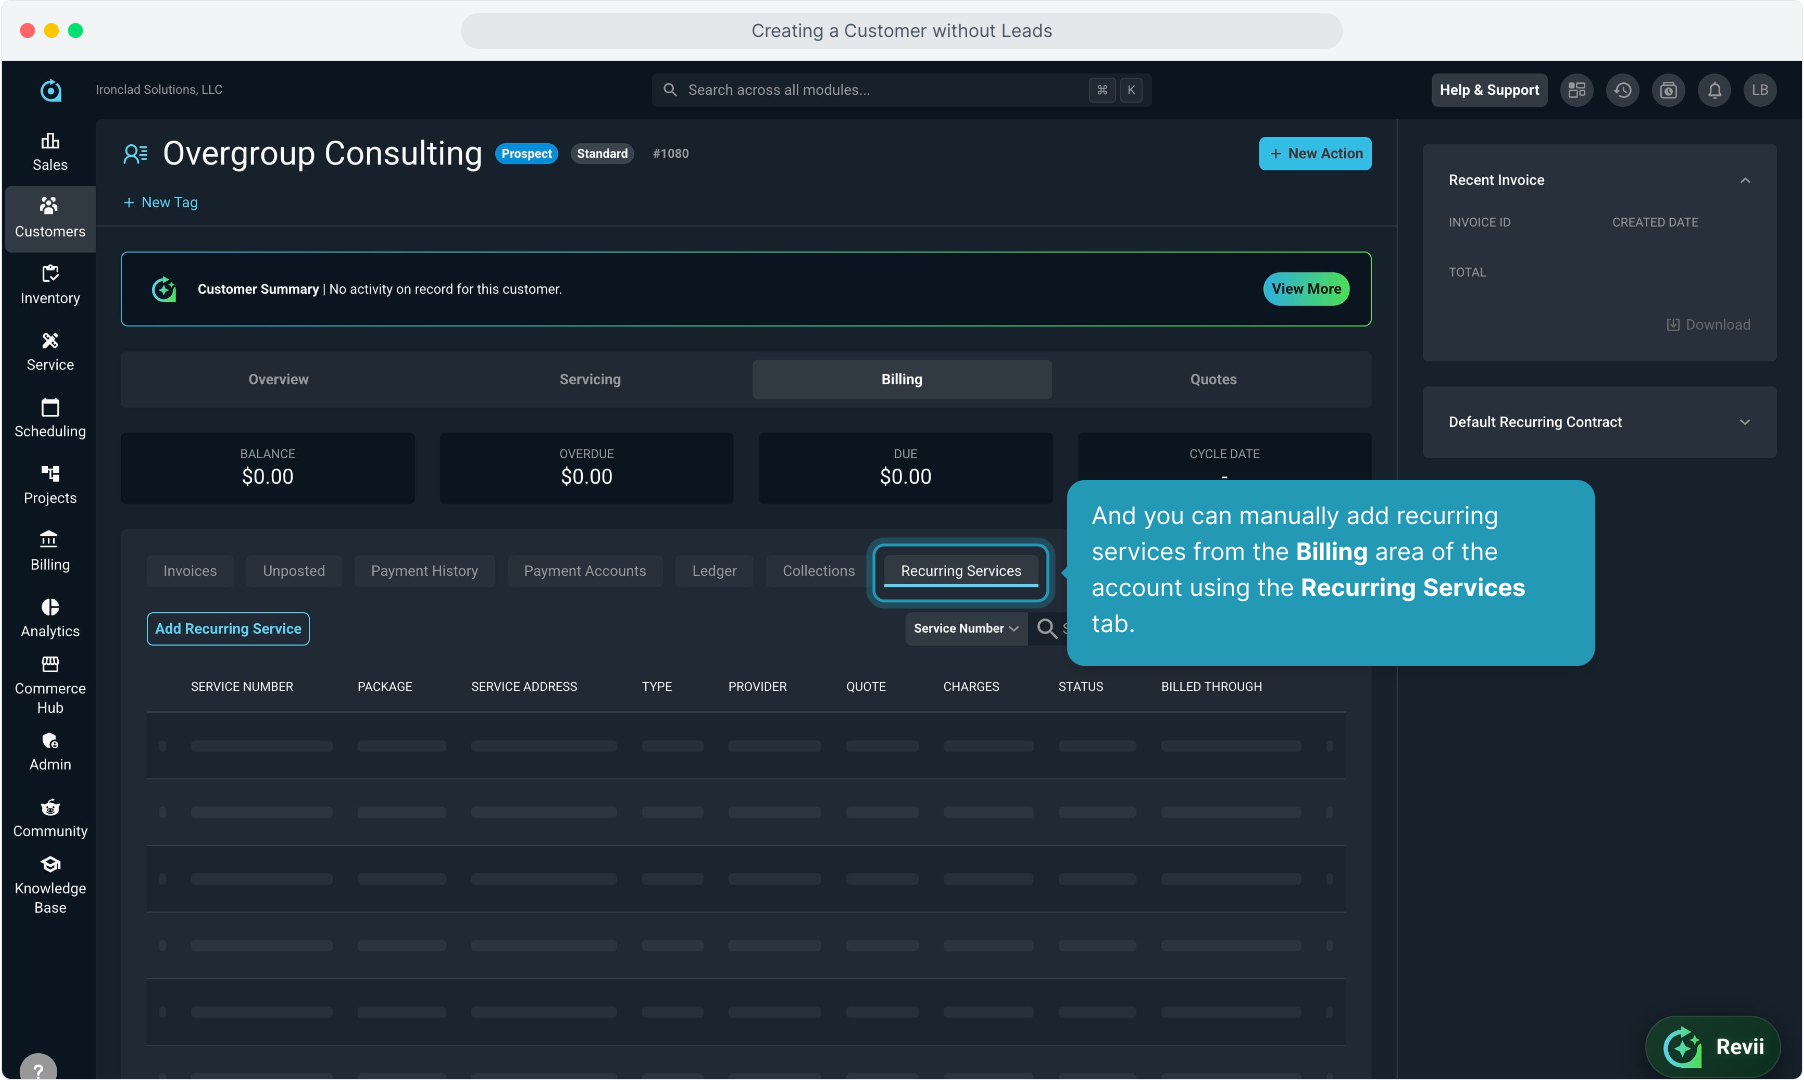
13. And you can manually add recurring services from the Billing area of the account using the Recurring Services tab.
14. From the Quotes area of the customer account, you can add opportunities using the Opportunities tab.
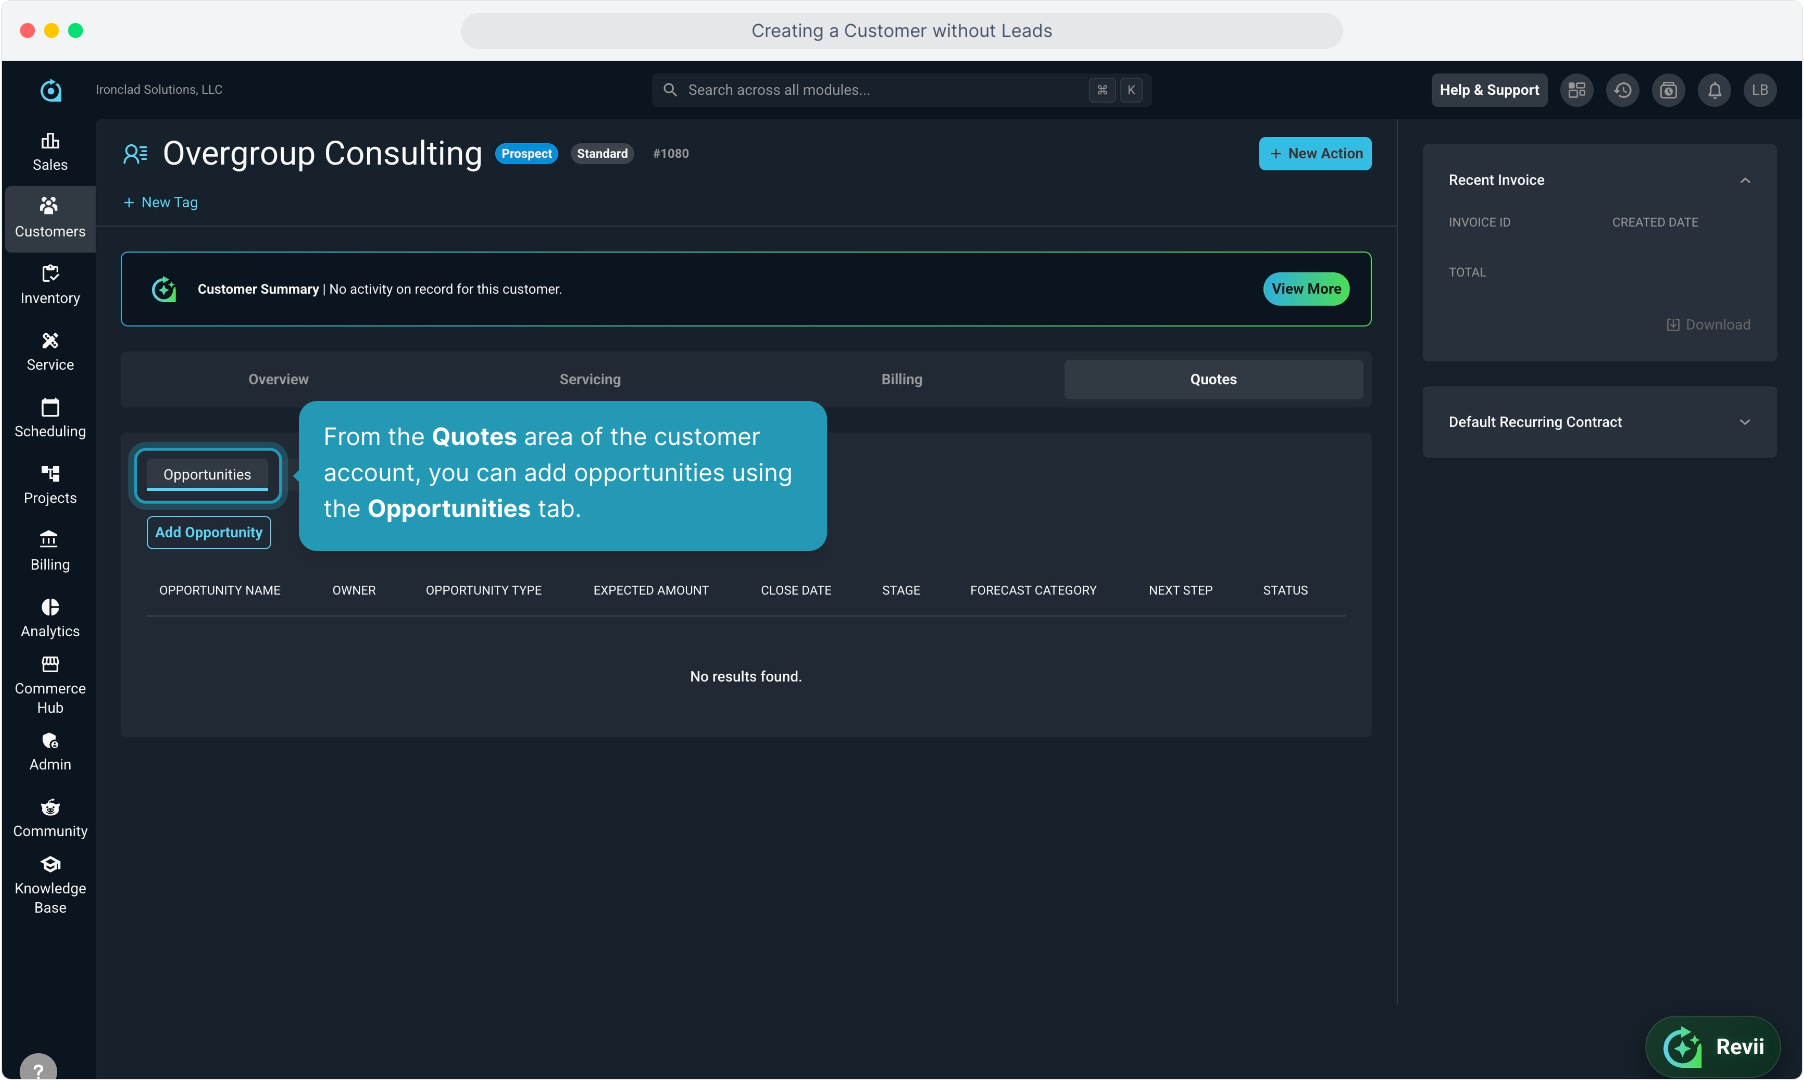
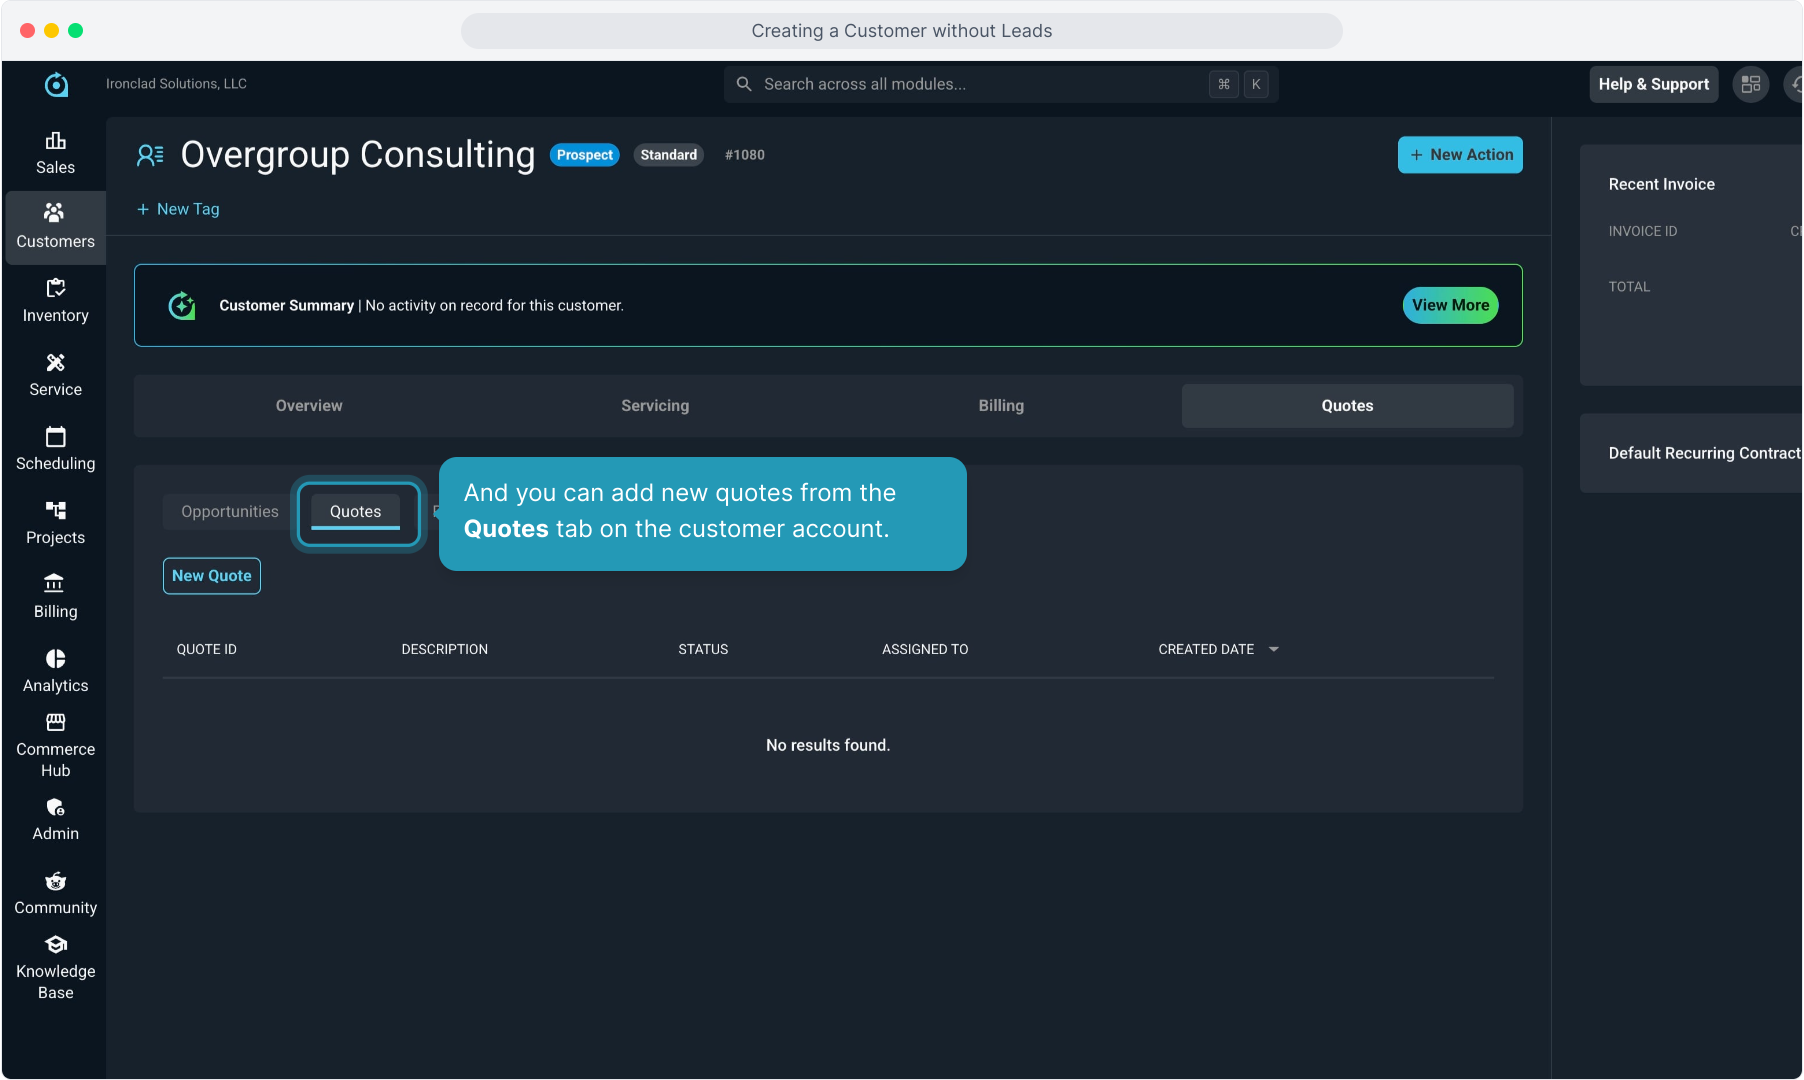
15. And you can add new quotes from the Quotes tab on the customer account.