How To Guide: Purchase Orders - Provider Configuration
1. Introduction
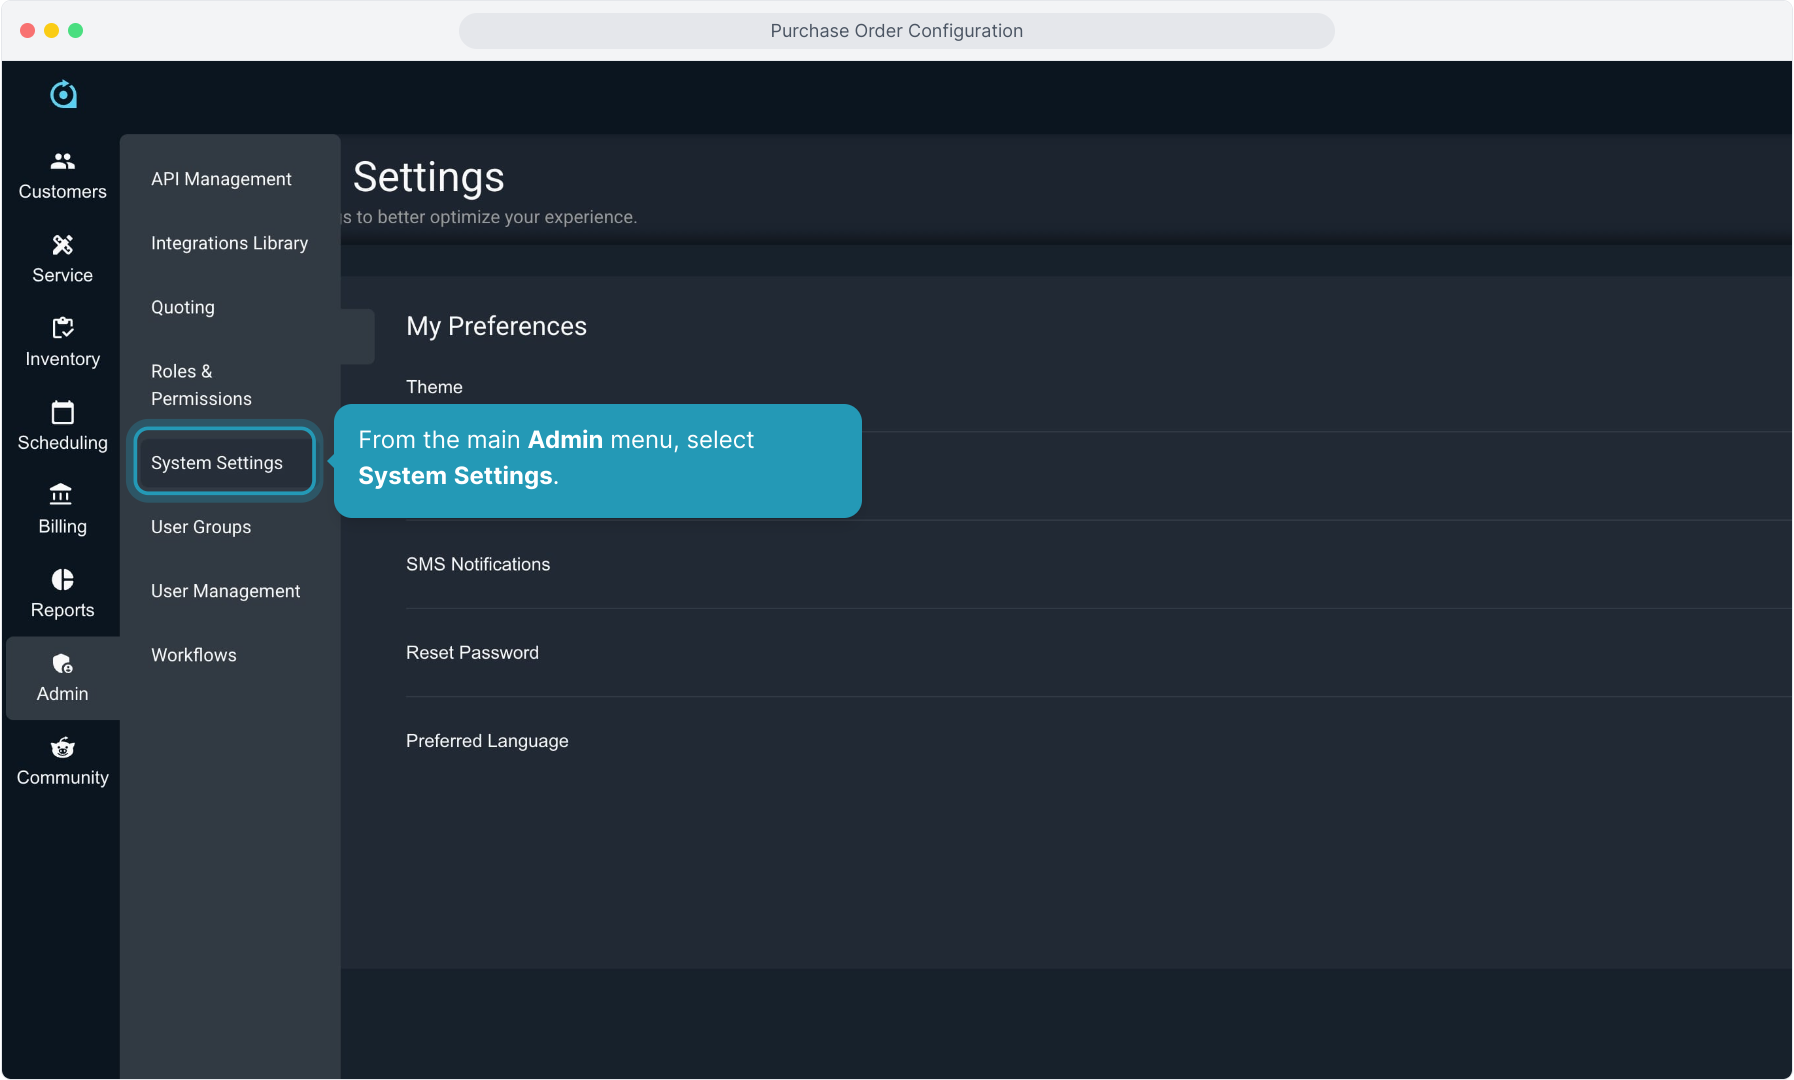
2. From the main Admin menu, select System Settings.
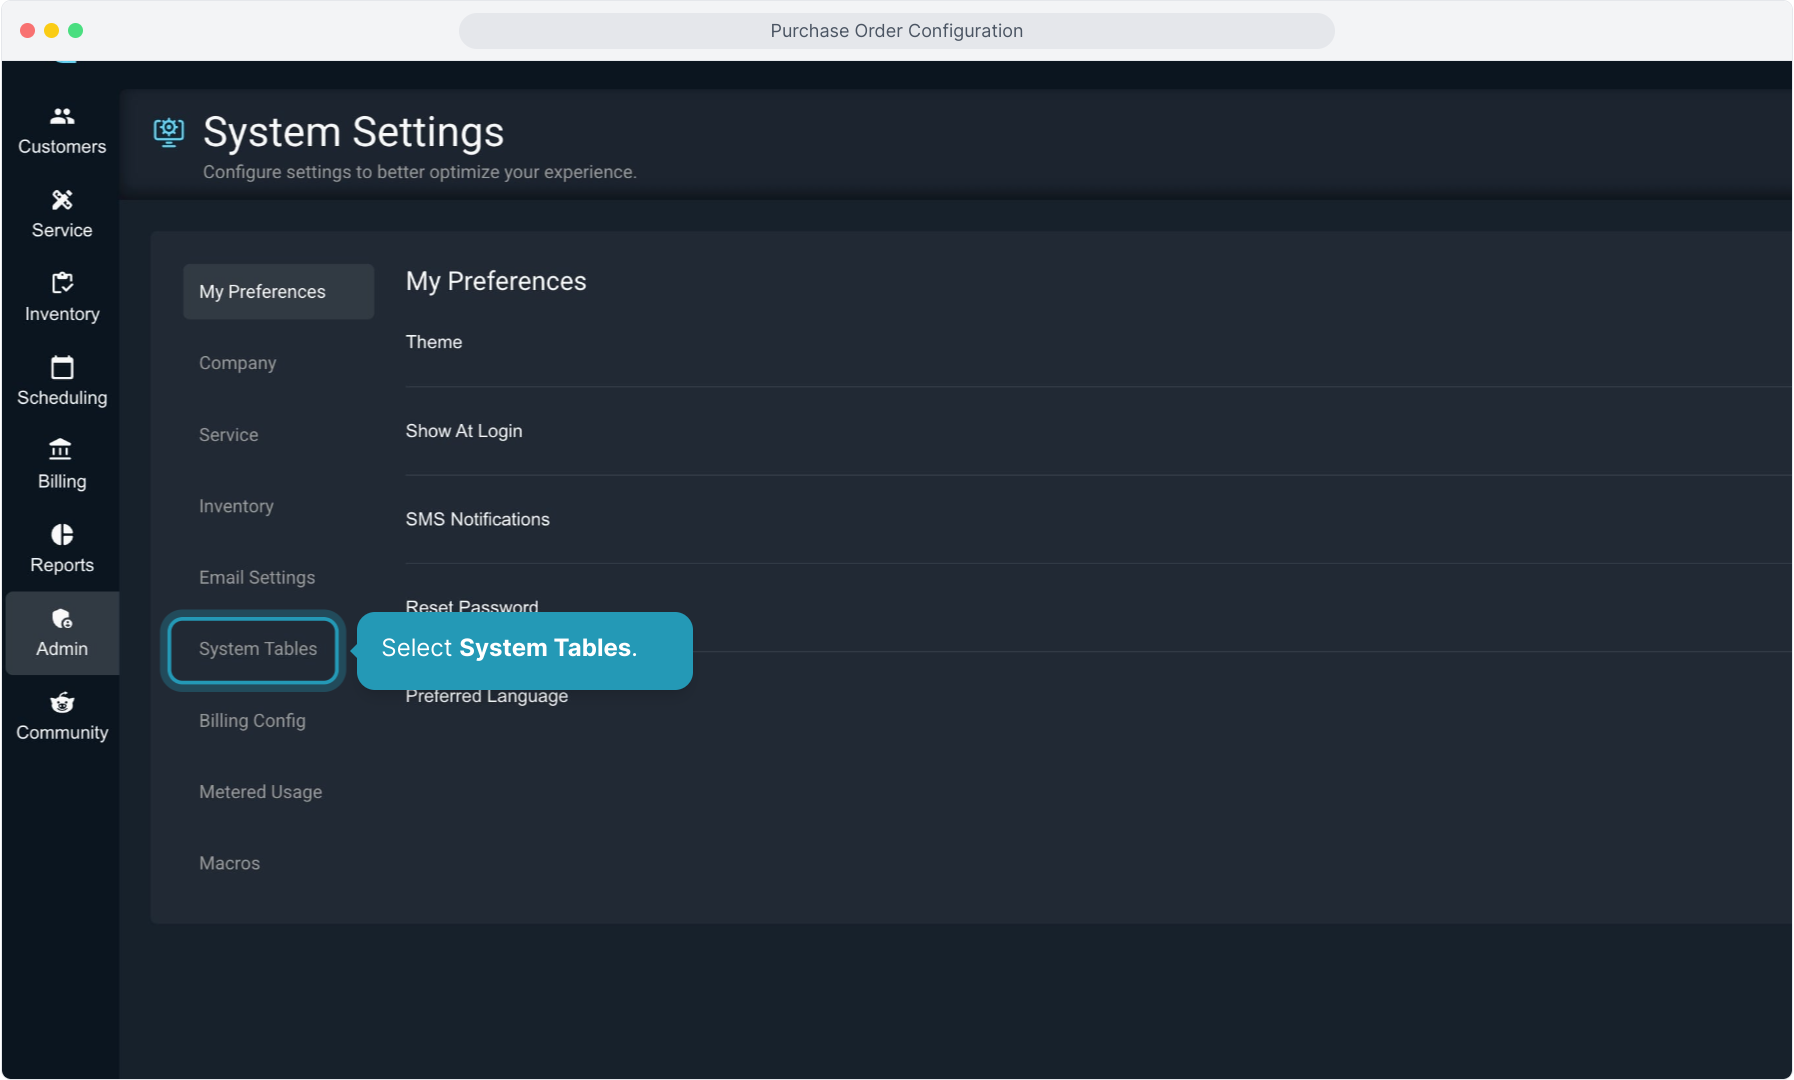
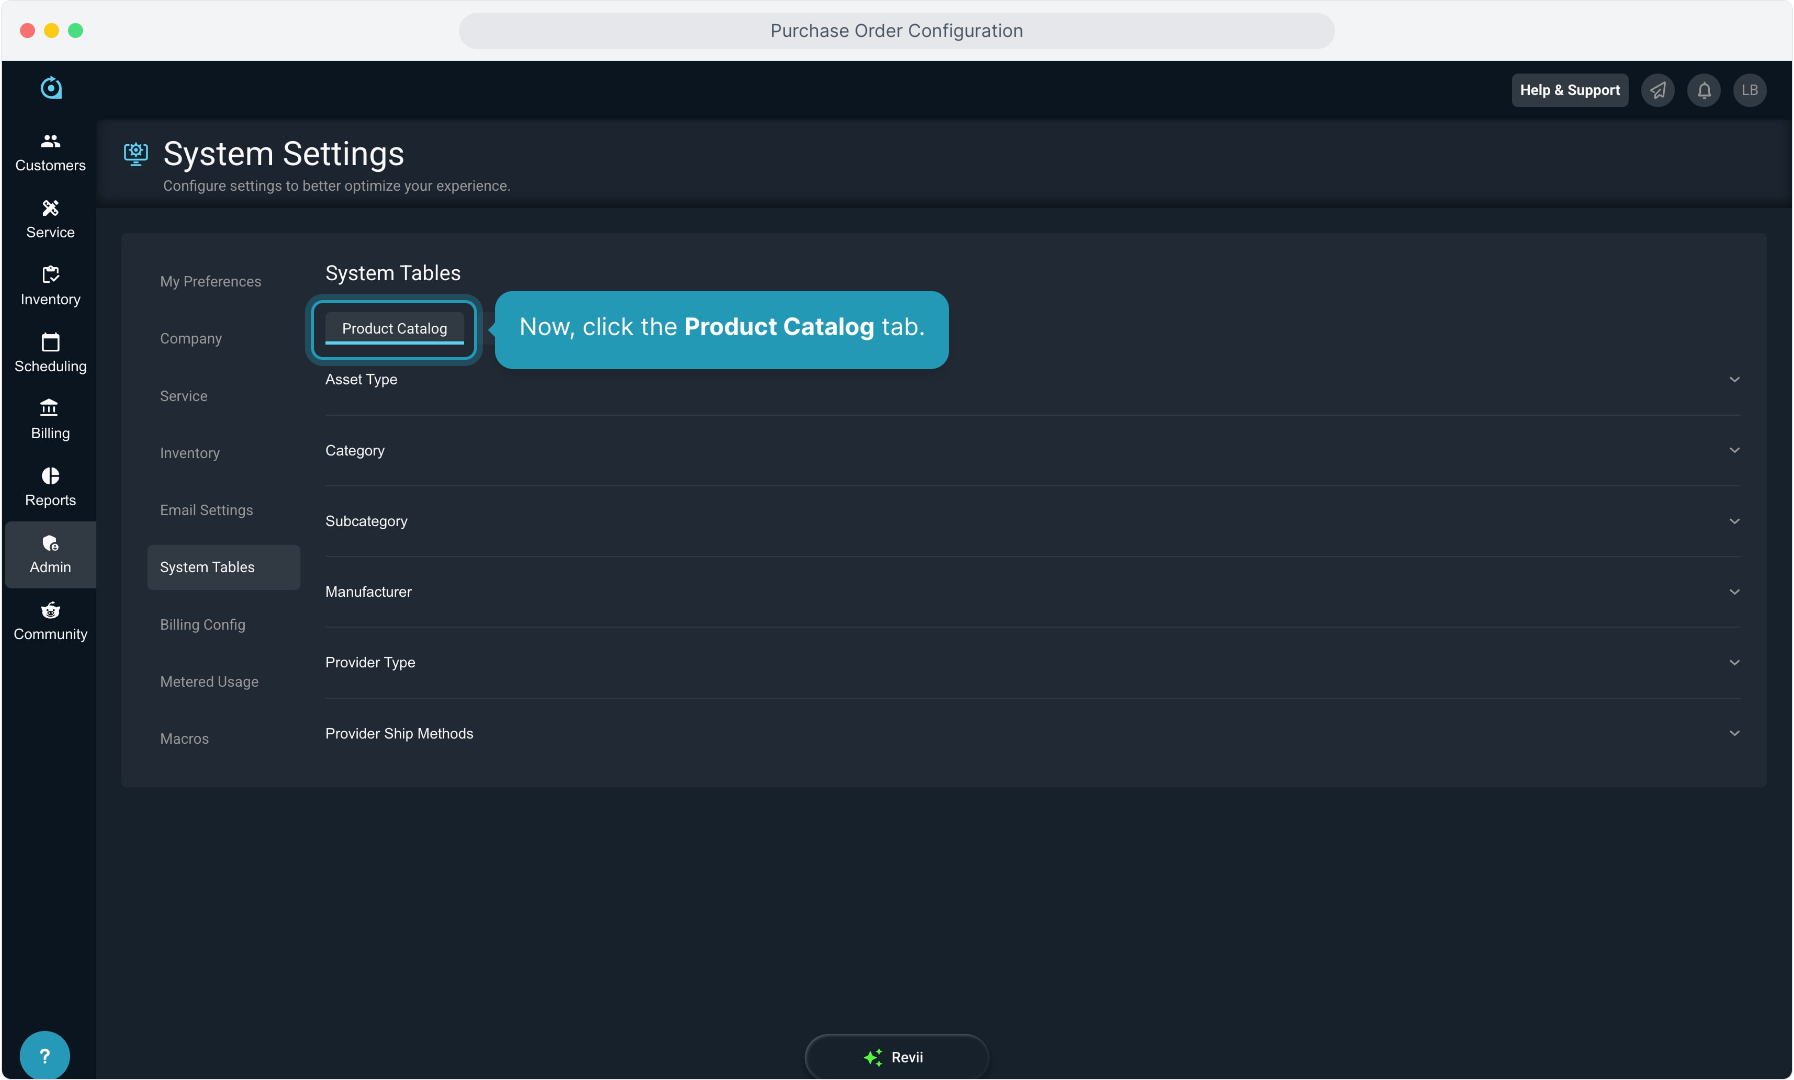
3. Select System Tables.
4. Now, click the Product Catalog tab.
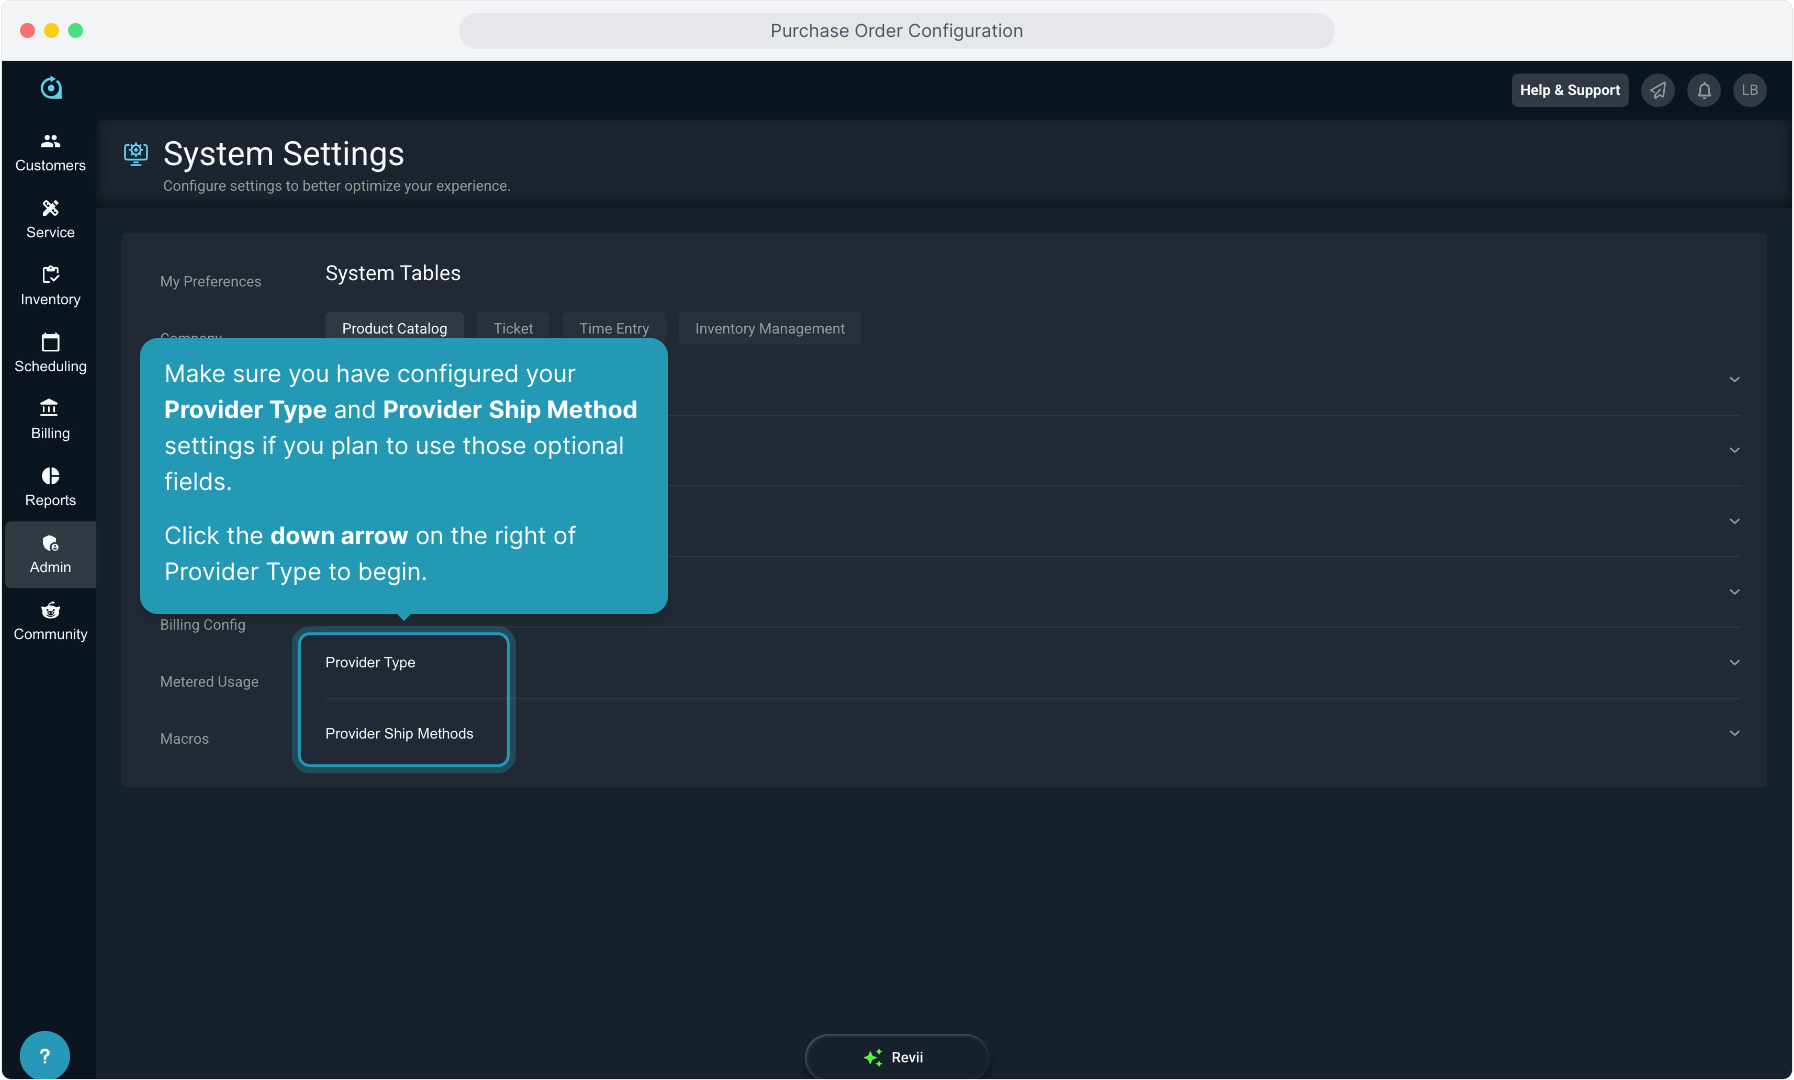
5. Make sure you have configured your Provider Type and Provider Ship Method settings if you plan to use those optional fields.
Click the down arrow on the right of Provider Type to begin.
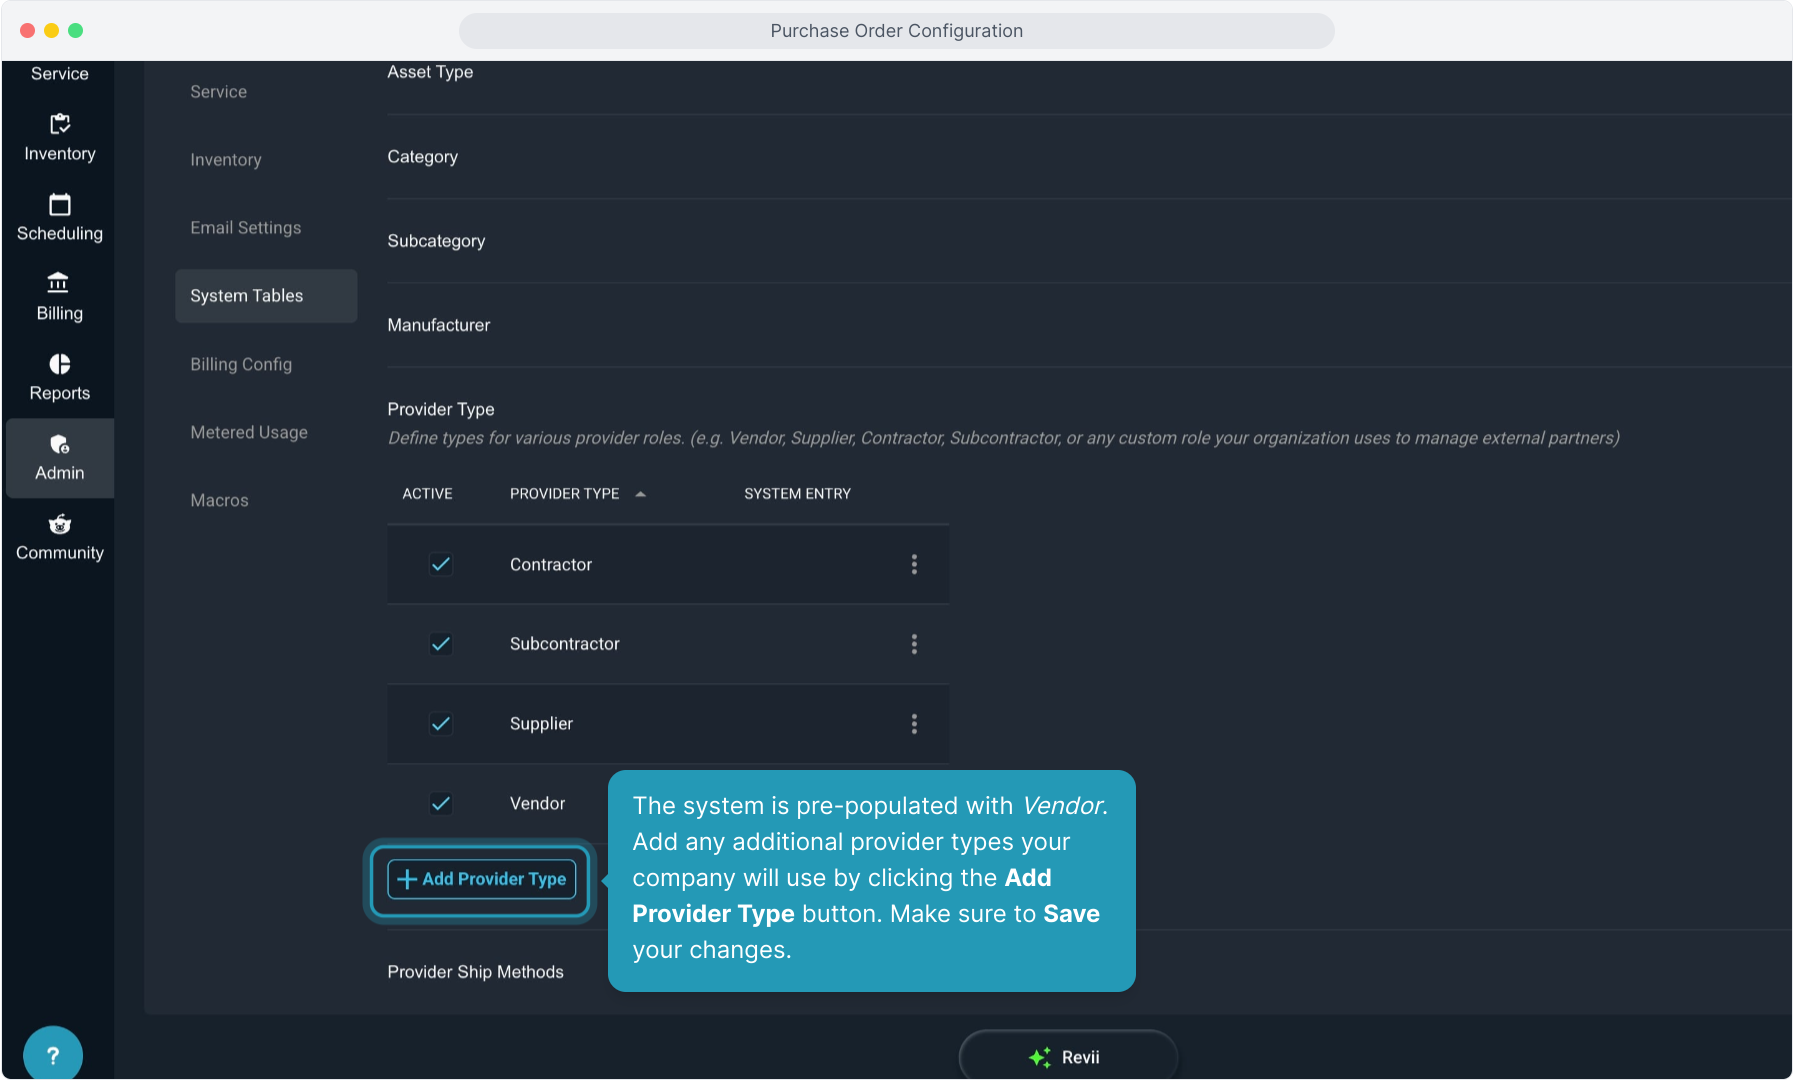
6. The system is pre-populated with Vendor. Add any additional provider types your company will use by clicking the Add Provider Type button. Make sure to Save your changes.
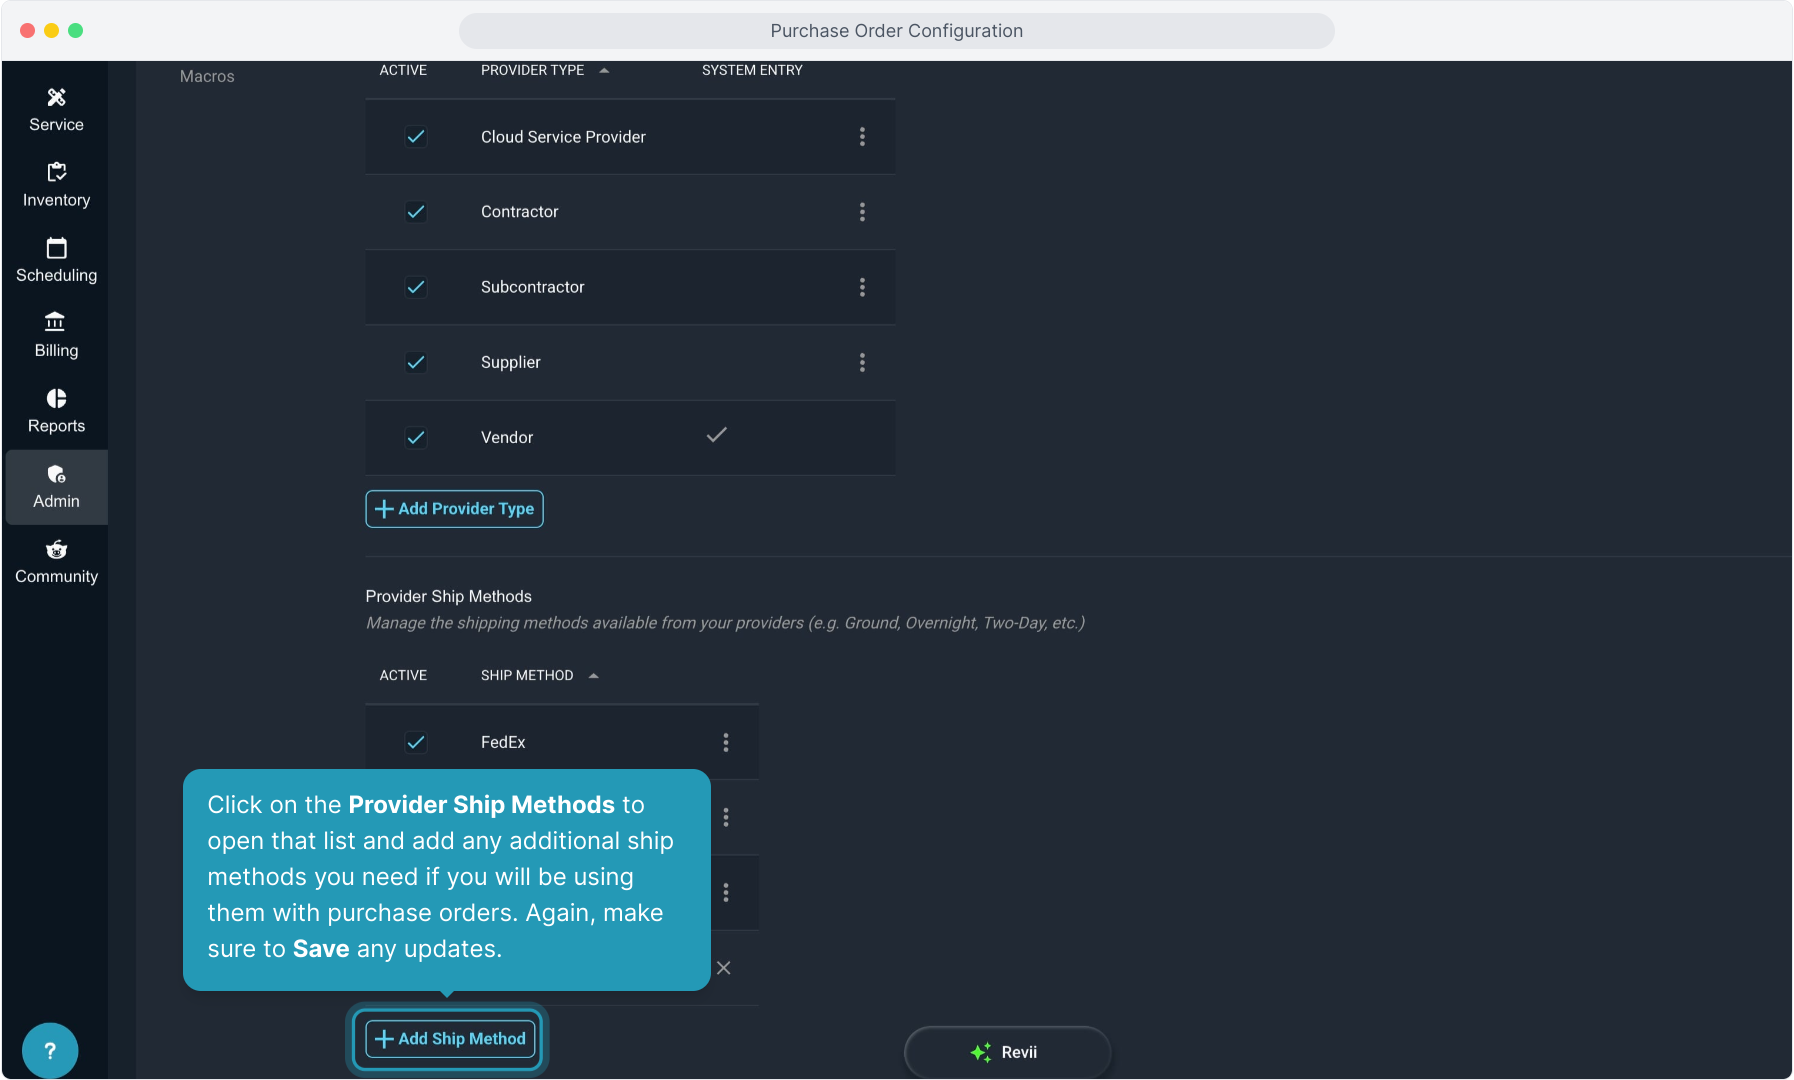
7. Click on the Provider Ship Methods to open that list and add any additional ship methods you need if you will be using them with purchase orders. Again, make sure to Save any updates.
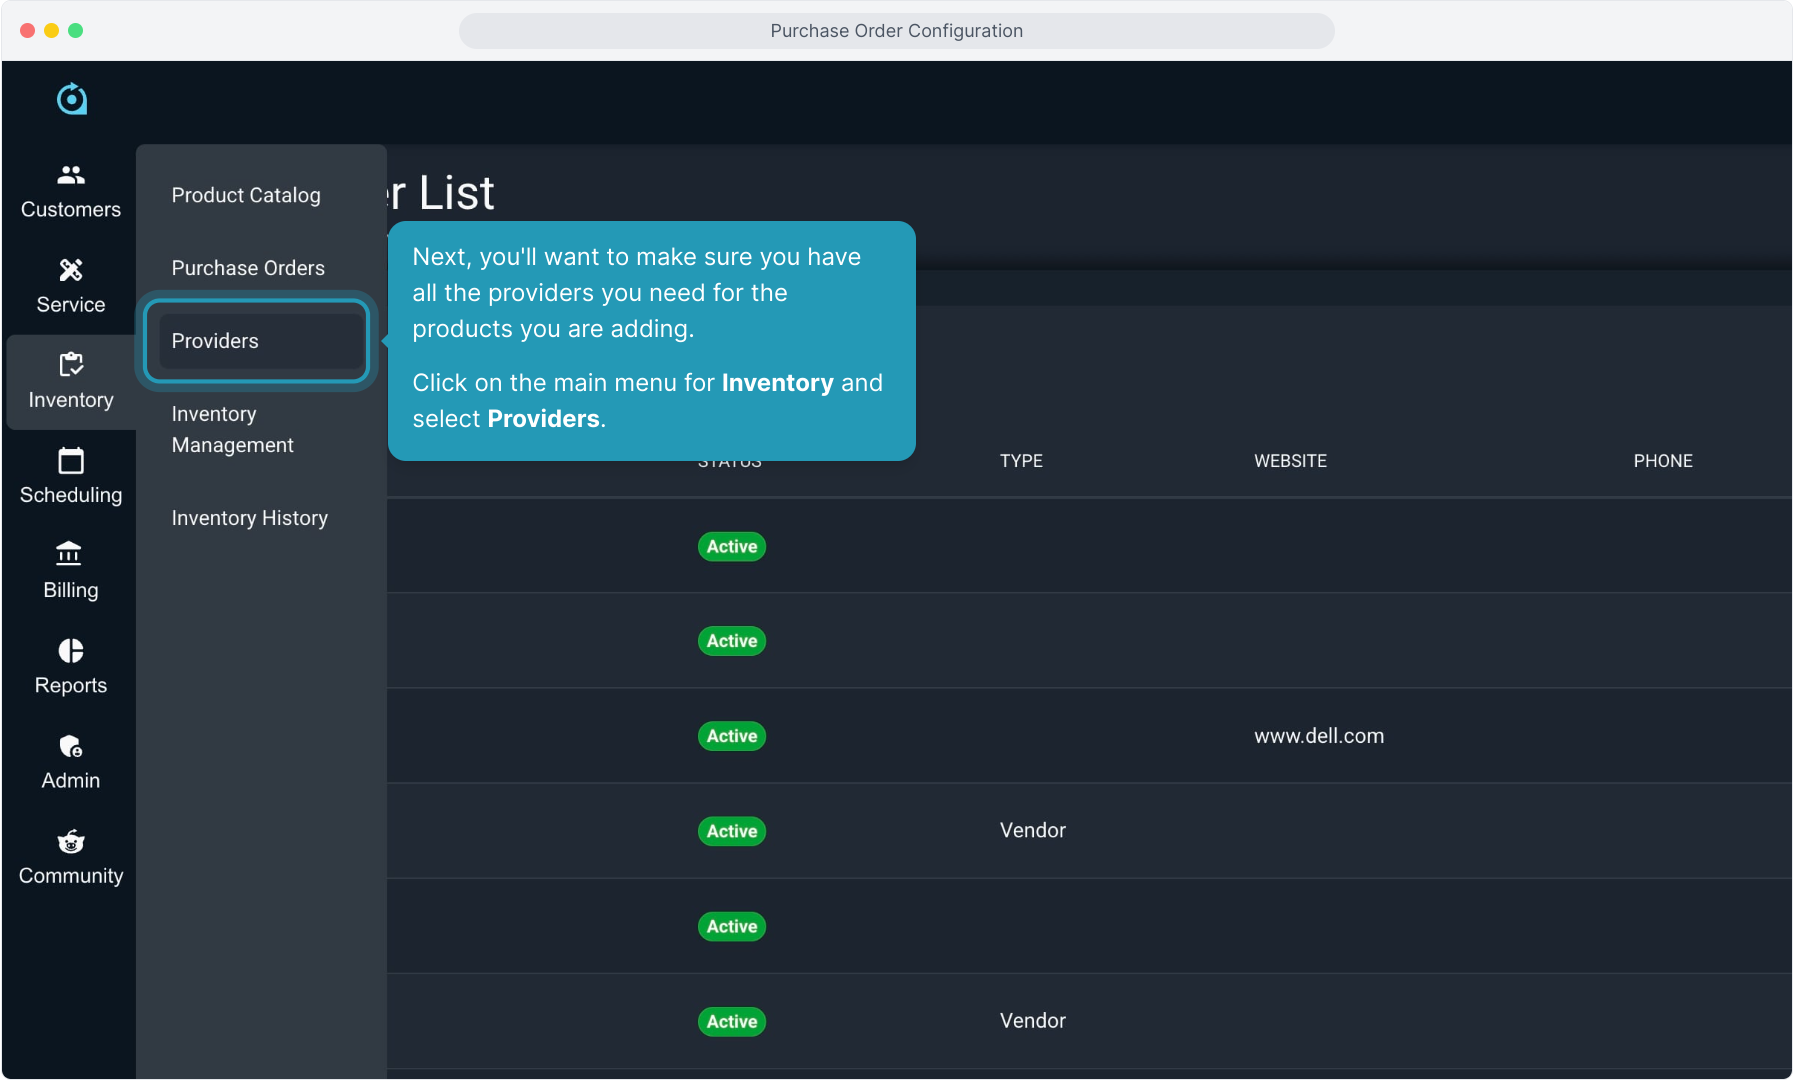
8. Next, you'll want to make sure you have all the providers you need for the products you are adding.
Click on the main menu for Inventory and select Providers.
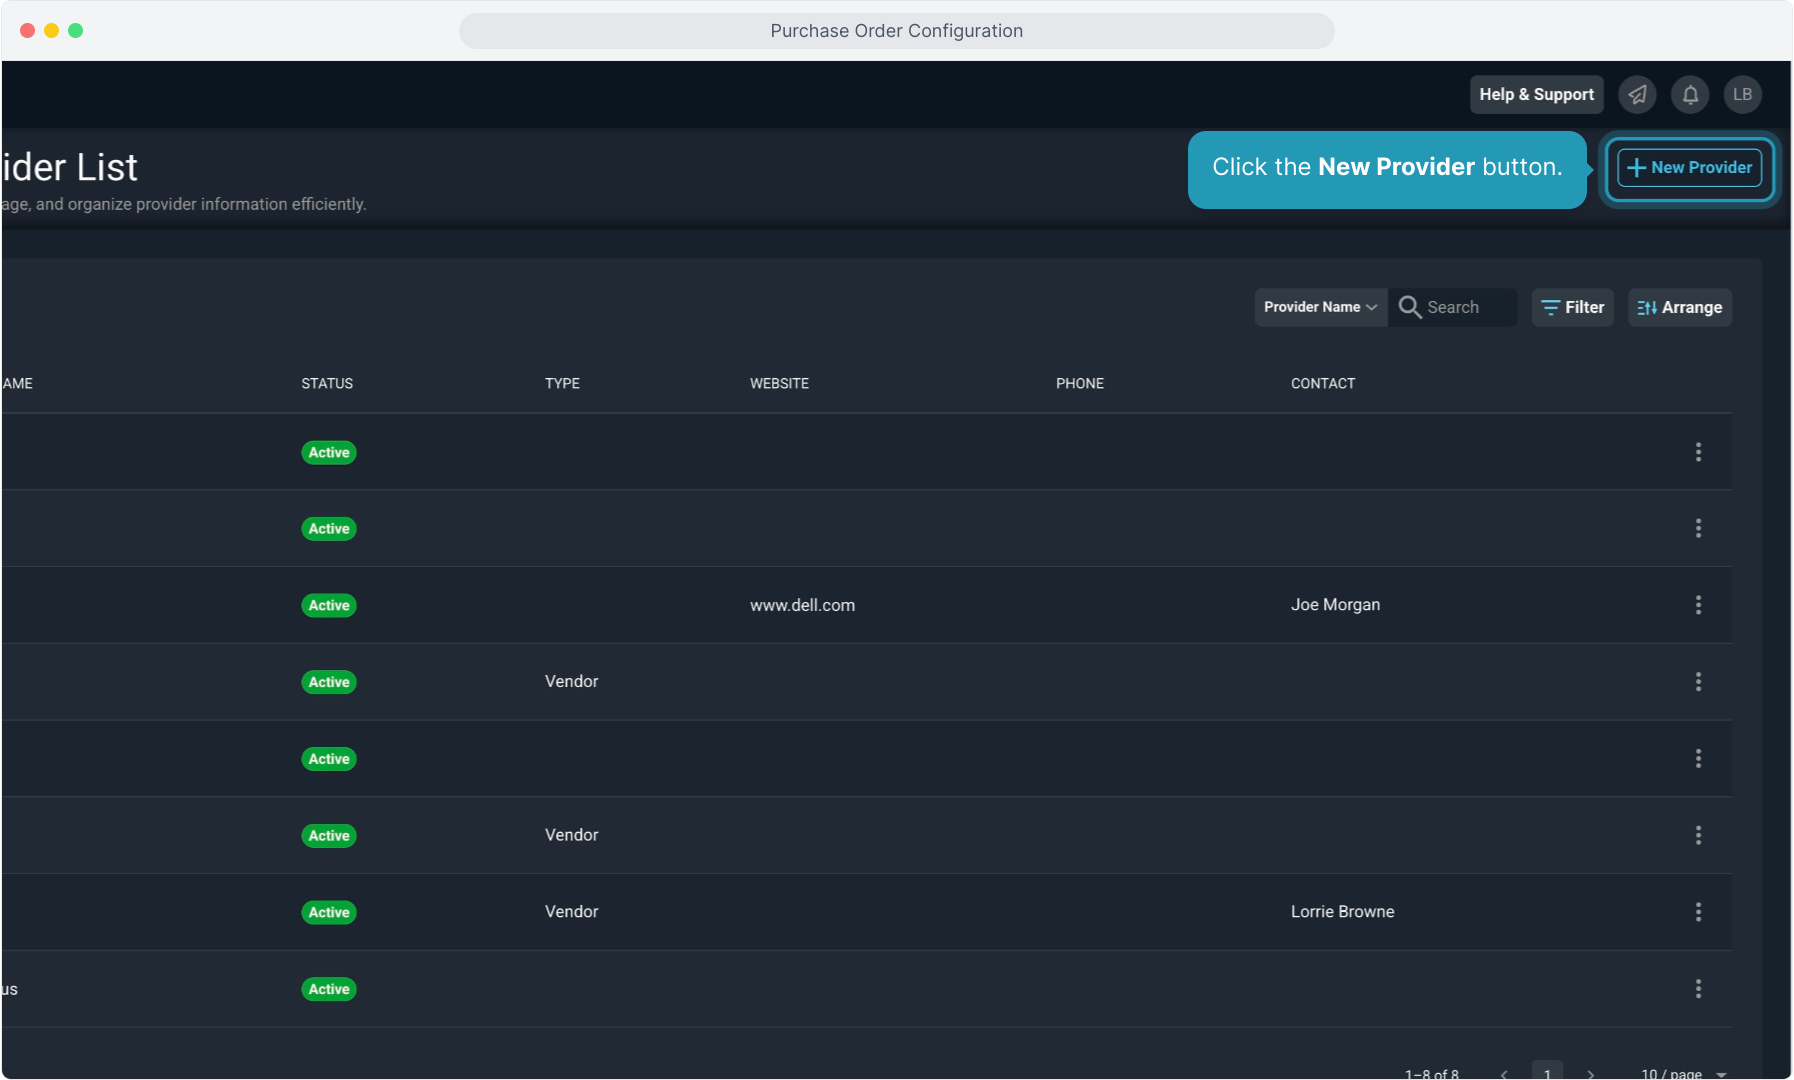
9. Click the New Provider button.
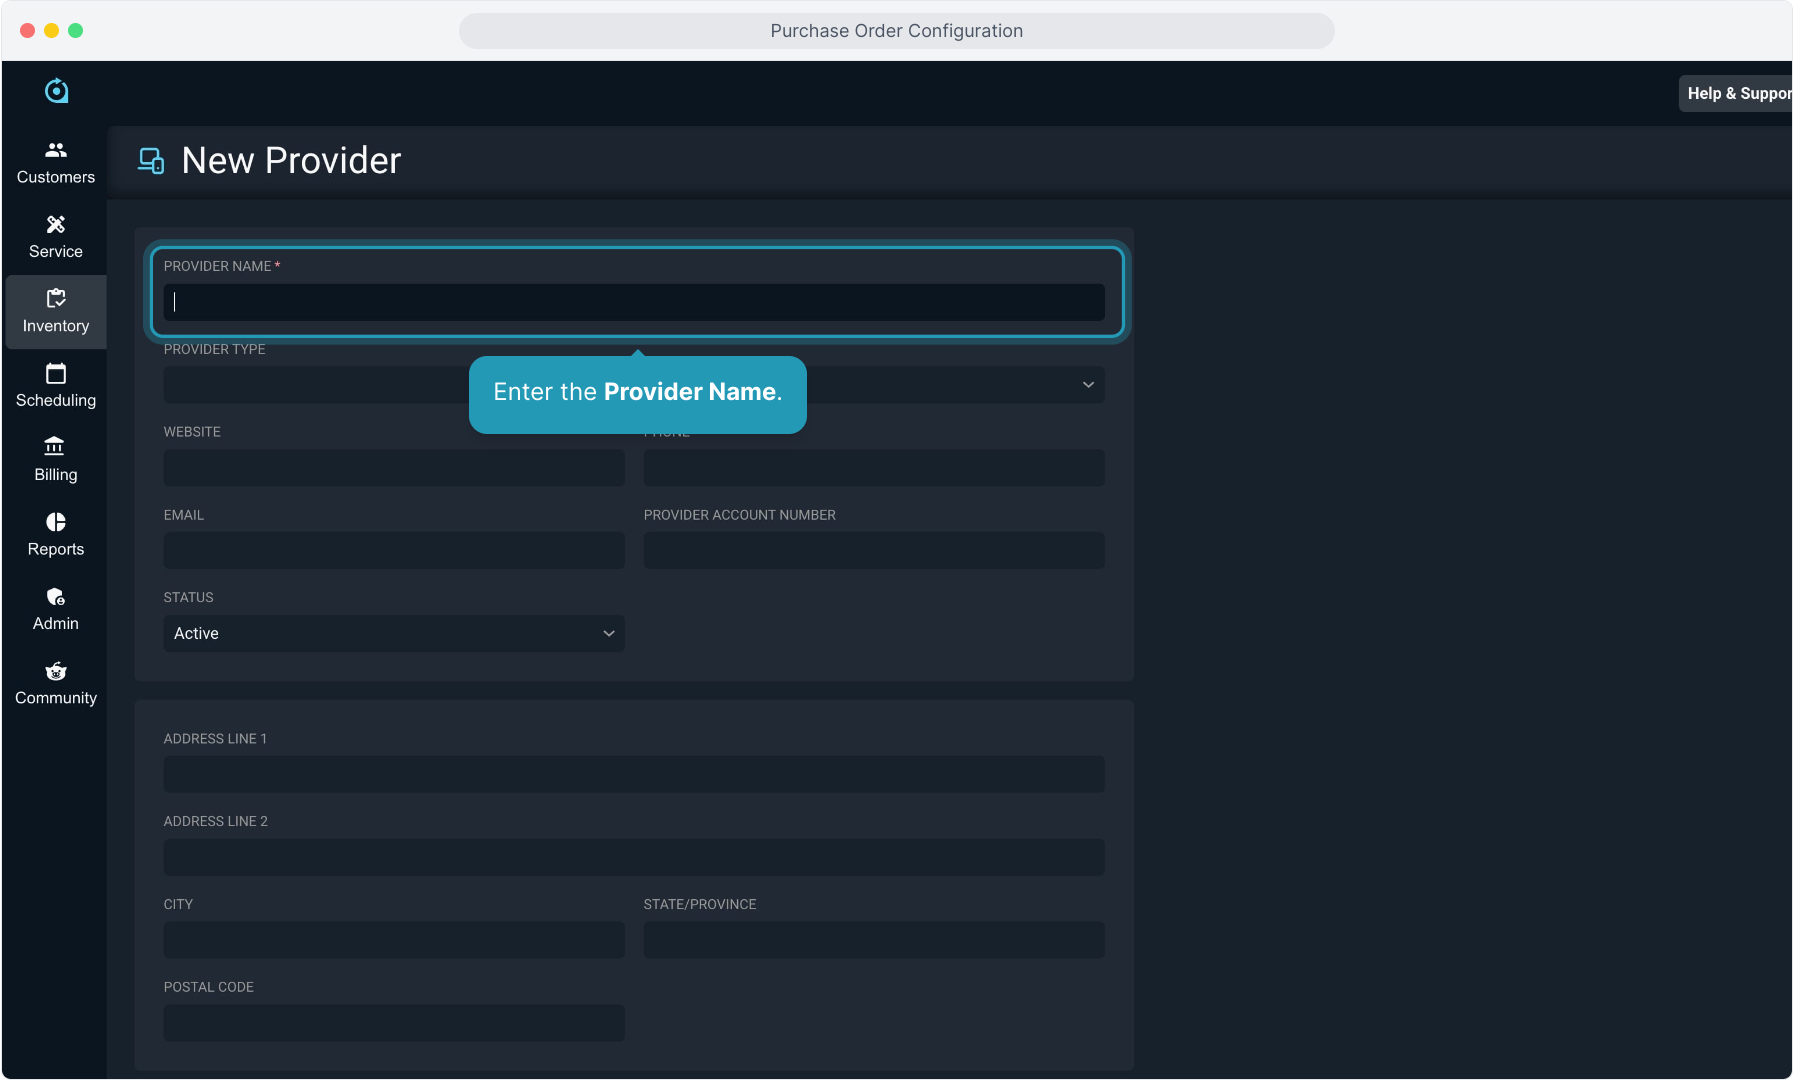
10. Enter the Provider Name.
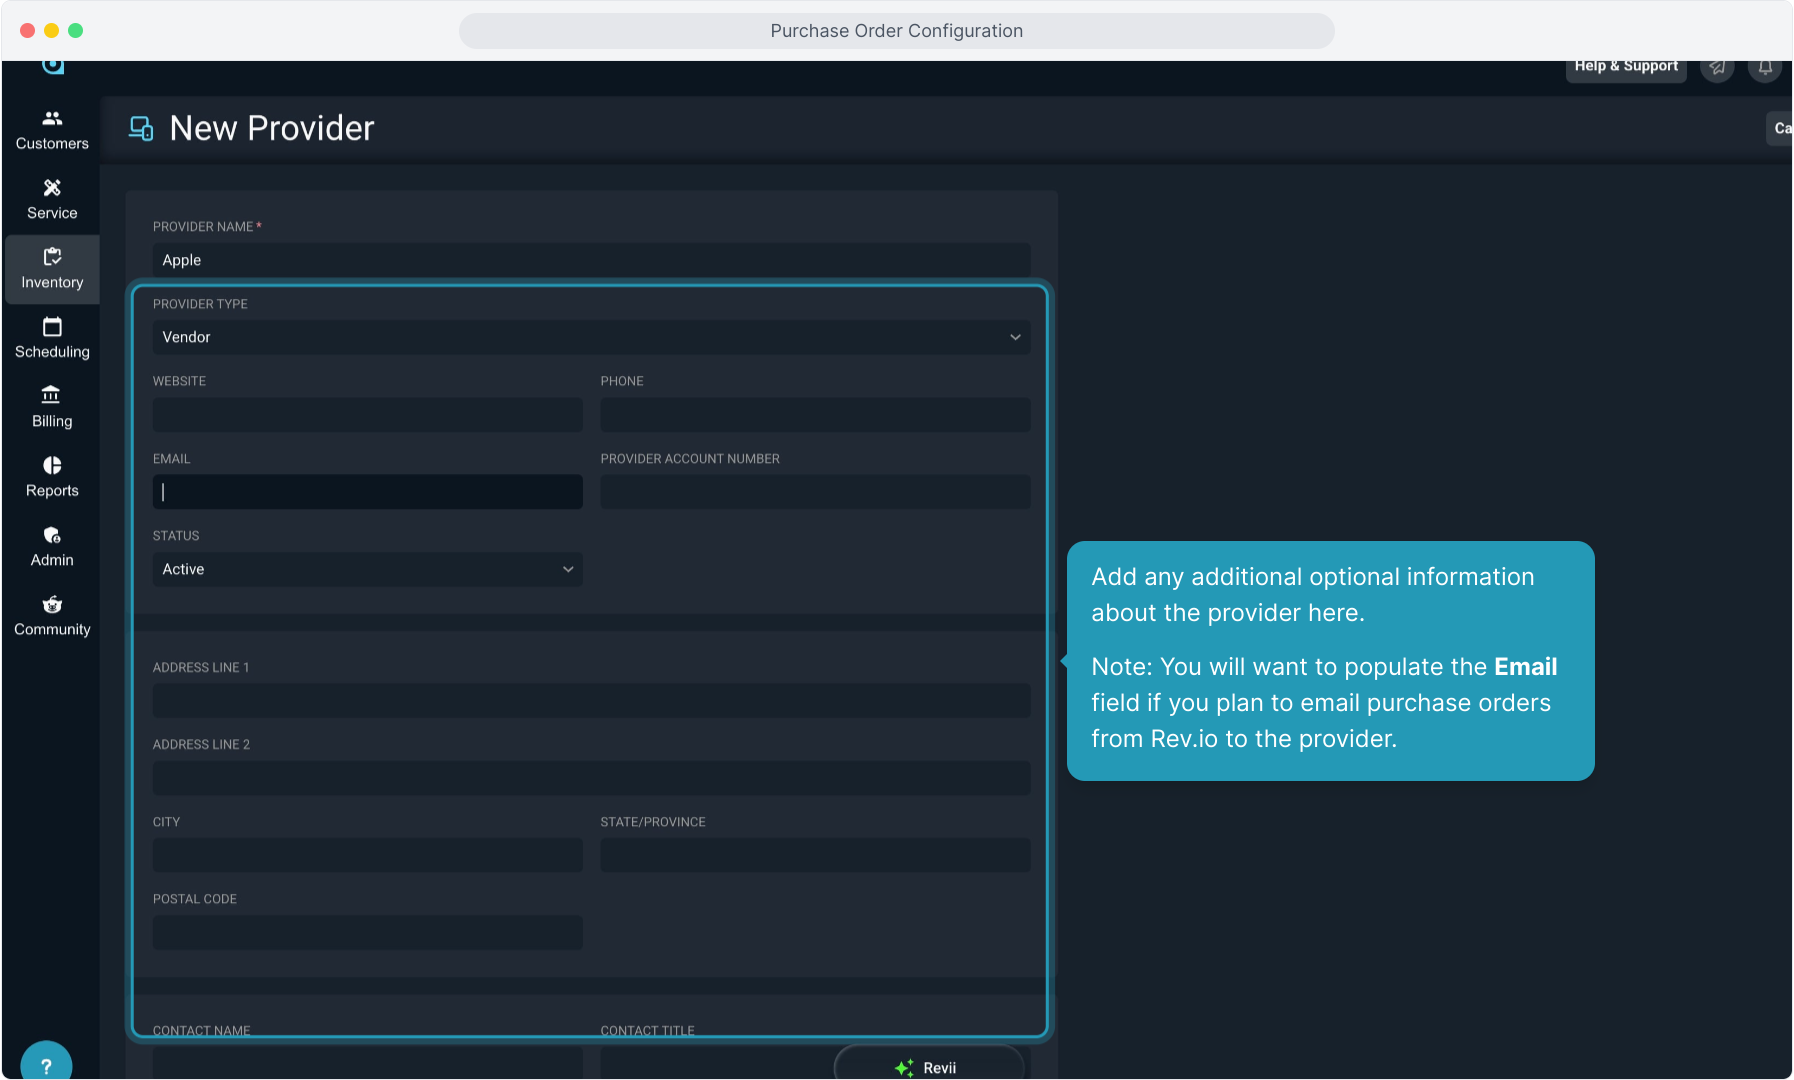
11. Add any additional optional information about the provider here.
Note: You will want to populate the Email field if you plan to email purchase orders from Rev.io to the provider.
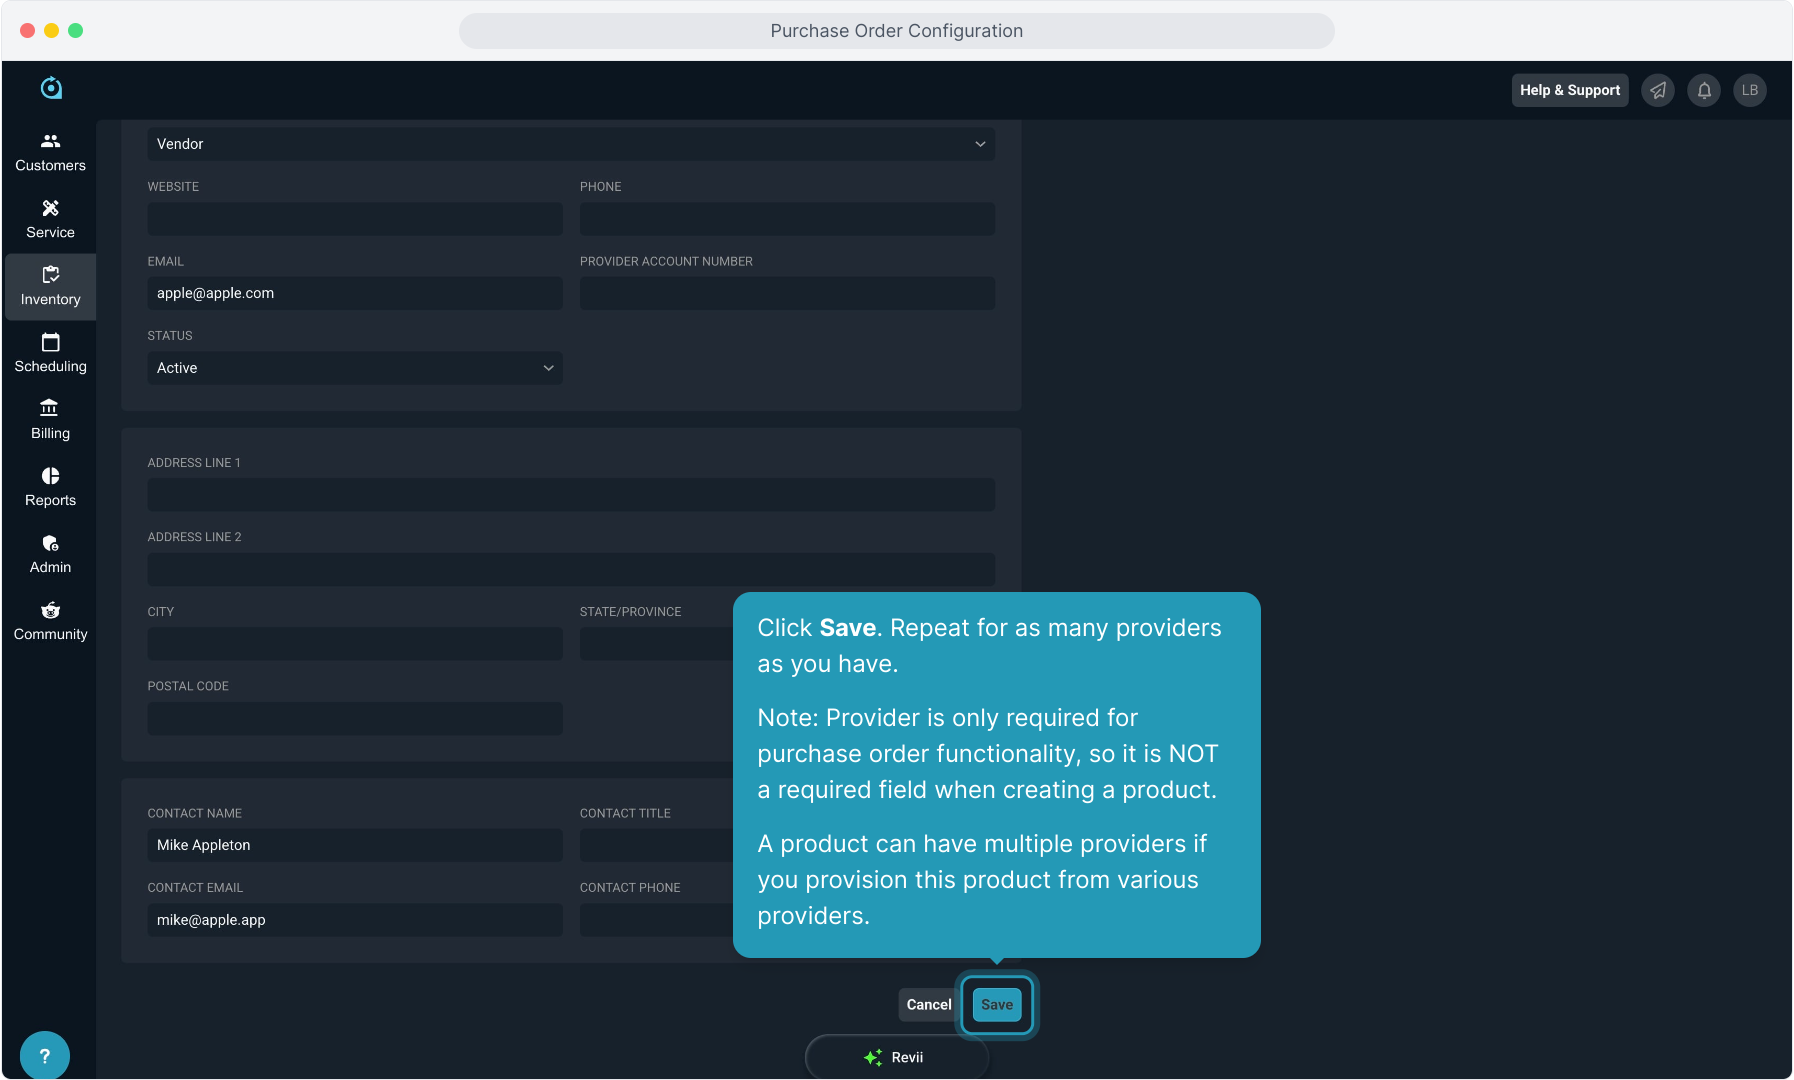
12. Click Save. Repeat for as many providers as you have.
Note: Provider is only required for purchase order functionality, so it is NOT a required field when creating a product.
A product can have multiple providers if you provision this product from various providers.
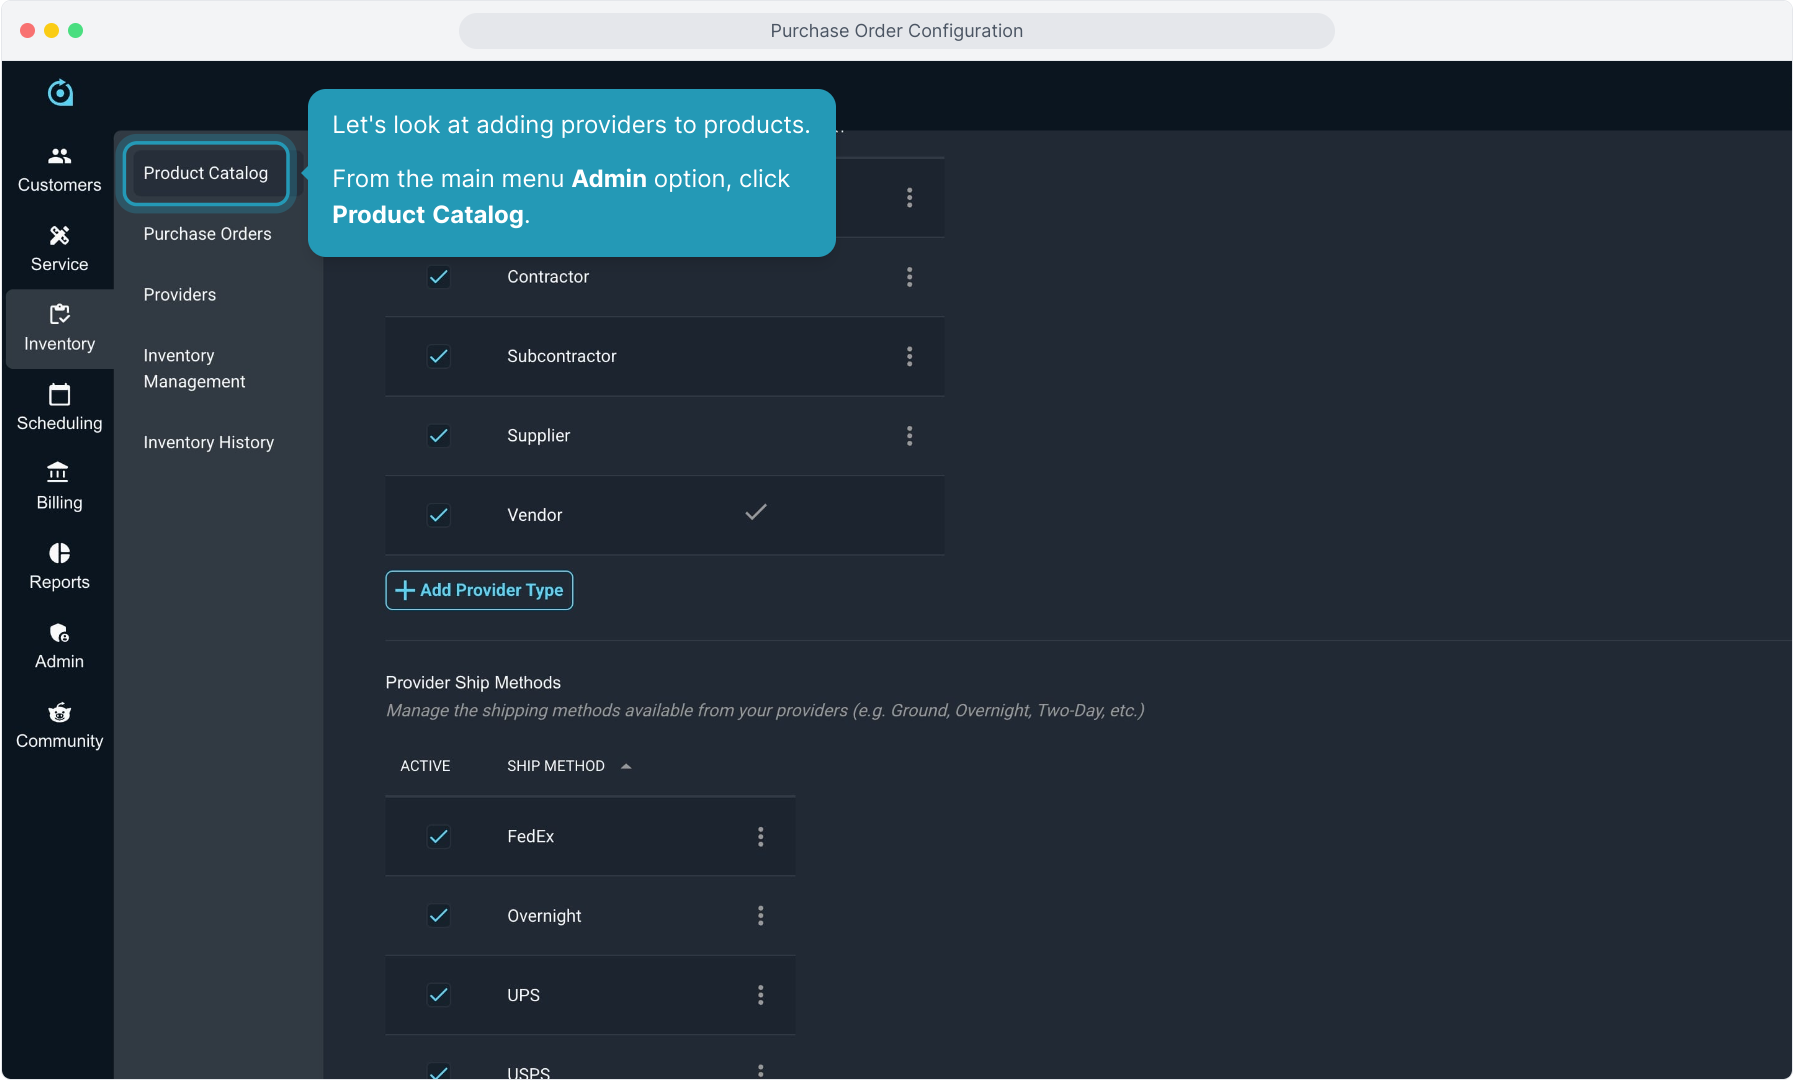
13. Let's look at adding providers to products.
From the main menu Admin option, click Product Catalog.
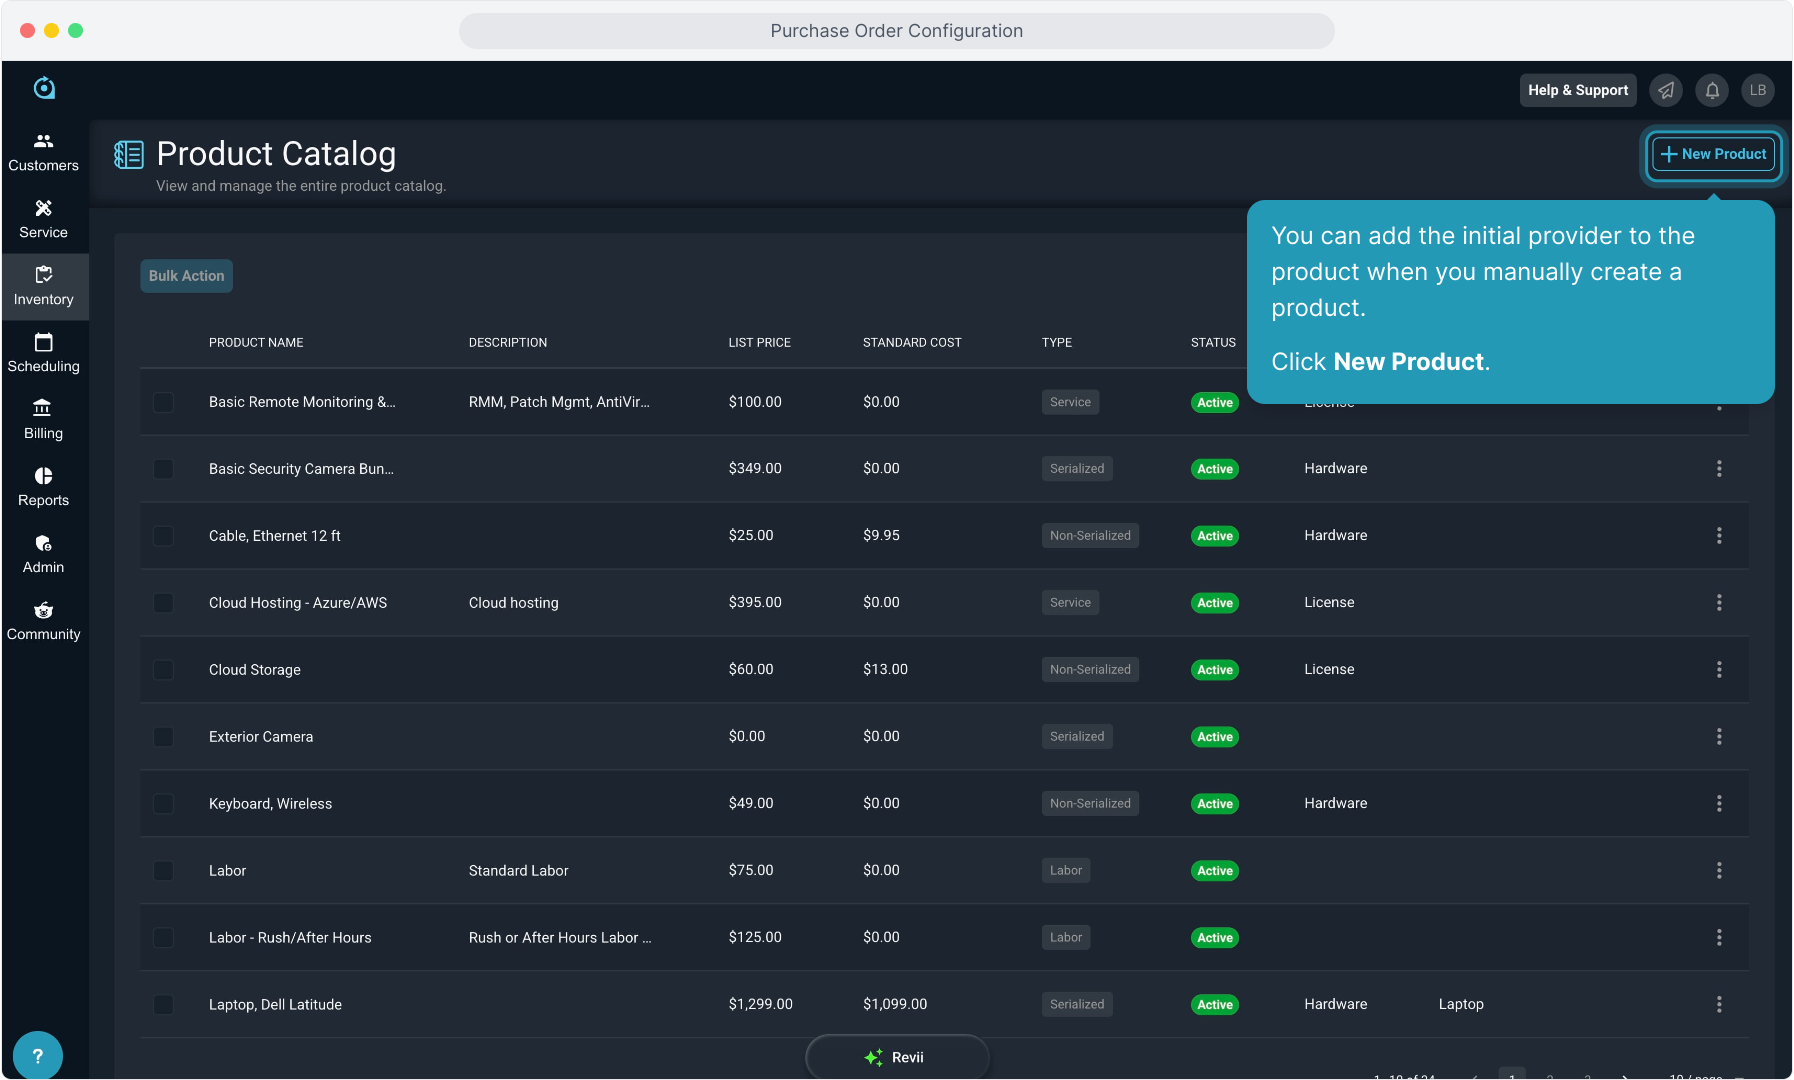
14. You can add the initial provider to the product when you manually create a product. Click New Product.
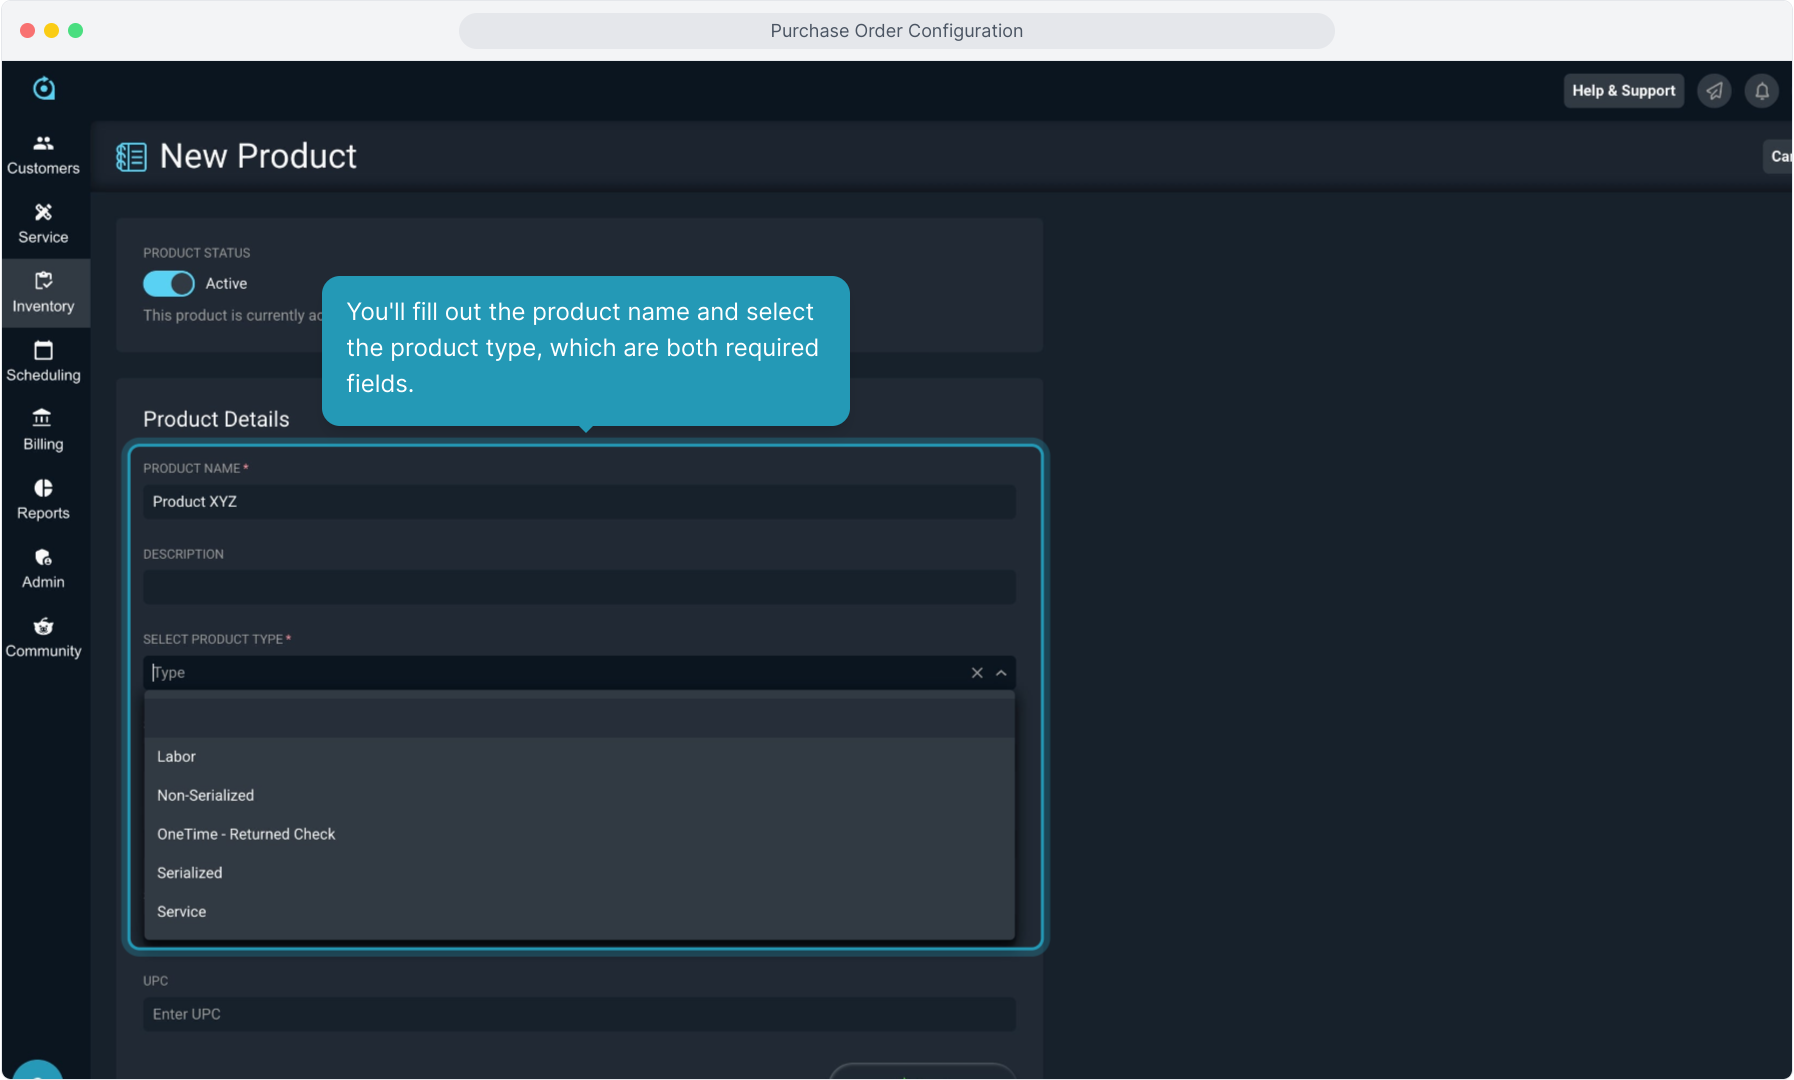
15. You'll fill out the product name and select the product type, which are both required fields.
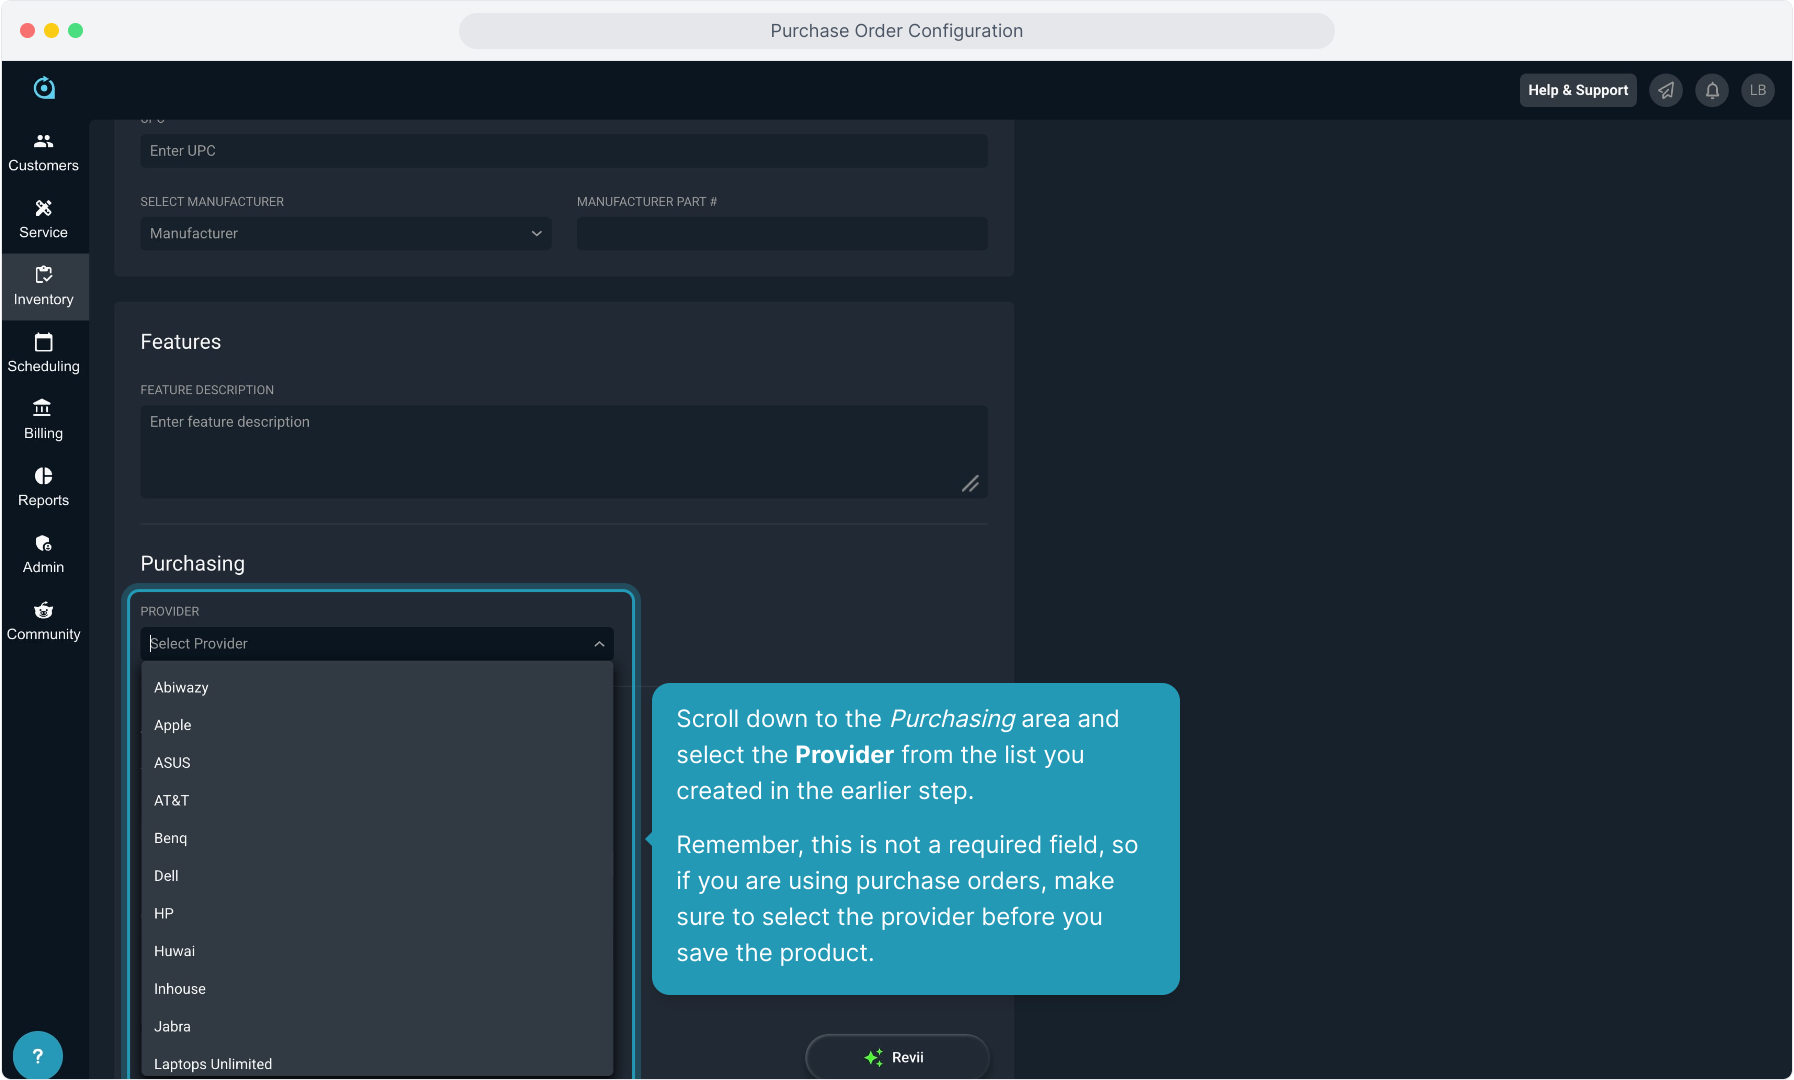
16. Scroll down to the Purchasing area and select the Provider from the list you created in the earlier step.
Remember, this is not a required field, so if you are using purchase orders, make sure to select the provider before you save the product.
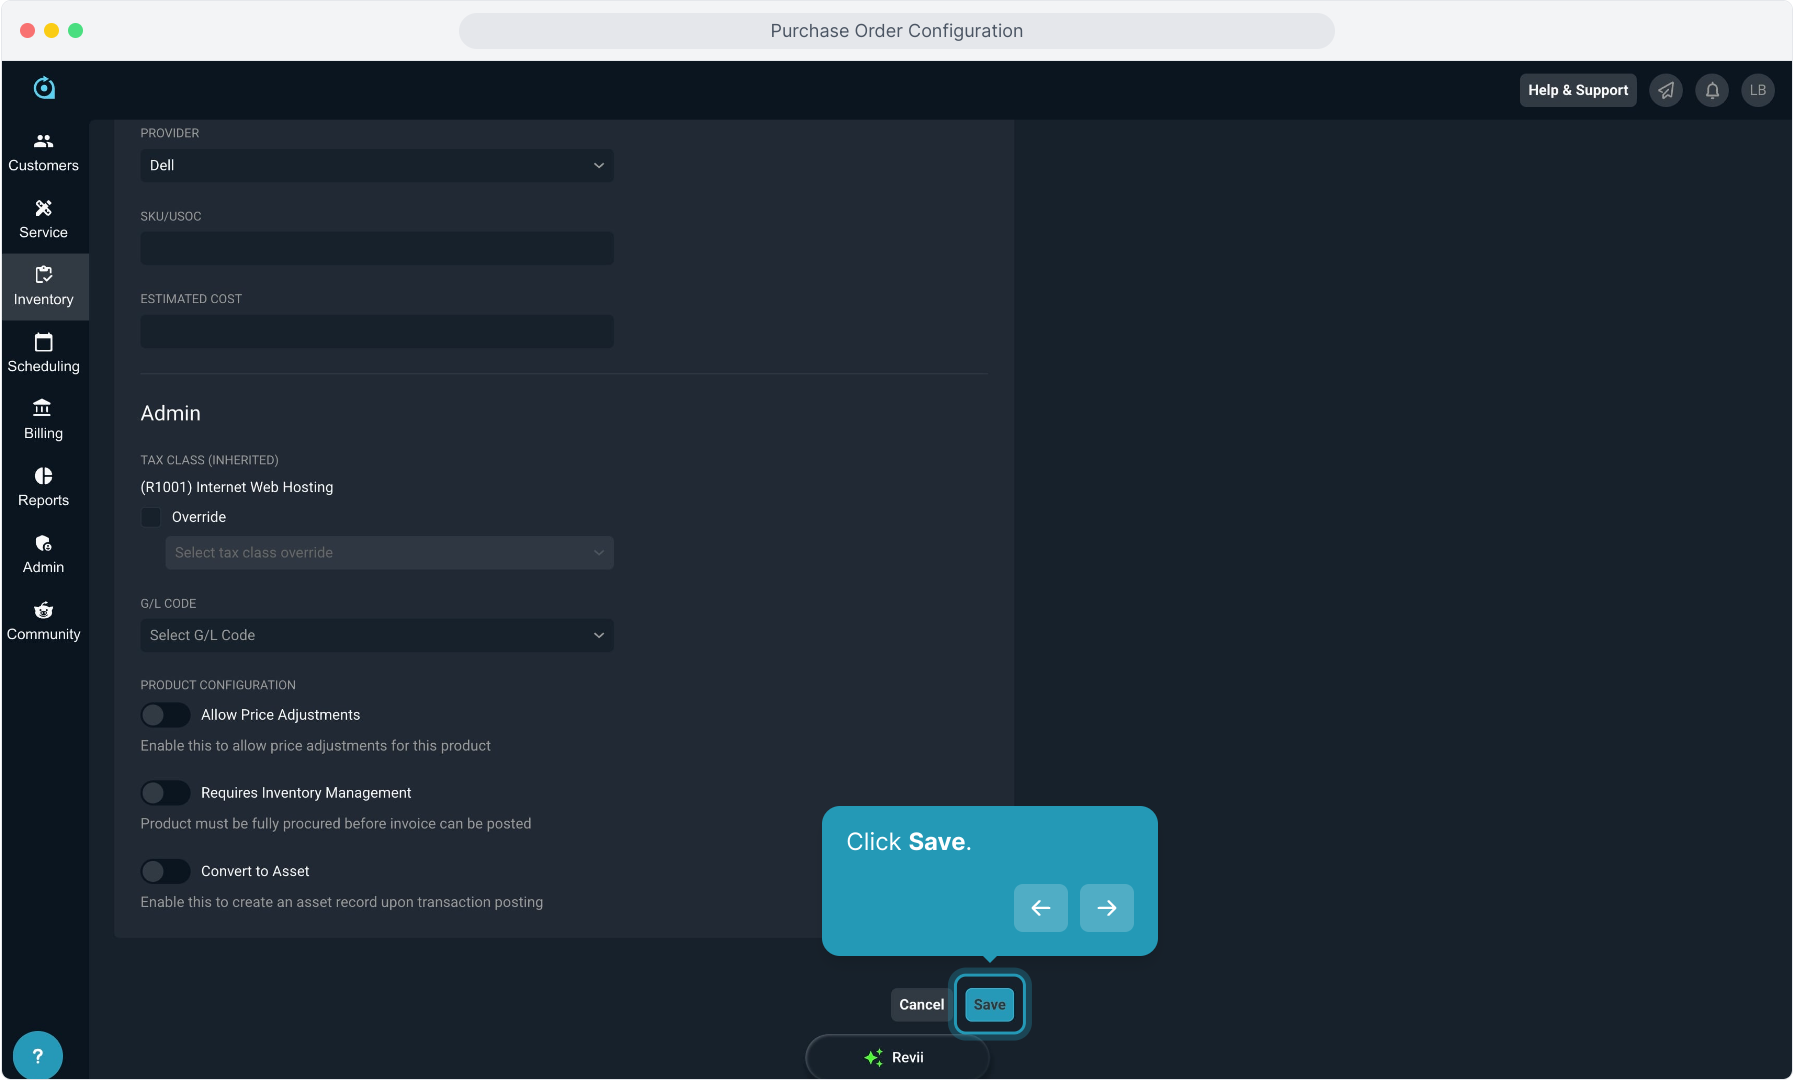
17. Click Save.
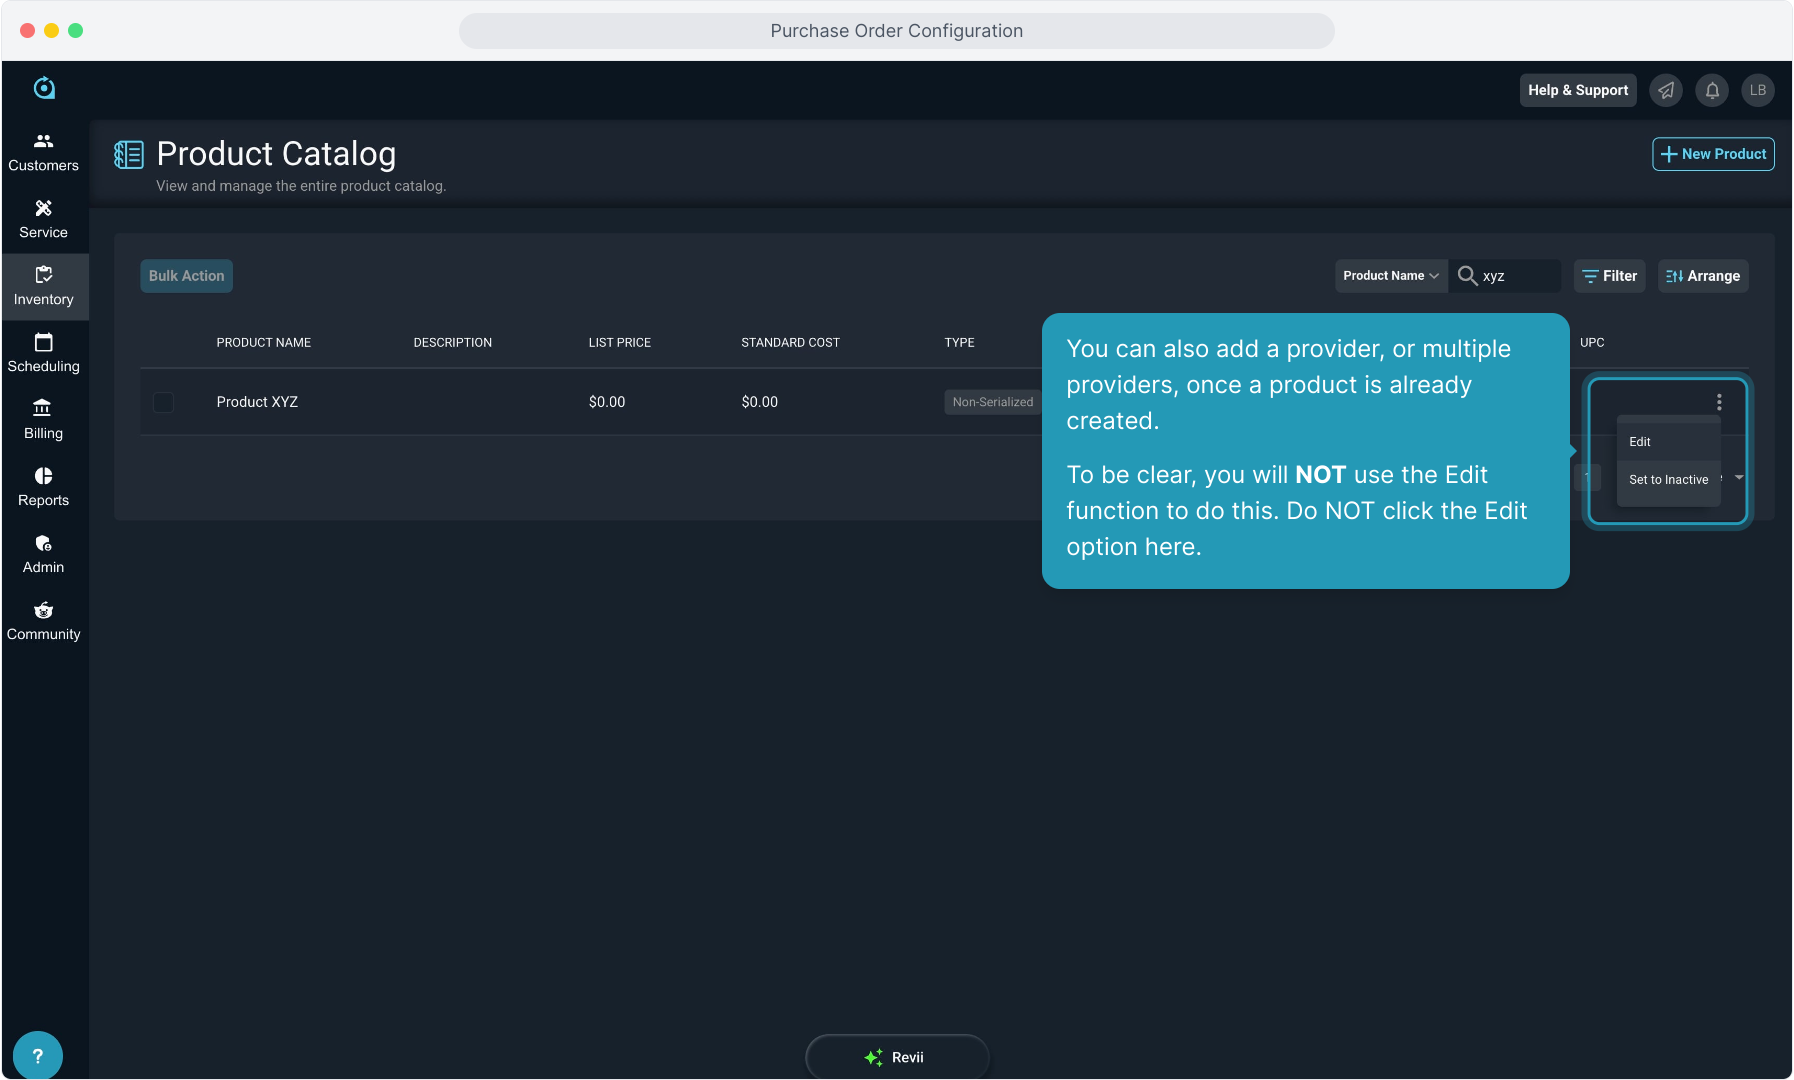
18. You can also add a provider, or multiple providers, once a product is already created.
To be clear, you will NOT use the Edit function to do this. Do NOT click the Edit option here.
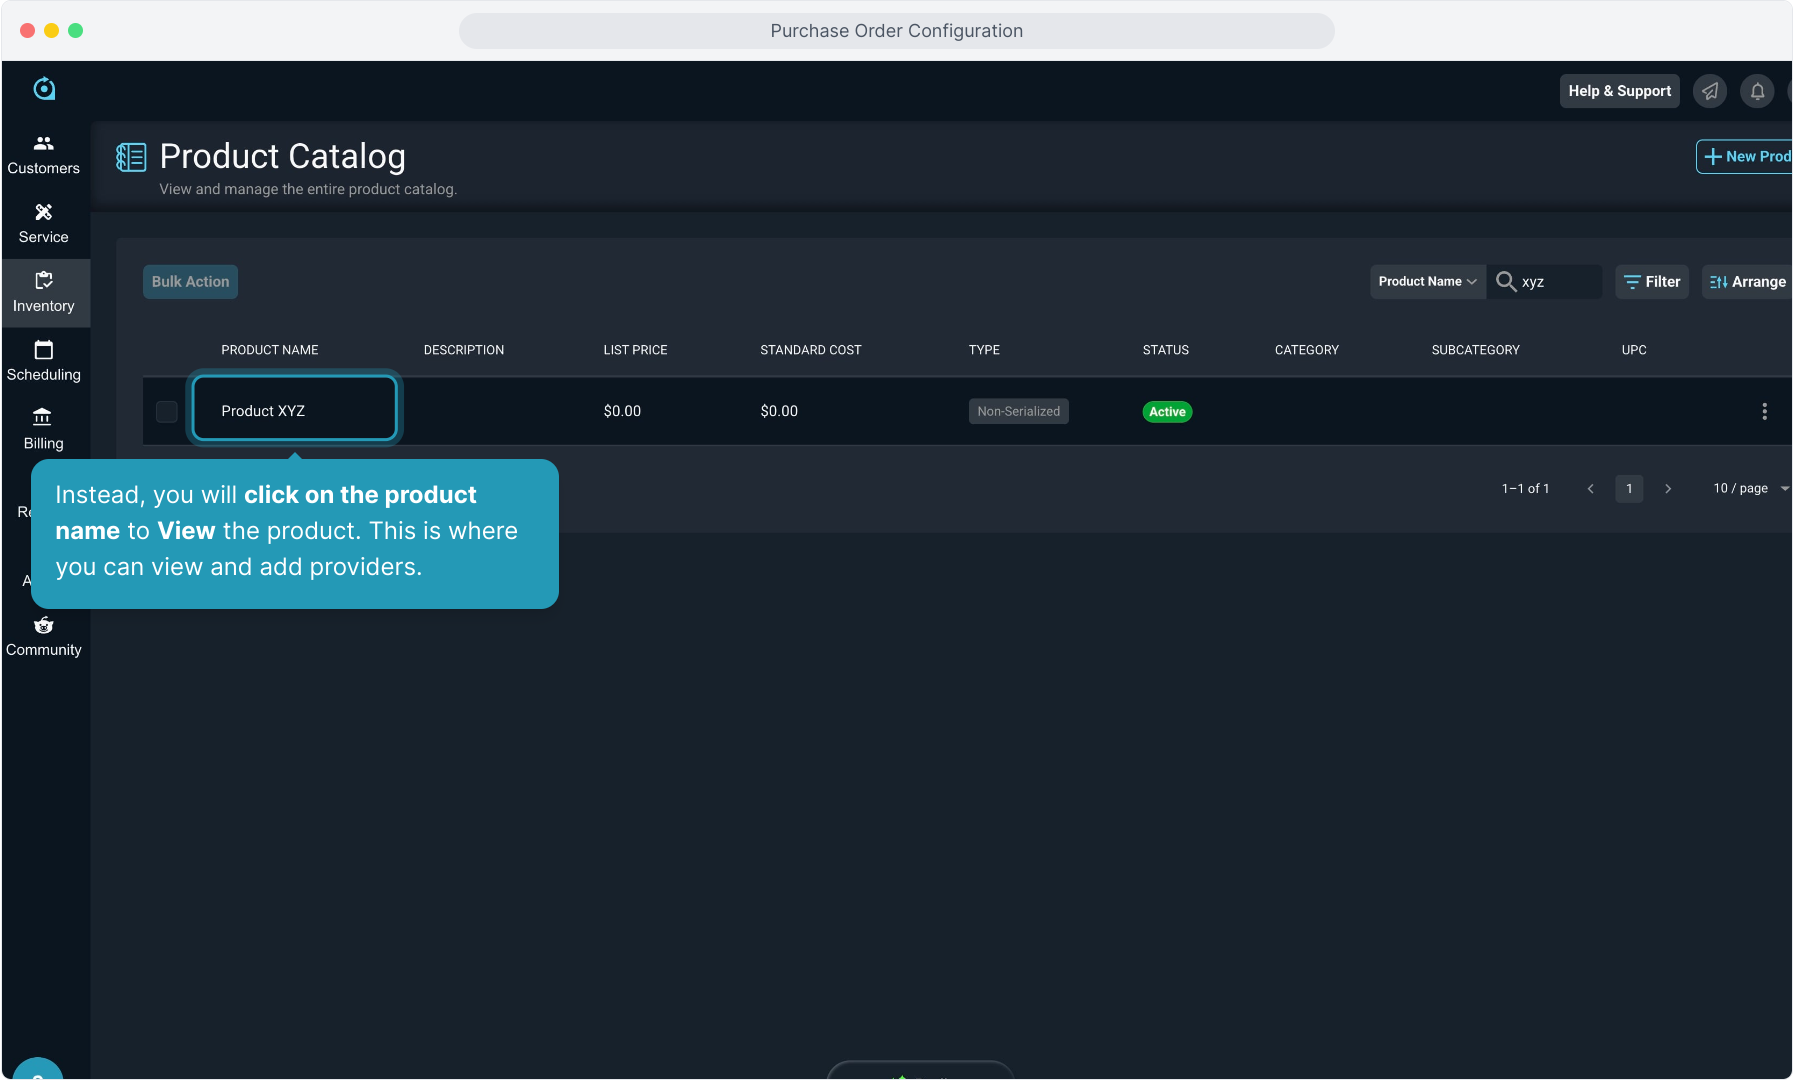
19. Instead, you will click on the product name to View the product. This is where you can view and add providers.
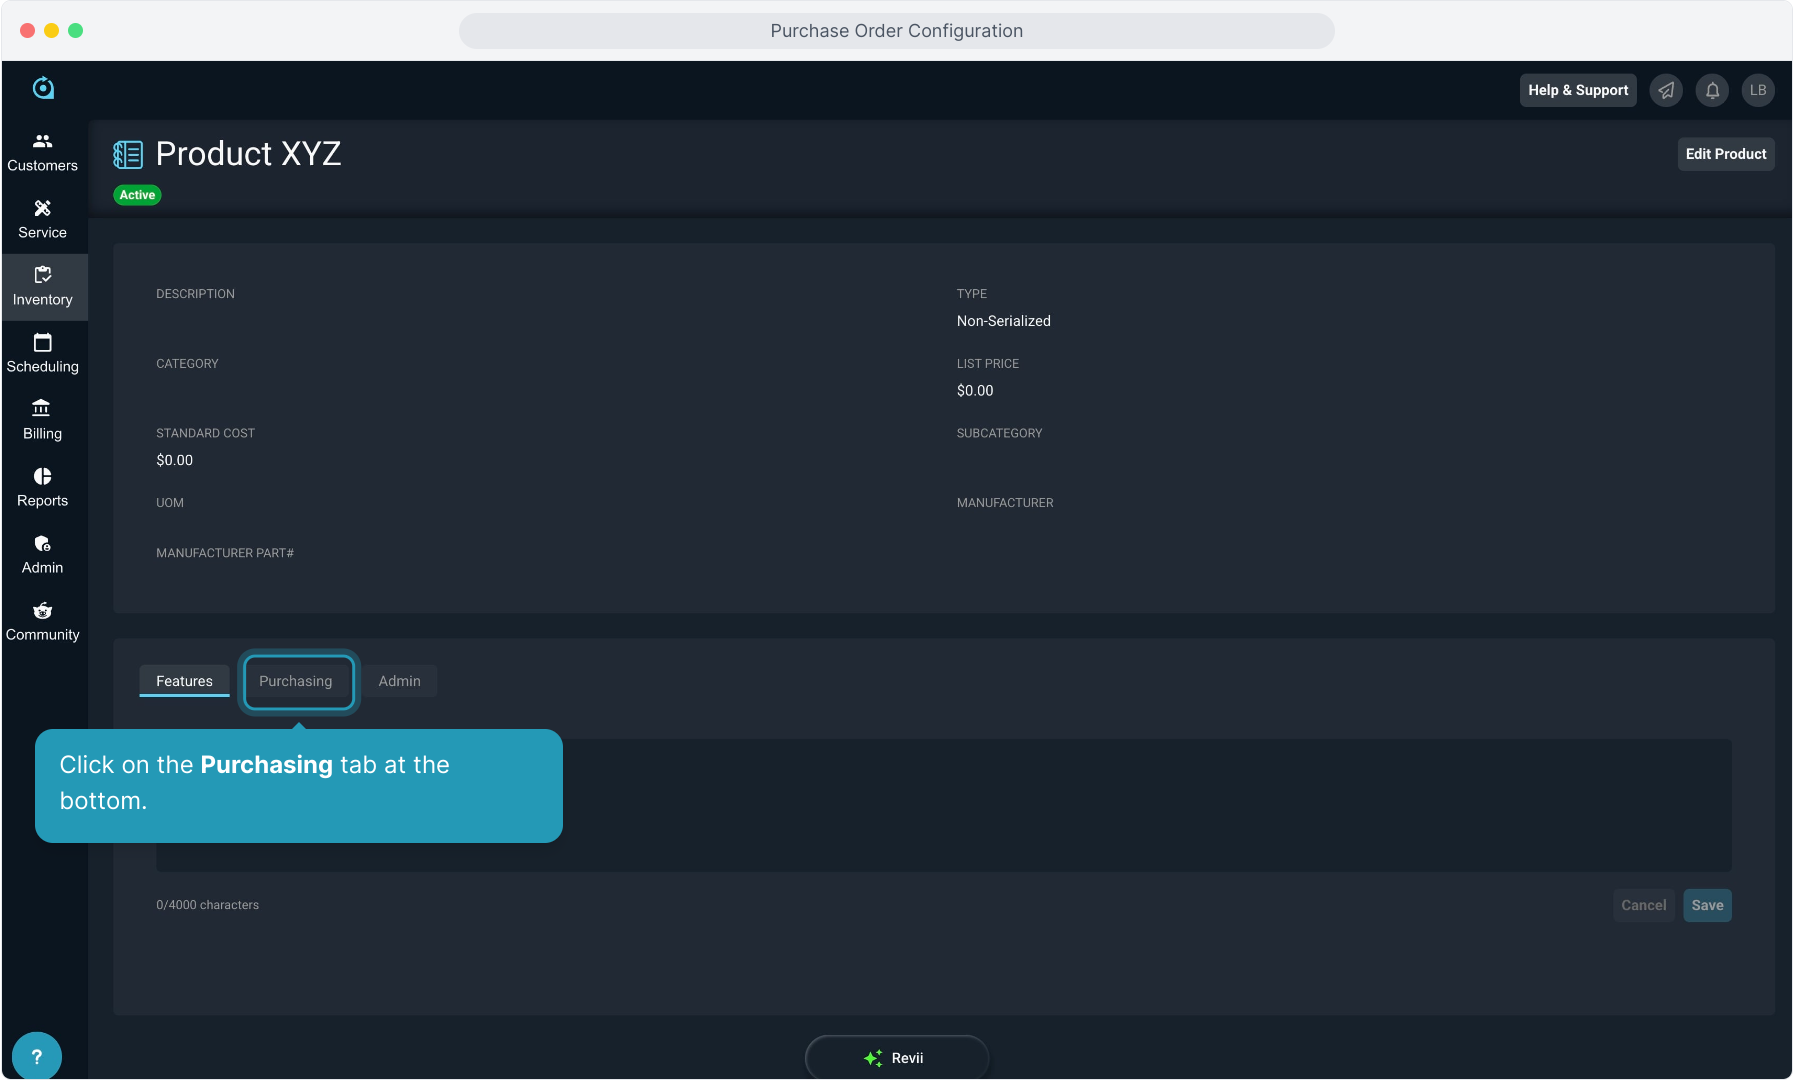
20. Click on the Purchasing tab at the bottom.
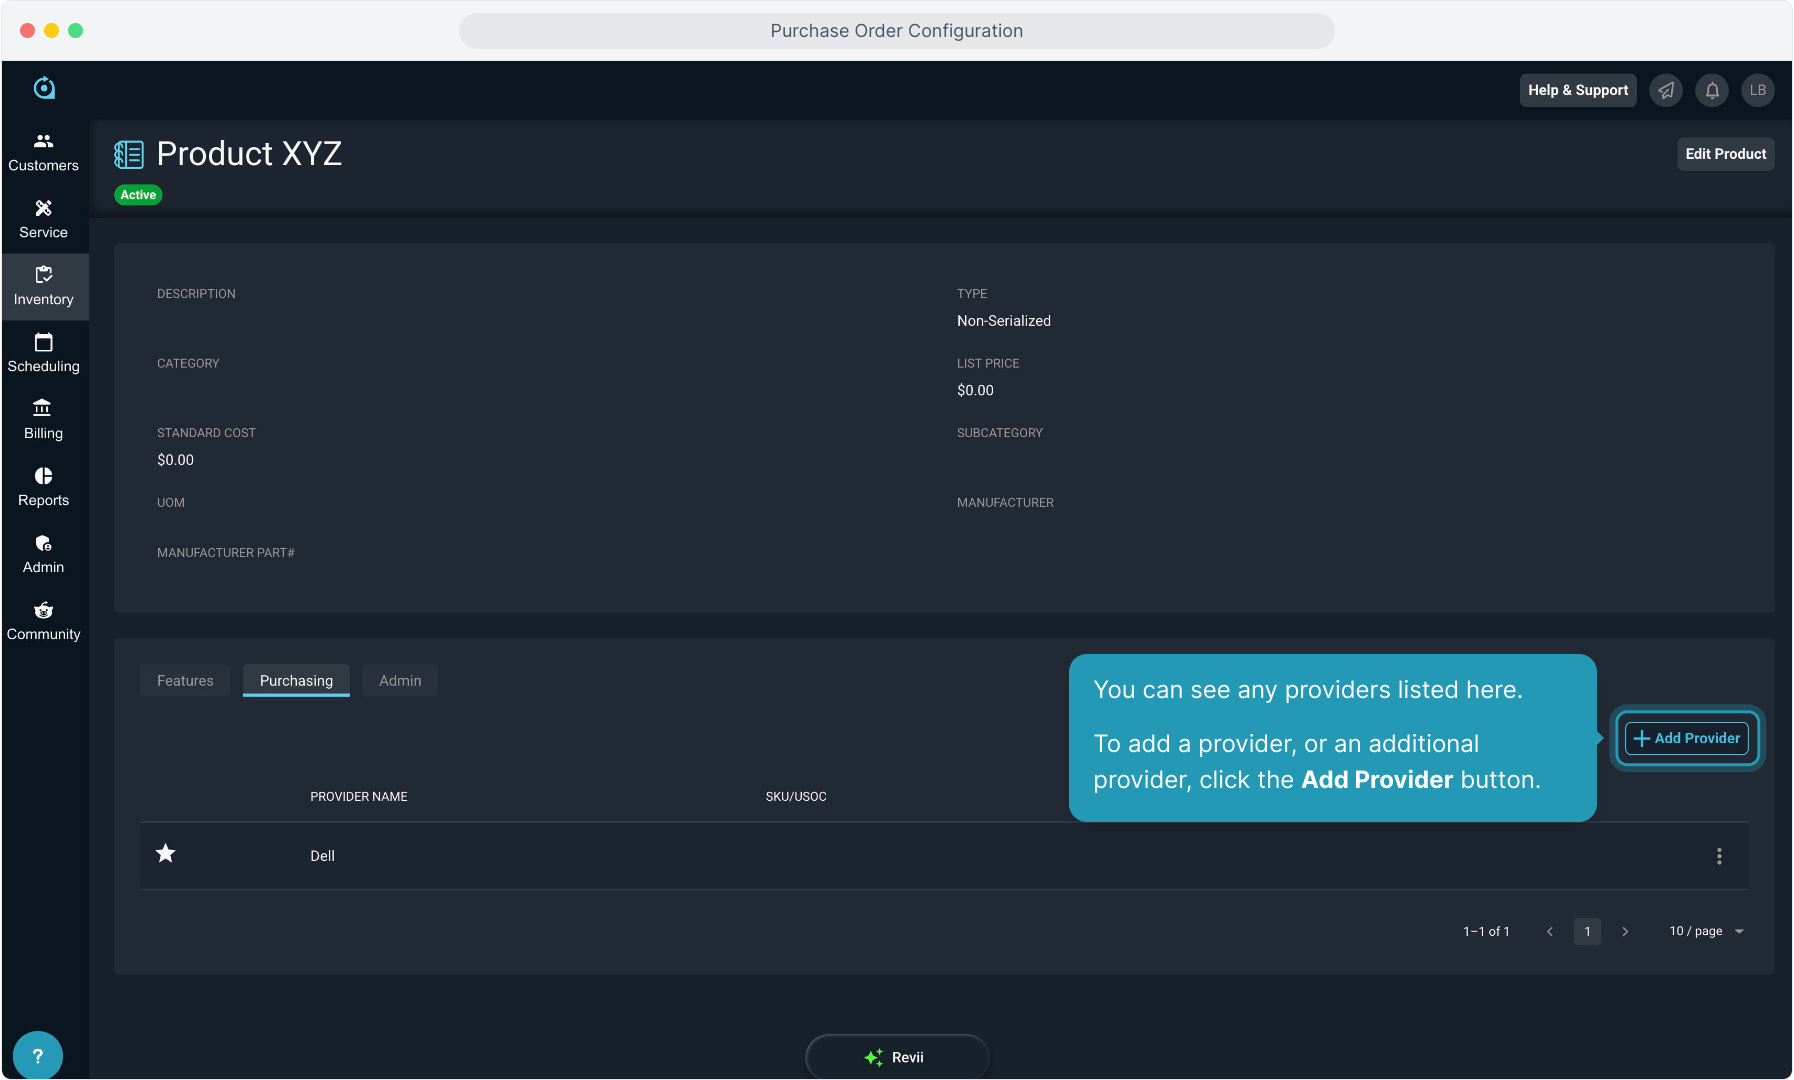
21. You can see any providers listed here. To add a provider, or an additional provider, click the Add Provider button.
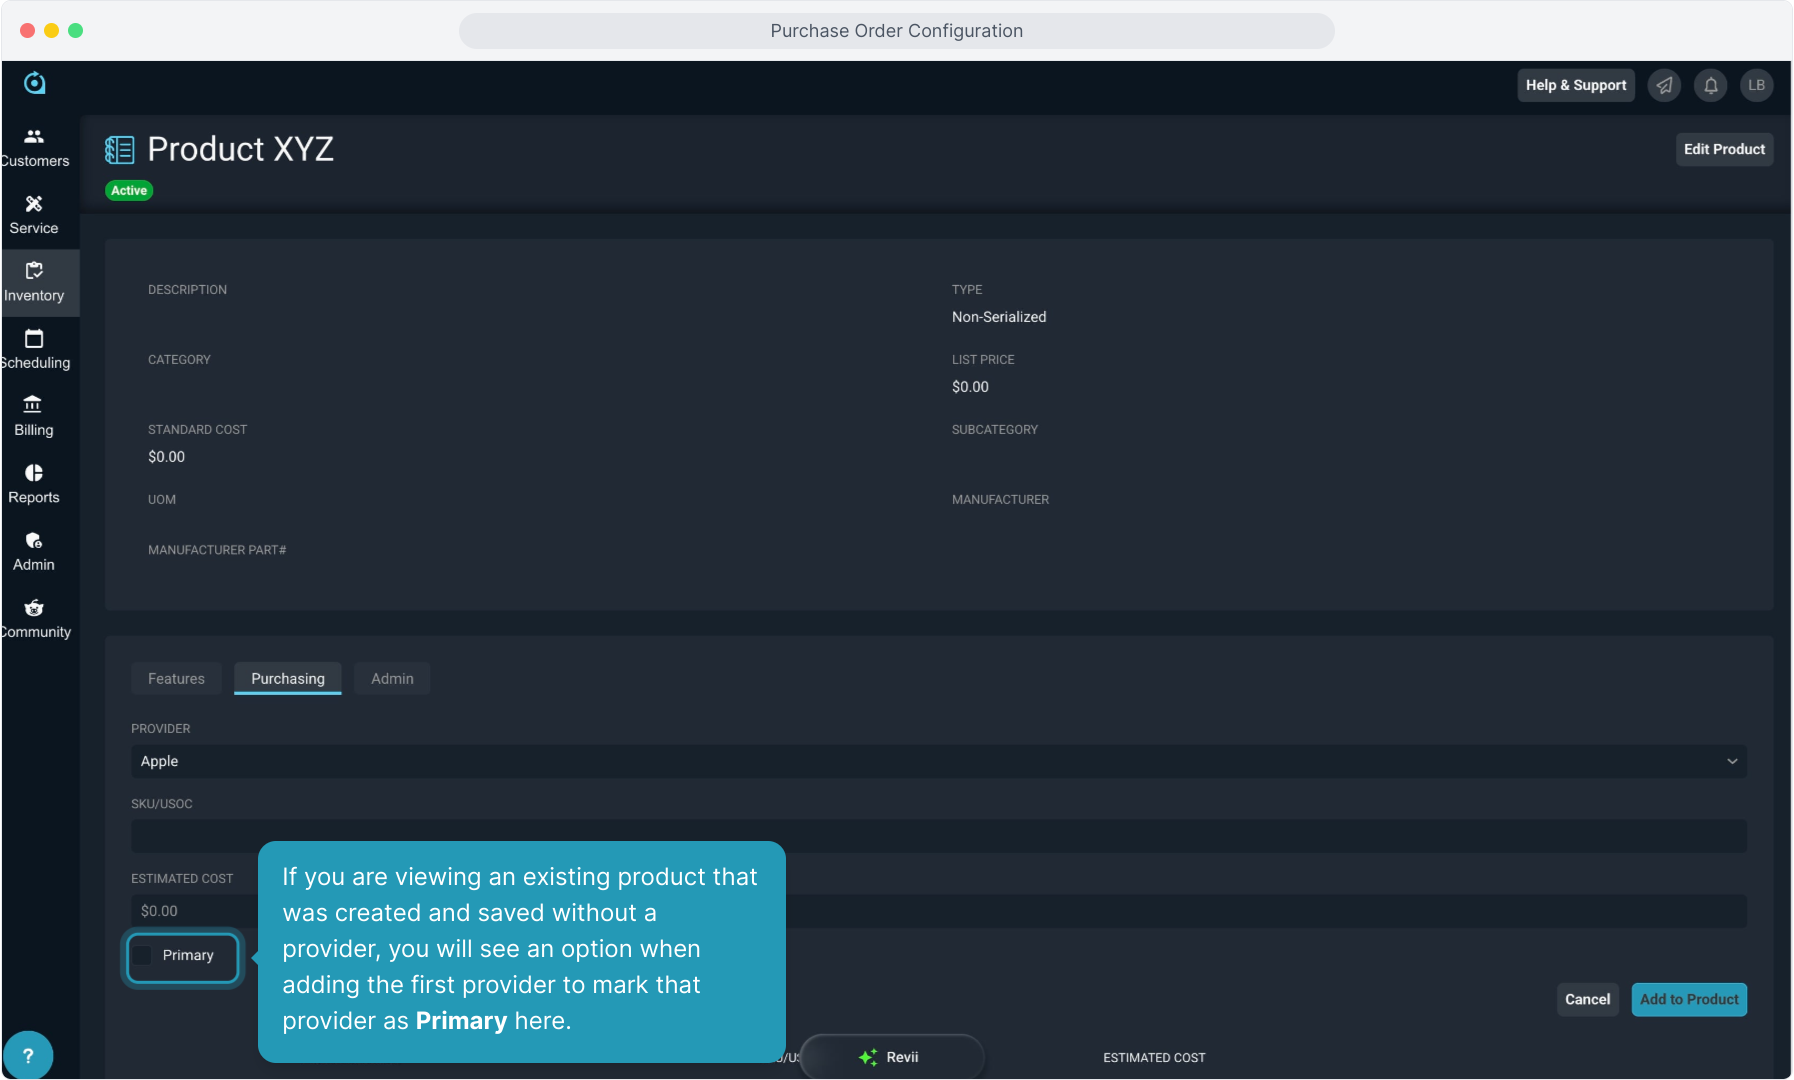
22. If you are viewing an existing product that was created and saved without a provider, you will see an option when adding the first provider to mark that provider as Primary here.
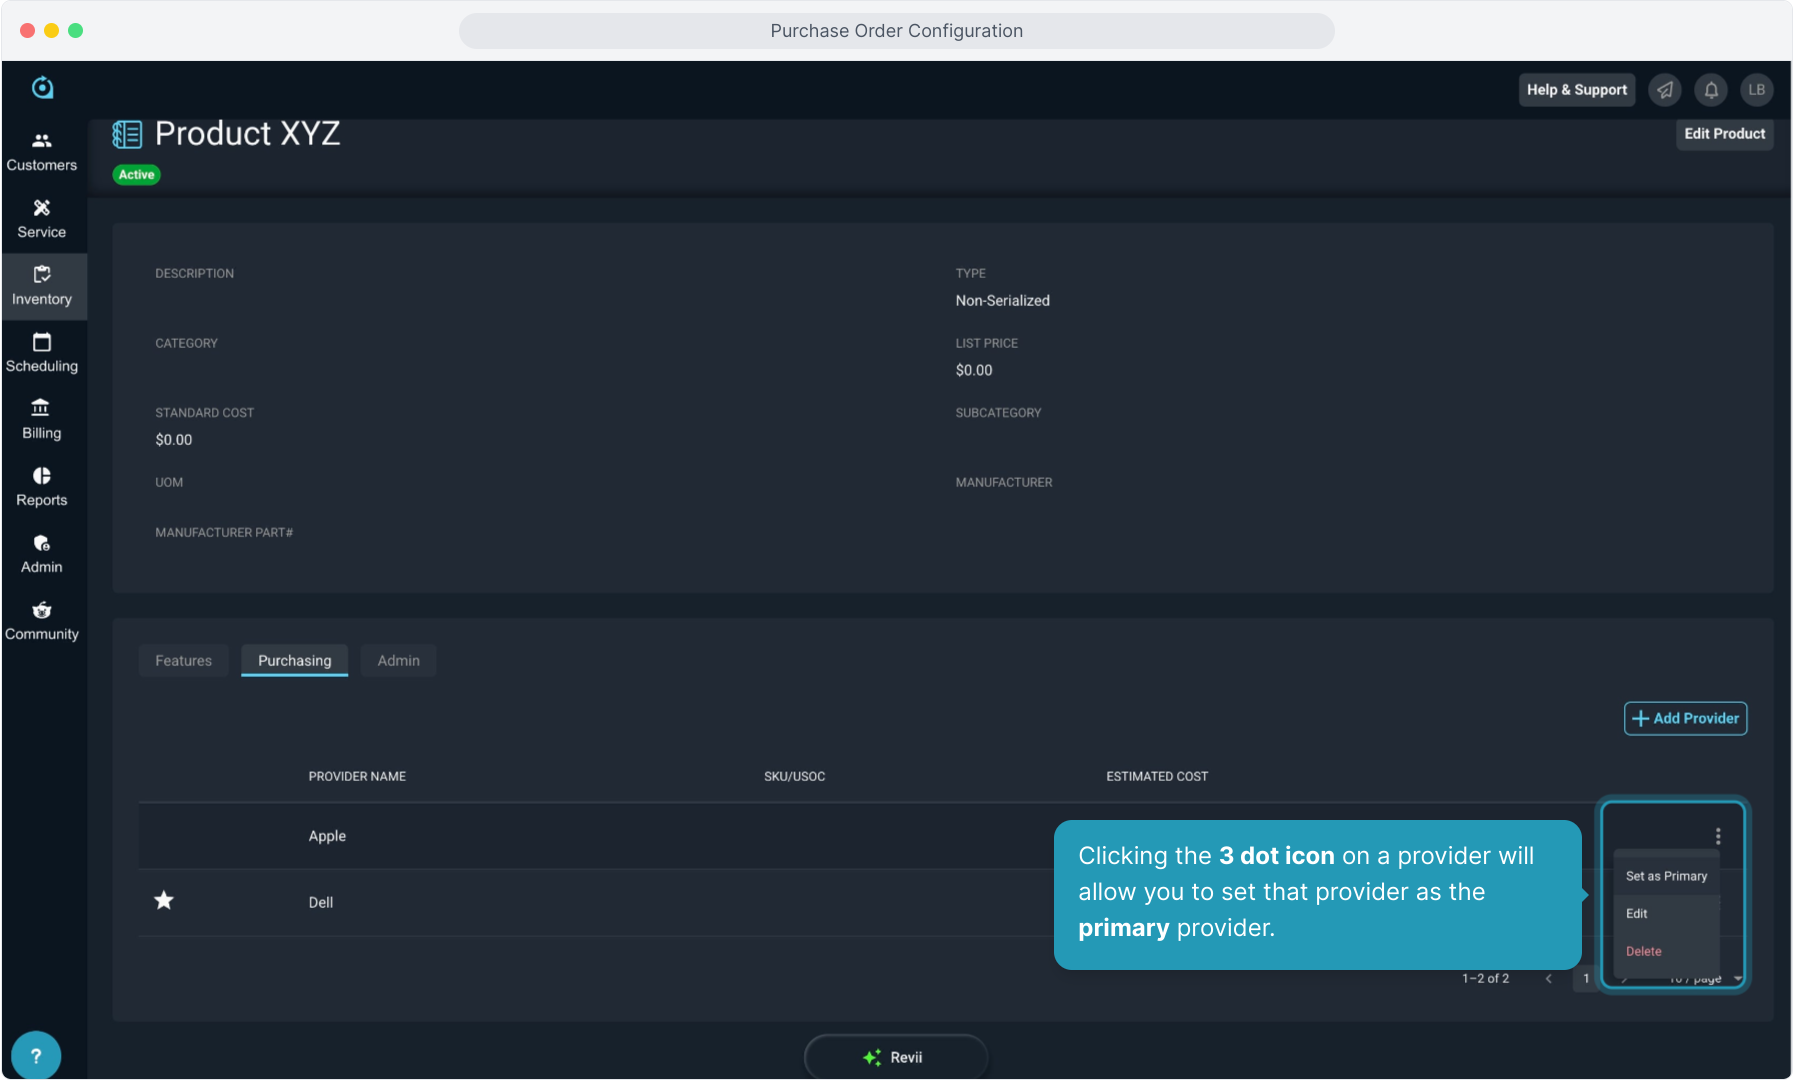
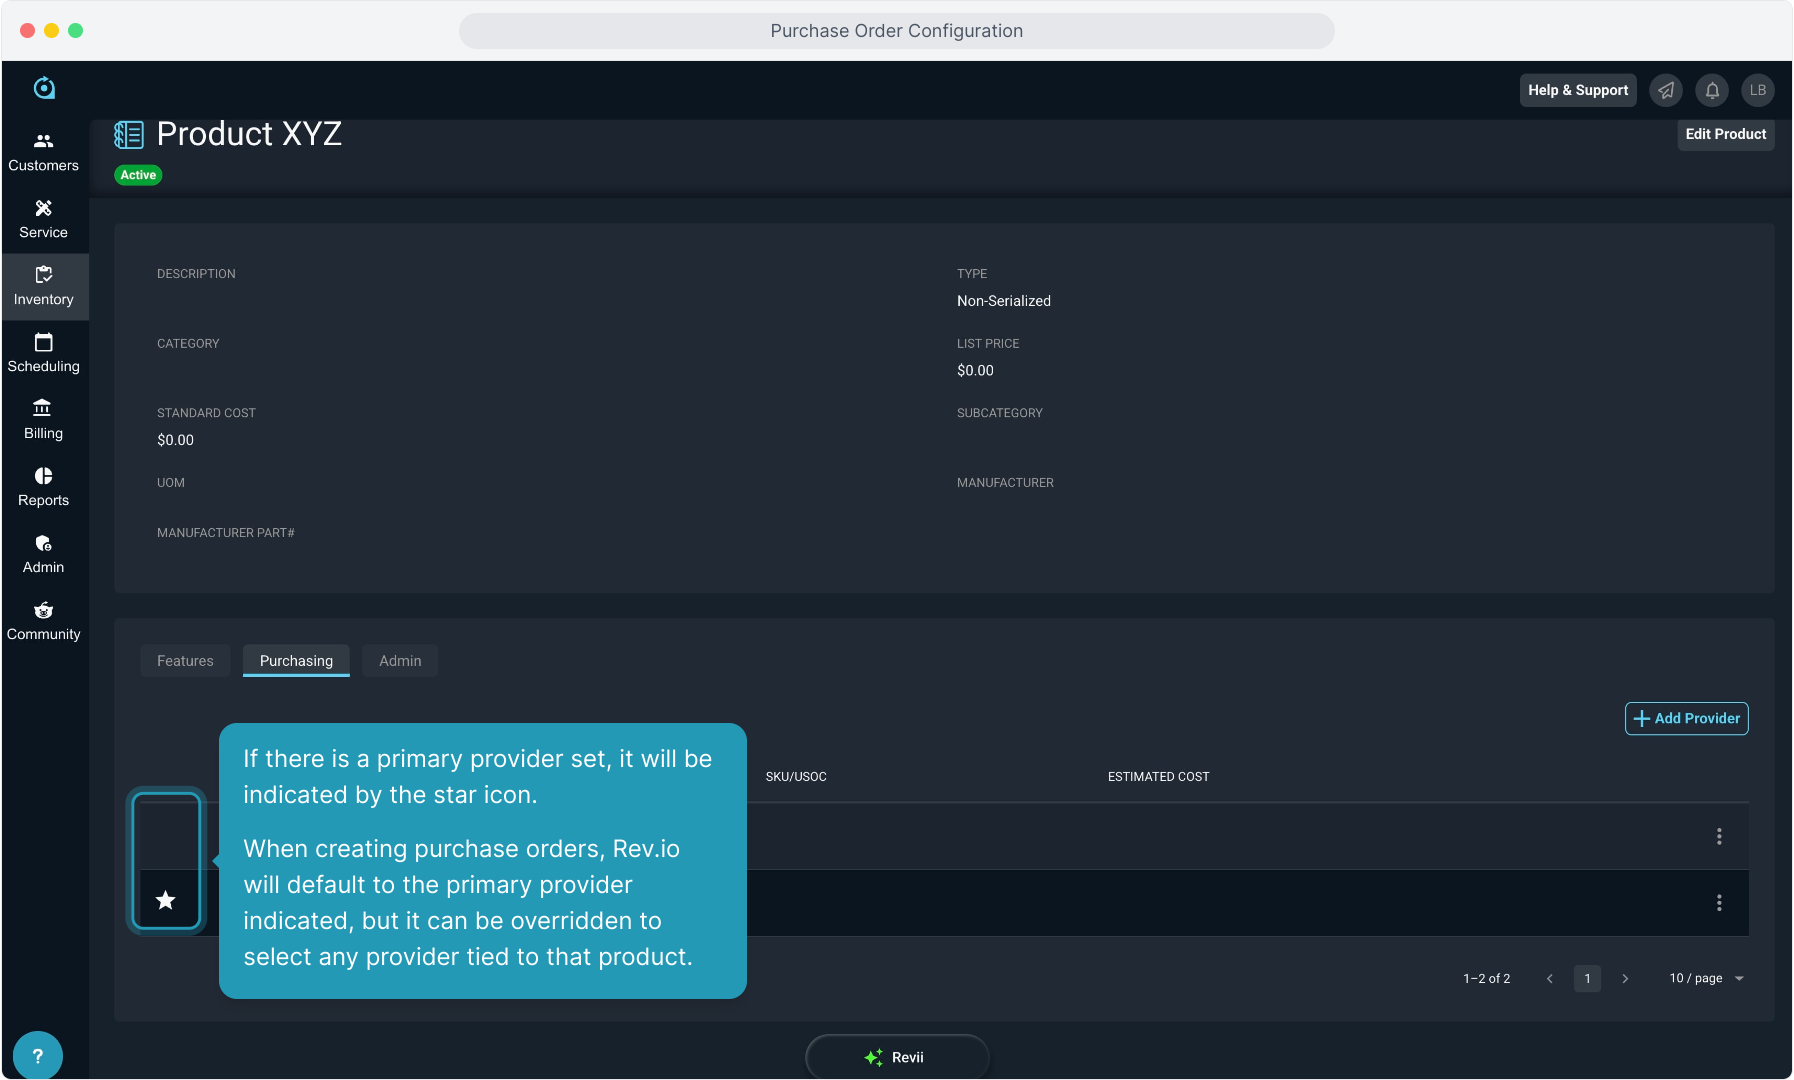
23. If there is a primary provider set, it will be indicated by the star icon.
When creating purchase orders, Rev.io will default to the primary provider indicated, but it can be overridden to select any provider tied to that product.
24. Clicking the 3 dot icon on a provider will allow you to set that provider as the primary provider.