
Sherweb Integration: Configuration
| NOTE: An authorized user account is required to run this integration. To support better security and audit visibility, we recommend creating a dedicated "service account" user. When configuring this integration, sign in using the service account rather than your personal user account to ensure that audit logs reflect the service account running the integration instead of the user who originally installed it. |
Complete the steps below to configure the Sherweb integration.
| NOTE: Before starting the configuration steps below, be sure you have completed the required prerequisite steps. See the Sherweb Integration: Prerequisites article for more information. |
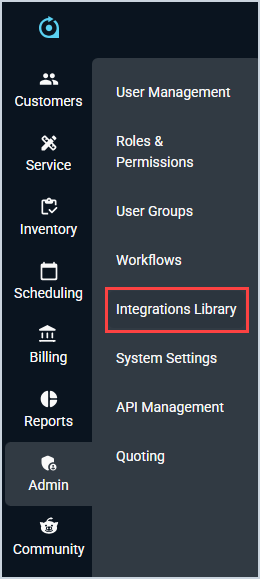
- Click Admin on the sidebar menu and select Integrations Library.
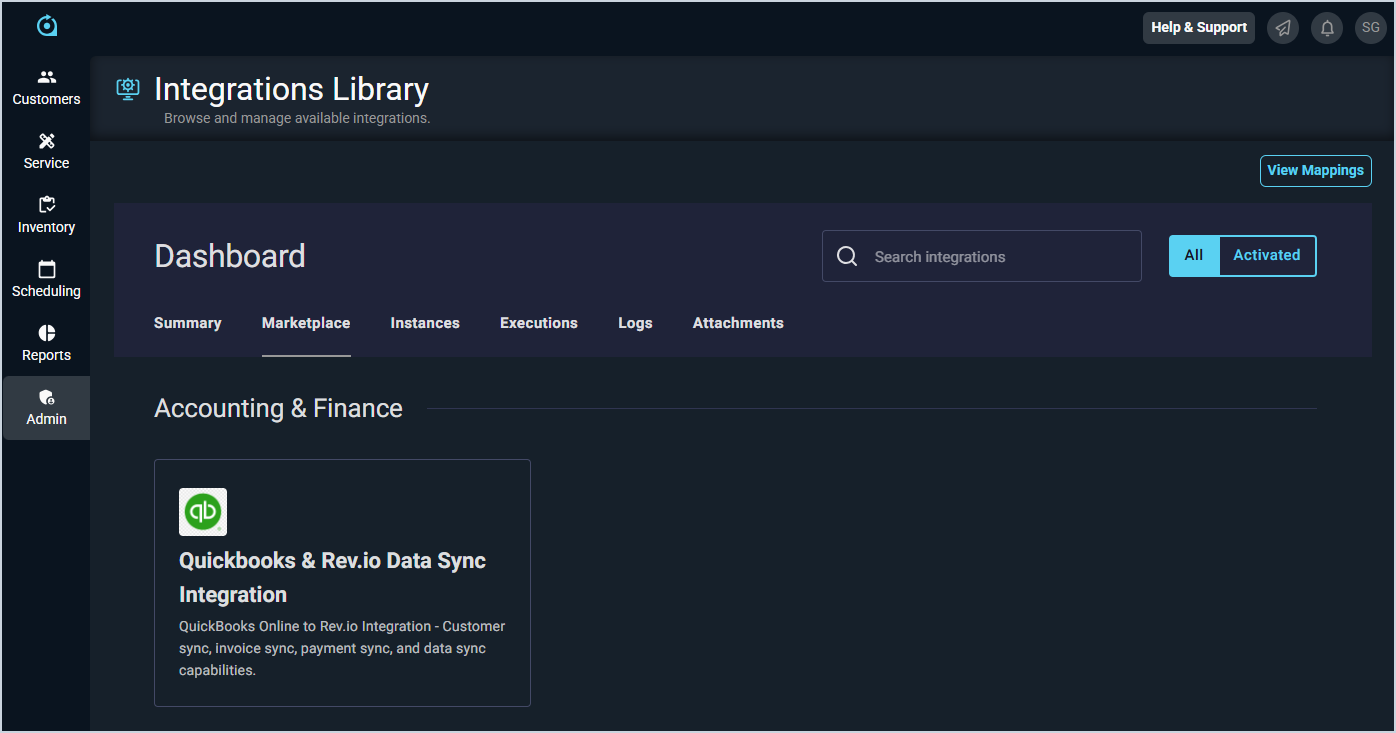
- Click the Marketplace tab.
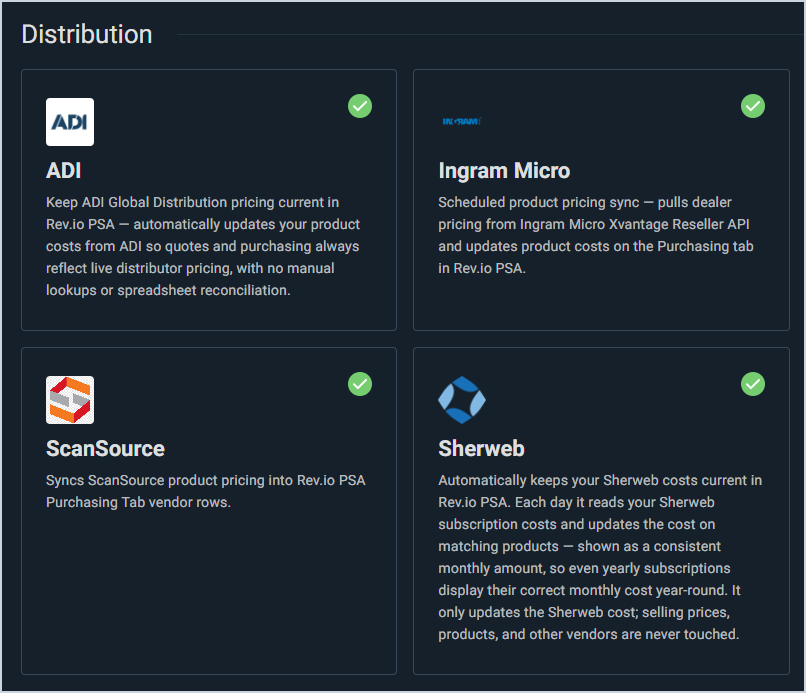
- Locate and select the Sherweb integration in the Distribution section.
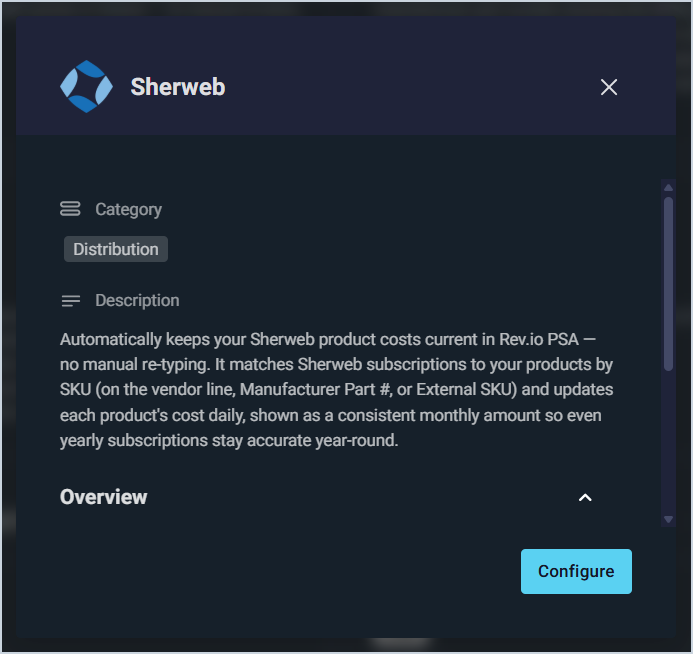
- Click the Configure button.
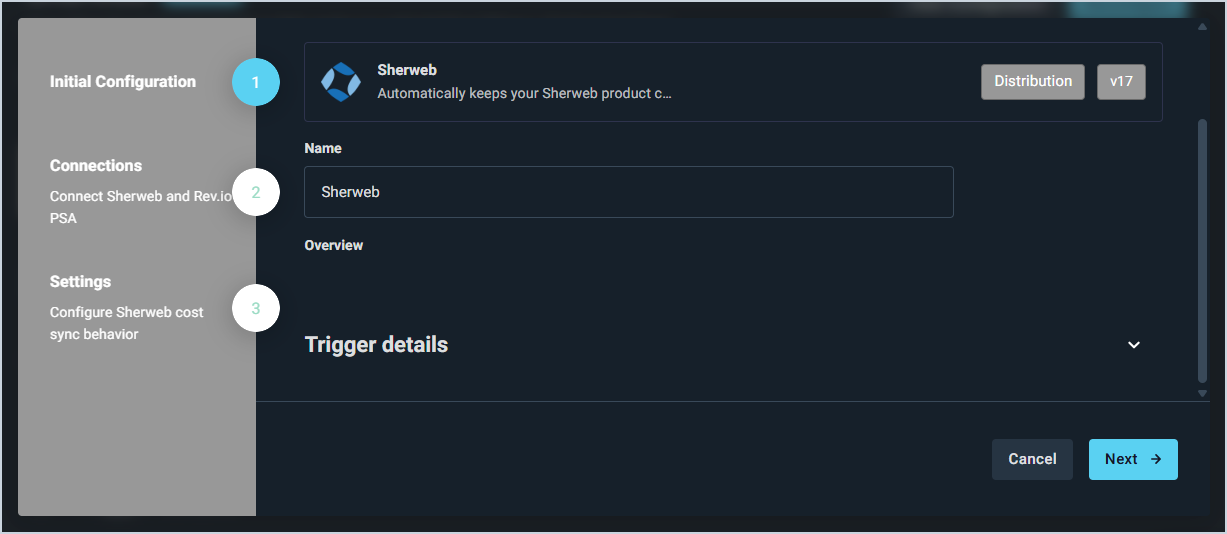
- The Initial Configuration section is automatically populated. Click the Next button.
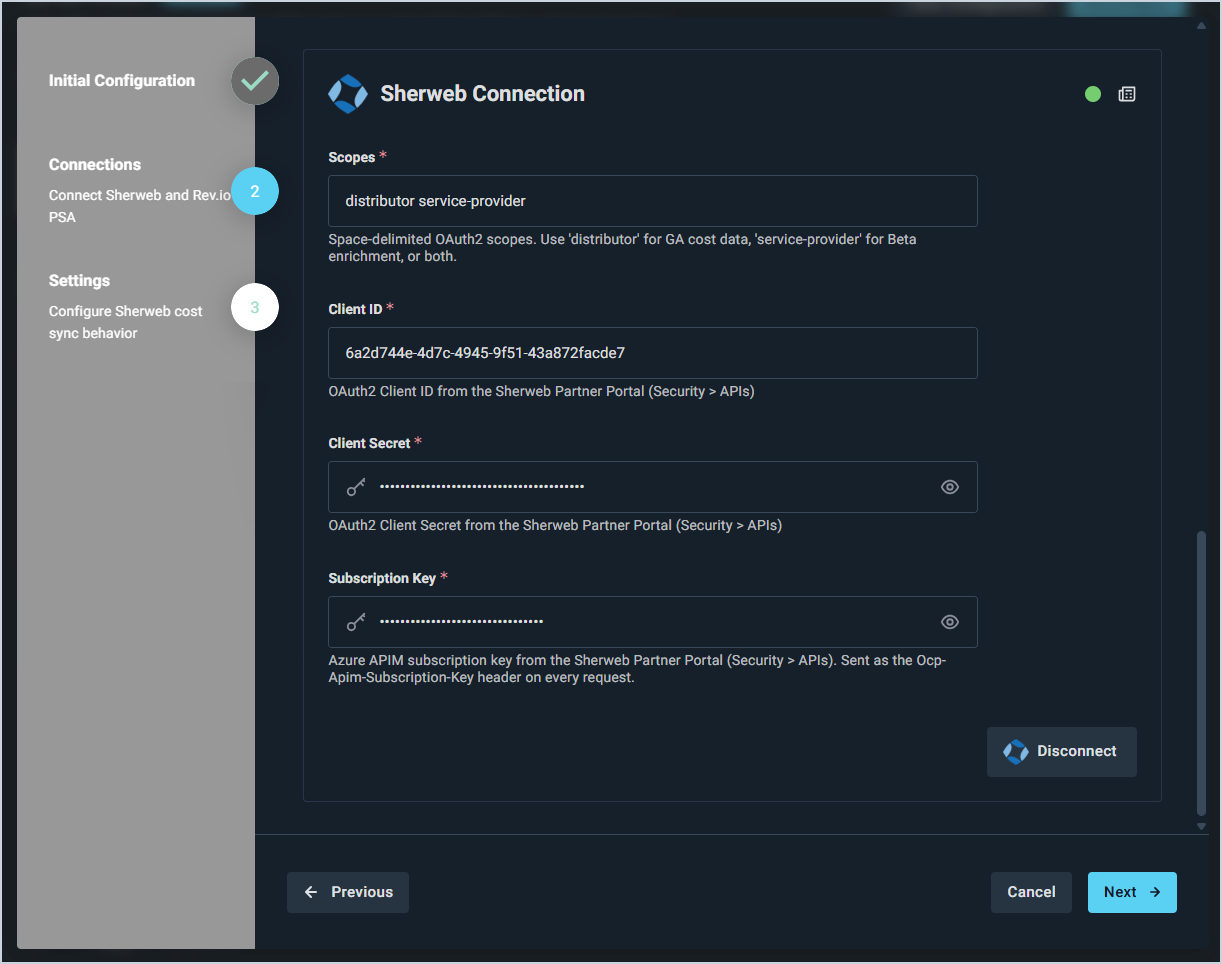
- In the Sherweb Connection section, enter your Scopes, Client ID, Client Secret, and Subscription Key. The Client ID and Client Secret are obtained from Security > APIs in the Sherweb Partner Portal. The Subscription Key is also found there. Click Next.
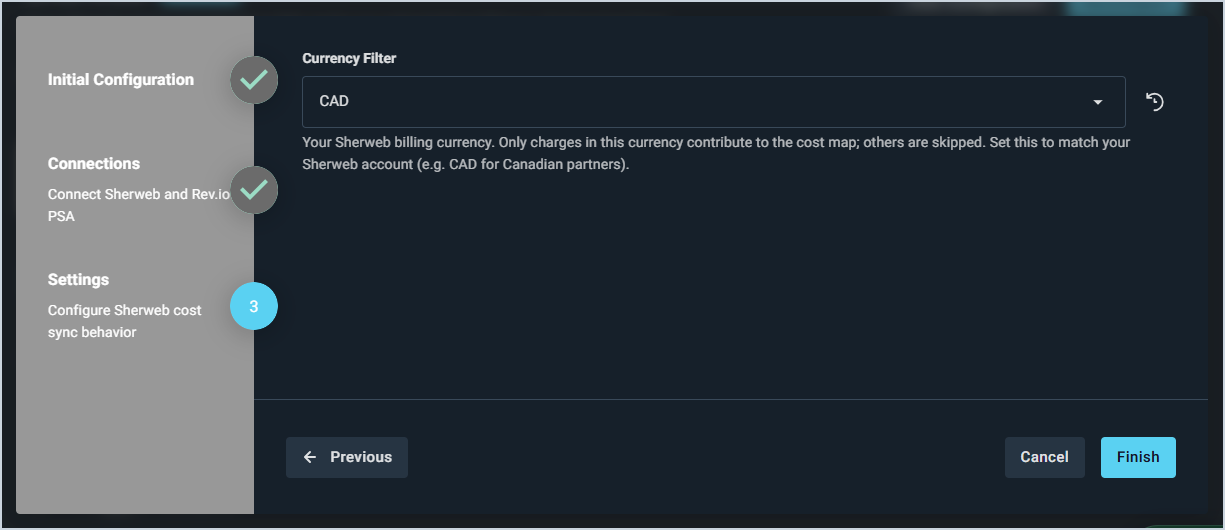
- On the Settings page, select the Currency Filter that matches the currency Sherweb bills you in. Only charges in this currency will contribute to the cost sync. Click Finish.
- Once the integration is connected, it will run its initial cost sync, updating costs on the Purchasing tab for products in your catalog that already have Sherweb listed as a vendor. For products without an existing Sherweb vendor entry, the integration will cross-reference your product catalog by SKU and automatically add Sherweb as a new vendor row when a match is found.
To ensure your products are recognized and updated by the integration, see the Sherweb Integration: Linking Products to Sherweb article for more information.