Pax8 Integration: Configuration
Complete the steps below to configure the Pax8 integration.
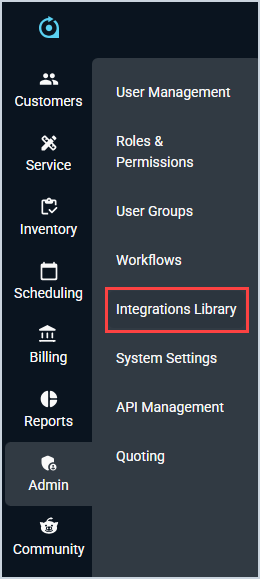
- Click Admin on the sidebar menu and select Integrations Library.
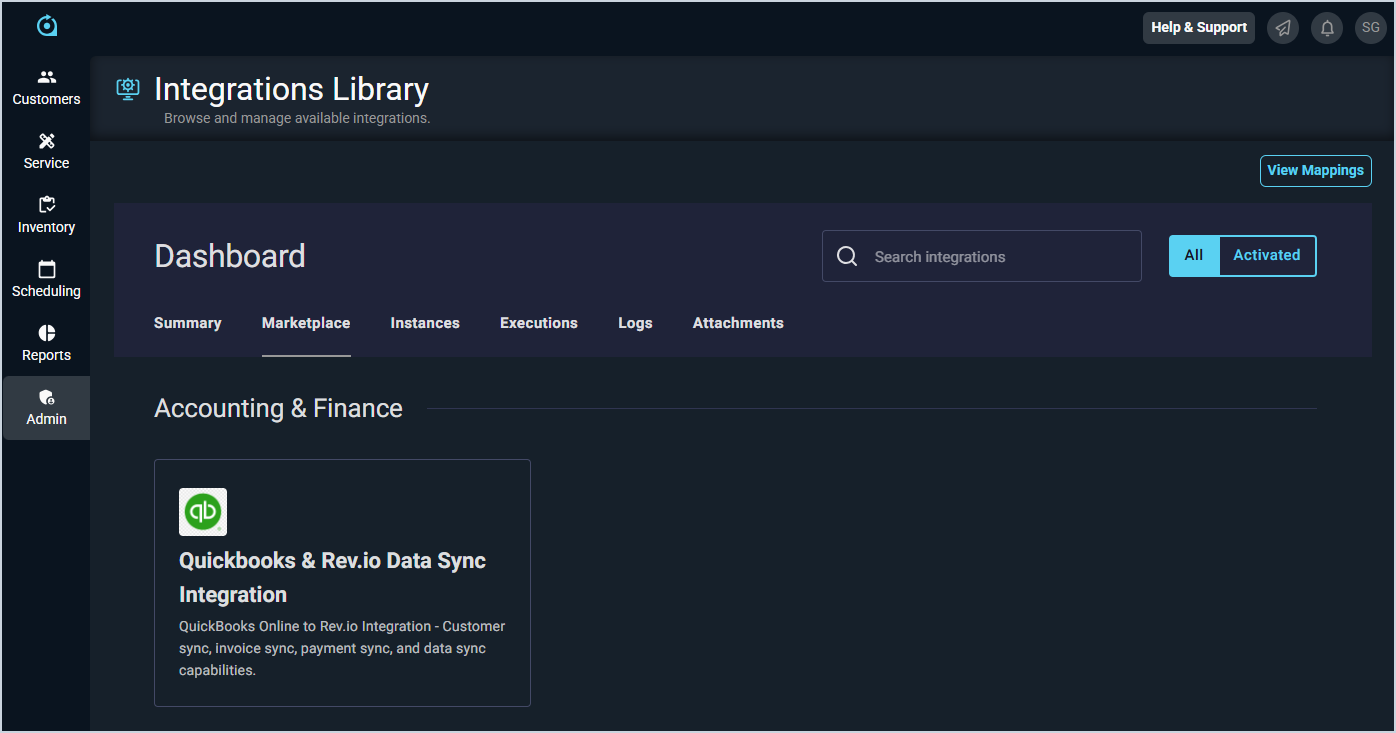
- Click the Marketplace tab.
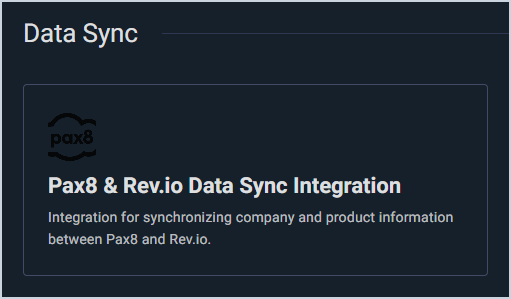
- Locate and select the Pax8 & Rev.io Data Sync Integration in the Data Sync section.
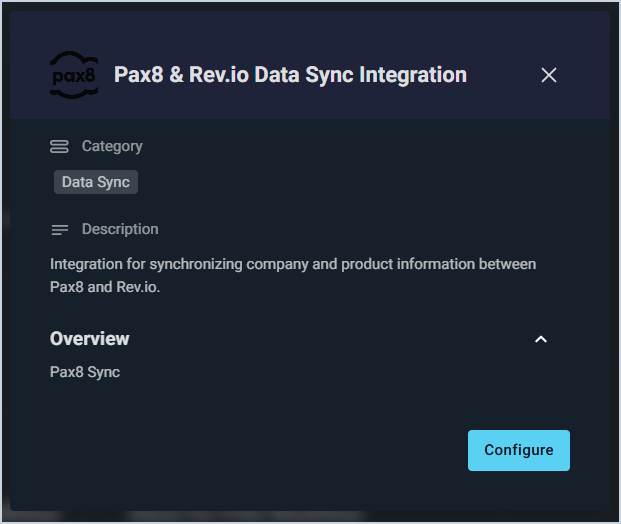
- Click the Configure button.
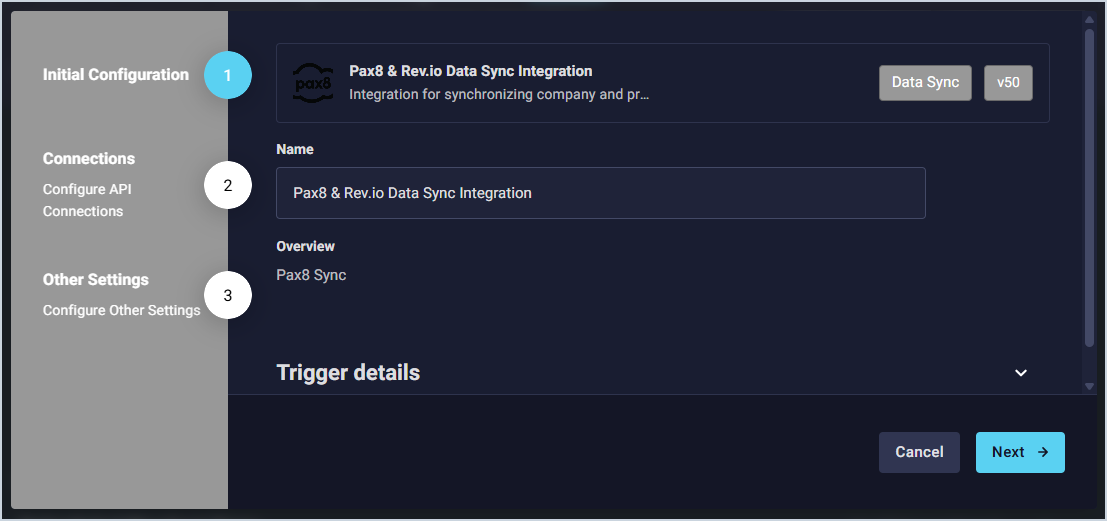
- The Initial Configuration section is automatically populated. Click the Next button.
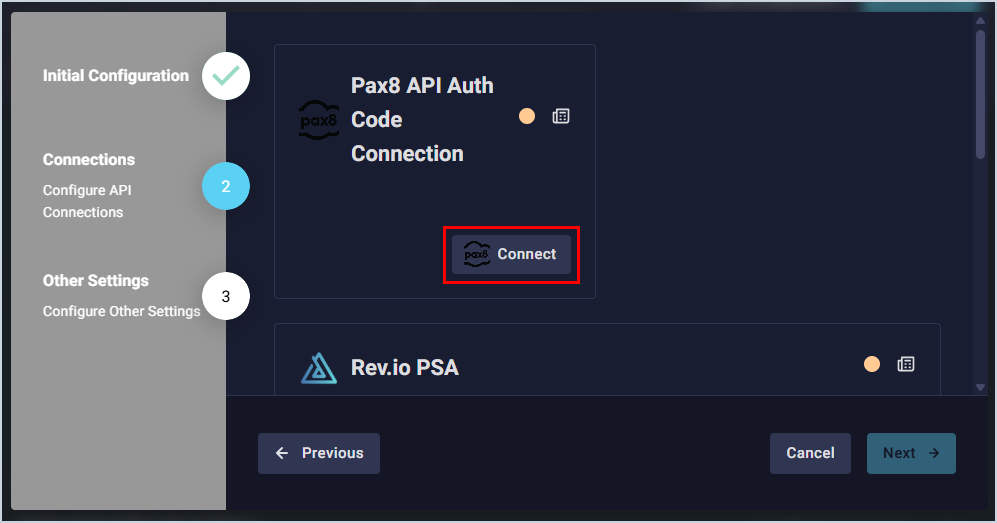
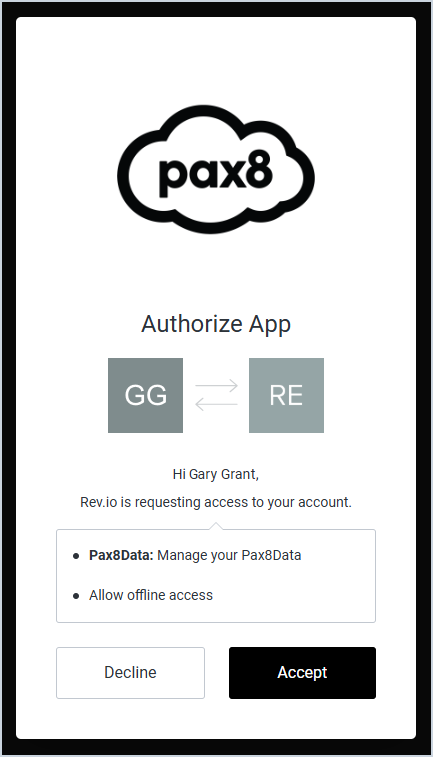
- In the Pax8 API Auth Code Connection section, click the Connect button. You will be redirected to Pax8 to login with your credentials.
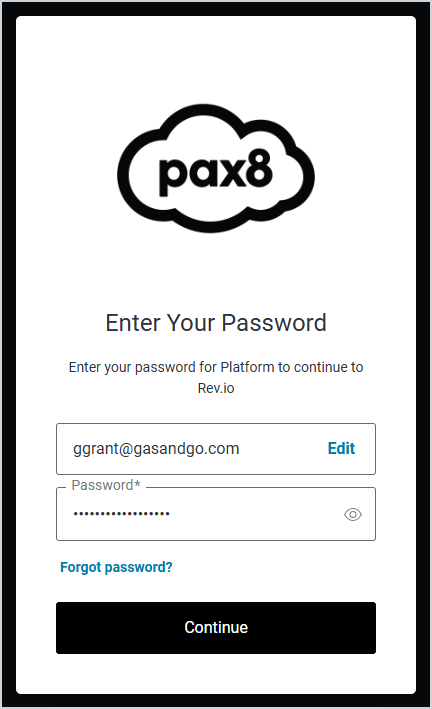
- Enter your Pax8 credentials and click the Continue button.
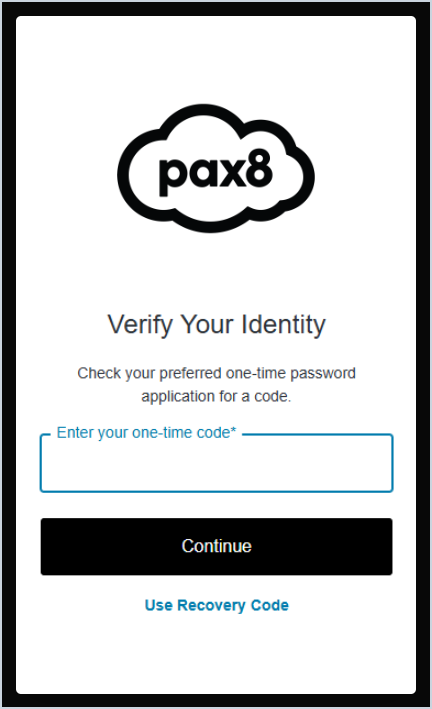
- Complete 2-factor authentication for Pax8 by entering your one-time code and clicking the Continue button.
- Click the Accept button to authorize Rev.io to connect to your Pax8 account.
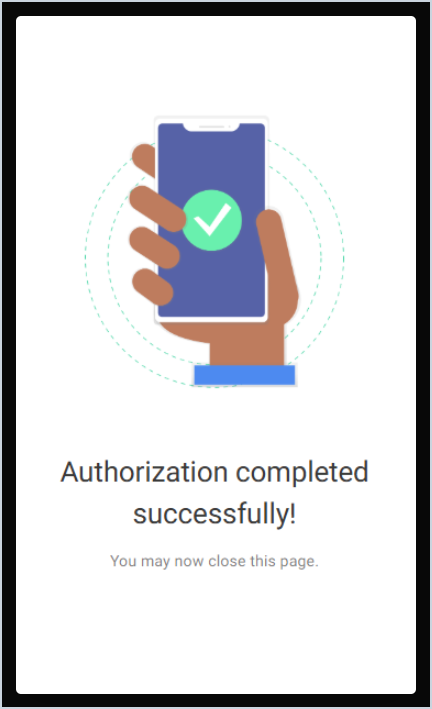
- Once the authorization is successfully completed, close the Pax8 tab in your browser and return to Rev.io PSA.
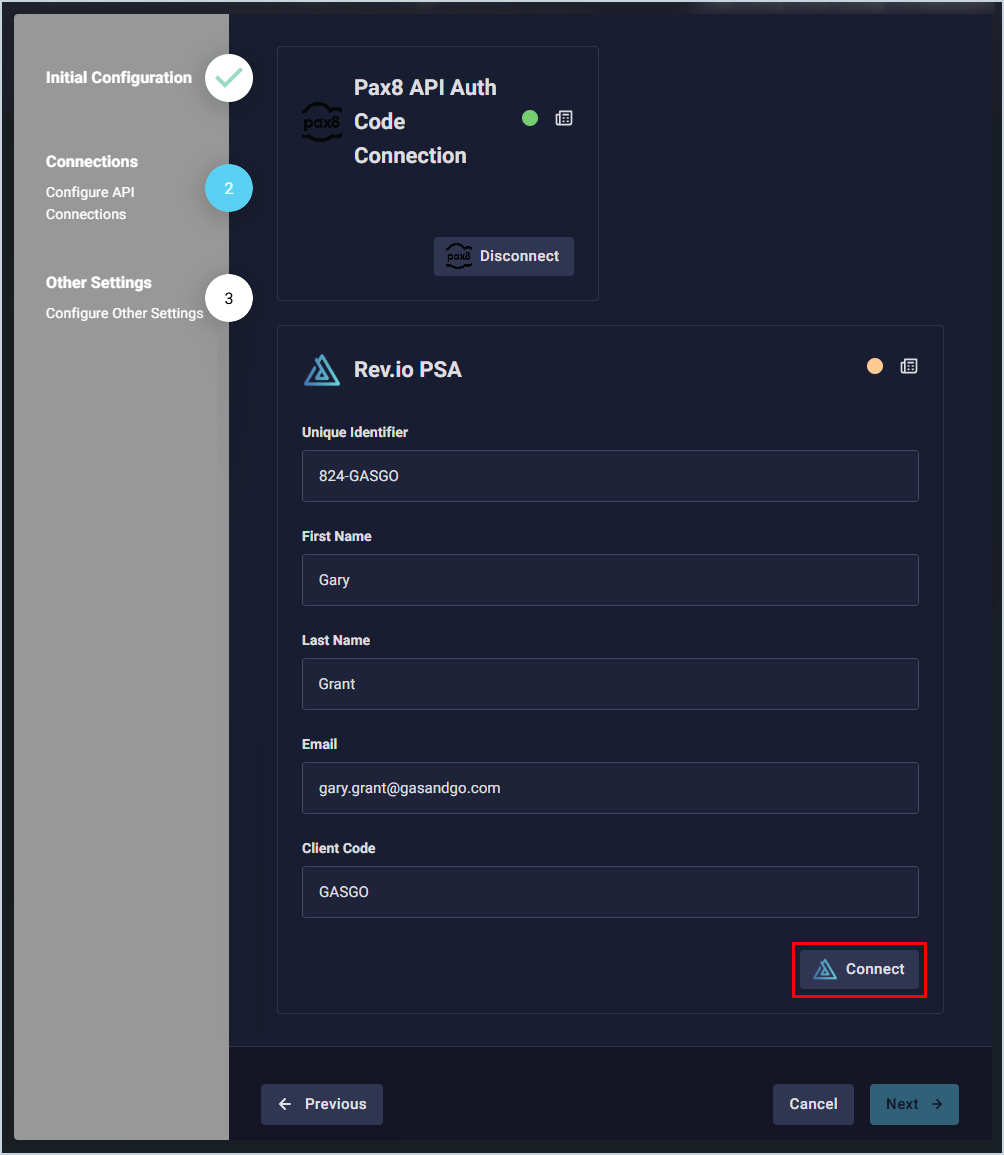
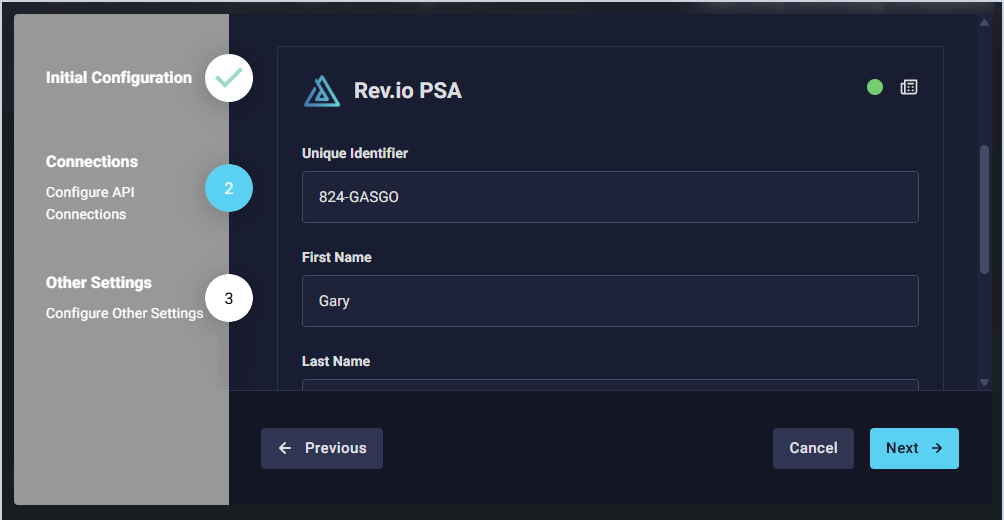
- If your connection was successful, the status circle in the Pax8 API Auth Code Connection section will be green. Scroll down to the Rev.io PSA section, which populates automatically based on your unique user environment, and click the Connect button.
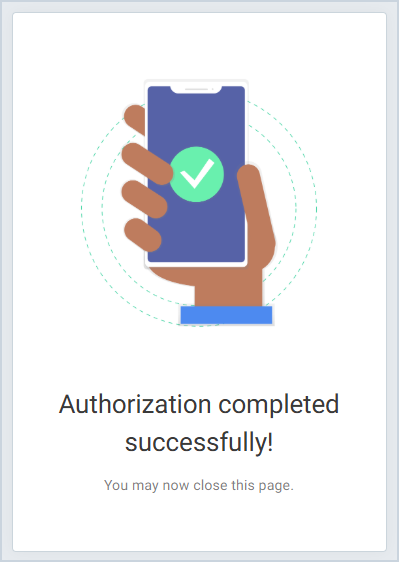
- Once the authorization is successfully completed, close the tab in your browser and return to Rev.io PSA.
- If your connection was successful, the status circle in the Rev.io PSA section will be green. Click the Next button.
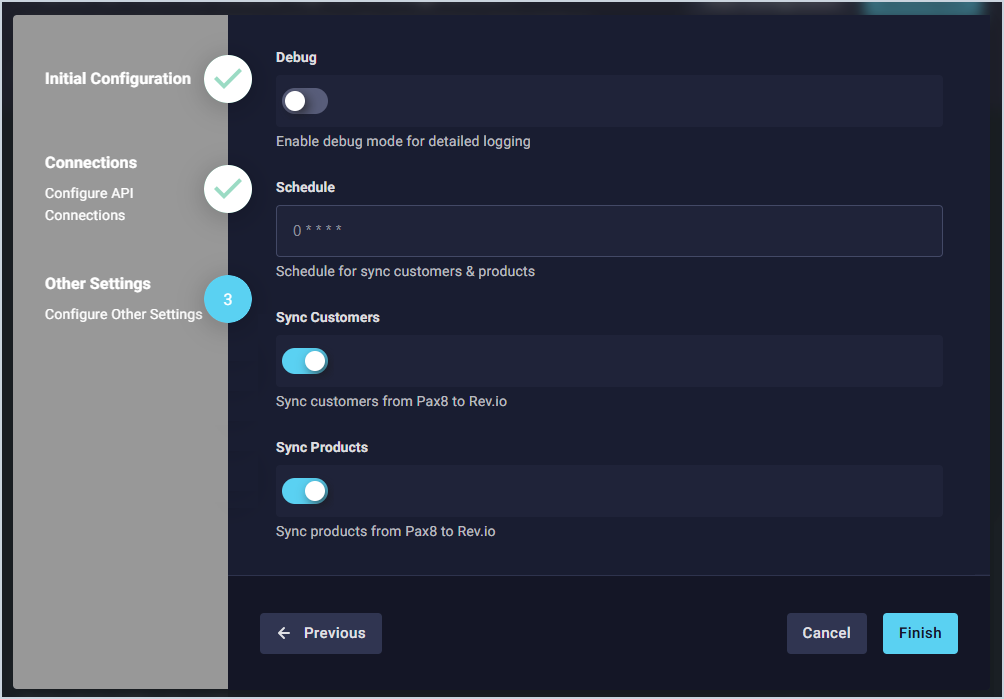
- Configure any additional settings as desired.
- The Debug option enables detailed logging. This option is not required and you can leave it disabled.
- The Schedule option controls the frequency of syncing customers and products. The schedule defaults to 0**** (every hour), but you can adjust the sync schedule to your preference.
- The Sync Customers option controls if the 2-way sync for customers will execute. This option must be set for customers to sync.
- The Sync Products option controls if the 1-way sync for products from Pax8 to Rev.io will execute. This option must be set for products to sync.
- Click the Finish button.
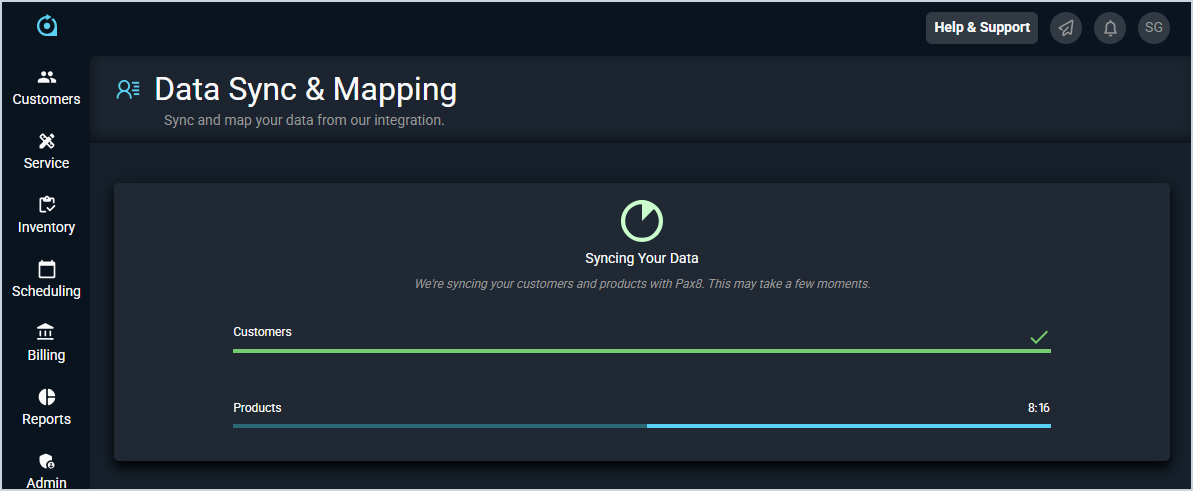
- The integration will sync your customers and products. Do not leave this page while the sync is running. If you need to work on something in the system while the integration syncs, open Rev.io PSA in another tab.
- Once the sync finishes processing, review the automatic mappings made by the system on both the Customers and Products tabs. Be sure to review each item carefully to avoid any incorrect mappings. To remove a mapping, simply click the Reject Mapping button on the card with the incorrect match. When you are finished reviewing the auto mappings, click the Confirm All & Continue button.
- Click the Yes, Continue button to confirm that you've reviewed all the auto mappings. If you still need to review some of the mappings, click the Cancel button.
- For the remaining customers that did not map automatically, you will need to manually create mappings. To do so, choose a customer and click the Create Mapping button.
- Locate the correct customer in Pax8 using the search bar and click the Map button.
- Click the Confirm button to confirm the mapping.
- If you have any existing Pax8 products in your product catalog, click the Products tab to manually map any matching items following the same process as mapping customers.
- Once you've successfully mapped all records that need to be mapped, click the Complete Manual Mapping button.
- The system displays a list of all remaining customers and products that have not yet been mapped.
- For each remaining customer on the Customers tab, click the Create Customer button to create a new record in PSA to map with the Pax8 customer. See the Add/Edit Customers article for more information on creating customers.
- Similarly, for each remaining product on the Products tab, click the Create Product button to create a new record in PSA to map with the Pax8 product. See the Add/Edit Products article for more information on creating products.
- Click the Complete Pax8 Mapping button to finalize your customer and product mappings. Then, click the Yes, Continue button to confirm that you want to import only the records that you've mapped. If you still need to create additional mappings, click the Cancel button.
- Review all of the mappings you've entered for both customer and product records. If you need to return to a previous step, simply click the step on the progress tracker above the mappings. When you've finalized all of the mappings, click the Confirm All & Finalize button.
- The system displays a summary of the products and customers that have been successfully mapped between Pax8 and Rev.io PSA. To return to the Integrations Library home screen, click the Back to Home button. To see your mappings, click the View Mappings button.
NOTE: You can update your mappings at any time by clicking the View Mappings button at the top of the Integrations Library screen.