
Custom Fields Manager: Layouts Tab
The Layouts tab allows you to control where custom fields appear within the system. From this tab, you can select a specific location, choose which custom fields should be displayed there, and arrange them by dragging and dropping the fields into the desired order.
To organize the layout of your custom fields, select the area where you want to place the fields. Currently, there is only one option available for each of the available modules.

If you haven't previously added any custom fields to the area, a message displays stating there are No Fields Selected. Simply click the Add/Remove Fields button to select from your list of custom fields created on the Custom Field Builder tab. See the Custom Fields Manager: Custom Field Builder Tab article for more information.

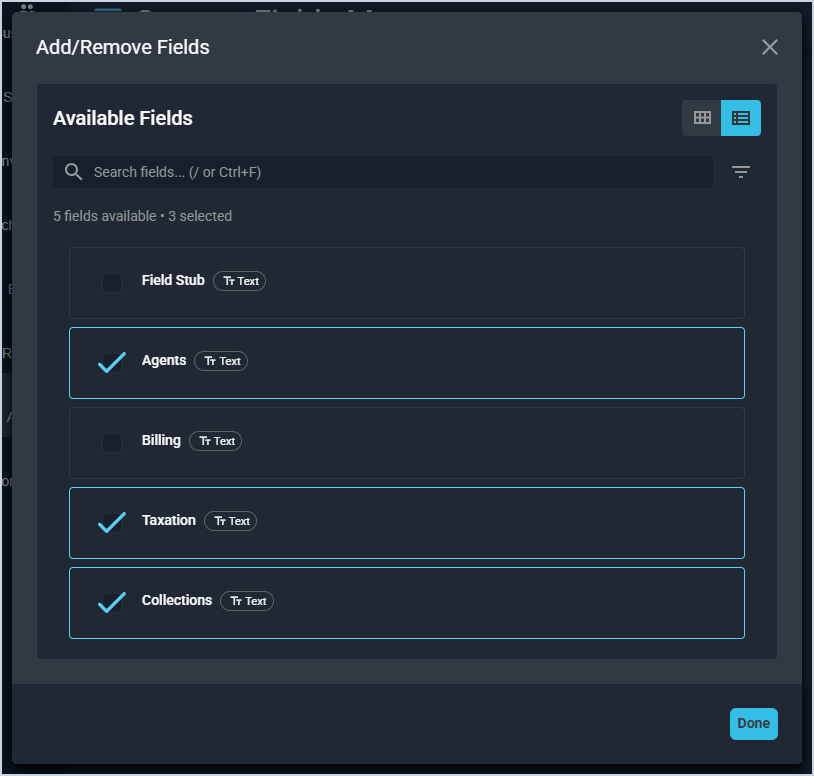
Select all of the custom fields you'd like to display in the selected area and click the Done button.
Drag and drop the selected fields into the desired order. You can also click the info icon to view details for the custom field or click the edit icon to adjust the custom field's Display Name. When you've finished reordering or editing the custom field layout, click the Save Layout button.
