How To Guide: Transferring Tickets
1. Introduction
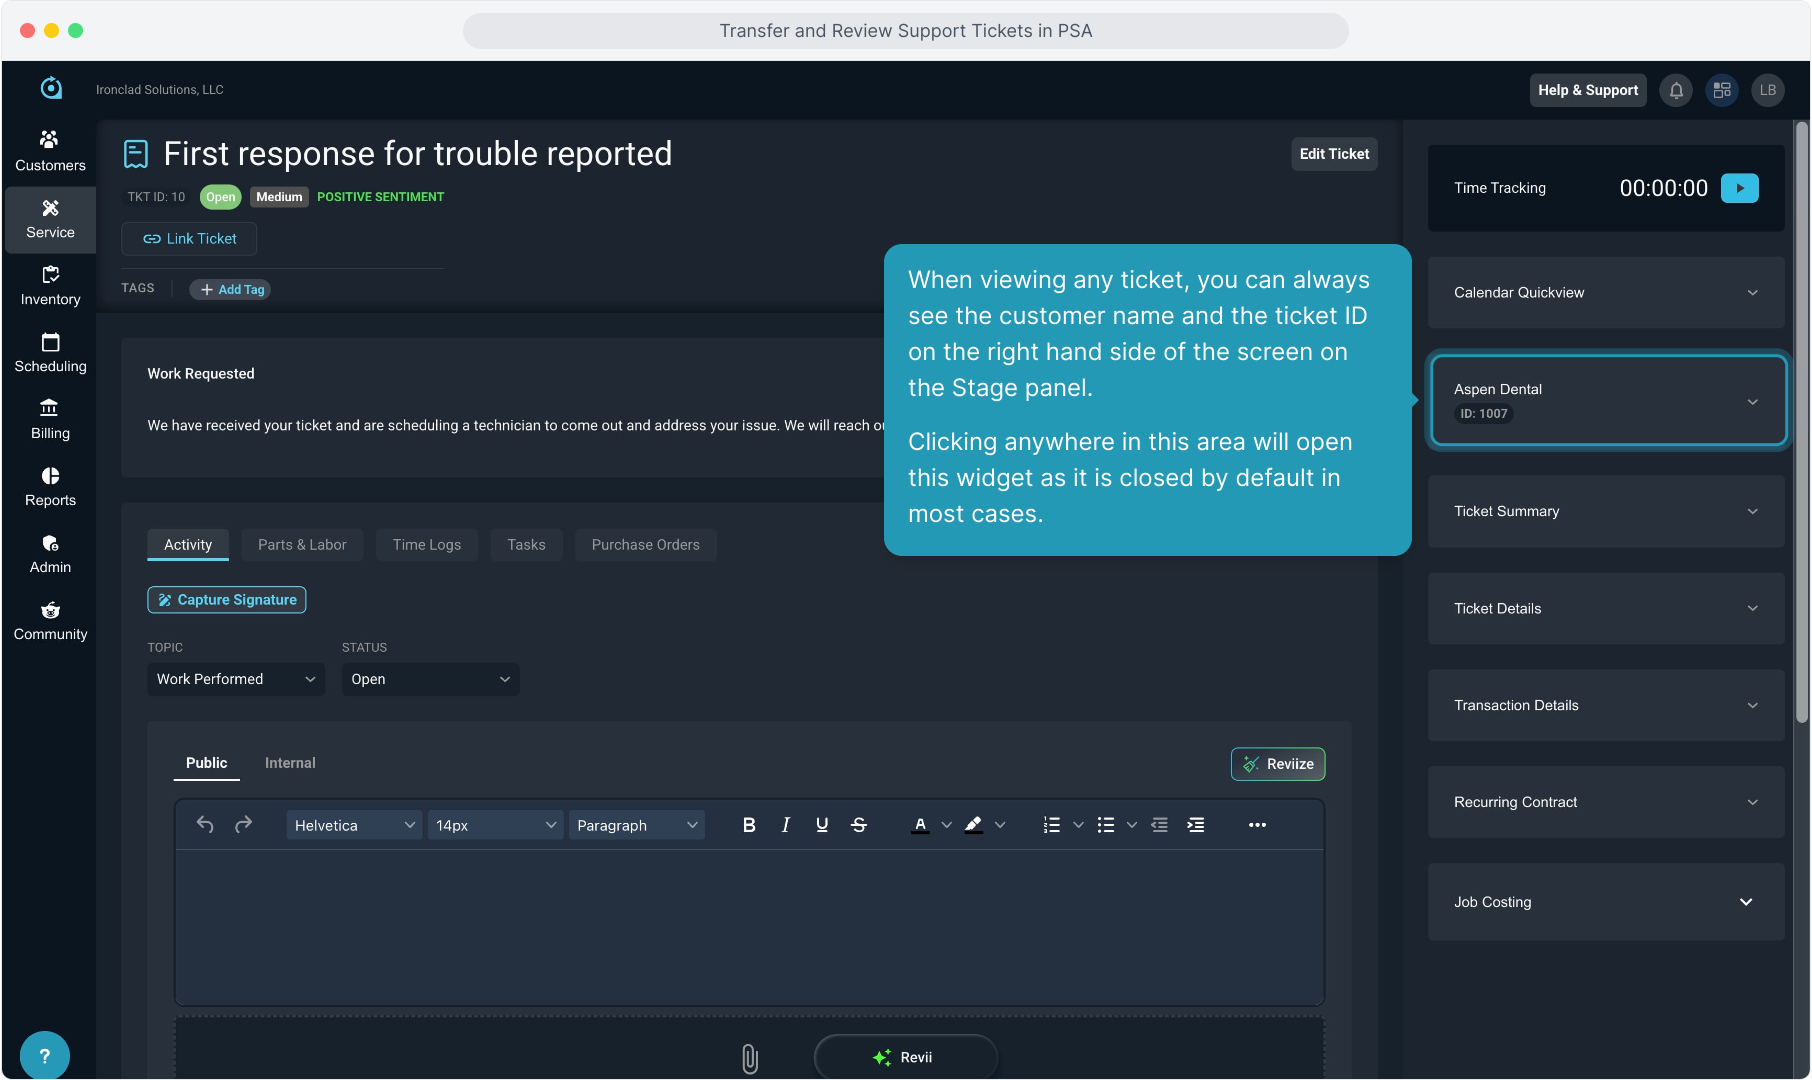
2. When viewing any ticket, you can always see the customer name and the ticket ID on the right hand side of the screen on the Stage panel.
Clicking anywhere in this area will open this widget as it is closed by default in most cases.
3. Once the widget is open, you can view more basic information about the customer account.
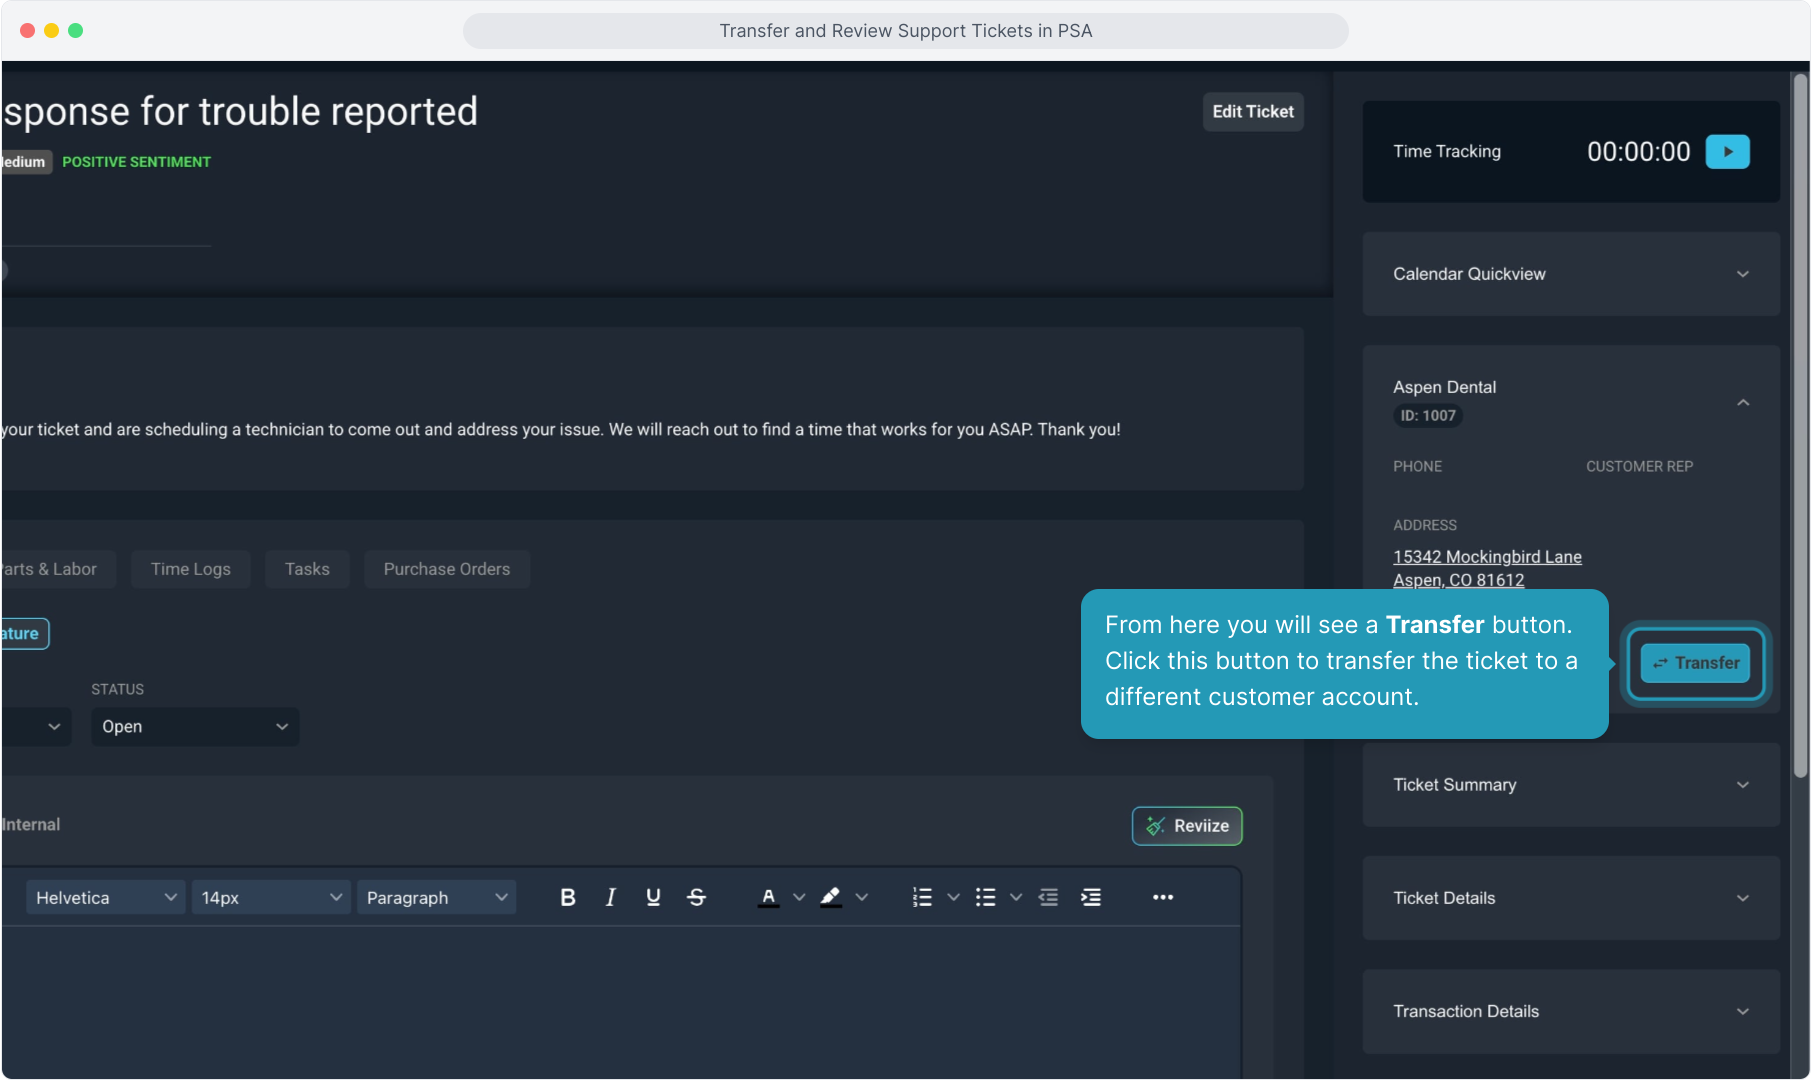
For this ticket, we see it is associated with the Aspen Dental account.
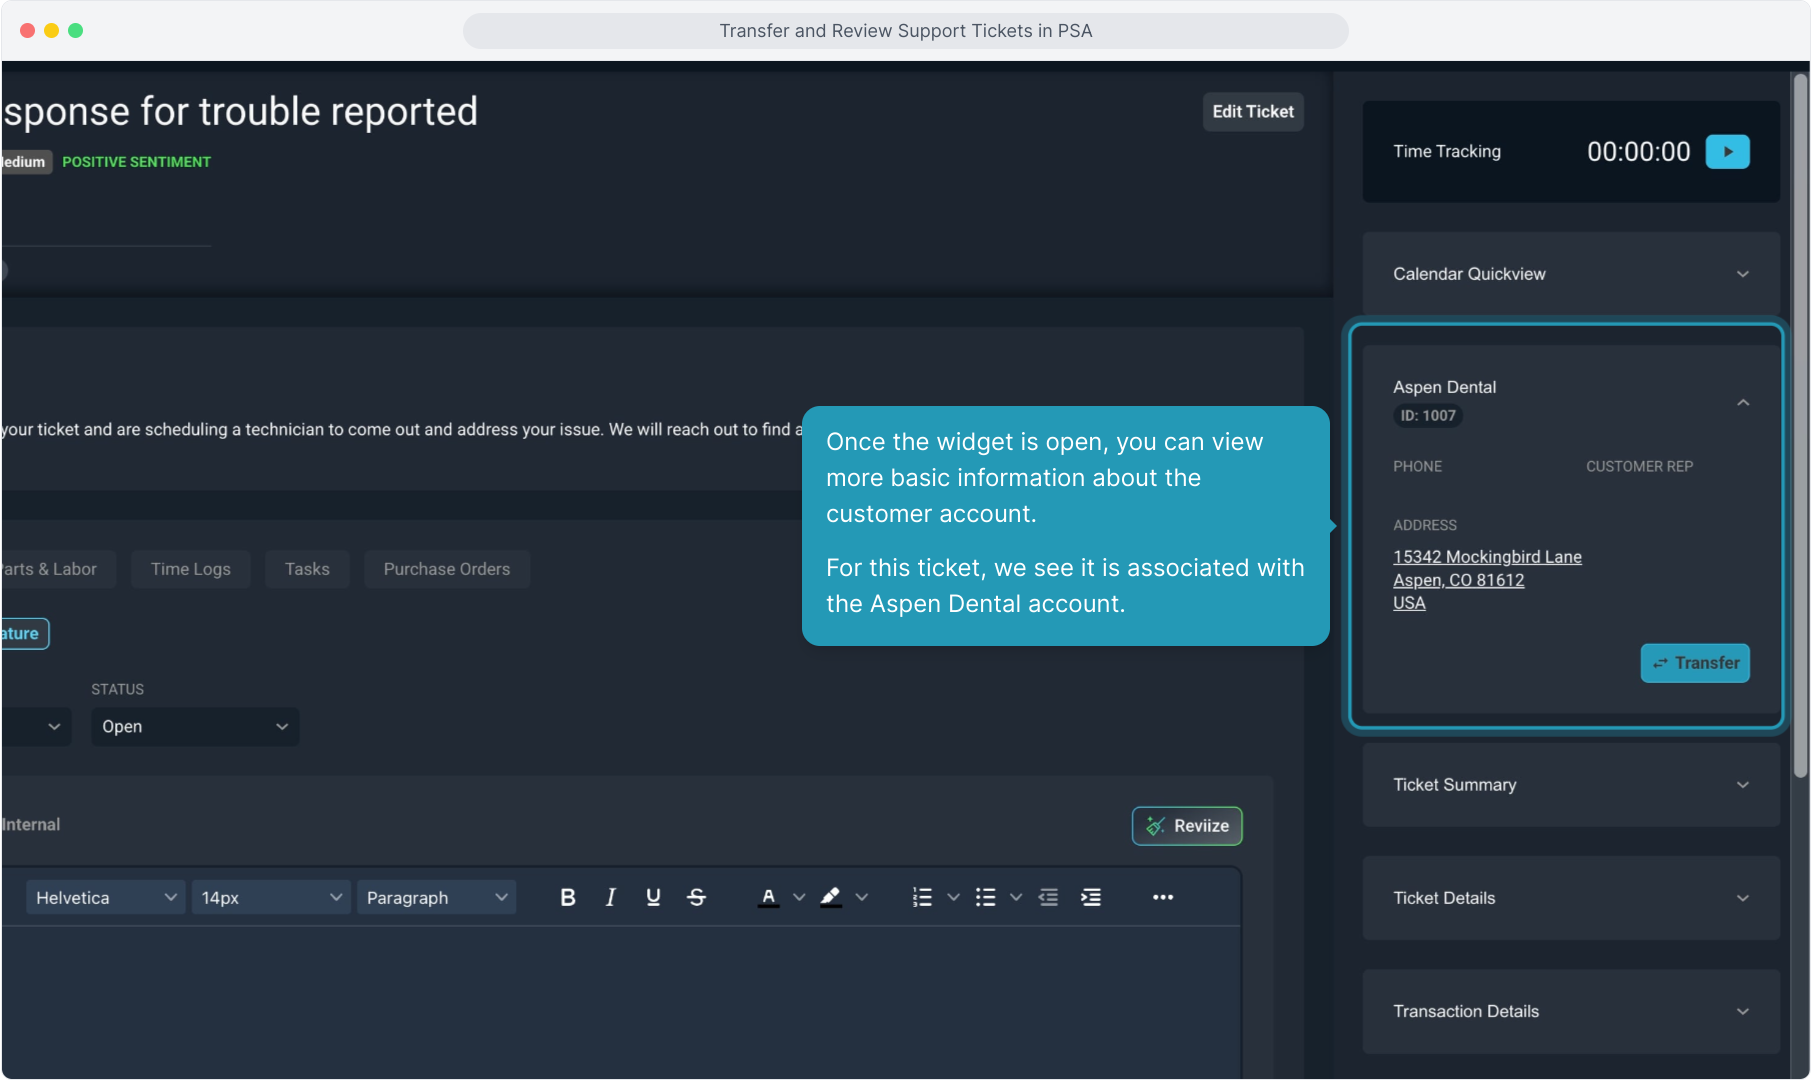
4. From here you will see a Transfer button. Click this button to transfer the ticket to a different customer account.
5. From the pop up that displays, start typing the name of the customer or the customer ID of the account you want to transfer the ticket to.
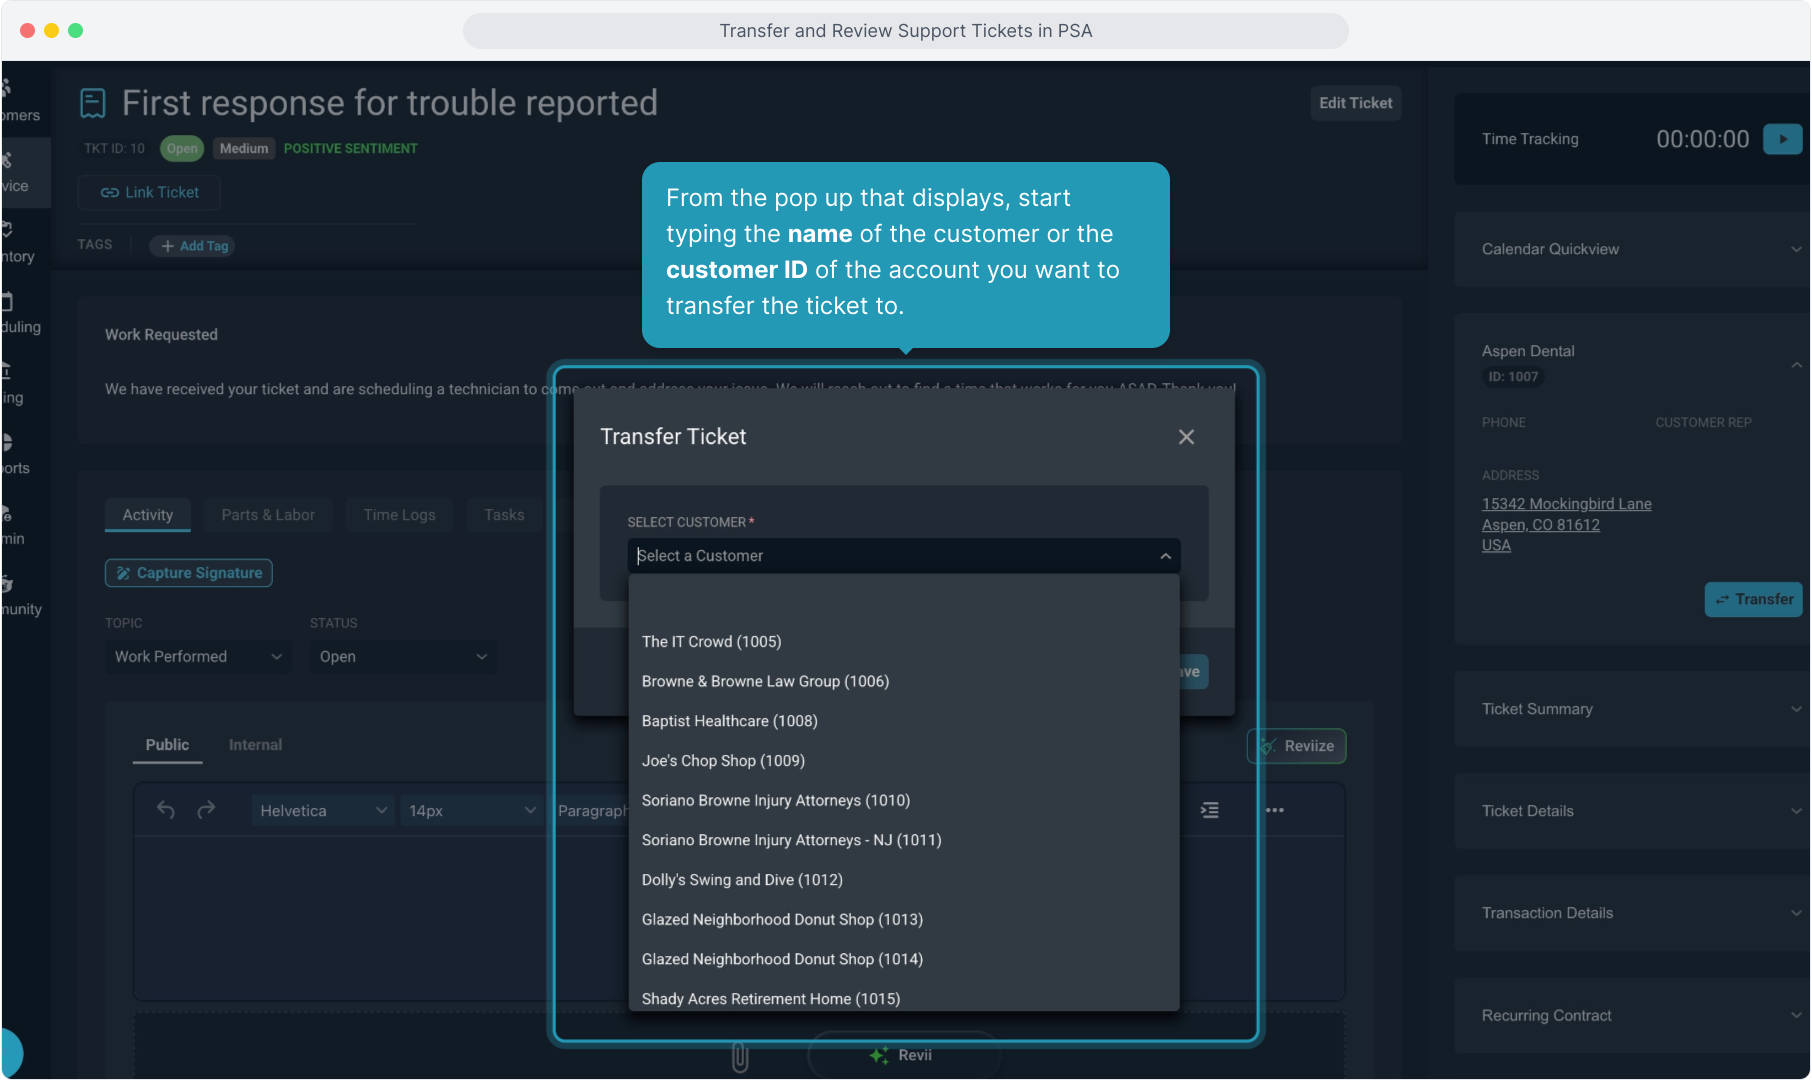
6. Select the customer account when it appears and then click Save to transfer the ticket.

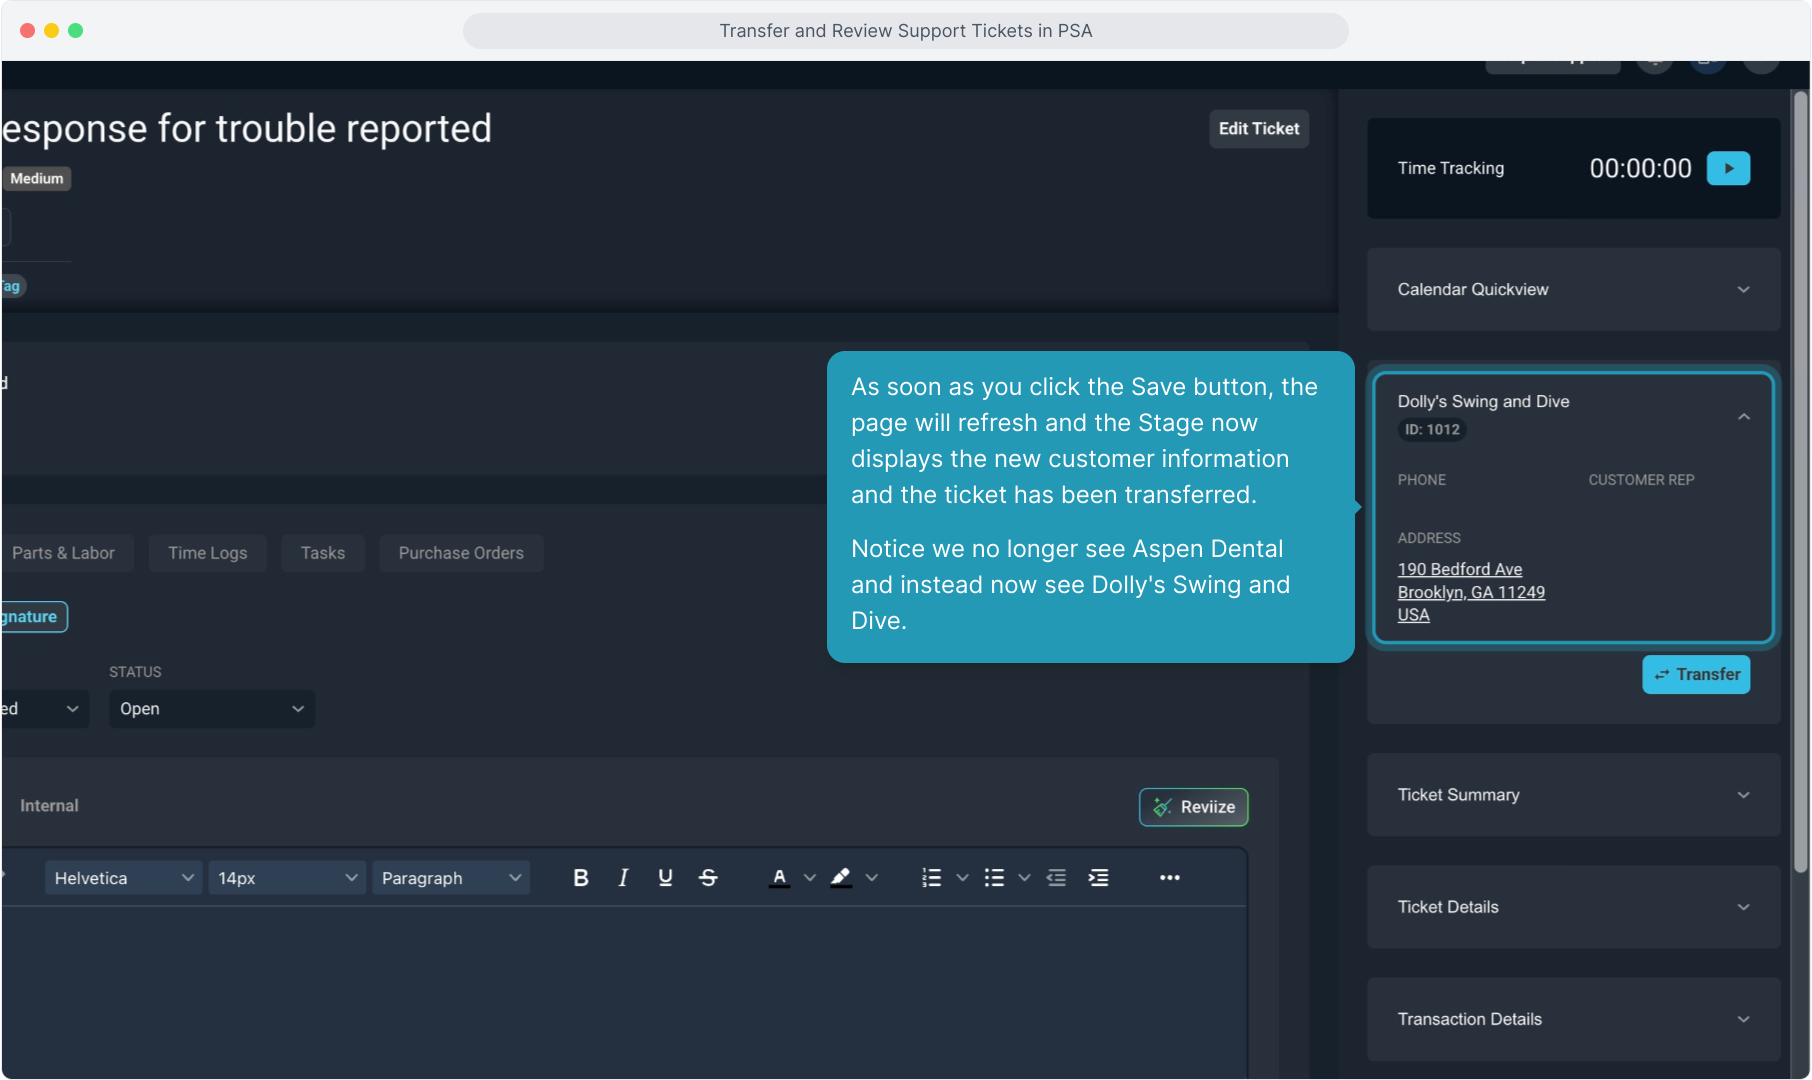
7. As soon as you click the Save button, the page will refresh and the Stage now displays the new customer information and the ticket has been transferred.
Notice we no longer see Aspen Dental and instead now see Dolly's Swing and Dive.
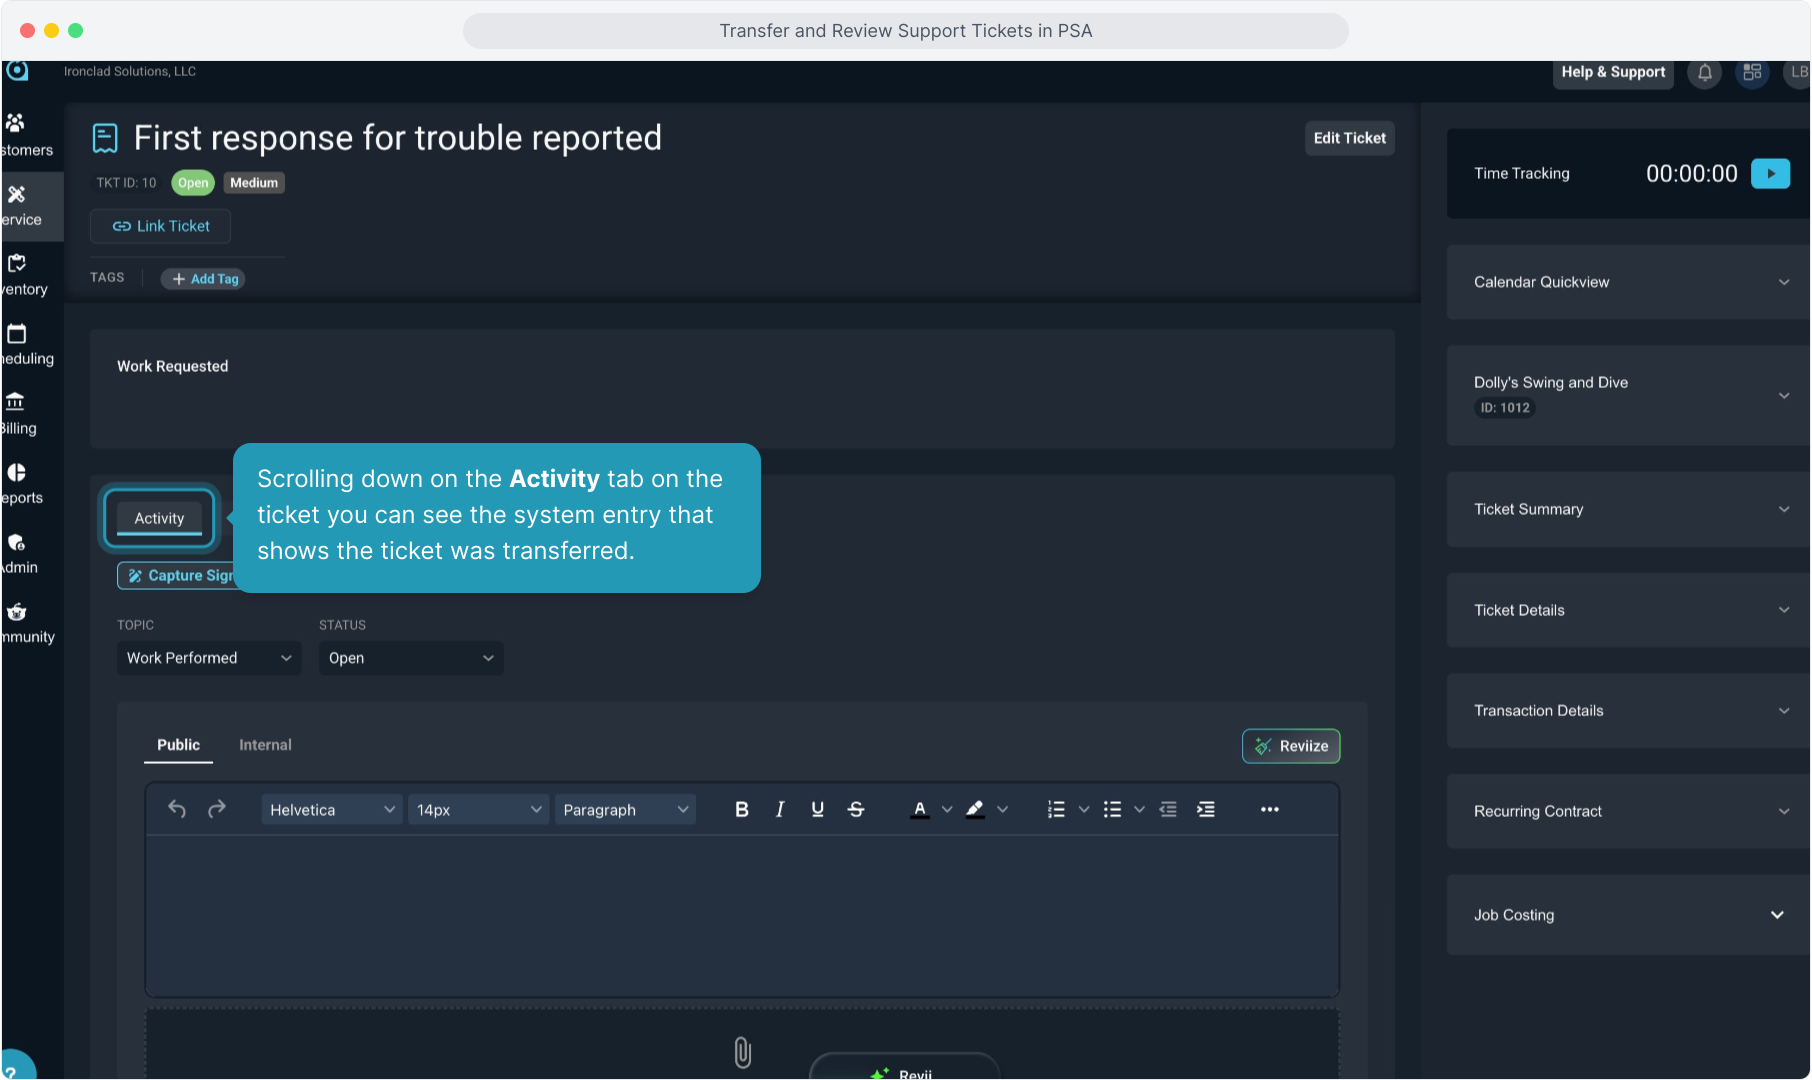
8. Scrolling down on the Activity tab on the ticket you can see the system entry that shows the ticket was transferred.
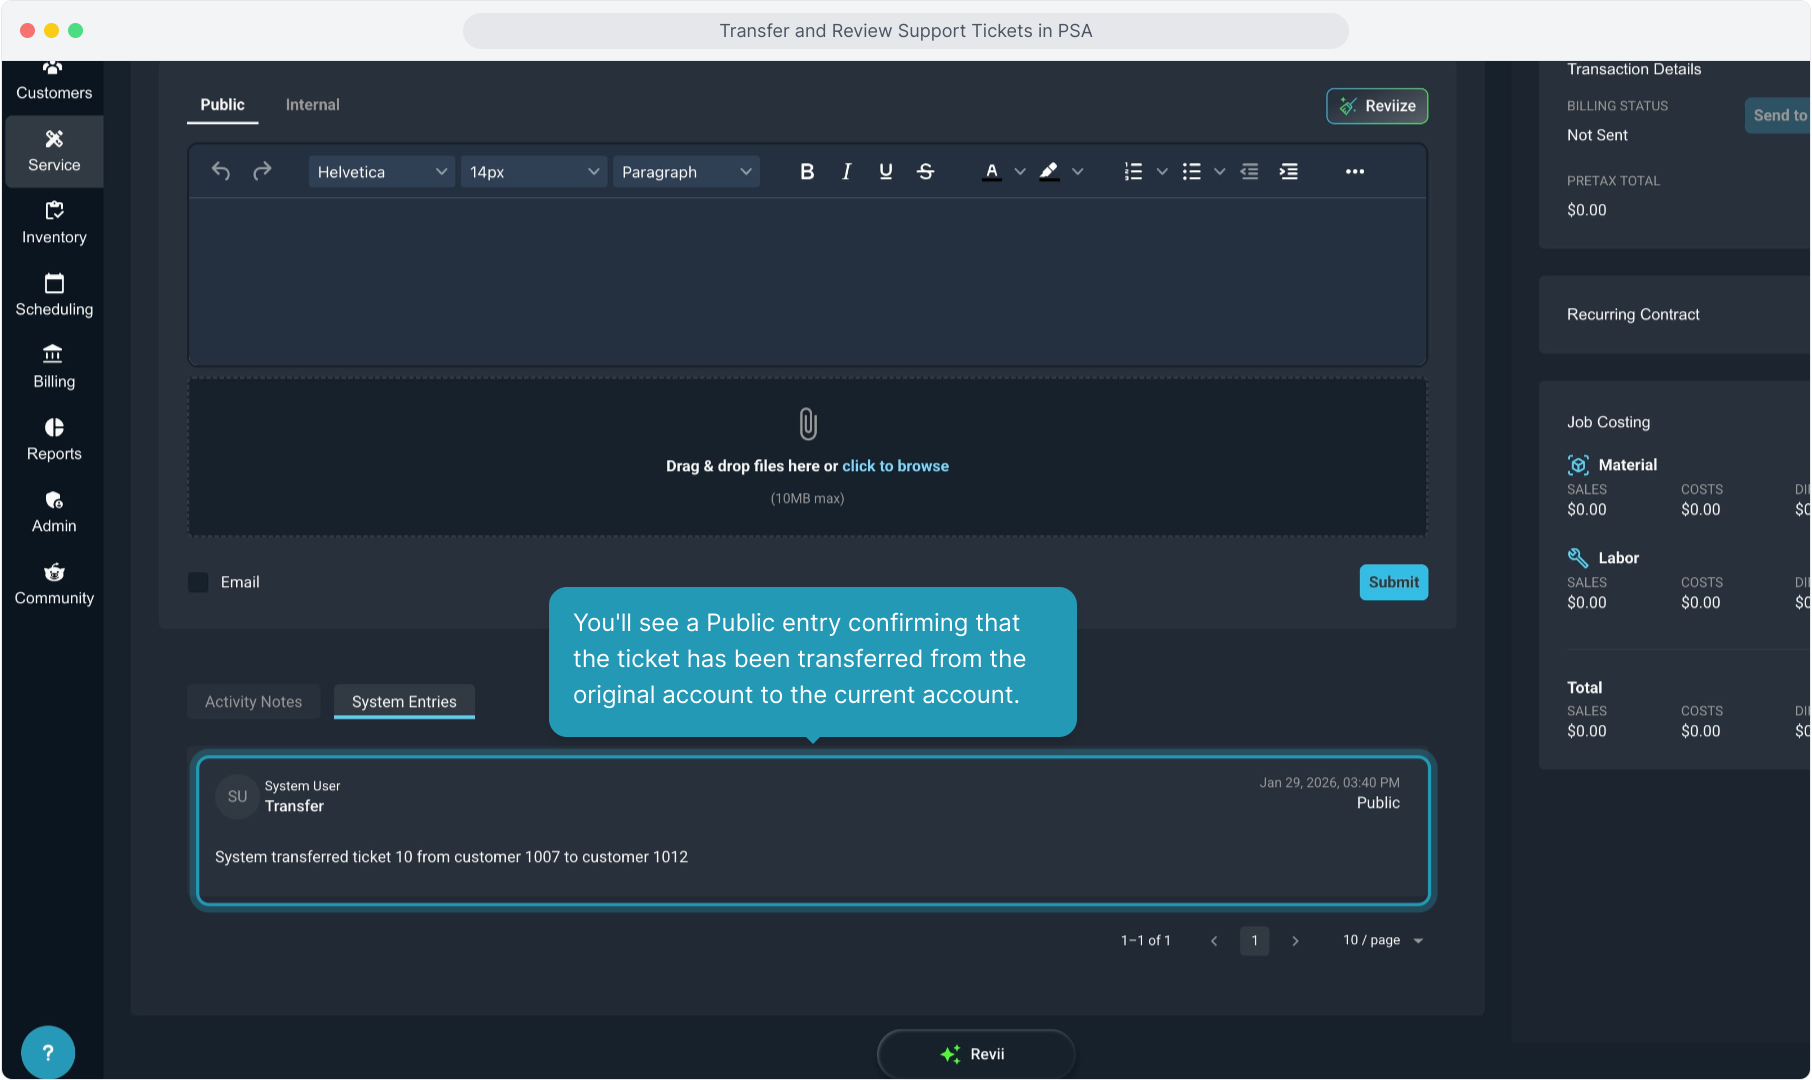
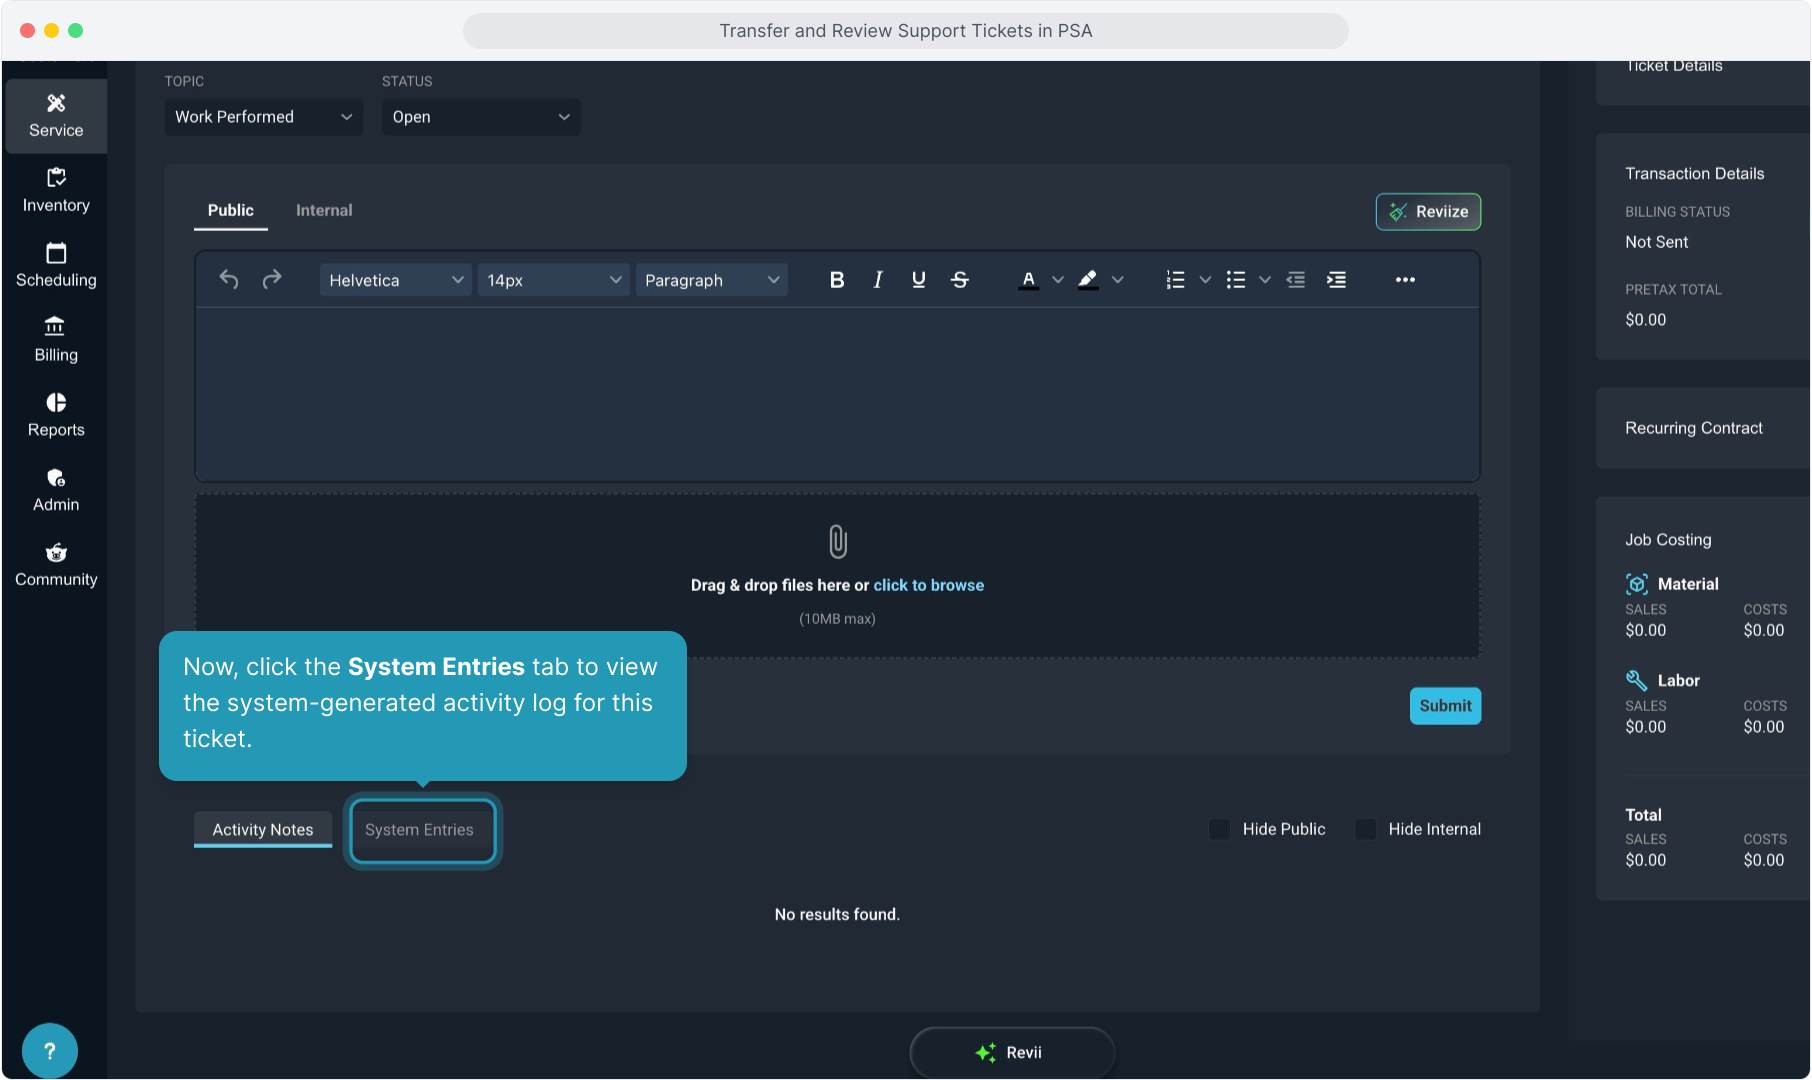
9. Now, click the System Entries tab to view the system-generated activity log for this ticket.
10. You'll see a Public entry confirming that the ticket has been transferred from the original account to the current account.