
Managing Proposal Templates
A proposal template is a reusable starting point that defines the layout, structure, and standard content of a proposal, such as branding, sections, and placeholders. Proposals are documents that are created within a quote record in Rev.io and sent to customers for review and signature. Unlike a quote (which is the record in Rev.io that tracks the overall deal, line items, and status), a proposal is the customer-facing document generated from a template and attached to that quote. Proposal templates are designed for repeated use. You select one when generating a new proposal on a quote, allowing you to quickly produce consistent, professional documents for your customers.
Rev.io comes prepopulated with several basic proposal templates. You can edit these to reflect your branding and specific needs, or create your own from scratch. You can create proposals from within a quote record. Quotes are found on the Quotes tab of the customer profile. See the Customer Profile: Quotes Section - Quotes Tab article for more information.
| NOTE: When creating a proposal on a quote, you can freely modify the proposal to meet that customer's needs. Any changes you make apply only to that specific proposal and do not affect the original proposal template. To permanently update a template's layout or content, you must make those changes from Admin > Proposal Templates with the proper permissions. |
Adding Roles
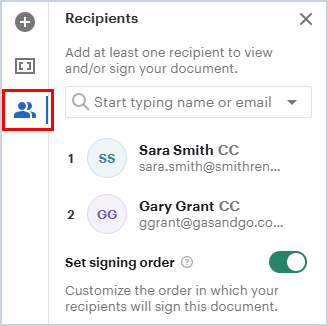
When creating a new proposal template, start by adding any additional roles you need. The Client role is included by default, but you can add others like Accounting or My Company to represent future recipients. Roles act as placeholders for signers, and every Signature field in the proposal must be assigned to a role. You can manage and add roles by clicking the Roles icon in the side panel.
Roles should be created for any information you want to dynamically populate and update automatically in the proposal. Content that is the same across all proposals, such as your company name, can be entered as static text and does not need to be a variable or role.
In many cases, the default Client role is sufficient, especially if you only need to populate customer-related information. However, if you want to include variables or signatures for others, such as a sales representative sending or signing the proposal before the customer, you may want to add an additional role like My Company. This allows you to use variables such as the salesperson's name or a fillable internal signature field. If you're unsure, start with just the Client role and add more later as needed.
Additionally, if most proposals require only one client signature but some require multiple signers, you can add an extra role and signature field when creating a specific proposal on a quote without changing the original template.
Adding Content Blocks
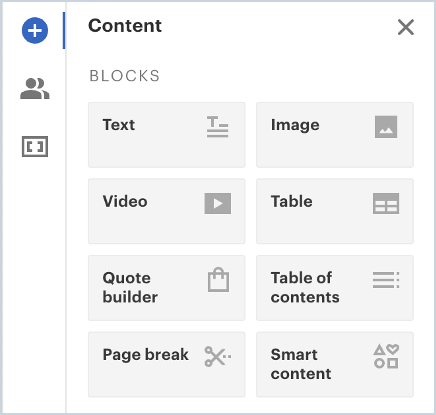
You can add content blocks to your proposal template by dragging and dropping them onto the document. Content blocks include text boxes, images, tables, page breaks, and quote builder blocks (more on those below). Add the content blocks you need and upload or add any data to them. Upload your image to an image block and add your verbiage to text blocks.
You can also use text blocks as "spacers." Since content blocks stack on top of each other, if you need space in the document, add a text block and press the Return key as many times as needed.
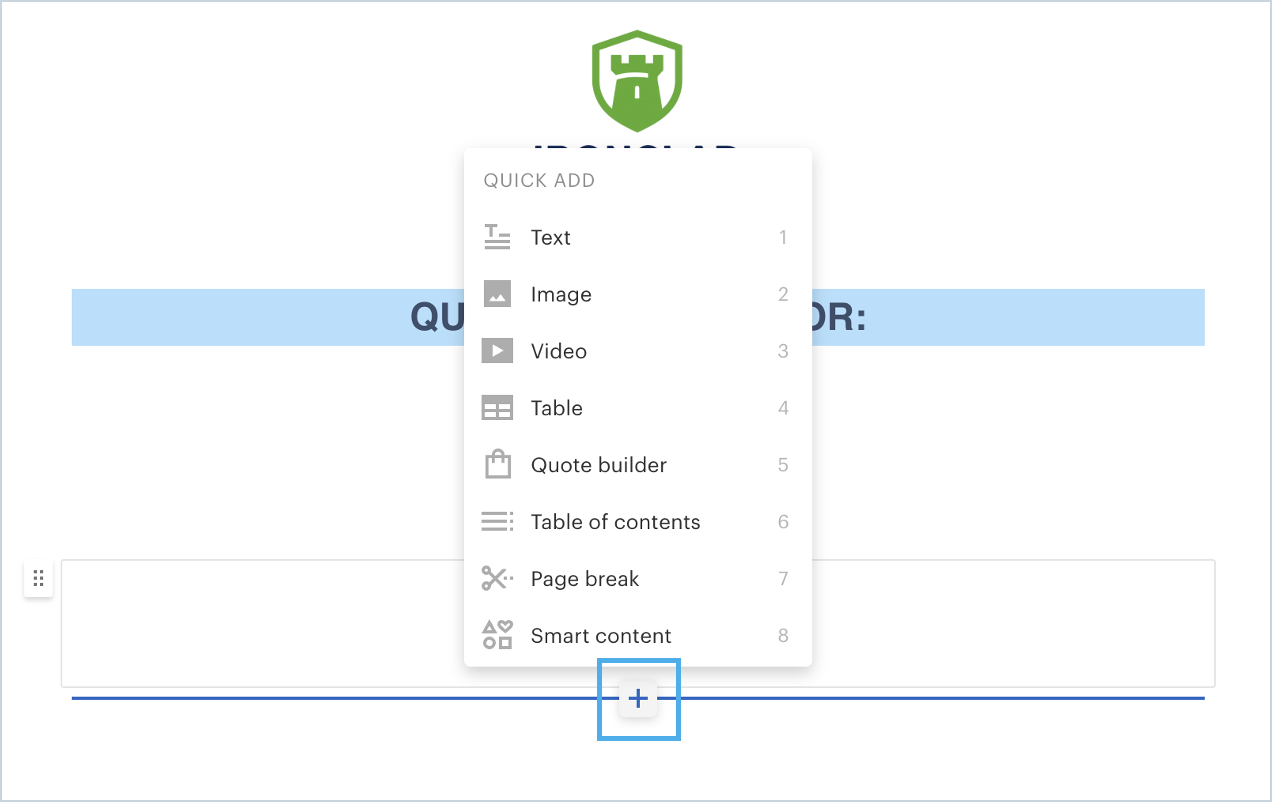
A helpful shortcut is the + symbol that appears when you hover over the canvas. Clicking the + icon lets you add content blocks directly.
Adding Quote Builder Content Blocks
Quote builder blocks are a special type of content block where you add the services and products to include when generating a proposal on a quote. You'll want to add a quote builder block to each template so your users can easily build out the items they are proposing.
Quote builder blocks are tied to your product catalog in Rev.io via a data merge. Keep in mind that it may take several hours after adding a product to your product catalog before it becomes available when building a proposal. You currently cannot add products to your catalog and immediately access them in a new proposal.
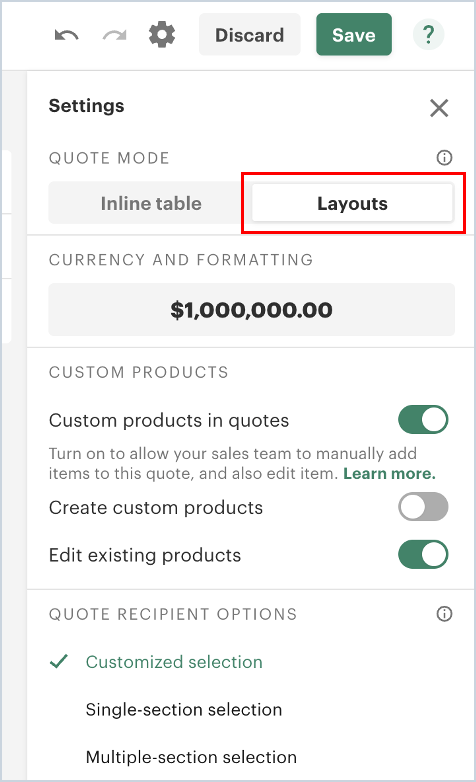
Once you drag the quote builder block onto the template, you'll need to configure a couple of items. Click the gear icon at the top right to open Settings, then click the Layouts tab.
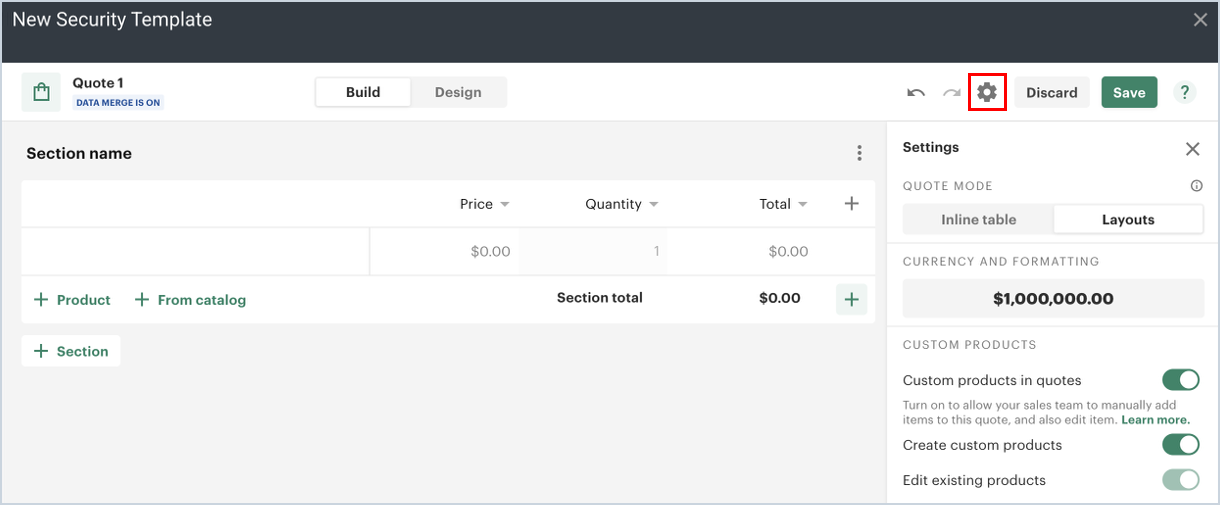
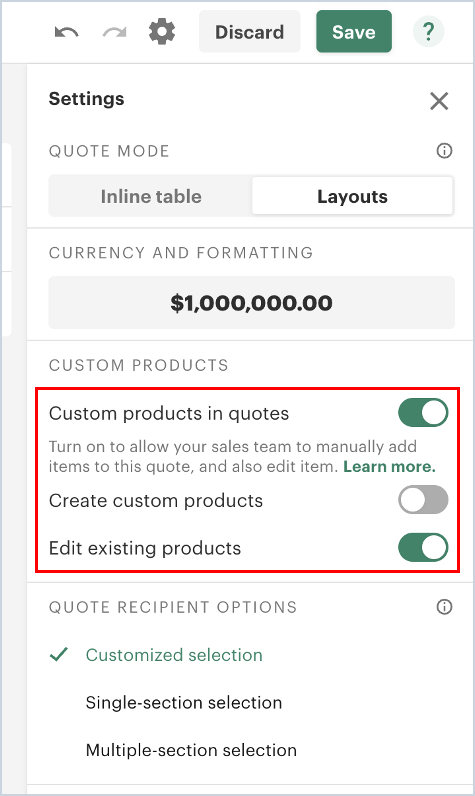
Toggle the Edit Existing Products switch to the ON position. This will automatically set the other options in this section correctly and will also turn off the ability to create custom products, which are not supported in Rev.io. Enabling Edit Existing Products allows you to adjust the price of products when adding them to a proposal.
NOTE: For custom pricing to flow through to Rev.io, products in the product catalog must be set to Allow Price Adjustments, and the Edit Existing Products option must be enabled in the quote builder block. If you're creating a proposal on a quote and cannot edit a product's price, this option has not been turned on. Edit it in the template to correct the behavior, and verify that the product catalog has price adjustments enabled for the relevant product.
| CAUTION: Avoid using the Create Custom Products feature. Those items do not flow through to Rev.io. Although they display on the proposal document, they will not appear on the service record. Revenue can be easily missed if not manually added later by your team. |
Configuring Proposal Template Variables
Each role you create generates its own set of variable fields. Variables are placeholders for dynamic information about your recipients, such as Name, Address, and Company Name, that changes from proposal to proposal. Click the Variables icon in the side panel to view variables for each role.
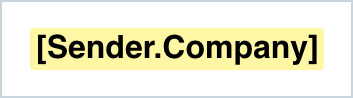
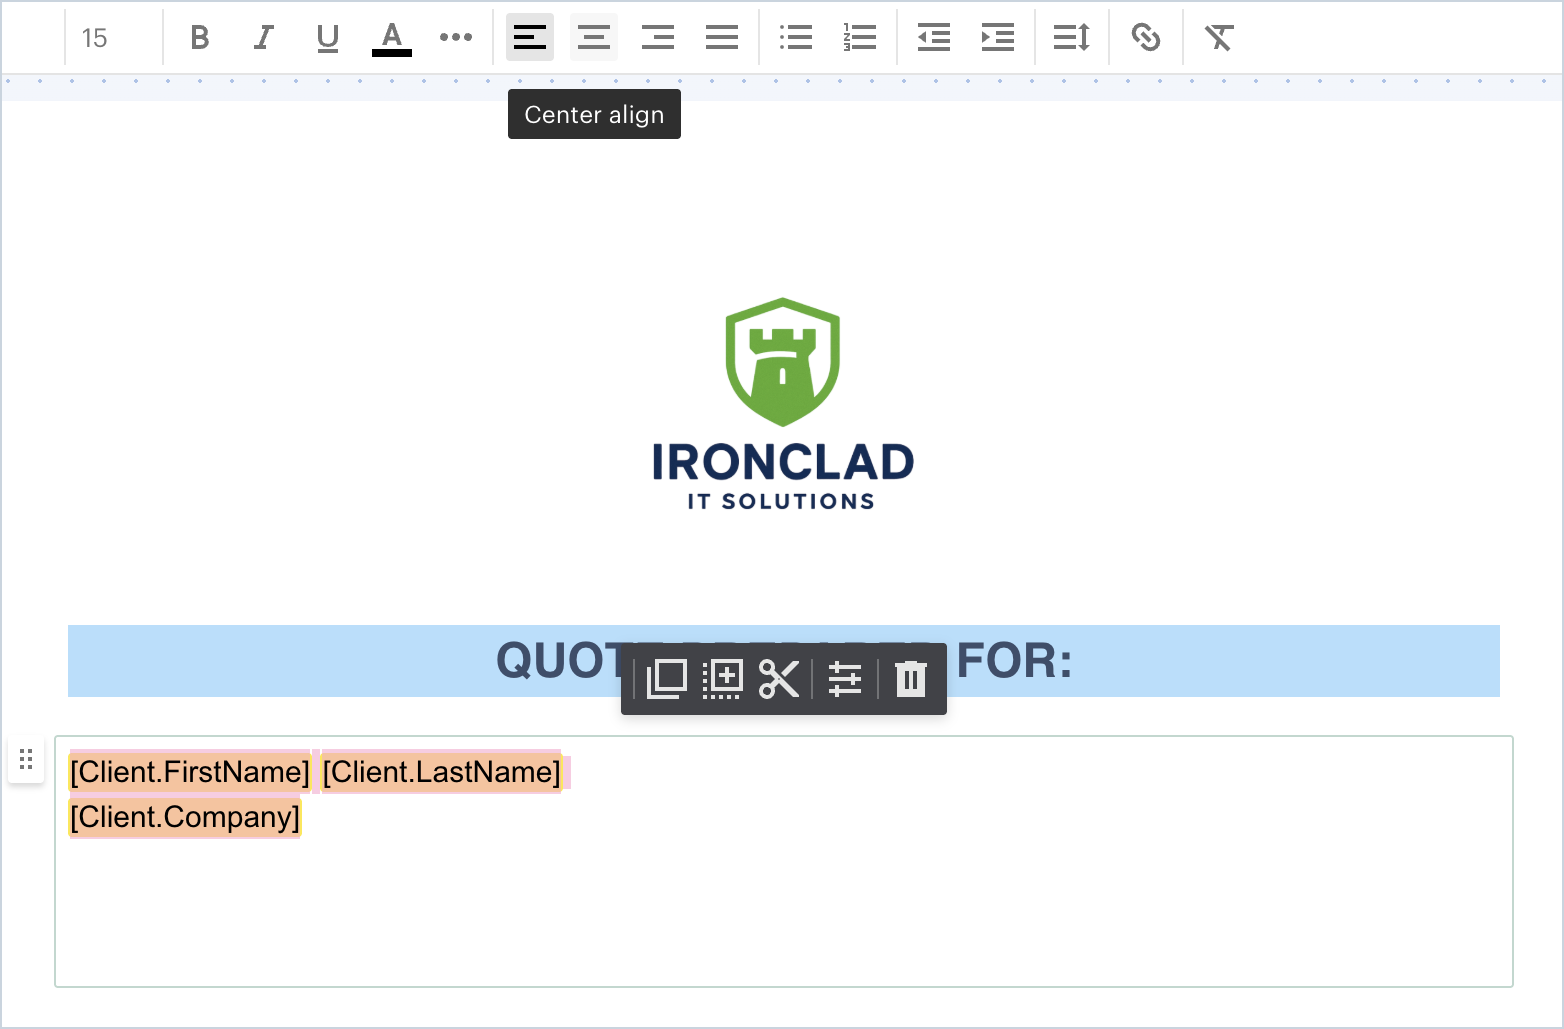
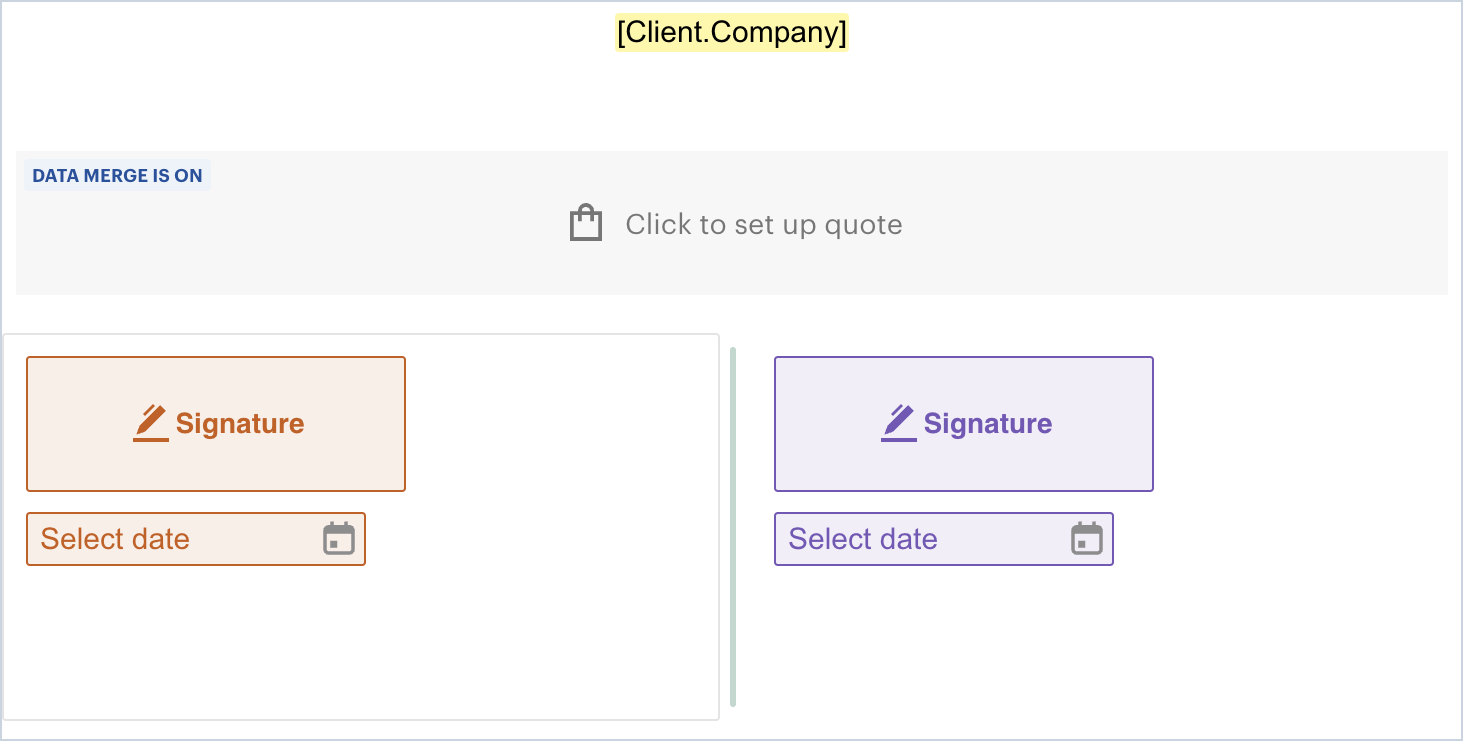
Use variables inside your text content blocks. A variable is a merge field that auto-fills frequently used information in your proposals. Variables display as text surrounded by square brackets in the editor. The yellow background is only visible in edit mode and recipients won't see it when viewing the document. Each time you use the proposal template, you can fill out the variable fields once and they will automatically update everywhere they appear in the proposal.
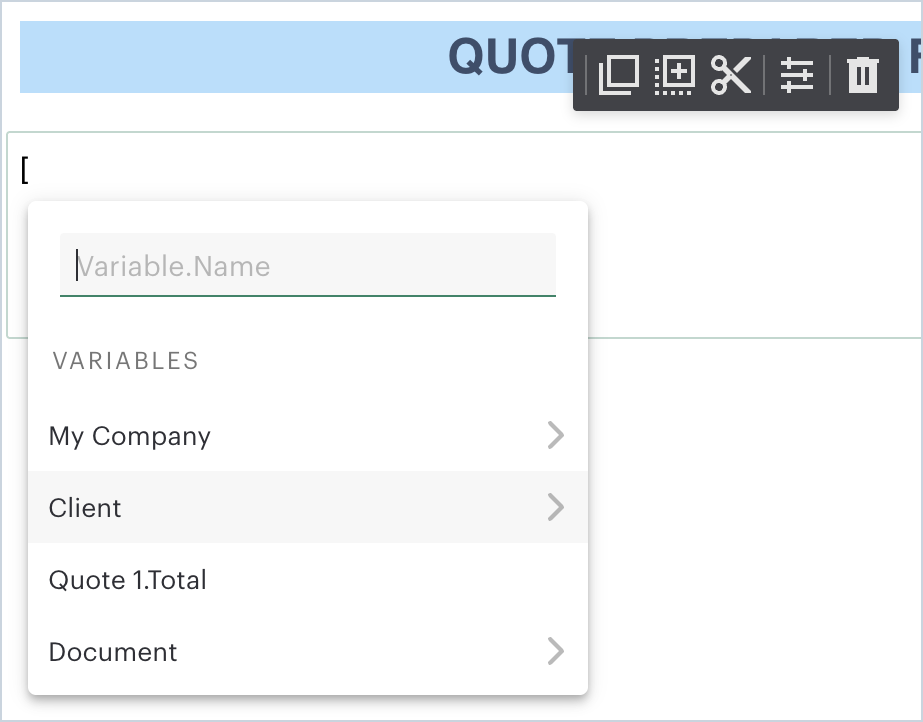
To use variables, select a text block where you'd like to place your variable. There are a couple of methods to insert the variable:
- Type a square opening bracket and choose which role the variable applies to (e.g., client) and choose the name of a variable from the dropdown and press Enter.
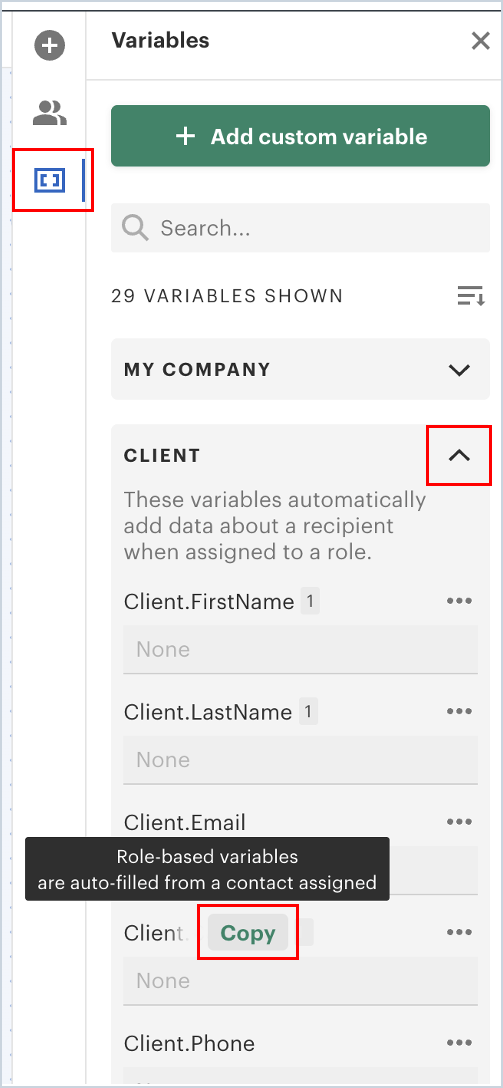
- Alternatively, go to the View section at the top and click the Variables icon to see all available variables. Hover over a variable and click Copy variable, then paste it into your text block with Ctrl+V.
Once variables are added, you can format them by highlighting the field(s) and using the formatting tools at the top. You can center, bold, or change the font, among other options. Remember to add a space between fields where needed (for example, between first name and last name).
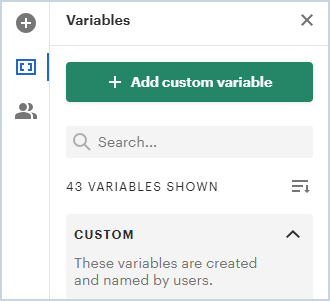
Custom variables act as placeholders for any information you need to populate manually when generating a proposal. Name them whatever you need, as they're useful when the information doesn't exist in the standard role variables. To create one, click +Add custom variable in the All variables section, enter the desired name, and select Add variable. Use Copy variable next to its name to paste it into a text block.
The System variables section contains predefined values. Currently, only two are supported: Document Created Date and Document Sent Date. These automatically populate with the relevant date for each individual proposal. Other system variables are not currently supported. If you need an expiration date on your proposal, you'll need to populate that date manually when creating the proposal on a quote.
To delete a variable, first remove it from the document body.
Adding Fillable Fields
A signature block is a type of "fillable field." Most proposals will require at least one signature field. Fillable fields can also collect important information from customers, such as billing addresses, dates, and names, right before they sign. This ensures all required information is captured in one place.
To add a field, open your template, then go to the Content panel on the right. Select a role/recipient who will fill out the field, then click on the field type or drag and drop it to the desired location.
Field placement logic:
- Fields are connected to content blocks and move with them. Placing a field outside a content block links it to the page instead.
- When you place a field within a block, it automatically links to either the top or bottom side of the block based on the block's midpoint. This maintains the field's position when you modify text. This is especially useful with quote builder blocks. As products are added and the block grows, signature fields below it will move down automatically.
- To deactivate auto-snapping, press and hold Ctrl (Windows) or Cmd (Mac) while dragging the field. Auto-snapping resumes when the key is released. Safari users should press Command before dragging, not during.
Assigning Fields to Recipients
Select the role that needs to sign or fill out fields, then click the appropriate field (e.g., signature or date). A recipient becomes a signer once a field is assigned to them. You can assign fields to roles in the template, and assign them to specific recipients when creating an individual proposal on a quote.
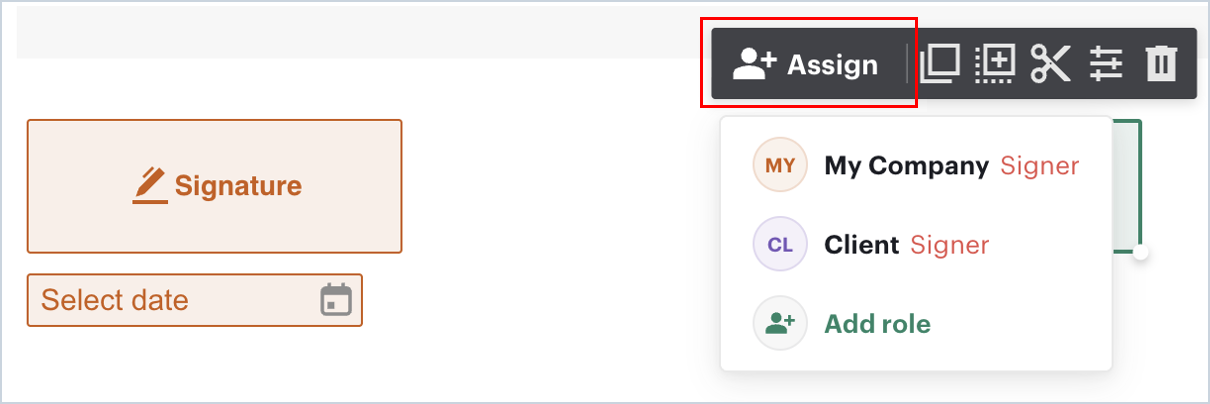
Field colors distinguish different signers and are automatically assigned to roles in the order they appear in the document.
NOTE: When creating a proposal on a quote, you won't be able to send it until all fields have been assigned to recipients.
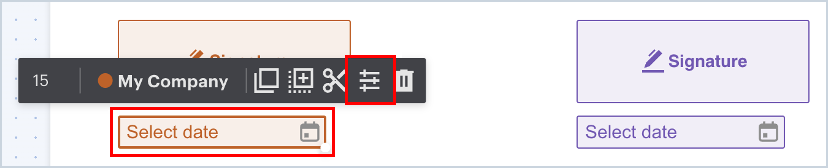
To have the signature date auto-populate with the date the client signs, click the date field in the template, click the Properties icon, and in the right pane select Autofill with: Signing date. Repeat this for all signature date fields in the template.
Formatting Proposal Templates
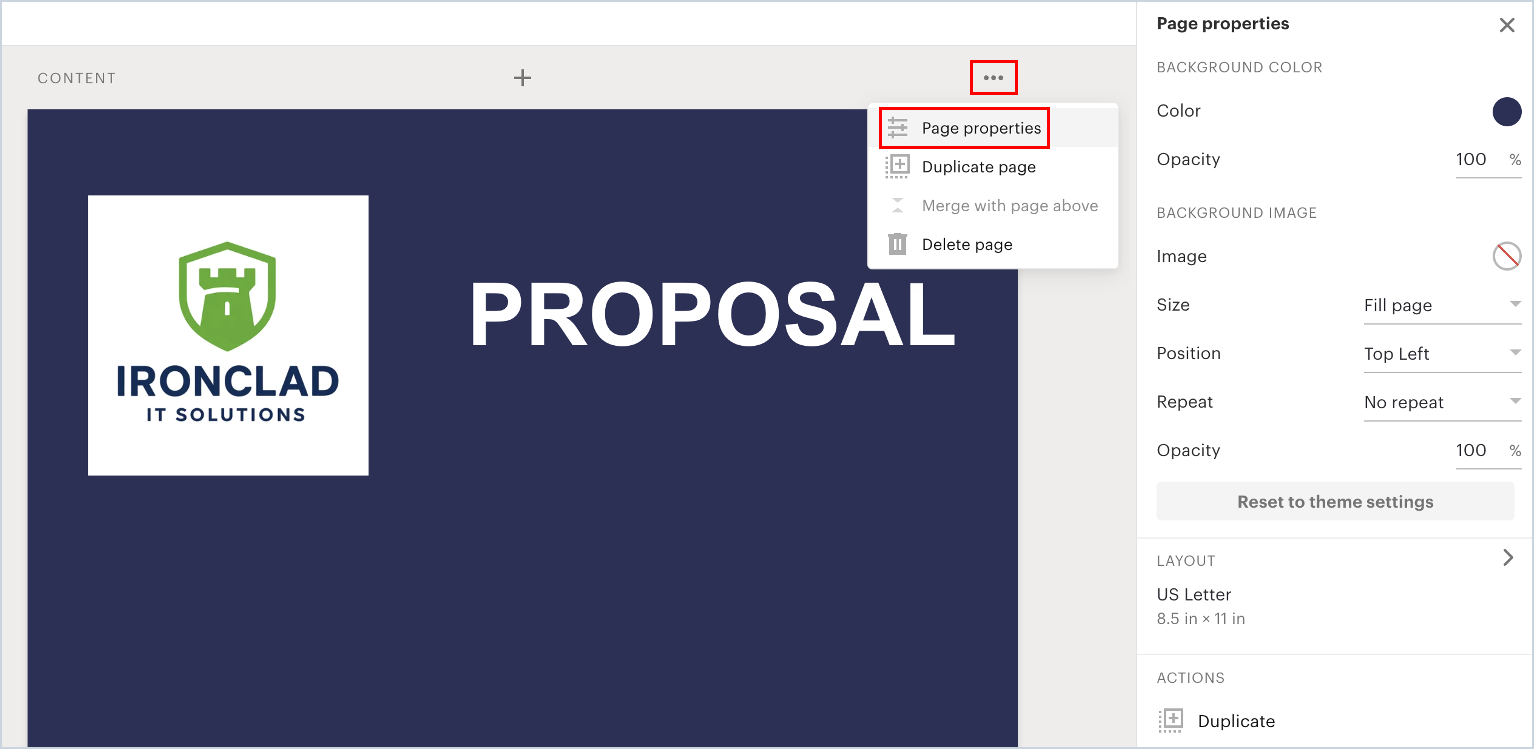
You can add logos or images by dragging and dropping the Image content block onto your document. To further enhance branding, click the 3-dot kebab icon on any page in the template and select Page Properties. From there, you can edit colors, fonts, and backgrounds, and add images with repeat and opacity adjustments to create watermark effects.
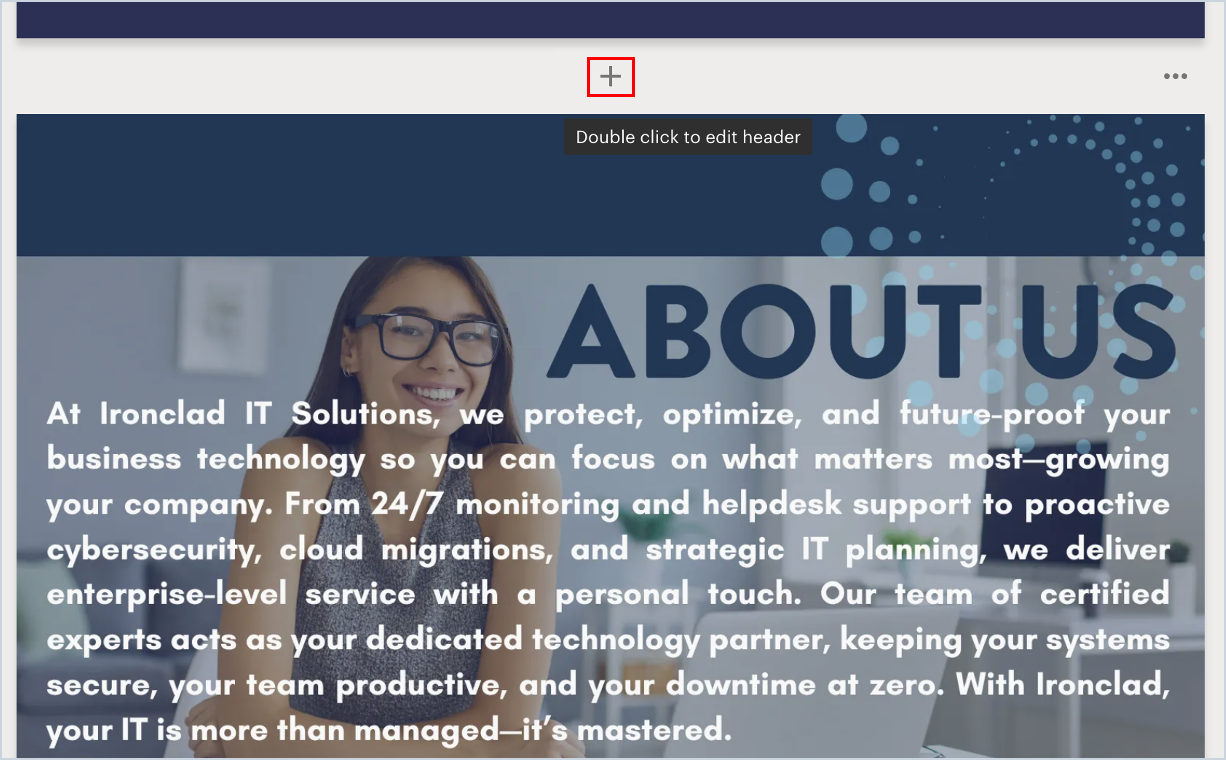
Click the plus icon between pages to upload a page of information created in another format, such as Canva, PowerPoint, or Word, as an additional page in the template. This page will appear in every proposal generated from that template.
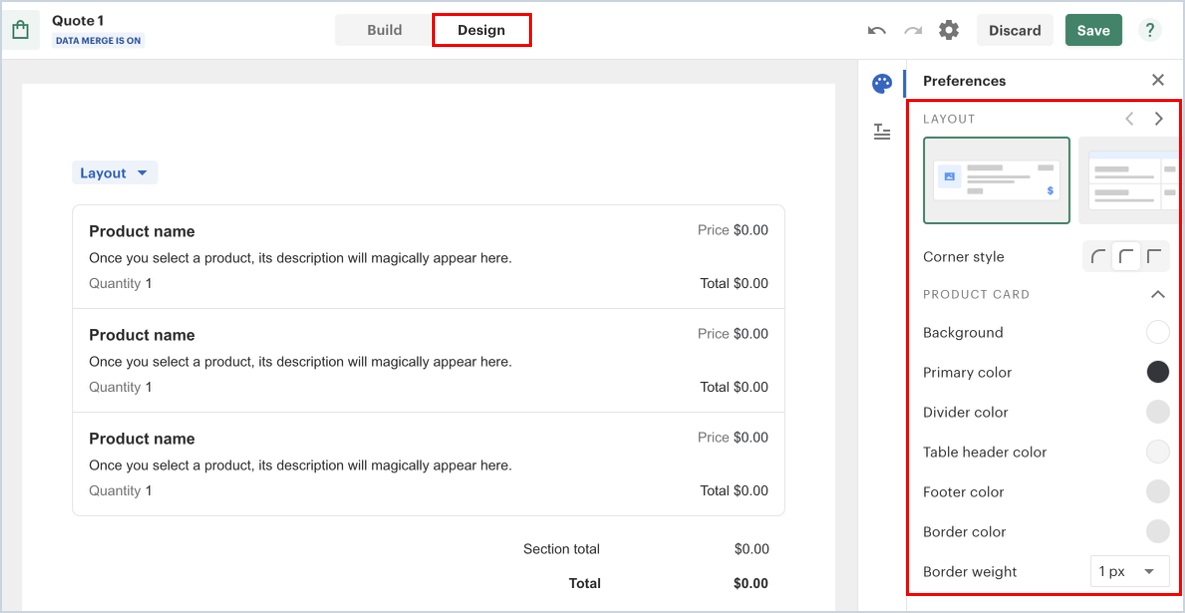
You can also format any quote builder blocks you've added. While on the quote builder block, click the Design tab at the top and use the right pane to adjust colors, fonts, and layout.
NOTE: Do not use the Product Bundle or Volume Based Pricing features. These are not currently supported by Rev.io and will not flow through to the customer's services in the system.
Saving Proposal Templates
Changes made to proposal templates save automatically. Simply close the designer to save your changes.