
Add/Edit Signals
A signal checks your data on a schedule and emails you only when the data meets a condition you set. For example, if your team can handle no more than eight open high-priority tickets at a time, a signal can email you a list of those tickets when the count reaches that limit. To add a signal, click Analytics in the sidebar menu, select Signal & Send, and click + Signal on the Signals tab.
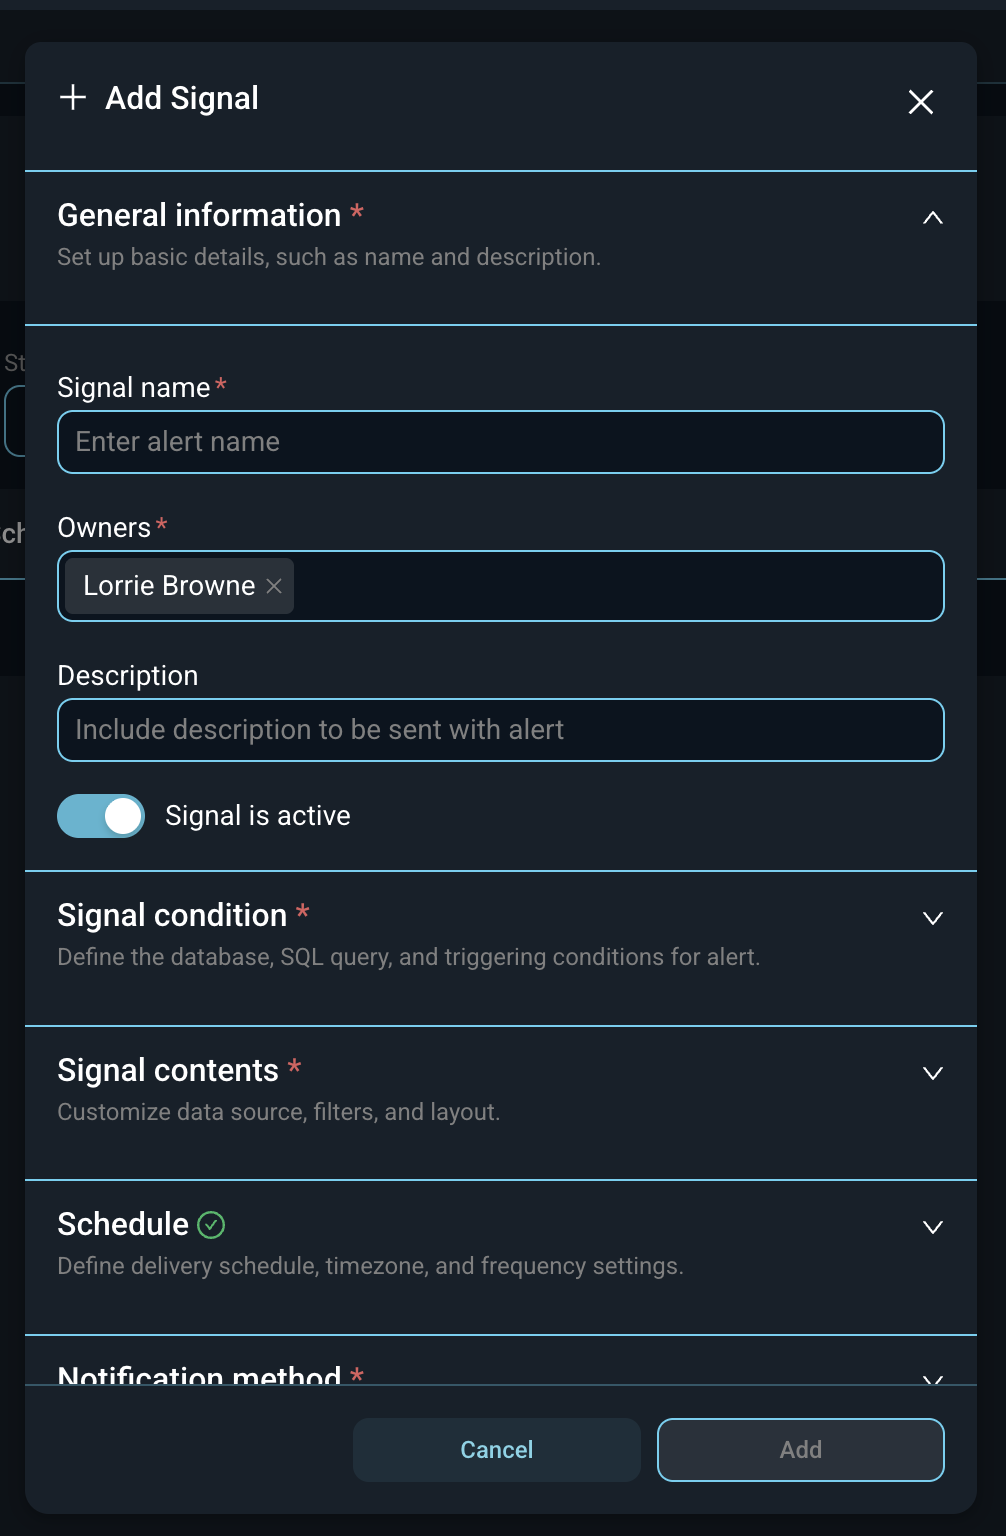
The Add Signal window is organized into five sections. Click a section name to expand or collapse it.
Each field in the General information section is defined below.
| Label | Definition |
| Signal name | Name of the signal. |
| Owners | Users who own the signal. You are added as an owner by default. |
| Description | Description of the signal. The description is included in the email. |
| Signal is active | Turn this toggle on to have the signal run on its schedule. Turn it off to pause it. |
Each field in the Signal condition section is defined below. This section sets what the signal checks for.
| Label | Definition |
| Database | Database the signal queries. |
| SQL Query | Query that returns the value to check, such as a count of open tickets where the priority is High. You can write and test the query in SQL Lab first, or ask Revii to write it. |
| Trigger Alert If... | Condition that sends the email. Options include != (Is not equal), < (Smaller than), <= (Smaller or equal), == (Is equal), > (Larger than), >= (Larger or equal), and Not null. |
| Value | Value the query result is compared to, such as 8. |
Each field in the Signal contents section is defined below. This section sets what is included in the email.
| Label | Definition |
| Content type | Whether the email includes a Dashboard or a Chart. |
| Select dashboard | Dashboard to include in the email. Displays when Content type is Dashboard. When Content type is Chart, this field is Select chart. |
| Content format | Format of the content in the email. For a dashboard, options include Send as PNG and Send as PDF. For a chart, options include Send as PNG, Send as CSV, and Send as PDF. A table chart can also be sent as text in the body of the email. |
| Select tab | Dashboard tab to include, if the dashboard has tabs. Displays for dashboards only. |
| Screenshot width | Custom width of the image in pixels. |
| Ignore cache when generating report | Check this option to pull fresh data each time instead of using saved results. |
Each field in the Schedule section is defined below.
| Label | Definition |
| Schedule type | How the schedule is set. Options include Recurring (every) and CRON Schedule. |
| Schedule | How often it runs and at what time, such as every day at 8:00. |
| Timezone | Time zone used for the schedule. |
| Log retention | How long the run history is kept, such as 90 days. |
The Schedule section for a signal also includes the Grace period field. Enter a time in seconds to wait before the signal can email you again after it is triggered, so you are not emailed every time it runs. For example, enter 3600 to wait one hour.
Each field in the Notification method section is defined below.
| Label | Definition |
| Notification Method | How the notification is delivered. Email is the only method available at this time. |
| Email subject name (optional) | Subject line for the email. |
| Email recipients | Email addresses that receive the notification. Separate addresses with a comma or semicolon. Click Add CC Recipients or Add BCC Recipients to copy others. |
Click Add to save the signal, or click Cancel to close the window without saving. The Add button is available once the required fields are completed.
| NOTE: Pick a schedule that matches how quickly you need to know, such as every 30 minutes or every hour during business hours, and use a grace period so the signal does not fill your inbox. |
For more information about signals and sends, see the following articles.
Signals & Sends List View
Add/Edit Sends
SQL Lab: Query Editor