
How To Guide: Customer Portal Overview
1. Introduction
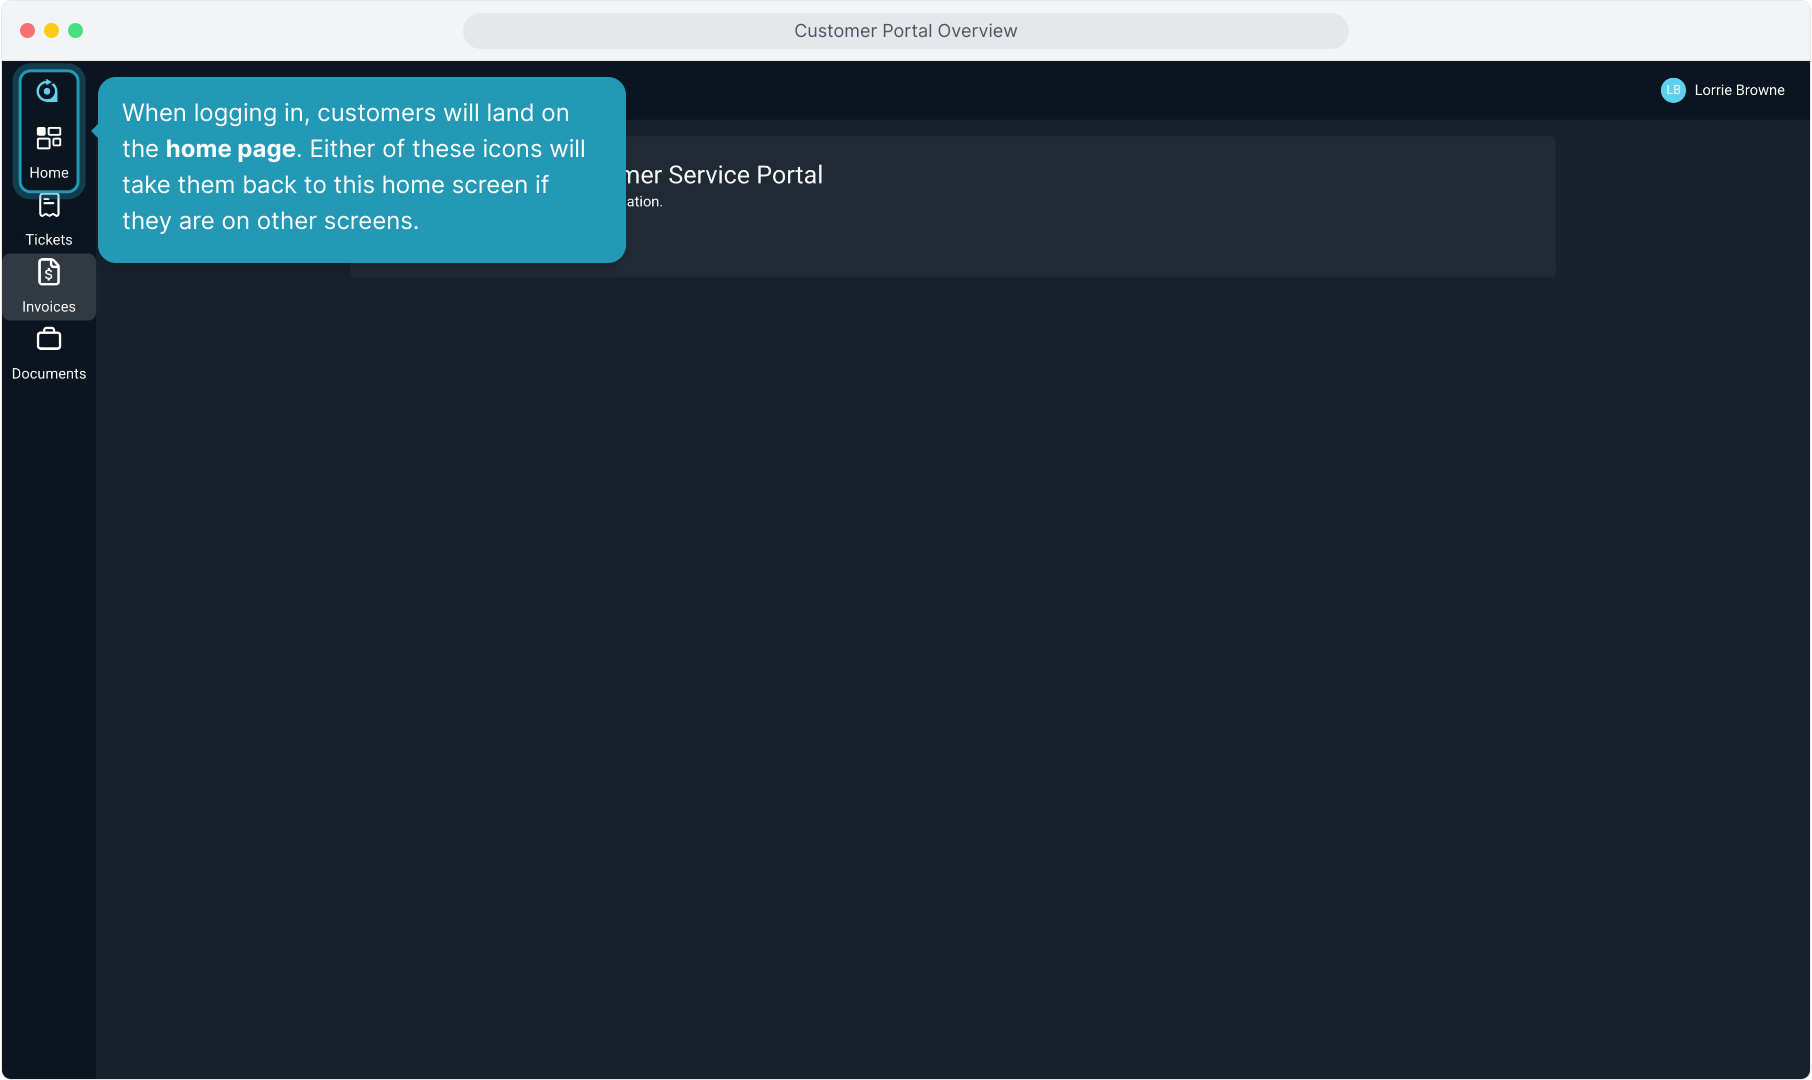
2. When logging in, customers will land on the home page. Either of these icons will take them back to this home screen if they are on other screens.
3. Clients can configure their viewing preferences by clicking their user name in the upper right corner. They can choose to view in light or dark mode.

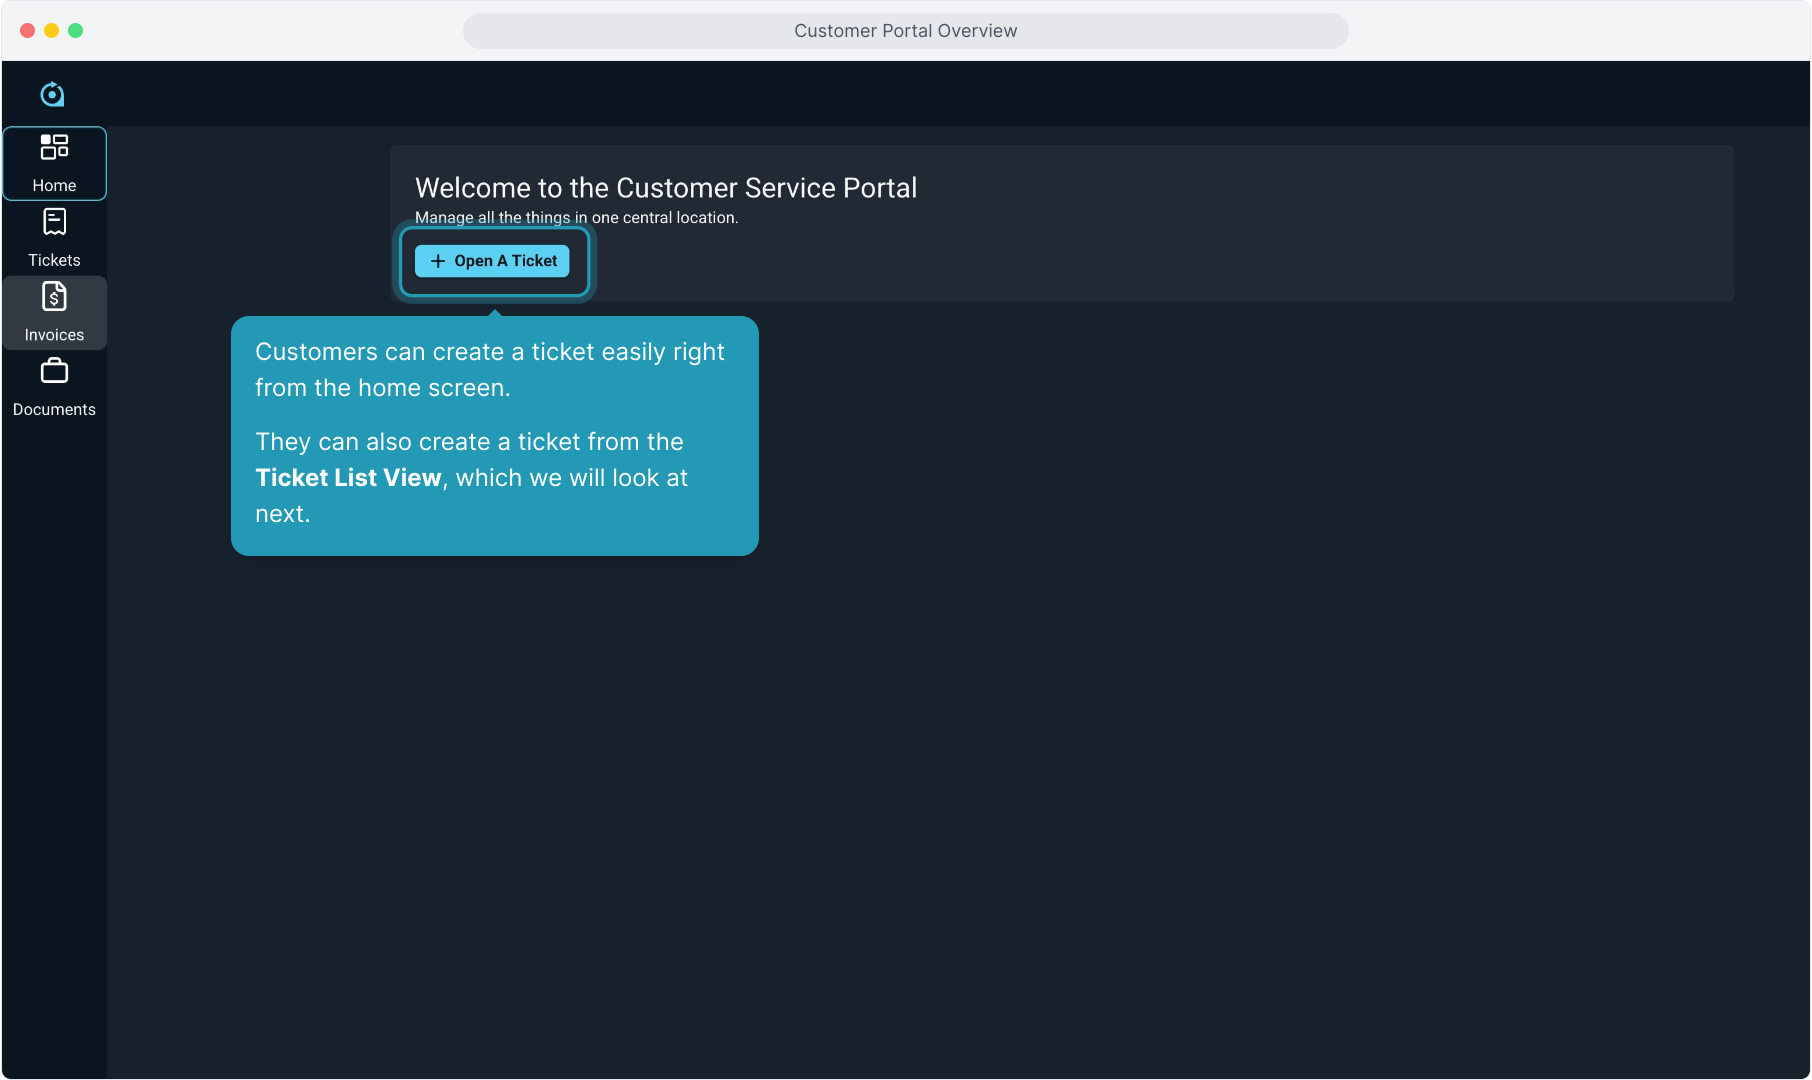
4. Customers can create a ticket easily right from the home screen.
They can also create a ticket from the Ticket List View, which we will look at next.
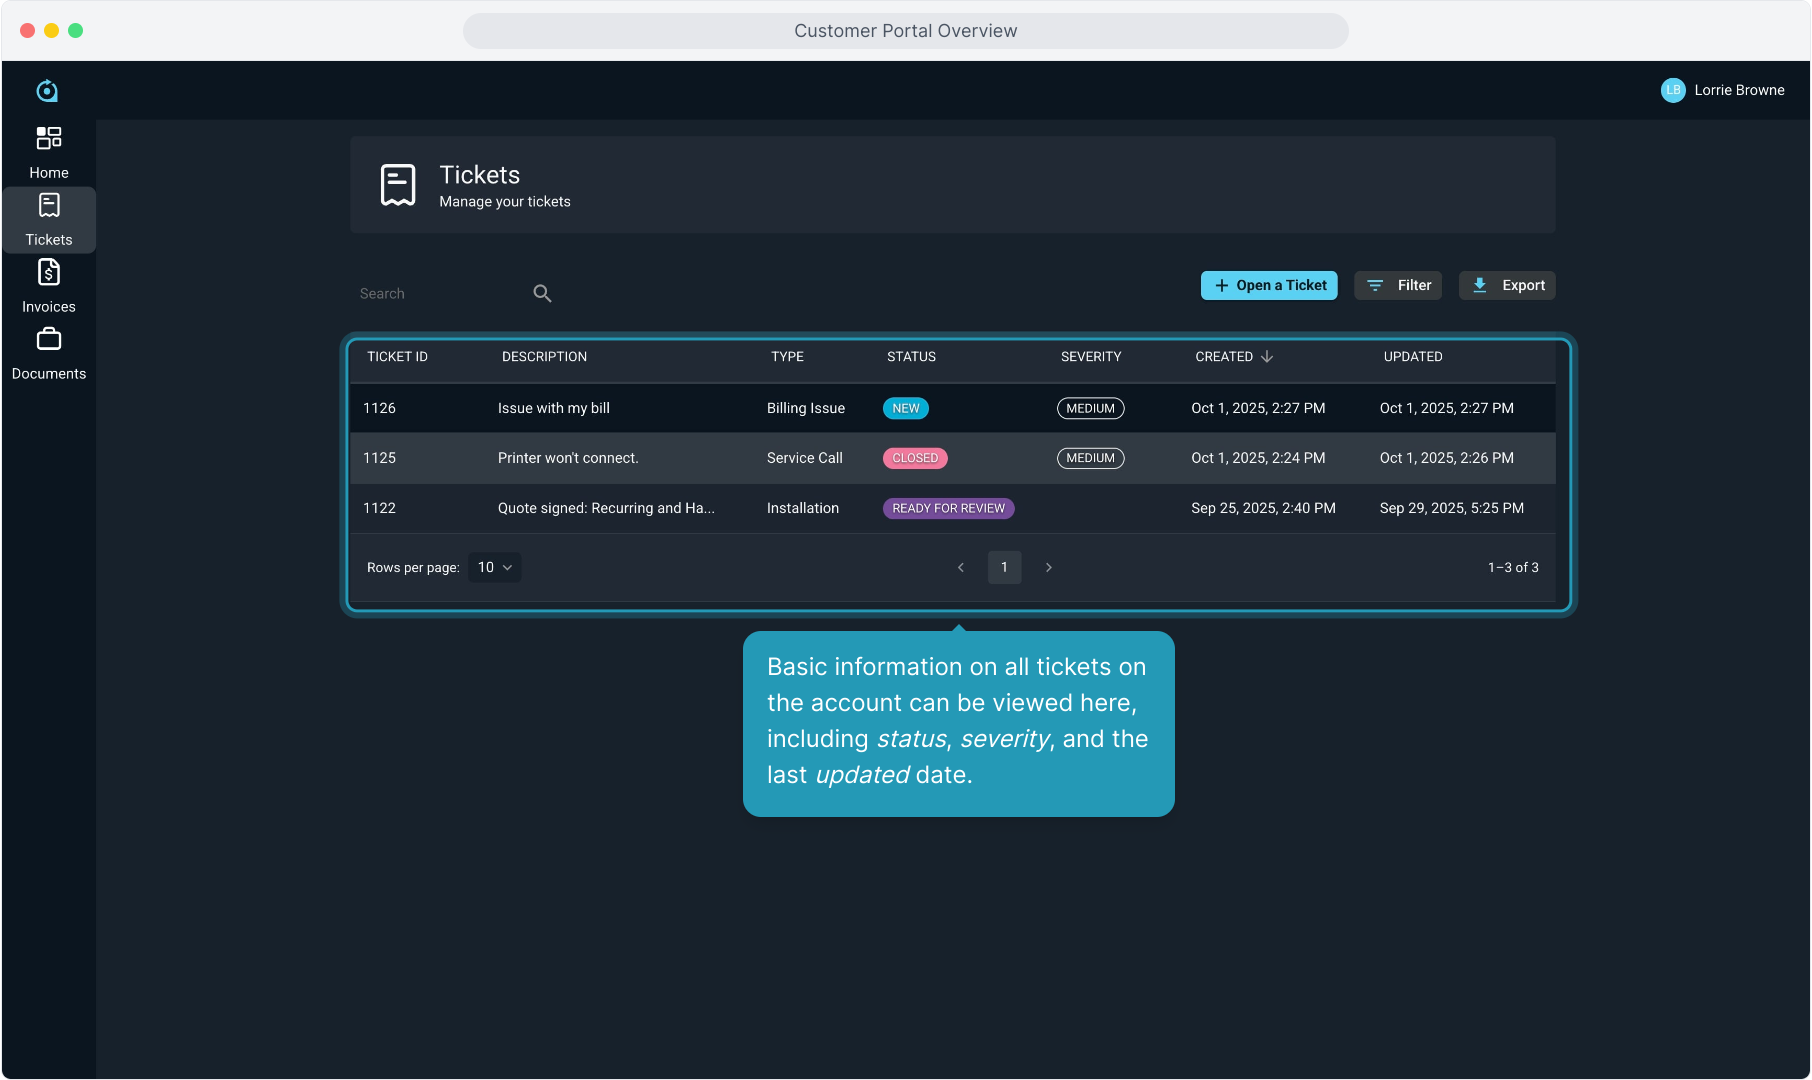
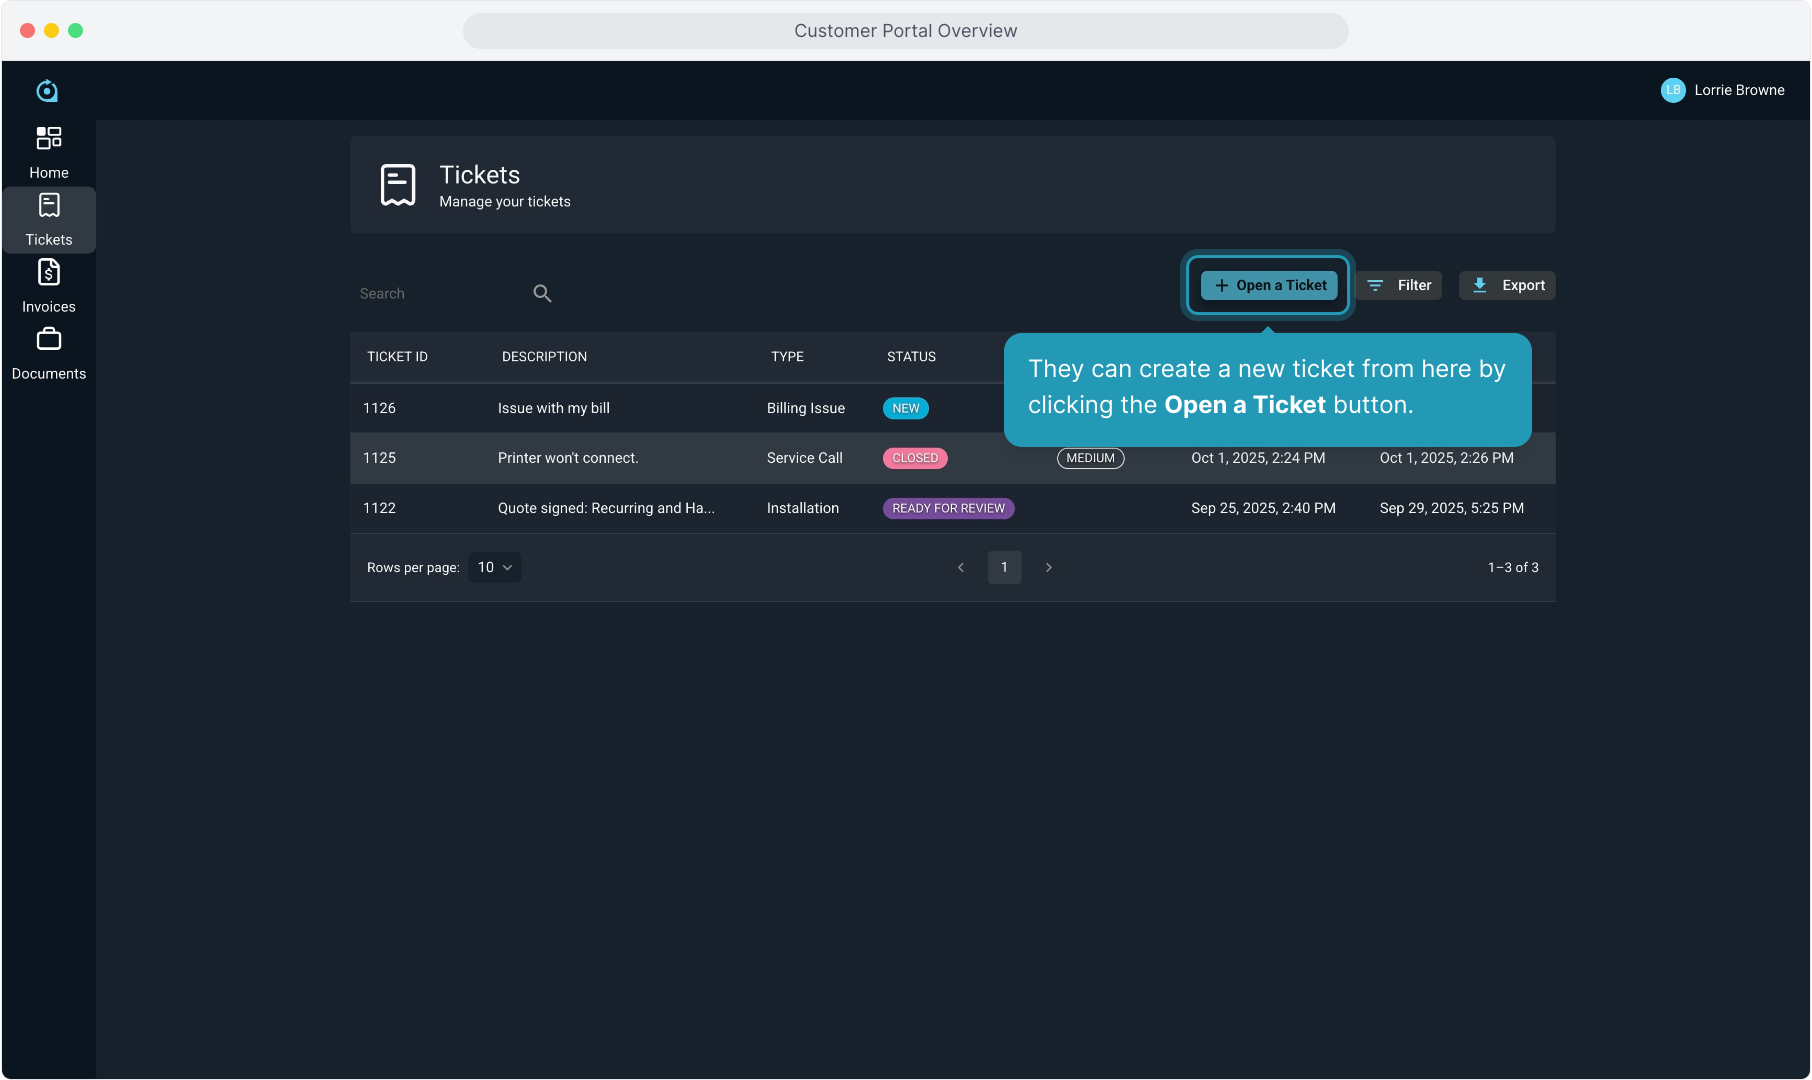
5. Clicking on the Ticket menu will open the list of all tickets in the system related to their account.
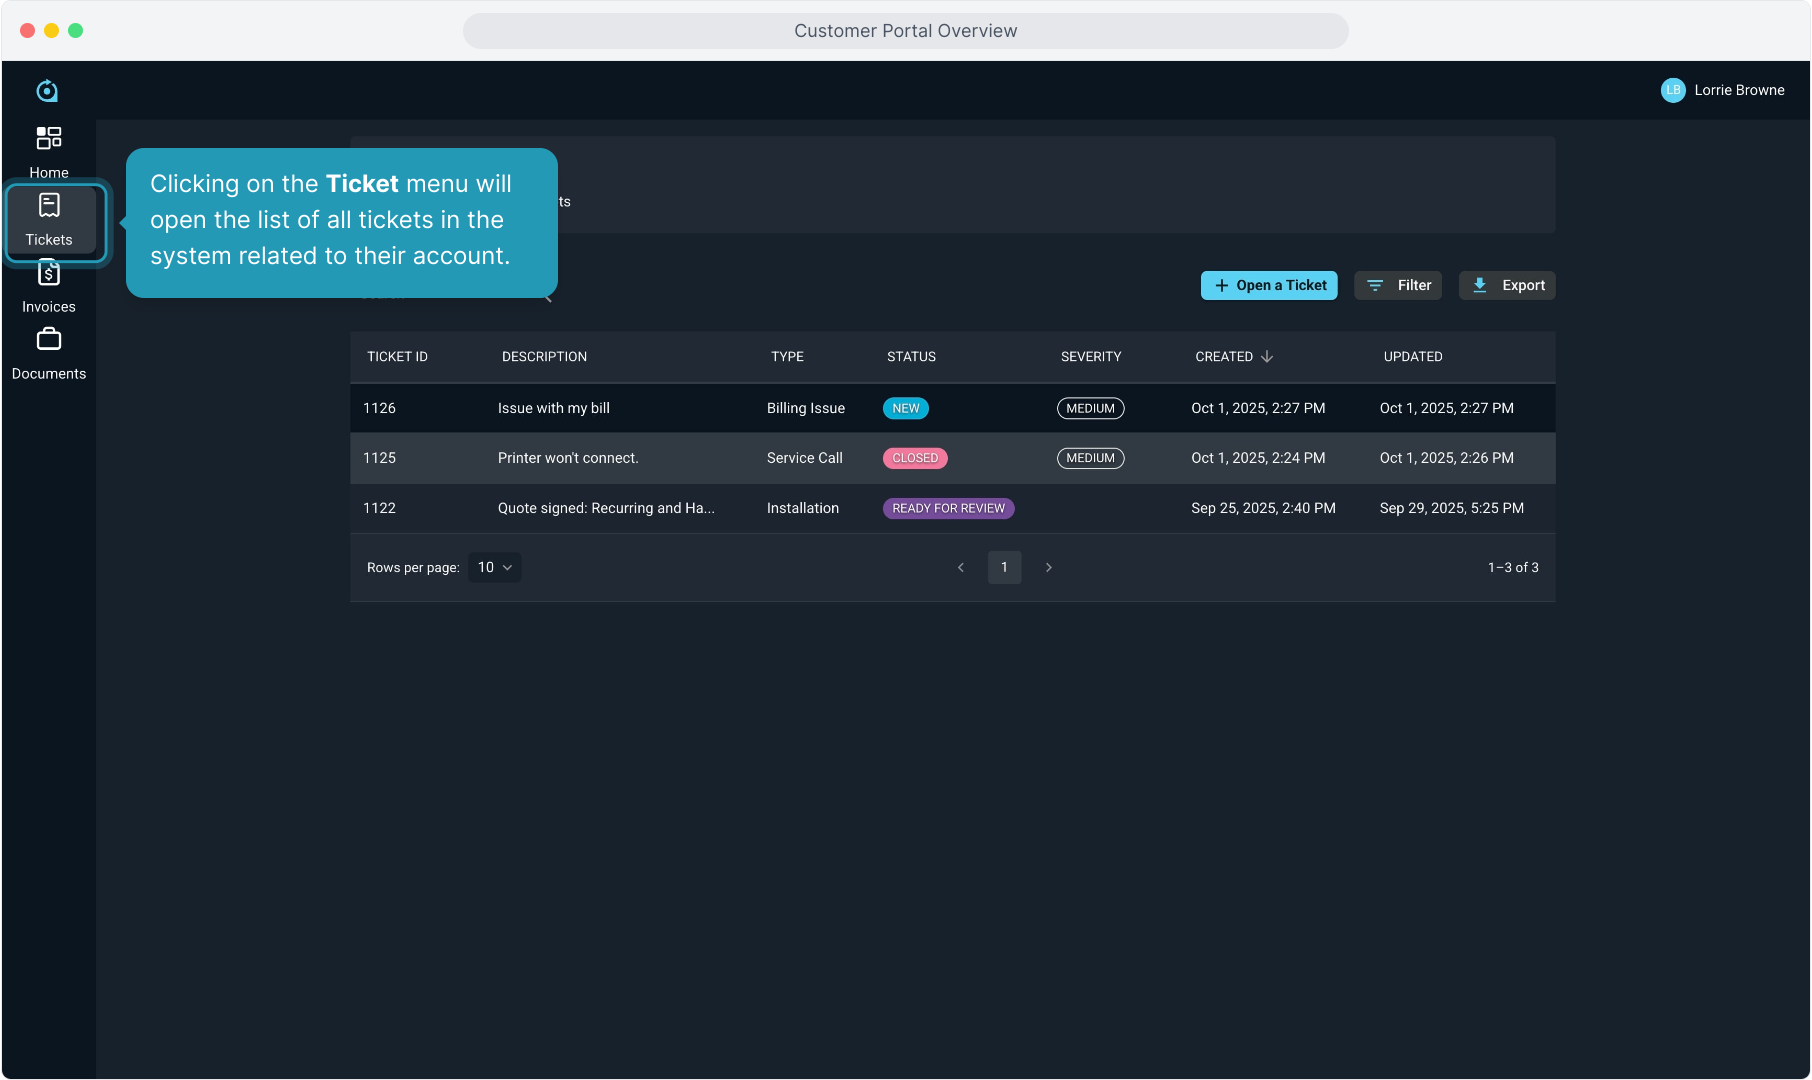
6. Basic information on all tickets on the account can be viewed here, including status, severity, and the last updated date.
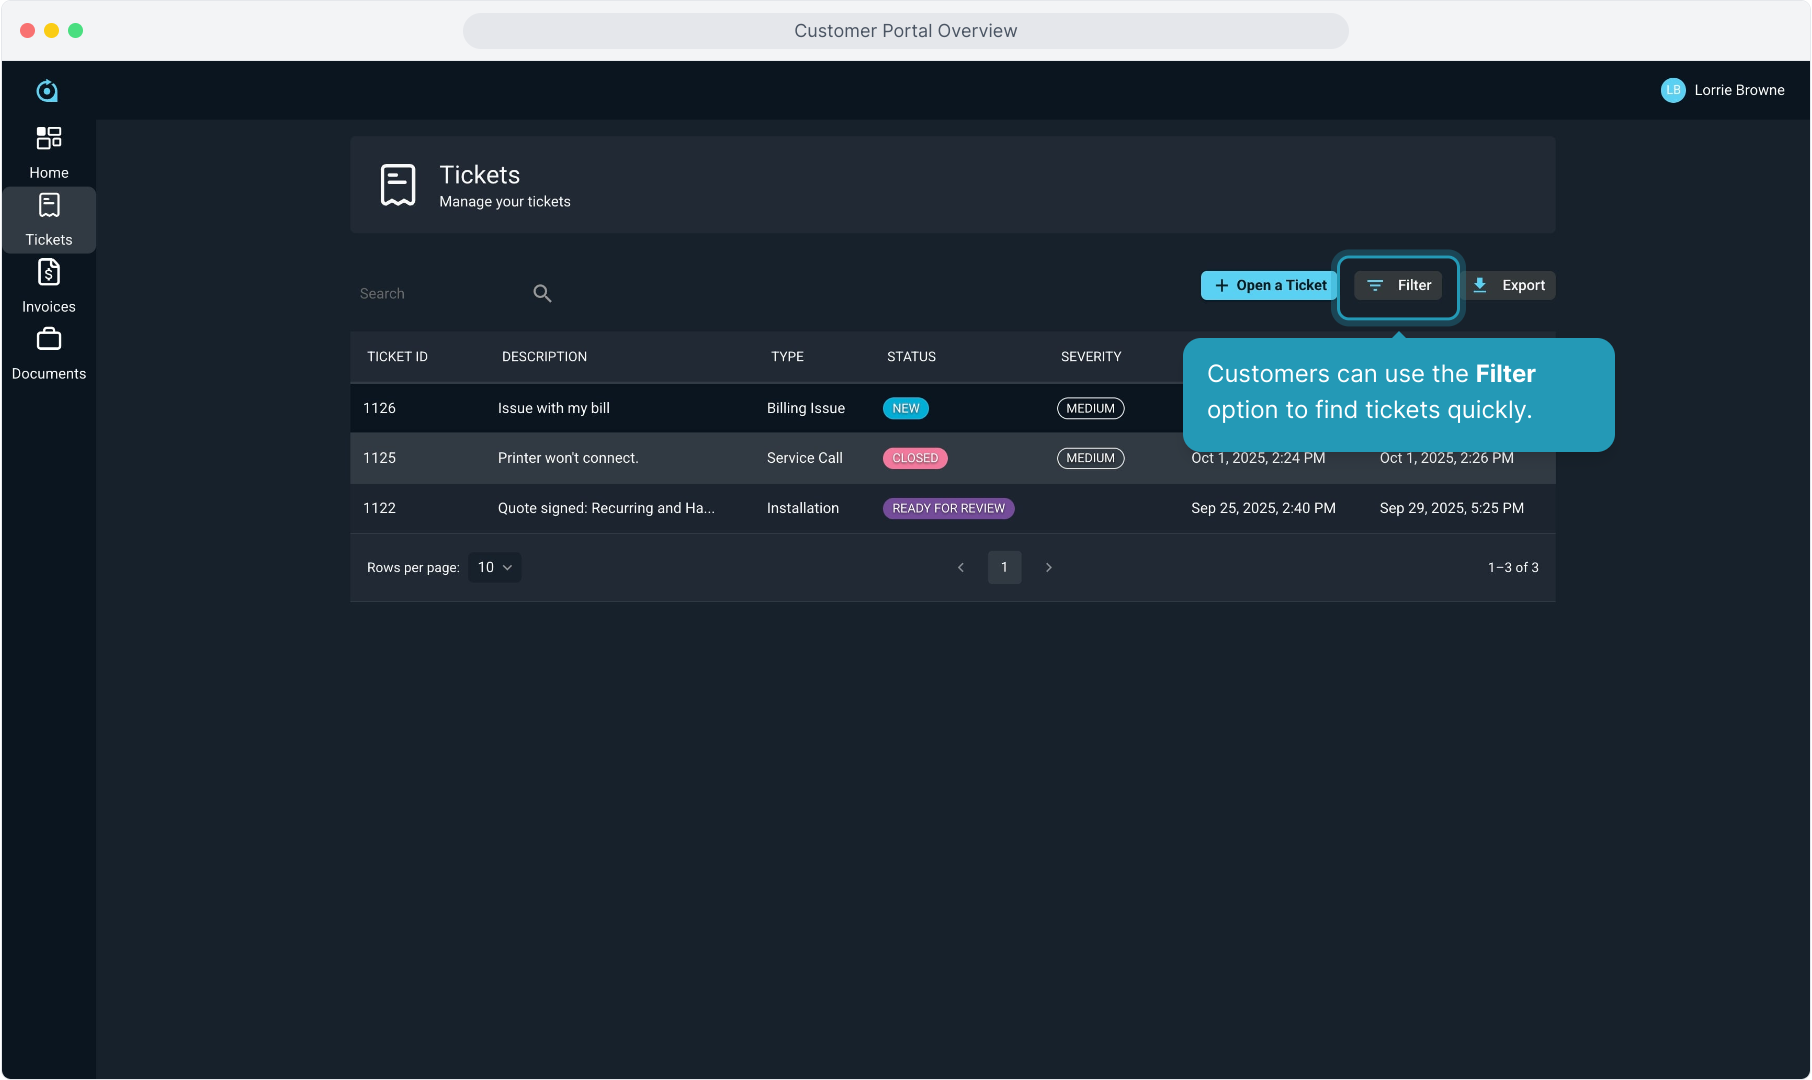
7. Customers can use the Filter option to find tickets quickly.
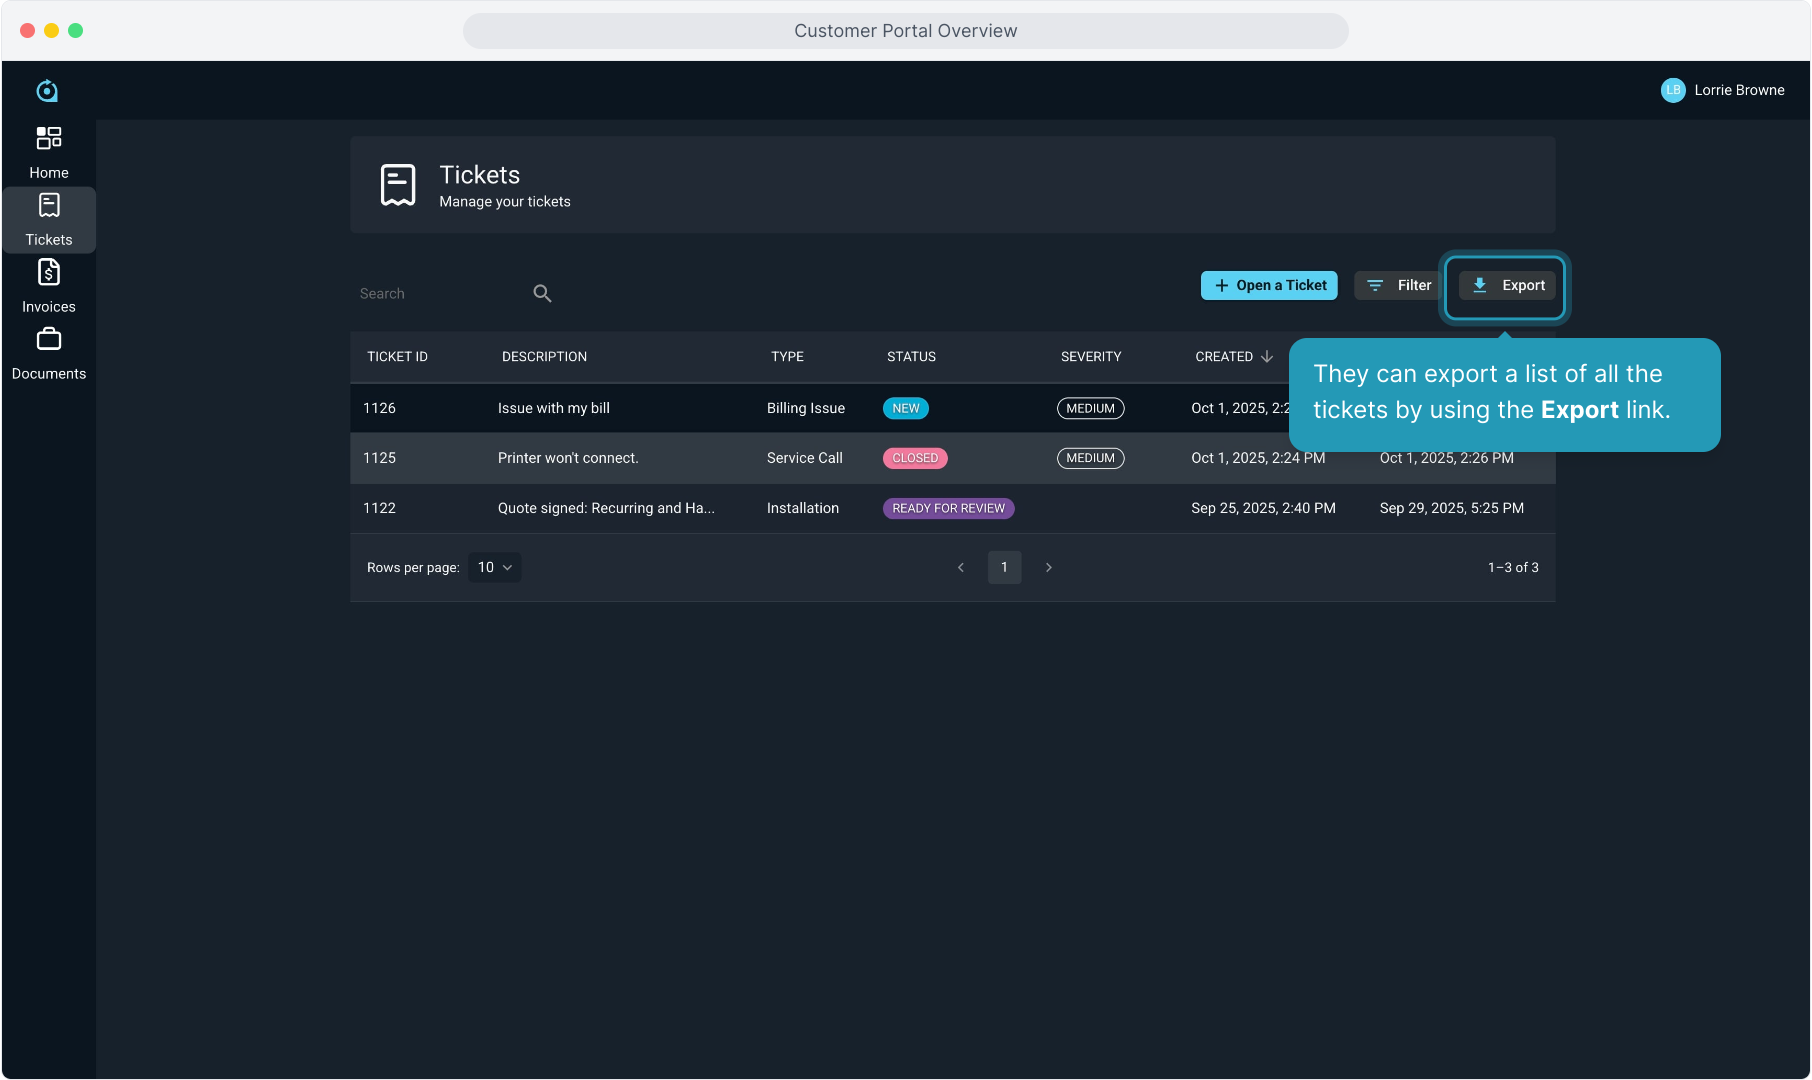
8. They can export a list of all the tickets by using the Export link.
9. Clicking anywhere on a ticket row will open that ticket to view details and communicate with your team.

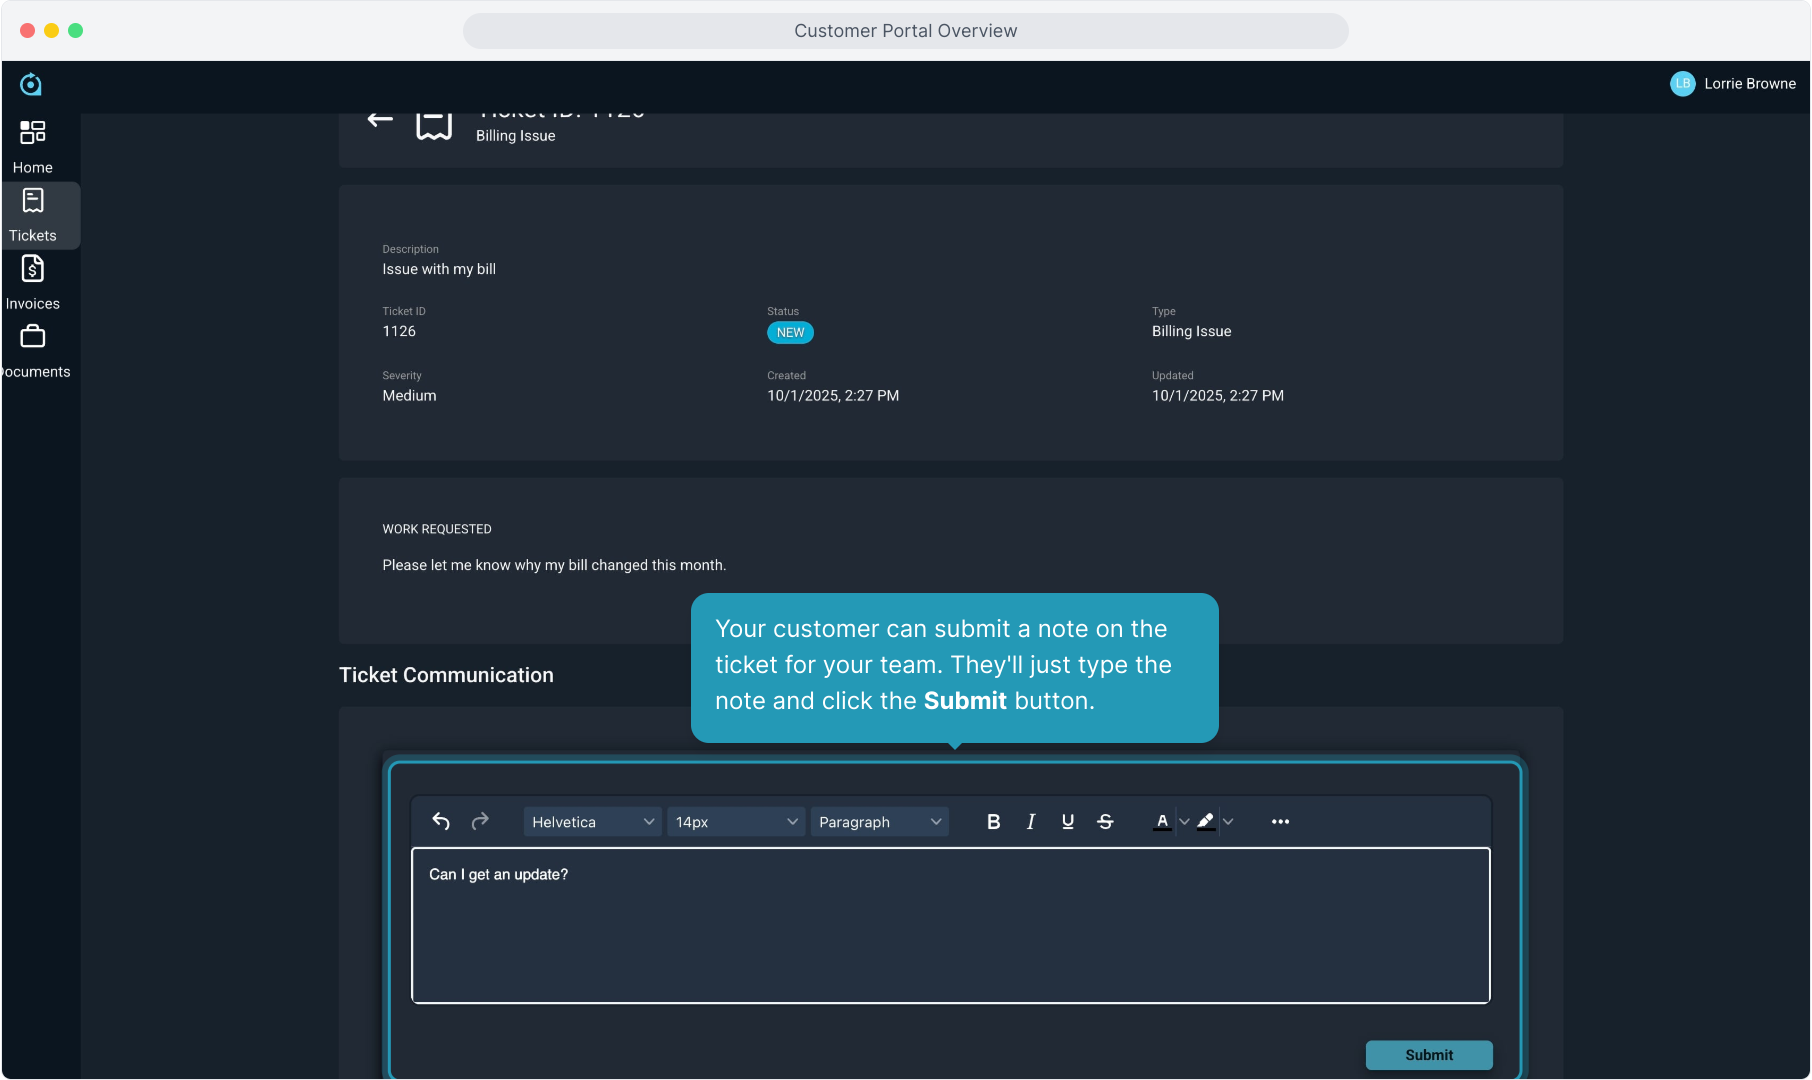
10. All public facing comments on the ticket are visible to the customer here.
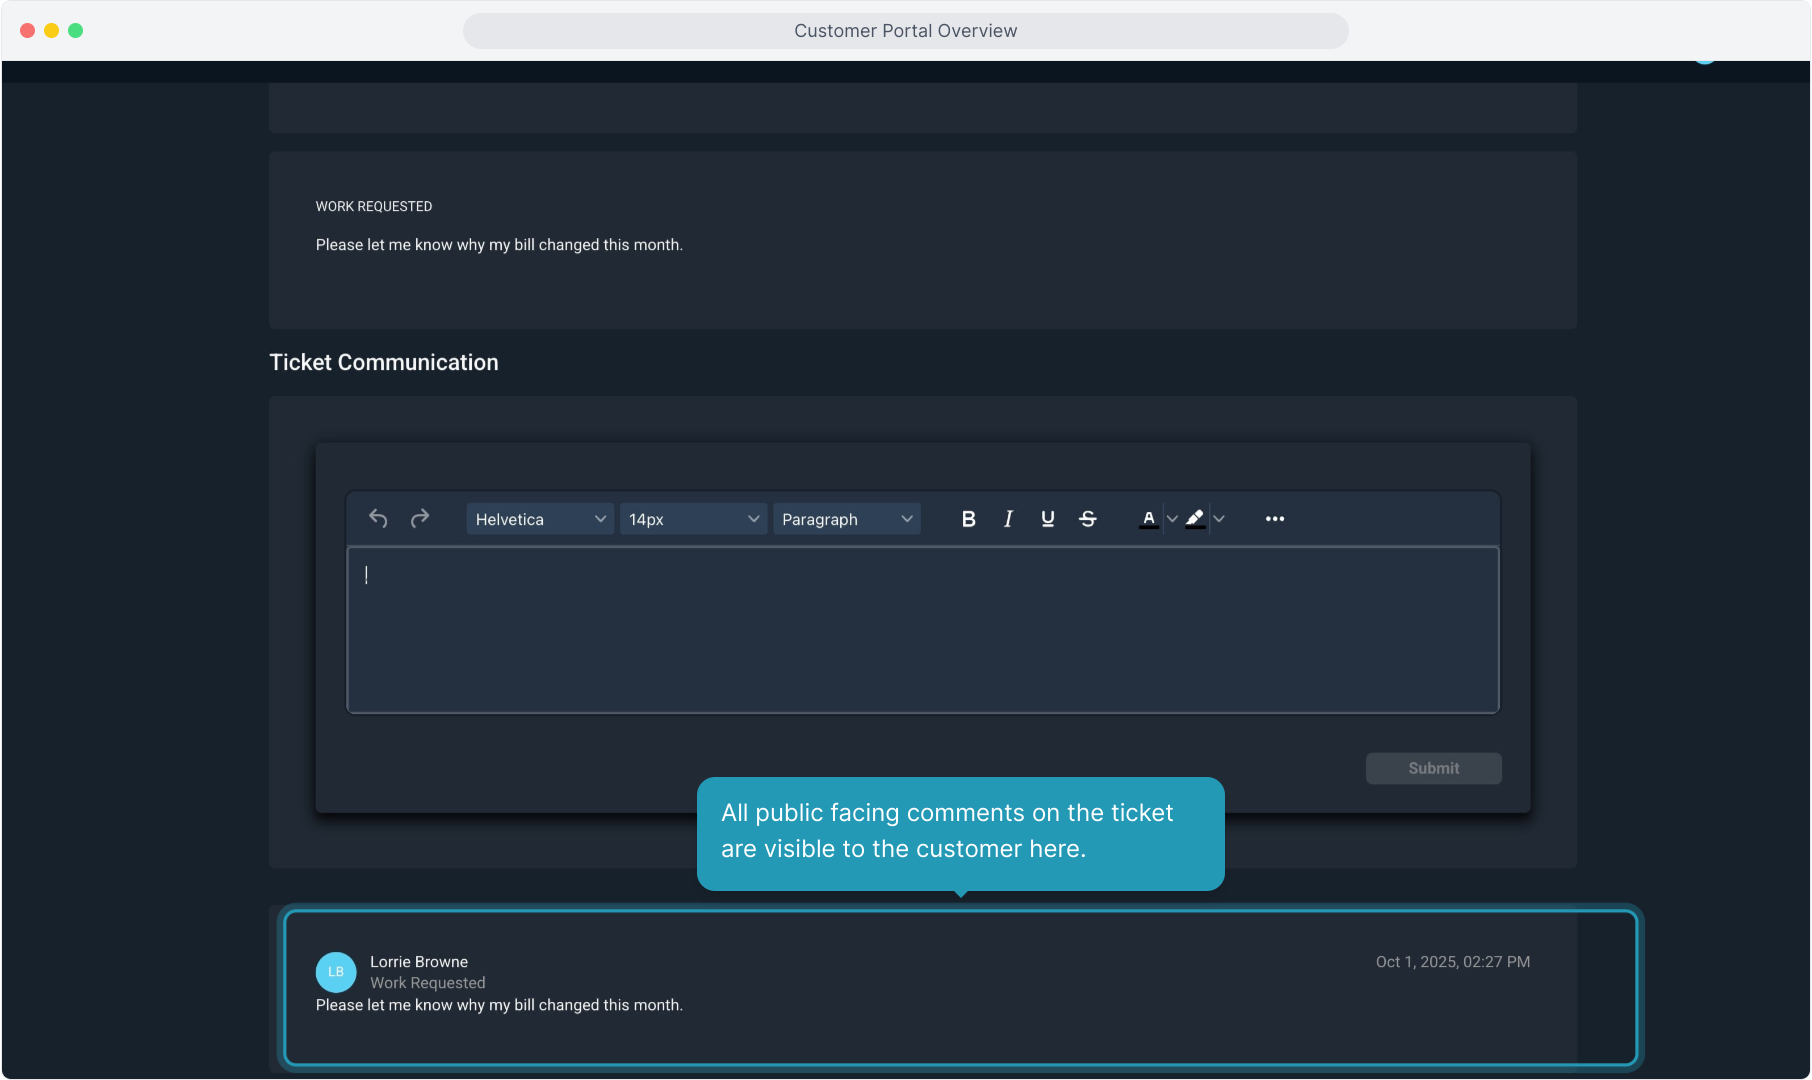
11. Your customer can submit a note on the ticket for your team. They'll just type the note and click the Submit button.
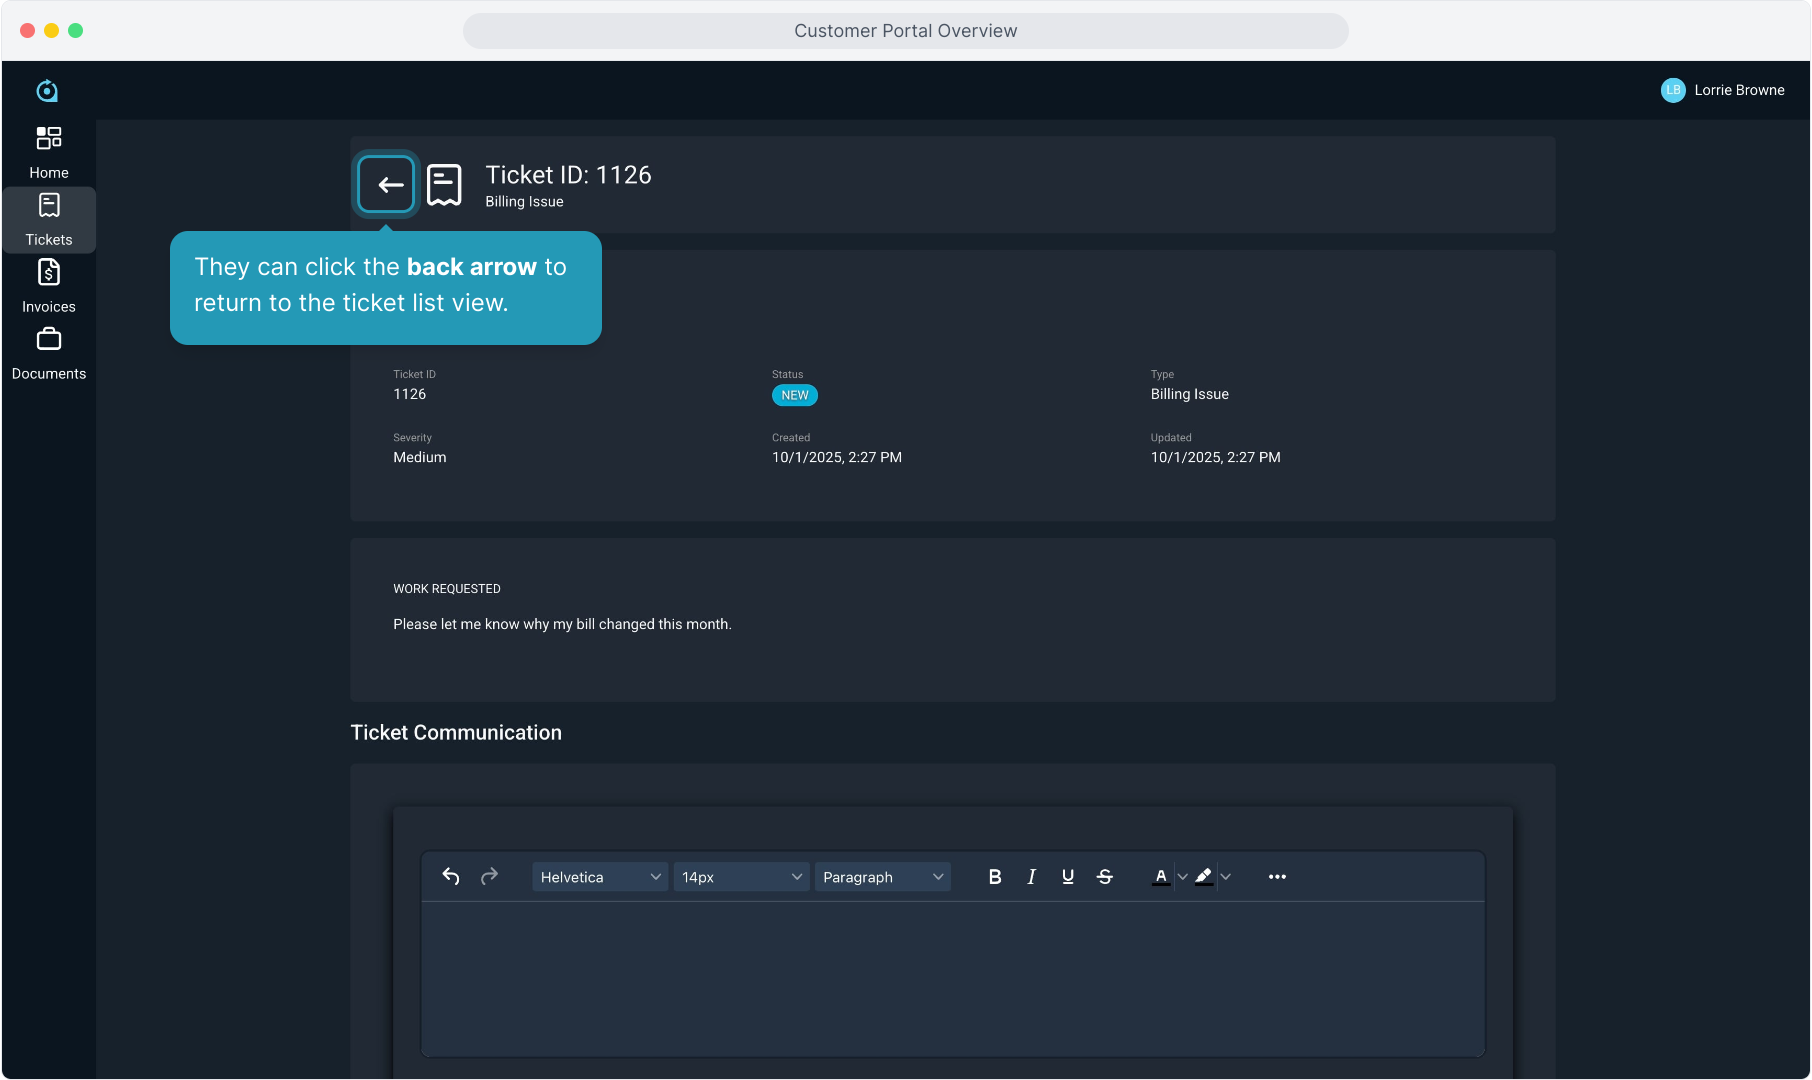
12. They can click the back arrow to return to the ticket list view.
13. They can create a new ticket from here by clicking the Open a Ticket button.
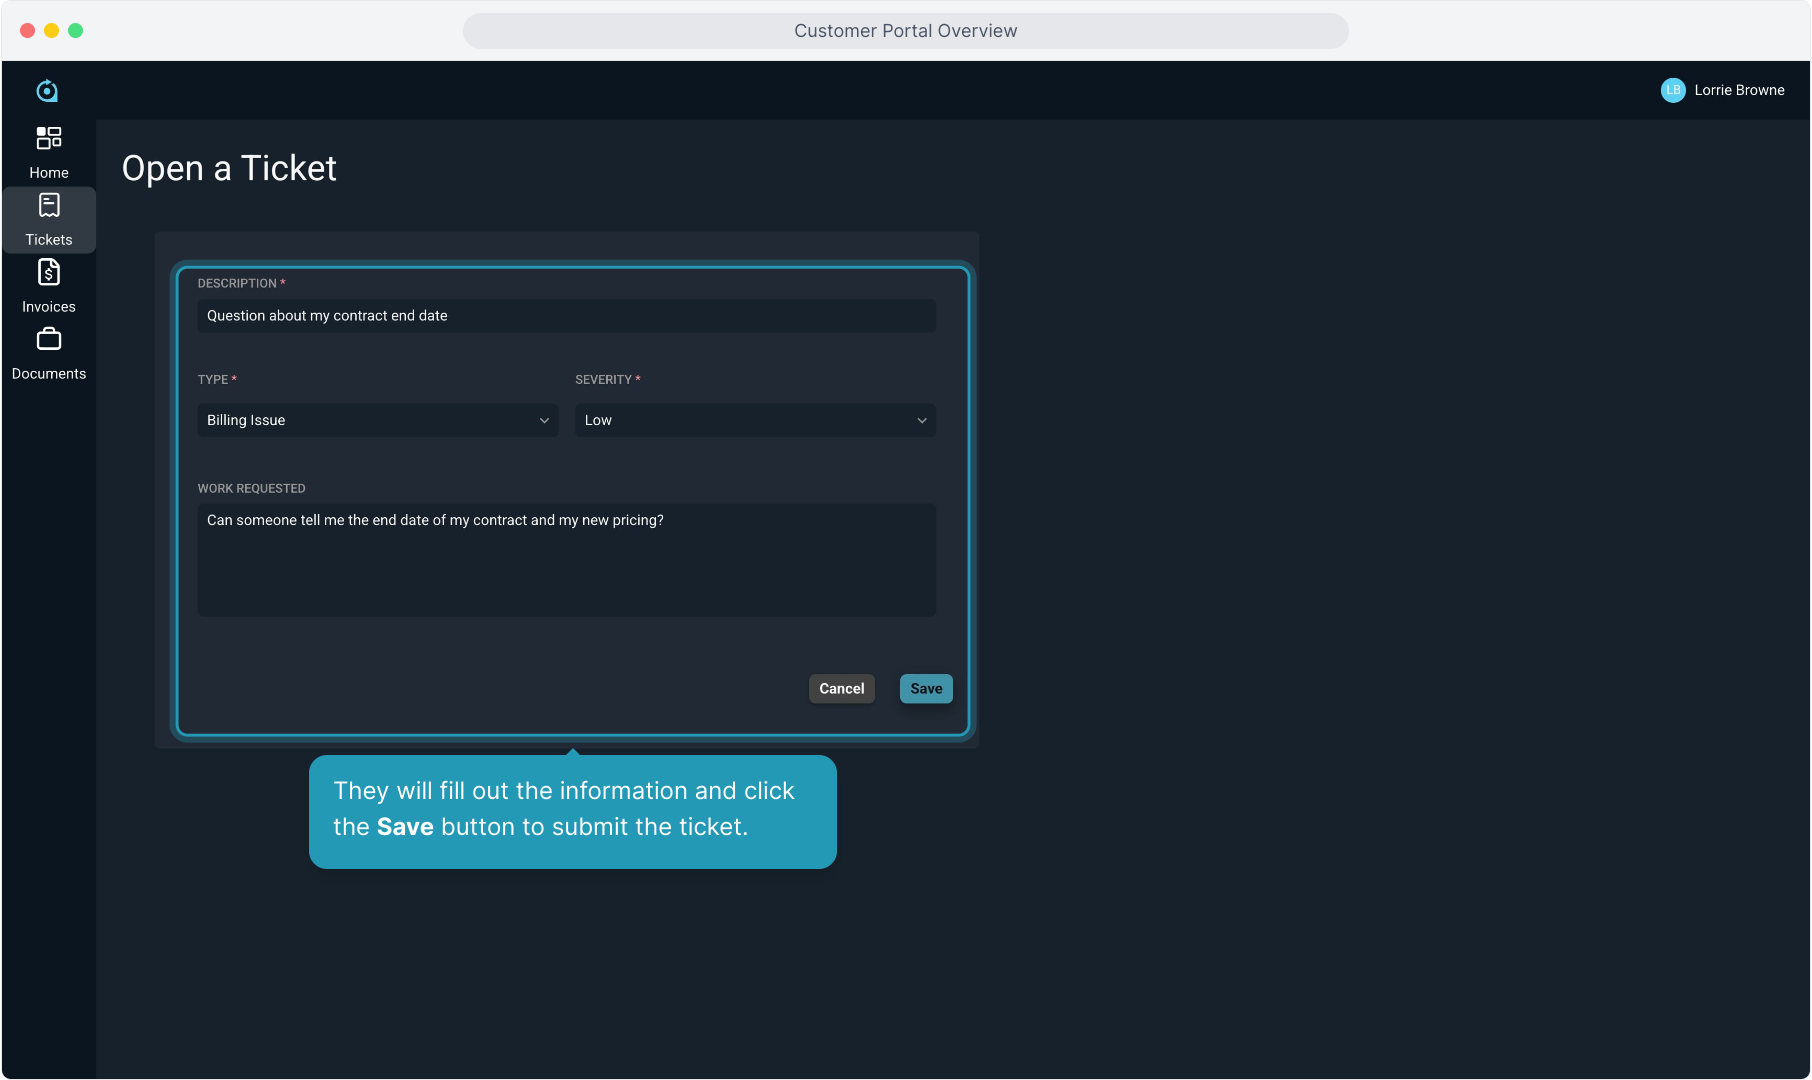
14. They will fill out the information and click the Save button to submit the ticket.
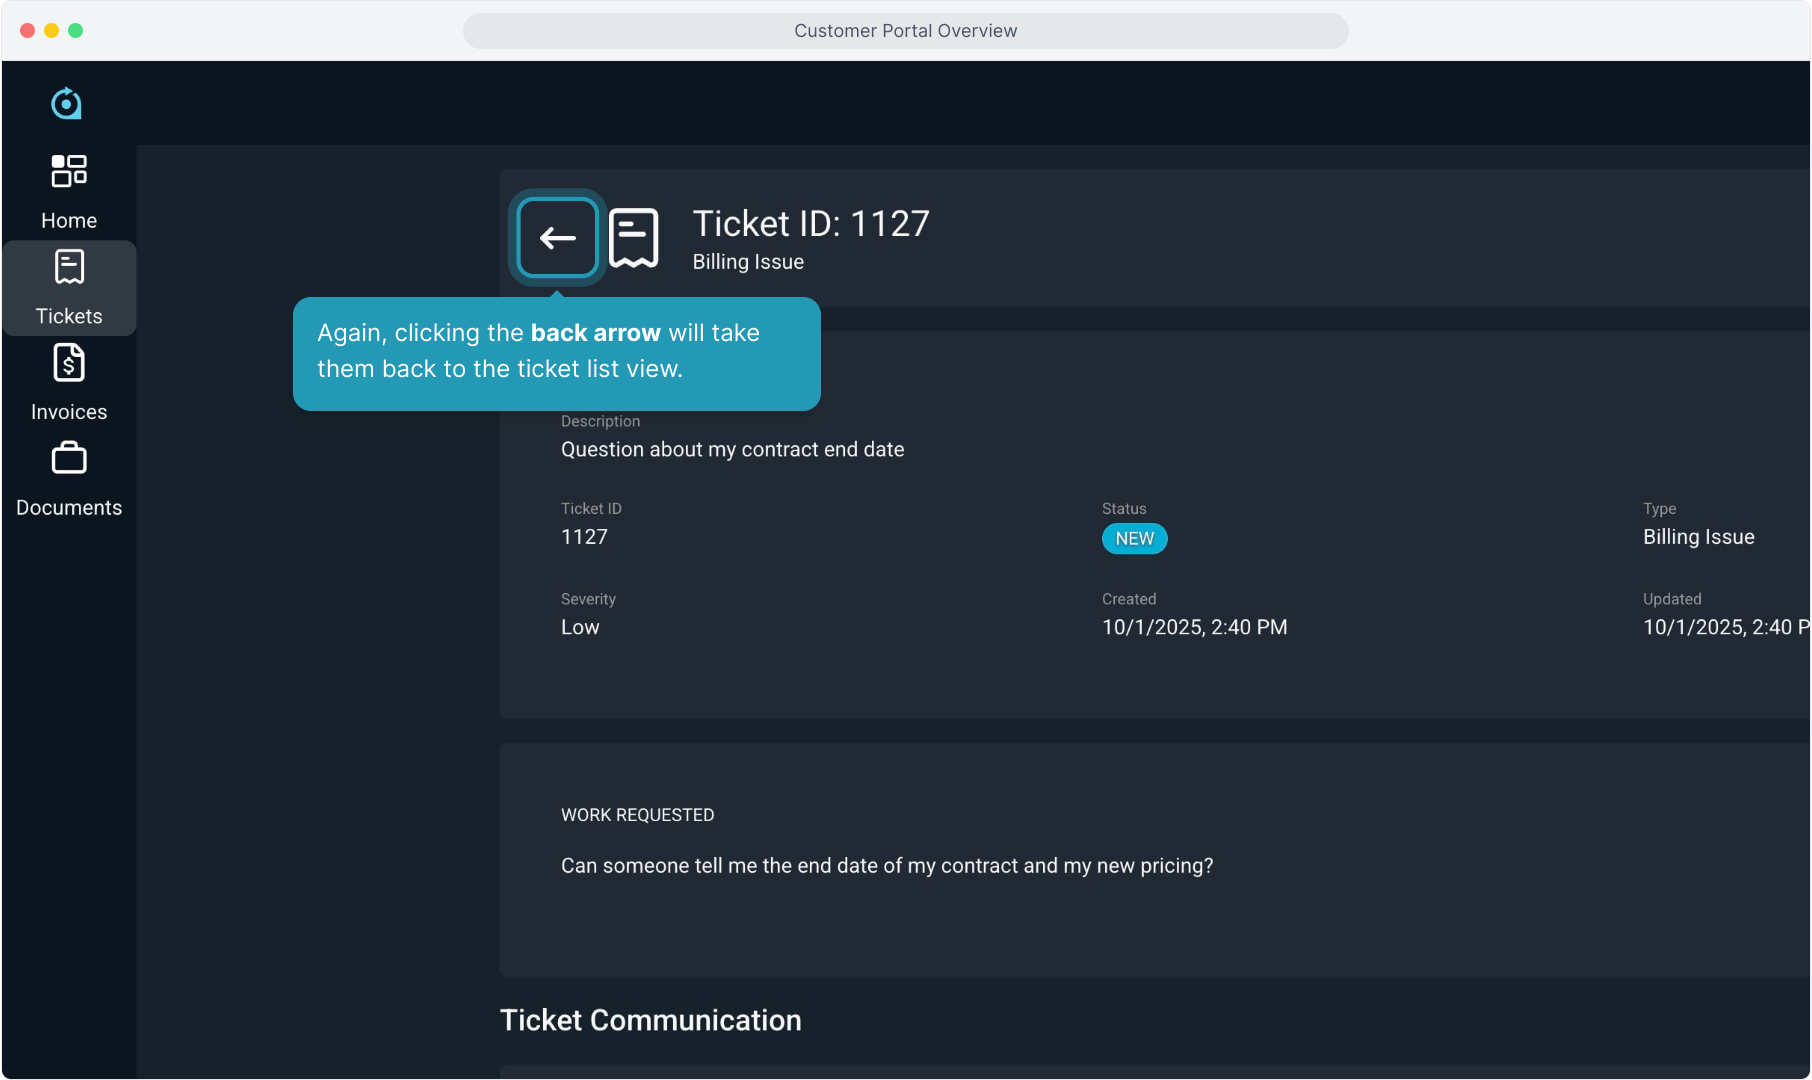
15. Again, clicking the back arrow will take them back to the ticket list view.
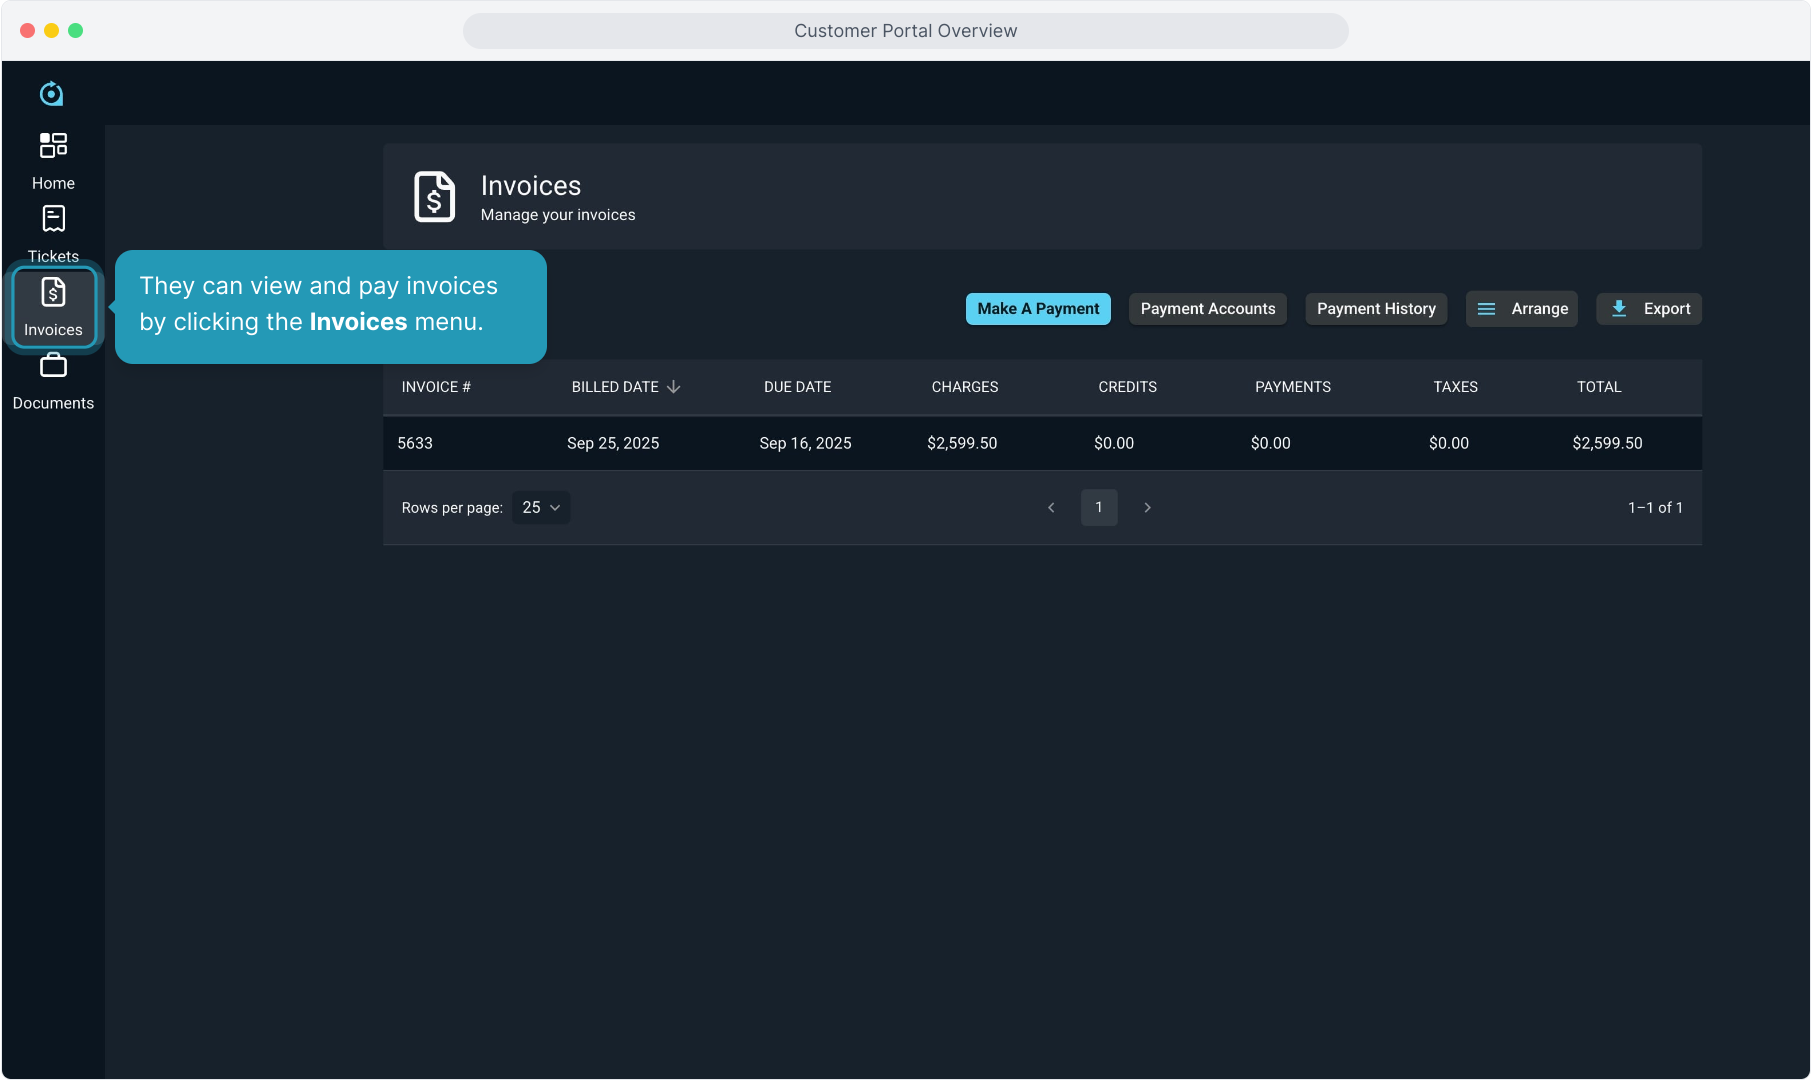
16. They can view and pay invoices by clicking the Invoices menu.
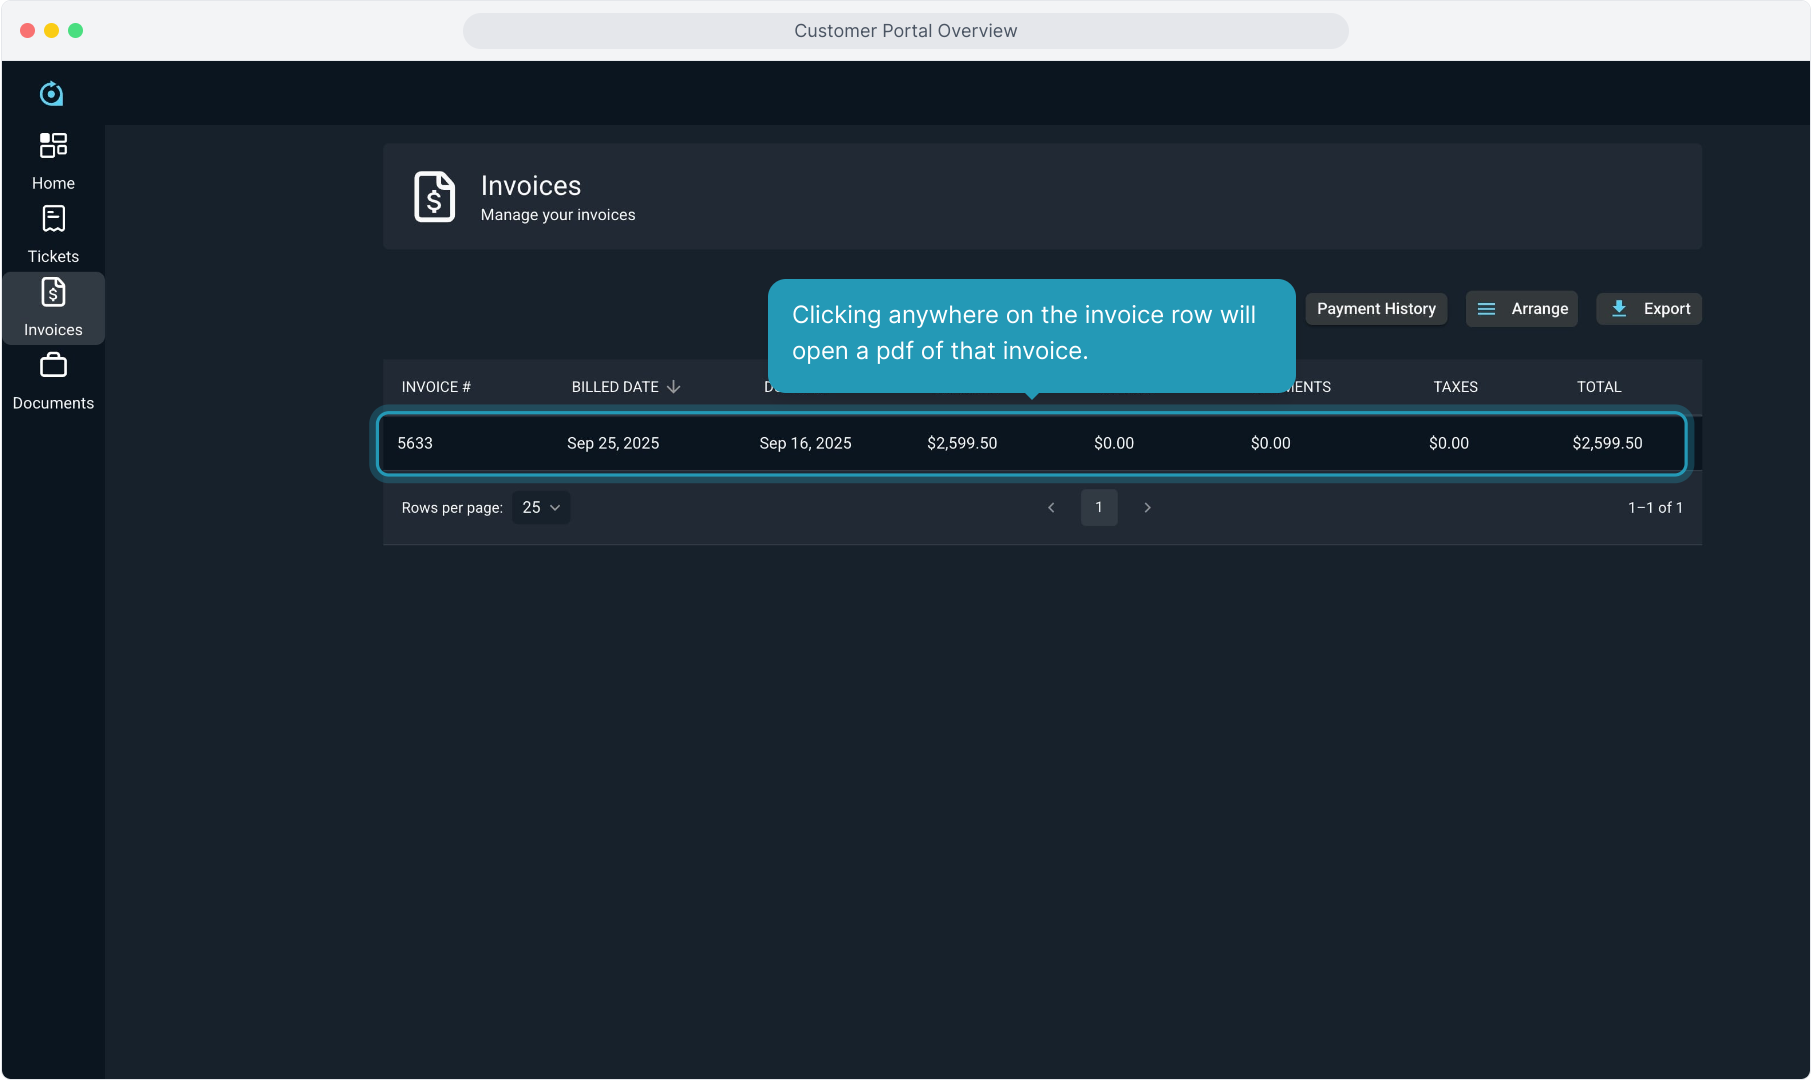
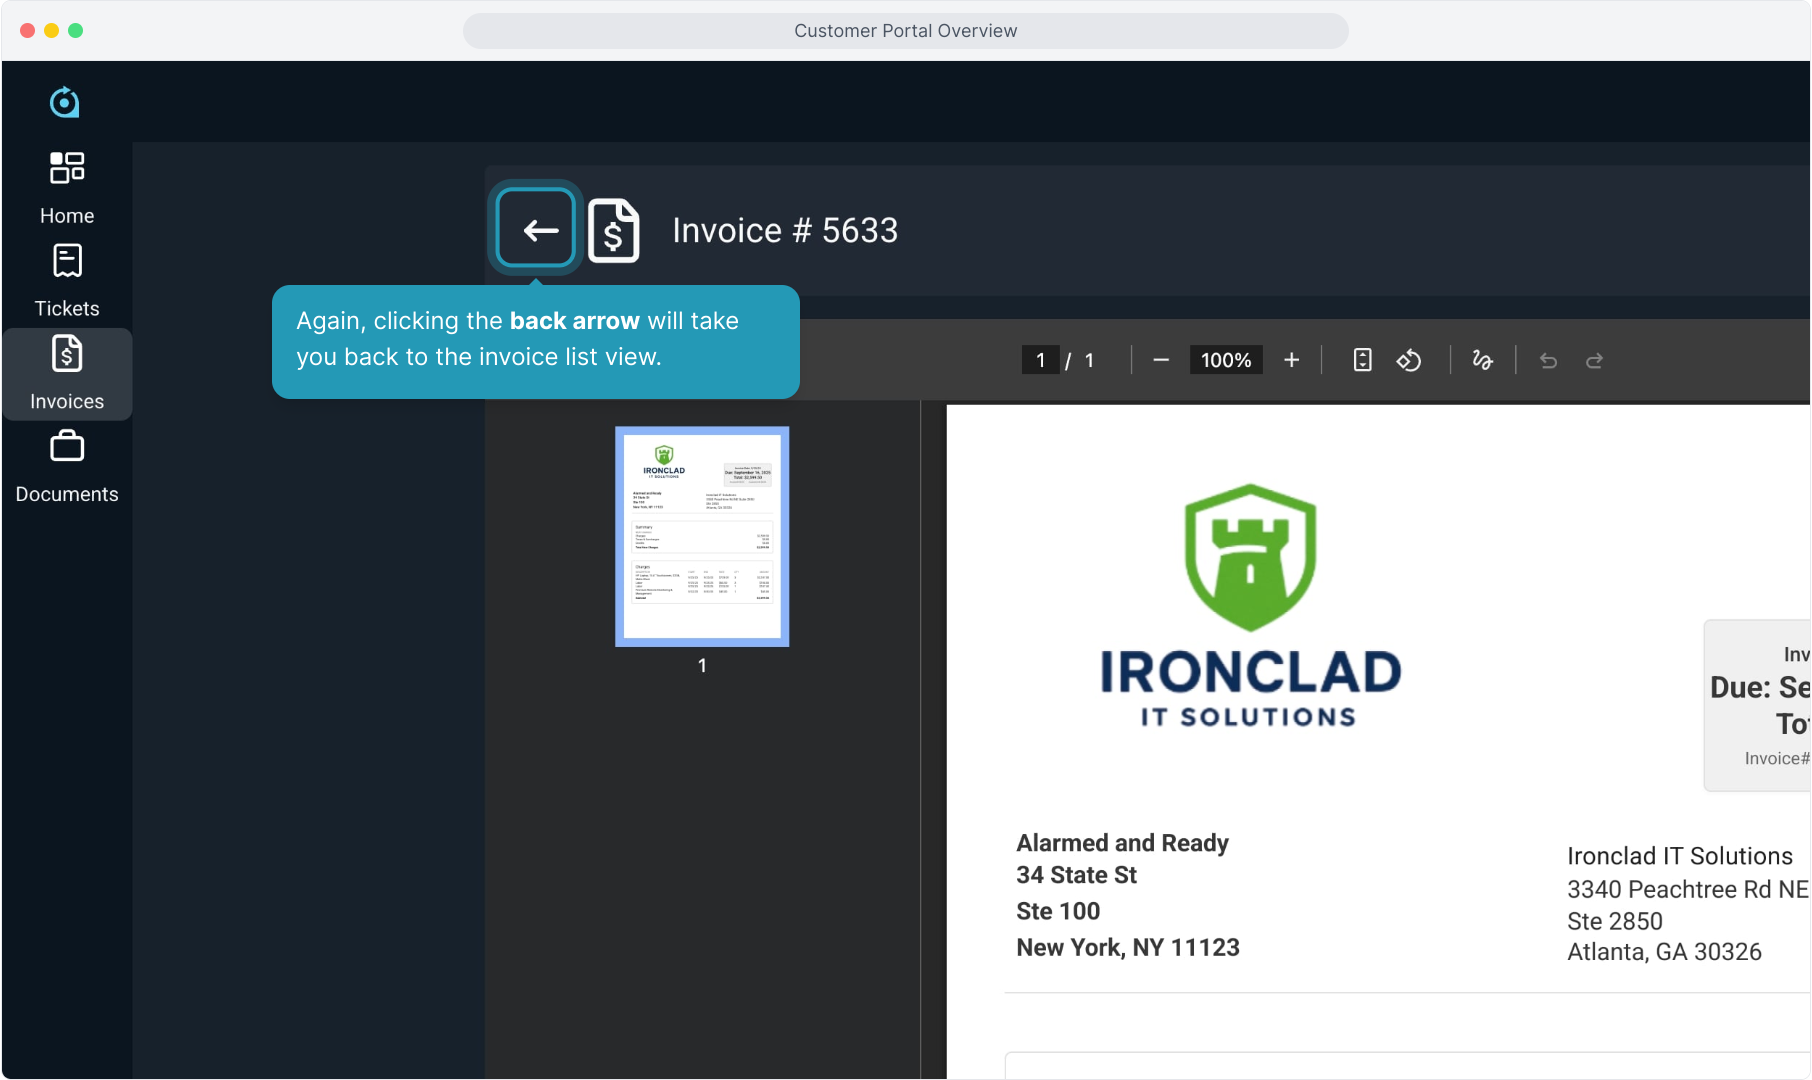
17. Clicking anywhere on the invoice row will open a pdf of that invoice.
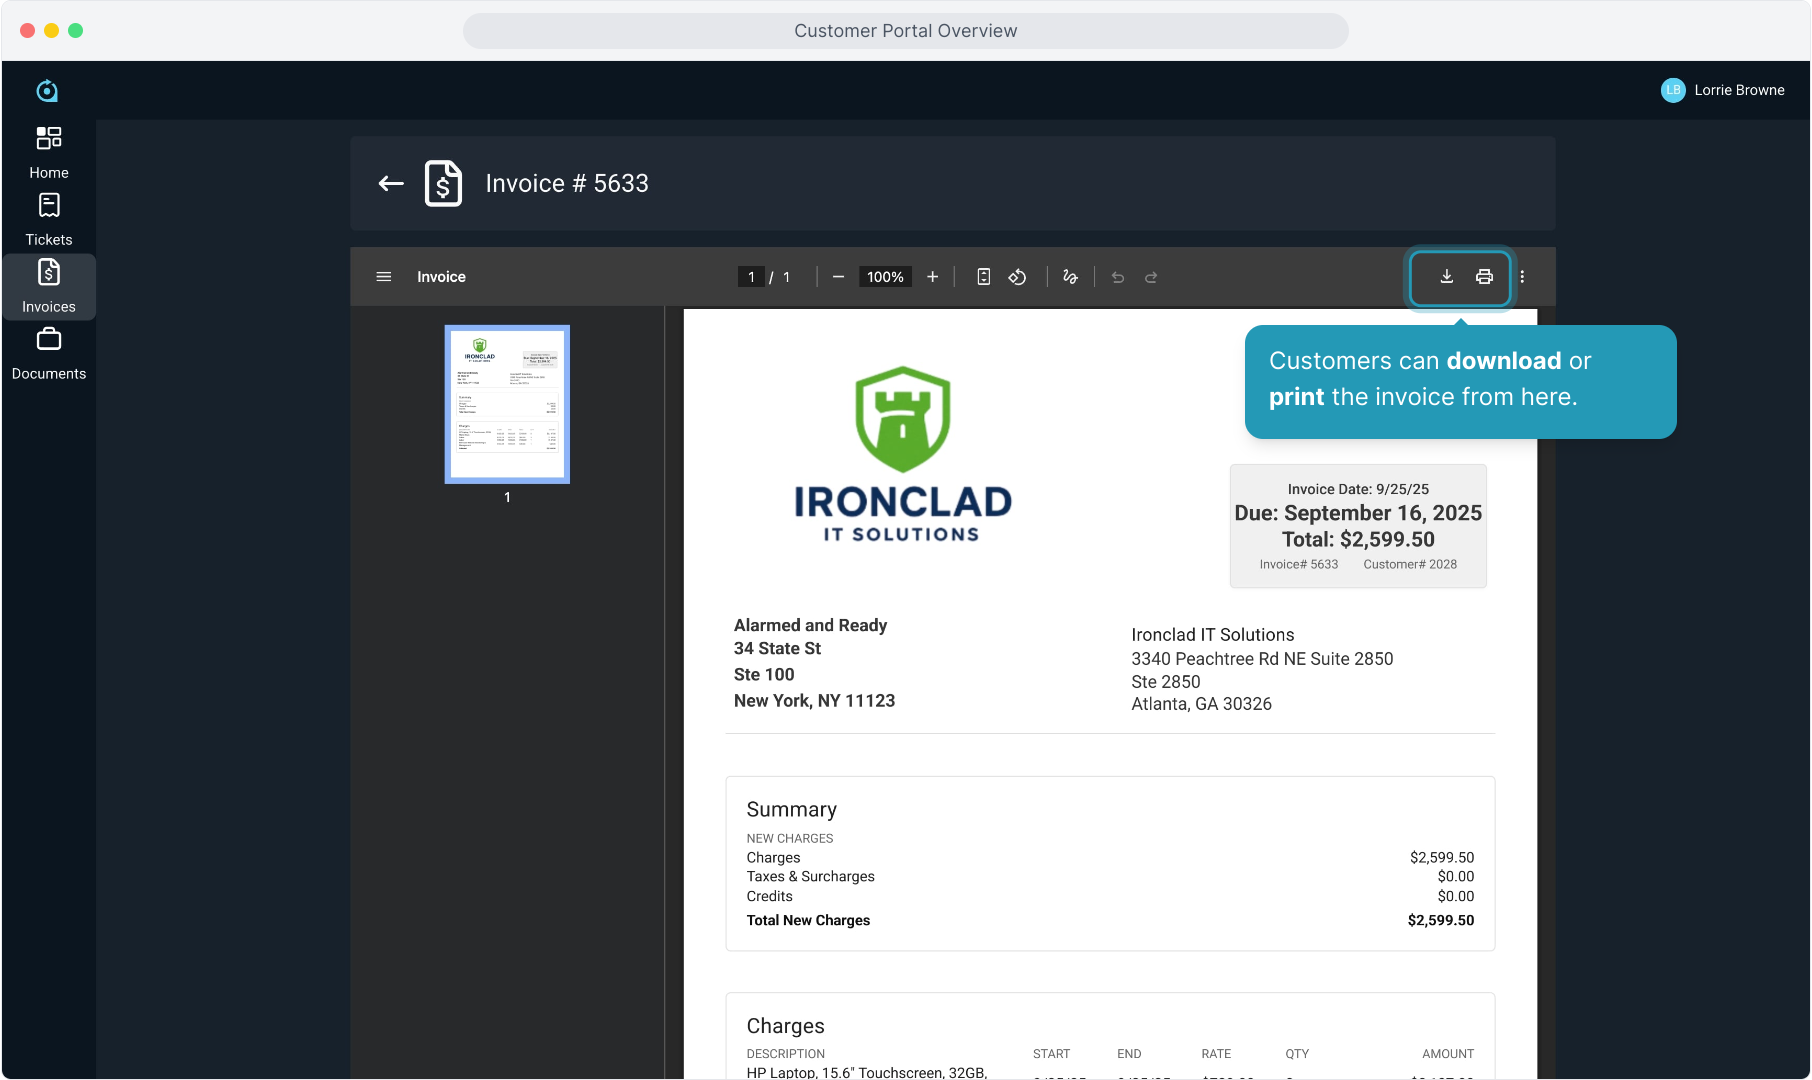
18. Customers can download or print the invoice from here.
19. Again, clicking the back arrow will take you back to the invoice list view.
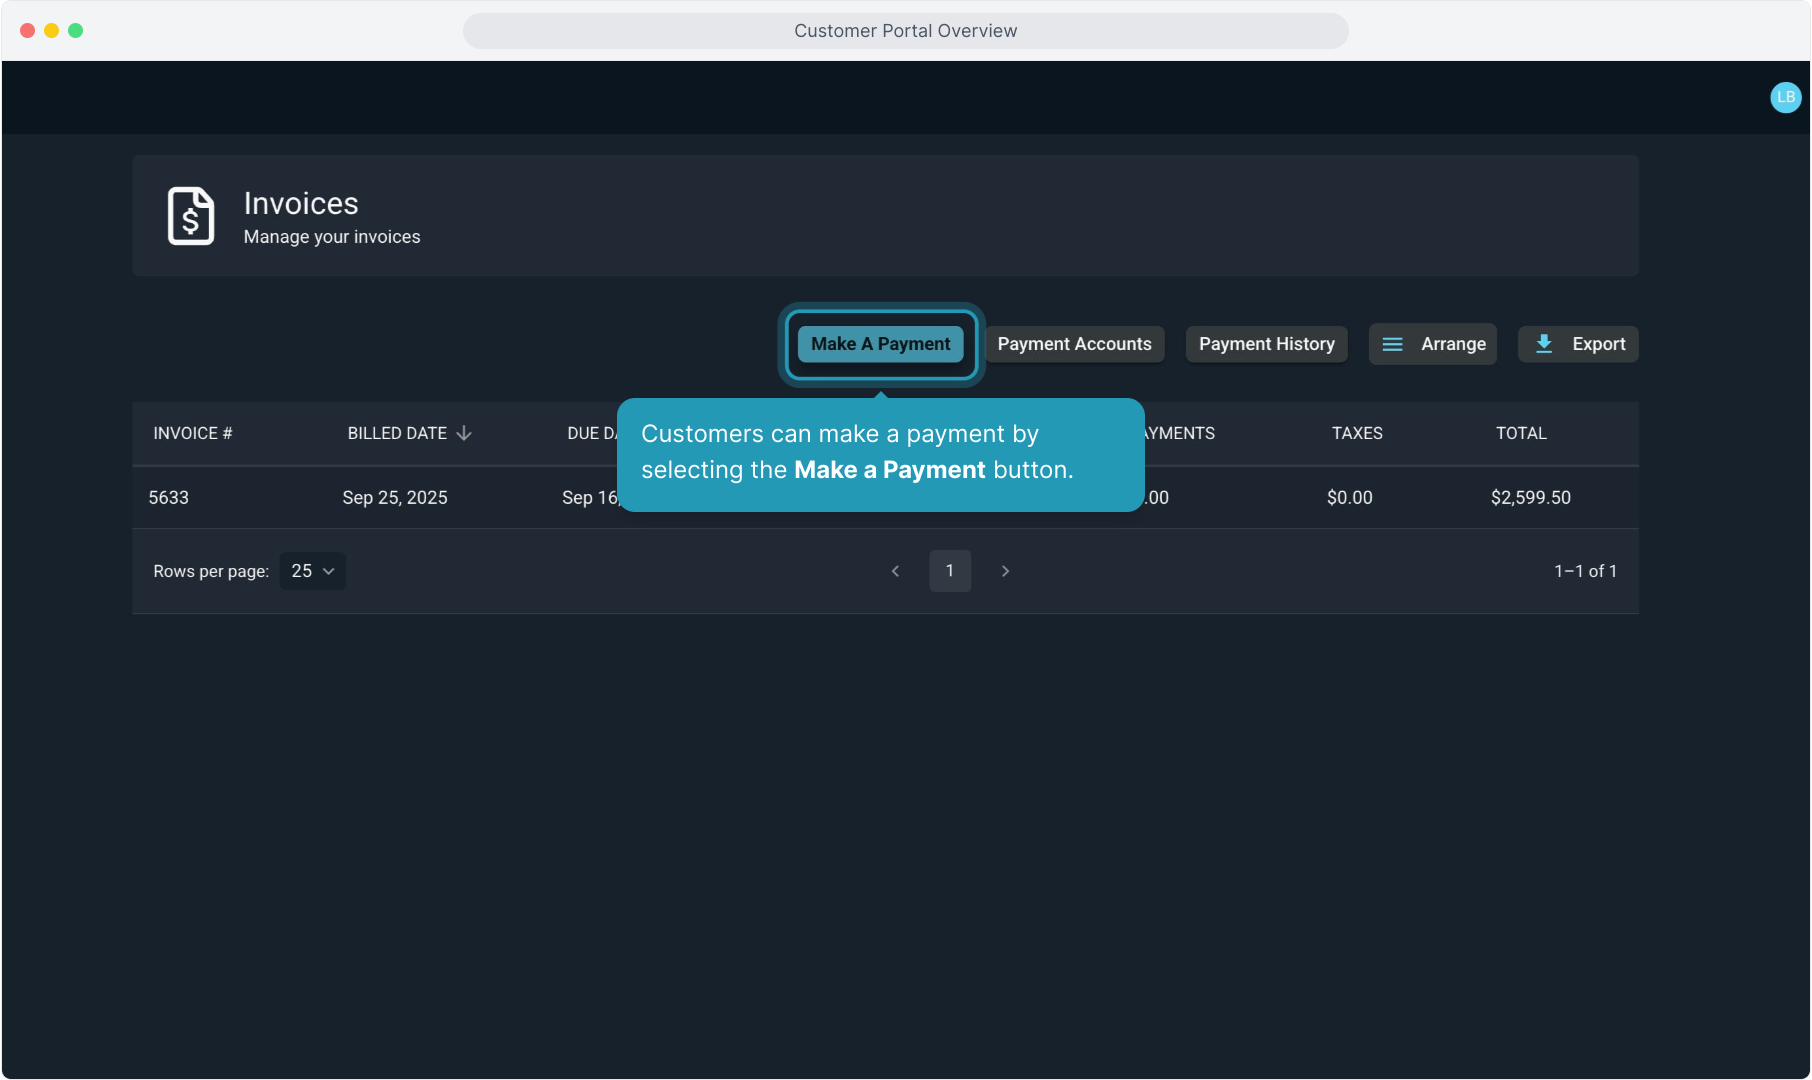
20. Customers can make a payment by selecting the Make a Payment button.
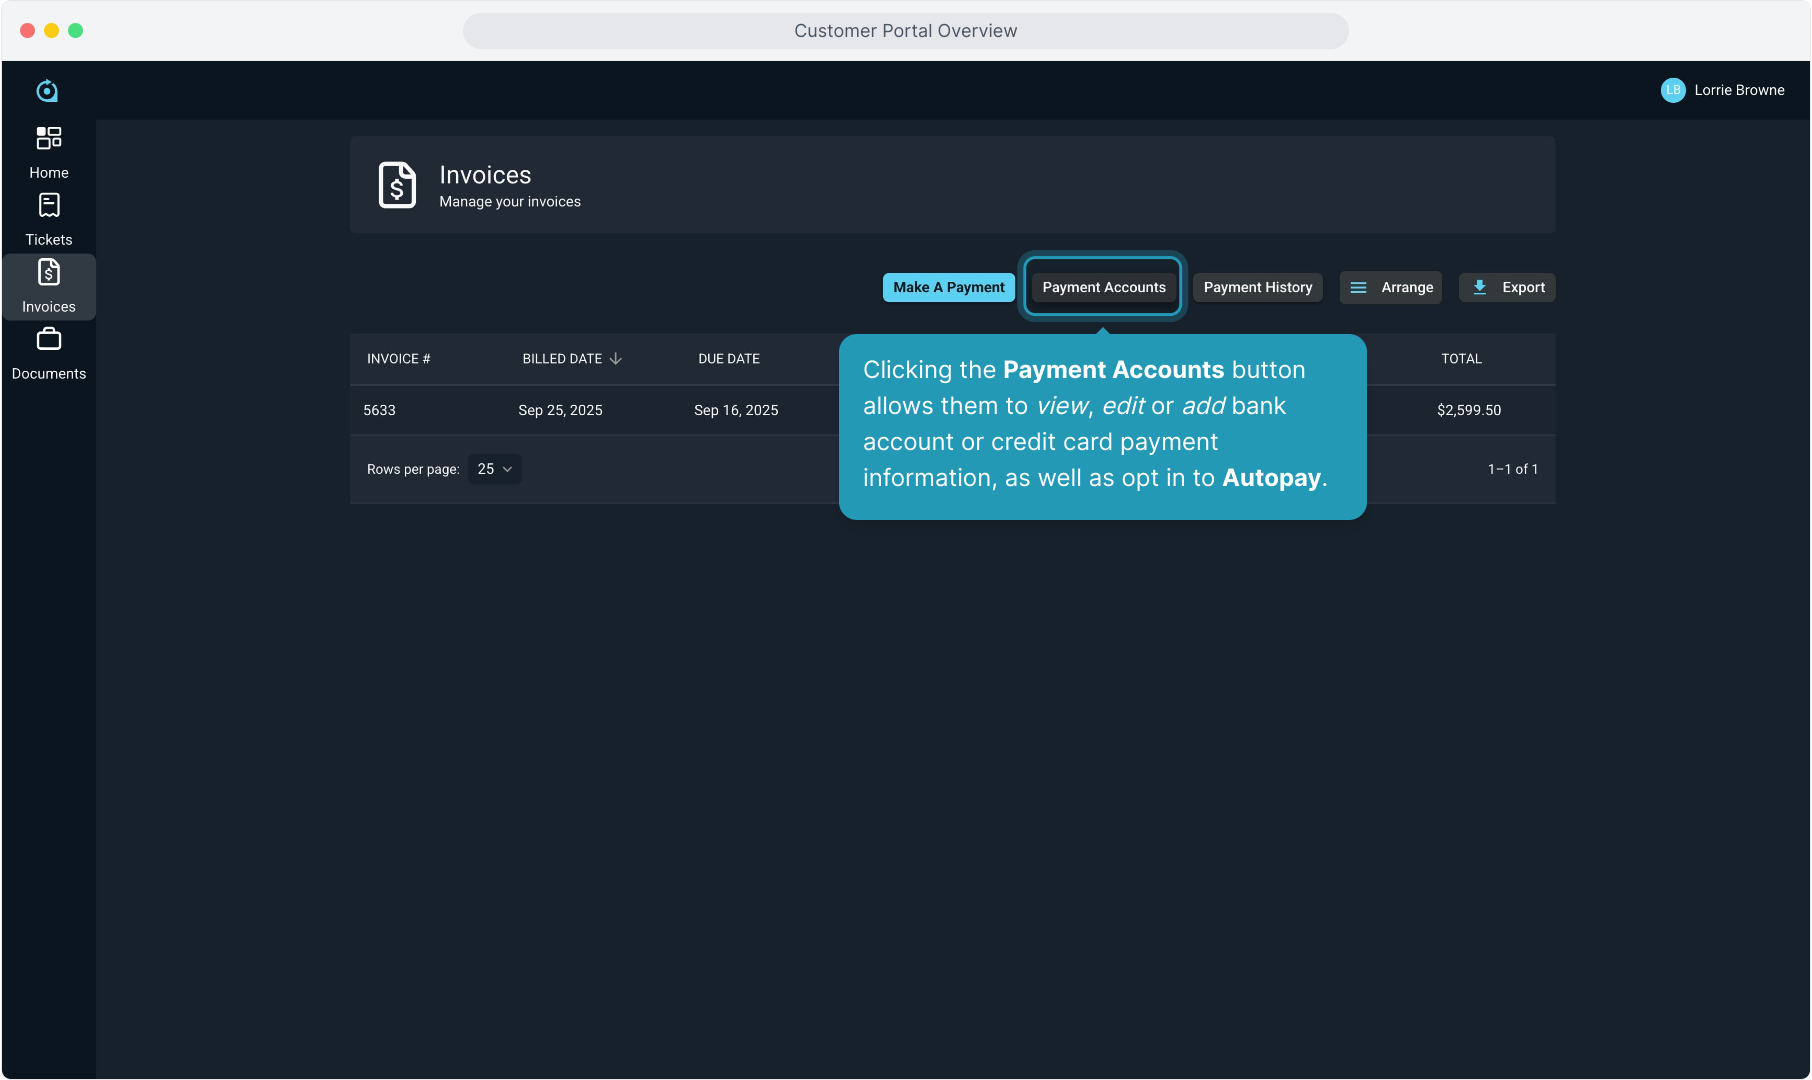
21. Clicking the Payment Accounts button allows them to view, edit or add bank account or credit card payment information, as well as opt in to Autopay.
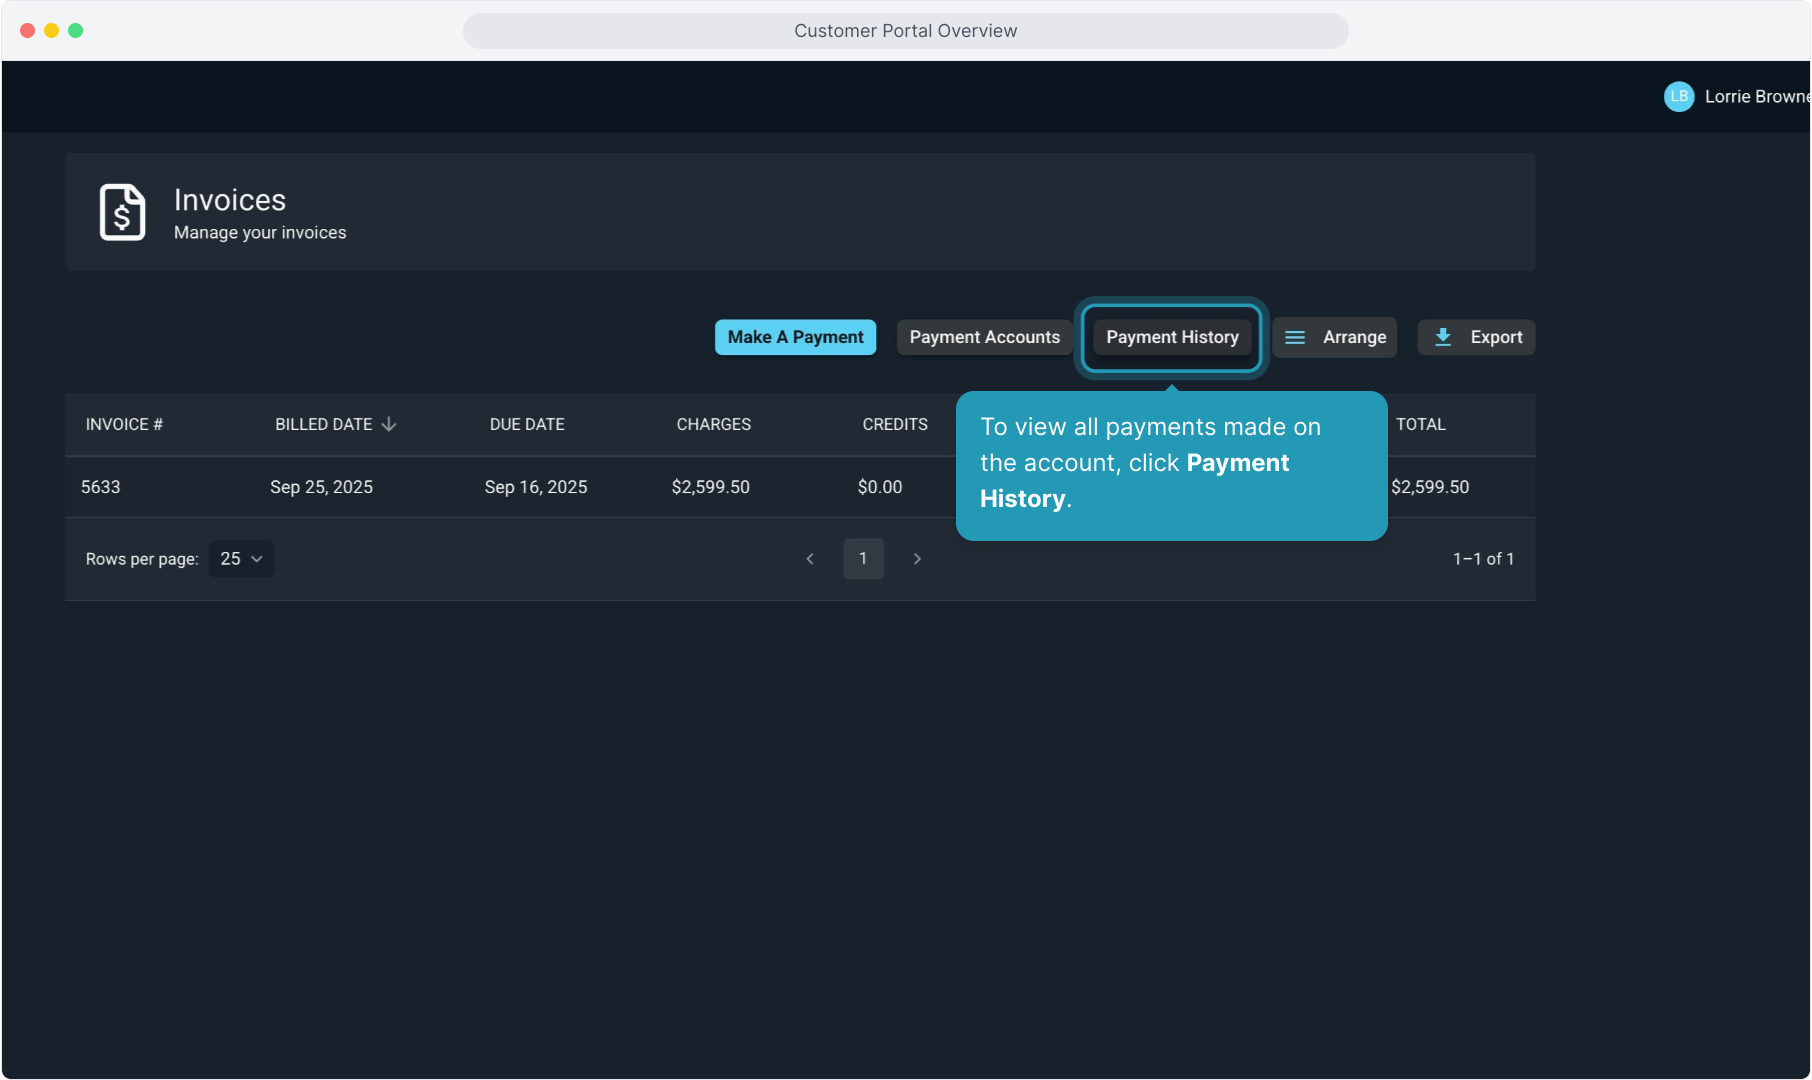
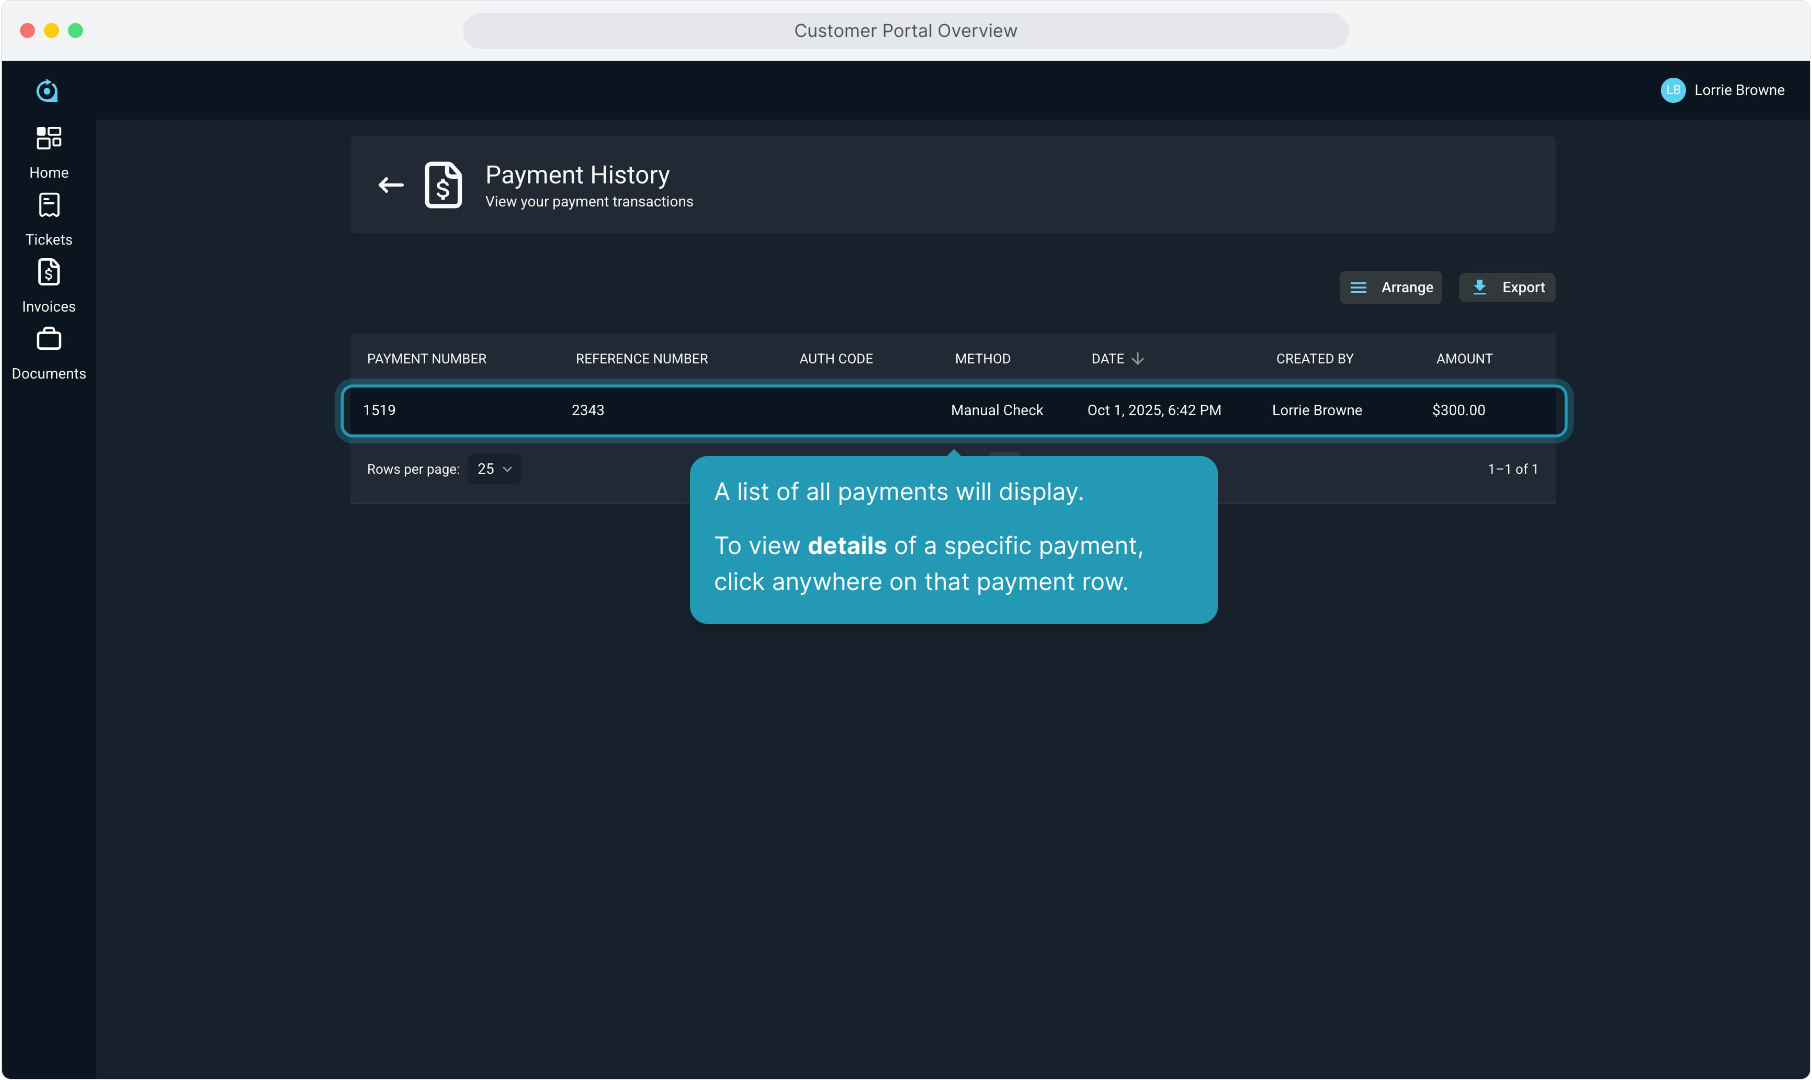
22. To view all payments made on the account, click Payment History.
23. A list of all payments will display.
To view details of a specific payment, click anywhere on that payment row.
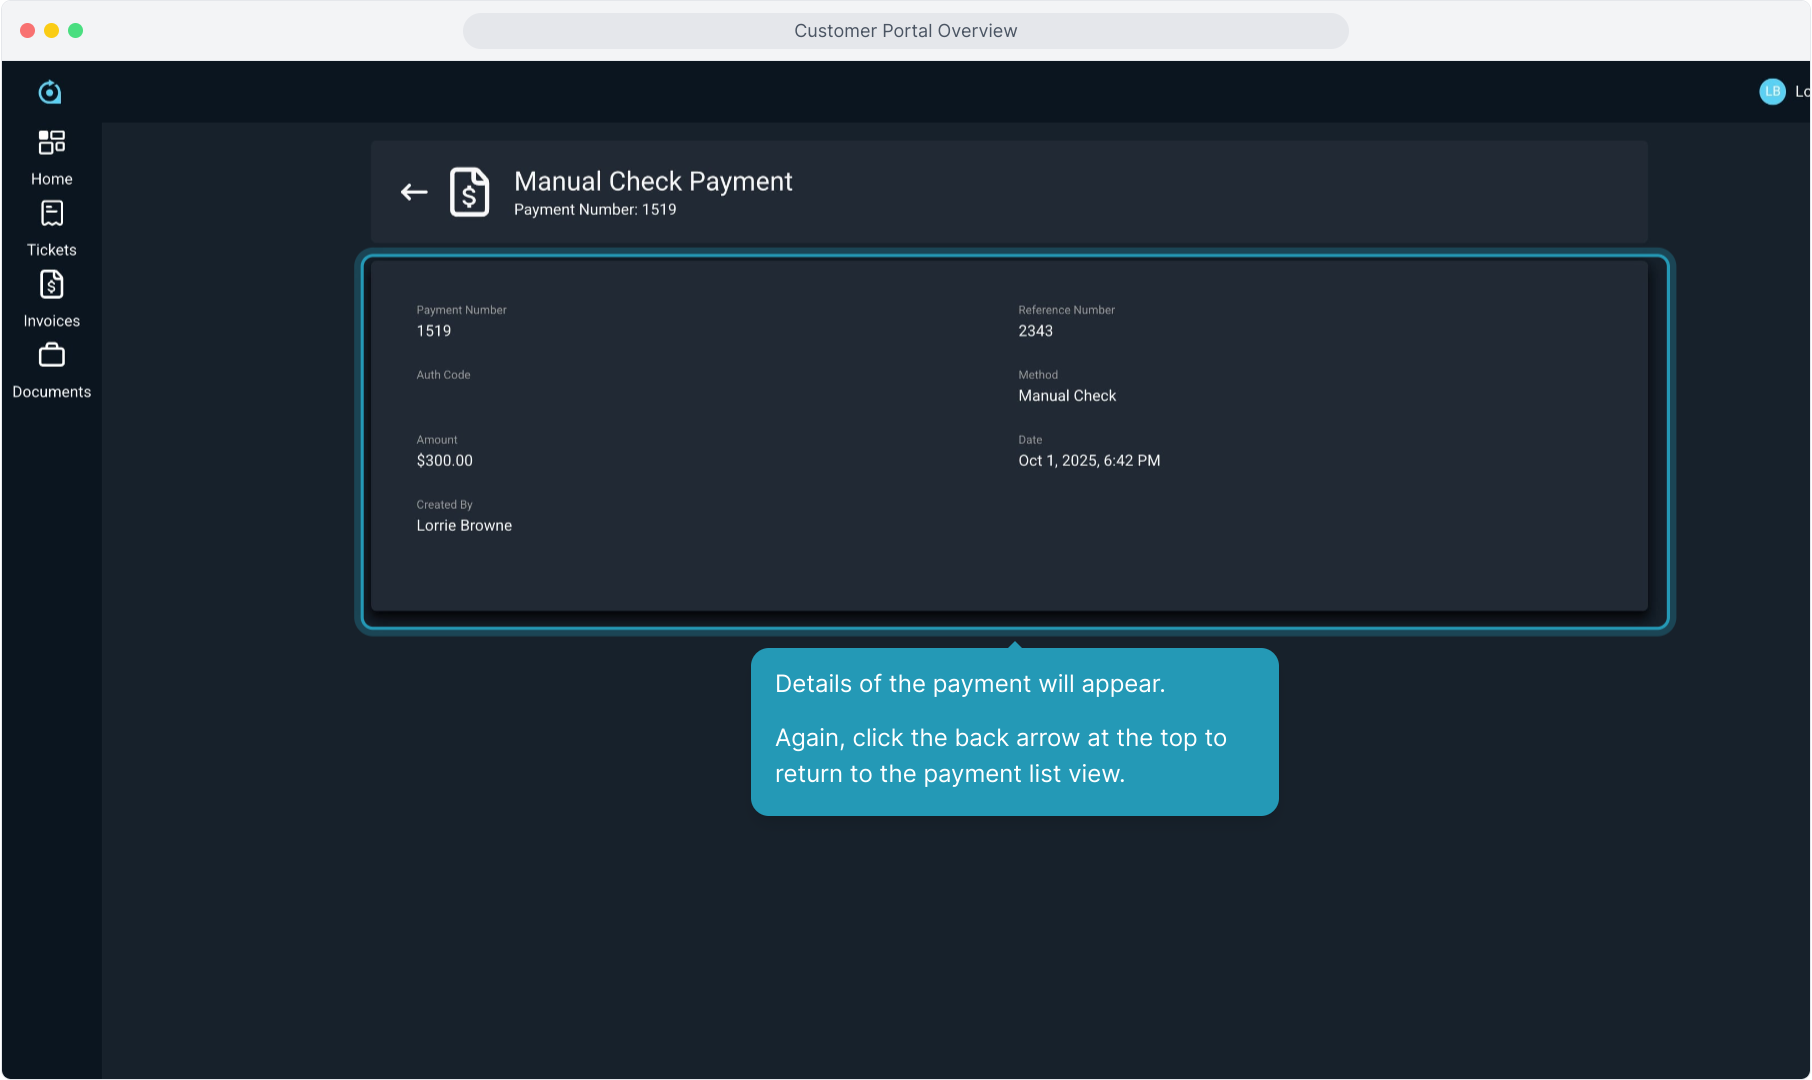
24. Details of the payment will appear.
Again, click the back arrow at the top to return to the payment list view.
25. Customer-facing documents are on the roadmap and that functionality will be added shortly.
