How To Guide: Optional Ticket Customization & Configuration
1. Introduction
2. All of the optional ticket configuration settings are found on the Admin menu. Click System Settings.

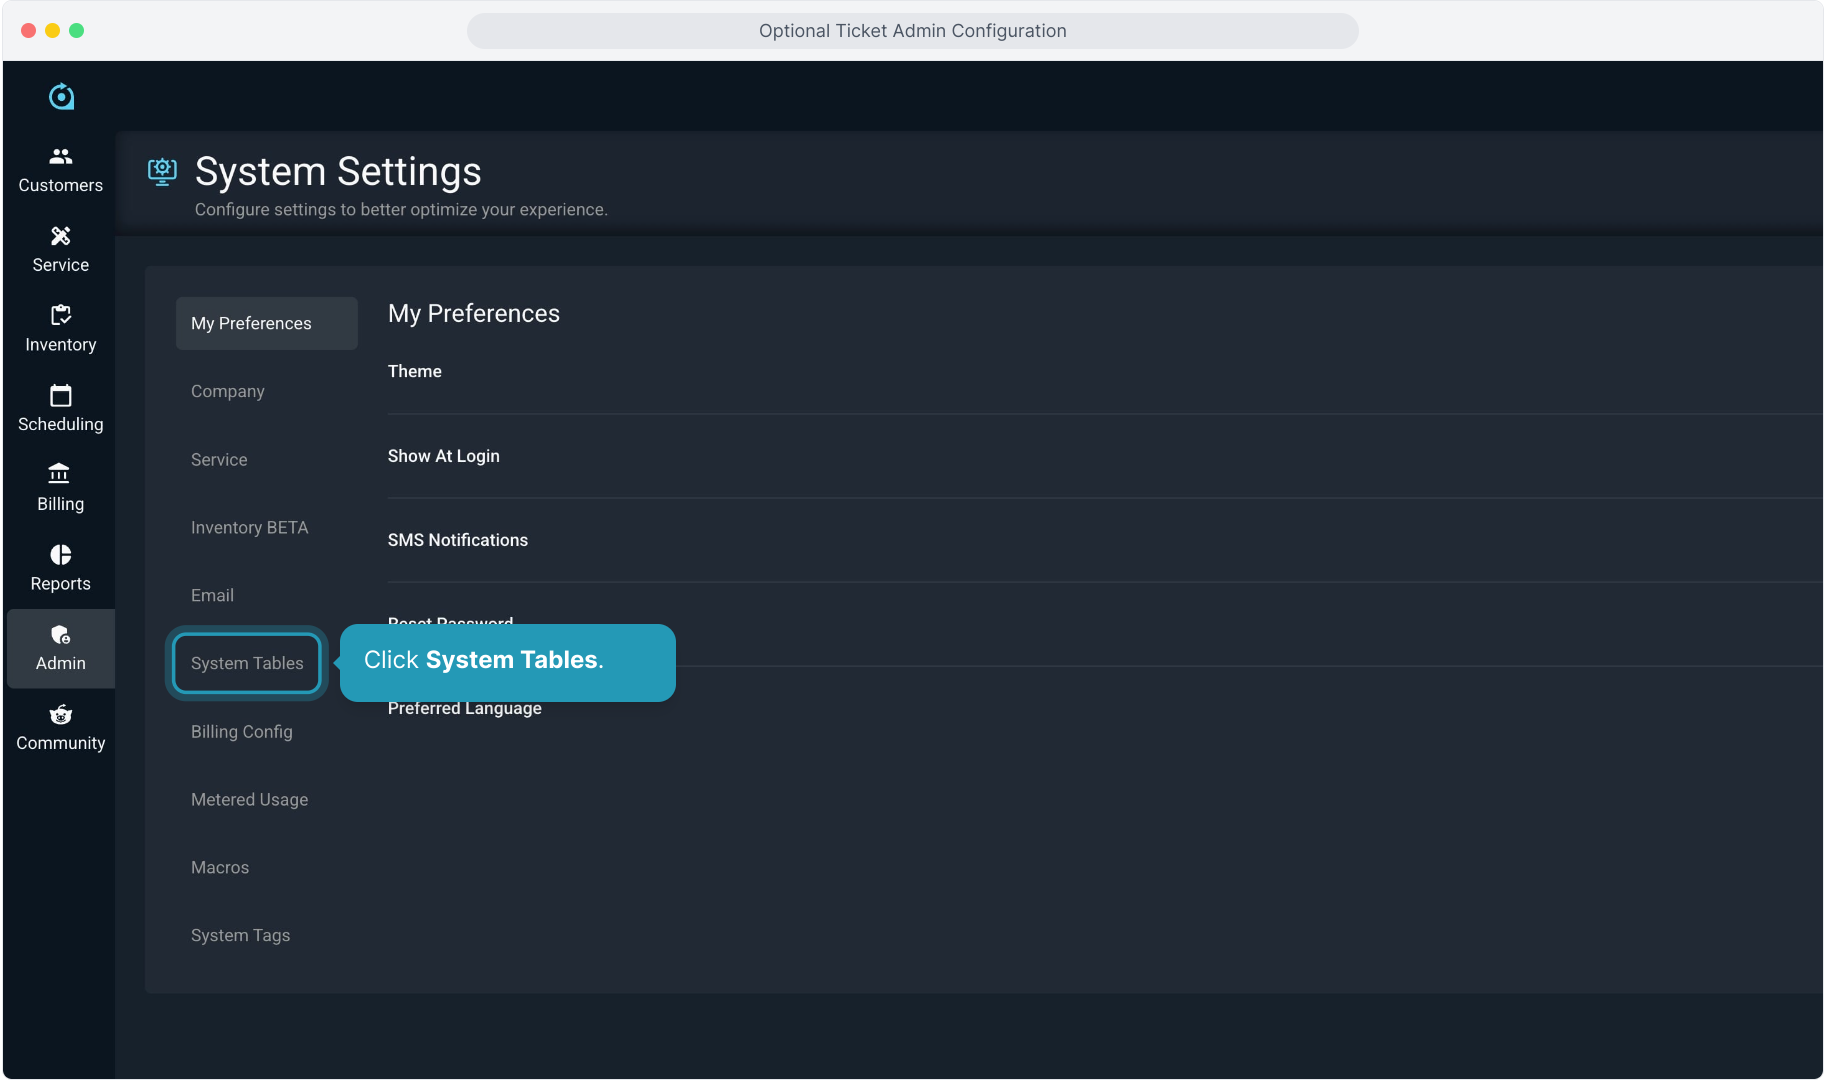
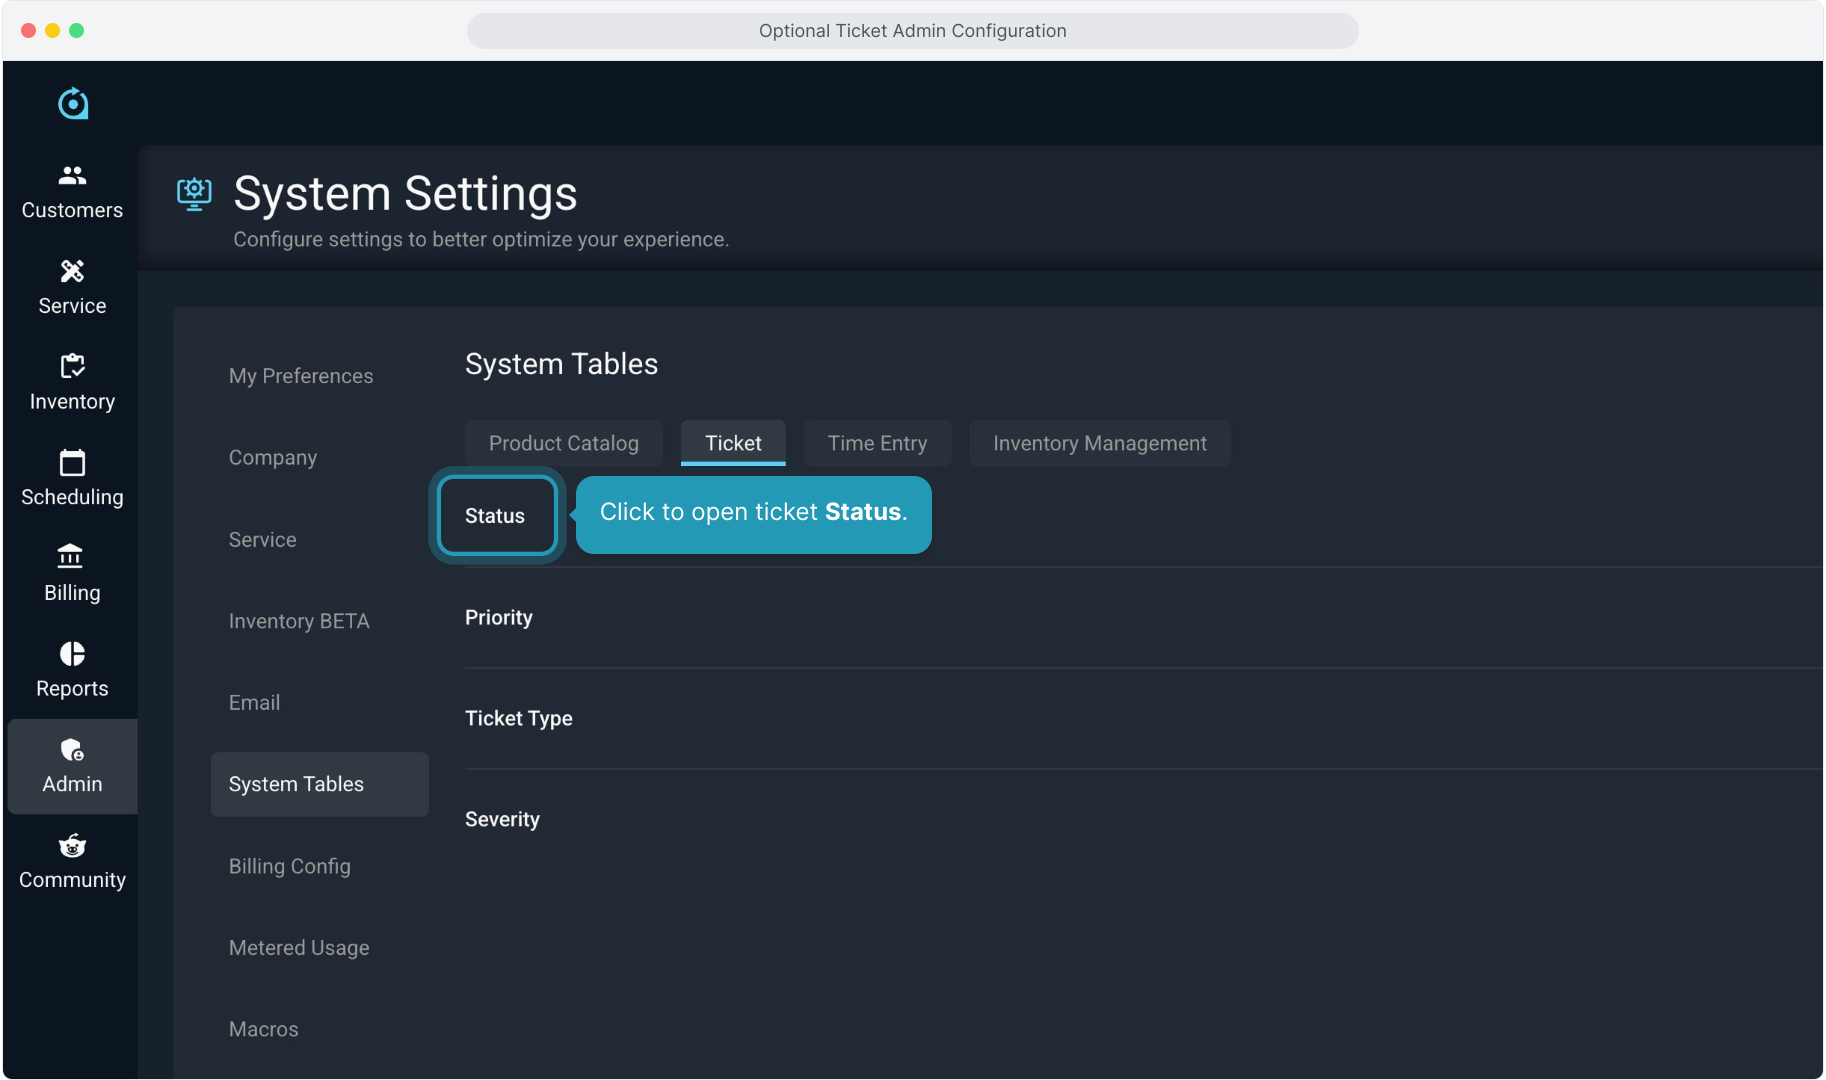
3. Click System Tables.
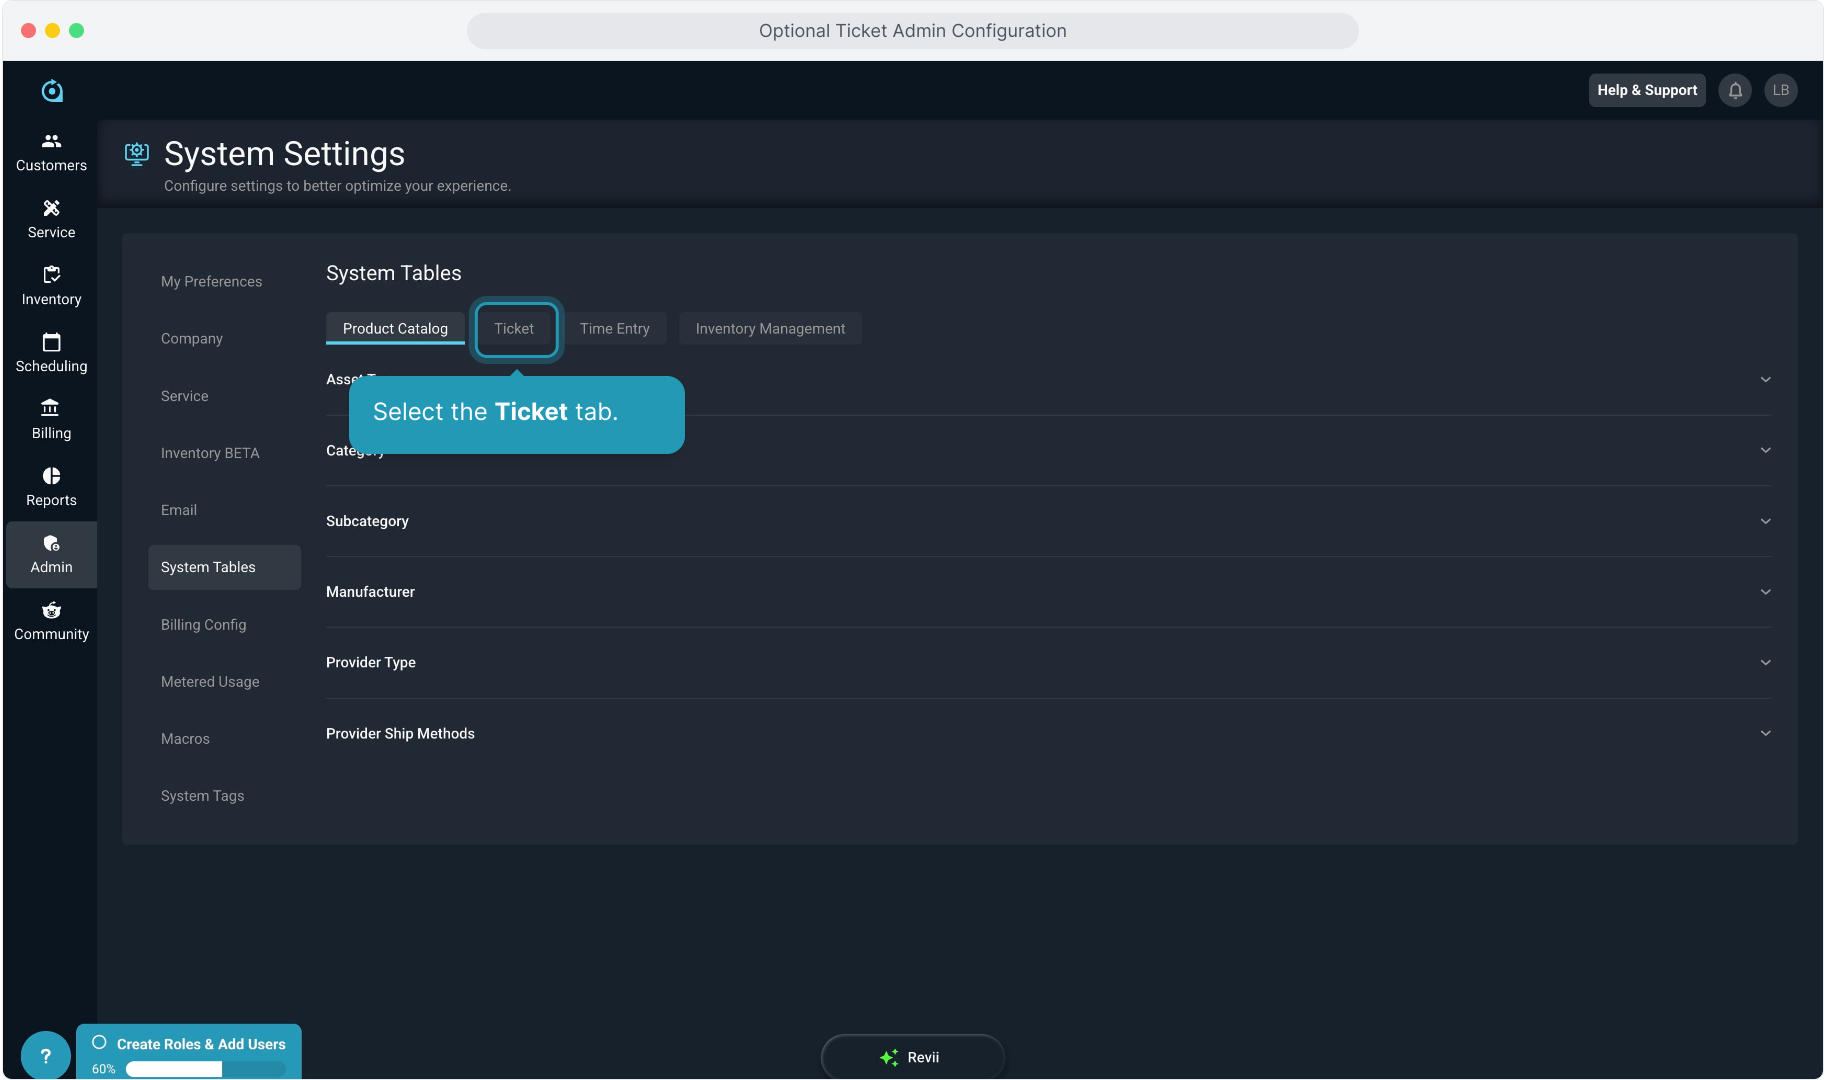
4. Select the Ticket tab.
5. Click to open ticket Status.
6. Your system comes pre-loaded with standard statuses of New, Open, Pending, Closed, and Void.
You can edit these to add identifying colors, but you cannot remove these standard system statuses.
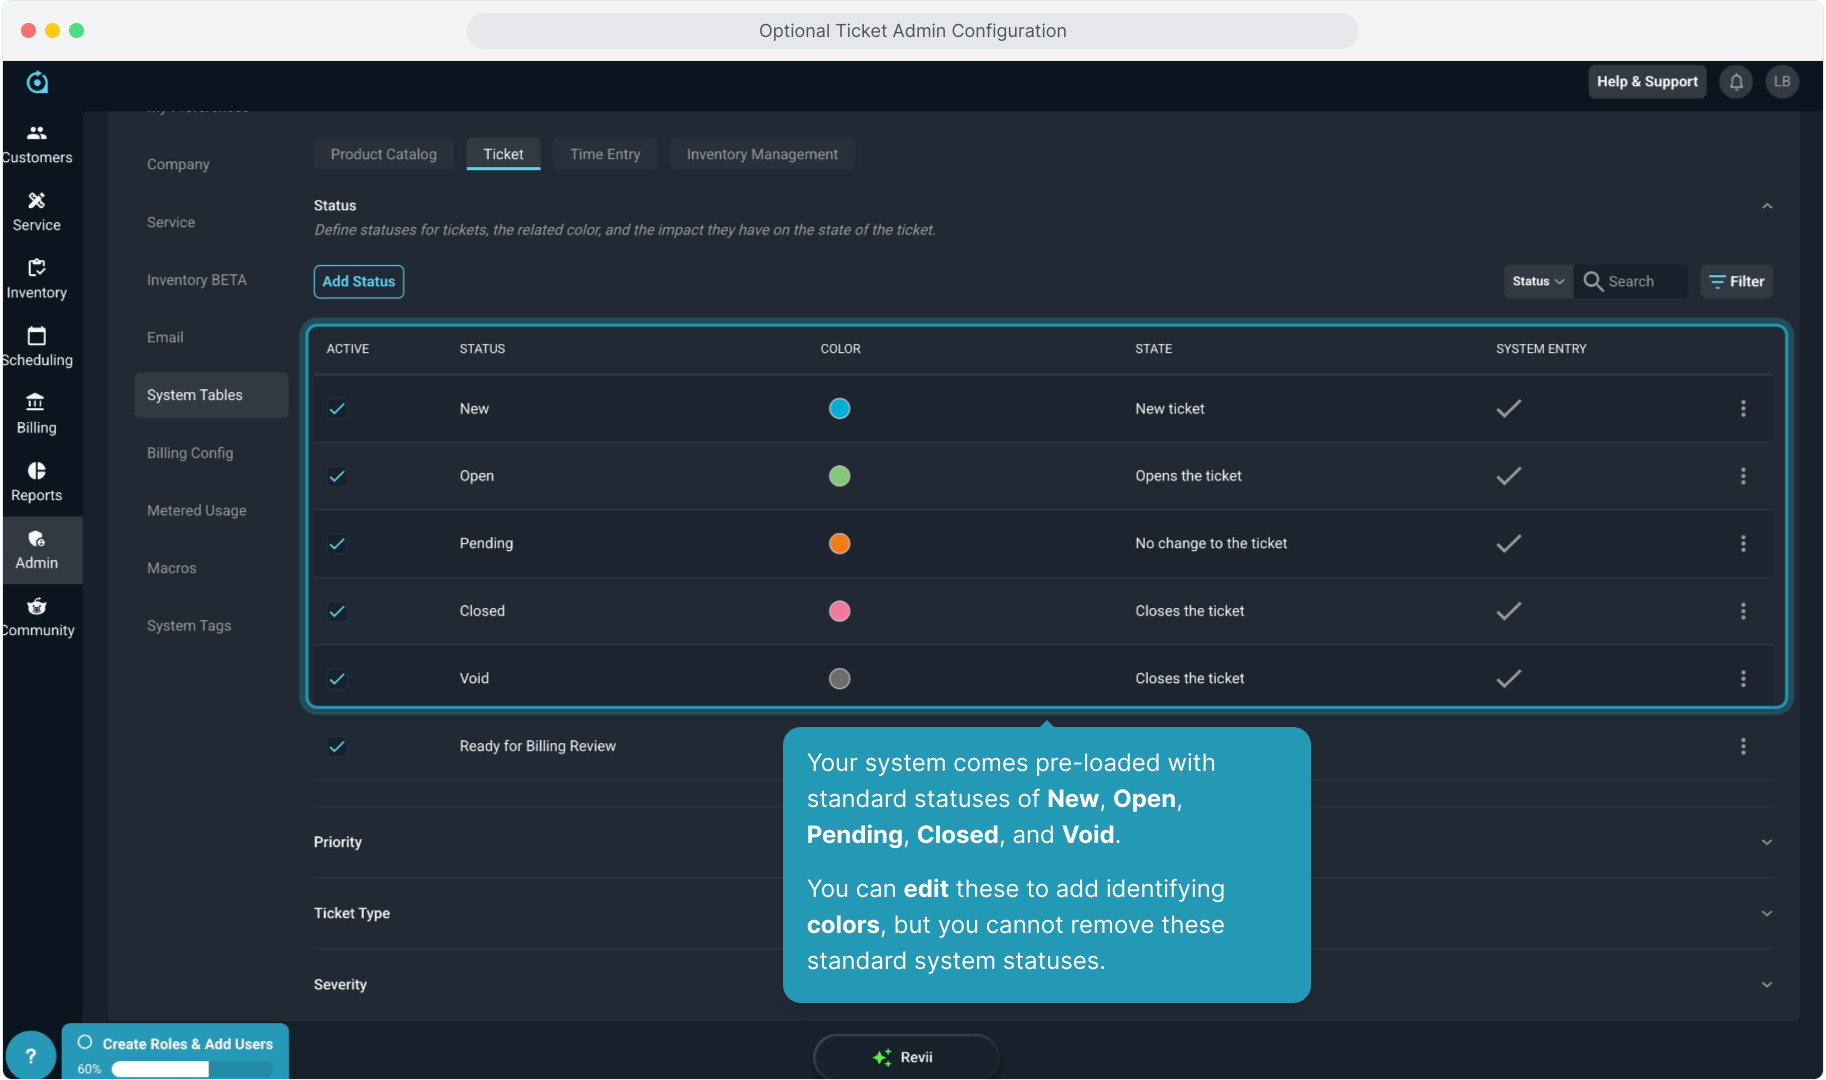
7. To add additional statuses, click the Add Status button.

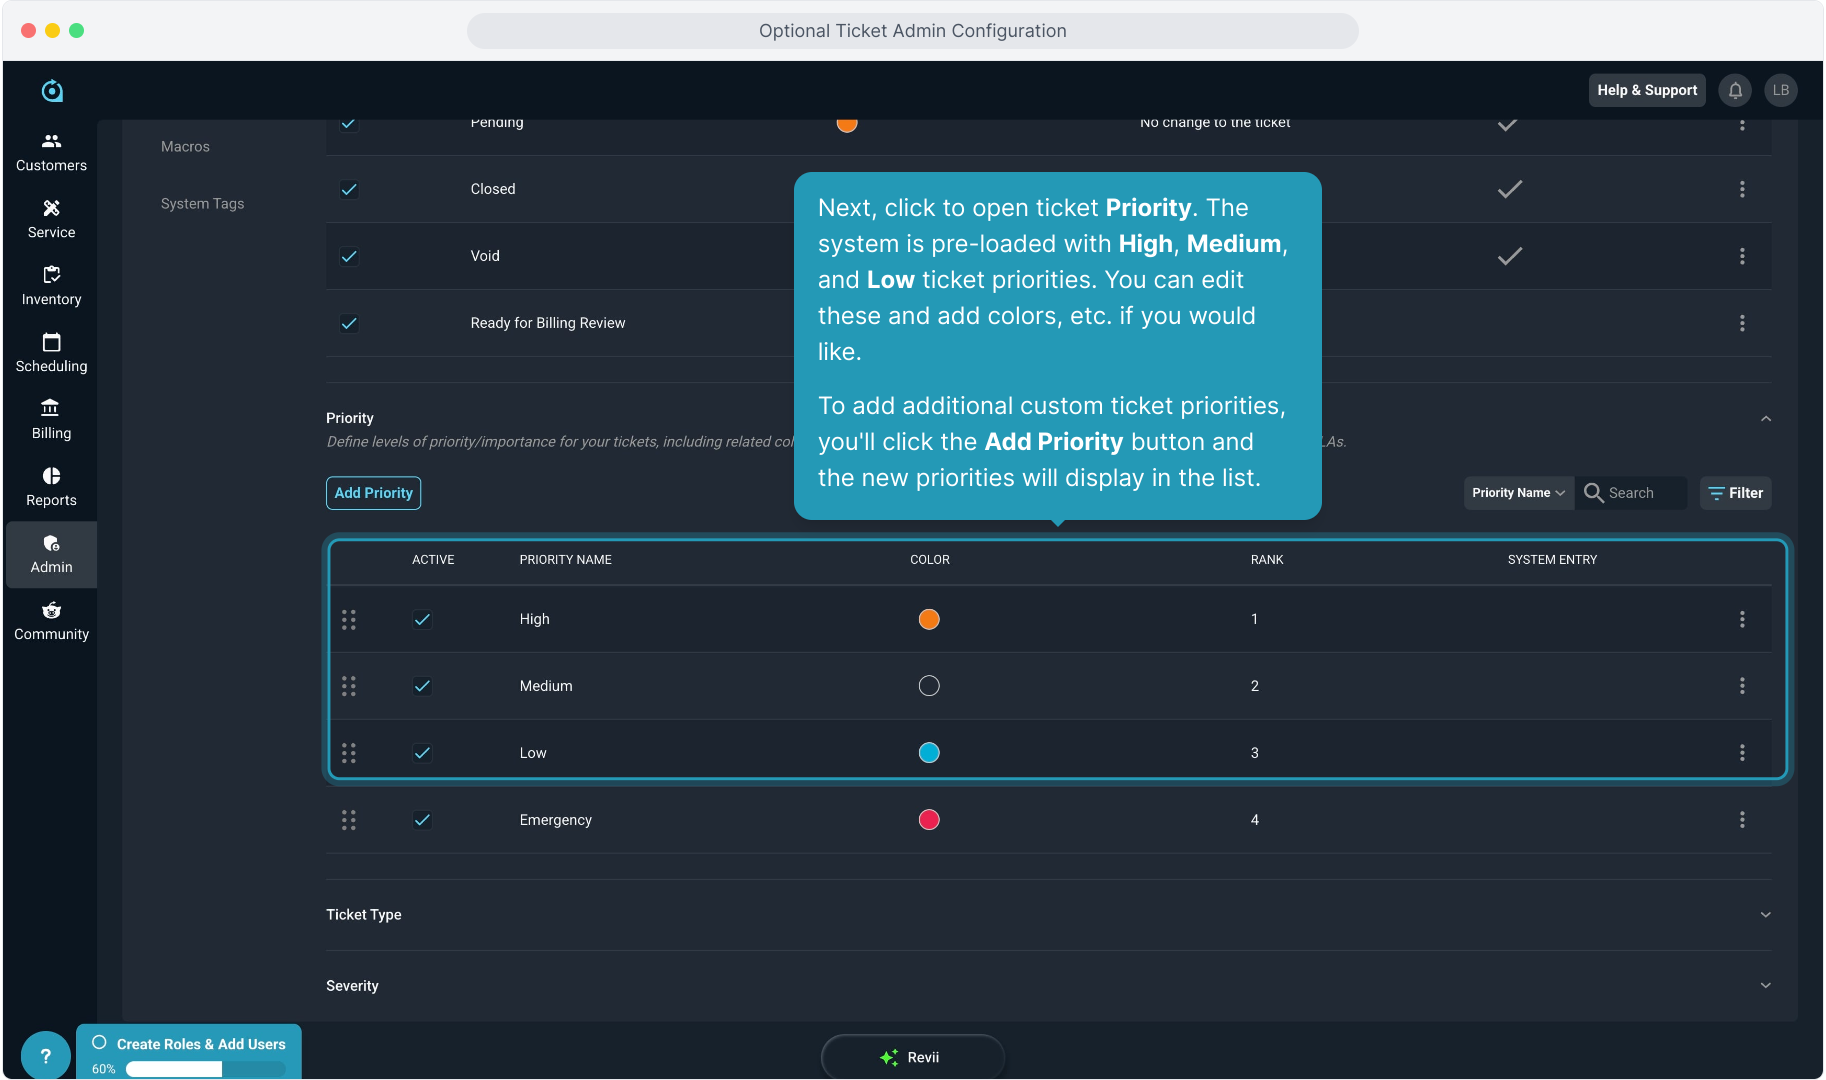
8. Next, click to open ticket Priority. The system is pre-loaded with High, Medium, and Low ticket priorities. You can edit these and add colors, etc. if you would like.
To add additional custom ticket priorities, you'll click the Add Priority button and the new priorities will display in the list.
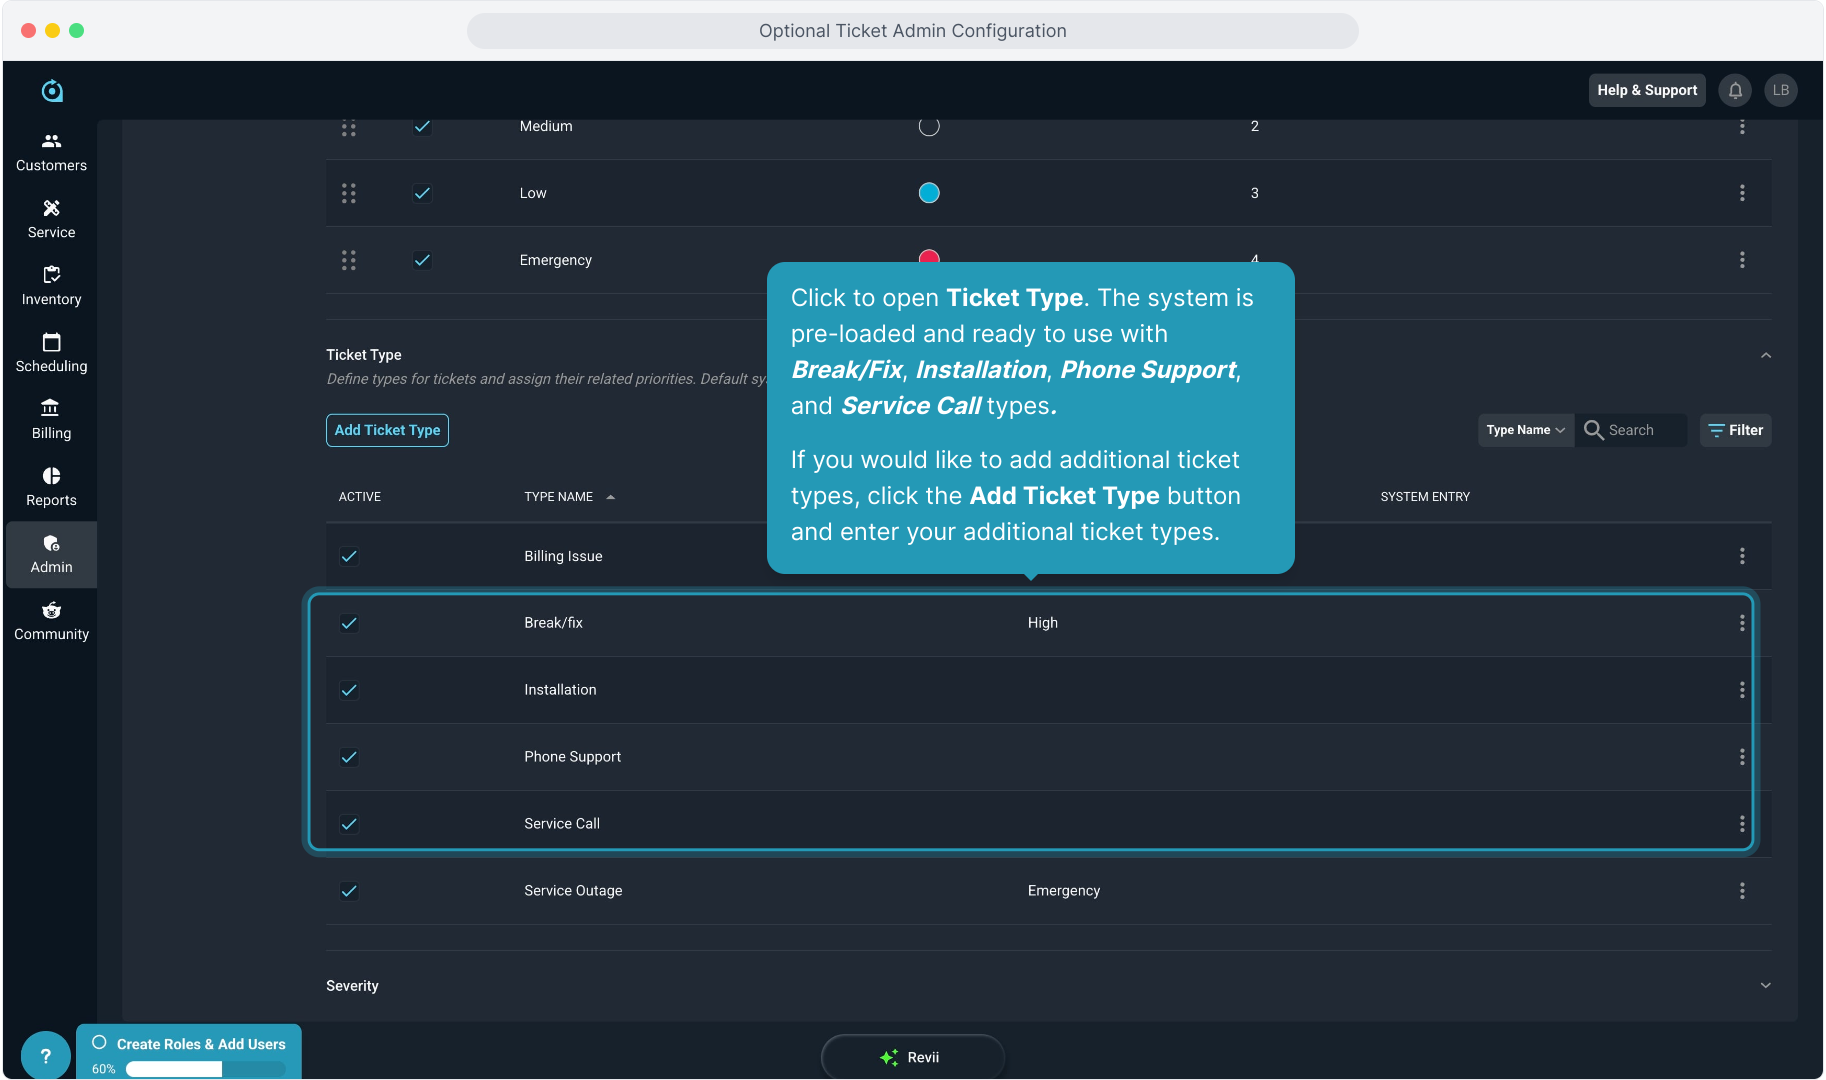
9. Click to open Ticket Type. The system is pre-loaded and ready to use with Break/Fix, Installation, Phone Support, and Service Call types.
If you would like to add additional ticket types, click the Add Ticket Type button and enter your additional ticket types.
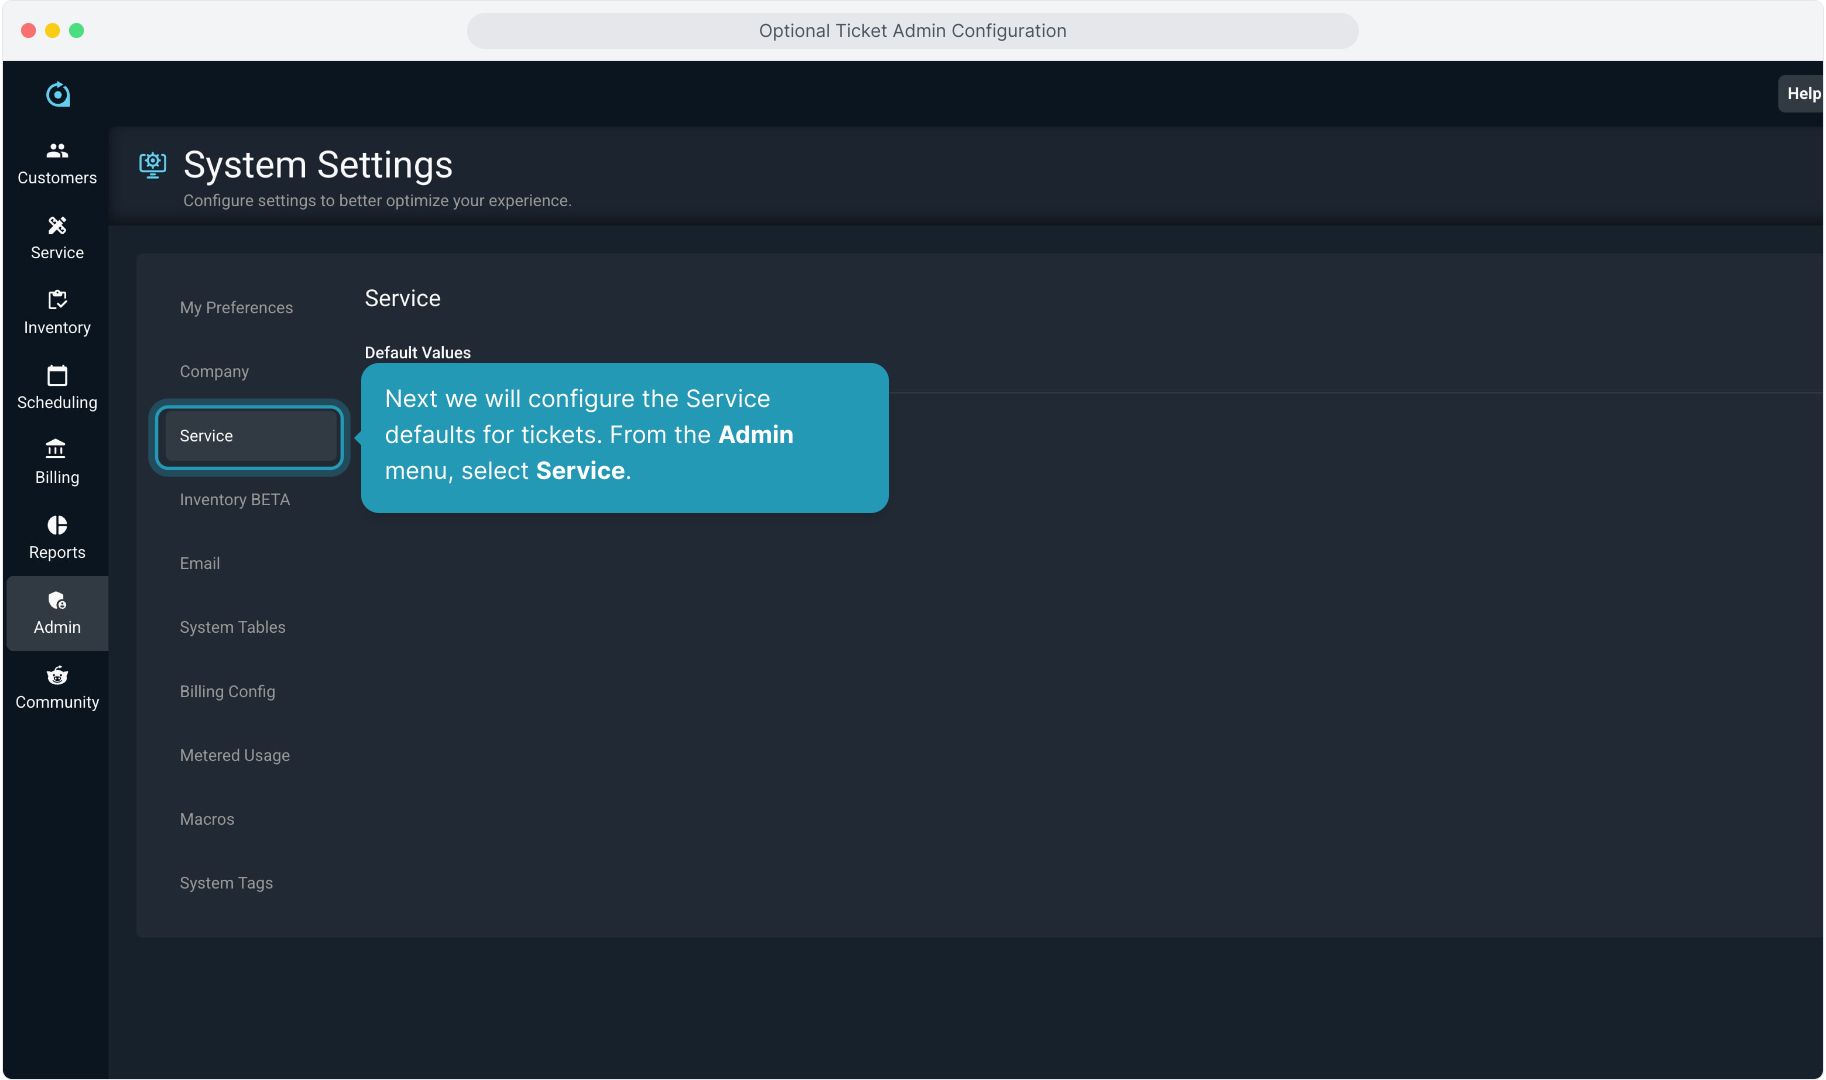
10. Next we will configure the Service defaults for tickets. From the Admin menu, select Service.
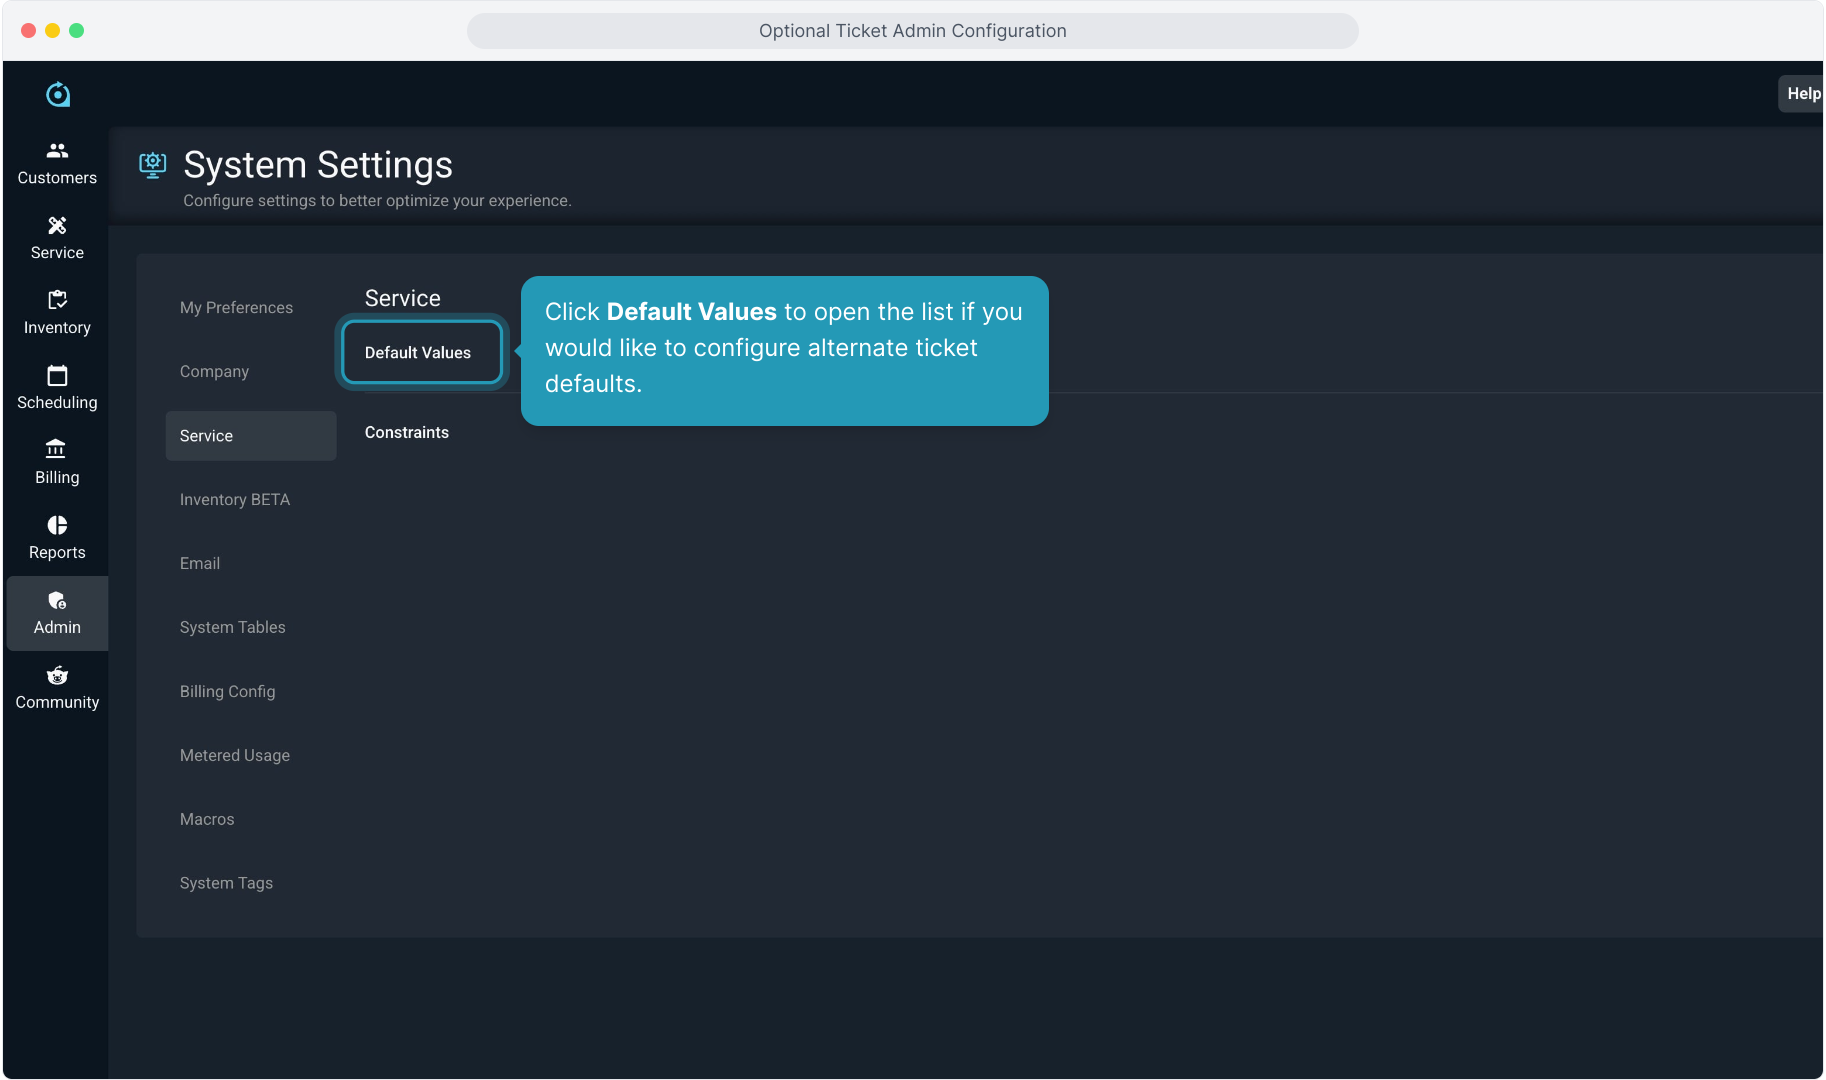
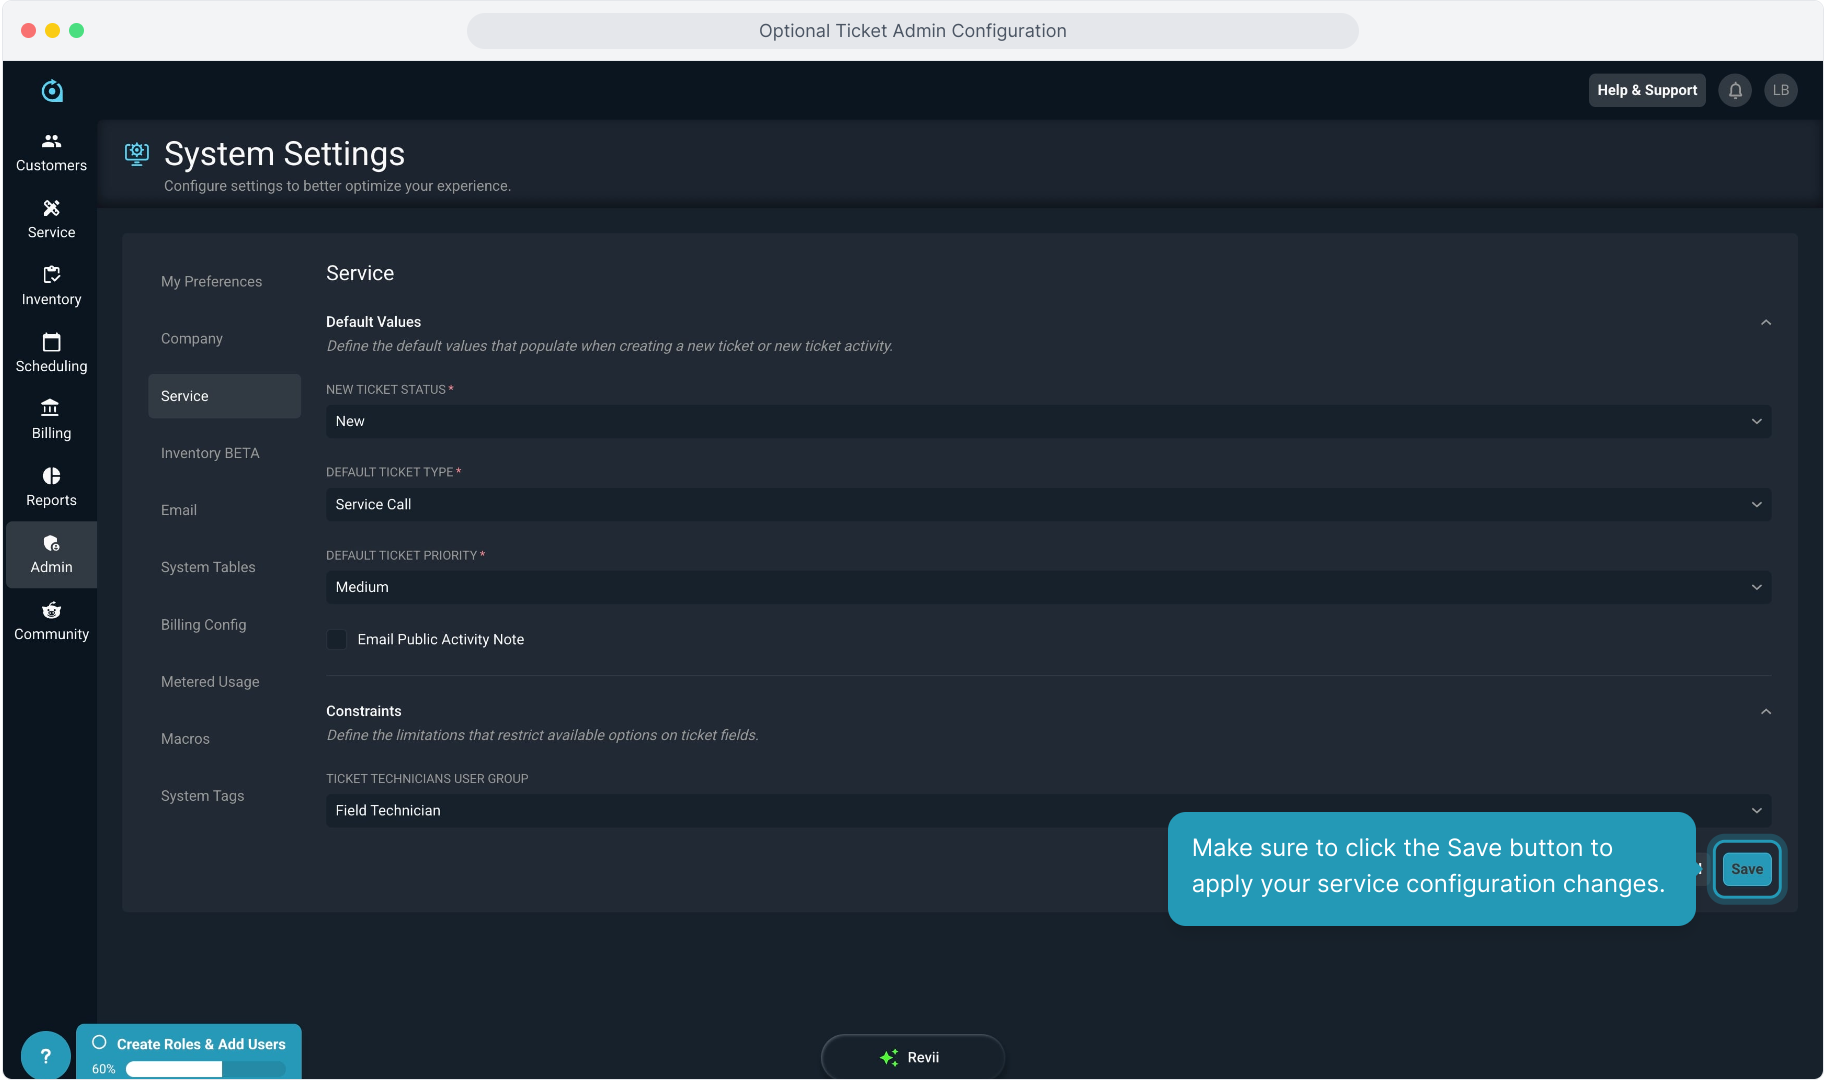
11. Click Default Values to open the list if you would like to configure alternate ticket defaults.
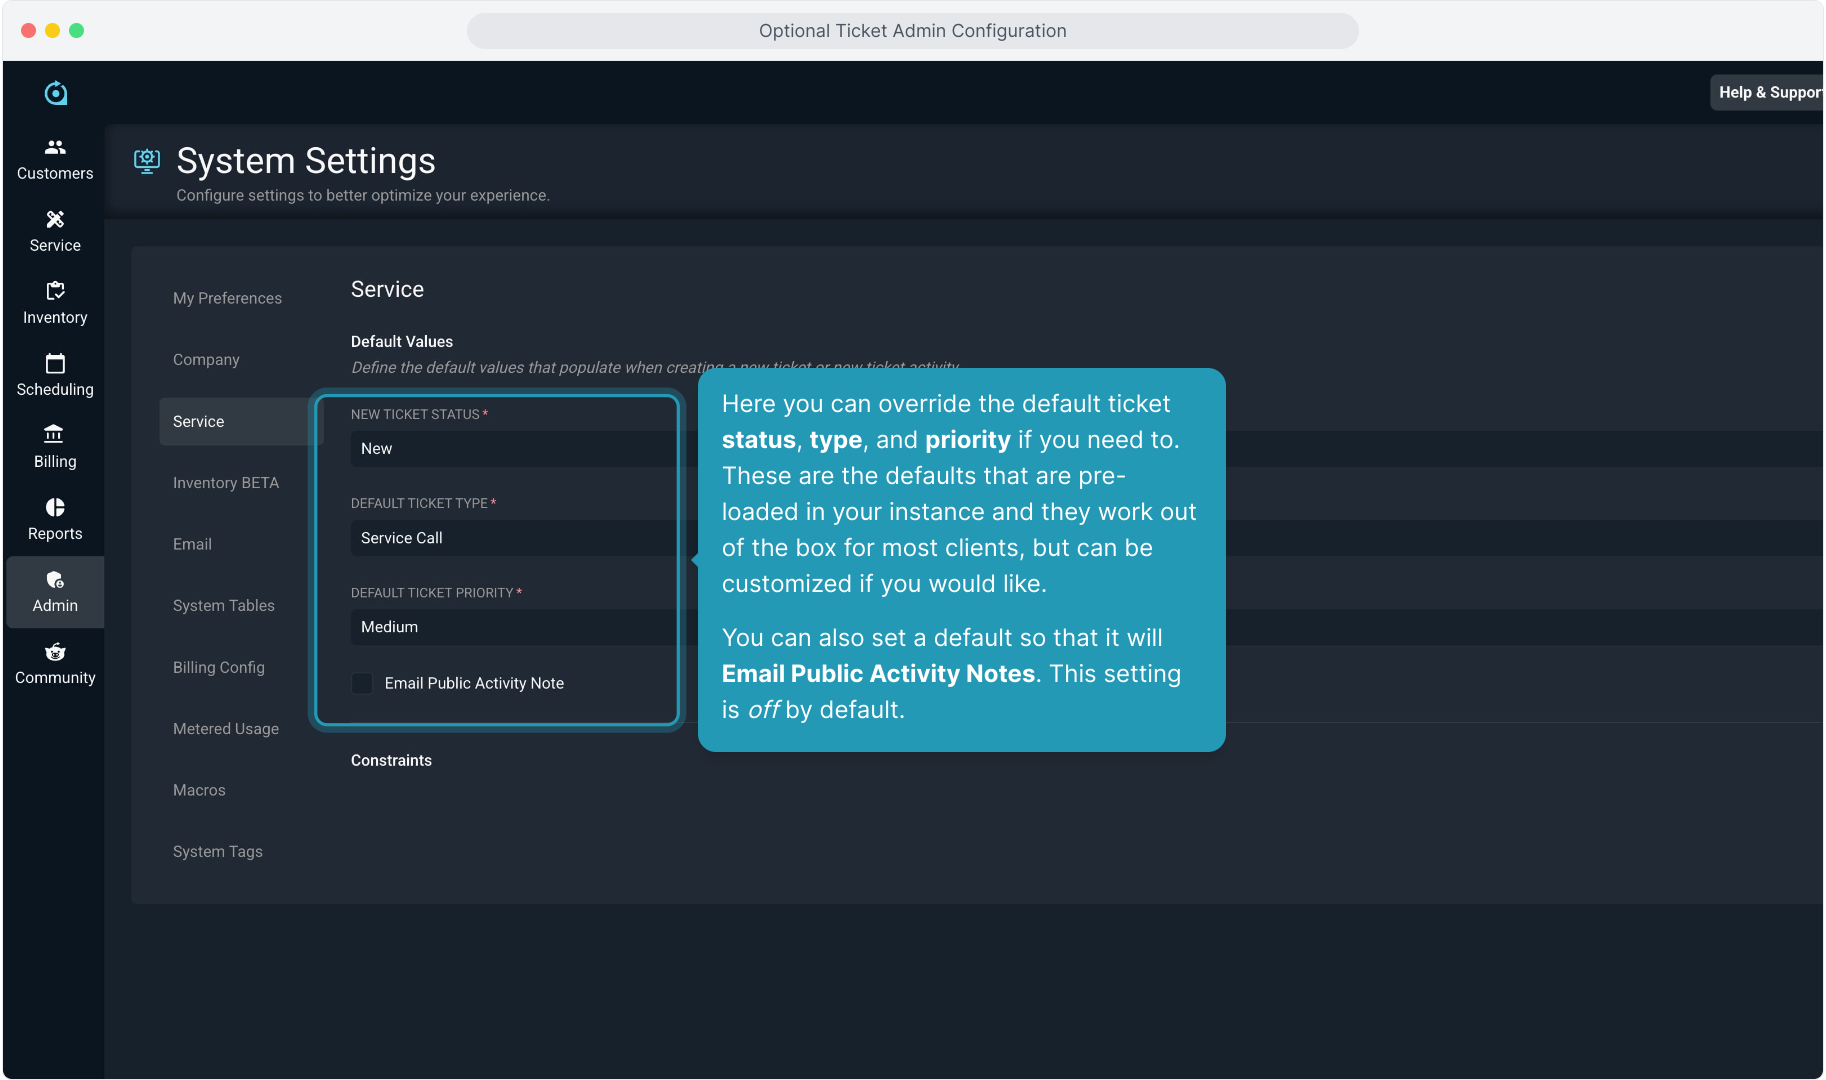
12. Here you can override the default ticket status, type, and priority if you need to. These are the defaults that are pre-loaded in your instance and they work out of the box for most clients, but can be customized if you would like.
You can also set a default so that it will Email Public Activity Notes. This setting is off by default.
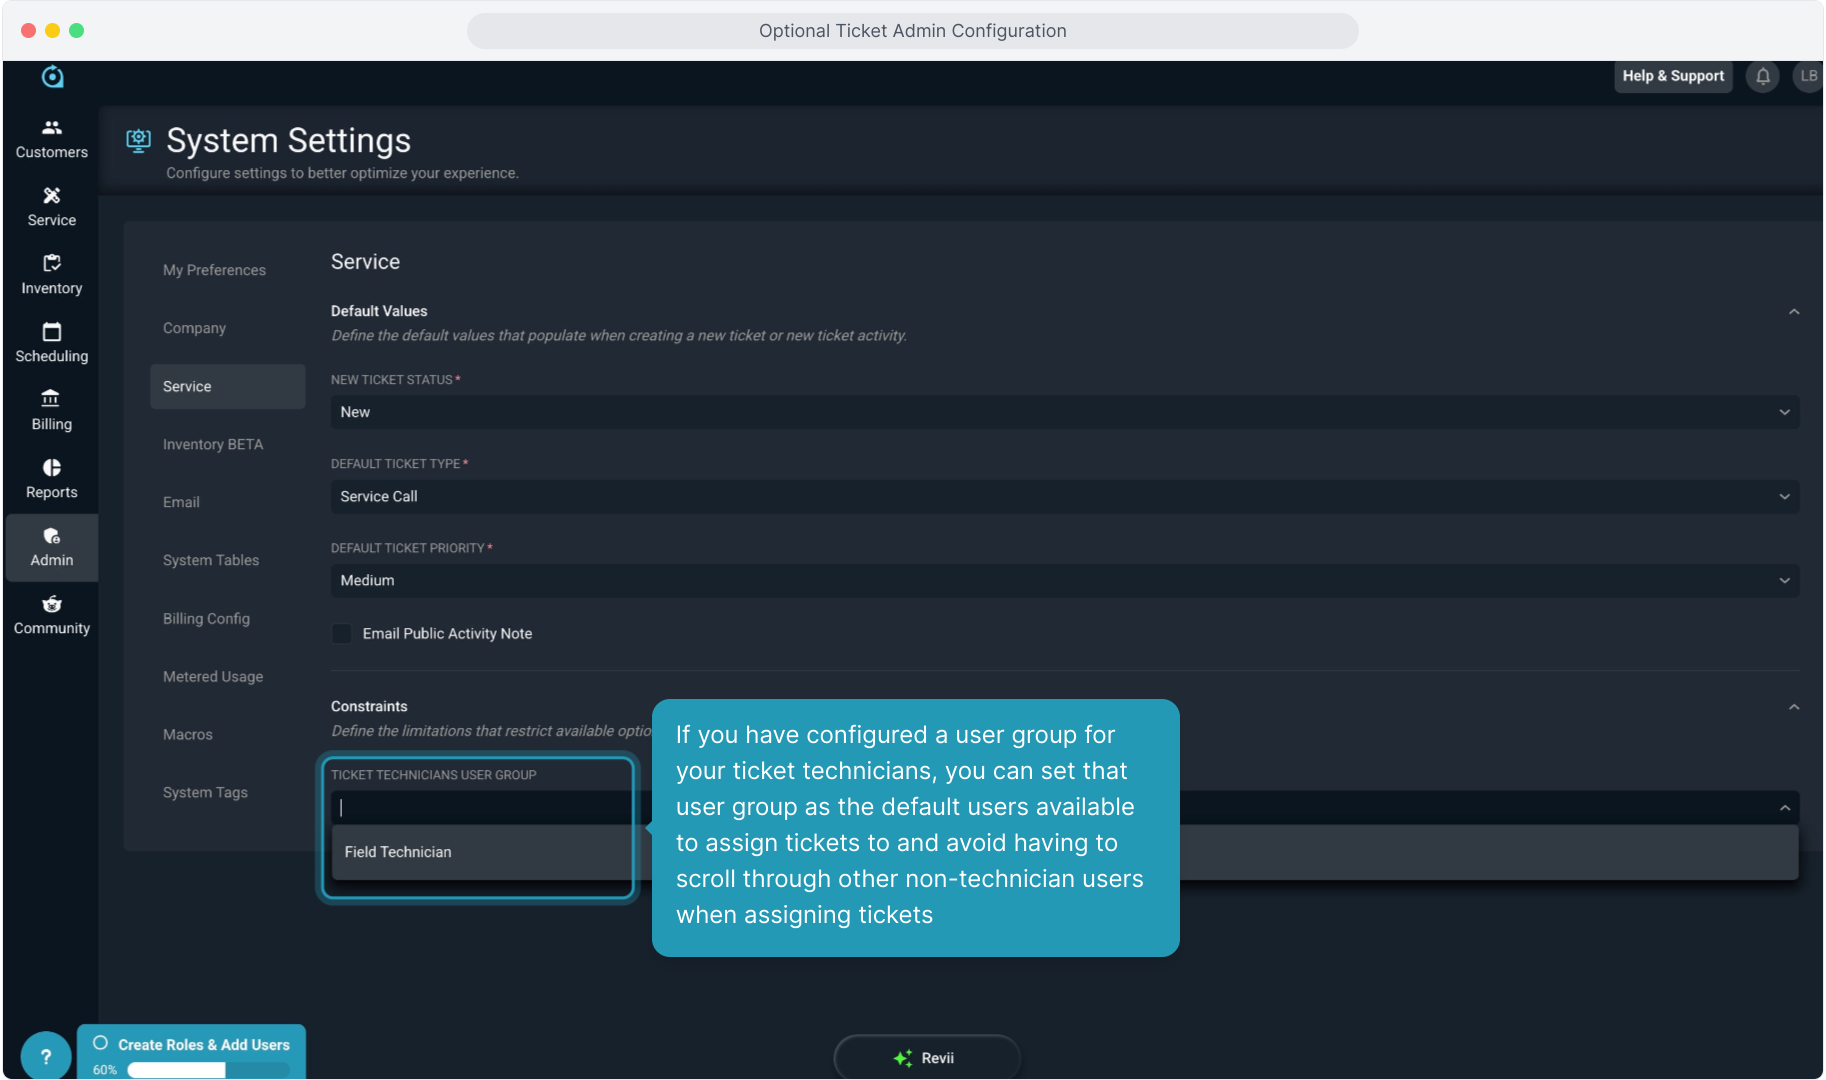
13. If you have configured a user group for your ticket technicians, you can set that user group as the default users available to assign tickets to and avoid having to scroll through other non-technician users when assigning tickets
14. Make sure to click the Save button to apply your service configuration changes.
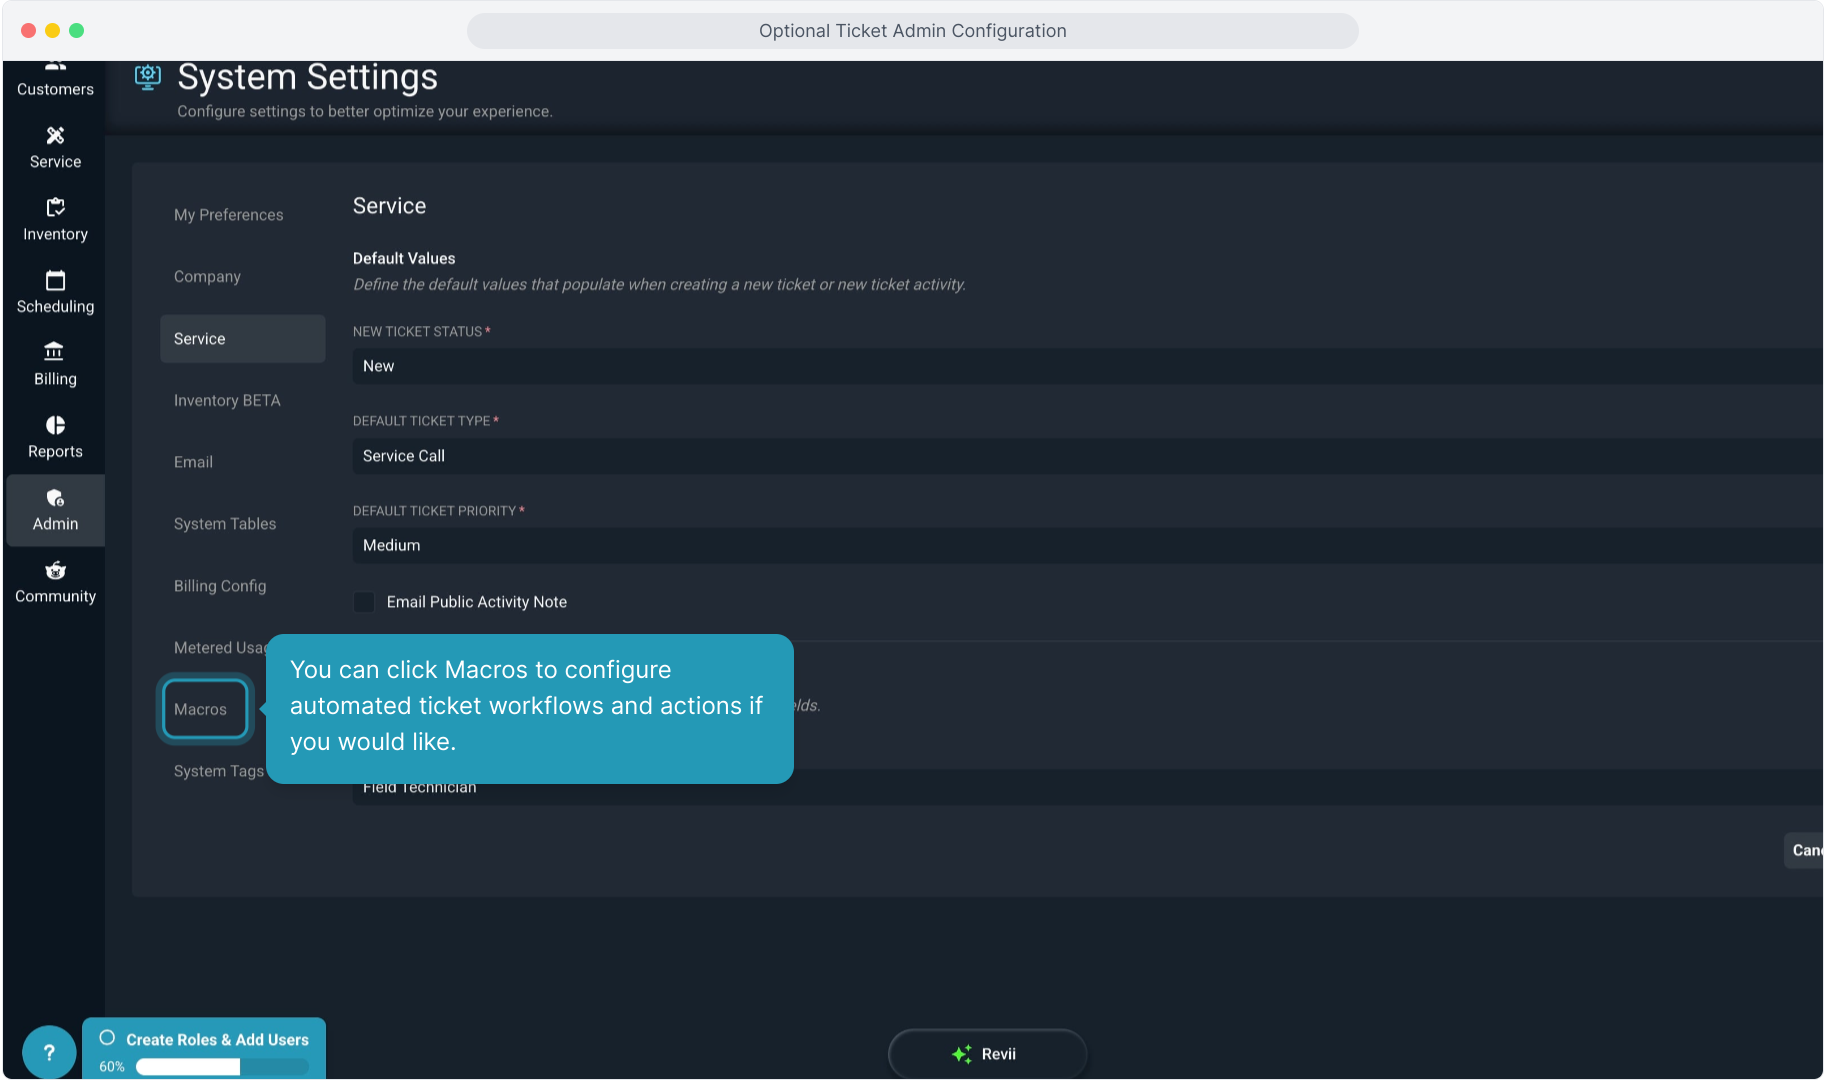
15. You can click Macros to configure automated ticket workflows and actions if you would like.
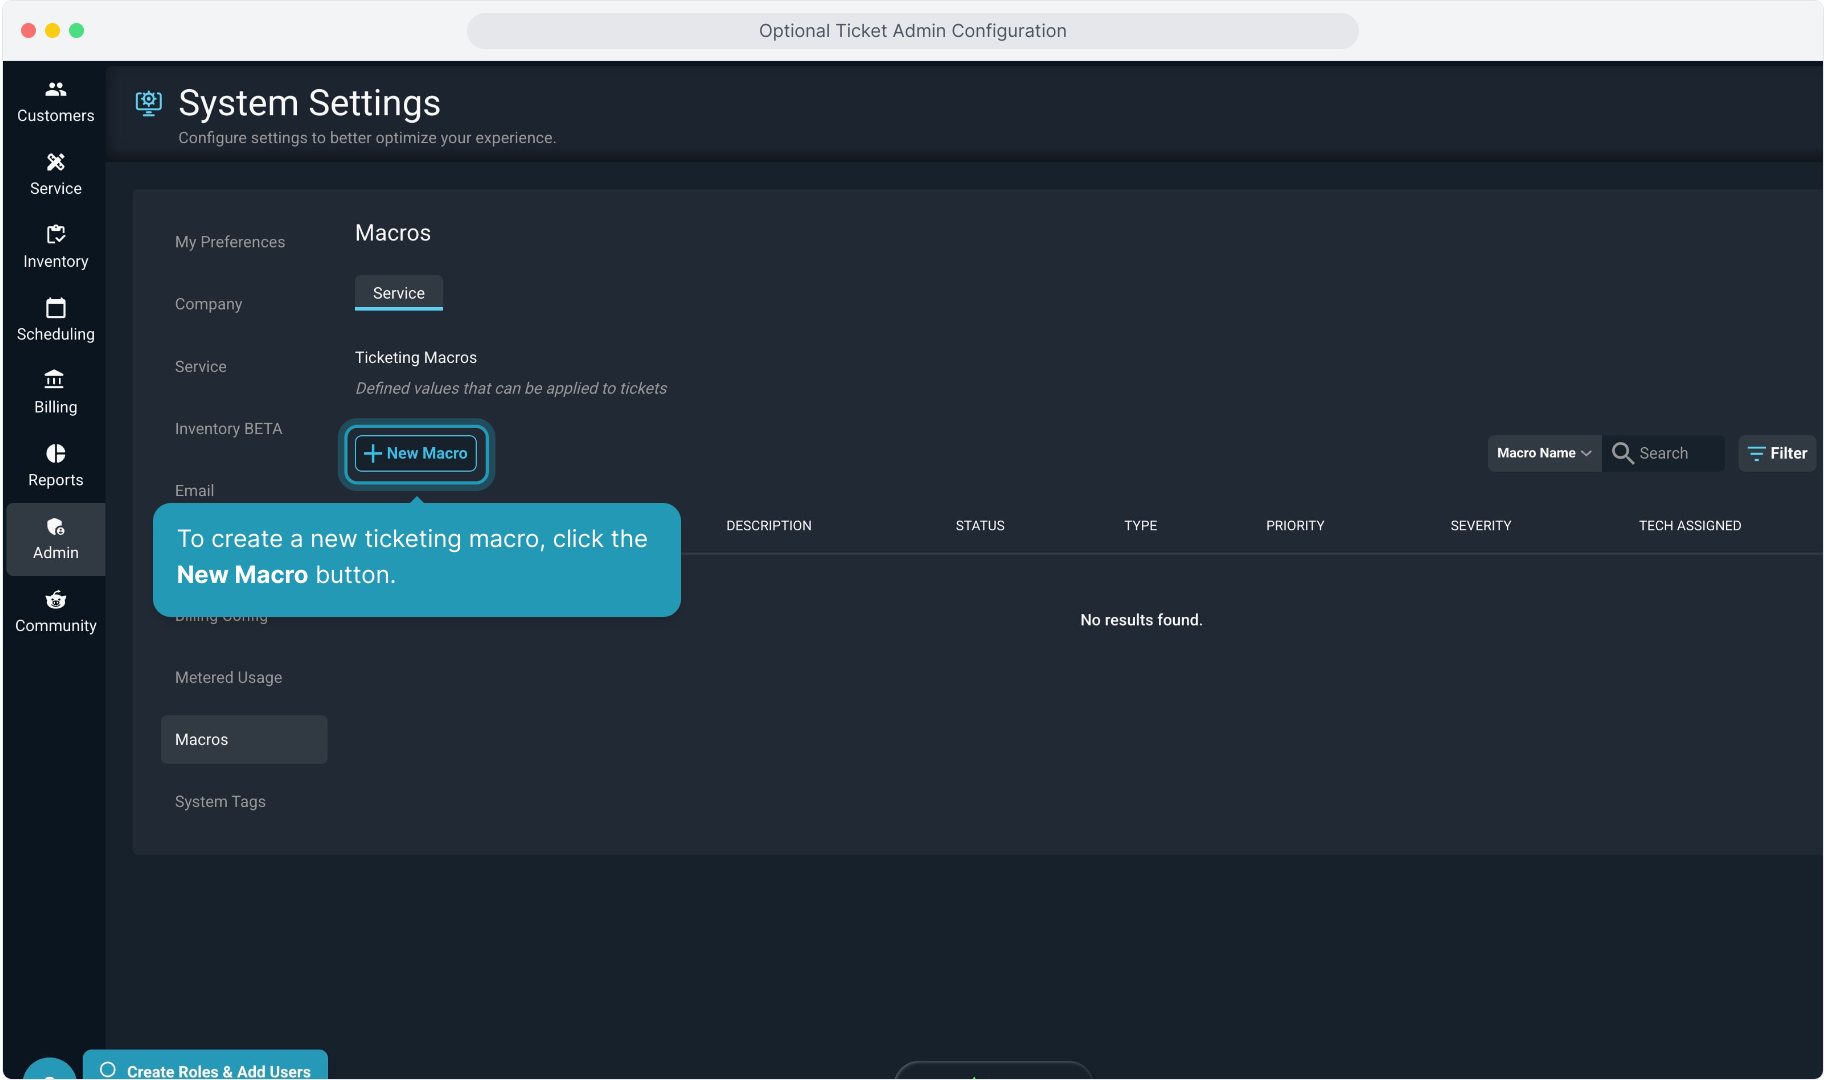
16. To create a new ticketing macro, click the New Macro button.
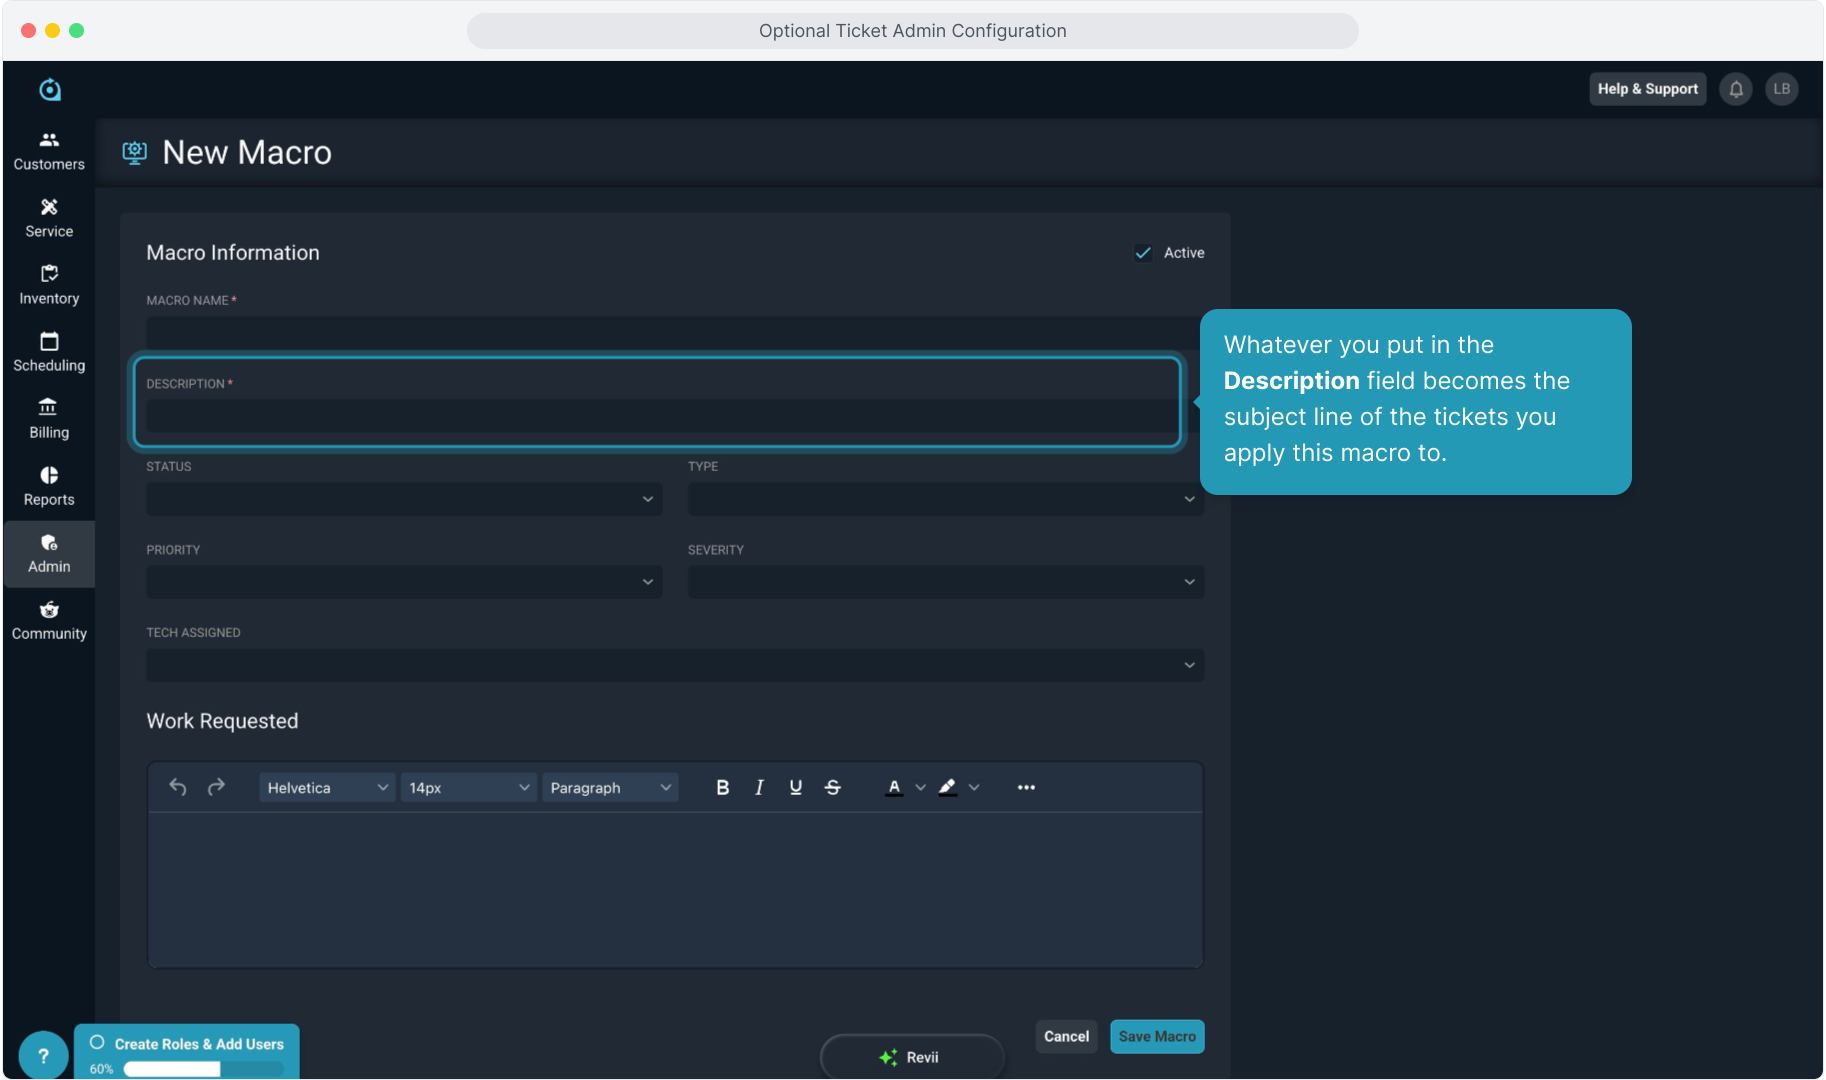
17. You will name the macro and give it a description, and then add any details you wish the macro to apply, including the Work Requested information.
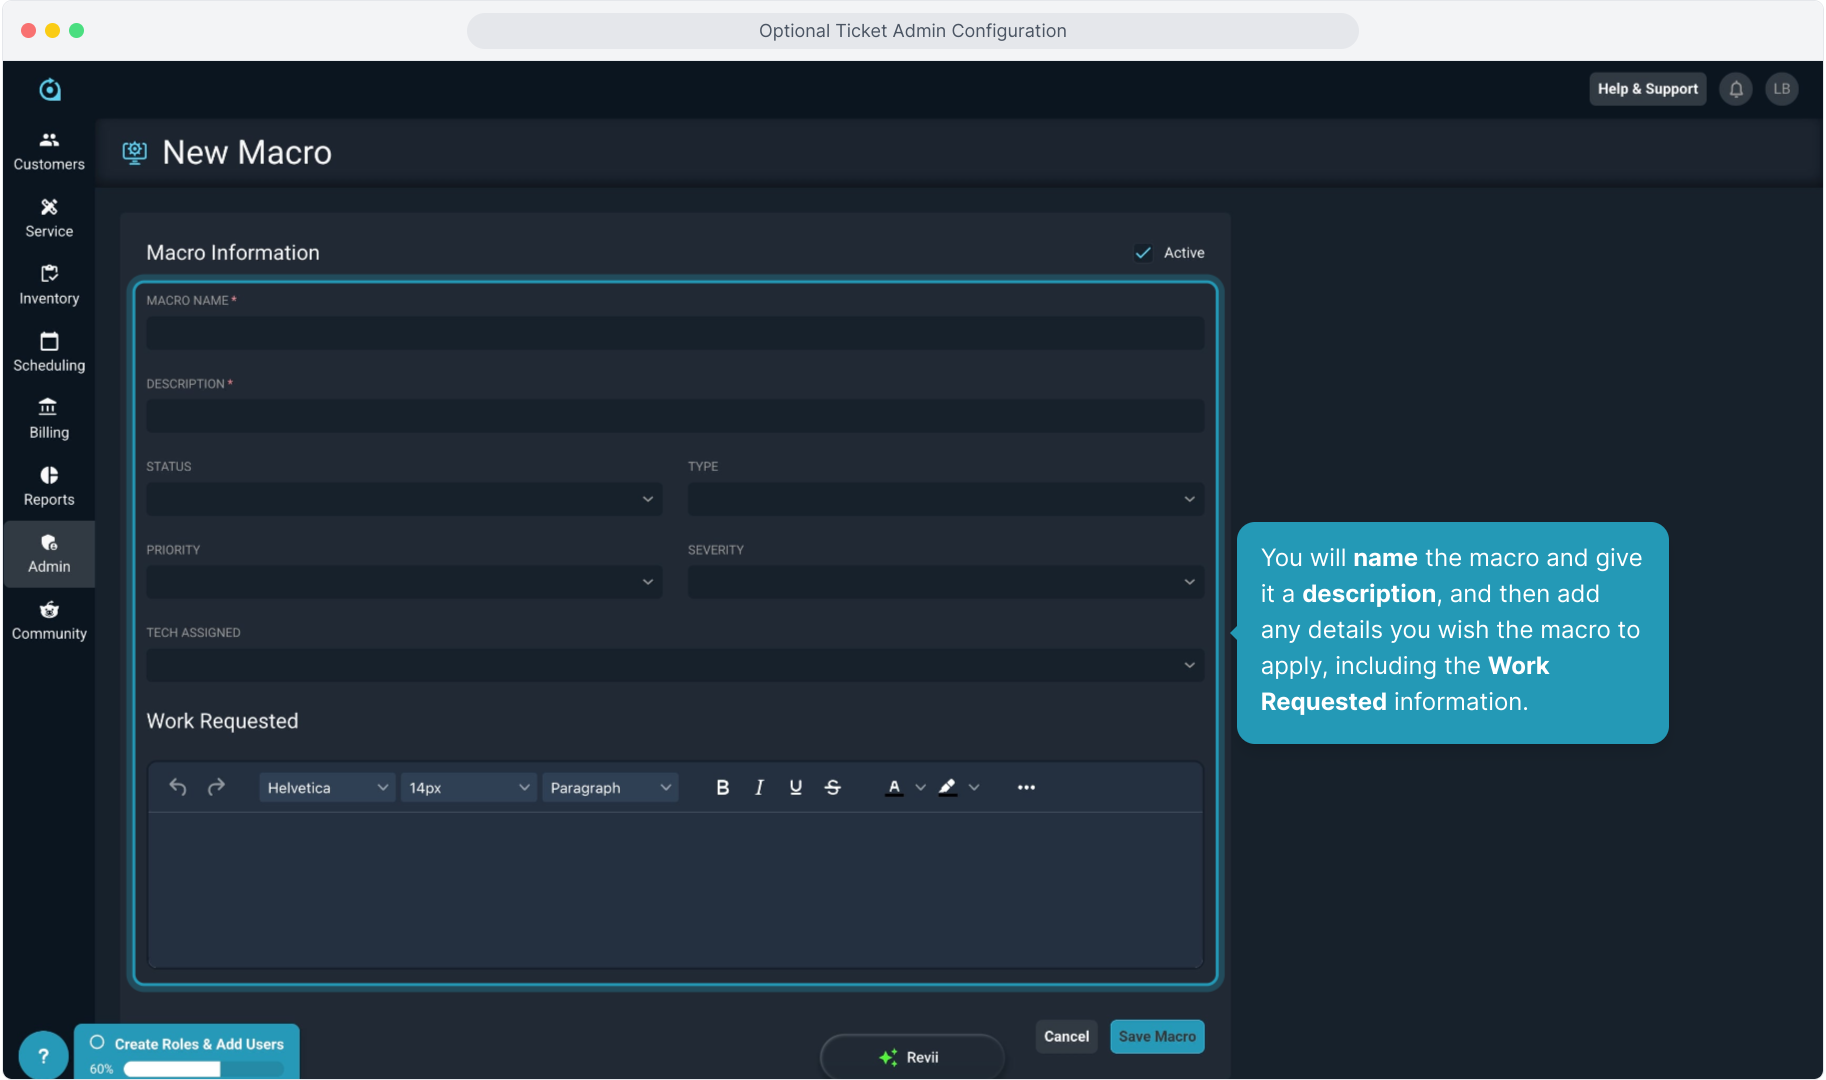
18. Whatever you put in the Description field becomes the subject line of the tickets you apply this macro to.
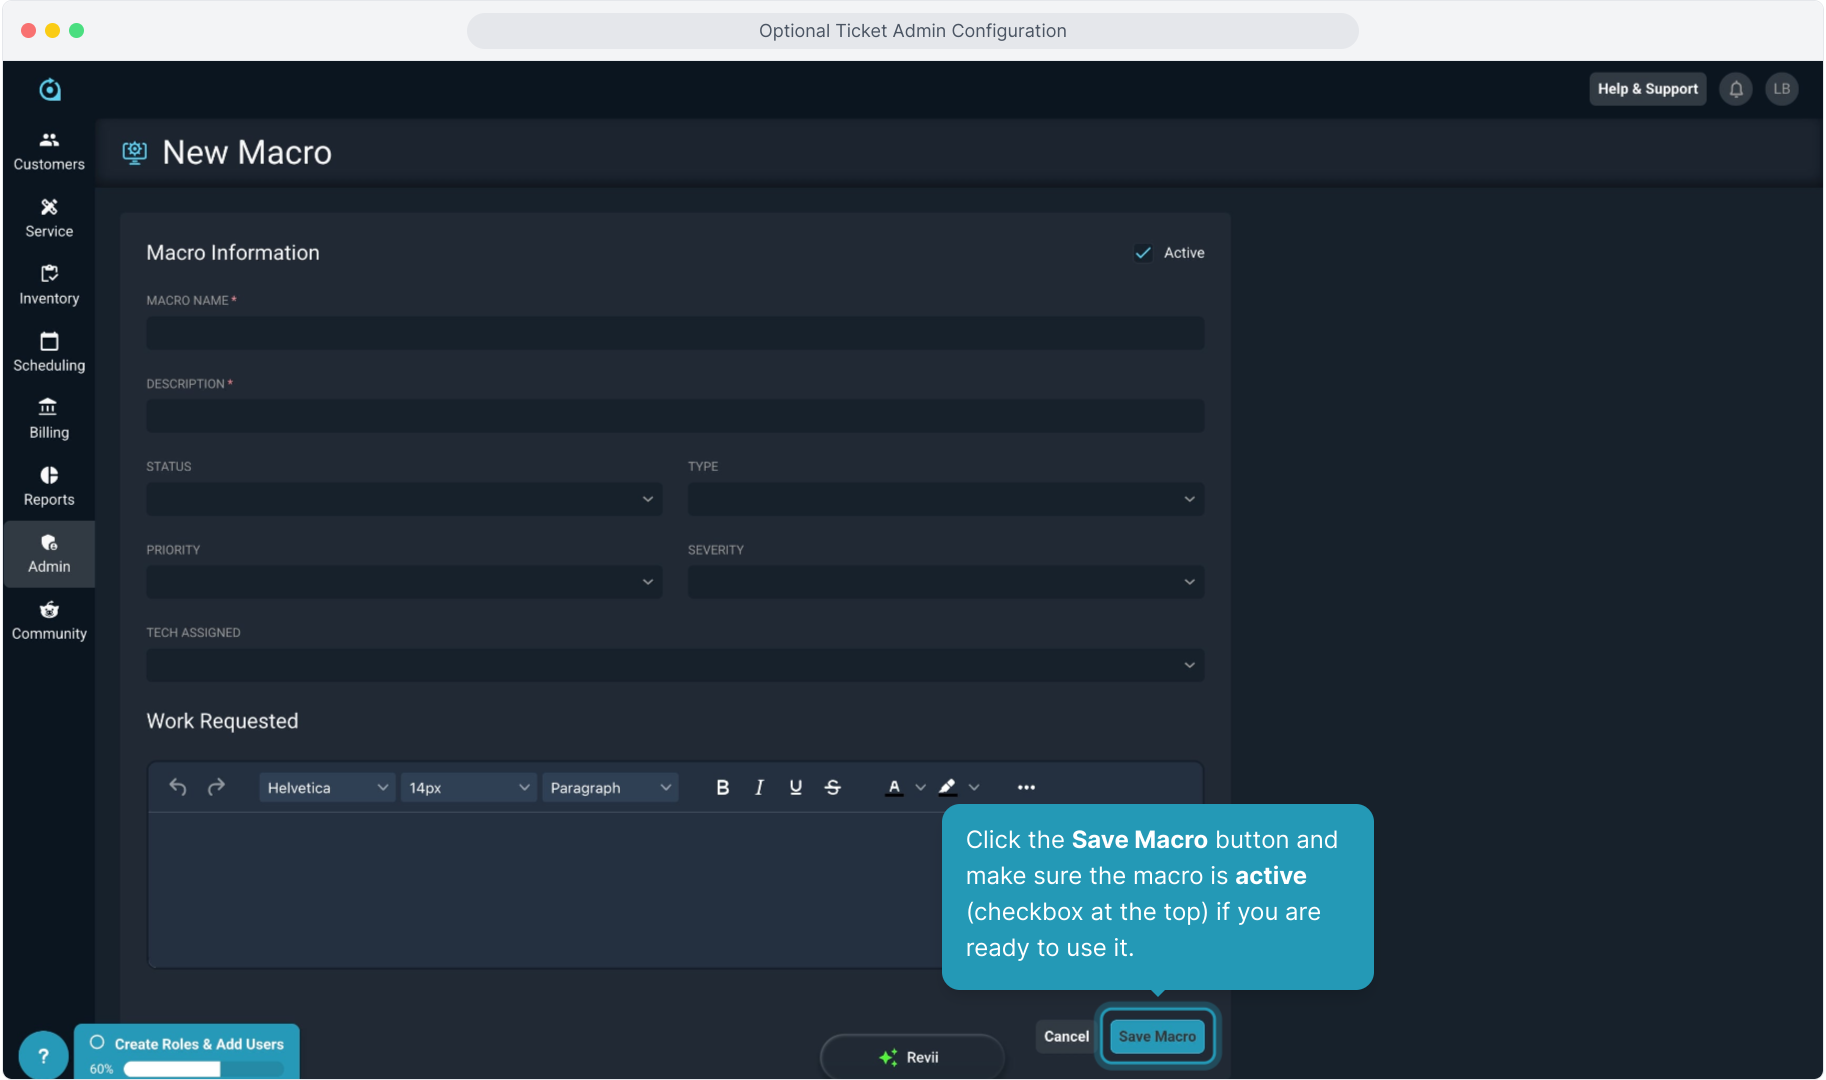
19. Click the Save Macro button and make sure the macro is active (checkbox at the top) if you are ready to use it.
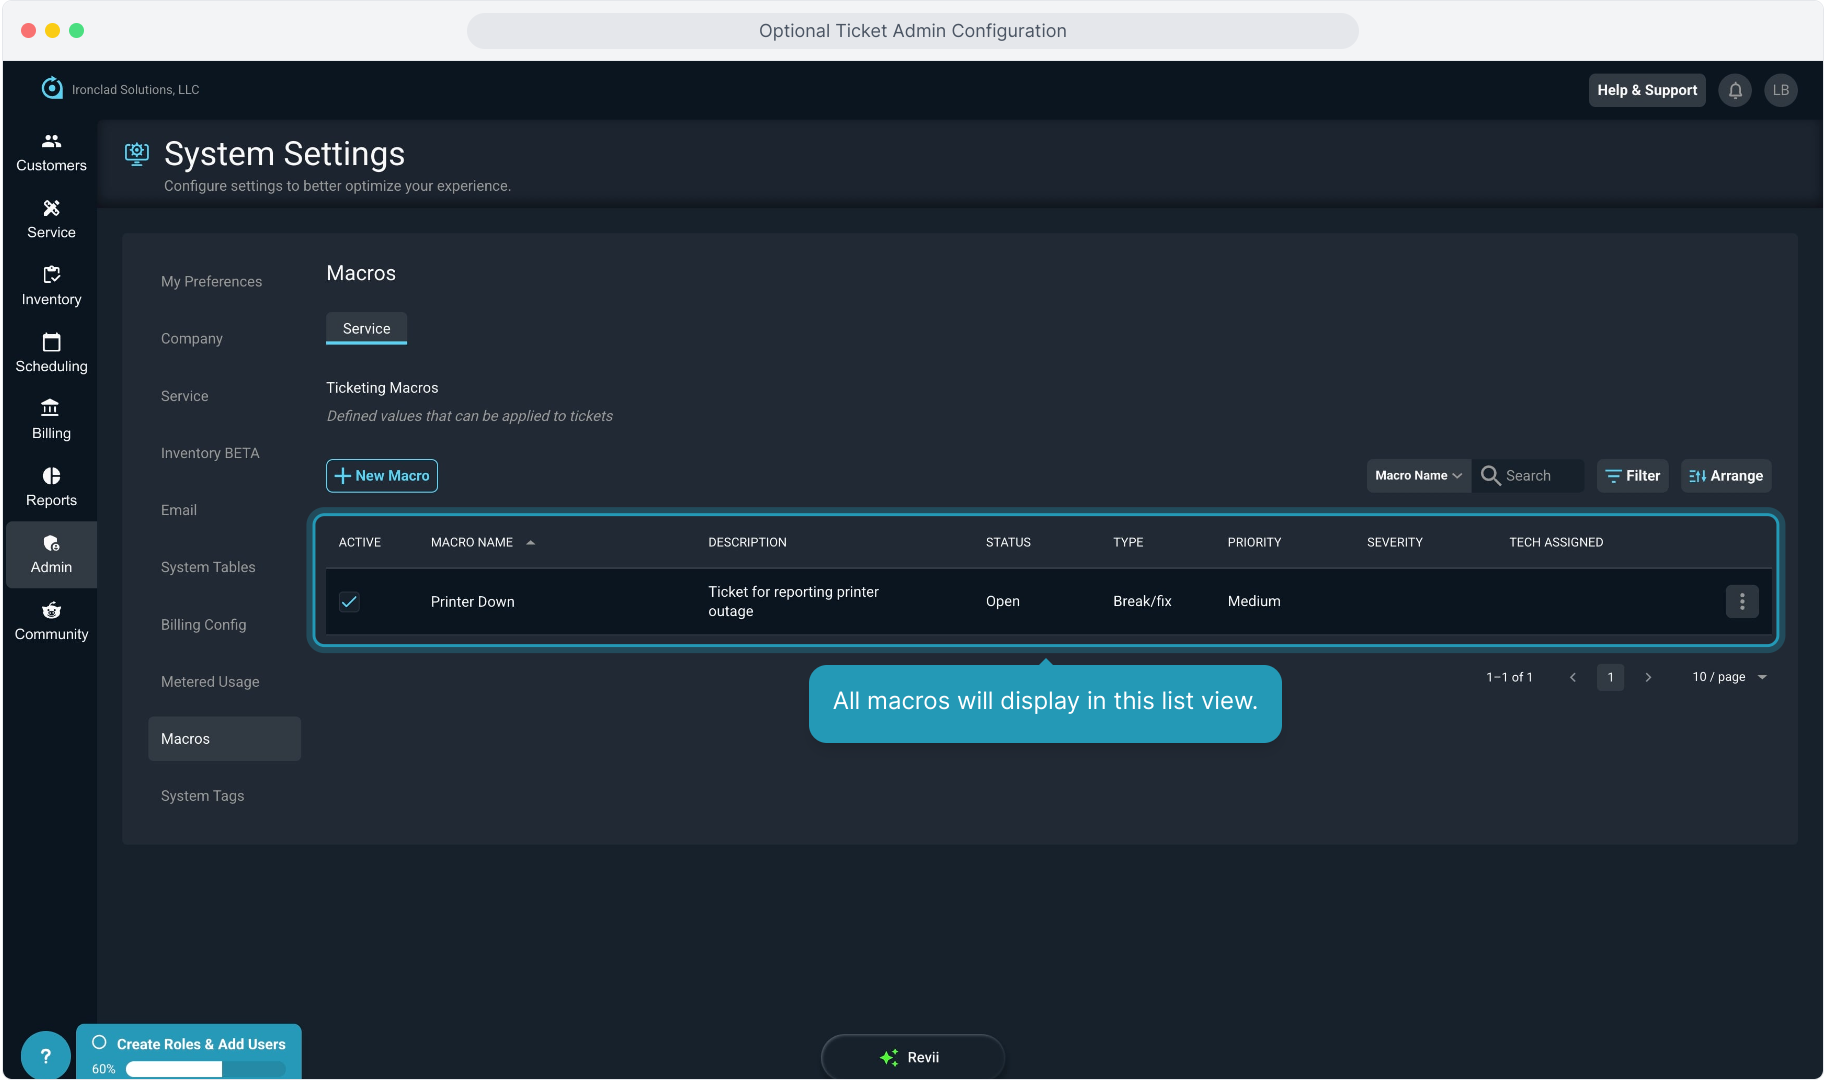
20. All macros will display in this list view.
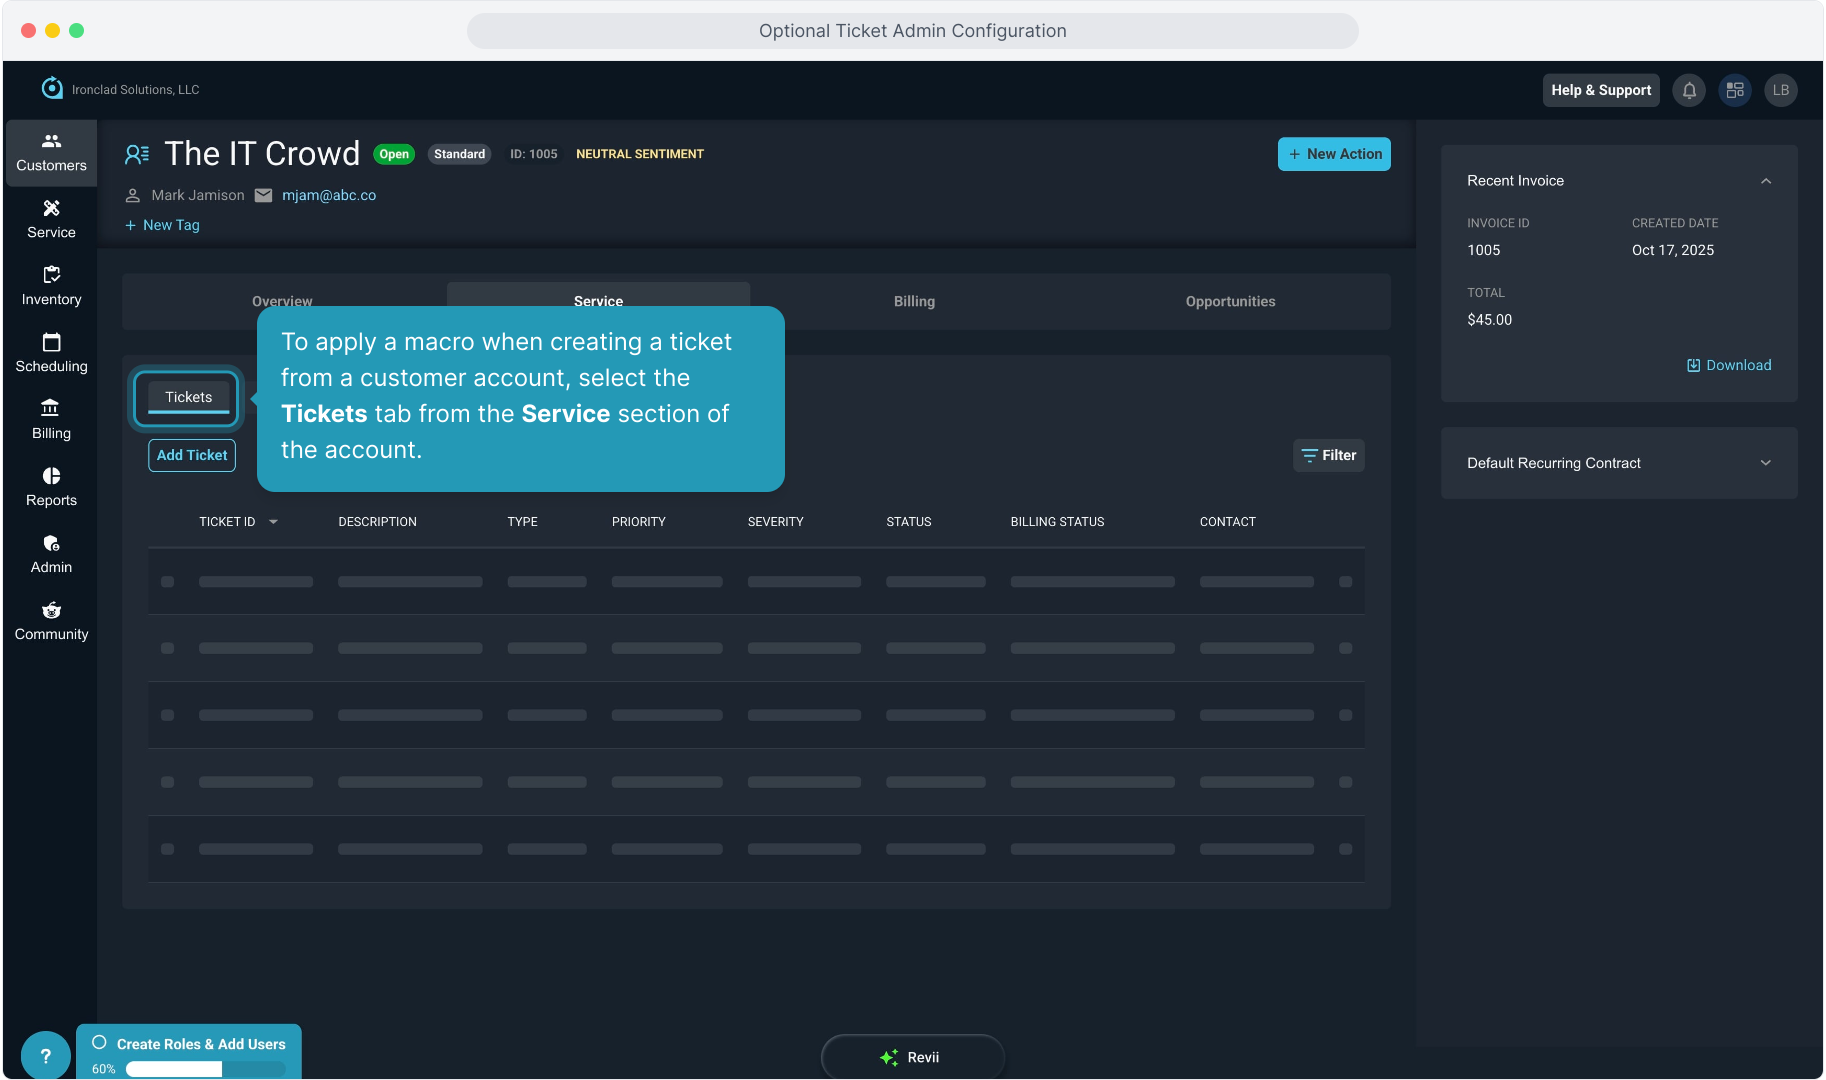
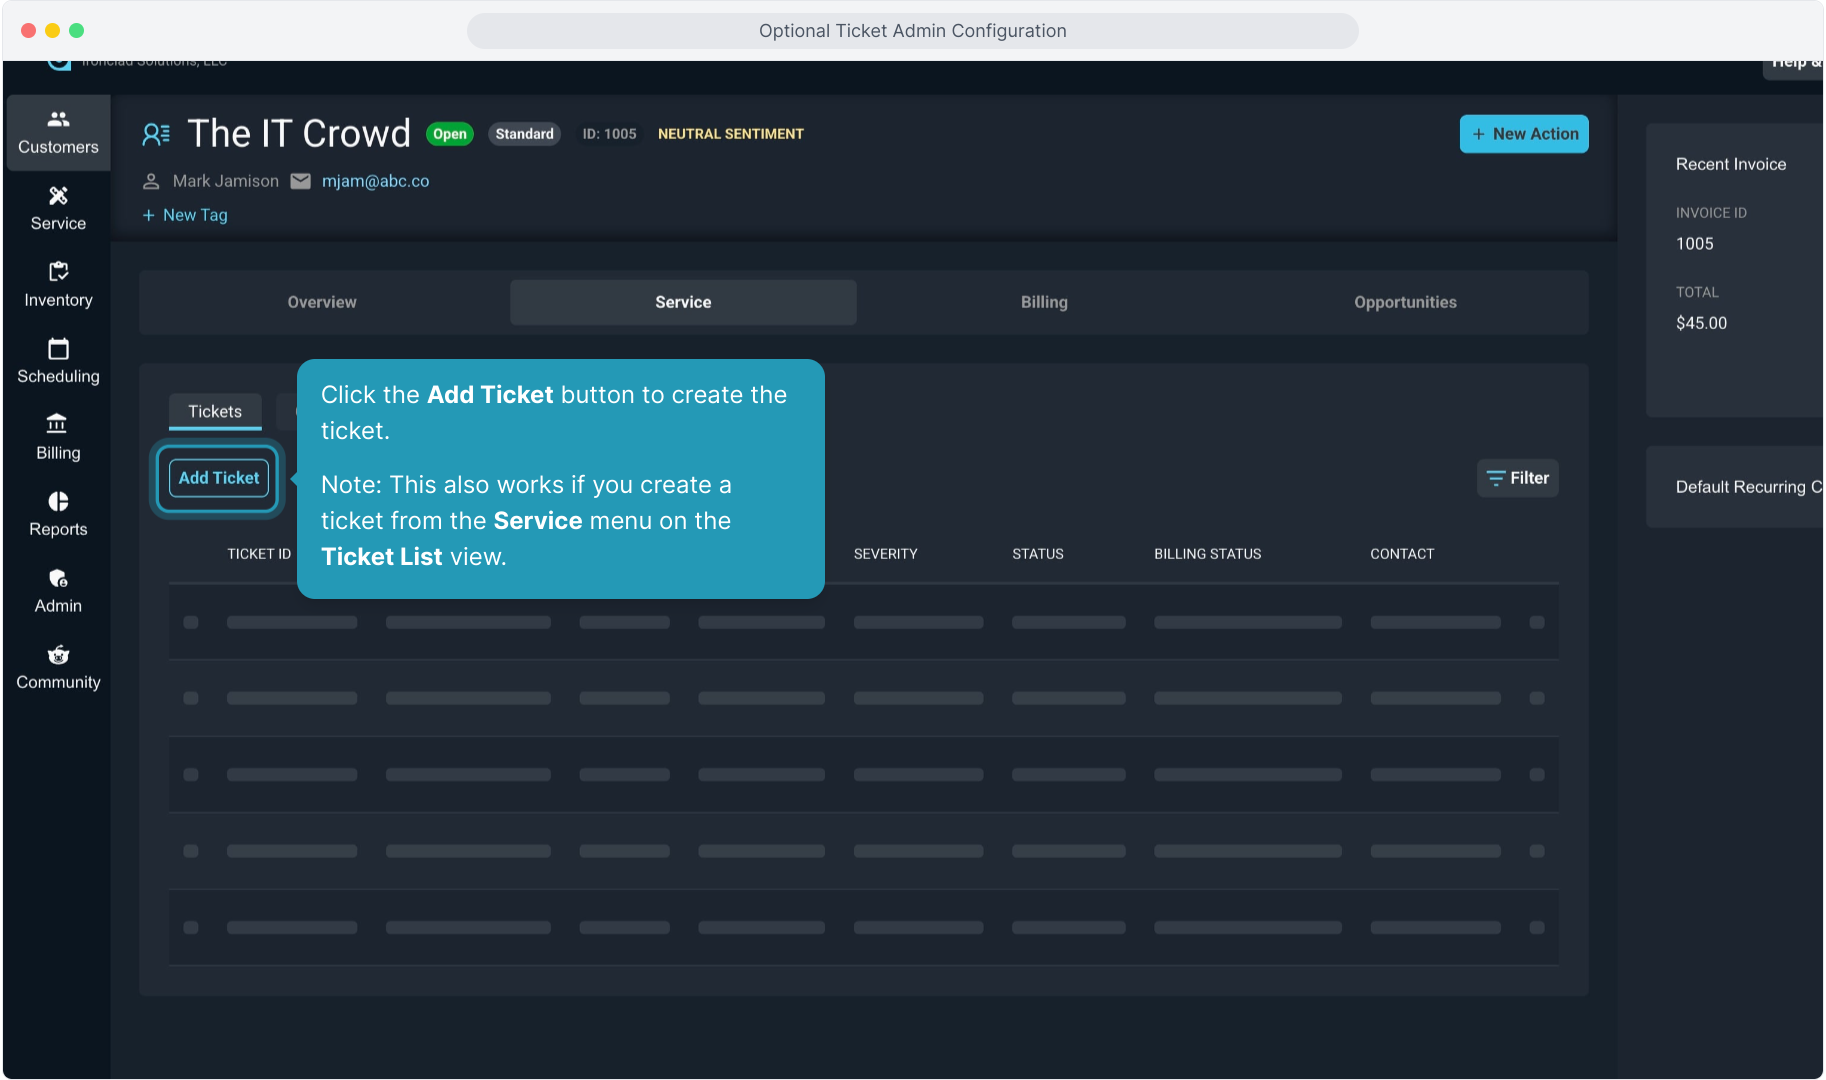
21. To apply a macro when creating a ticket from a customer account, select the Tickets tab from the Service section of the account.
22. Click the Add Ticket button to create the ticket.
Note: This also works if you create a ticket from the Service menu on the Ticket List view.
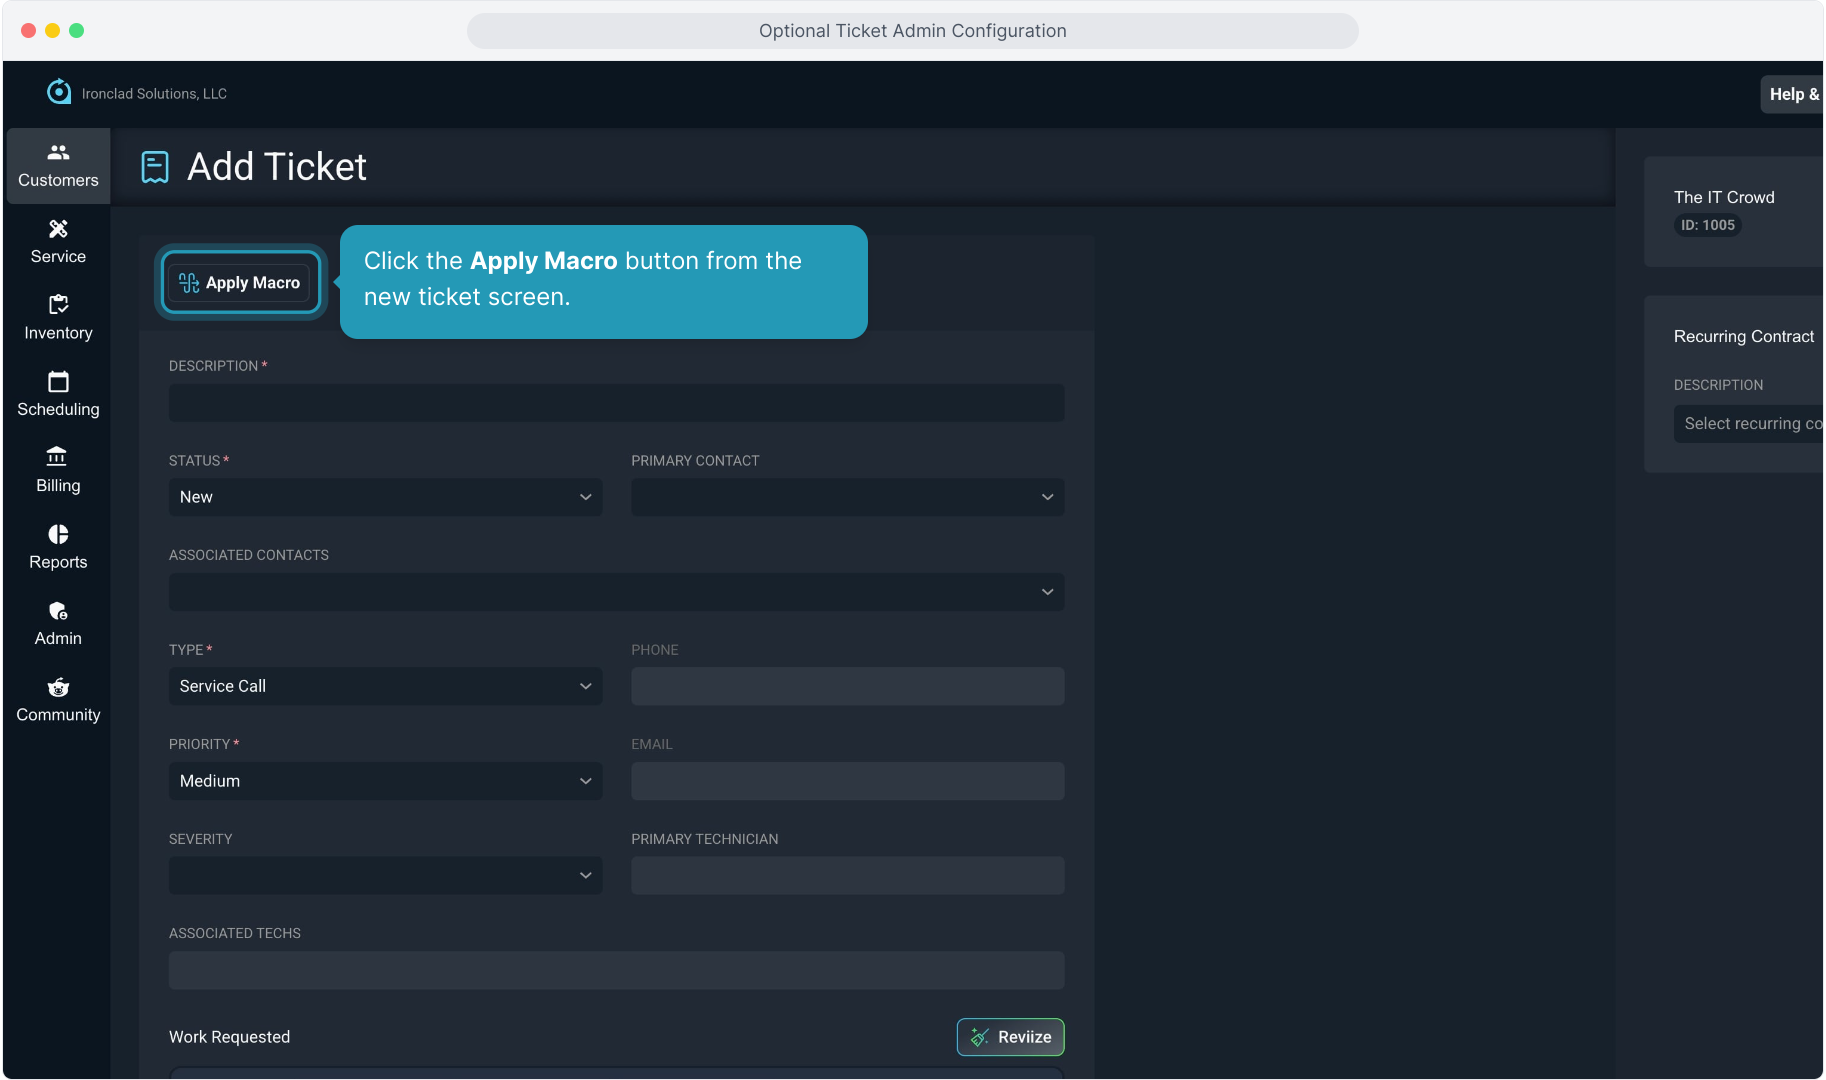
23. Click the Apply Macro button from the new ticket screen.
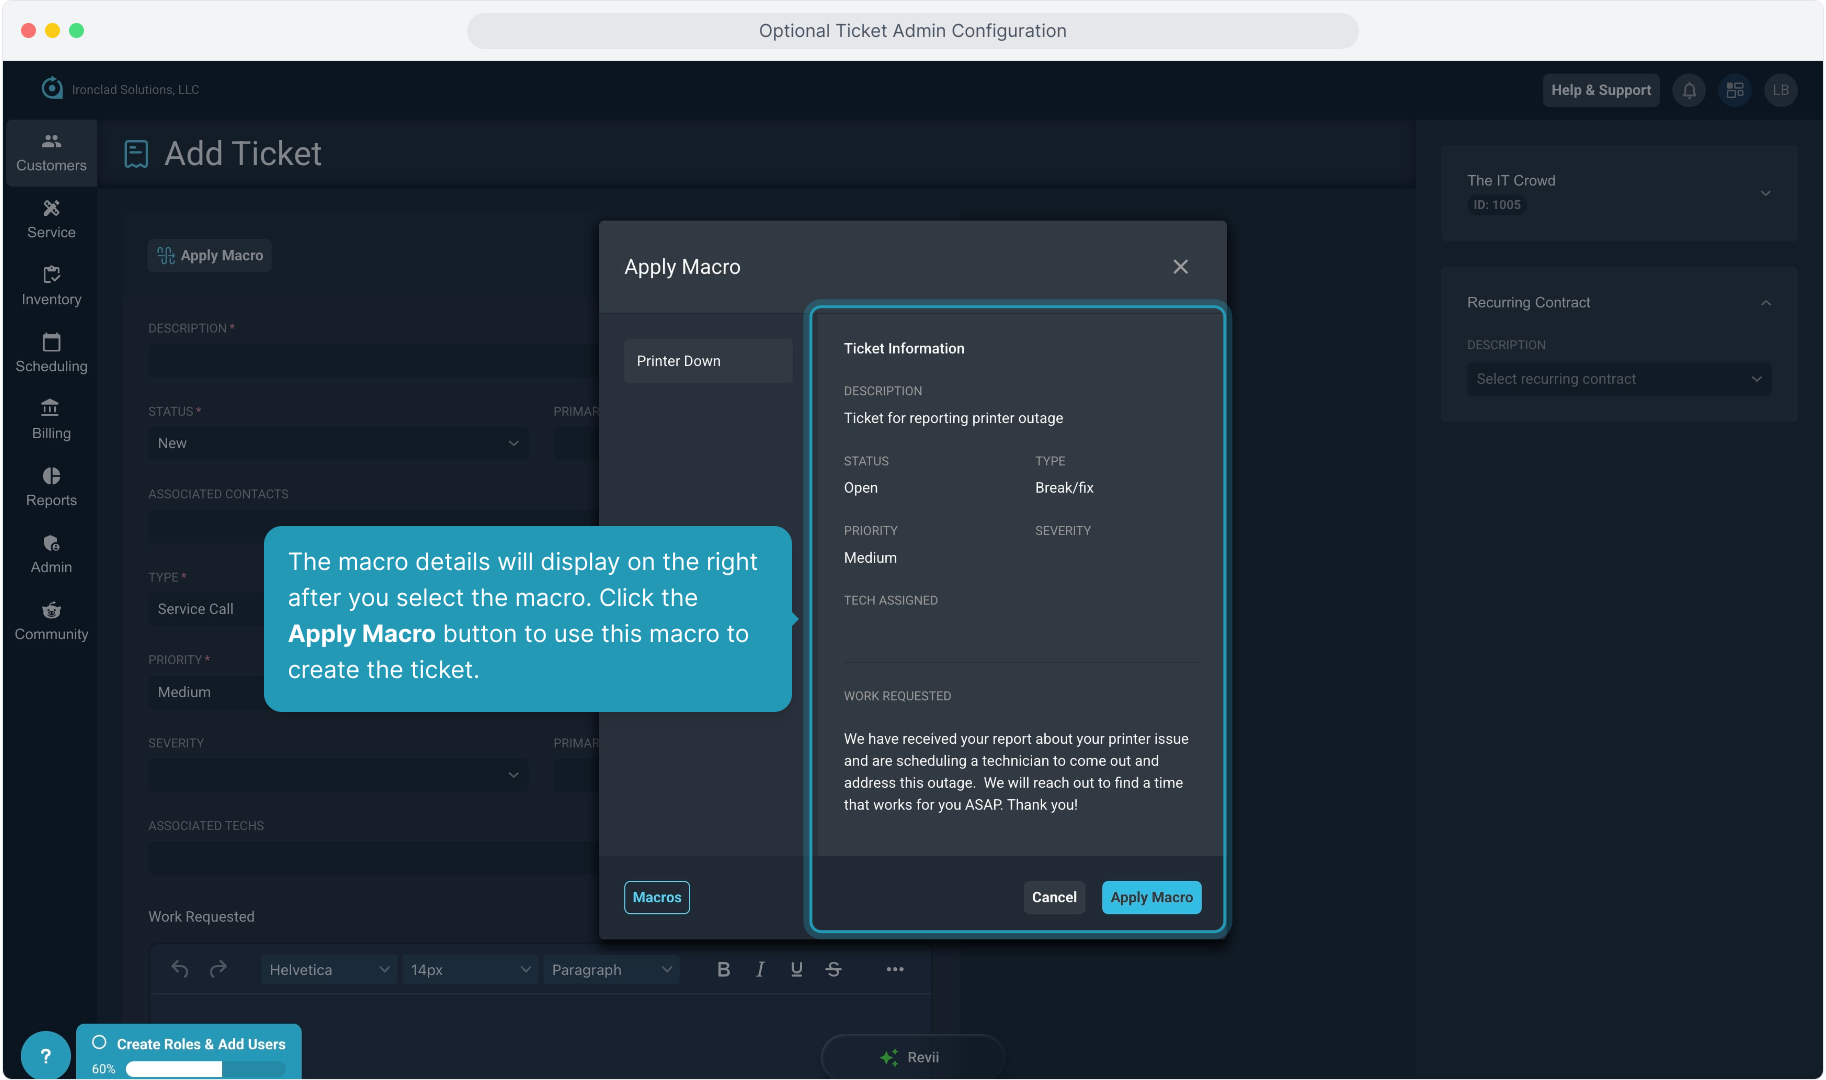
24. Select the macro you wish to apply from the list of macros on the left side of the pop-up screen.

25. The macro details will display on the right after you select the macro. Click the Apply Macro button to use this macro to create the ticket.
26. The macro information will populate the ticket fields as configured. You can edit any of this information if you need to.
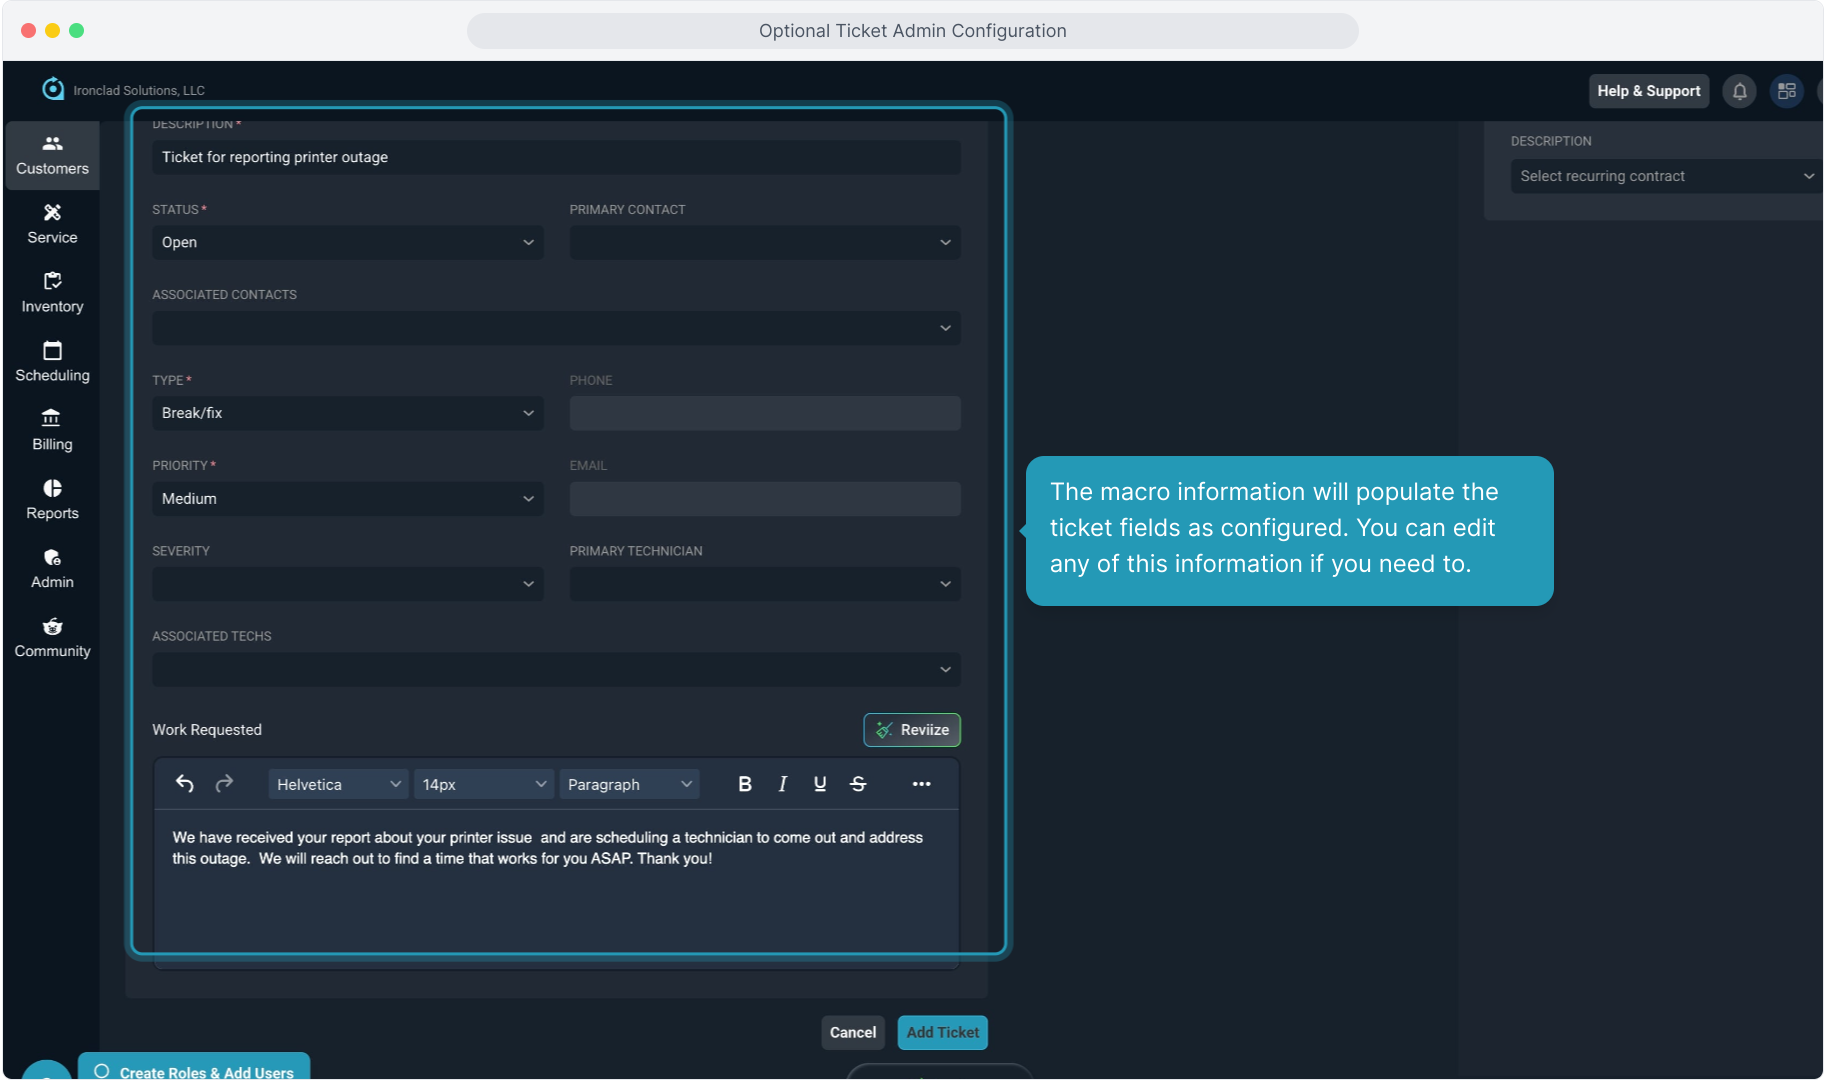
27. Then click the Add Ticket button to create the ticket.
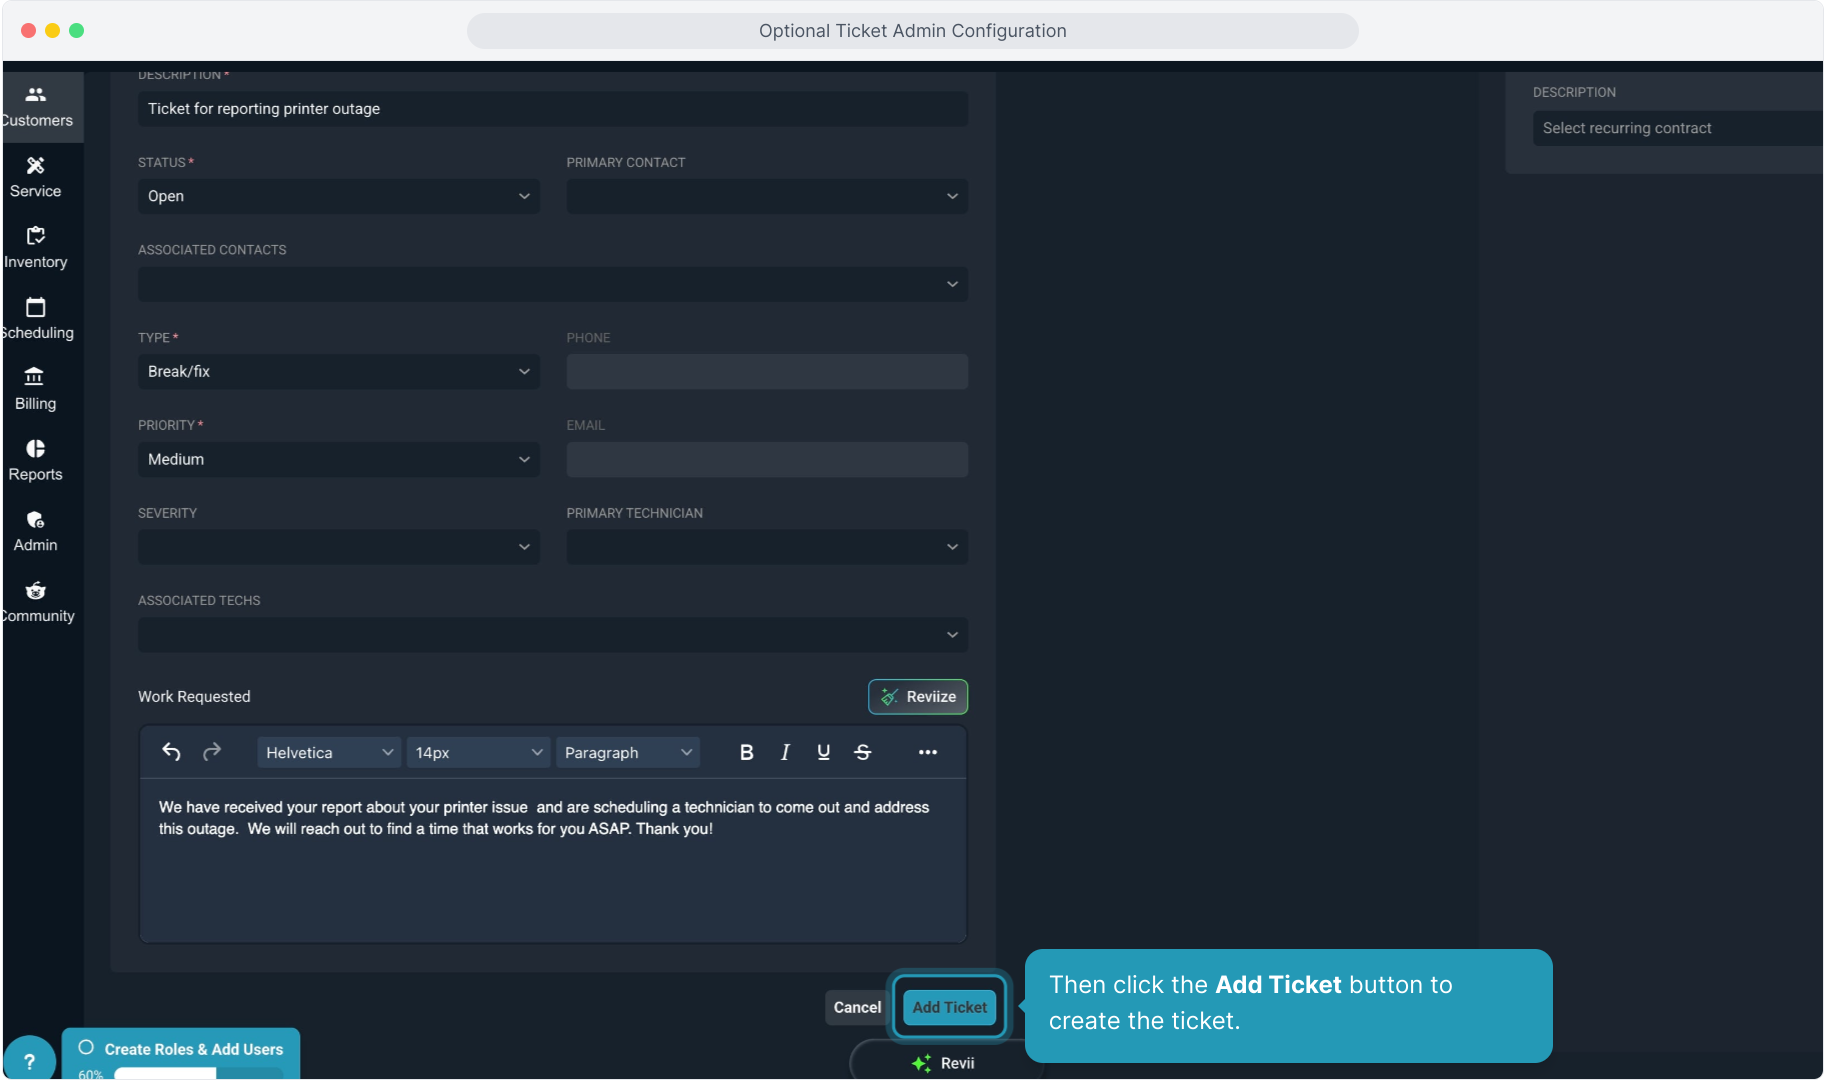
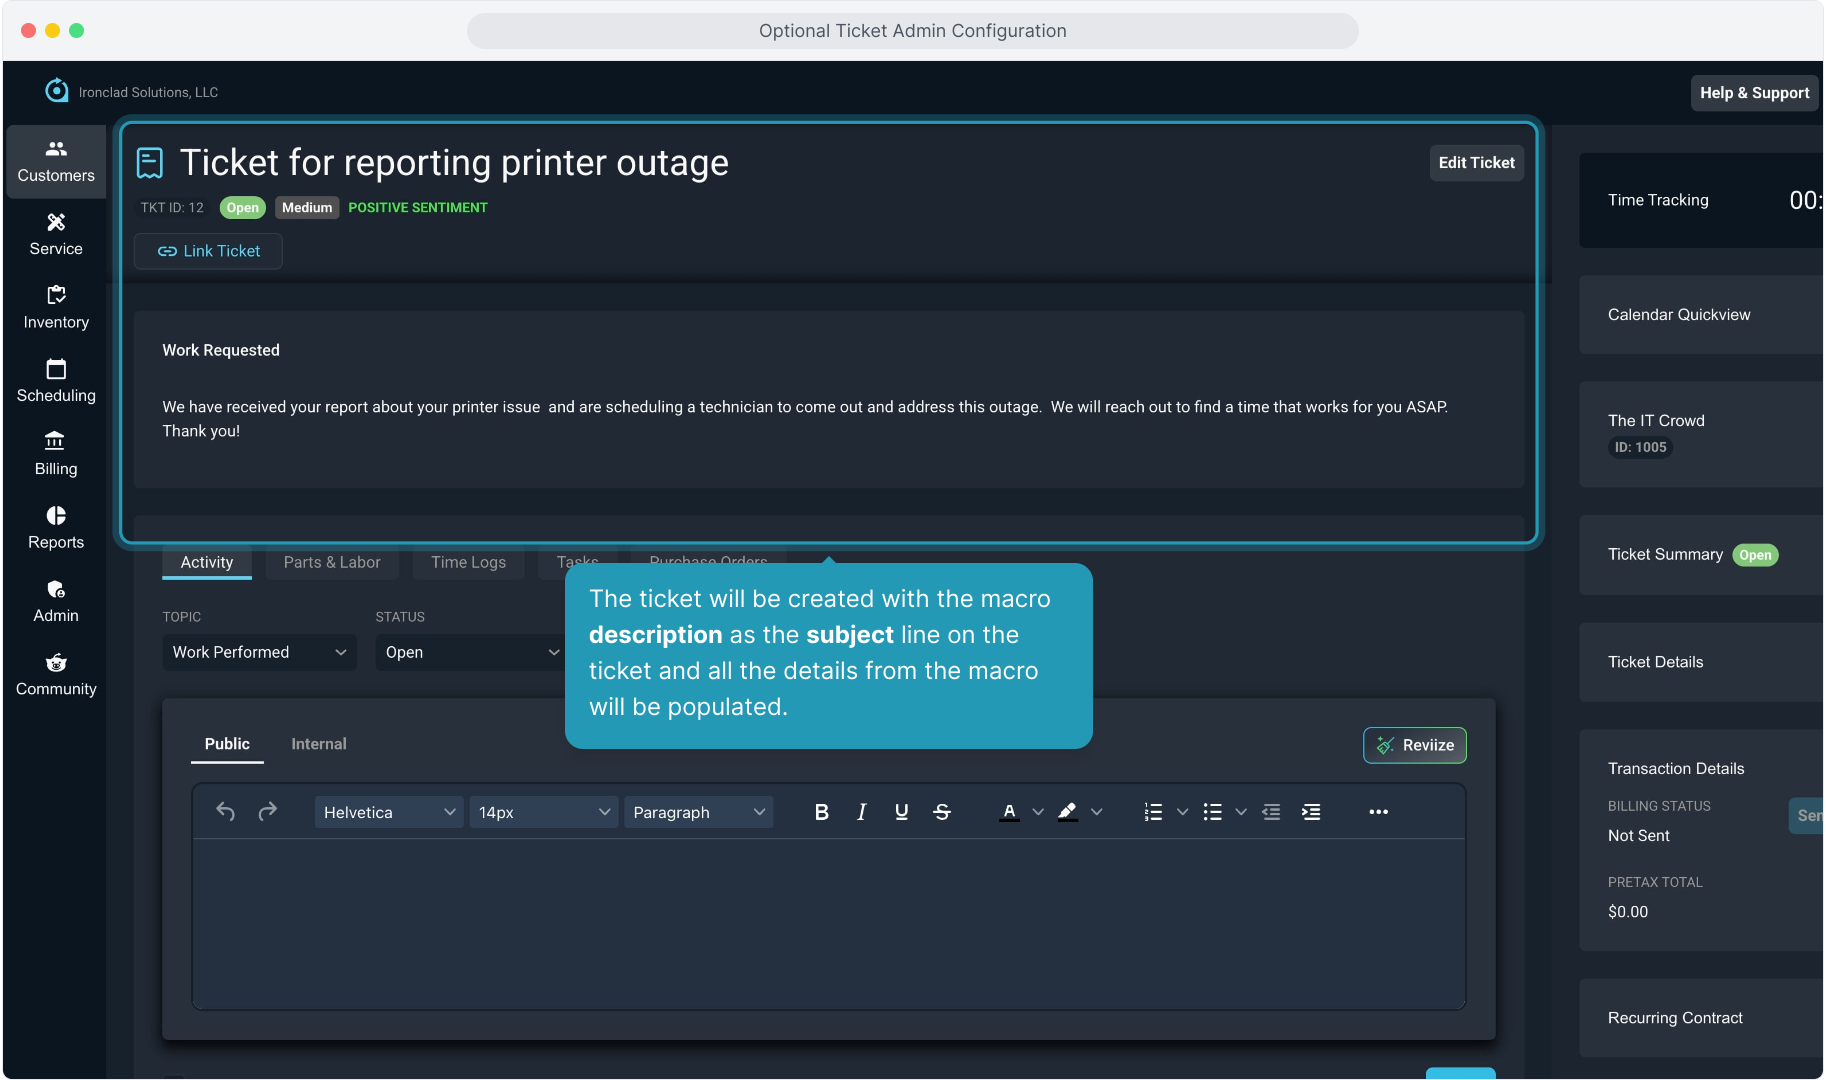
28. The ticket will be created with the macro description as the subject line on the ticket and all the details from the macro will be populated.