How To Guide: Managing the Calendar
1. Introduction
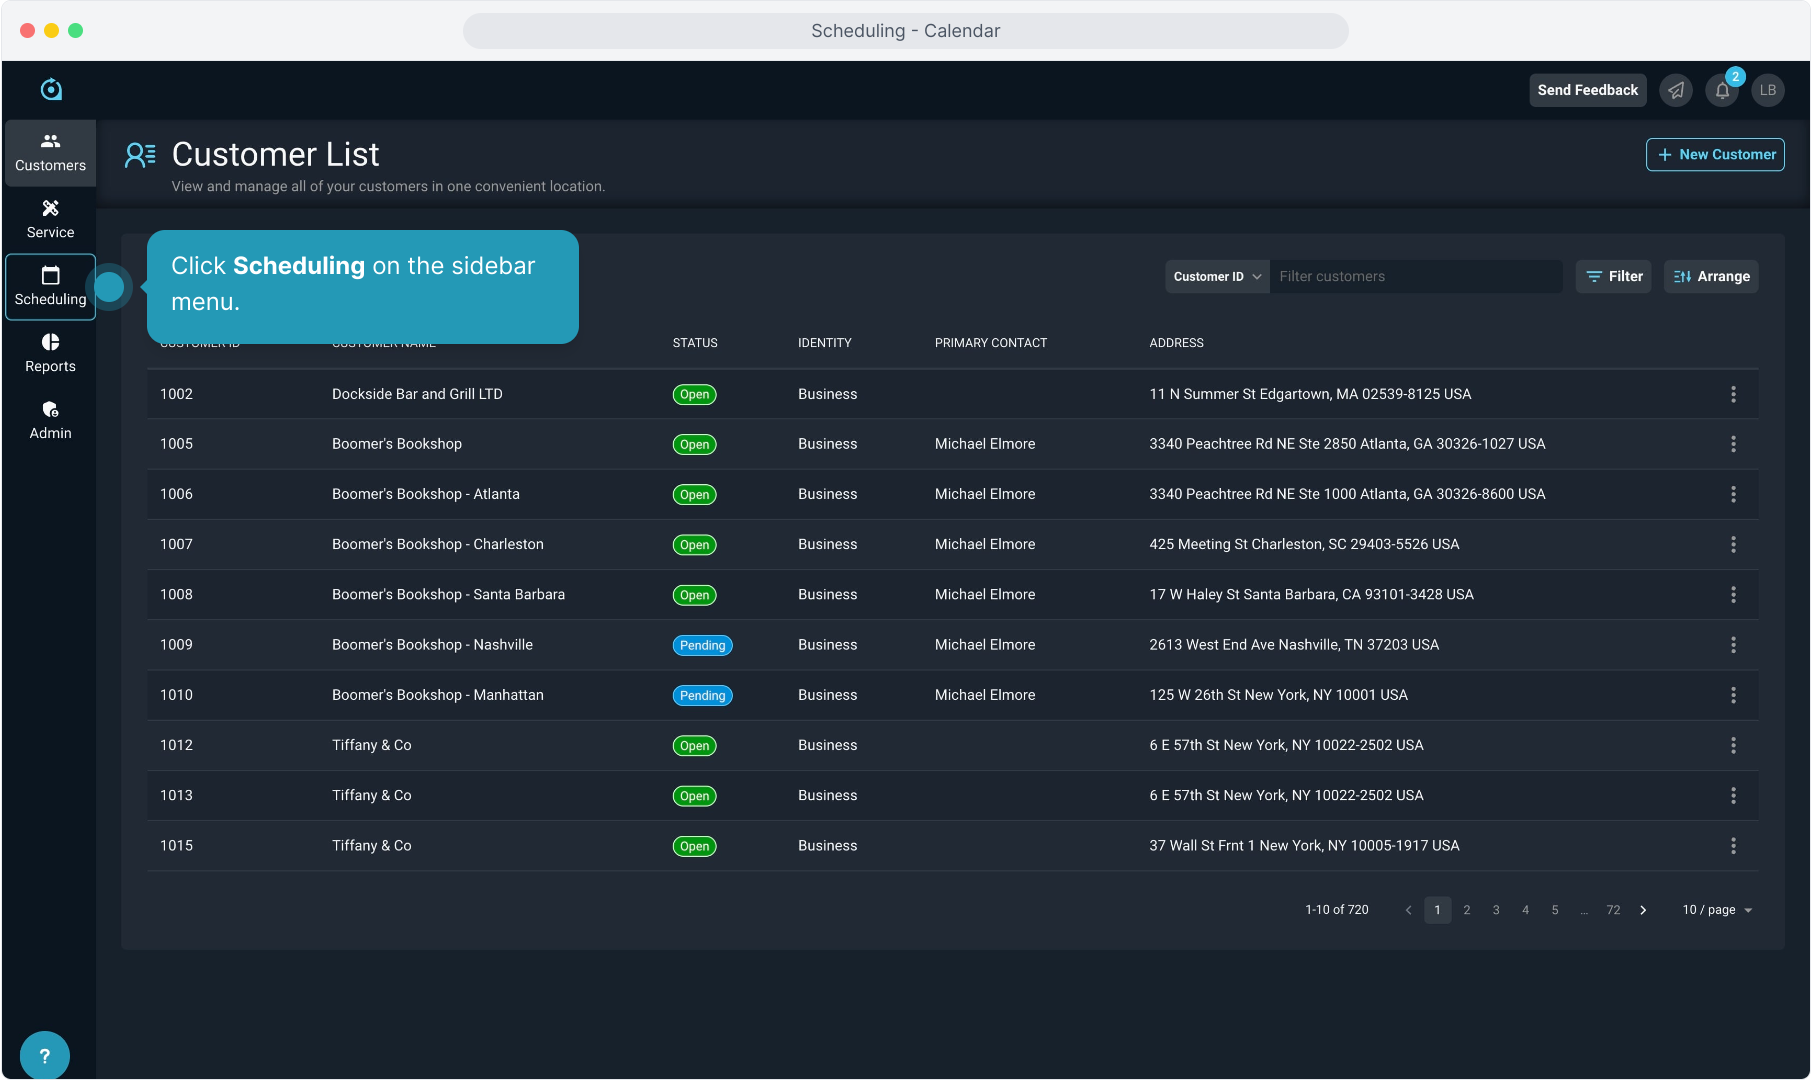
2. Click Scheduling on the sidebar menu.
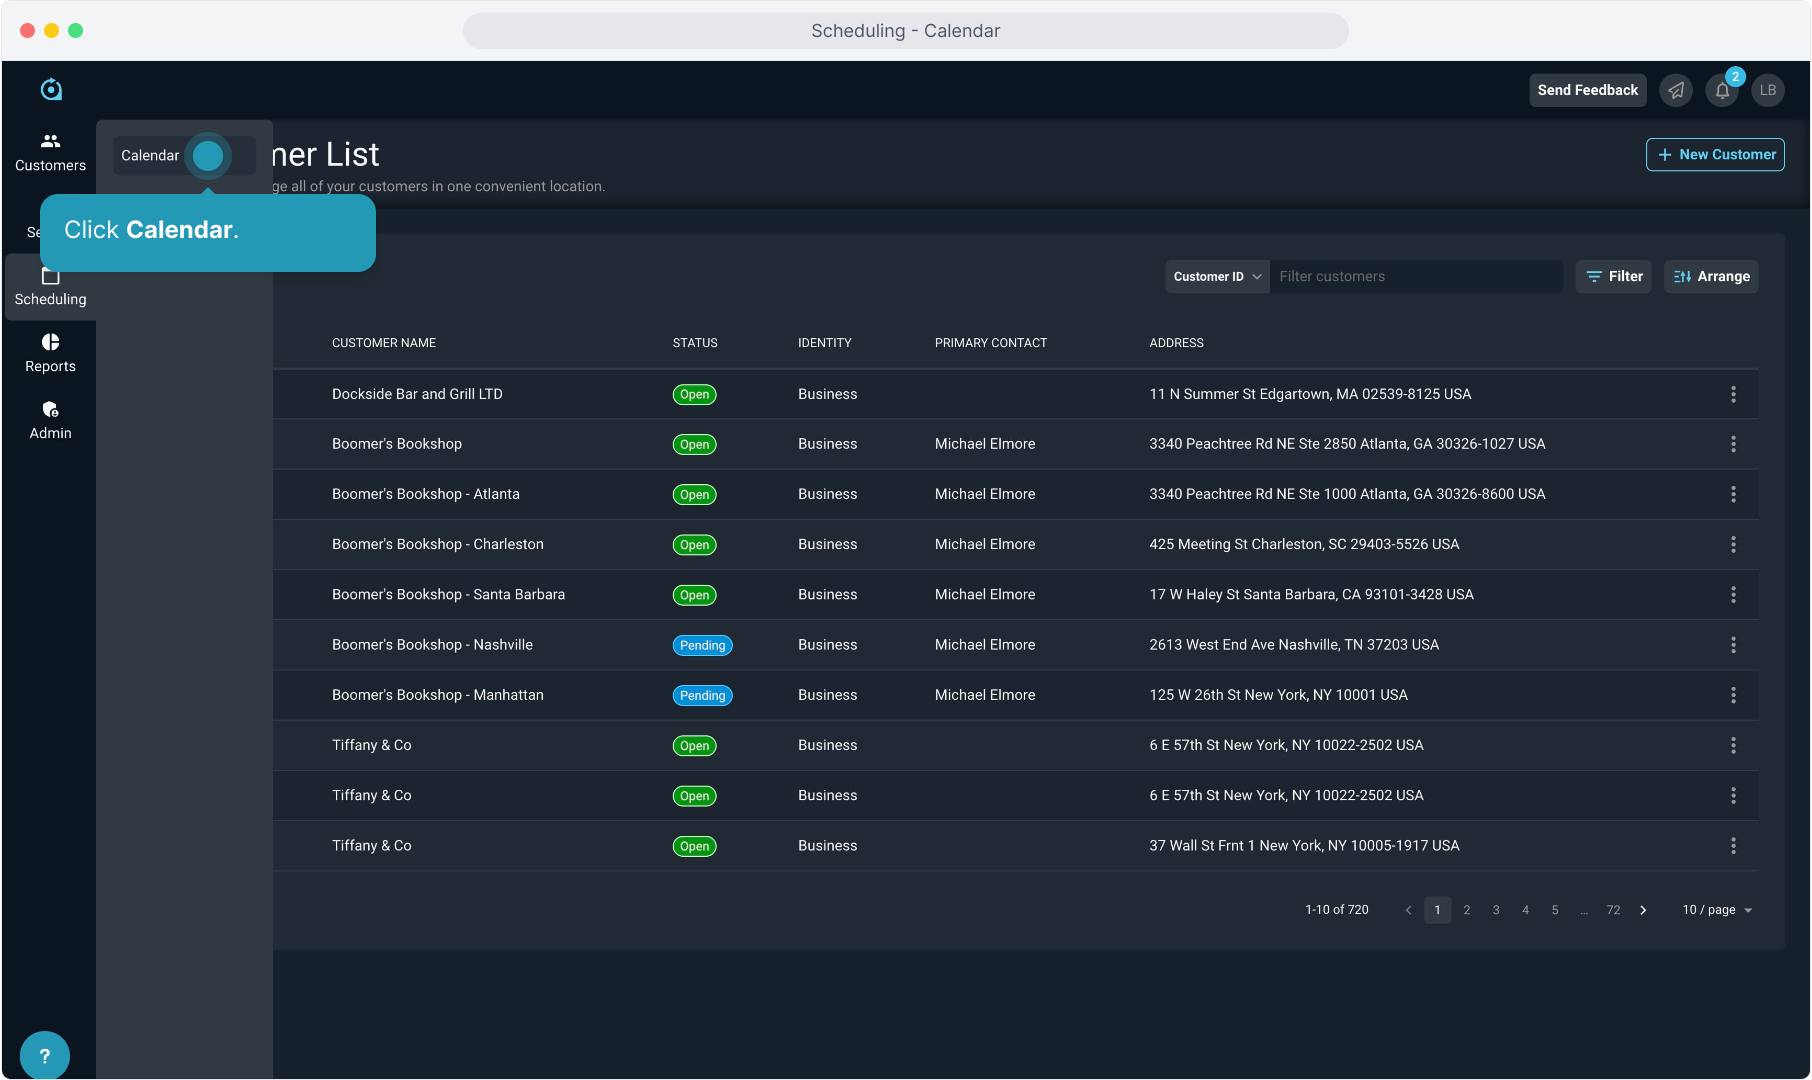
3. Click Calendar.
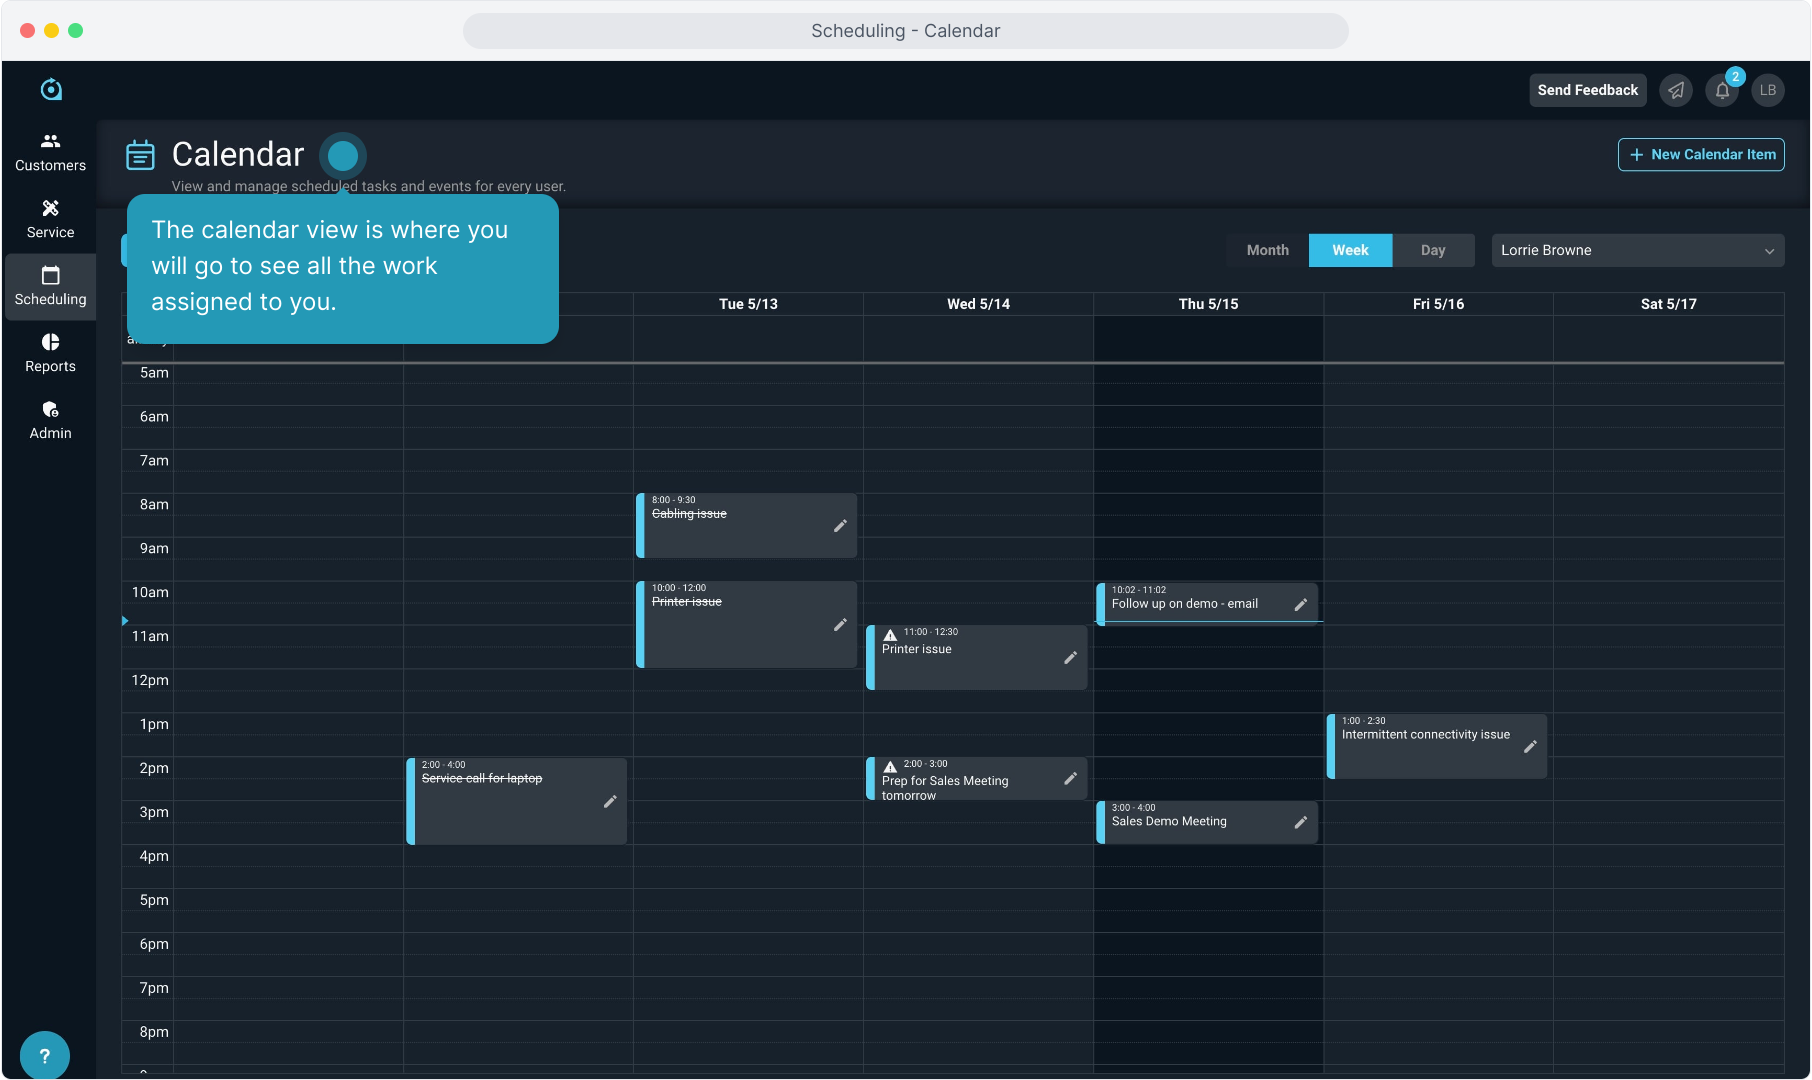
4. The calendar view is where you will go to see all the work assigned to you.
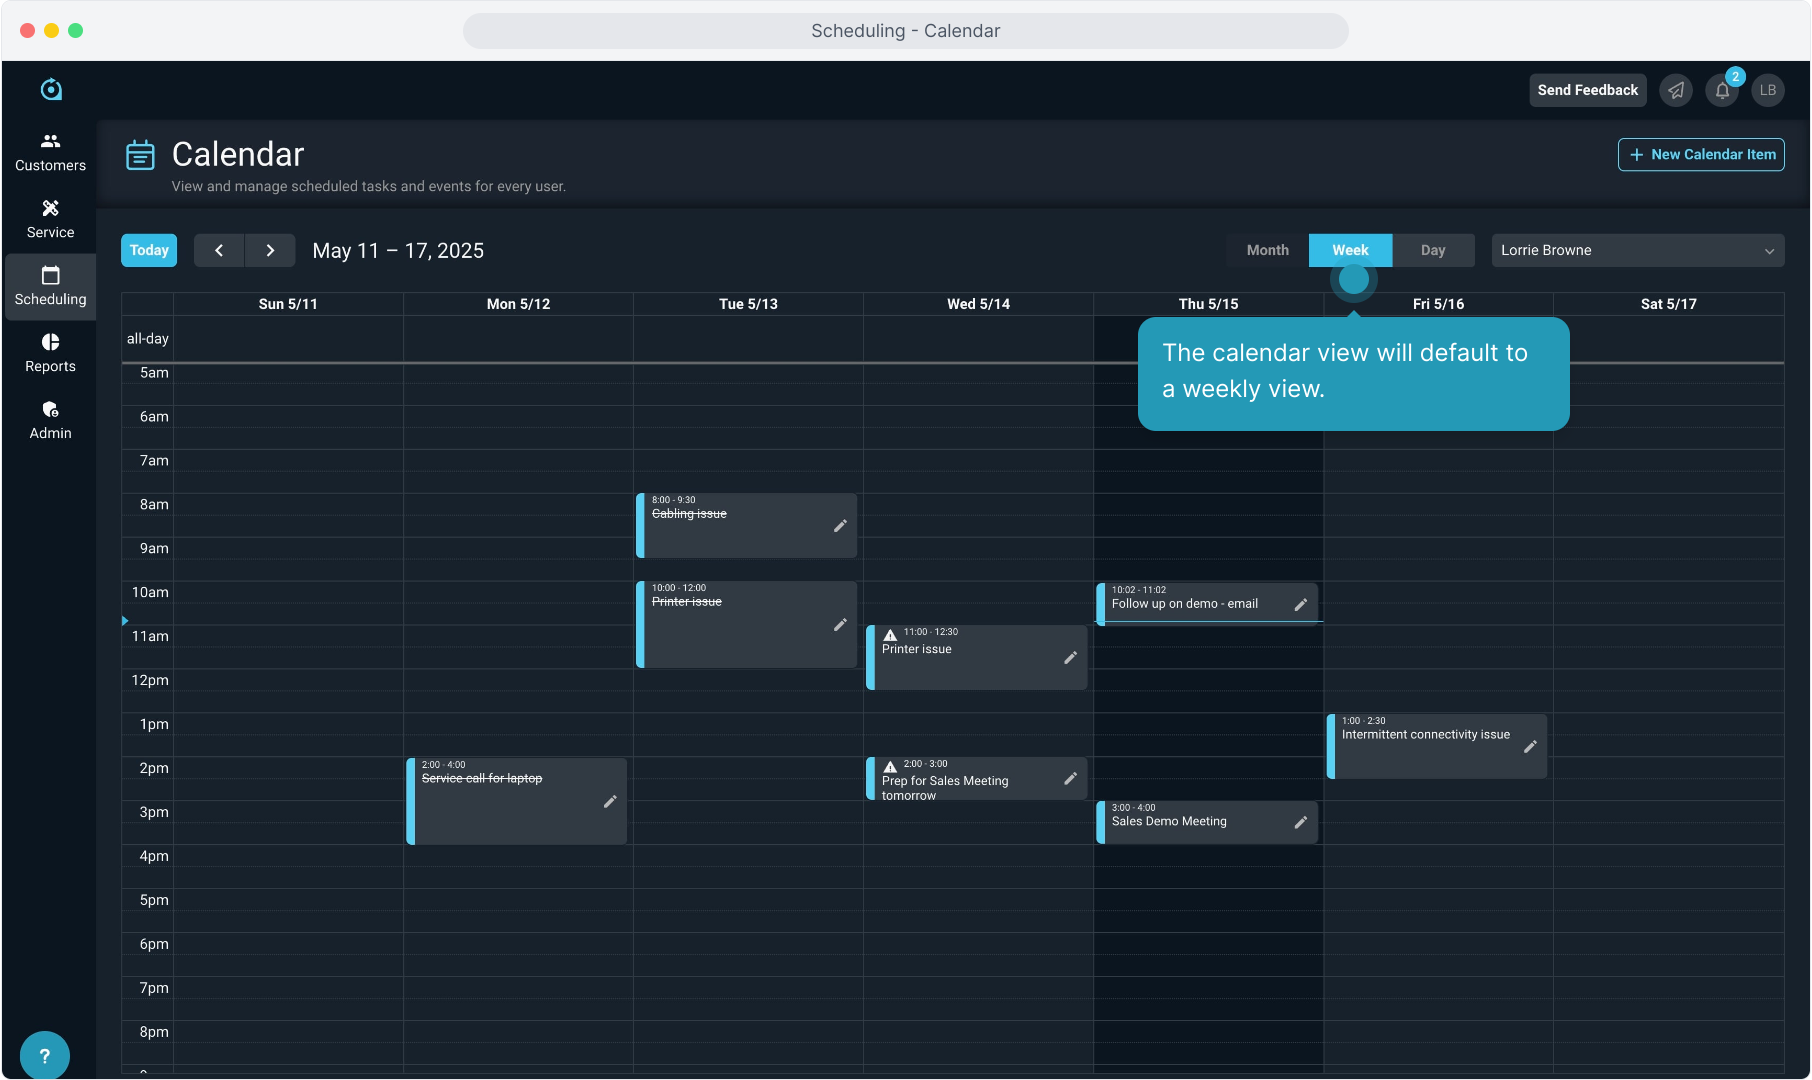
5. The calendar view will default to a weekly view.
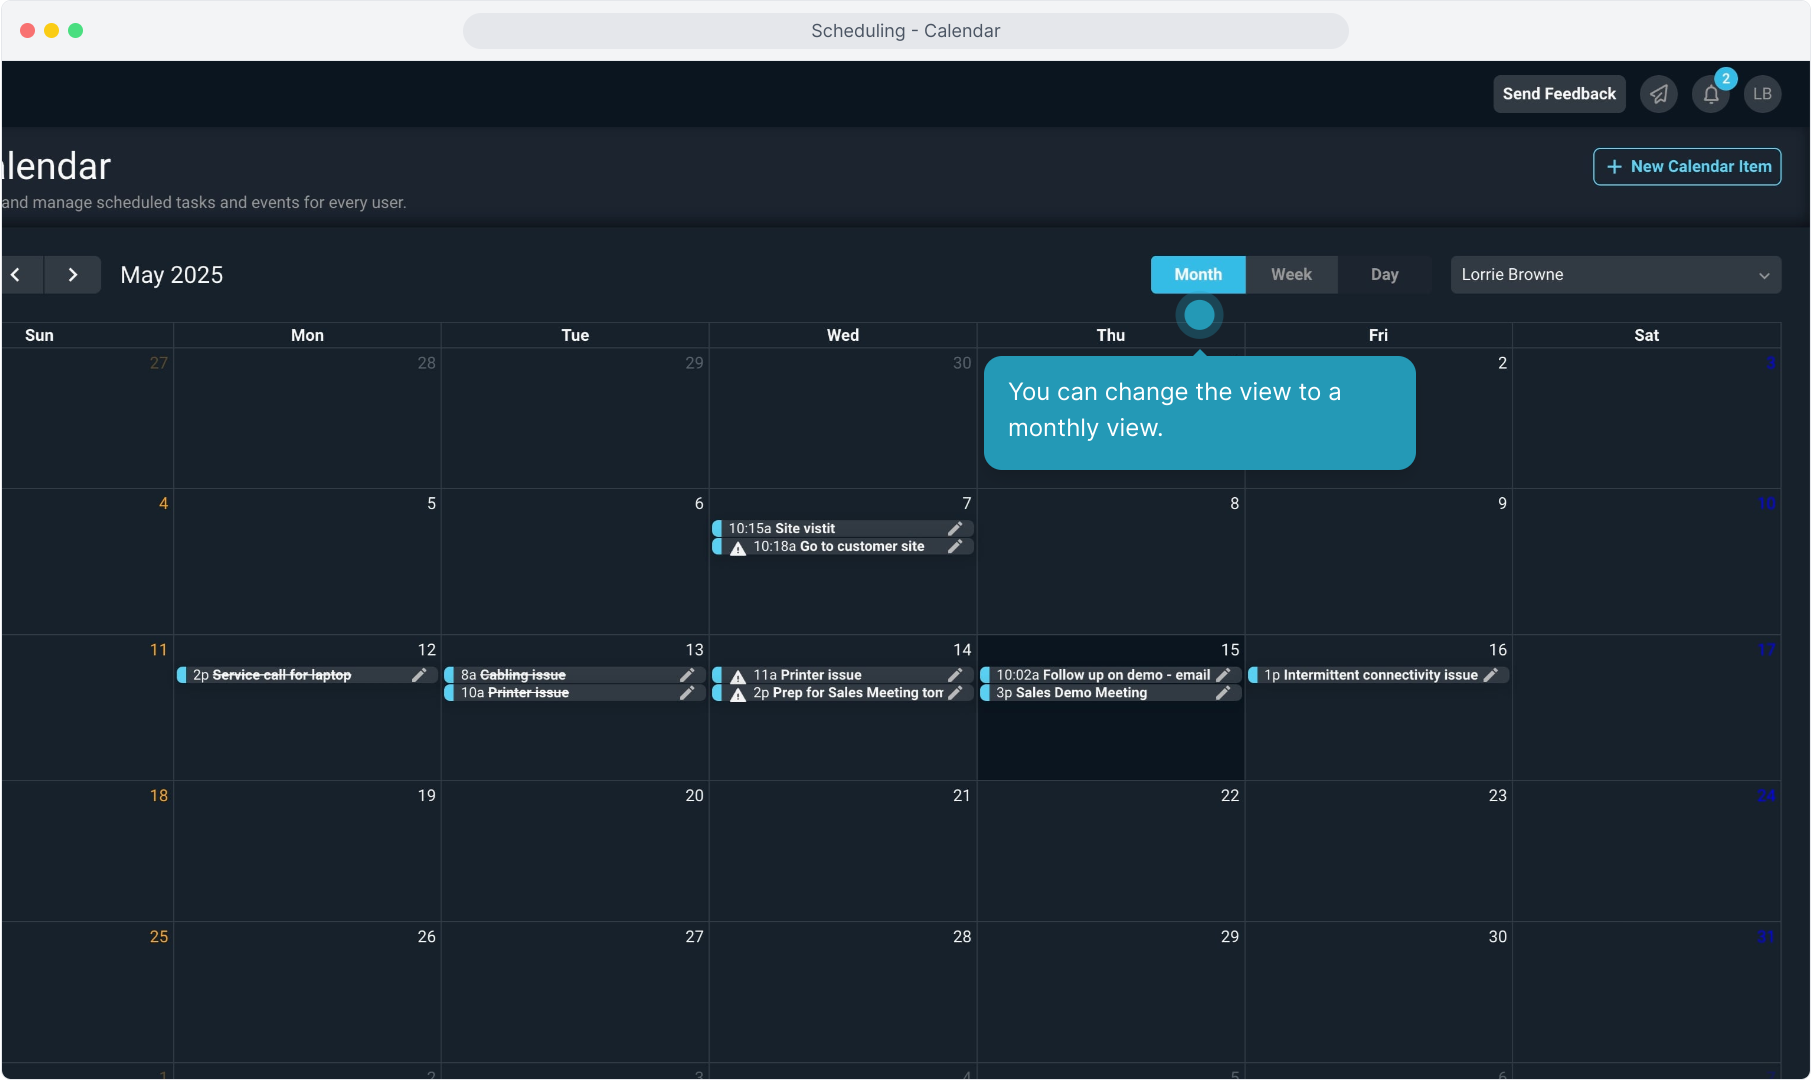
6. You can change the view to a monthly view.
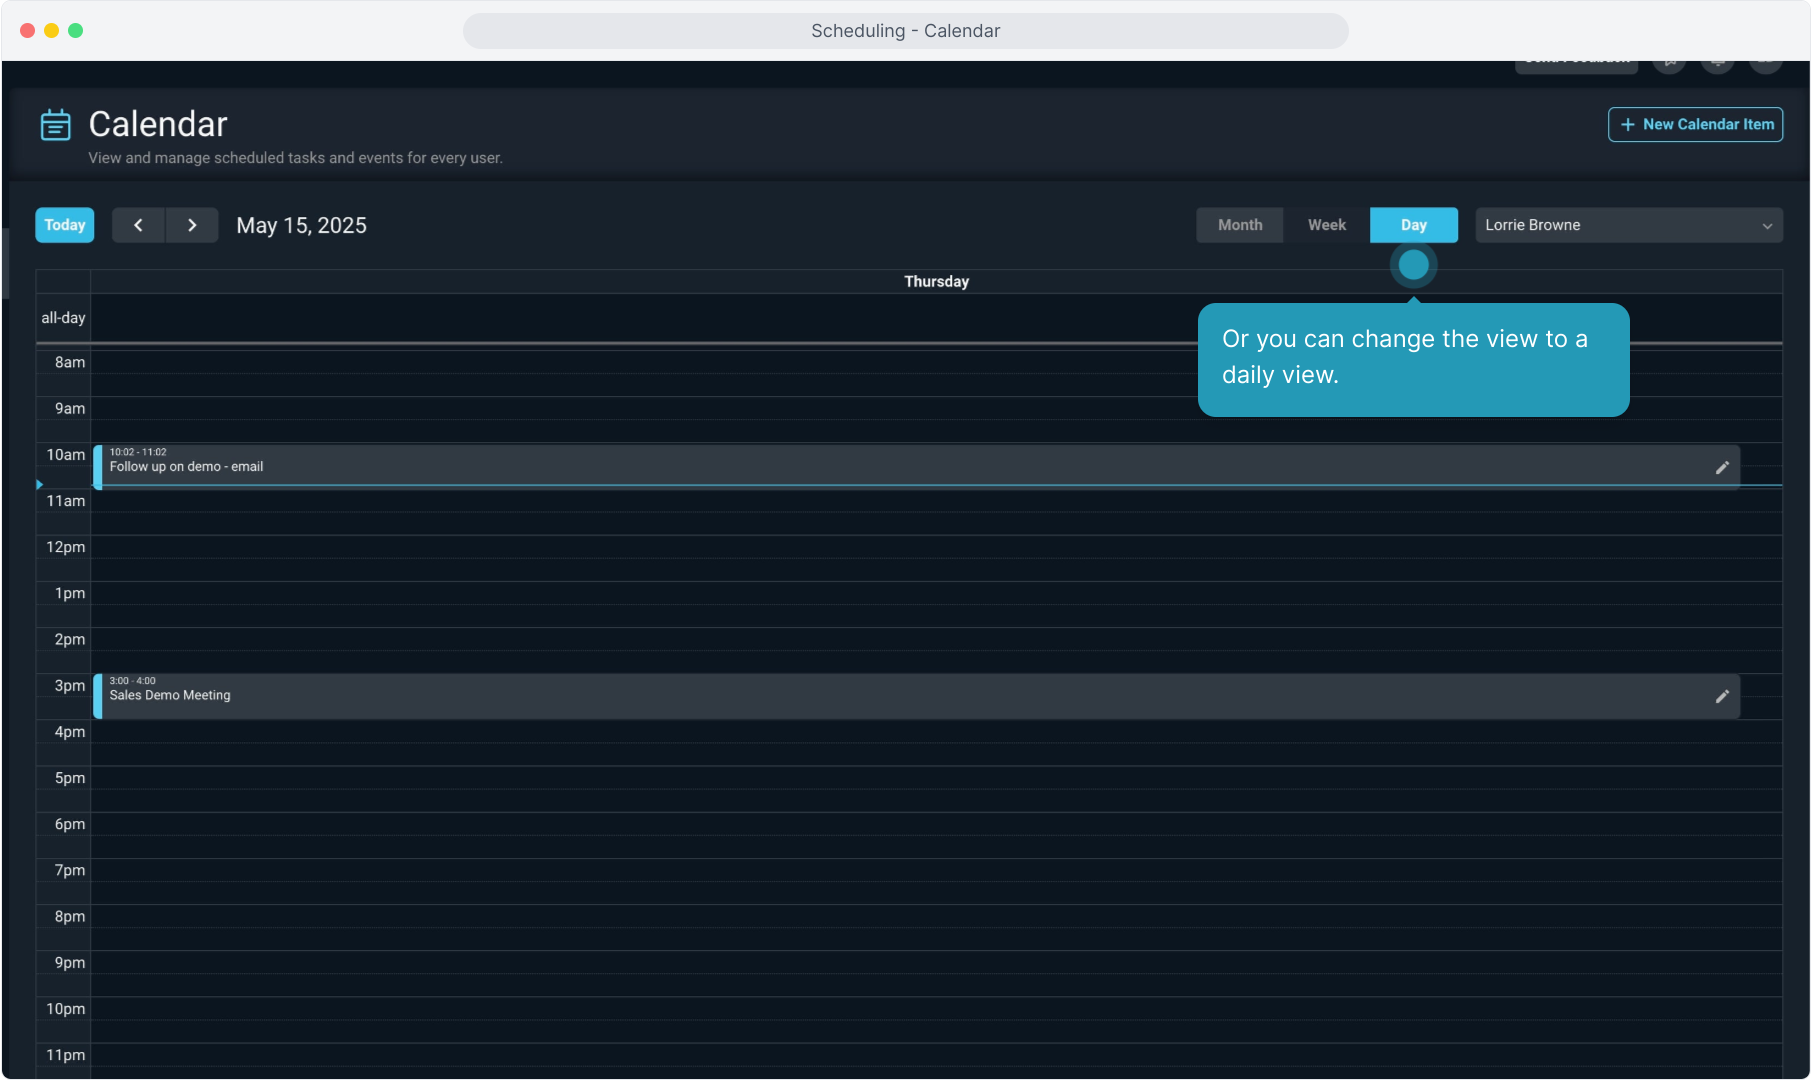
7. Or you can change the view to a daily view.
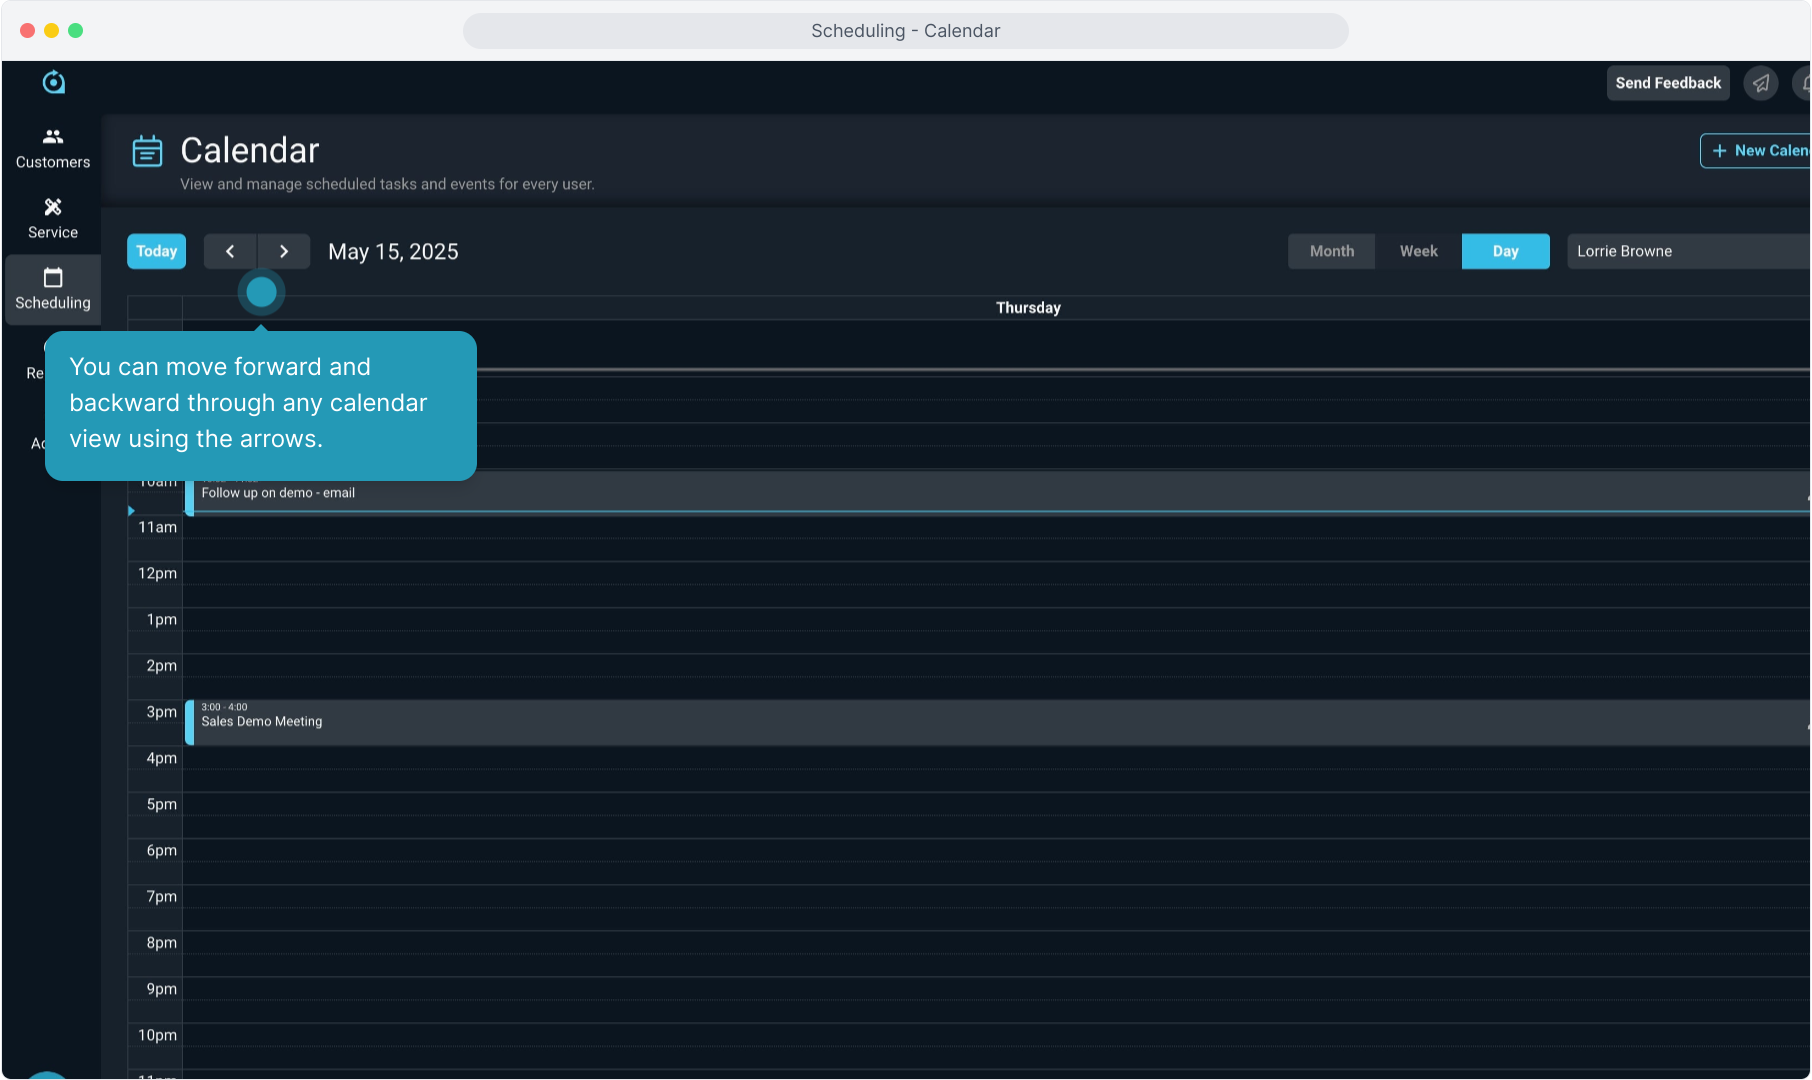
8. You can move forward and backward through any calendar view using the arrows.
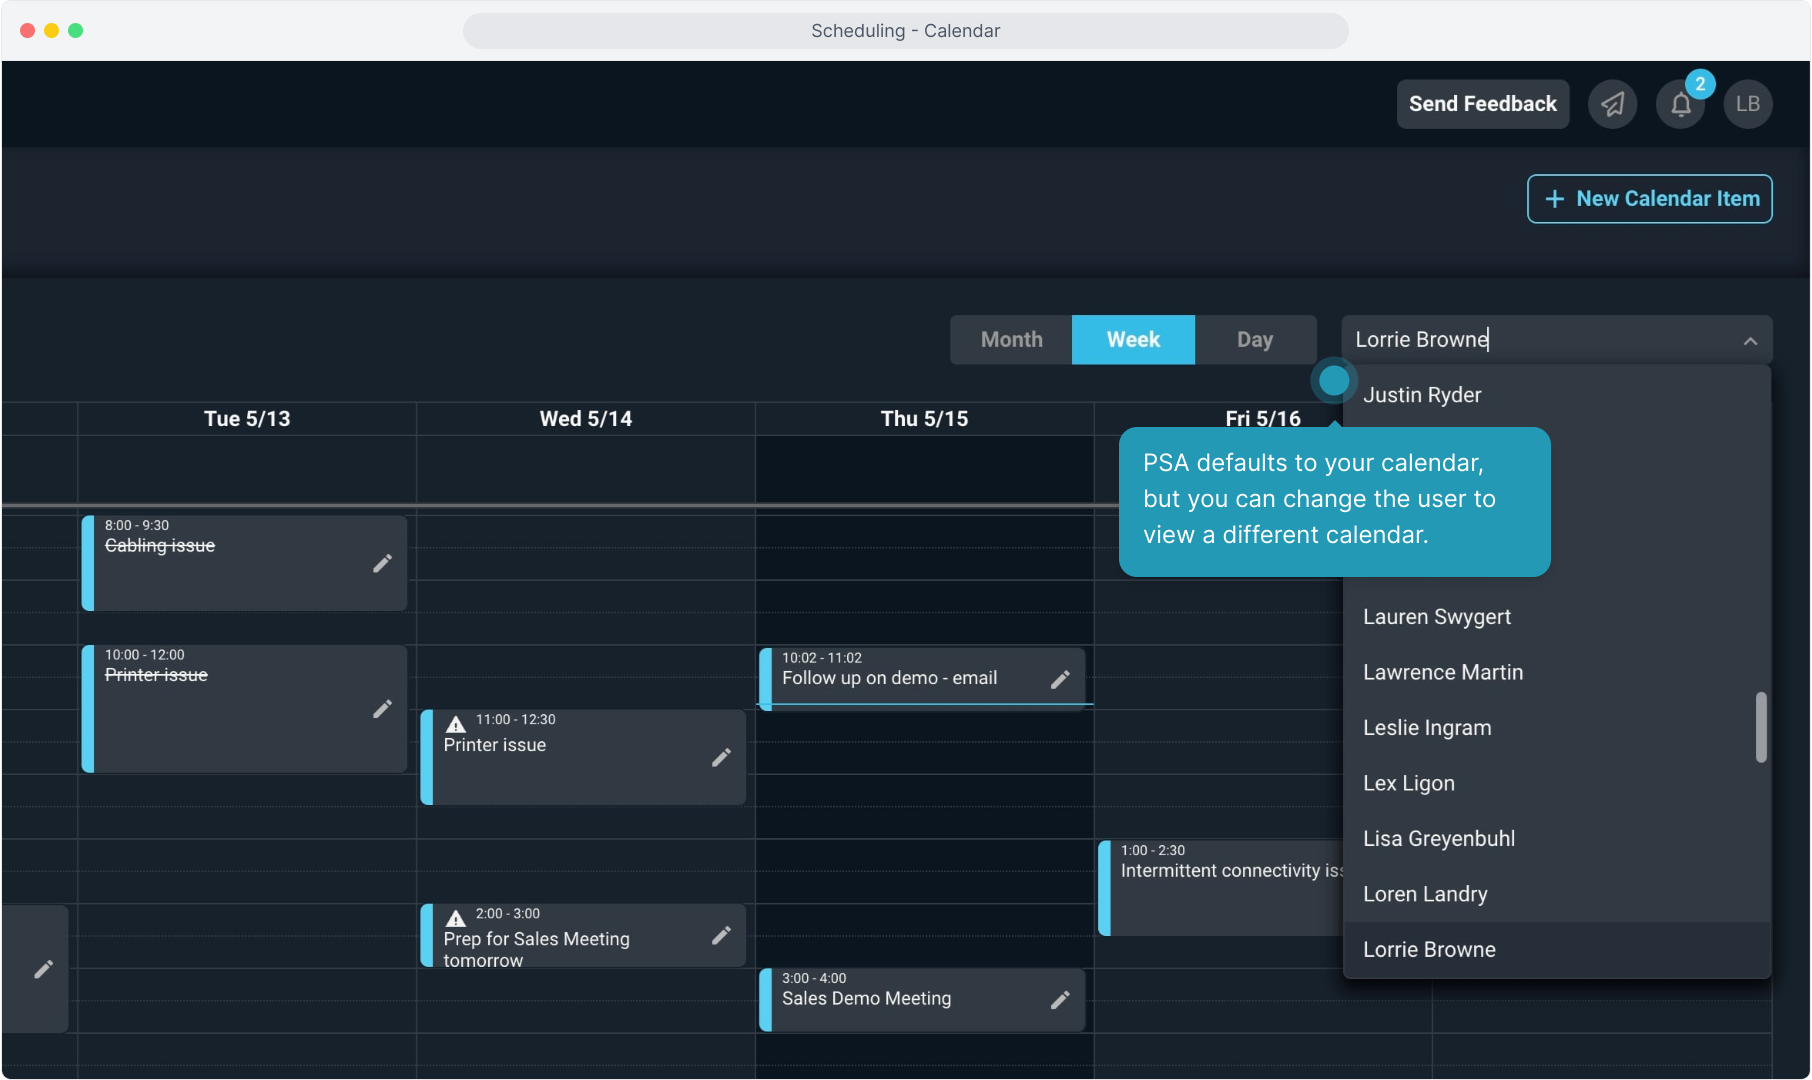
9. PSA defaults to your calendar, but you can change the user to view a different calendar.
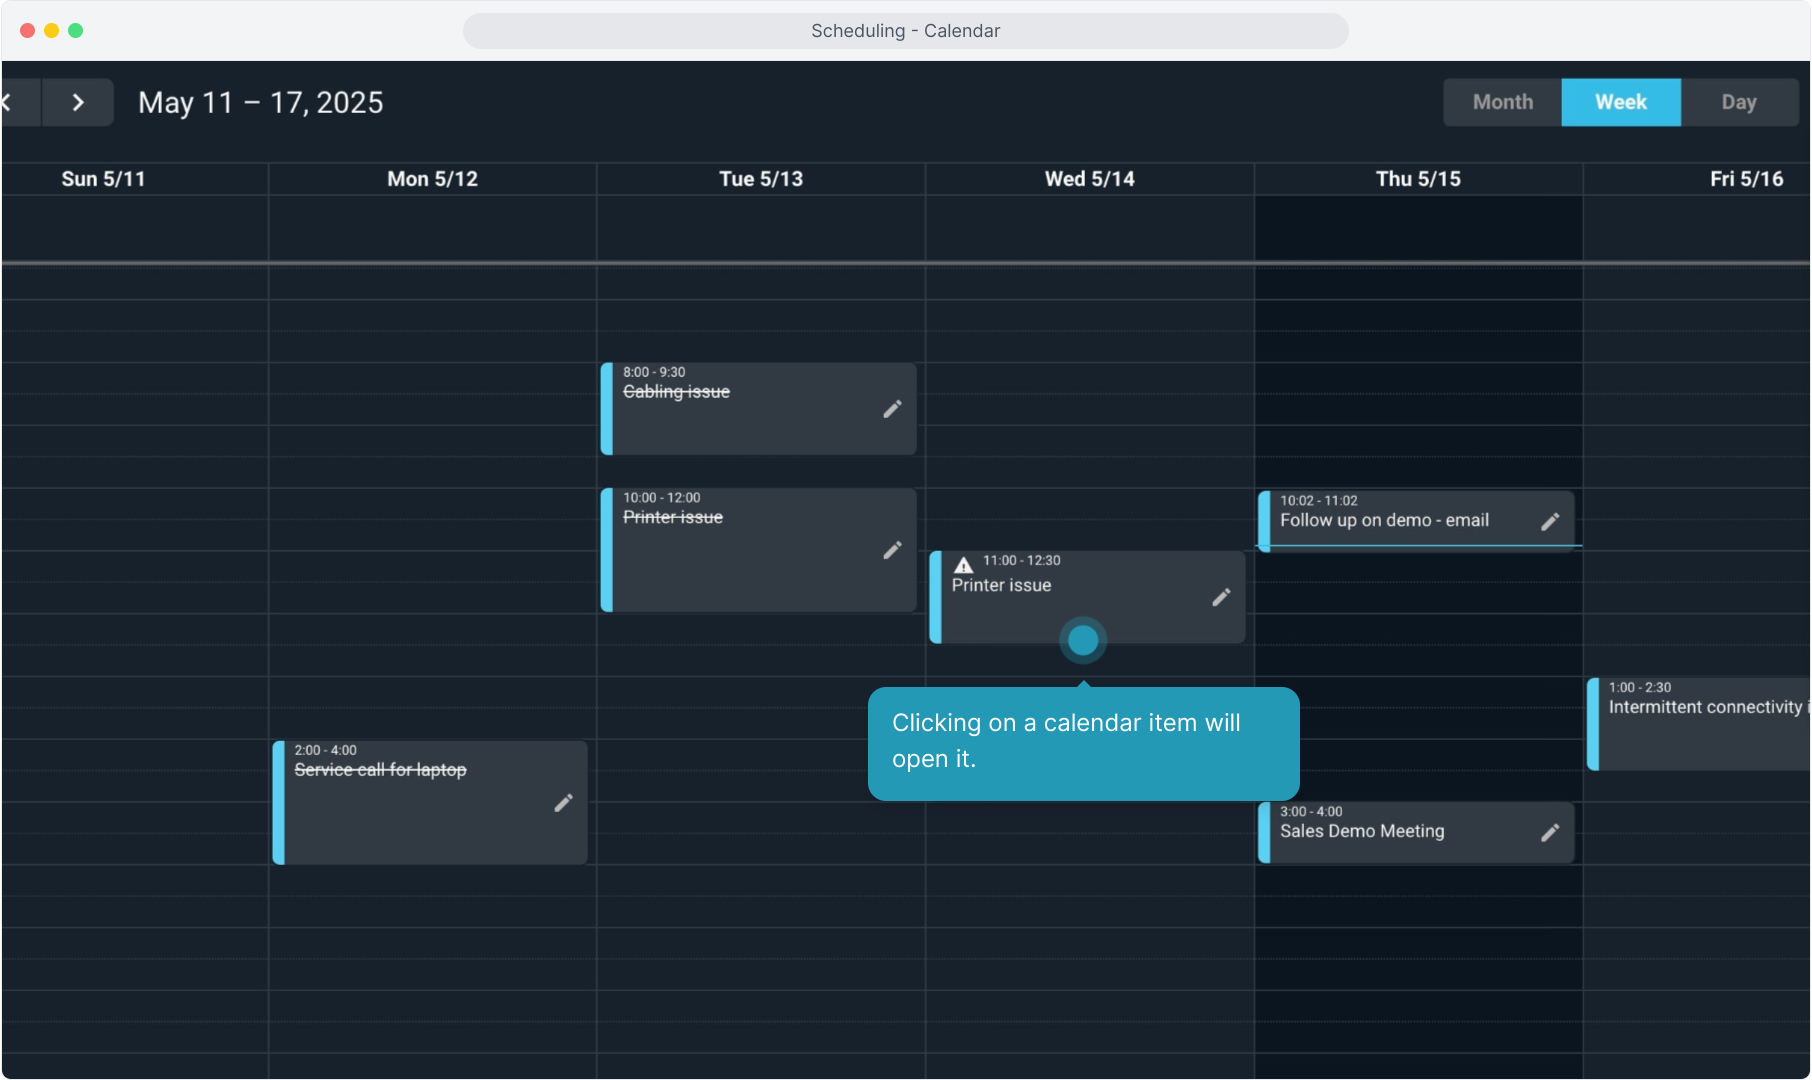
10. Clicking on a calendar item will open it.
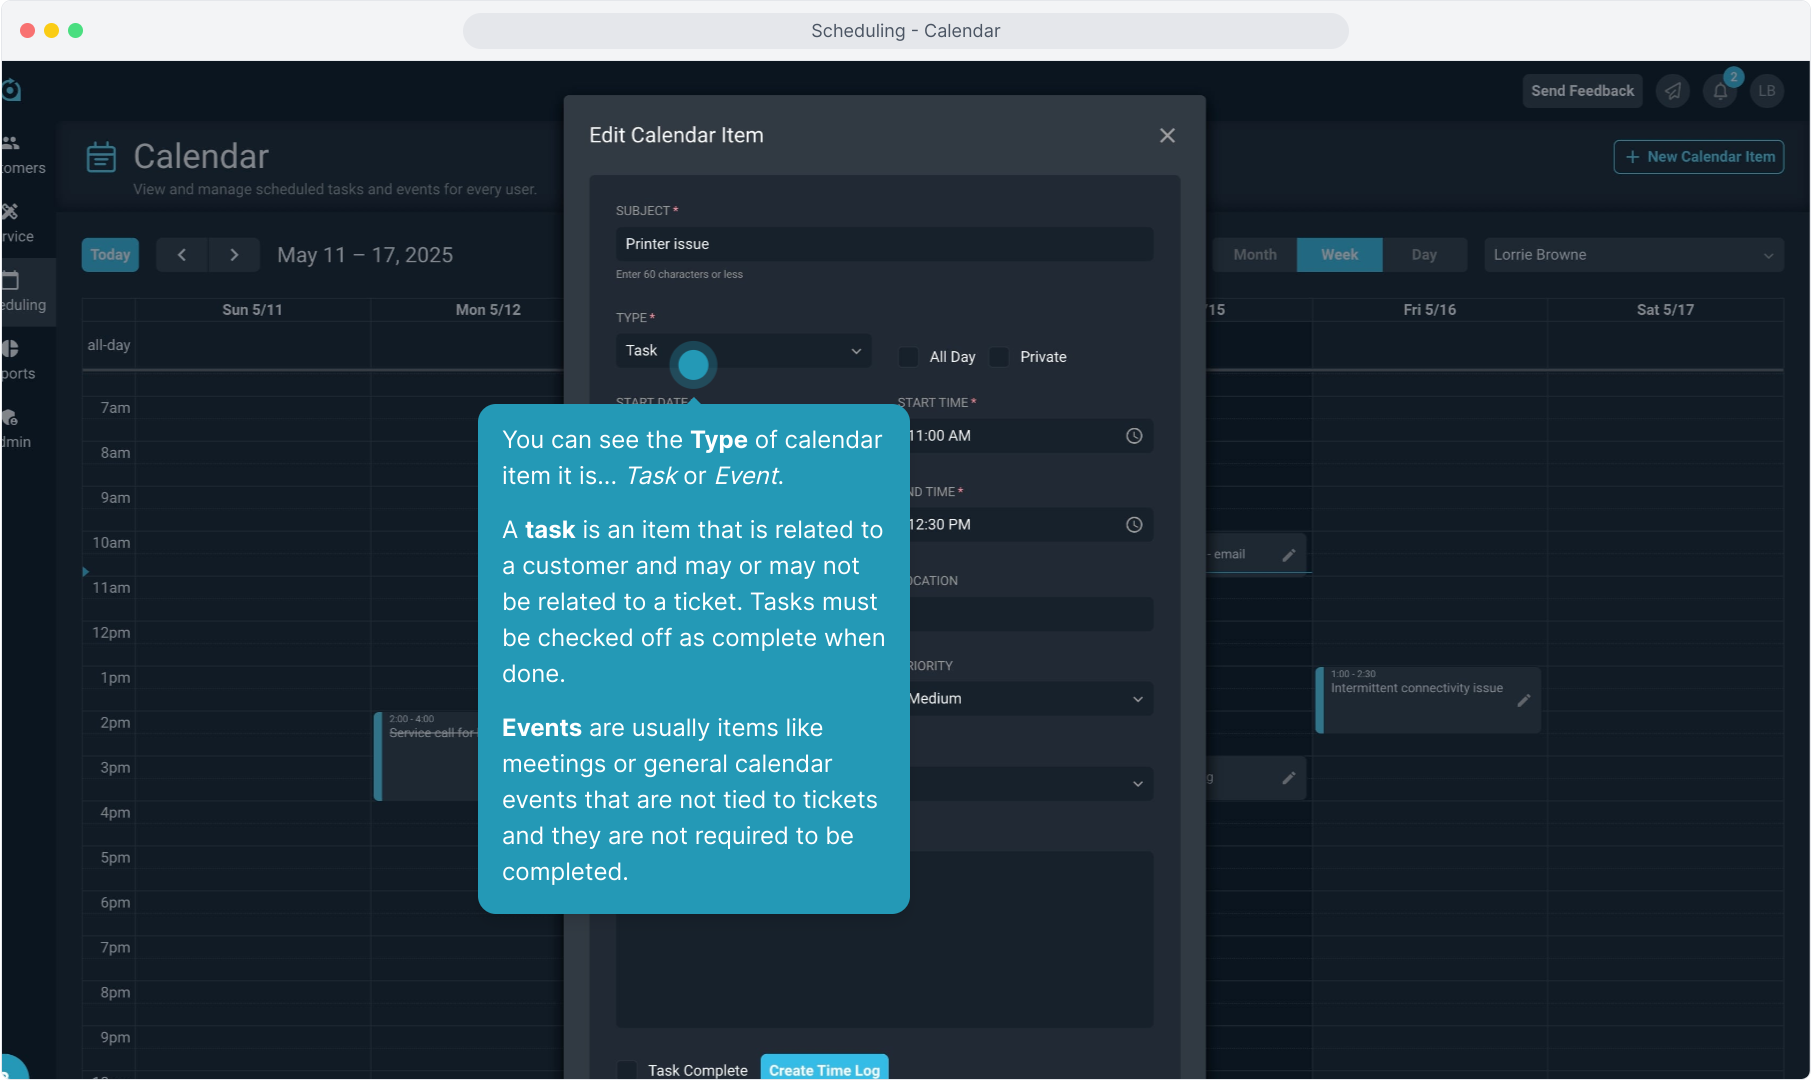
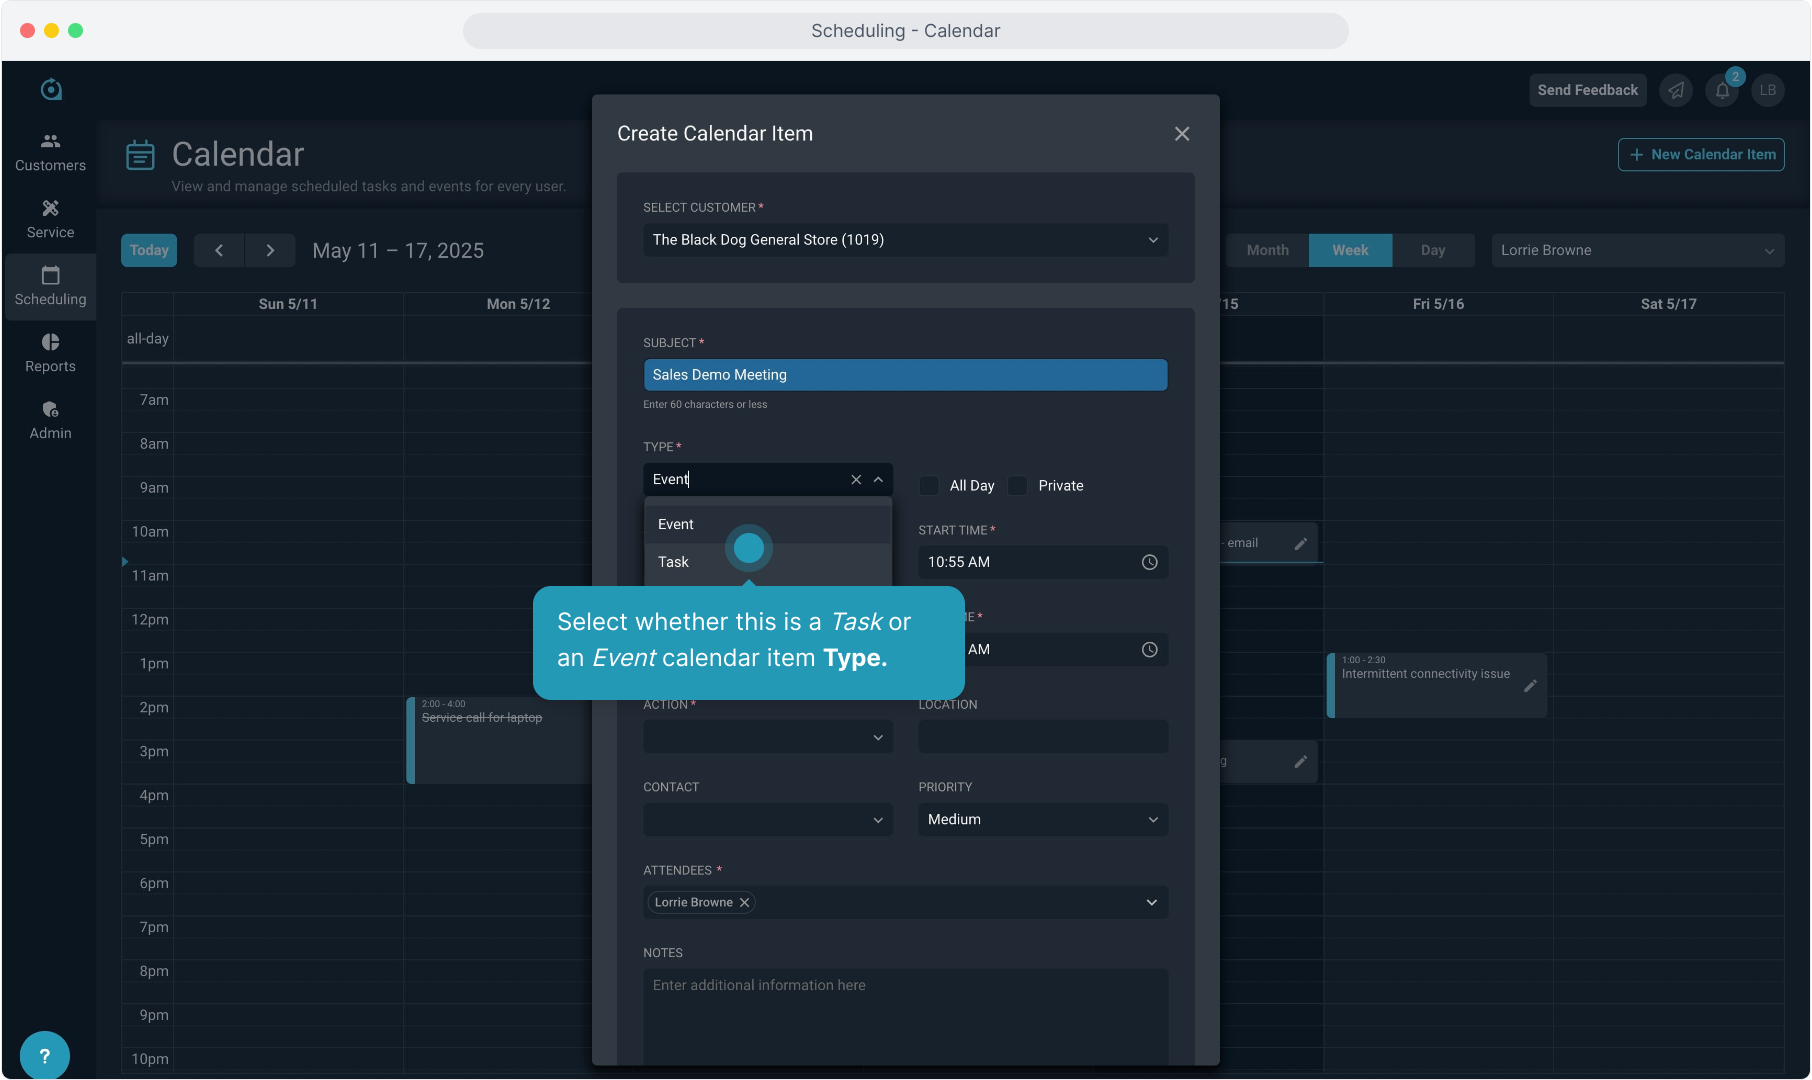
11. You can see the Type of calendar item it is... Task or Event.
A task is an item that is related to a customer and may or may not be related to a ticket. Tasks must be checked off as complete when done.
Events are usually items like meetings or general calendar events that are not tied to tickets and they are not required to be completed.
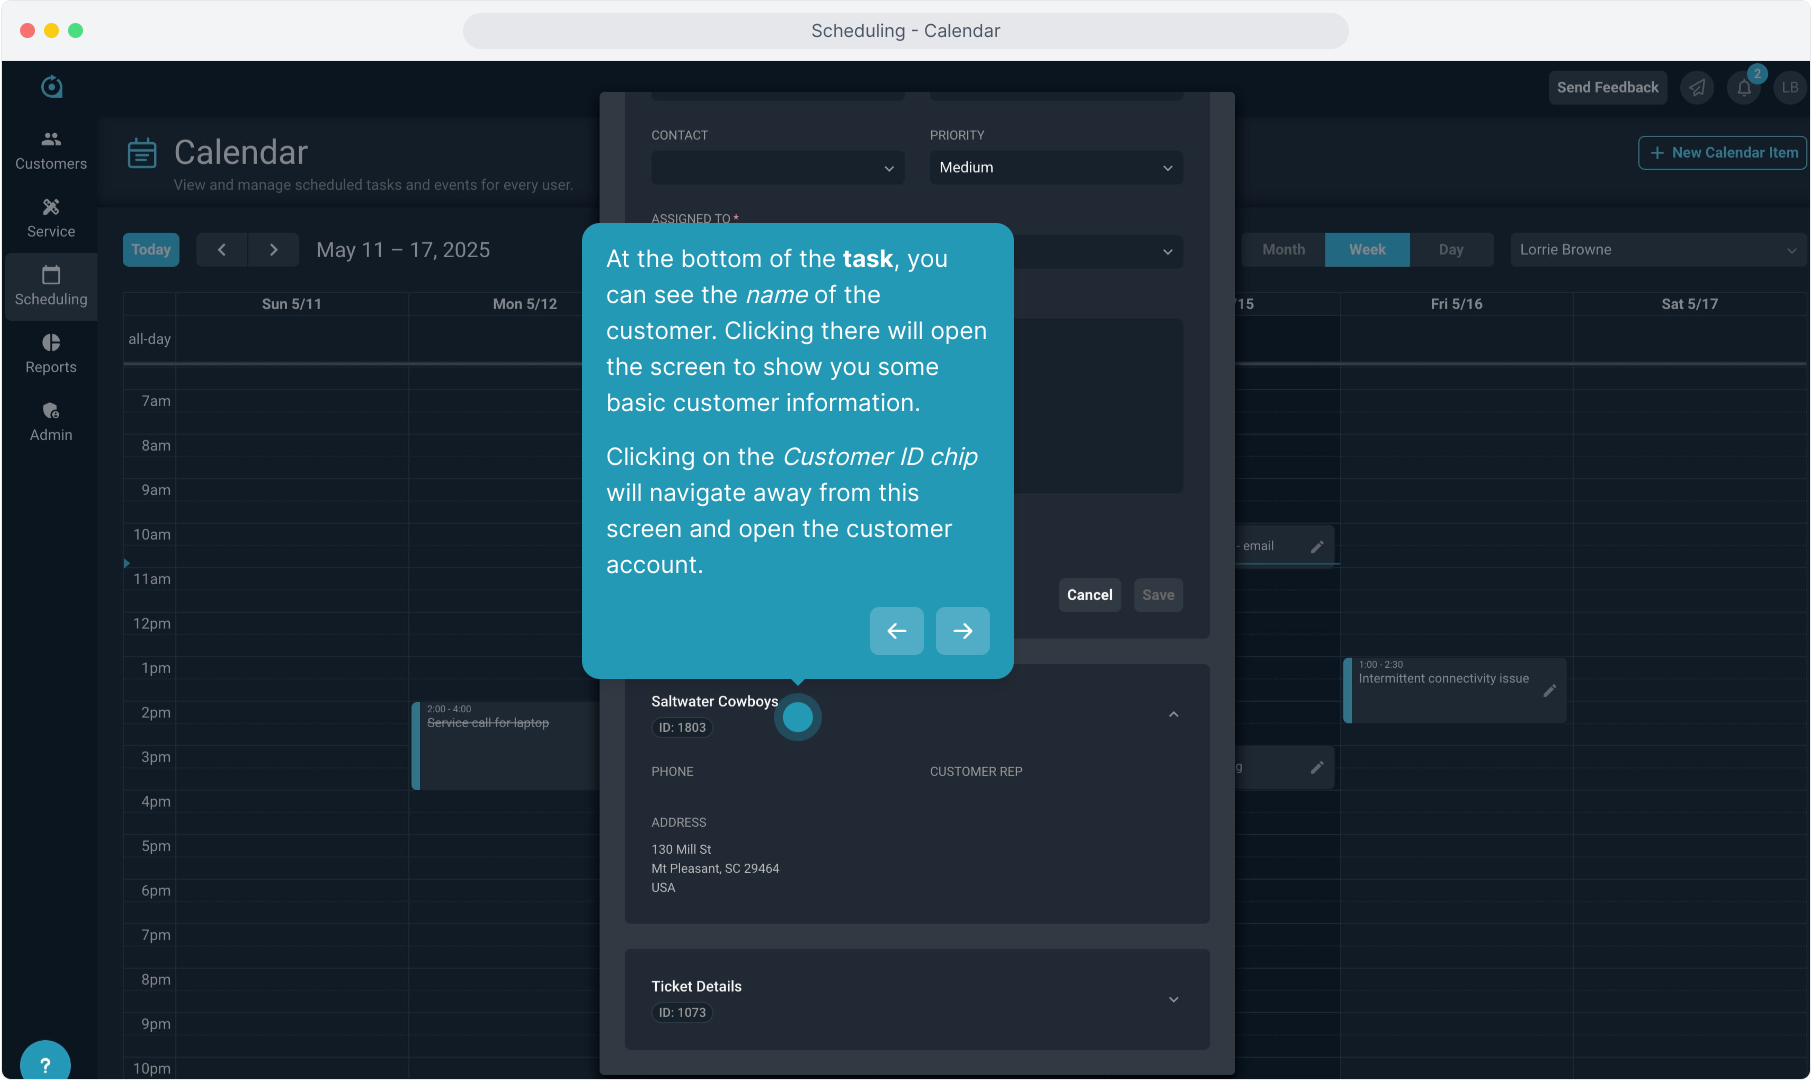
12. At the bottom of the task, you can see the name of the customer. Clicking there will open the screen to show you some basic customer information.
Clicking on the Customer ID chip will navigate away from this screen and open the customer account.
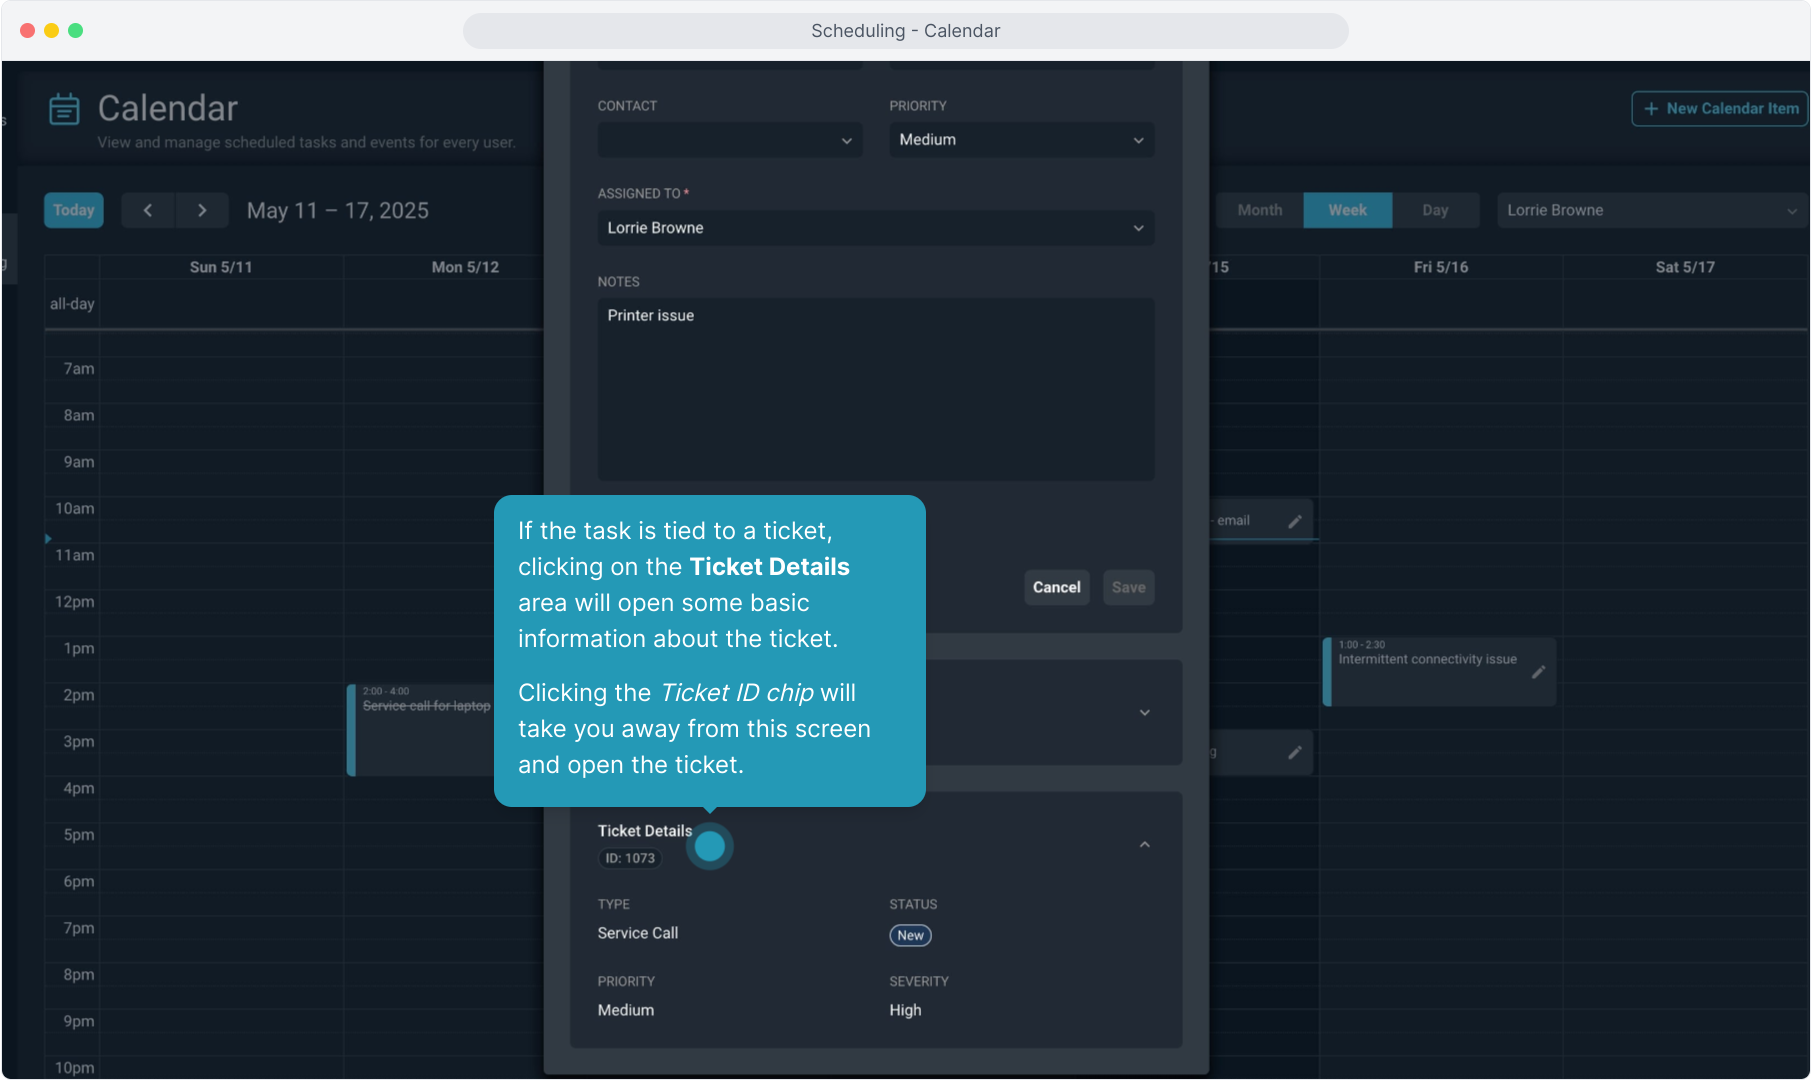
13. If the task is tied to a ticket, clicking on the Ticket Details area will open some basic information about the ticket.
Clicking the Ticket ID chip will take you away from this screen and open the ticket.
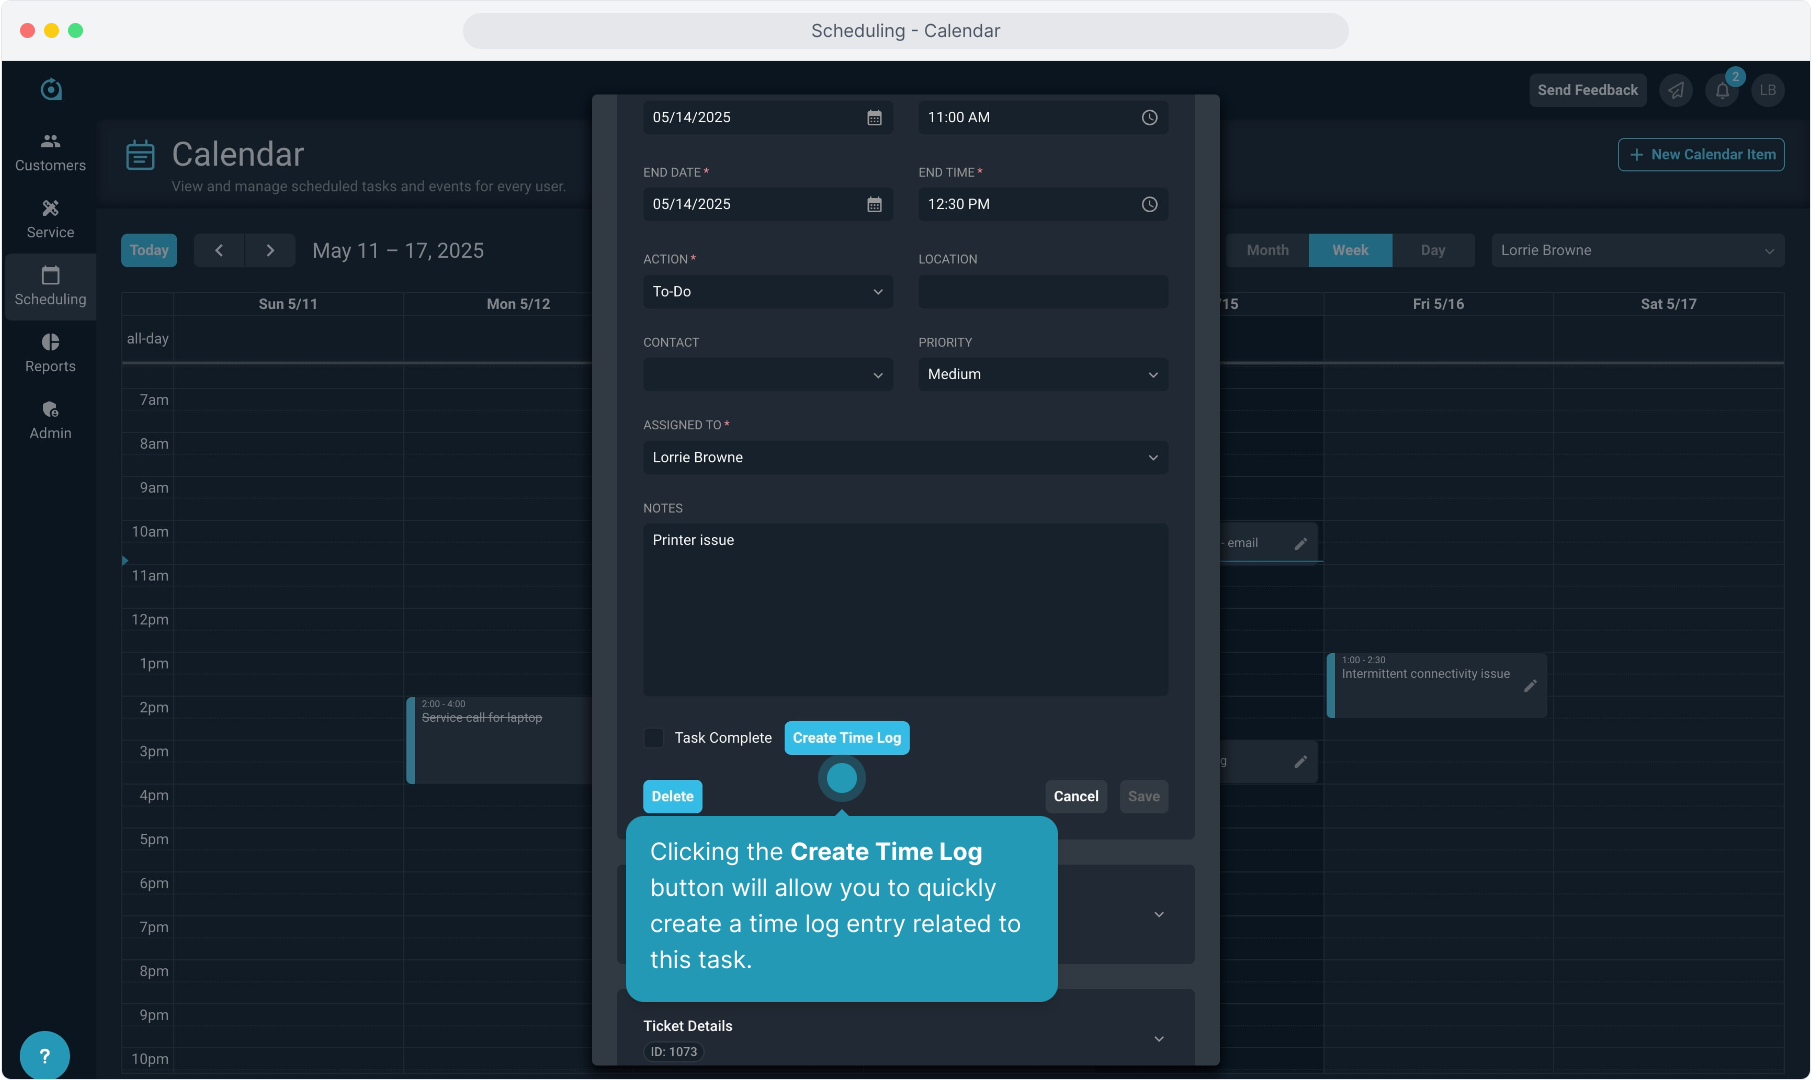
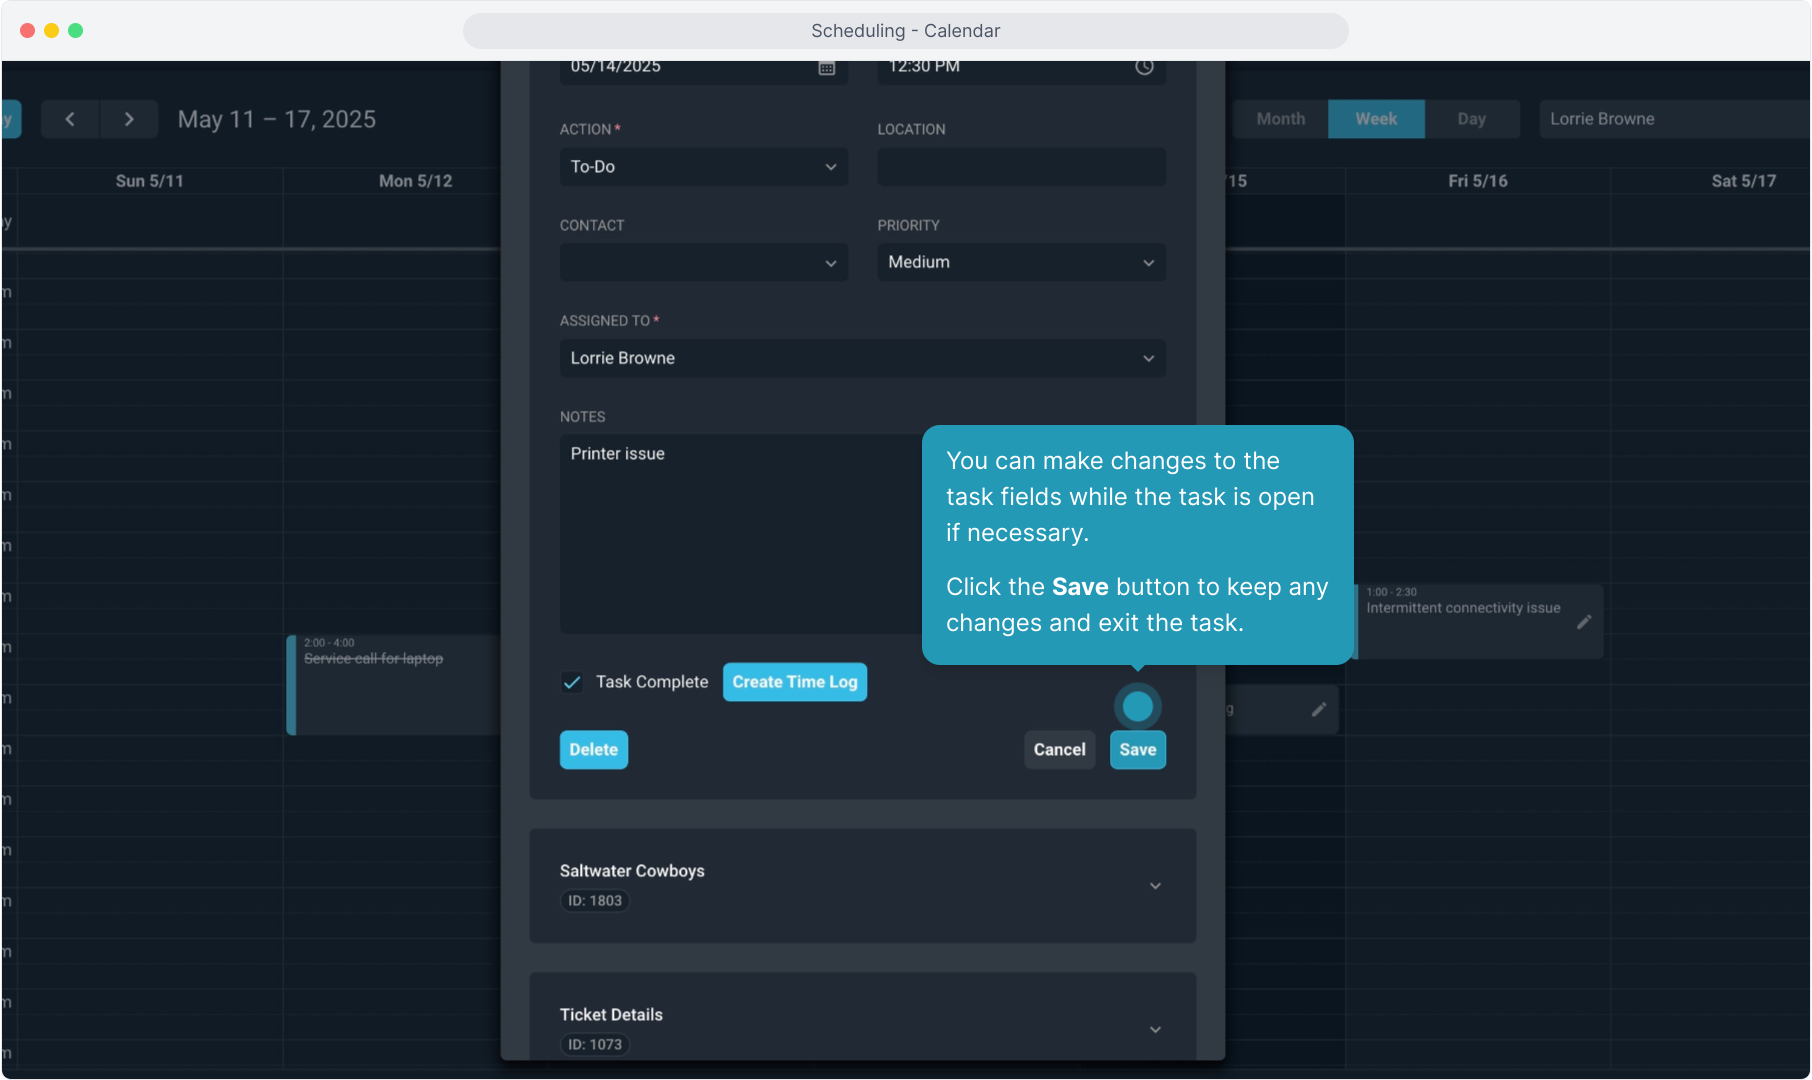
14. Clicking the Create Time Log button will allow you to quickly create a time log entry related to this task.
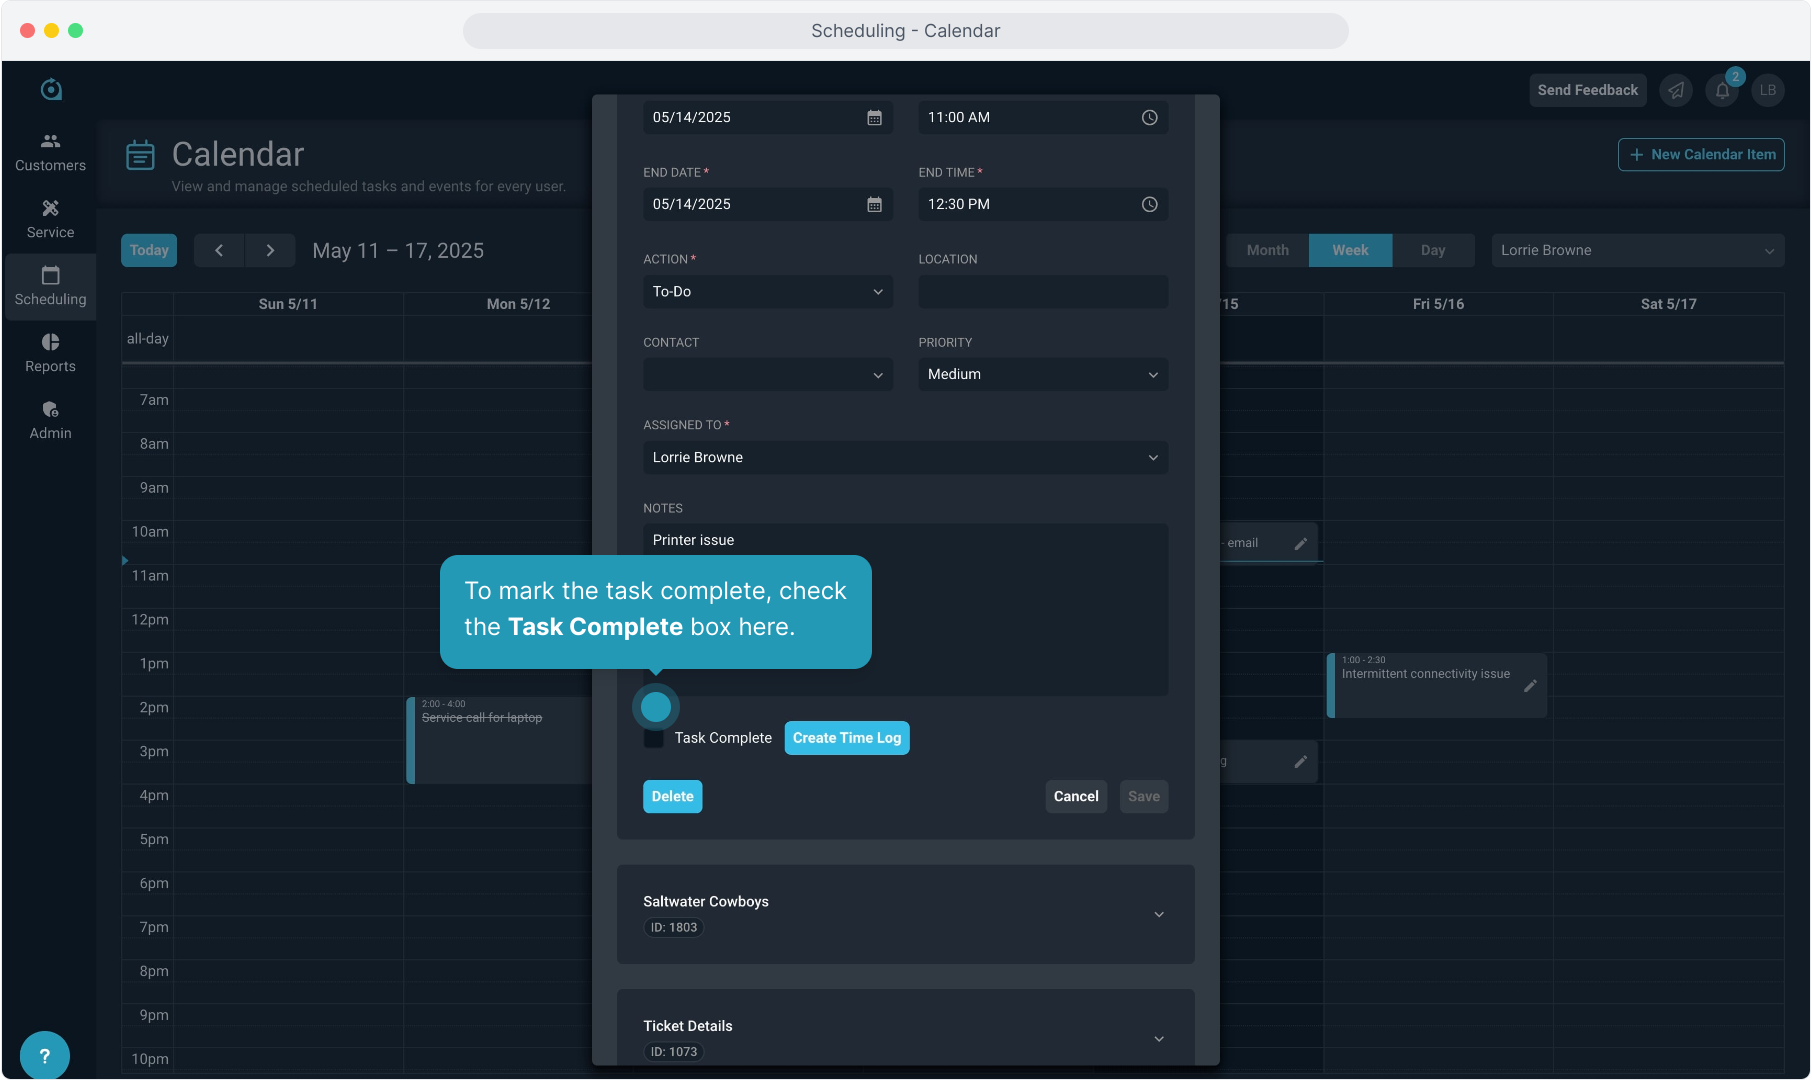
15. To mark the task complete, check the Task Complete box here.
16. You can make changes to the task fields while the task is open if necessary.
Click the Save button to keep any changes and exit the task.
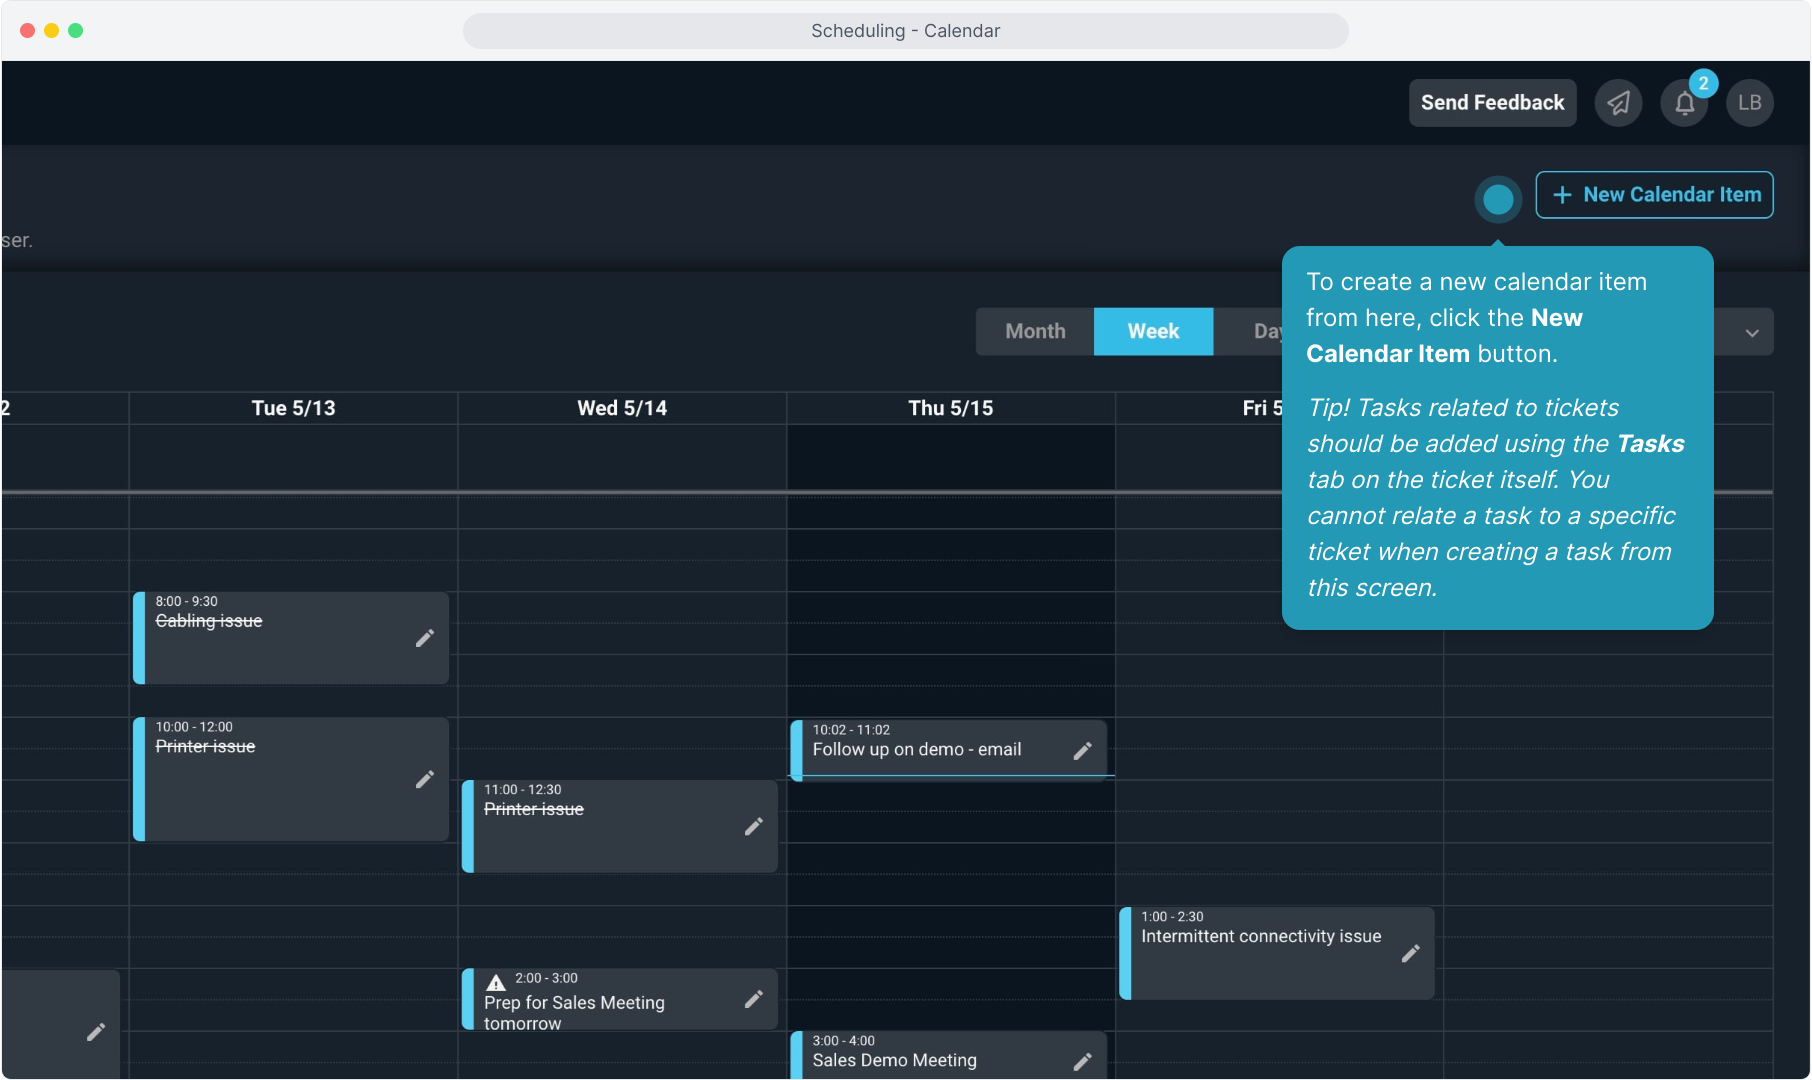
17. To create a new calendar item from here, click the New Calendar Item button.
Tip! Tasks related to tickets should be added using the Tasks tab on the ticket itself. You cannot relate a task to a specific ticket when creating a task from this screen.
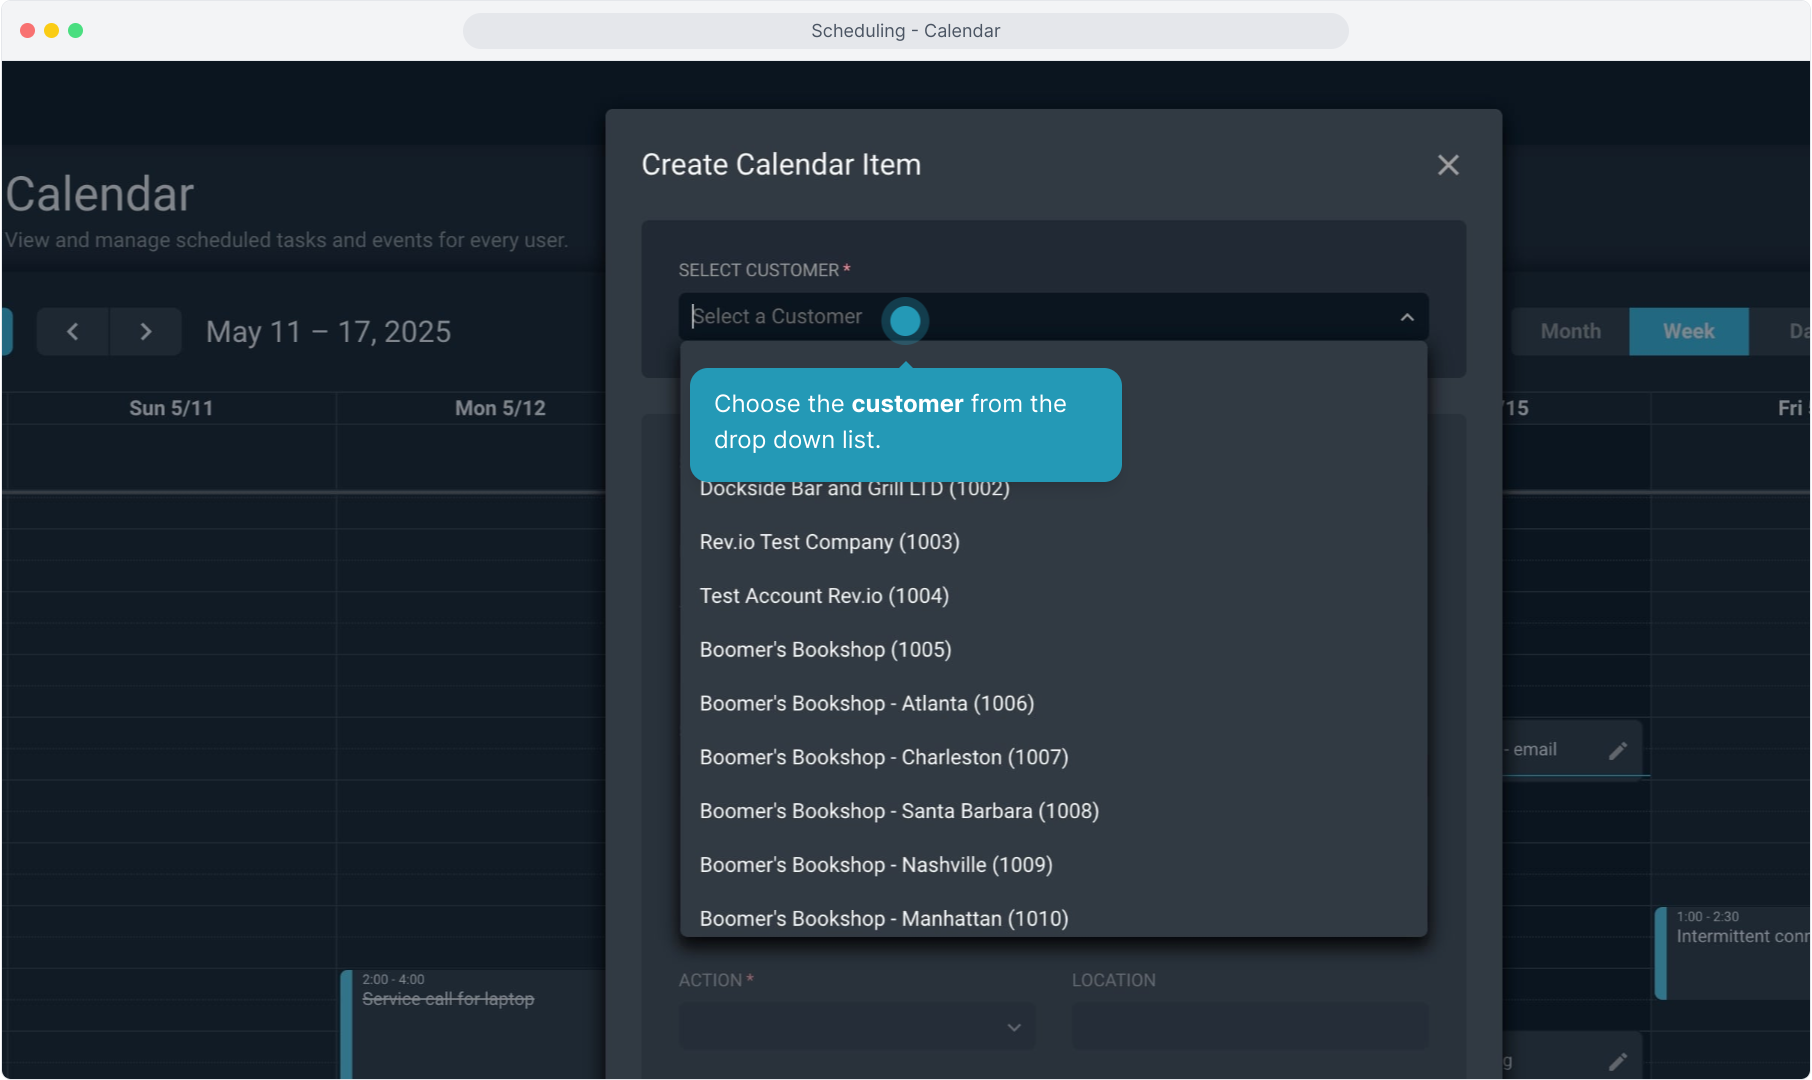
18. Choose the customer from the drop down list.
19. Add the Subject.
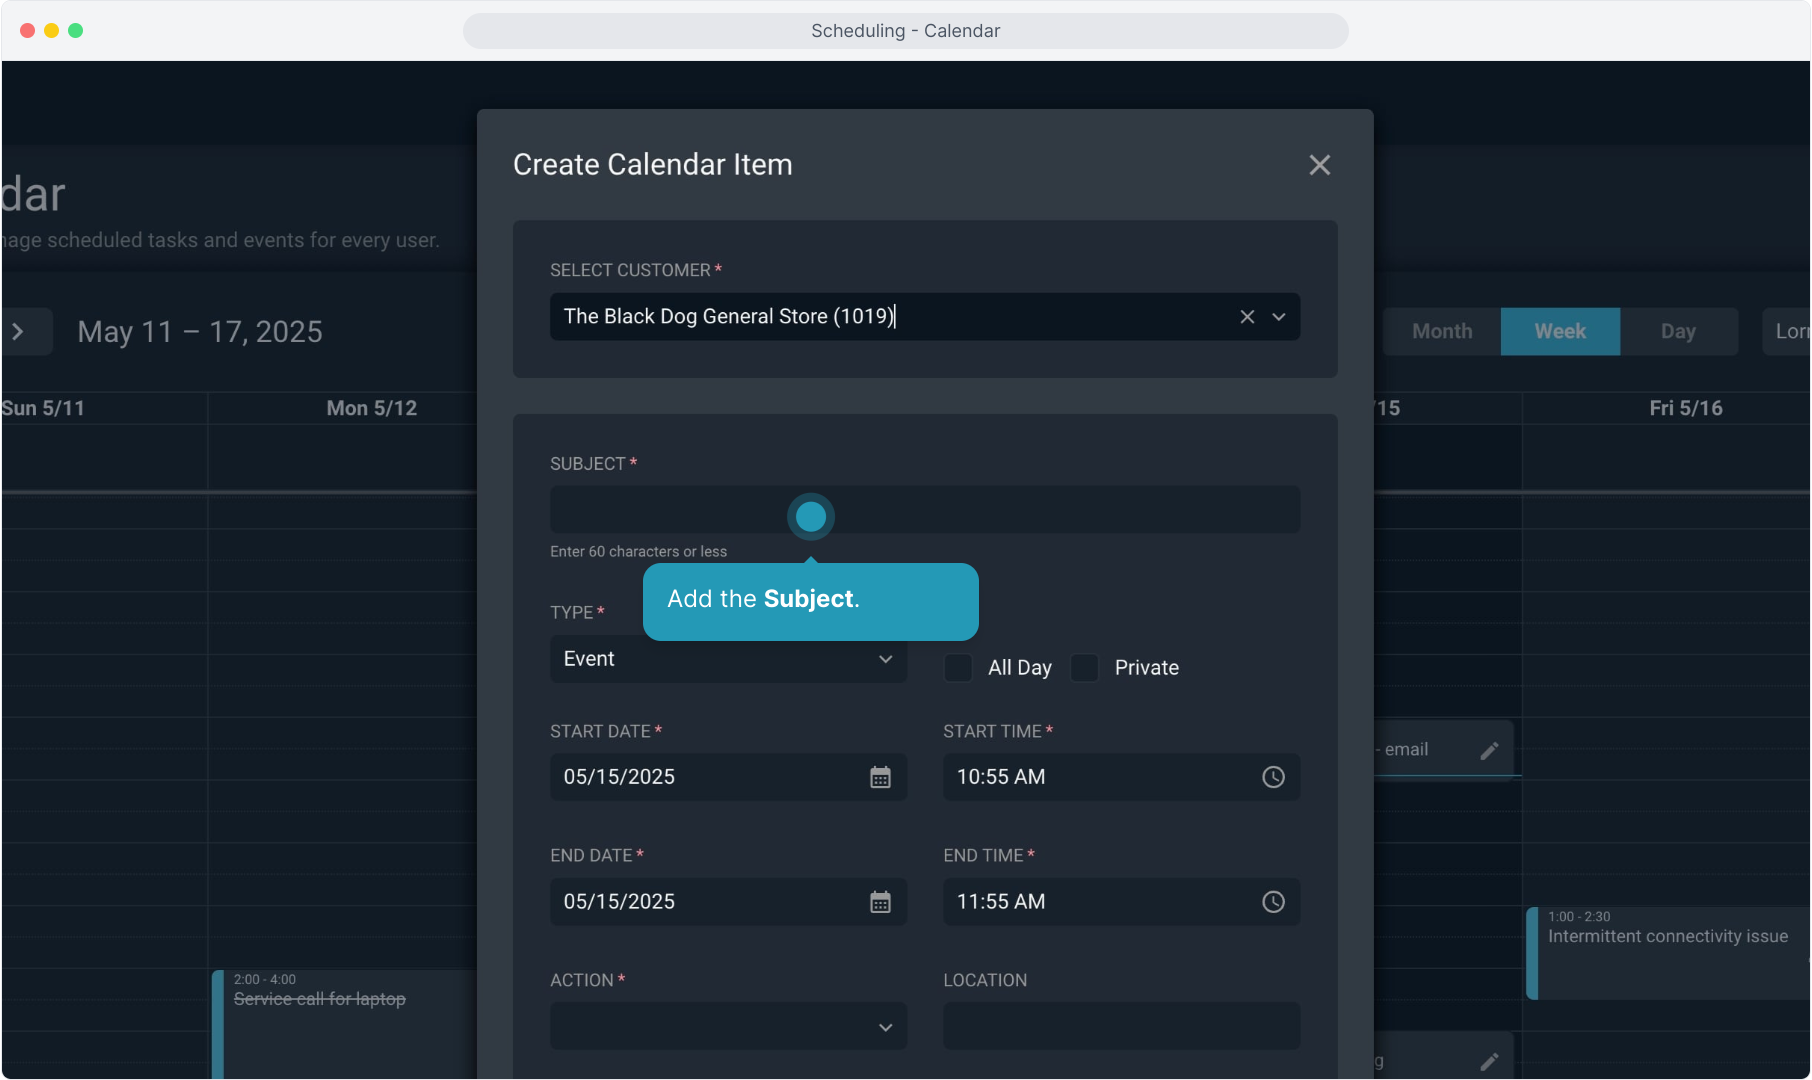
20. Select whether this is a Task or an Event calendar item Type.
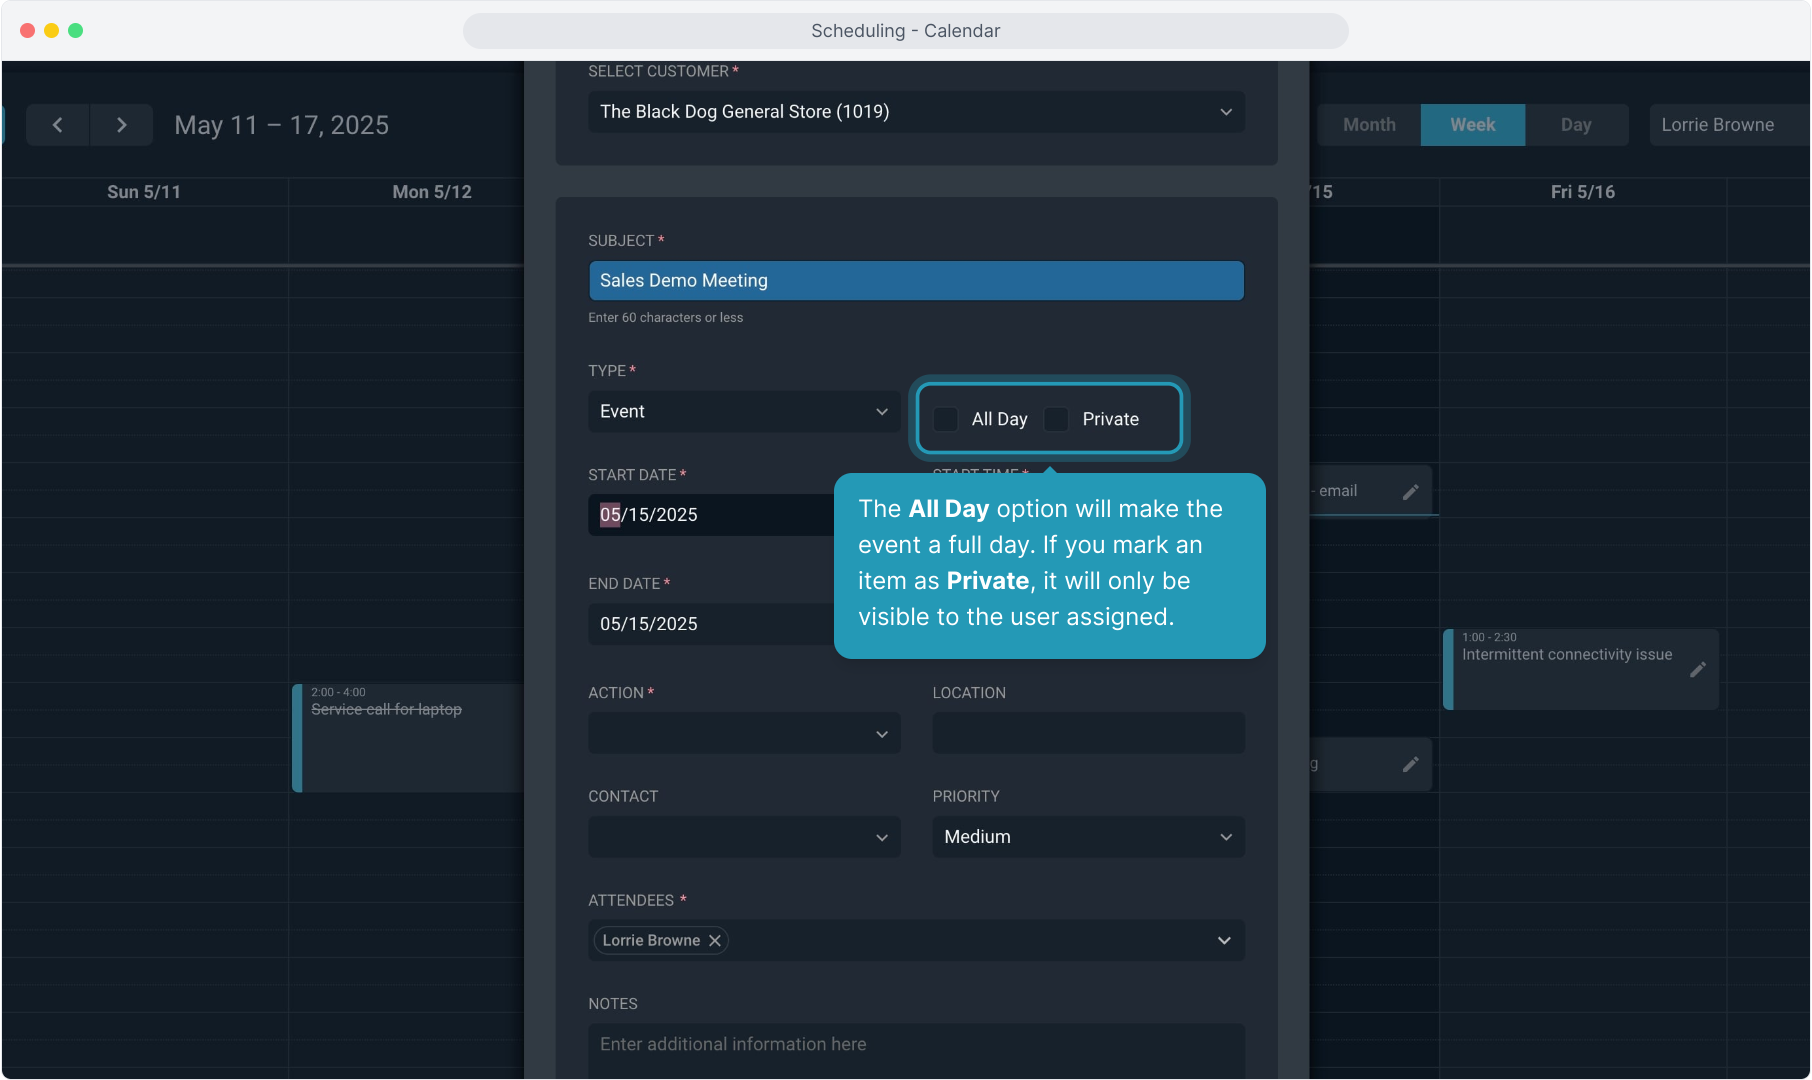
21. The All Day option will make the event a full day. If you mark an item as Private, it will only be visible to the user assigned.
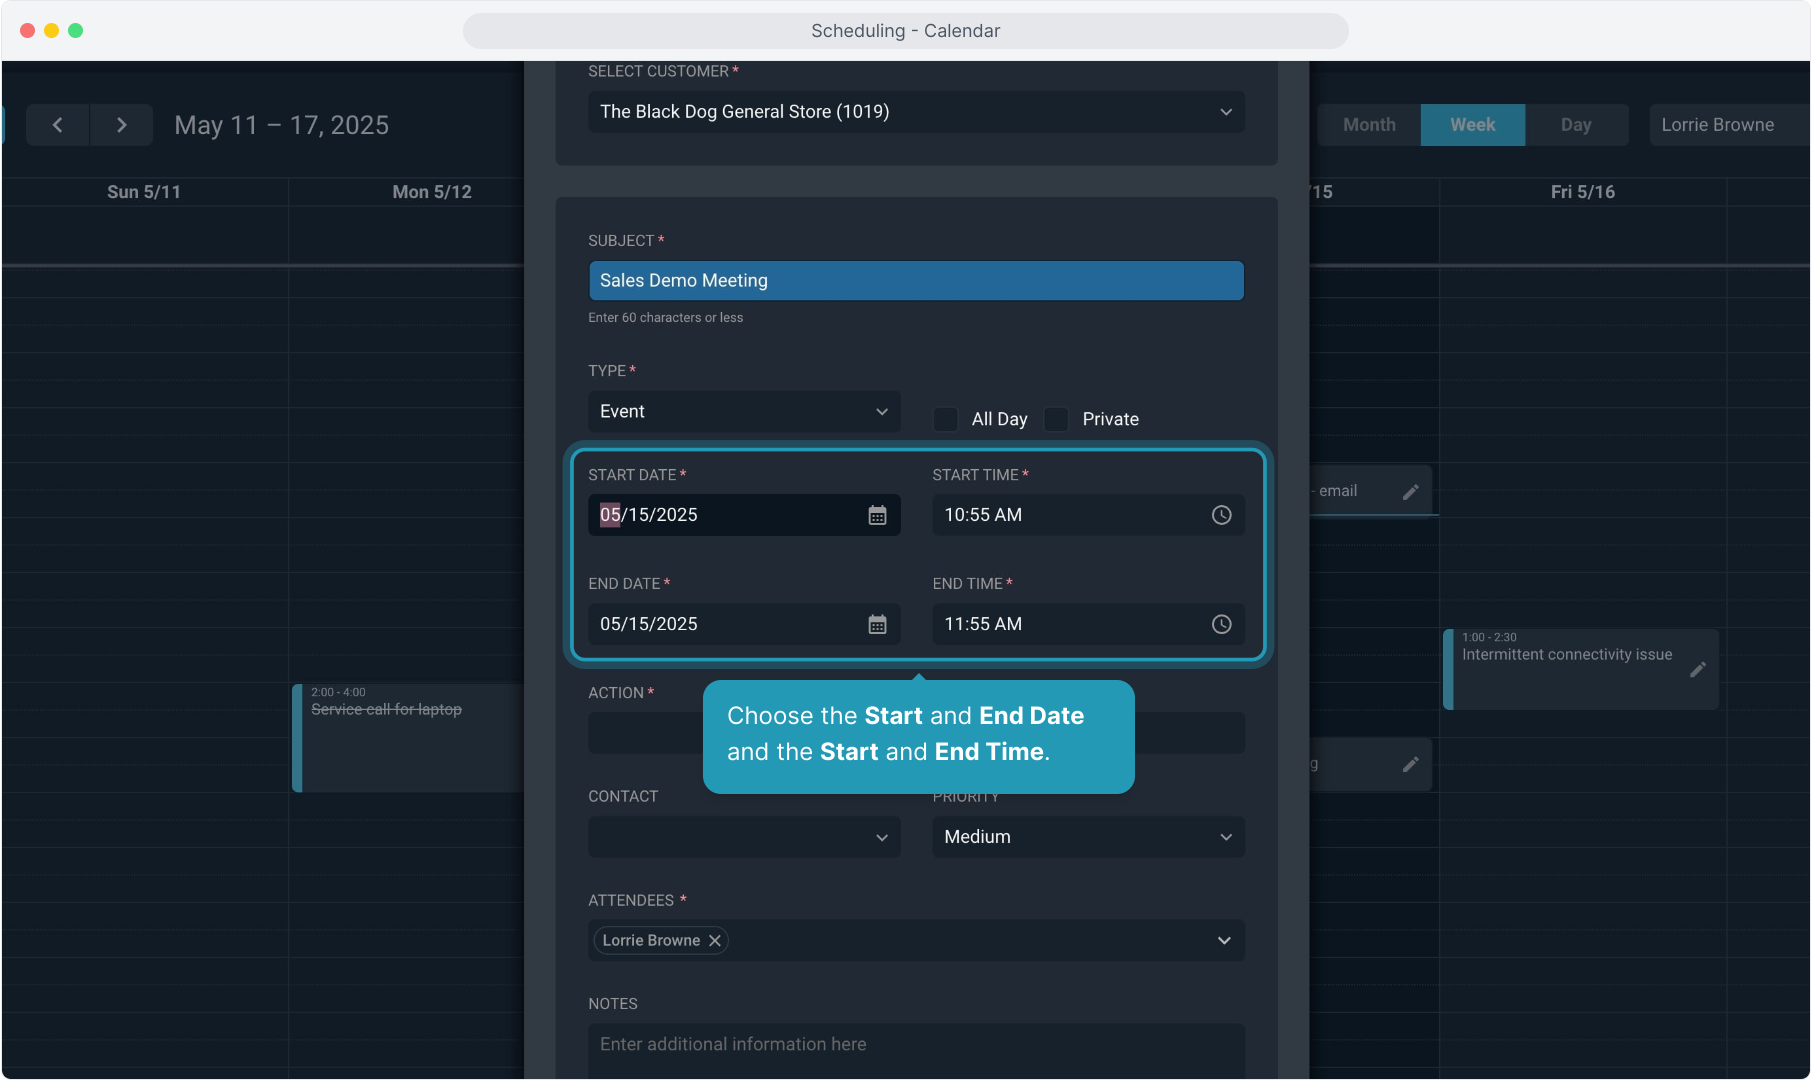
22. Choose the Start and End Date and the Start and End Time.
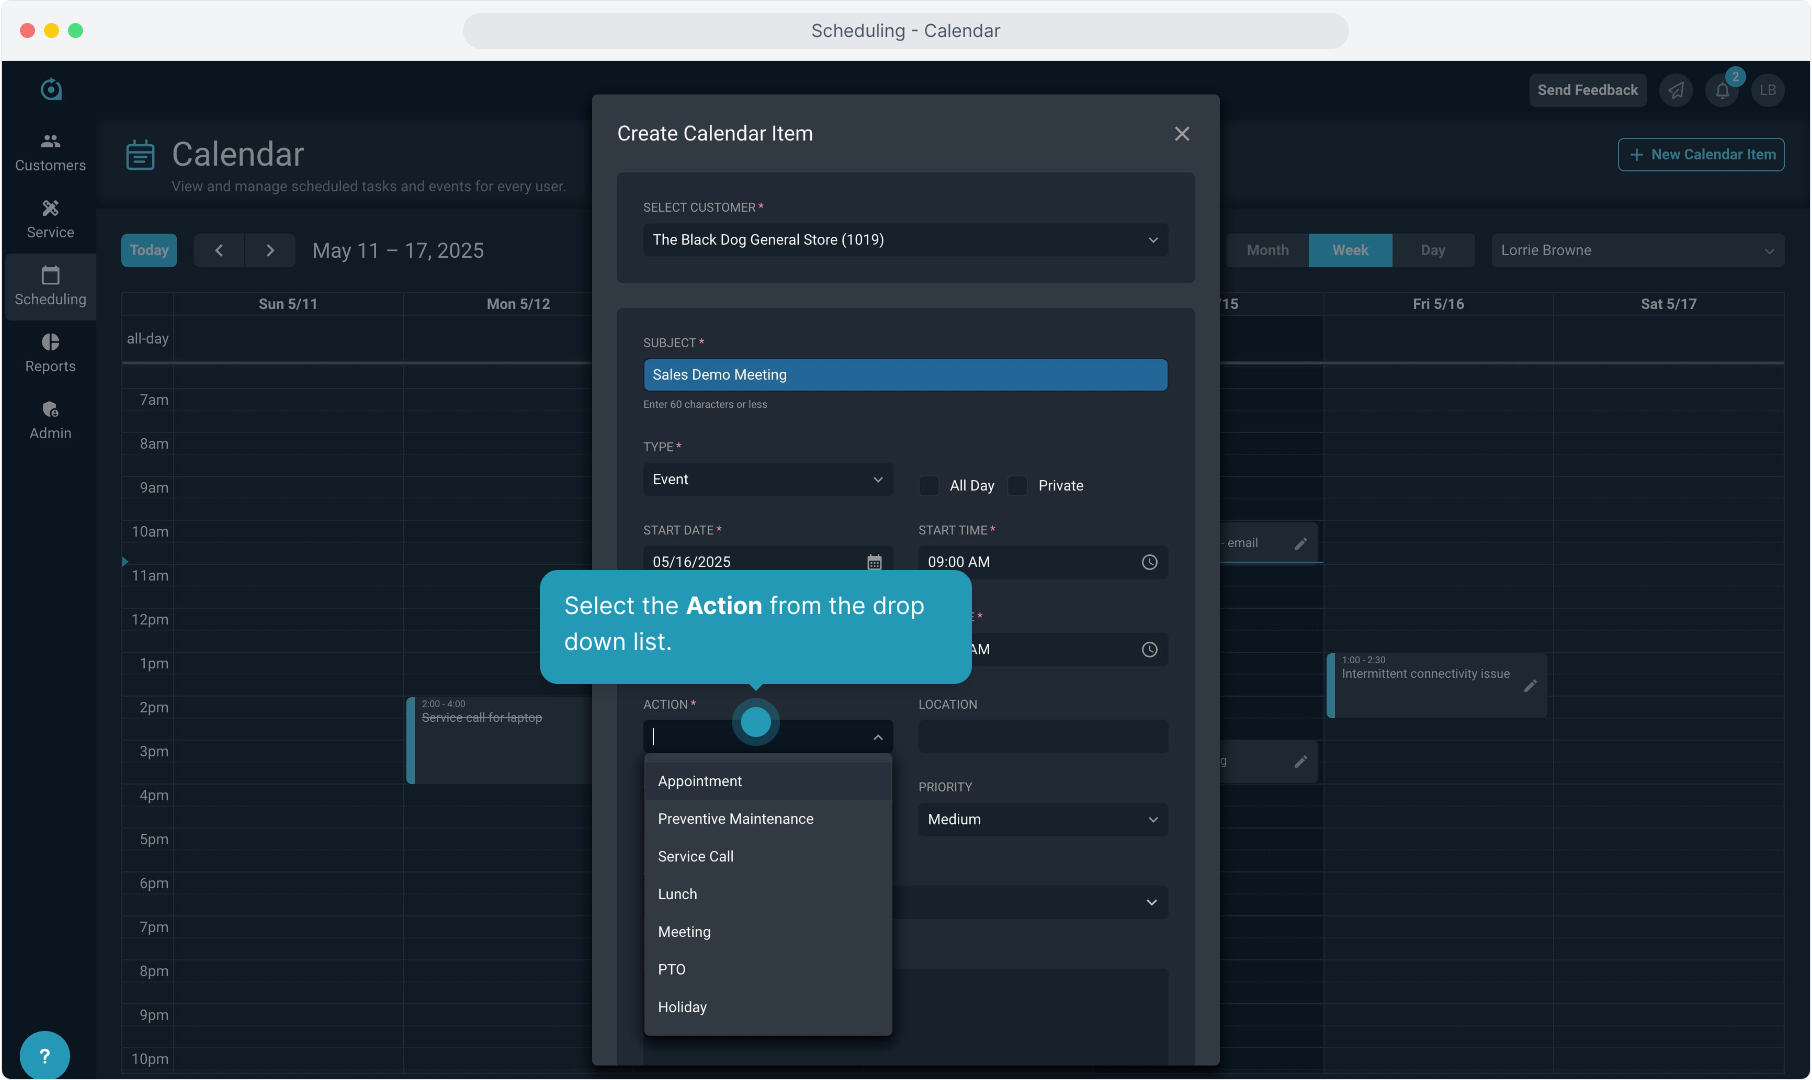
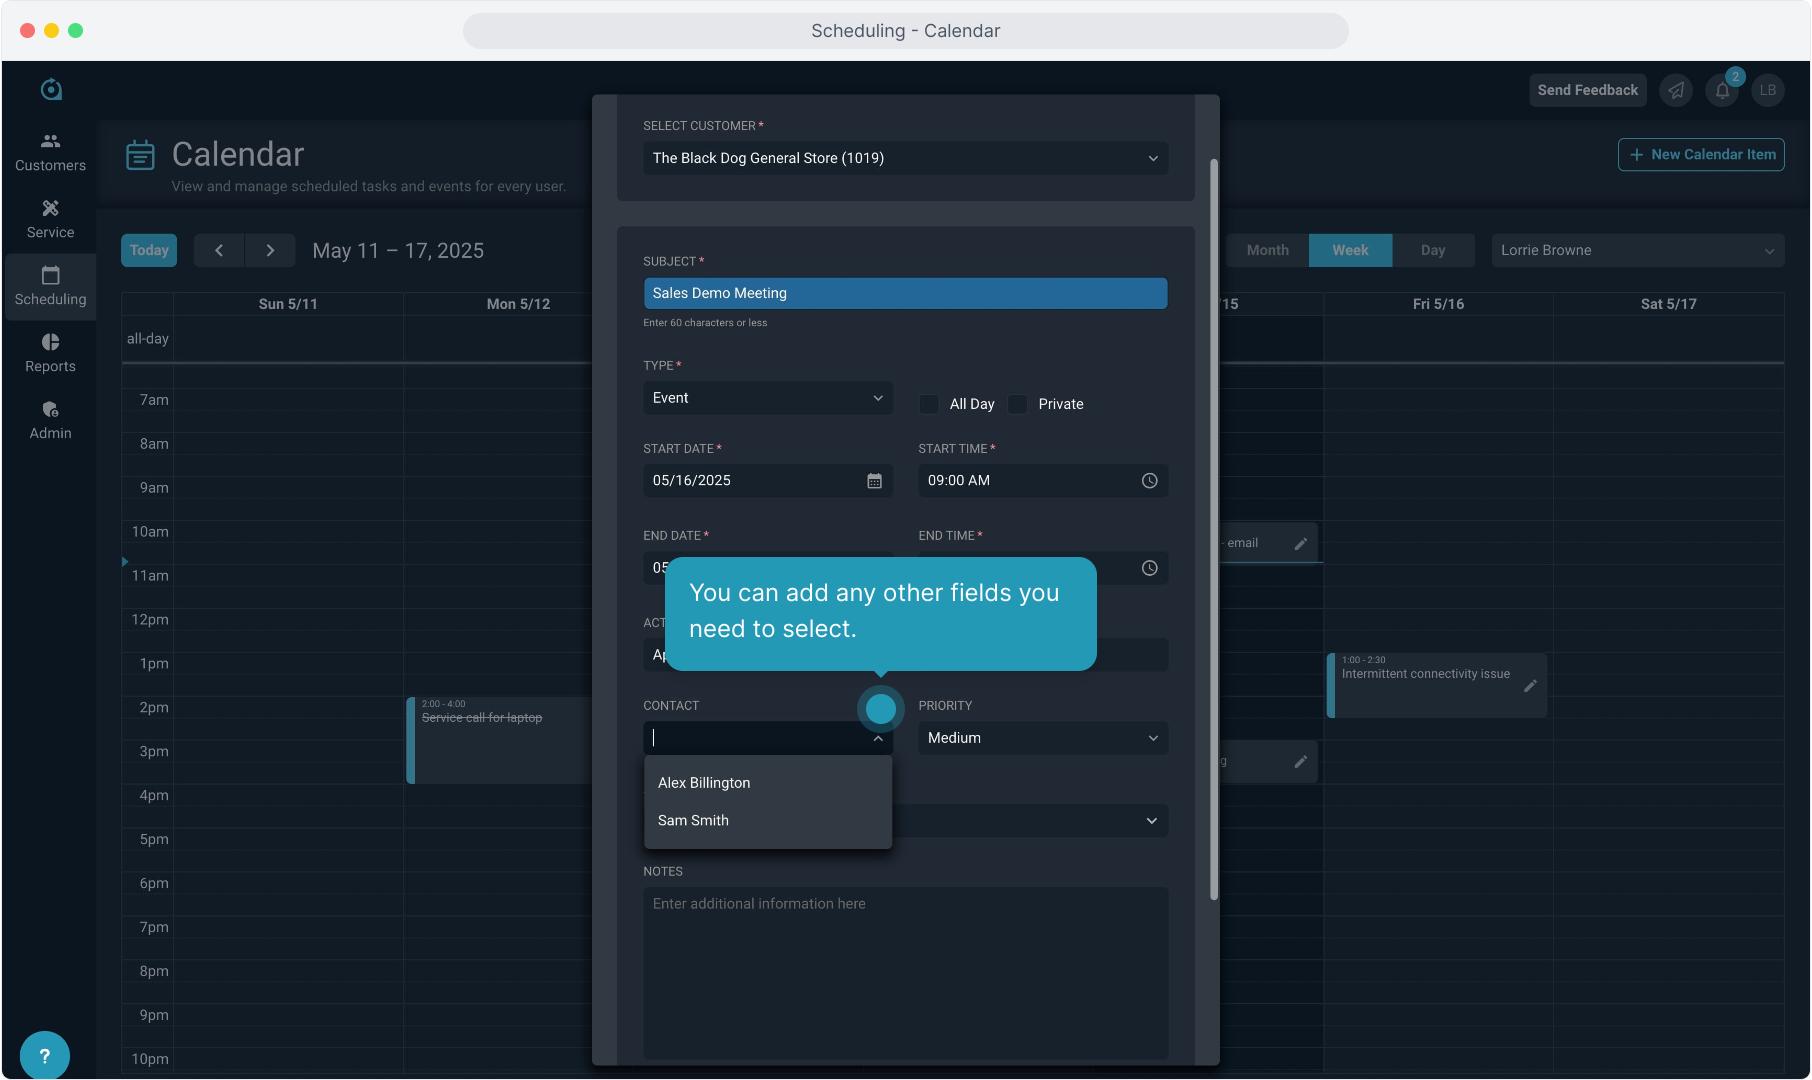
23. Select the Action from the drop down list.
24. You can add any other fields you need to select.
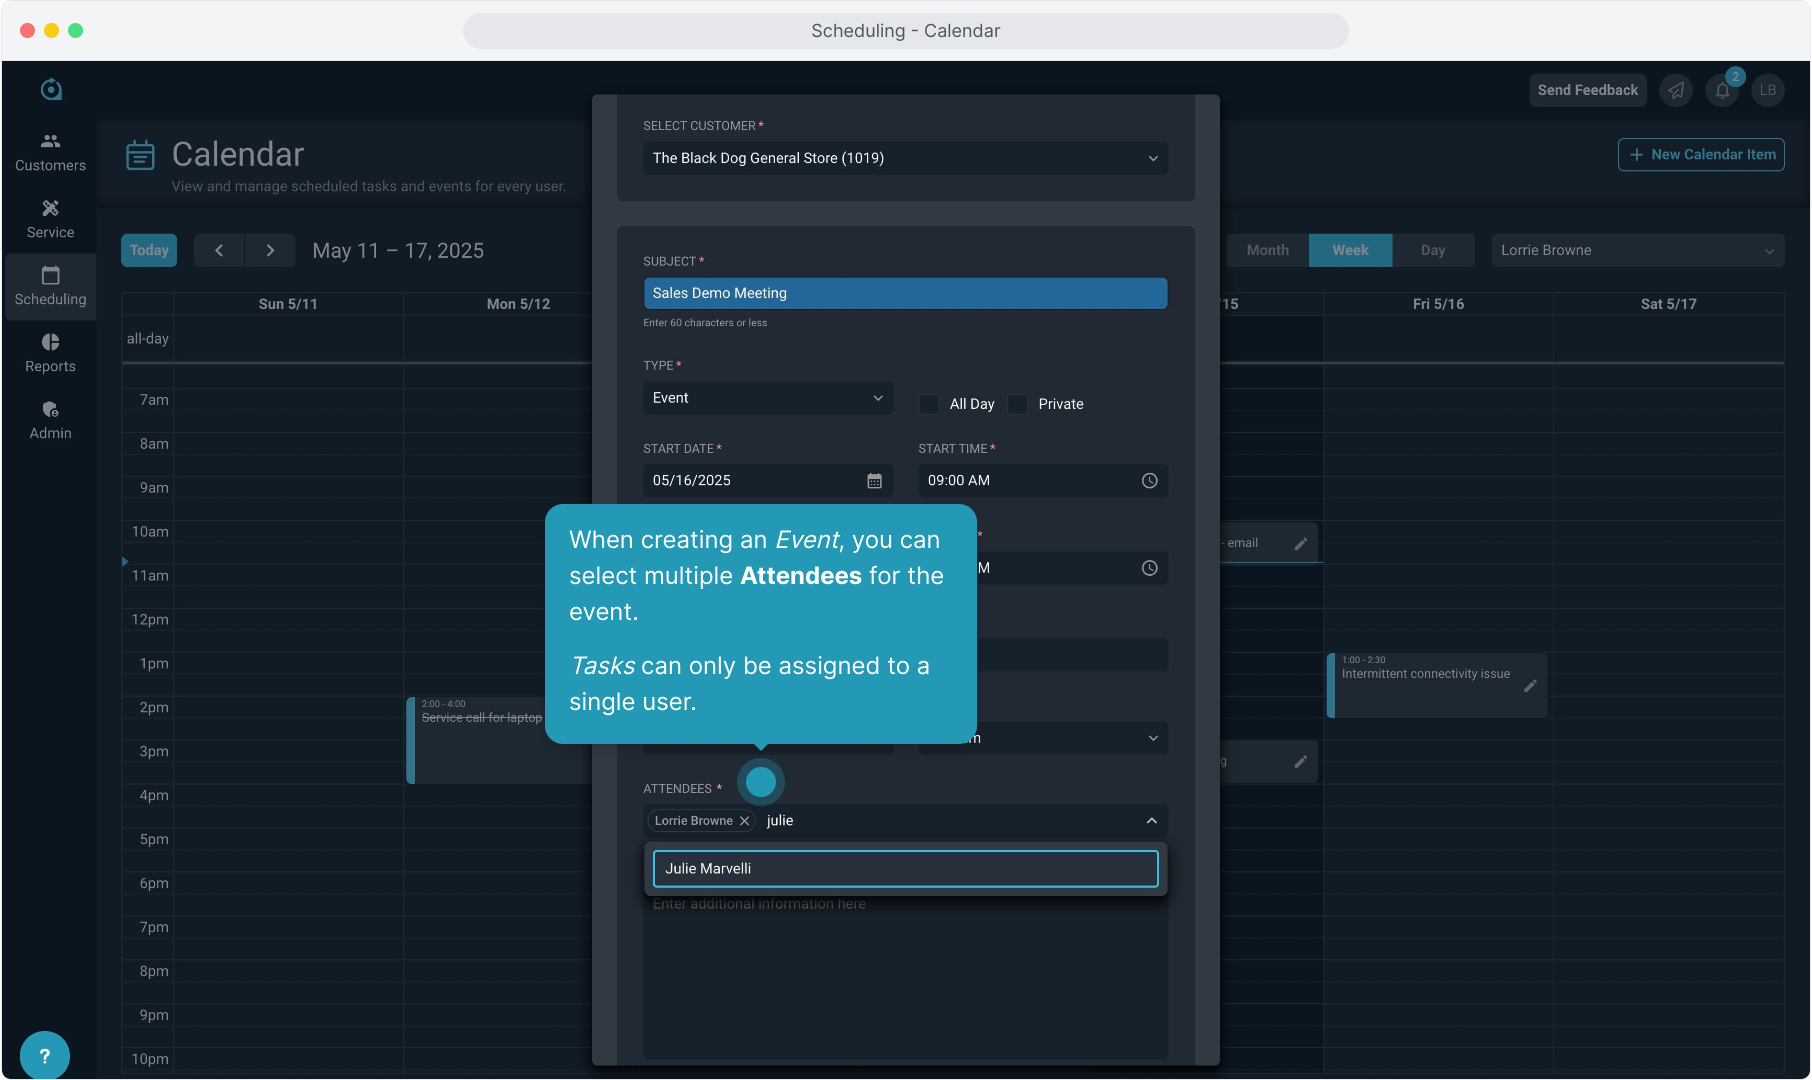
25. When creating an Event, you can select multiple Attendees for the event.
Tasks can only be assigned to a single user.
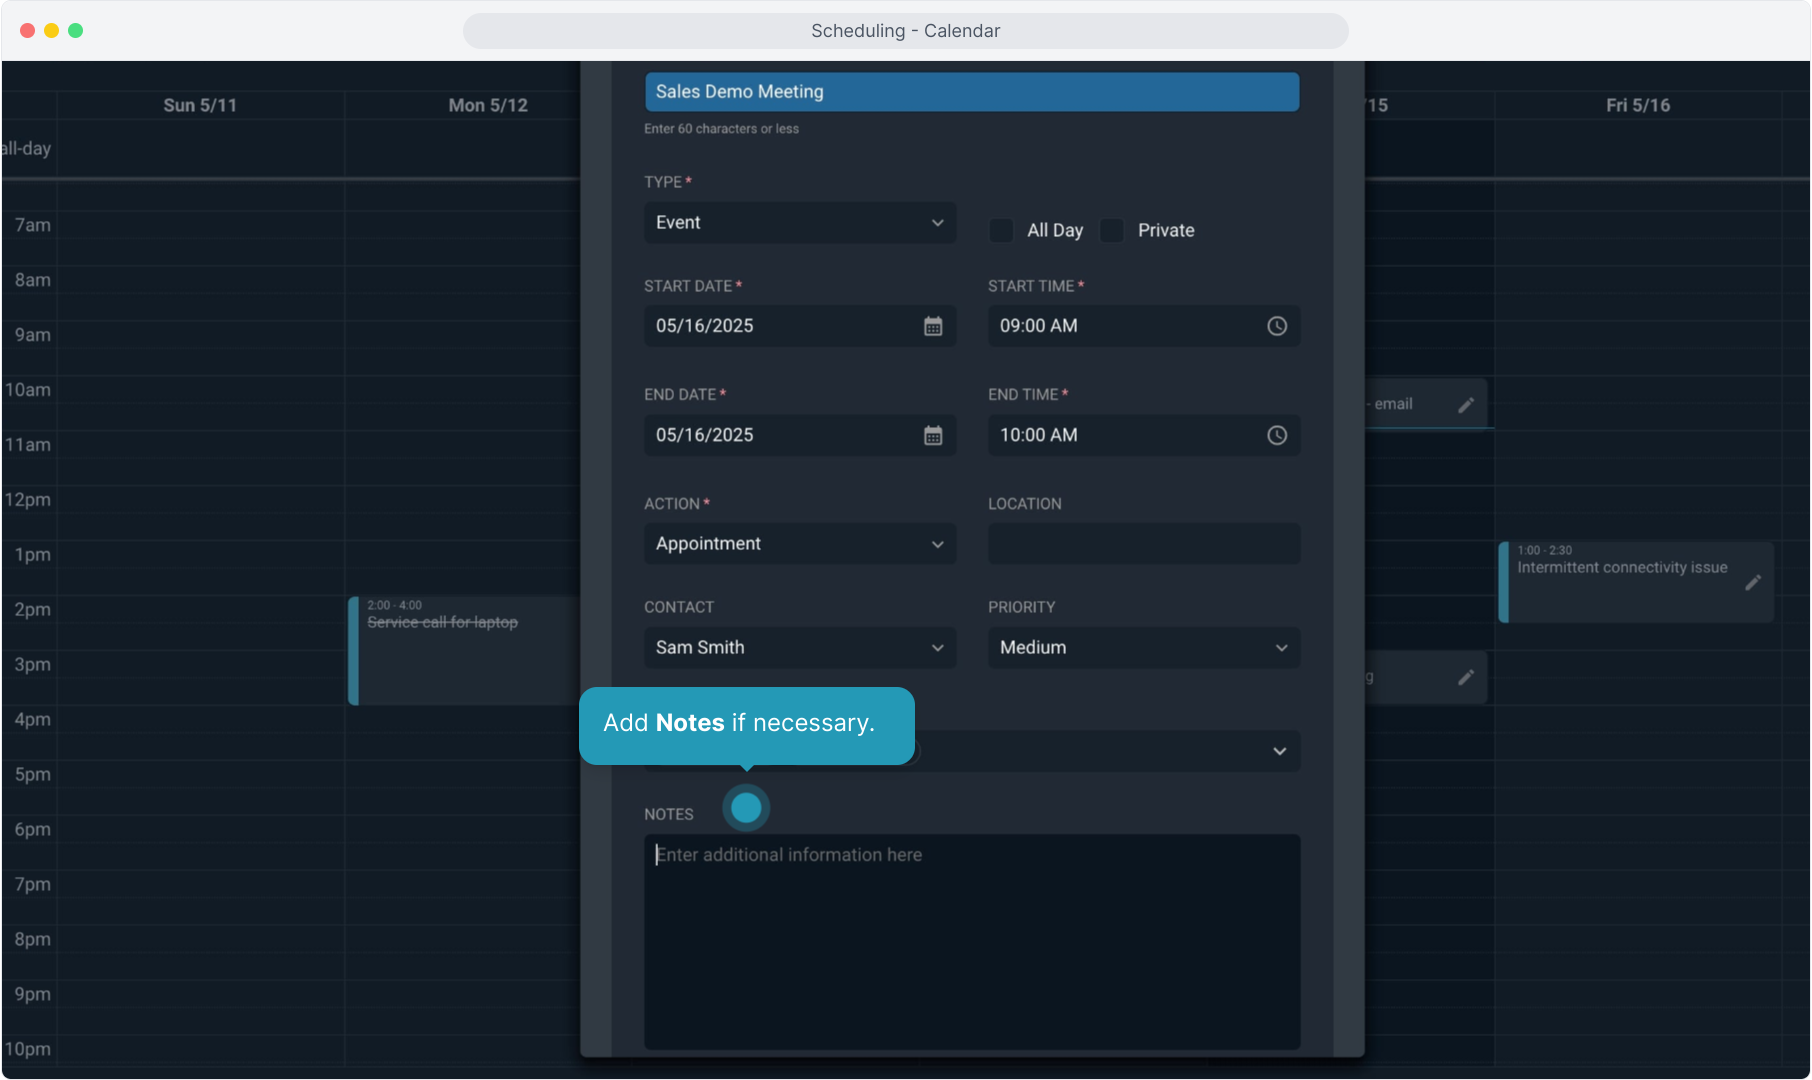
26. Add Notes if necessary.
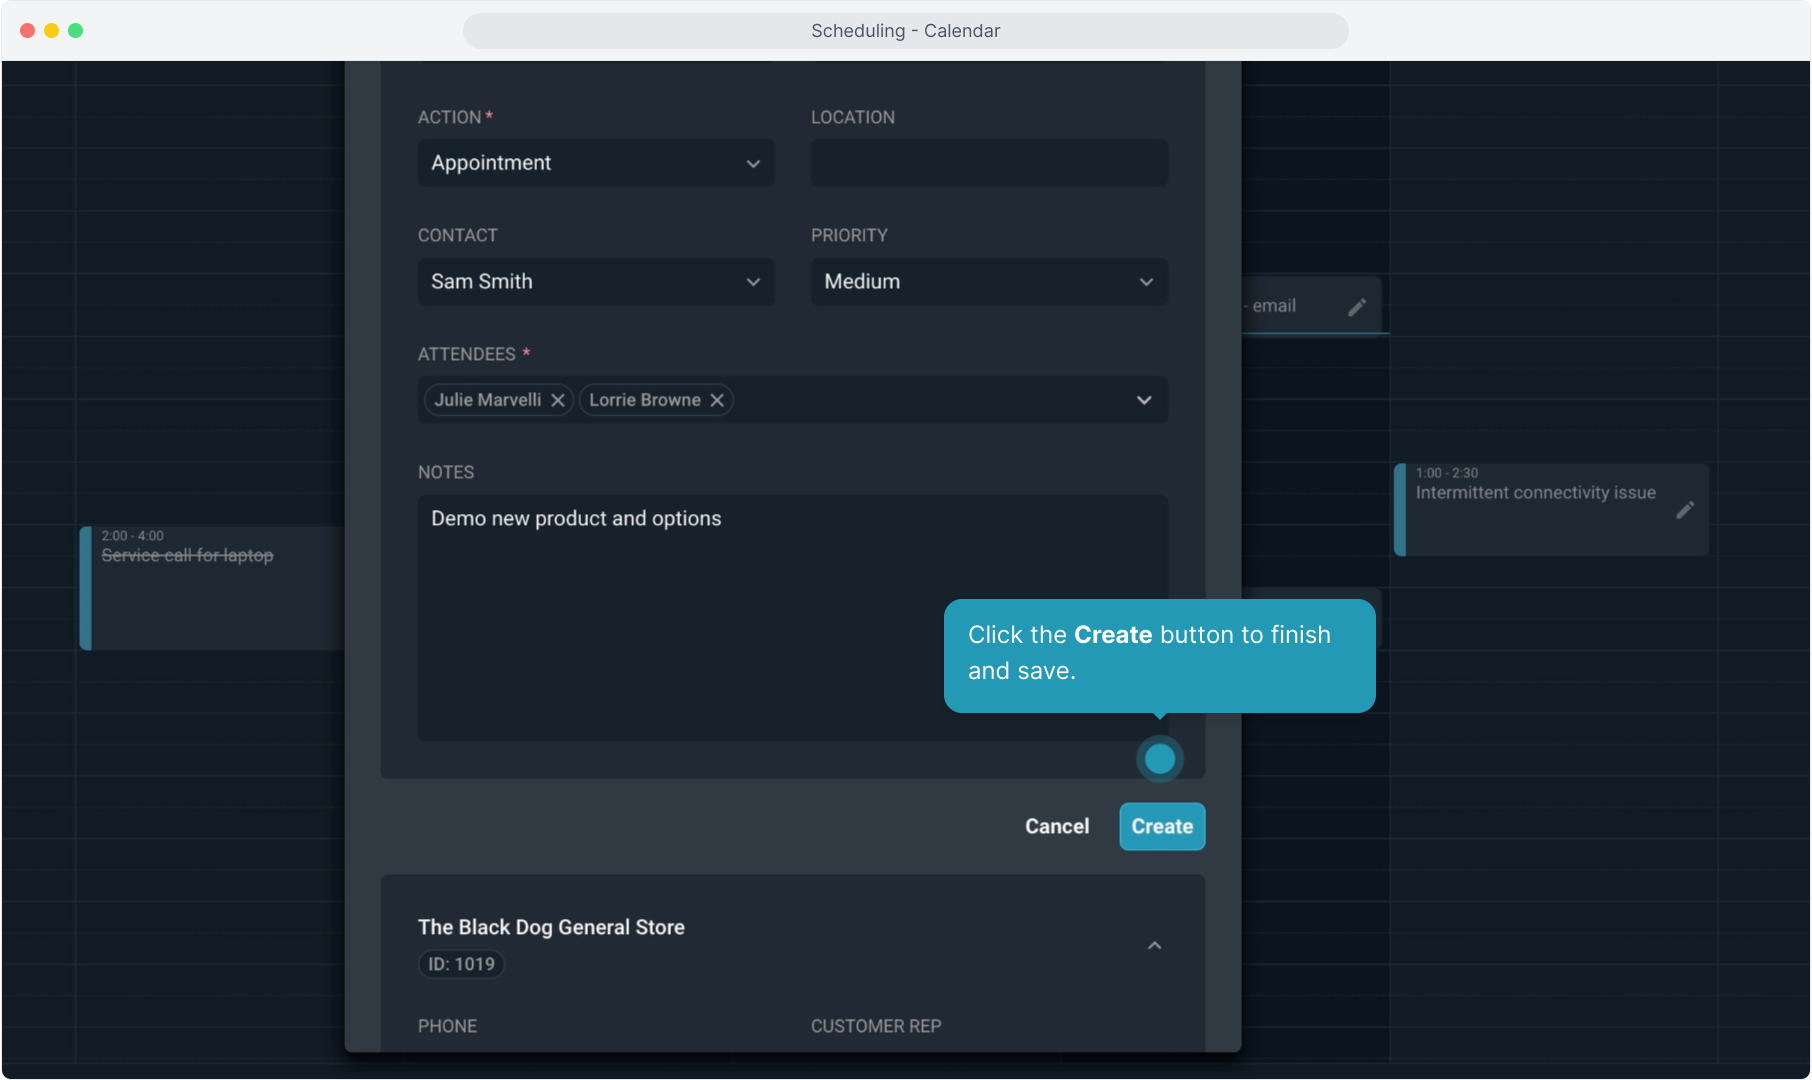
27. Click the Create button to finish and save.
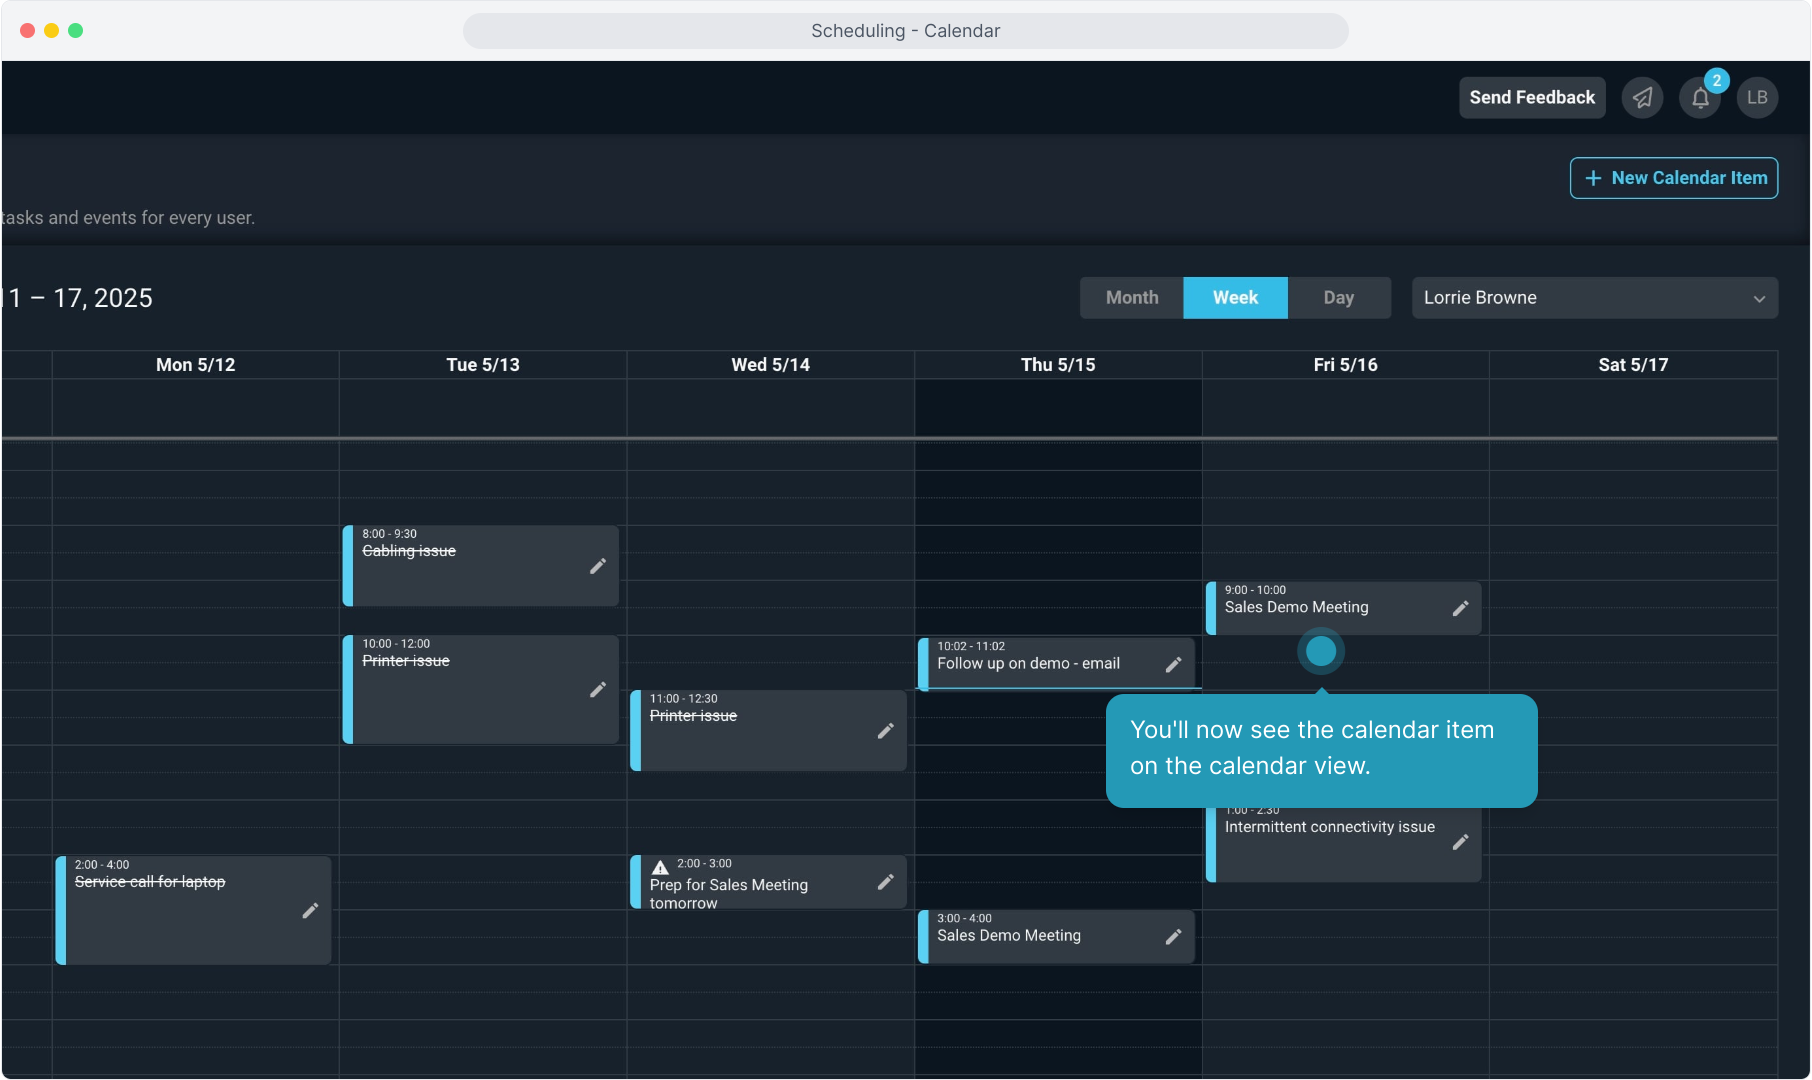
28. You'll now see the calendar item on the calendar view.
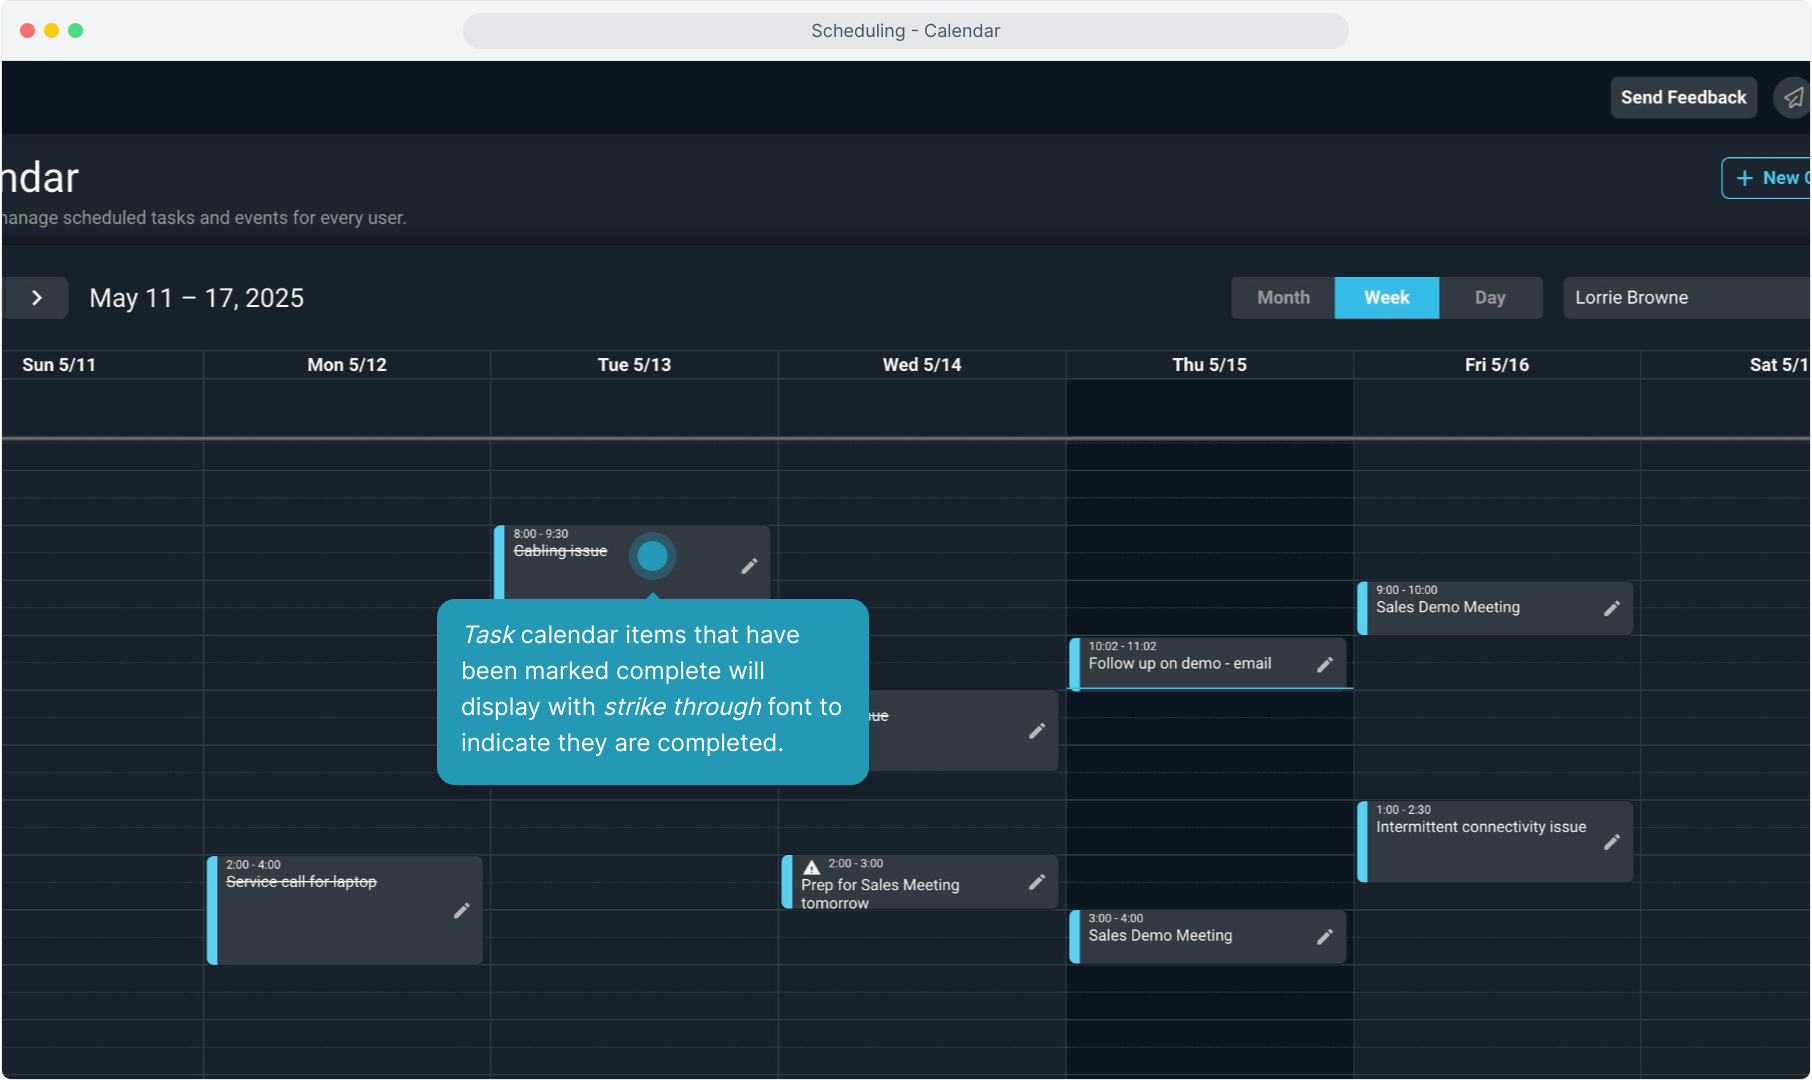
29. Task calendar items that have been marked complete will display with strike through font to indicate they are completed.
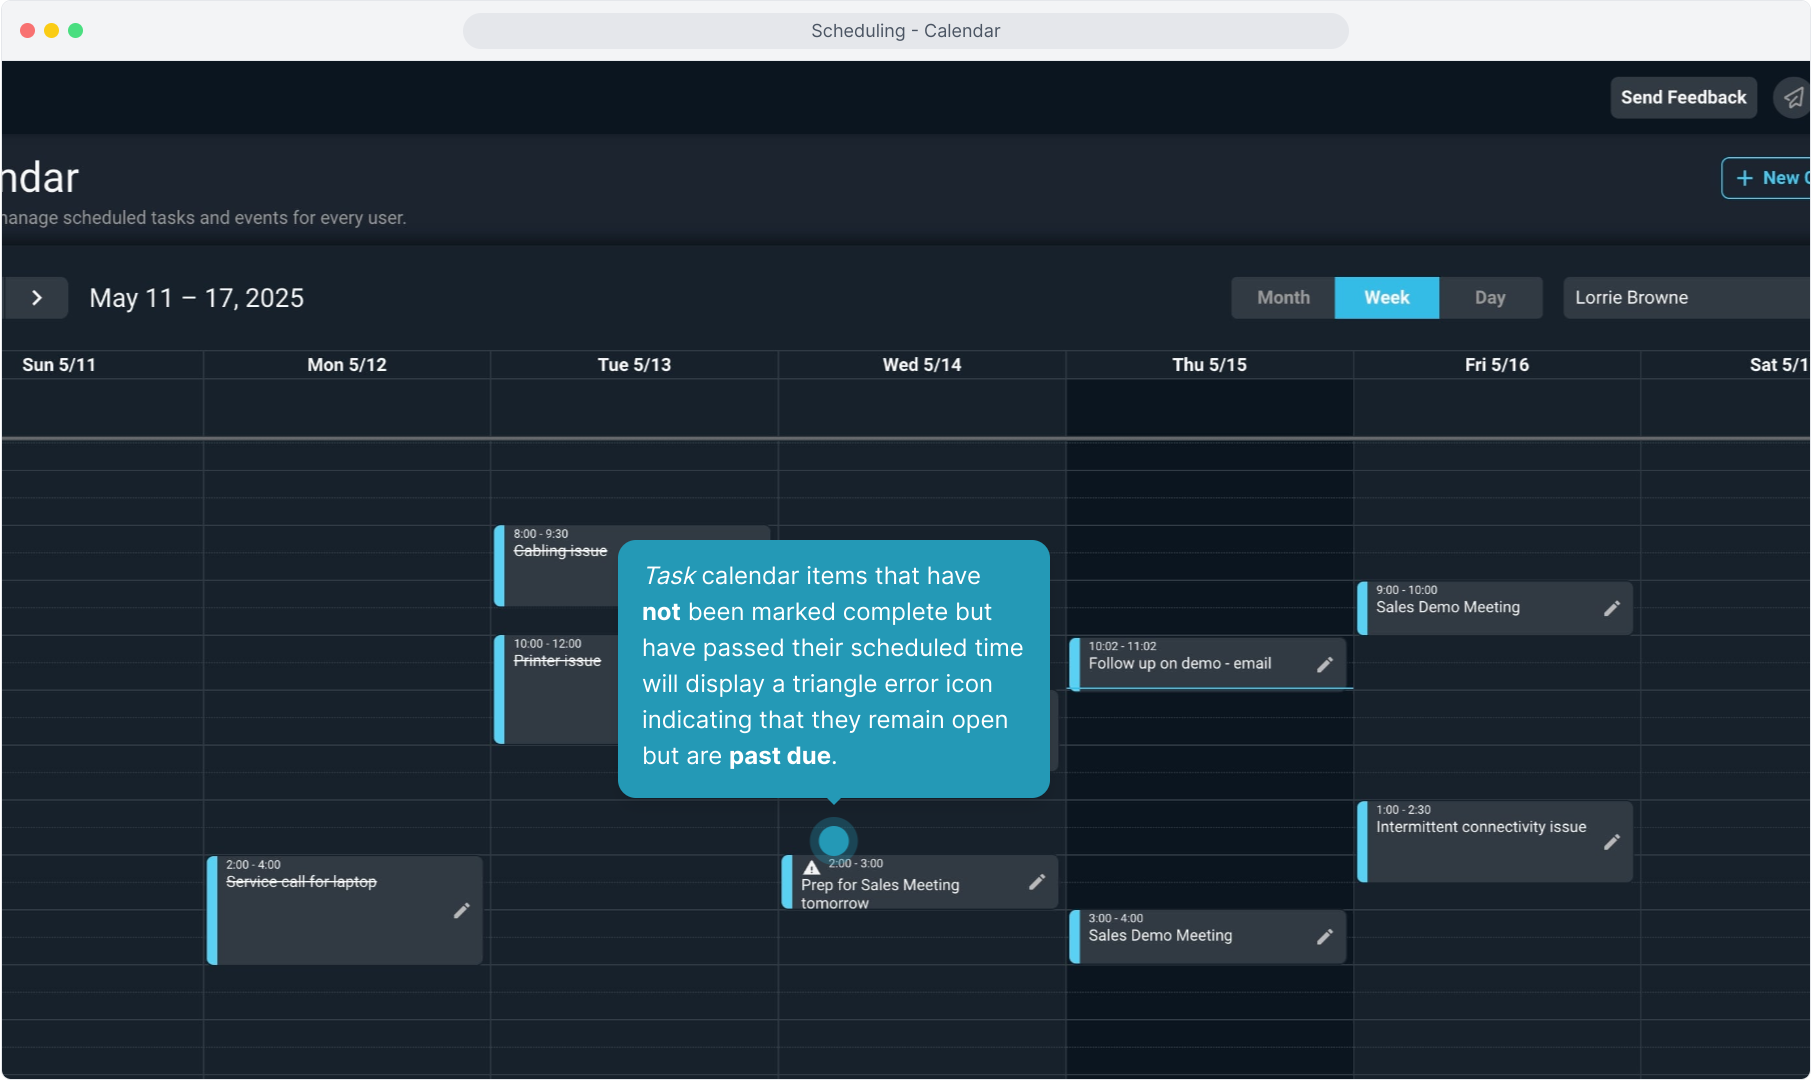
30. Task calendar items that have not been marked complete but have passed their scheduled time will display a triangle error icon indicating that they remain open but are past due.
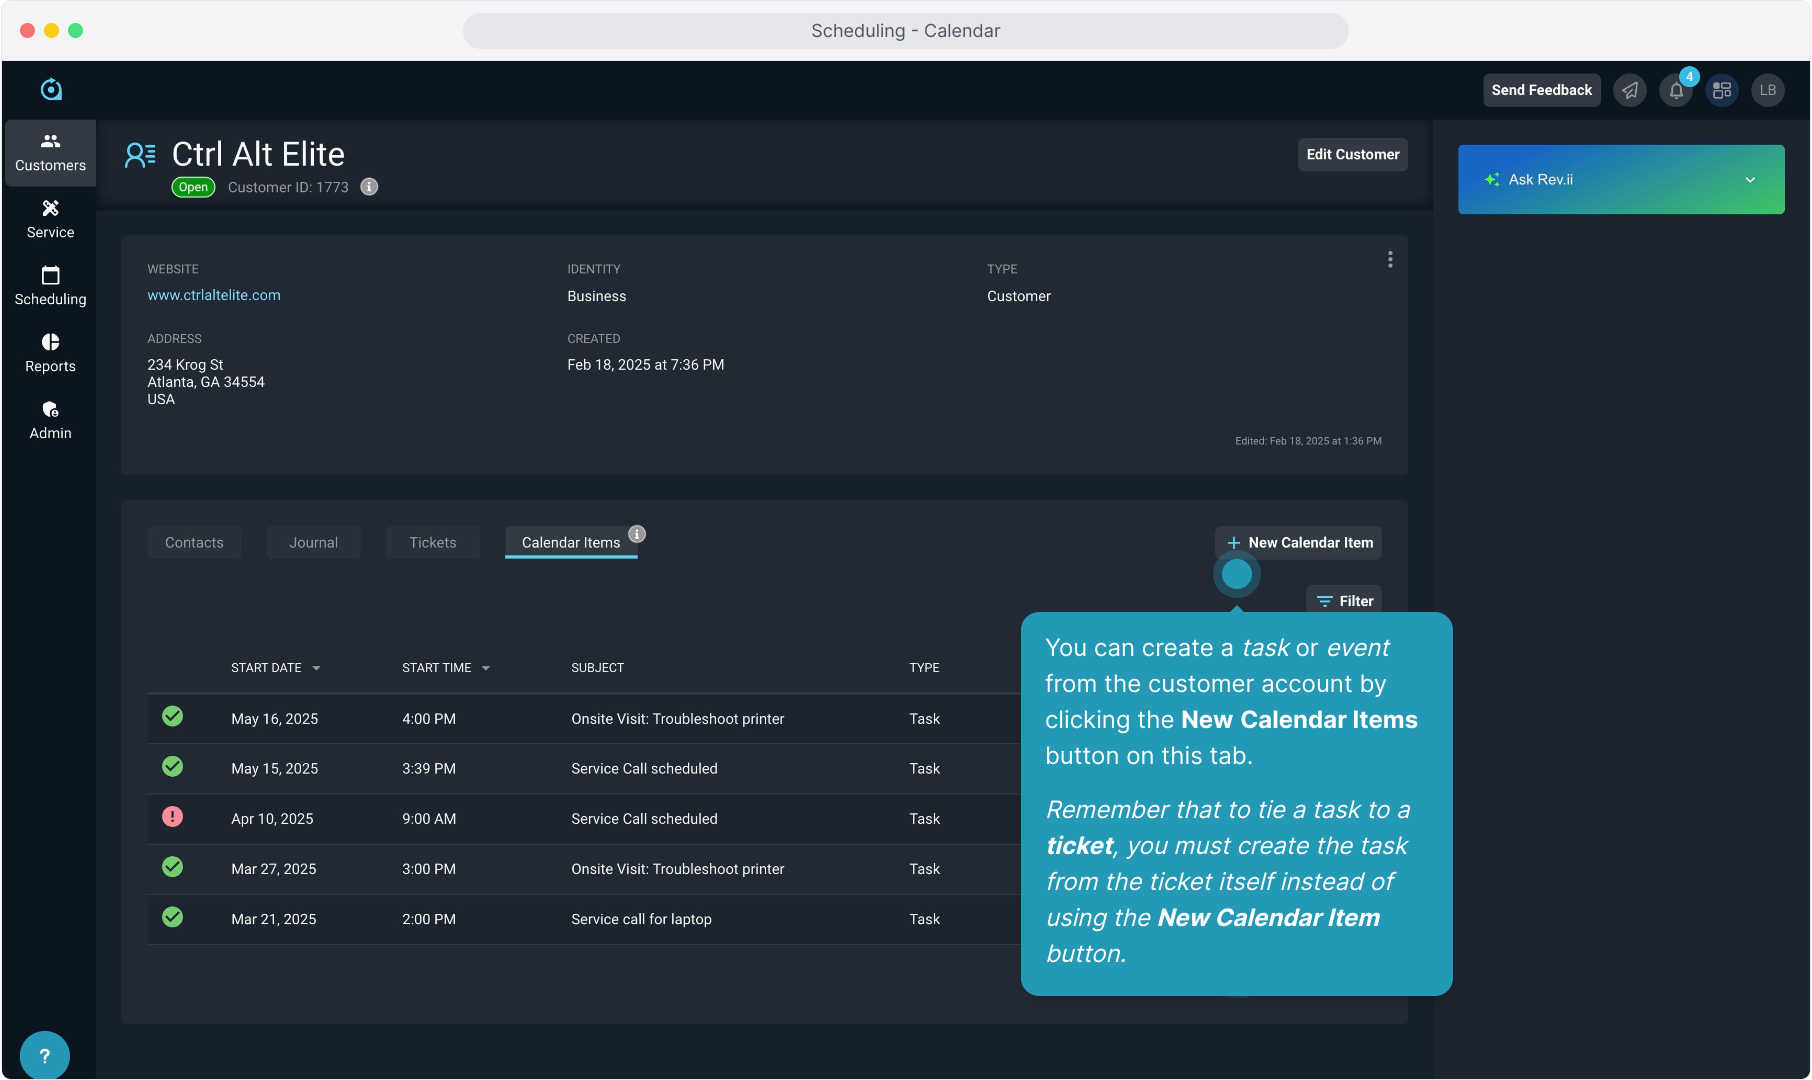
31. There is also a Calendar Items tab on each customer where you can see the Tasks and Events related to that customer.
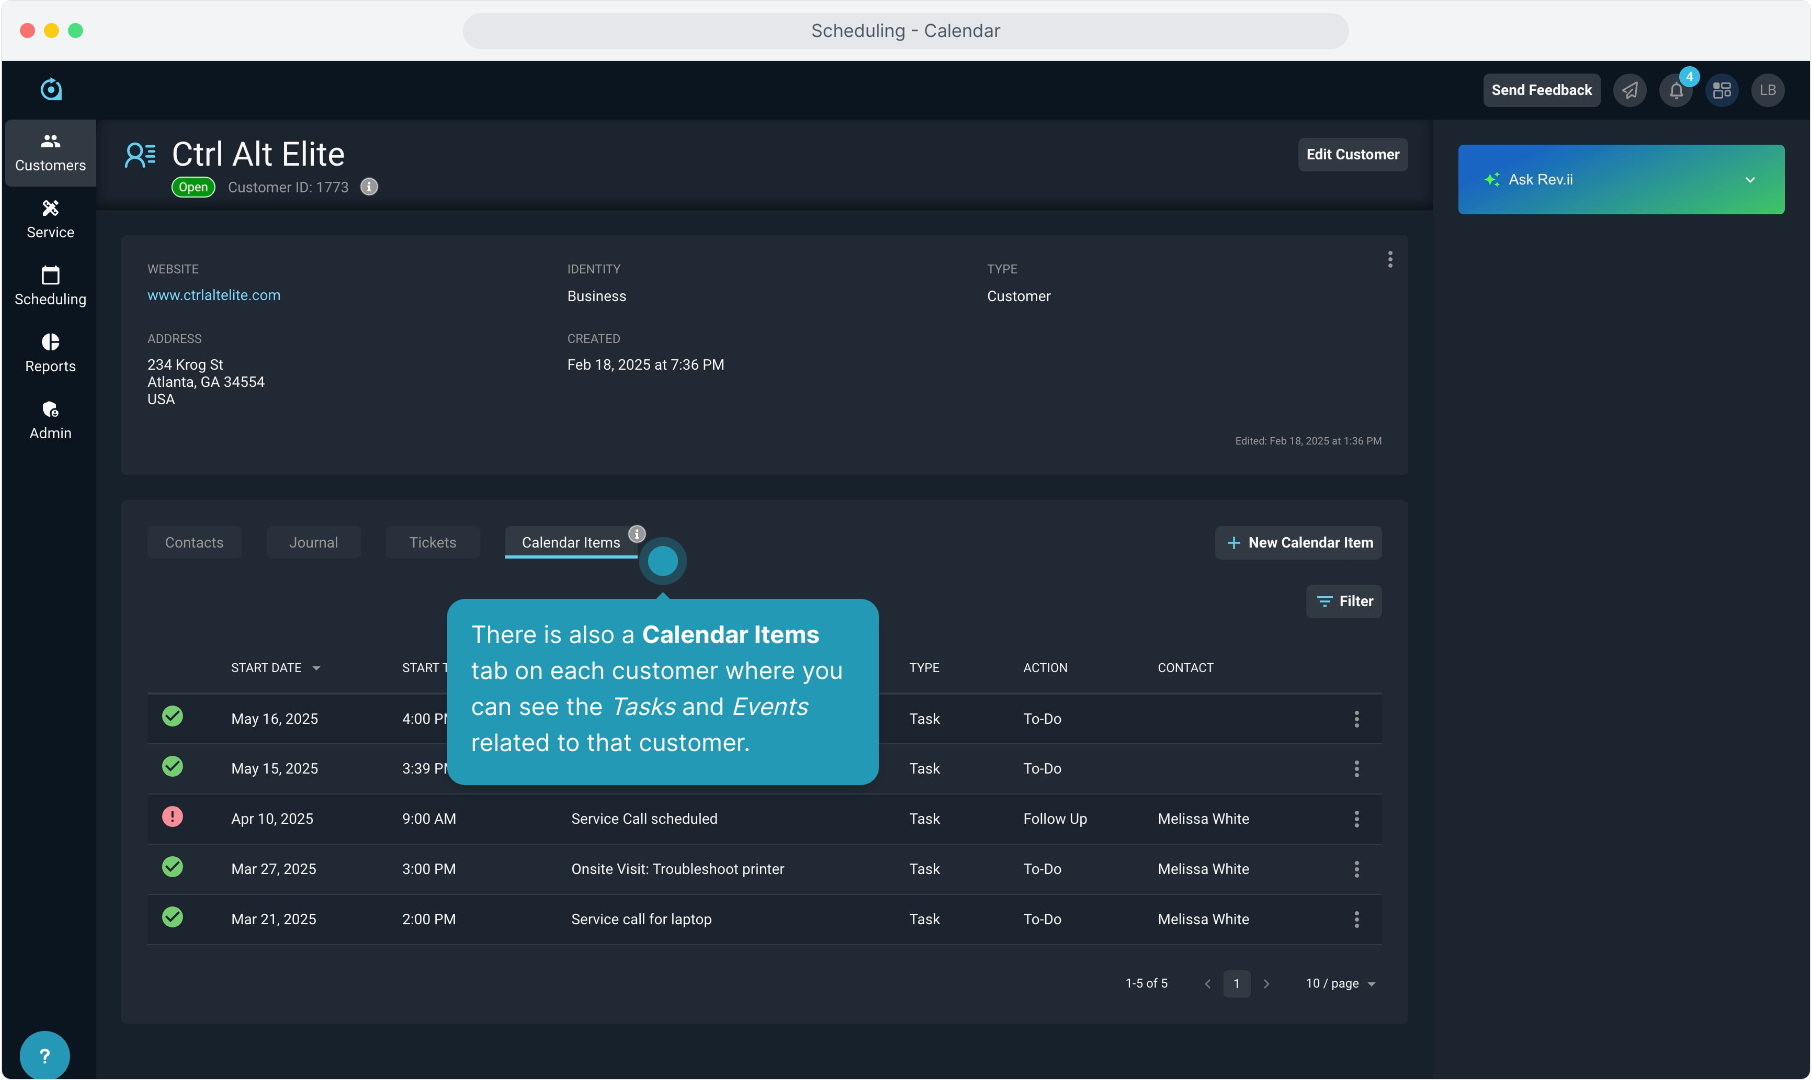
32. You can create a task or event from the customer account by clicking the New Calendar Items button on this tab.
Remember that to tie a task to a ticket, you must create the task from the ticket itself instead of using the New Calendar Item button.