How To Guide: Managing Workflows
1. Introduction

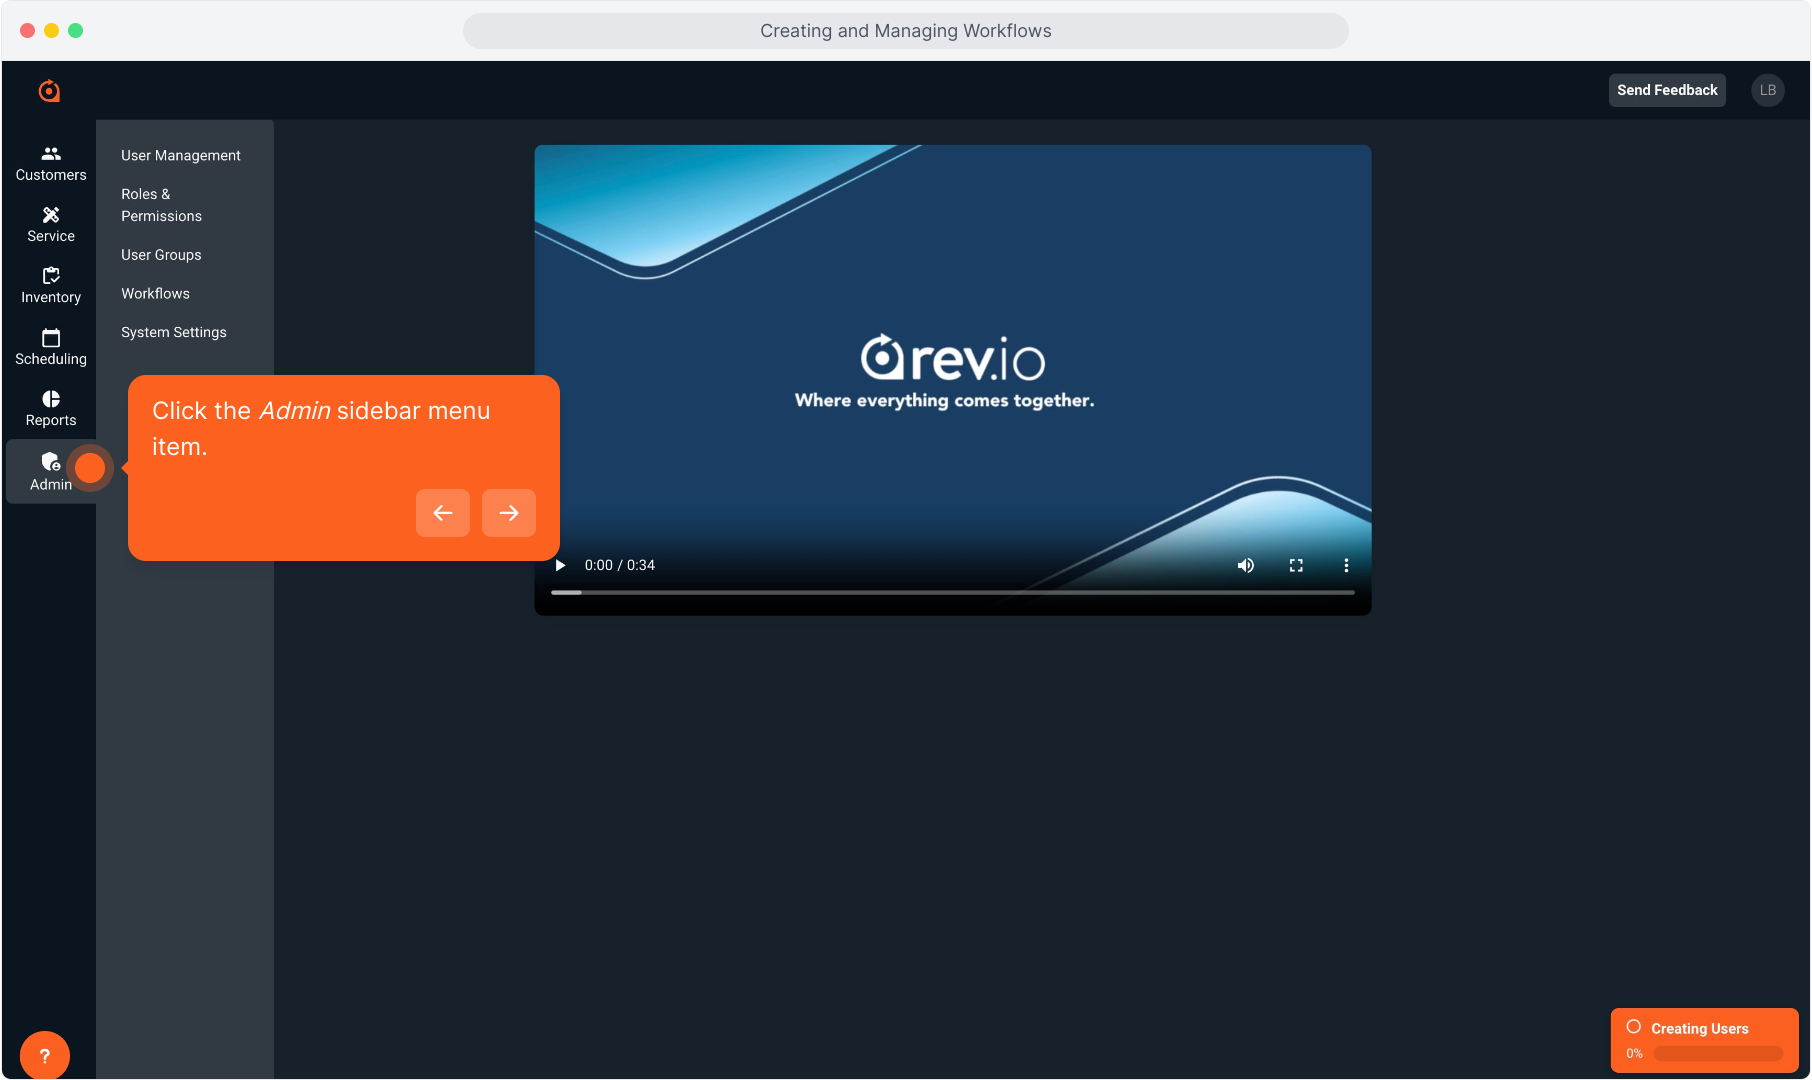
2. Click the Admin sidebar menu item.
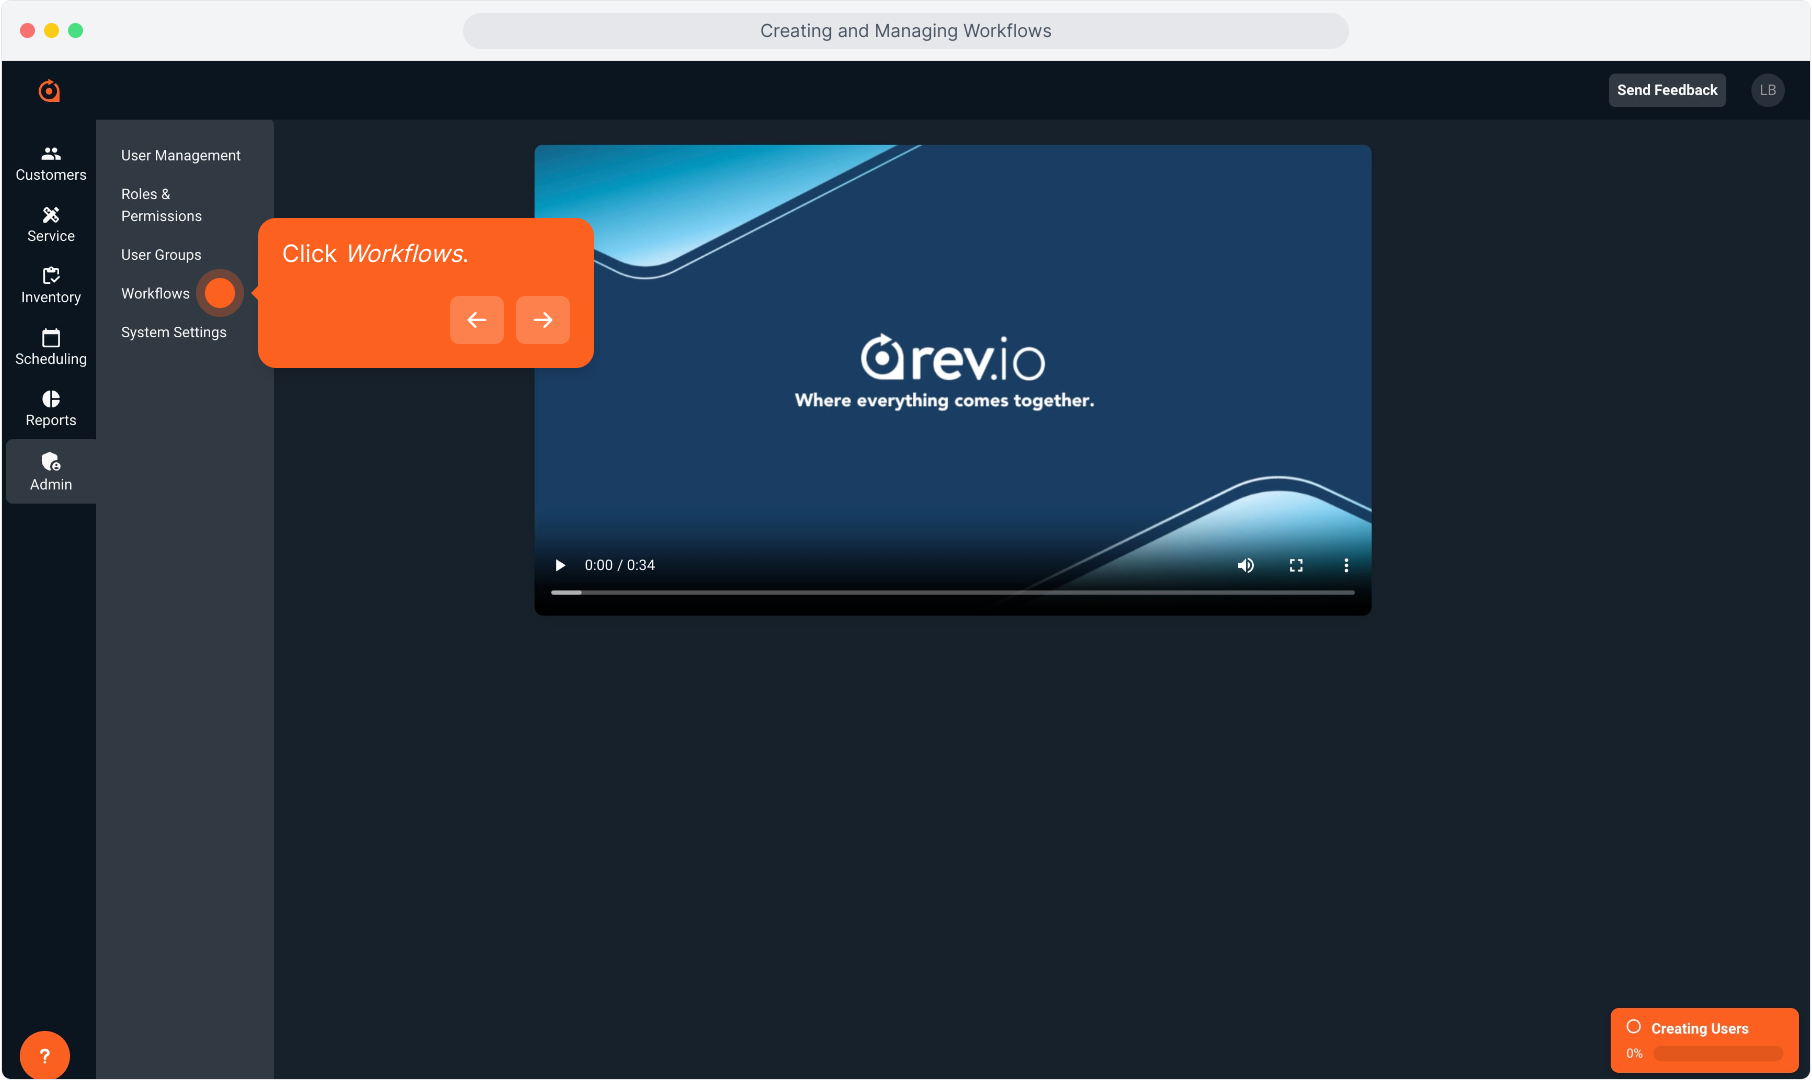
3. Click Workflows.
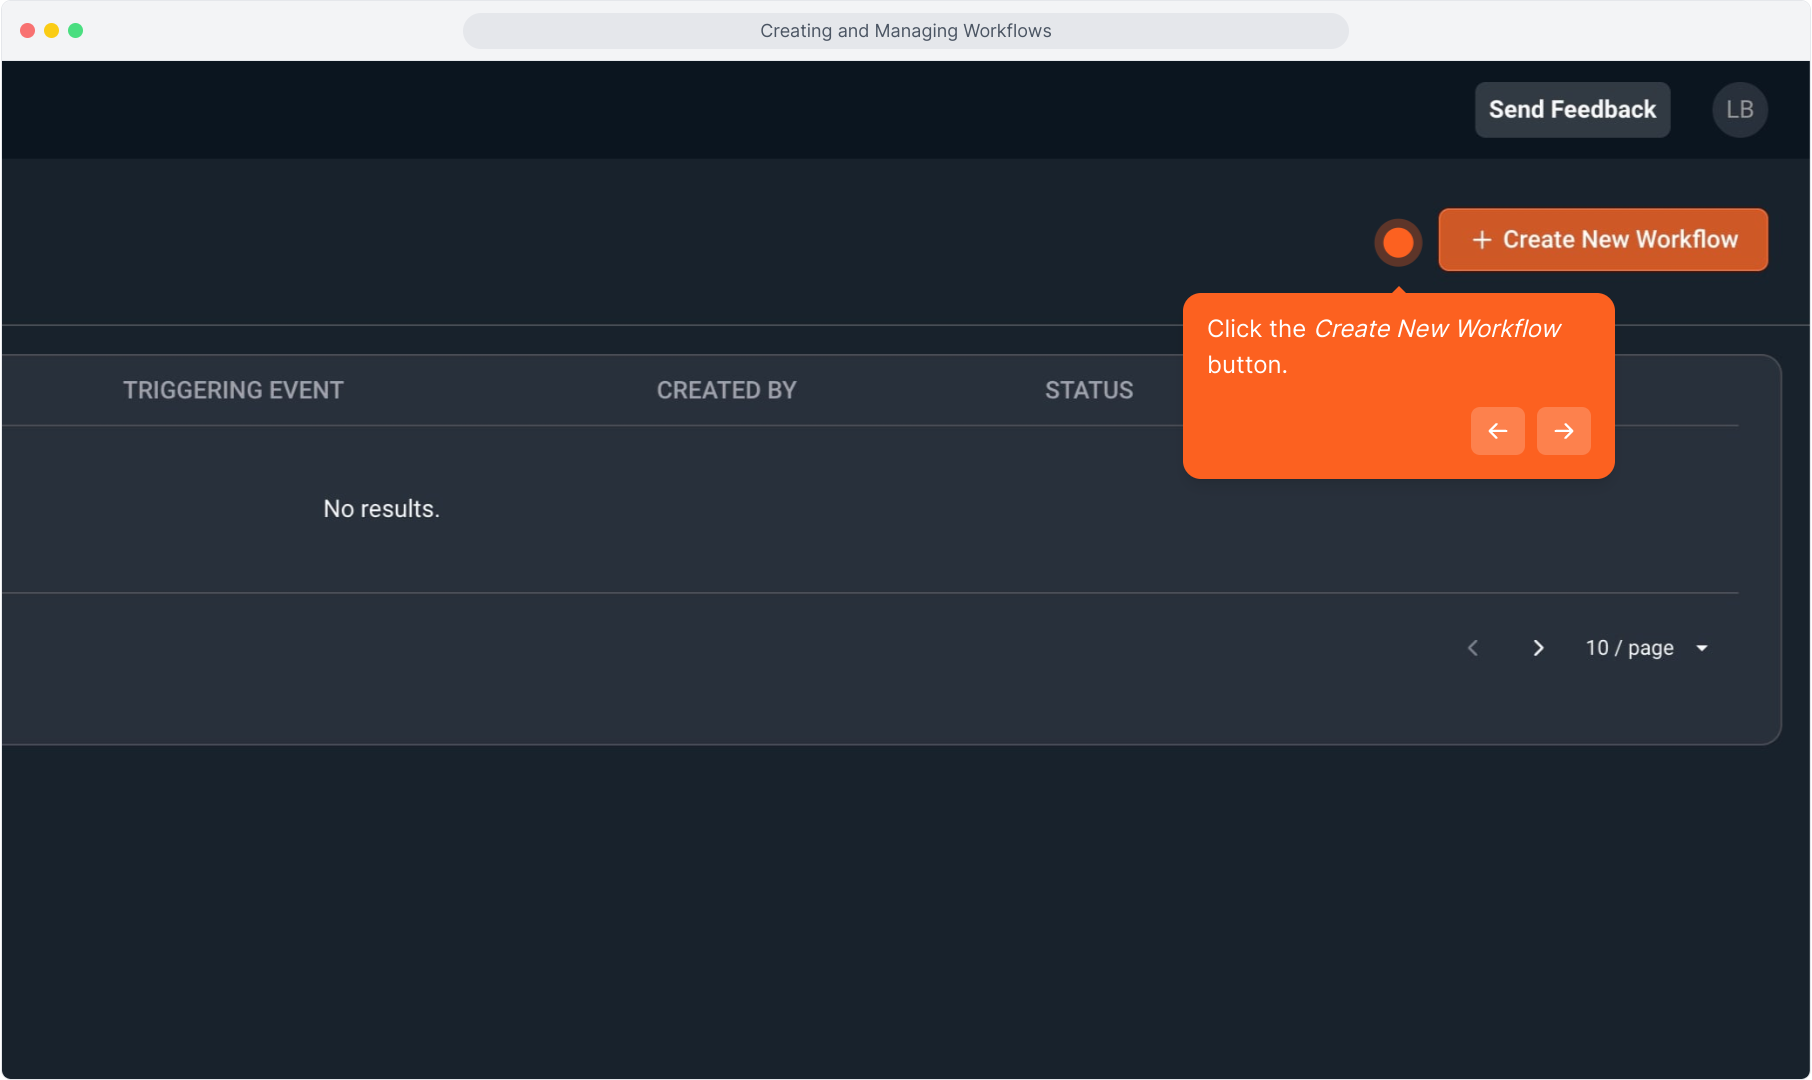
4. Click the Create New Workflow button.
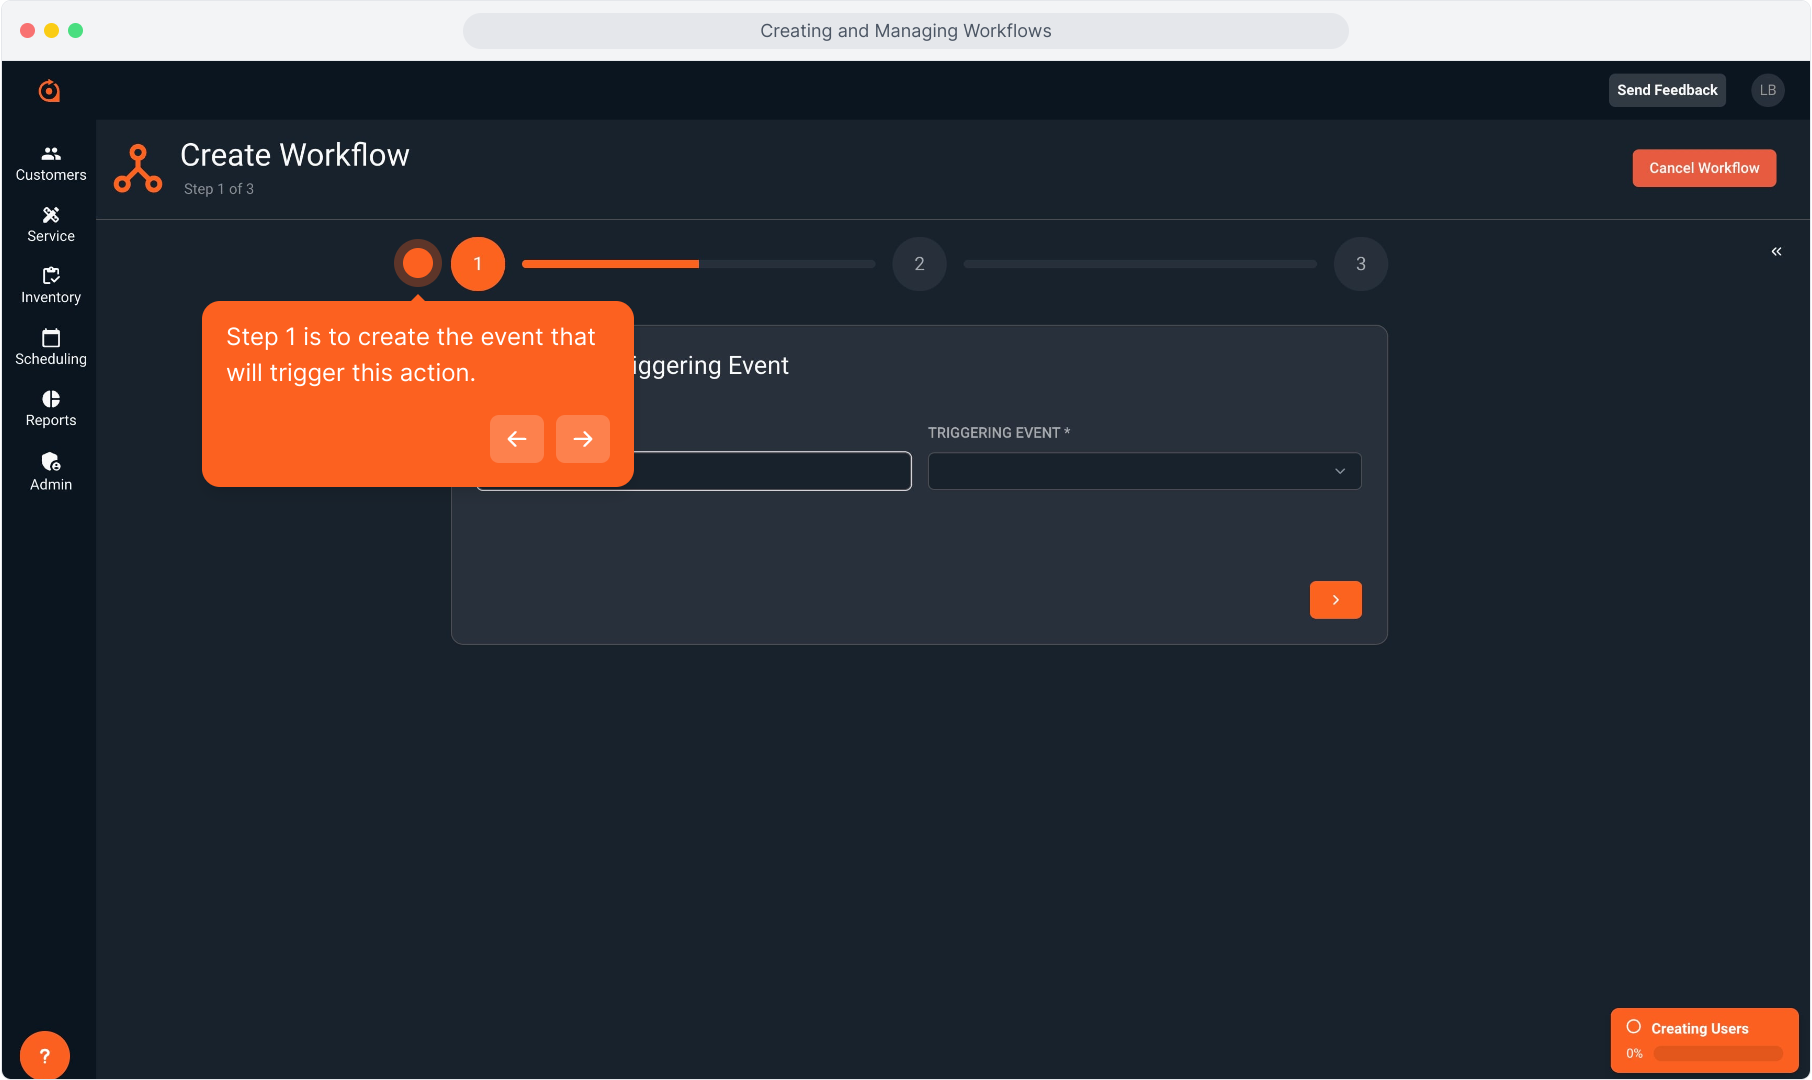
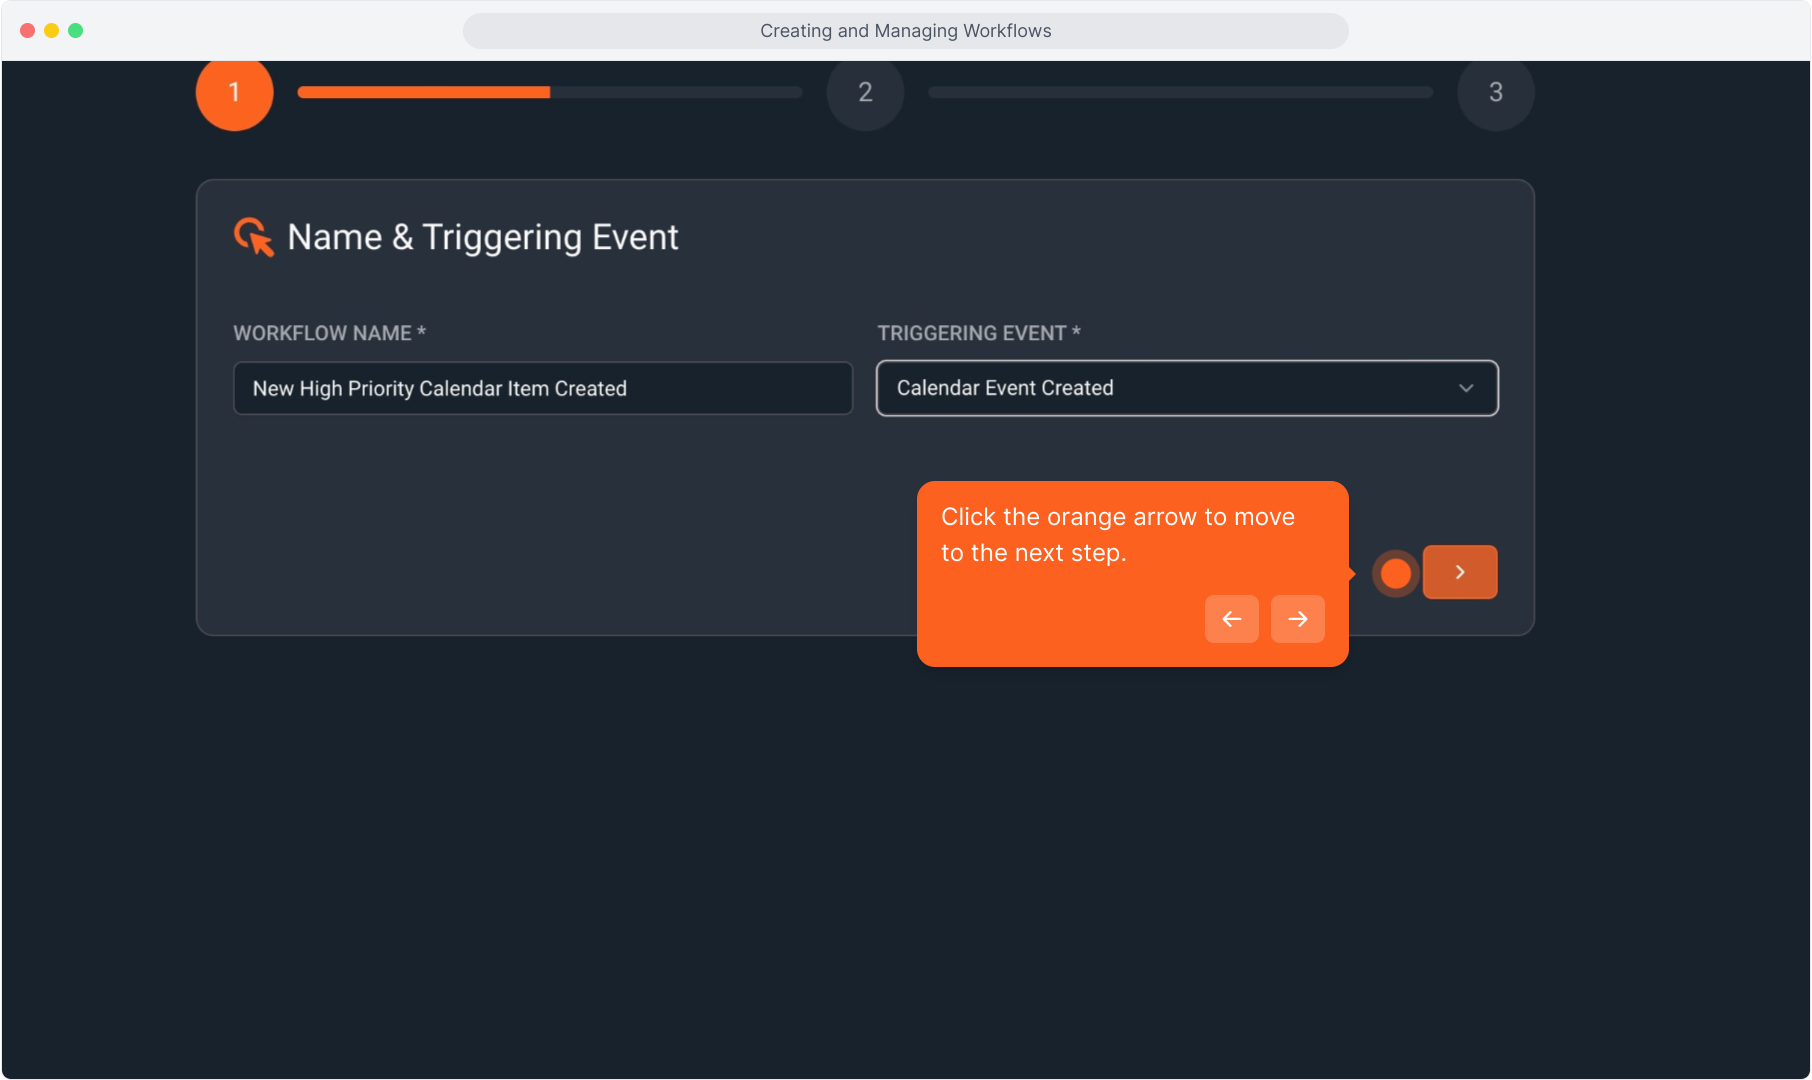
5. Step 1 is to create the event that will trigger this action.
6. Start by naming this workflow.
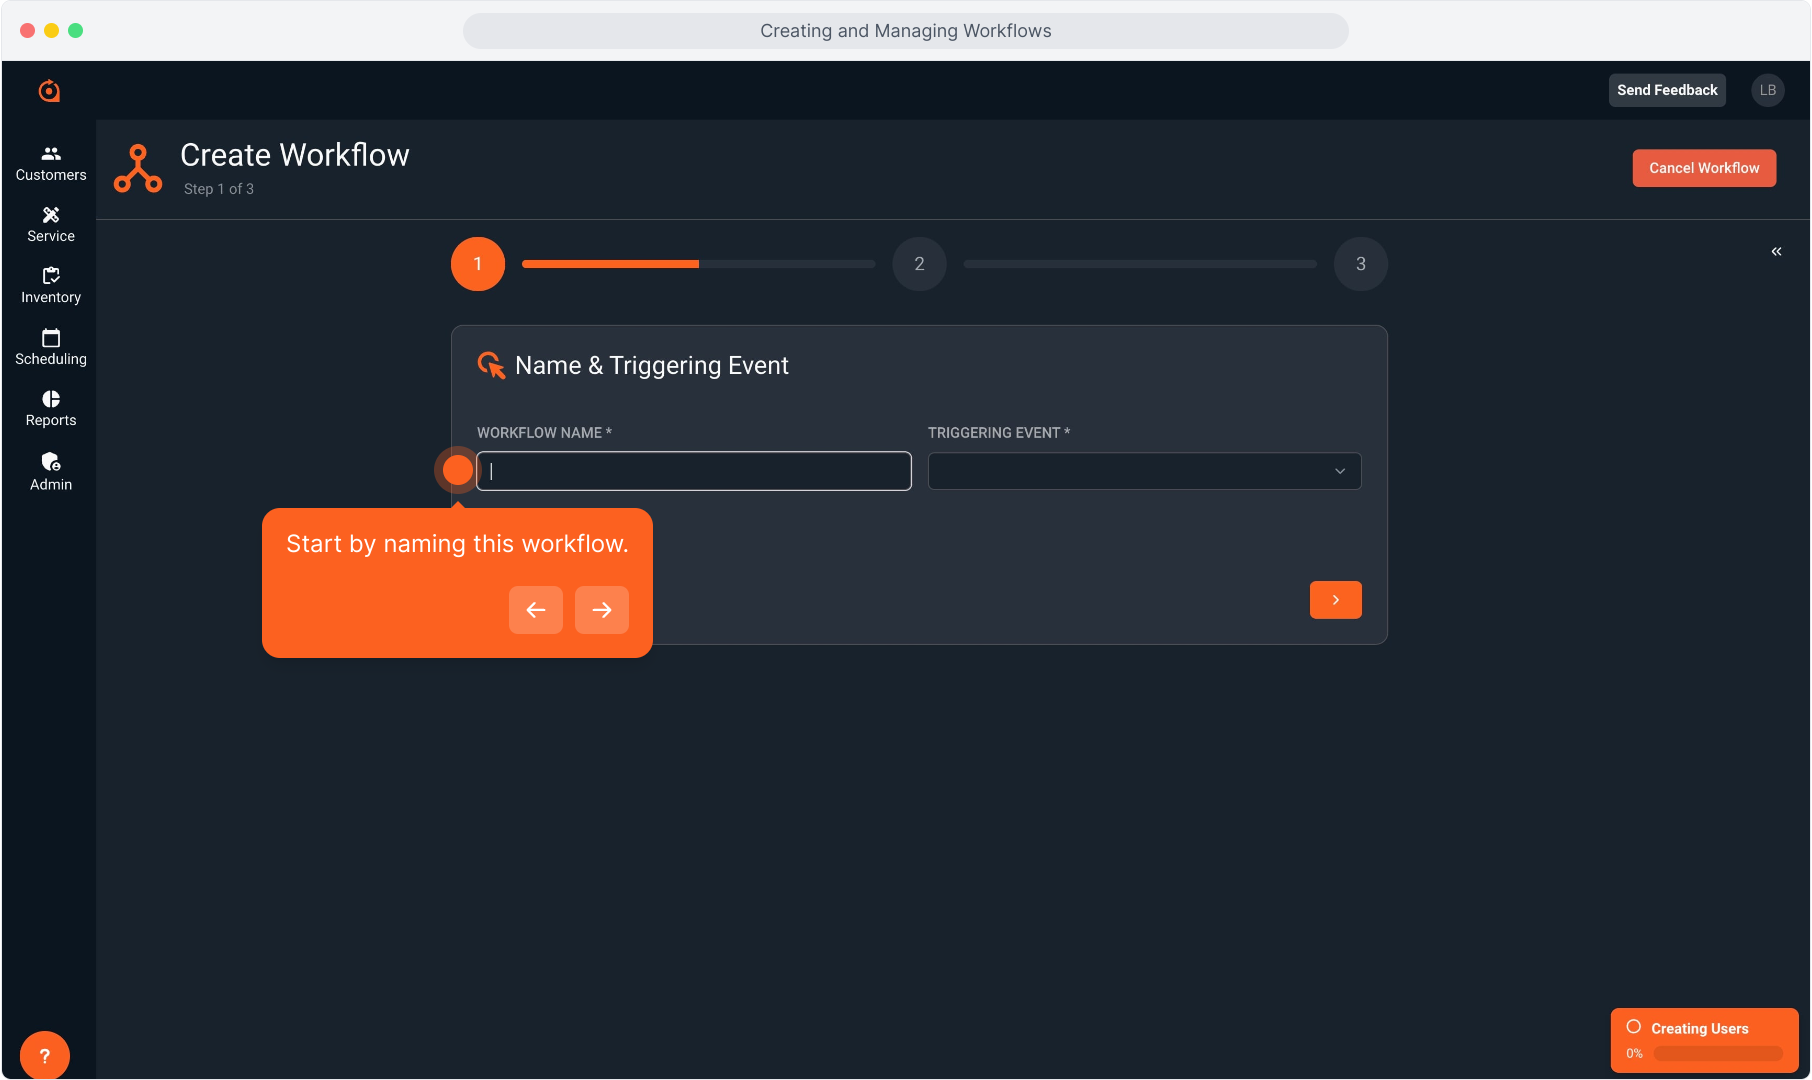
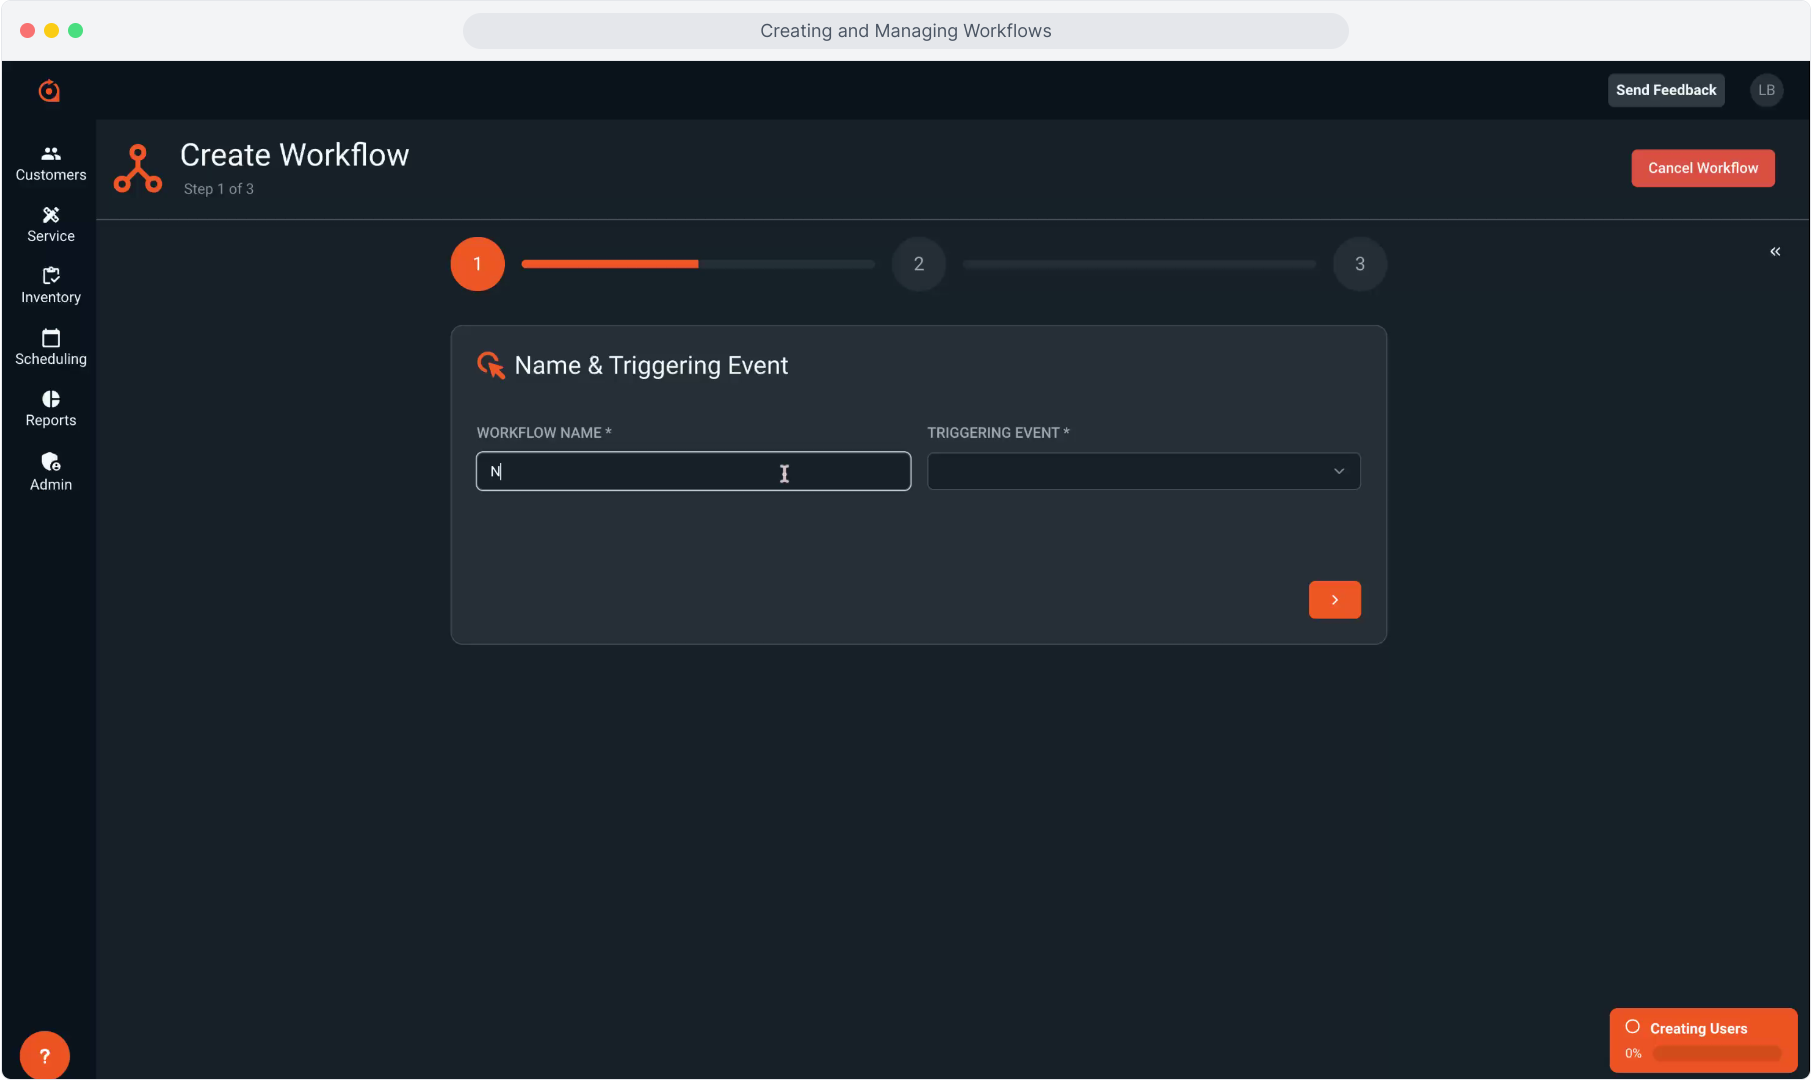
7. Type the name.
8. Intentionally blank.
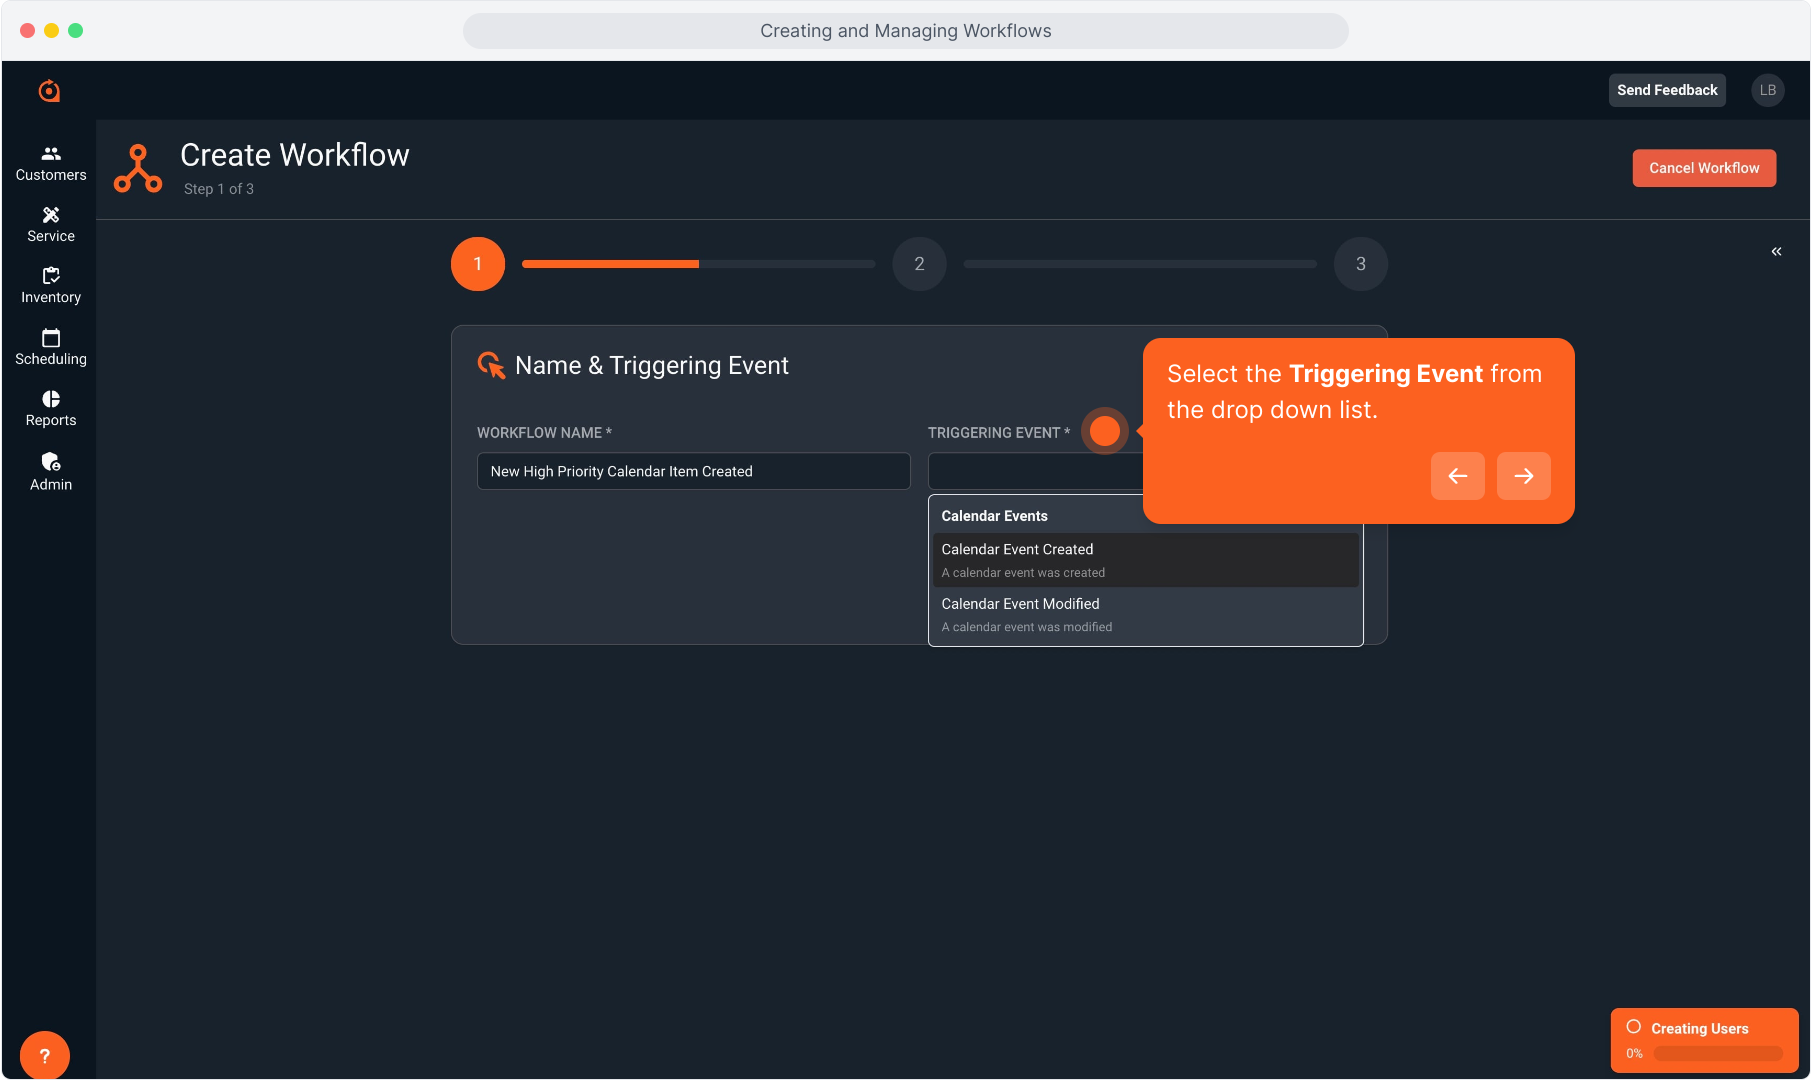
9. Select the Triggering Event from the drop down list.
10. Intentionally Blank
11. Click the orange arrow to move to the next step.
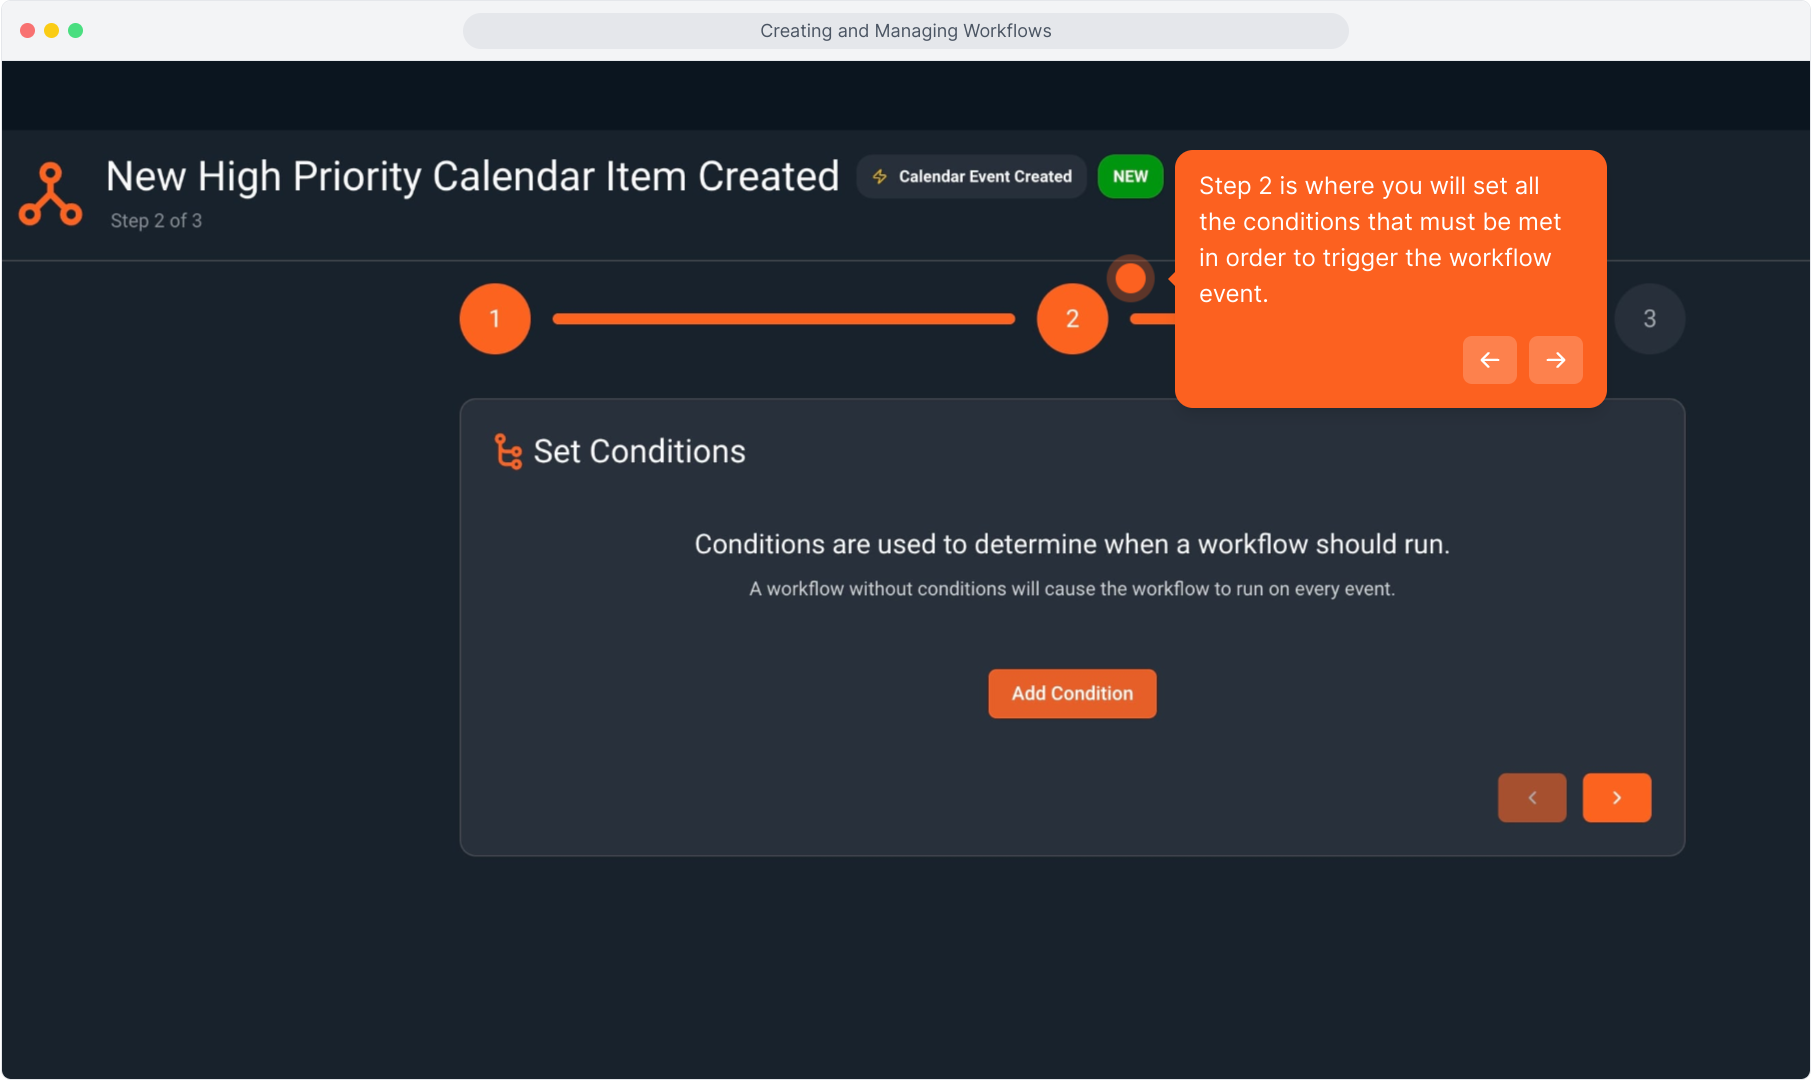
12. Step 2 is where you will set all the conditions that must be met in order to trigger the workflow event.
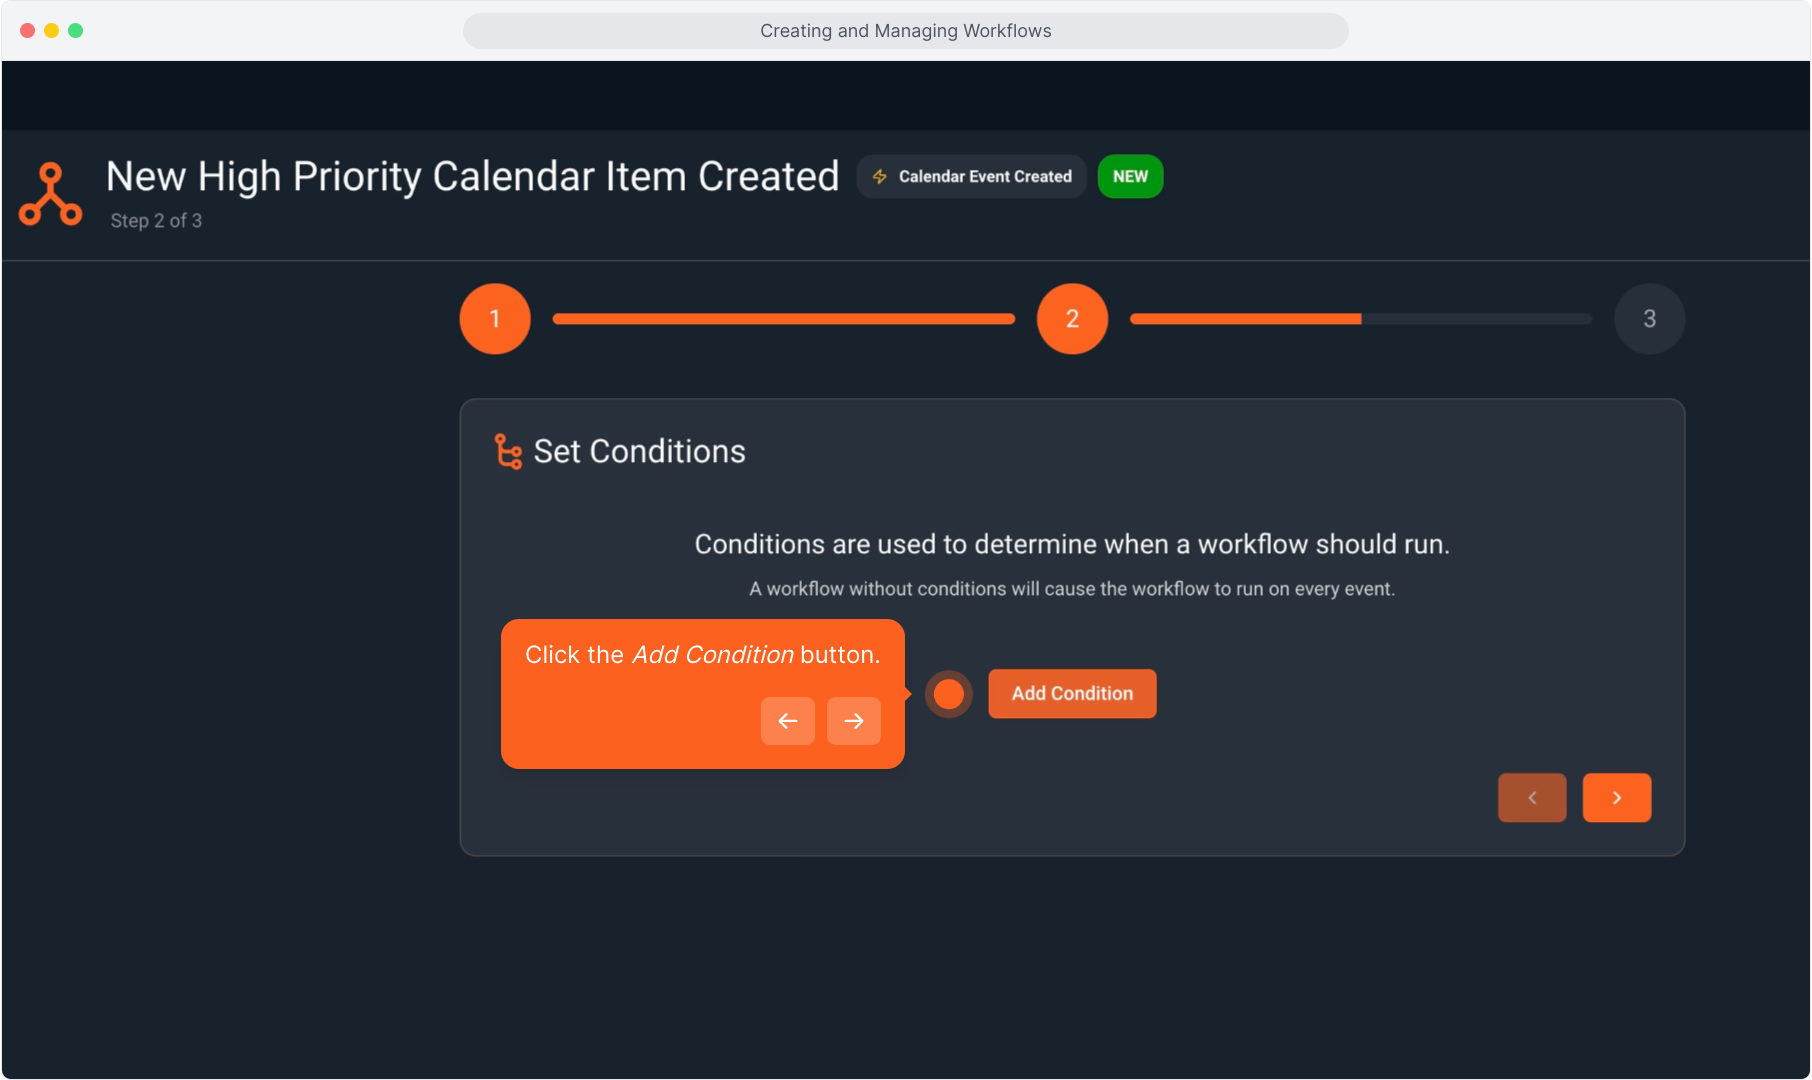
13. Click the Add Condition button.
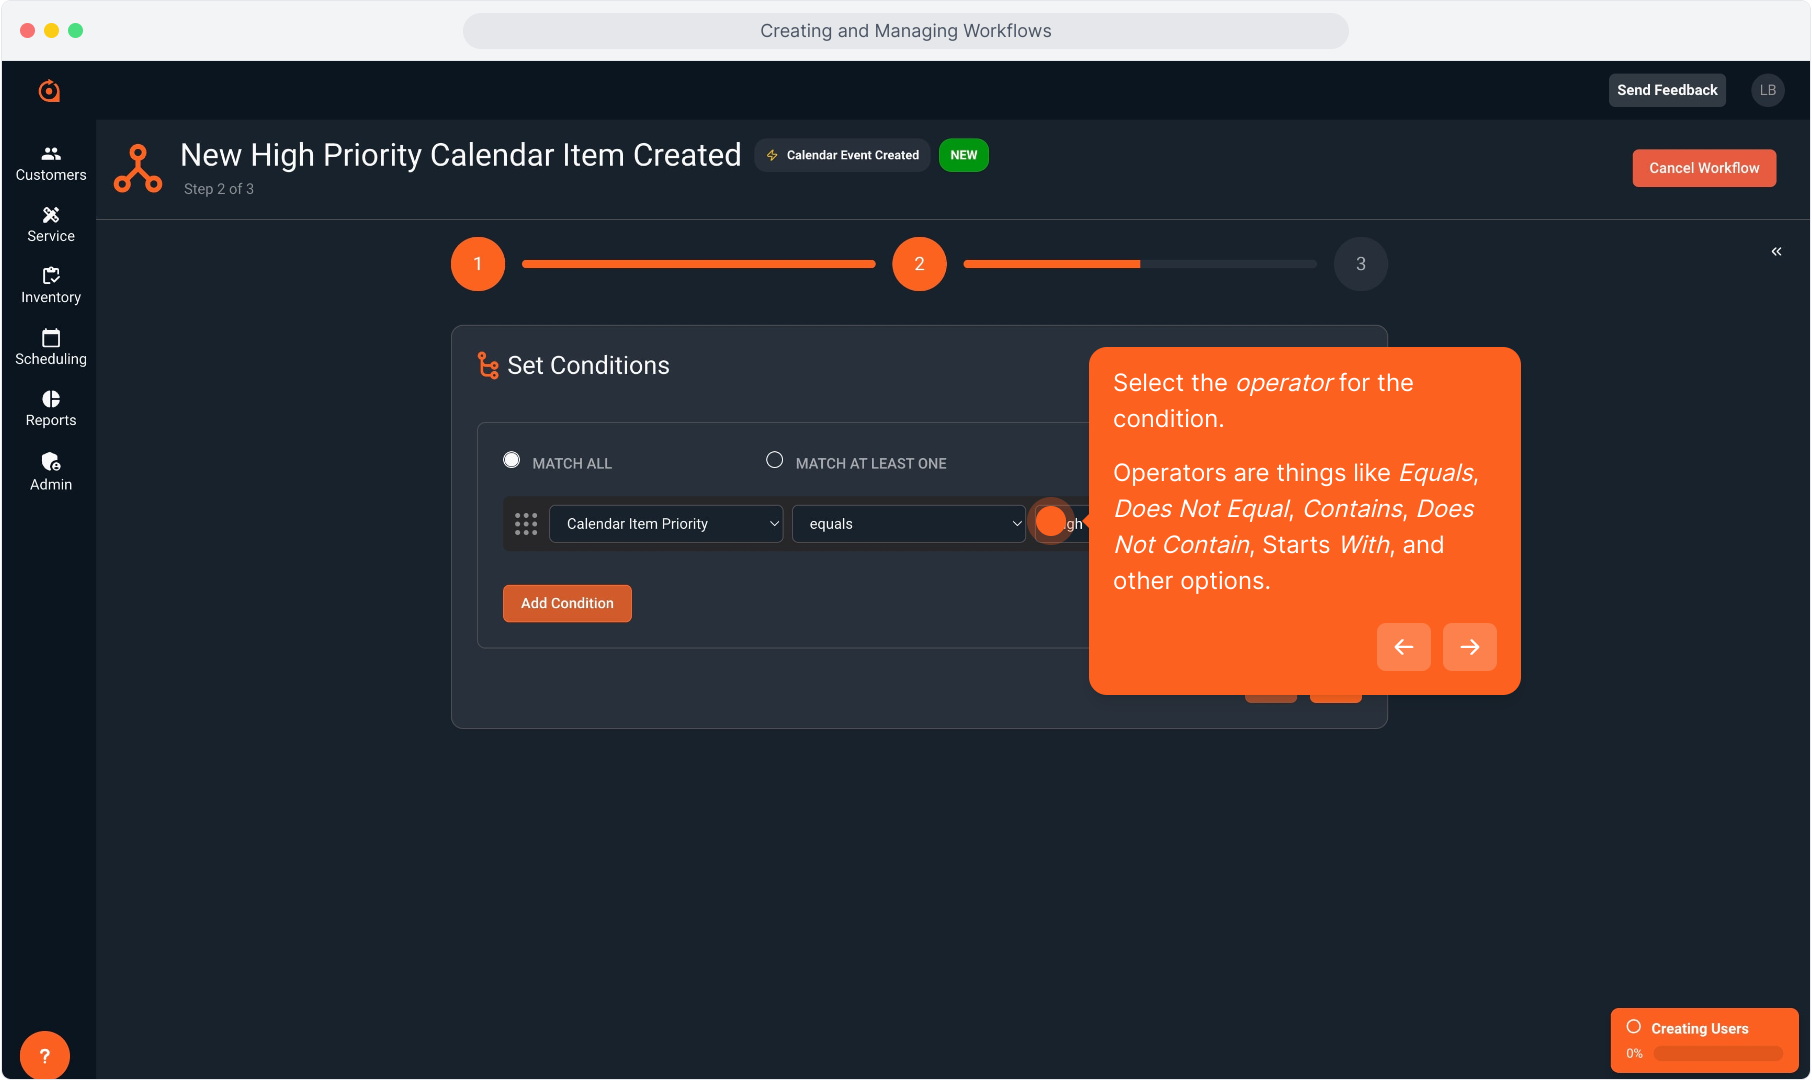
14. Select the condition item from the drop down list.

15. Select the operator for the condition.
Operators are things like Equals, Does Not Equal, Contains, Does Not Contain, Starts With, and other options.
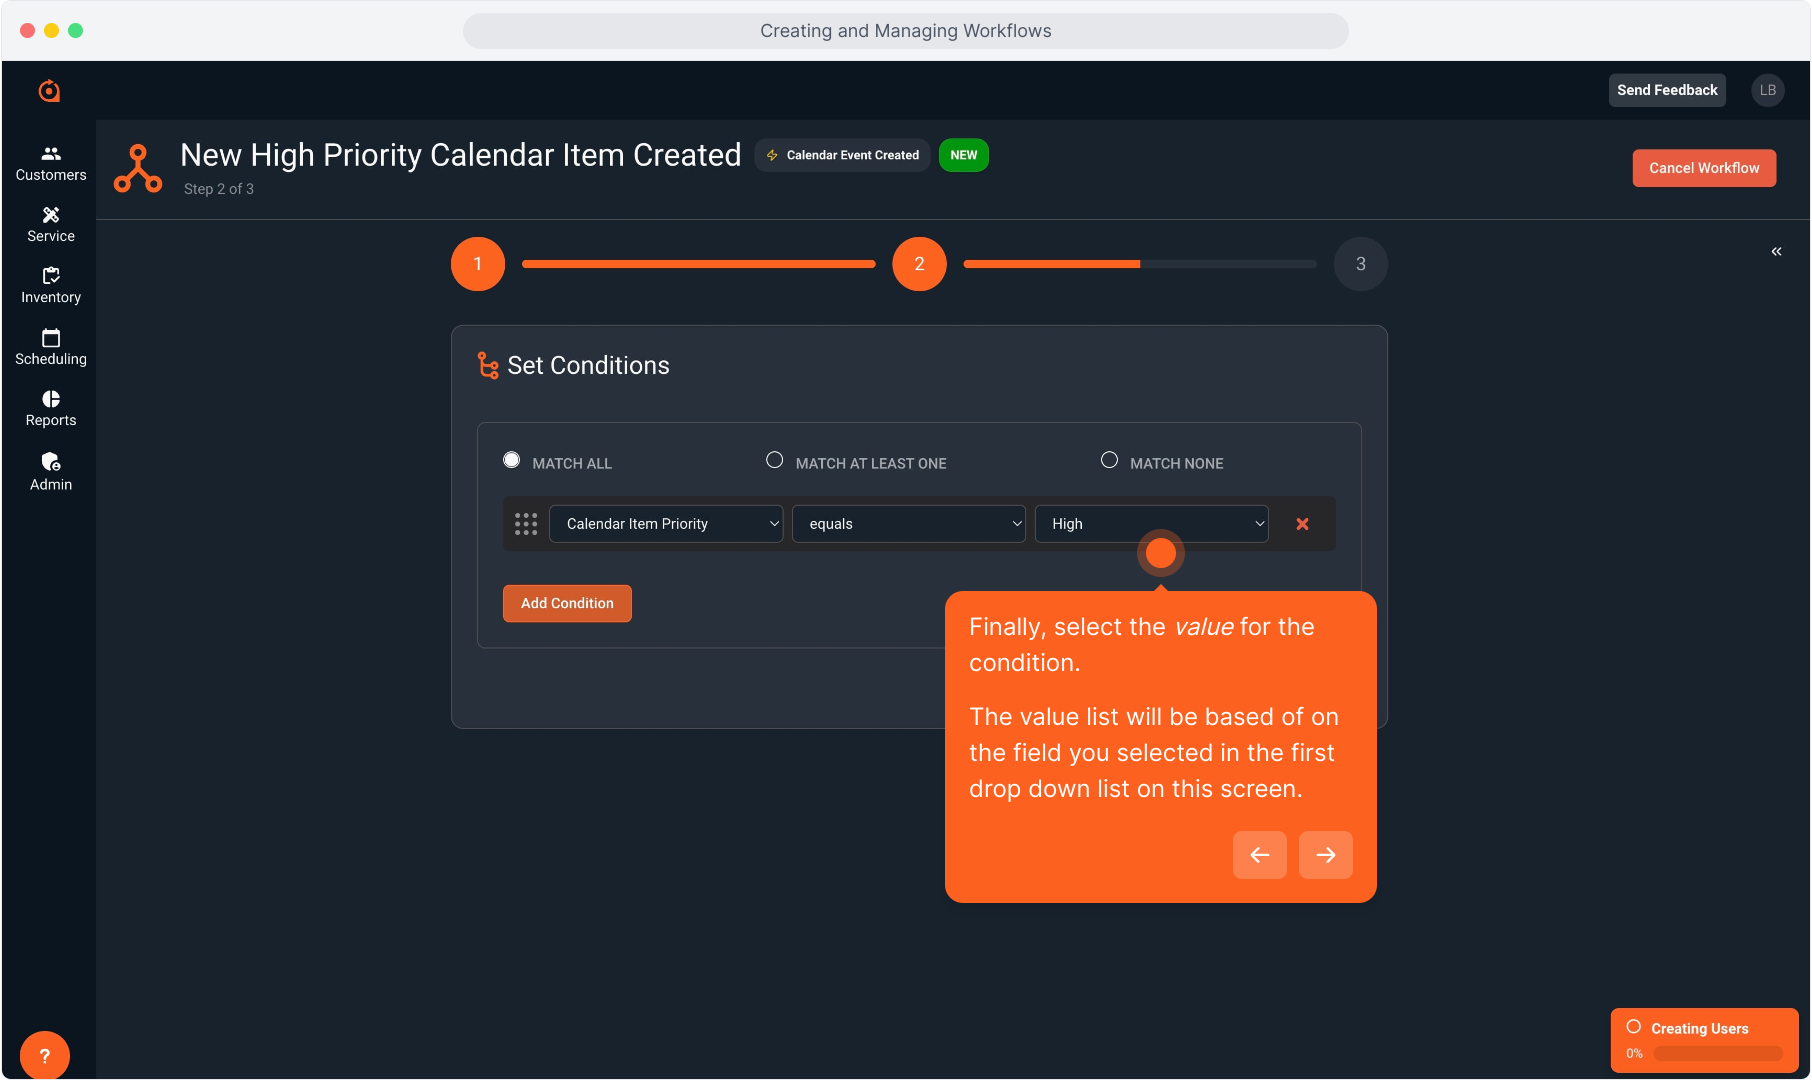
16. Finally, select the value for the condition.
The value list will be based of on the field you selected in the first drop down list on this screen.
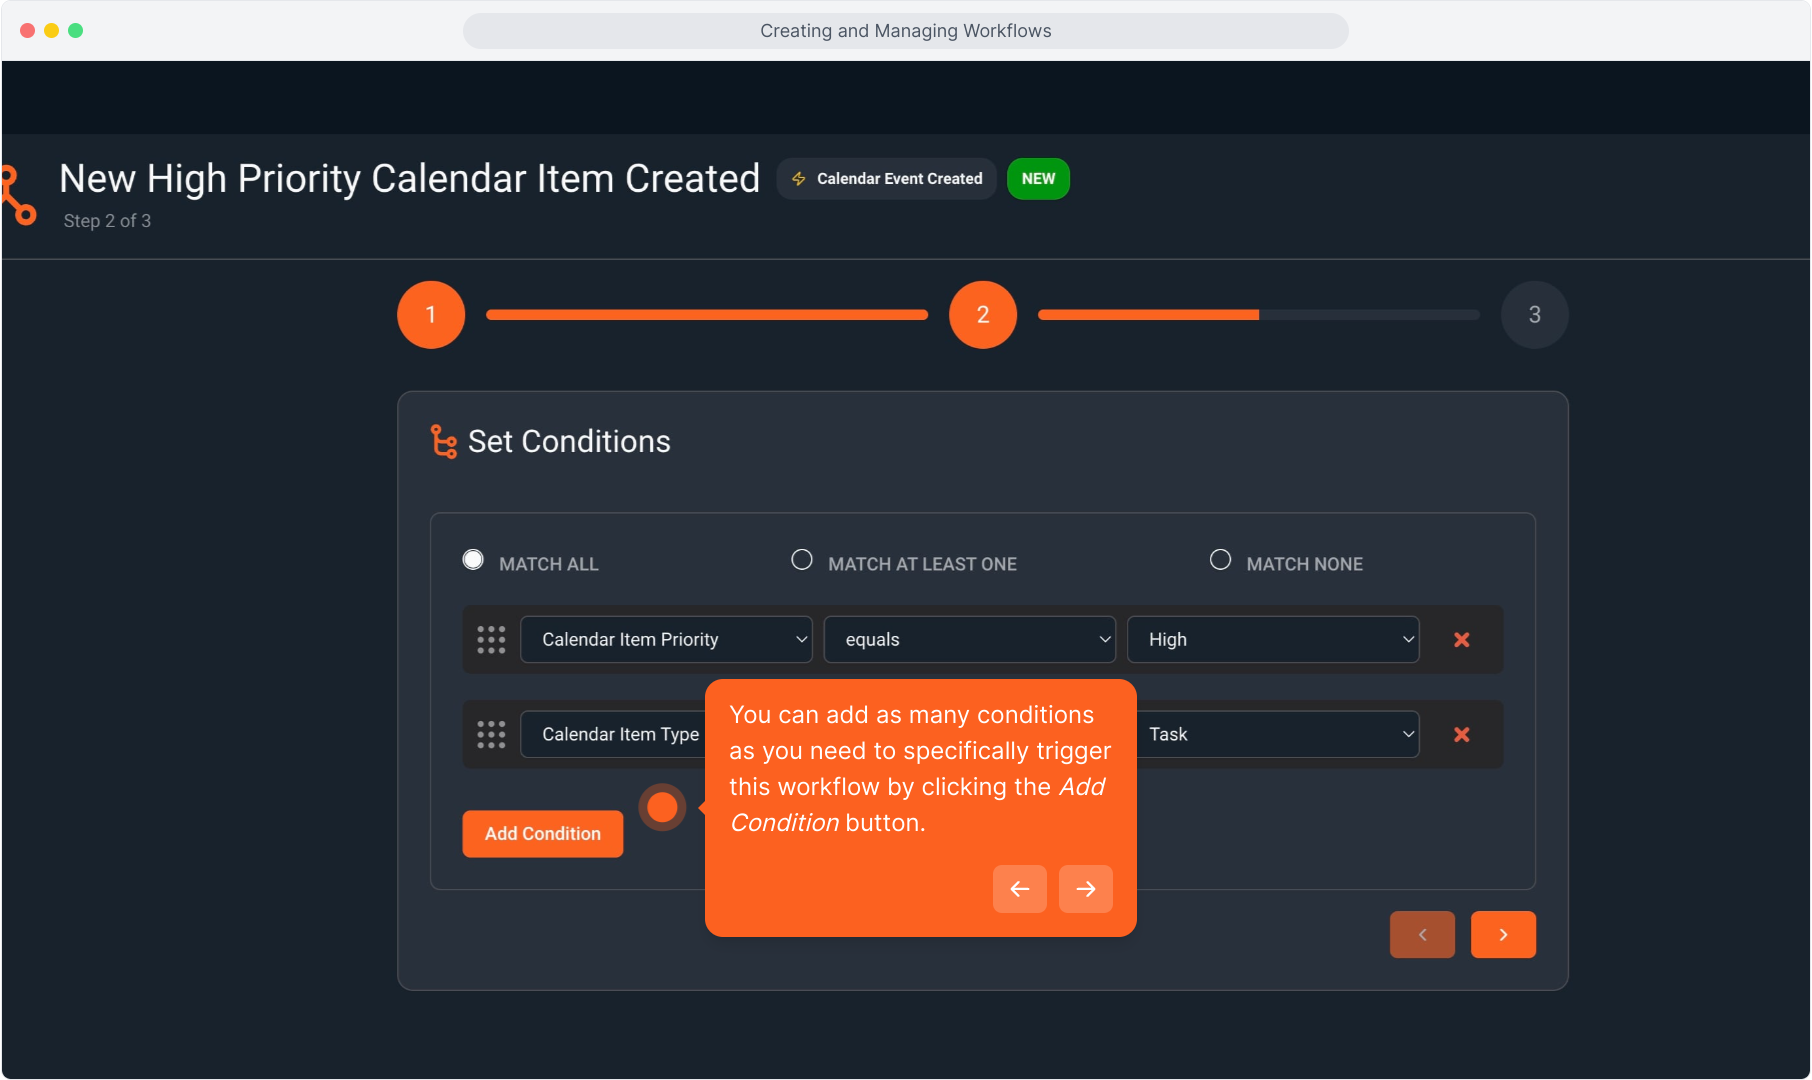
17. You can add as many conditions as you need to specifically trigger this workflow by clicking the Add Condition button.
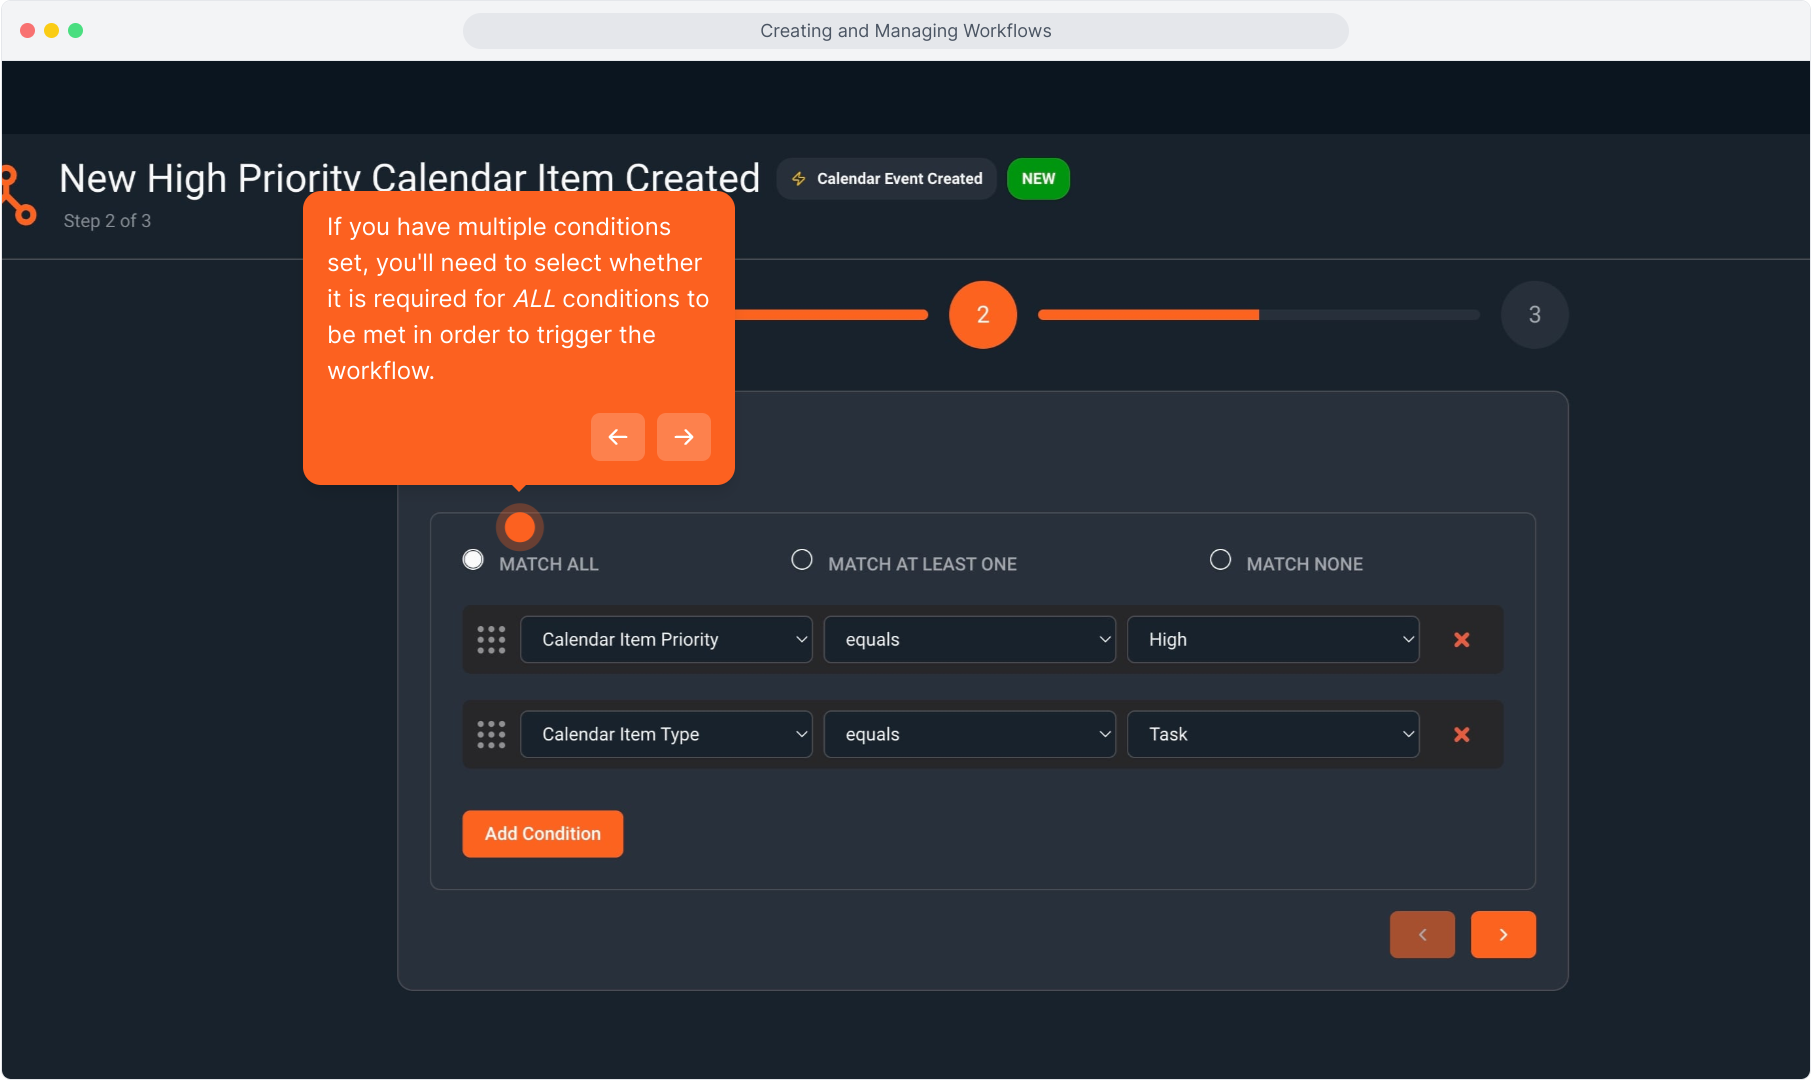
18. If you have multiple conditions set, you'll need to select whether it is required for ALL conditions to be met in order to trigger the workflow.
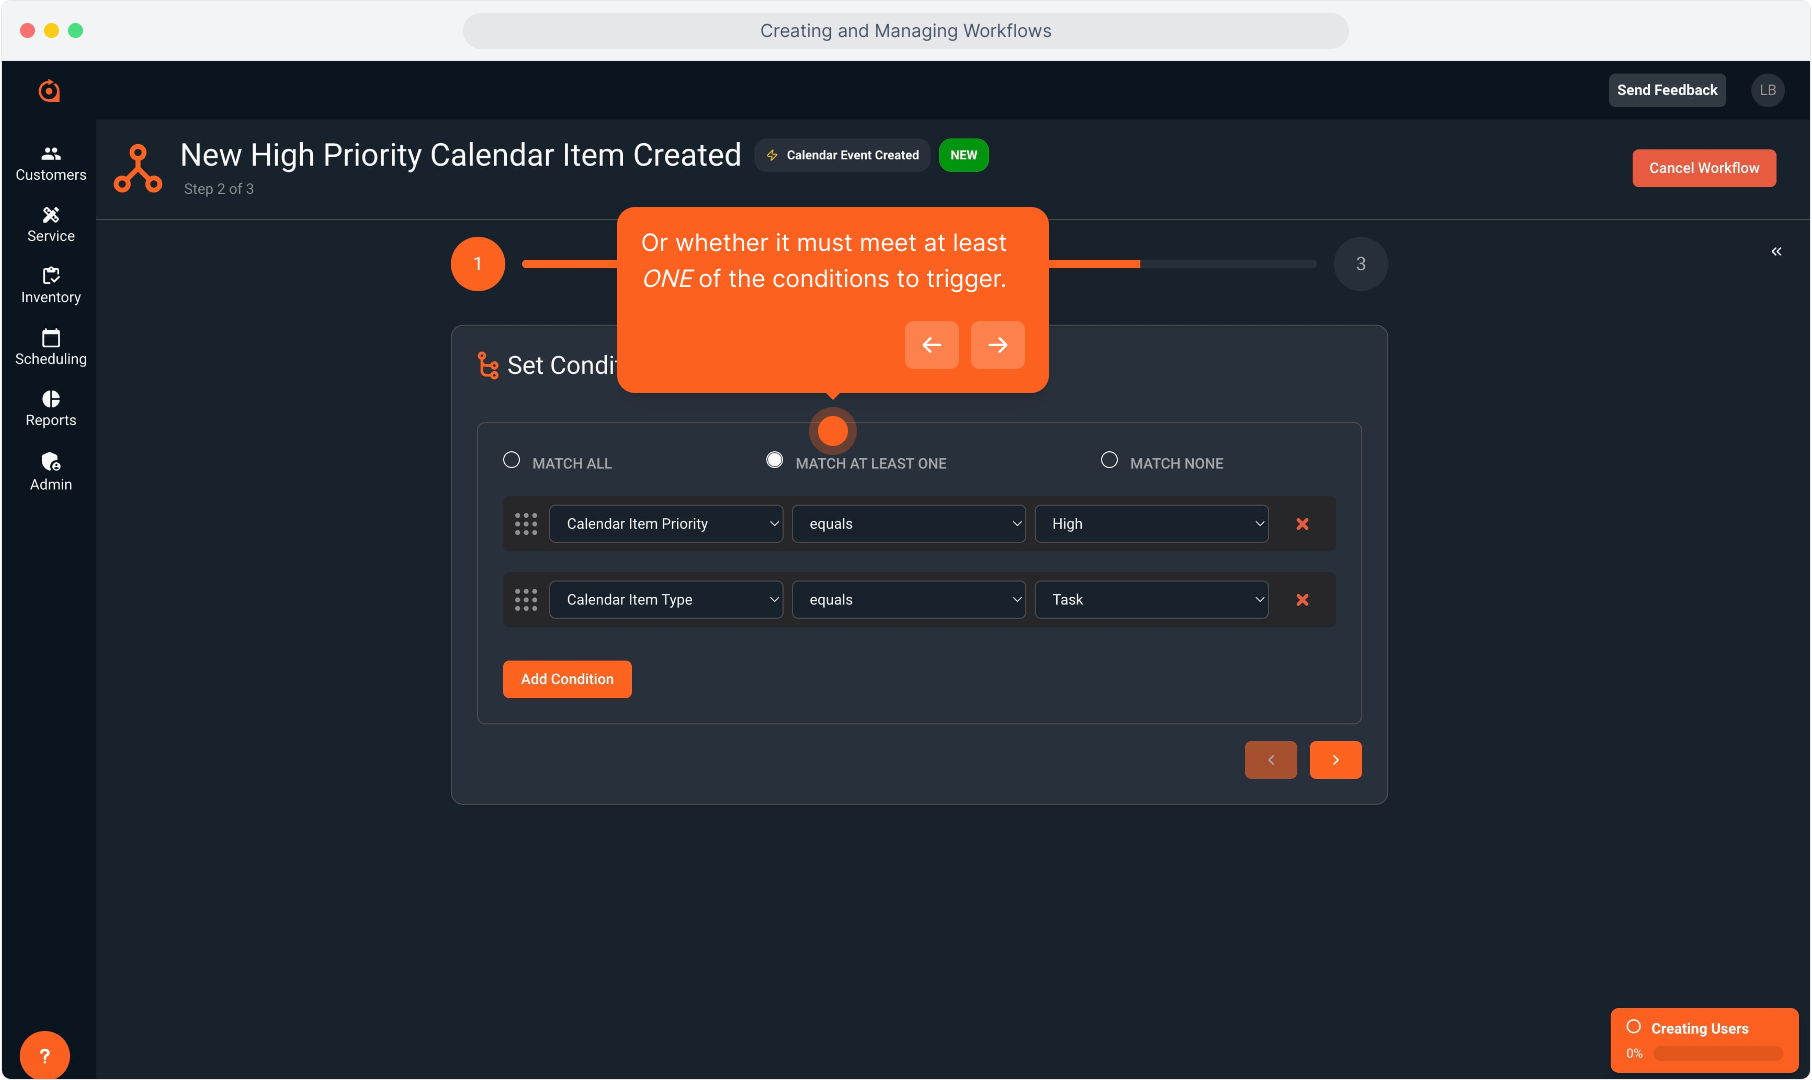
19. Or whether it must meet at least ONE of the conditions to trigger.
20. Or whether it needs to match NONE of the conditions in order to trigger the workflow.

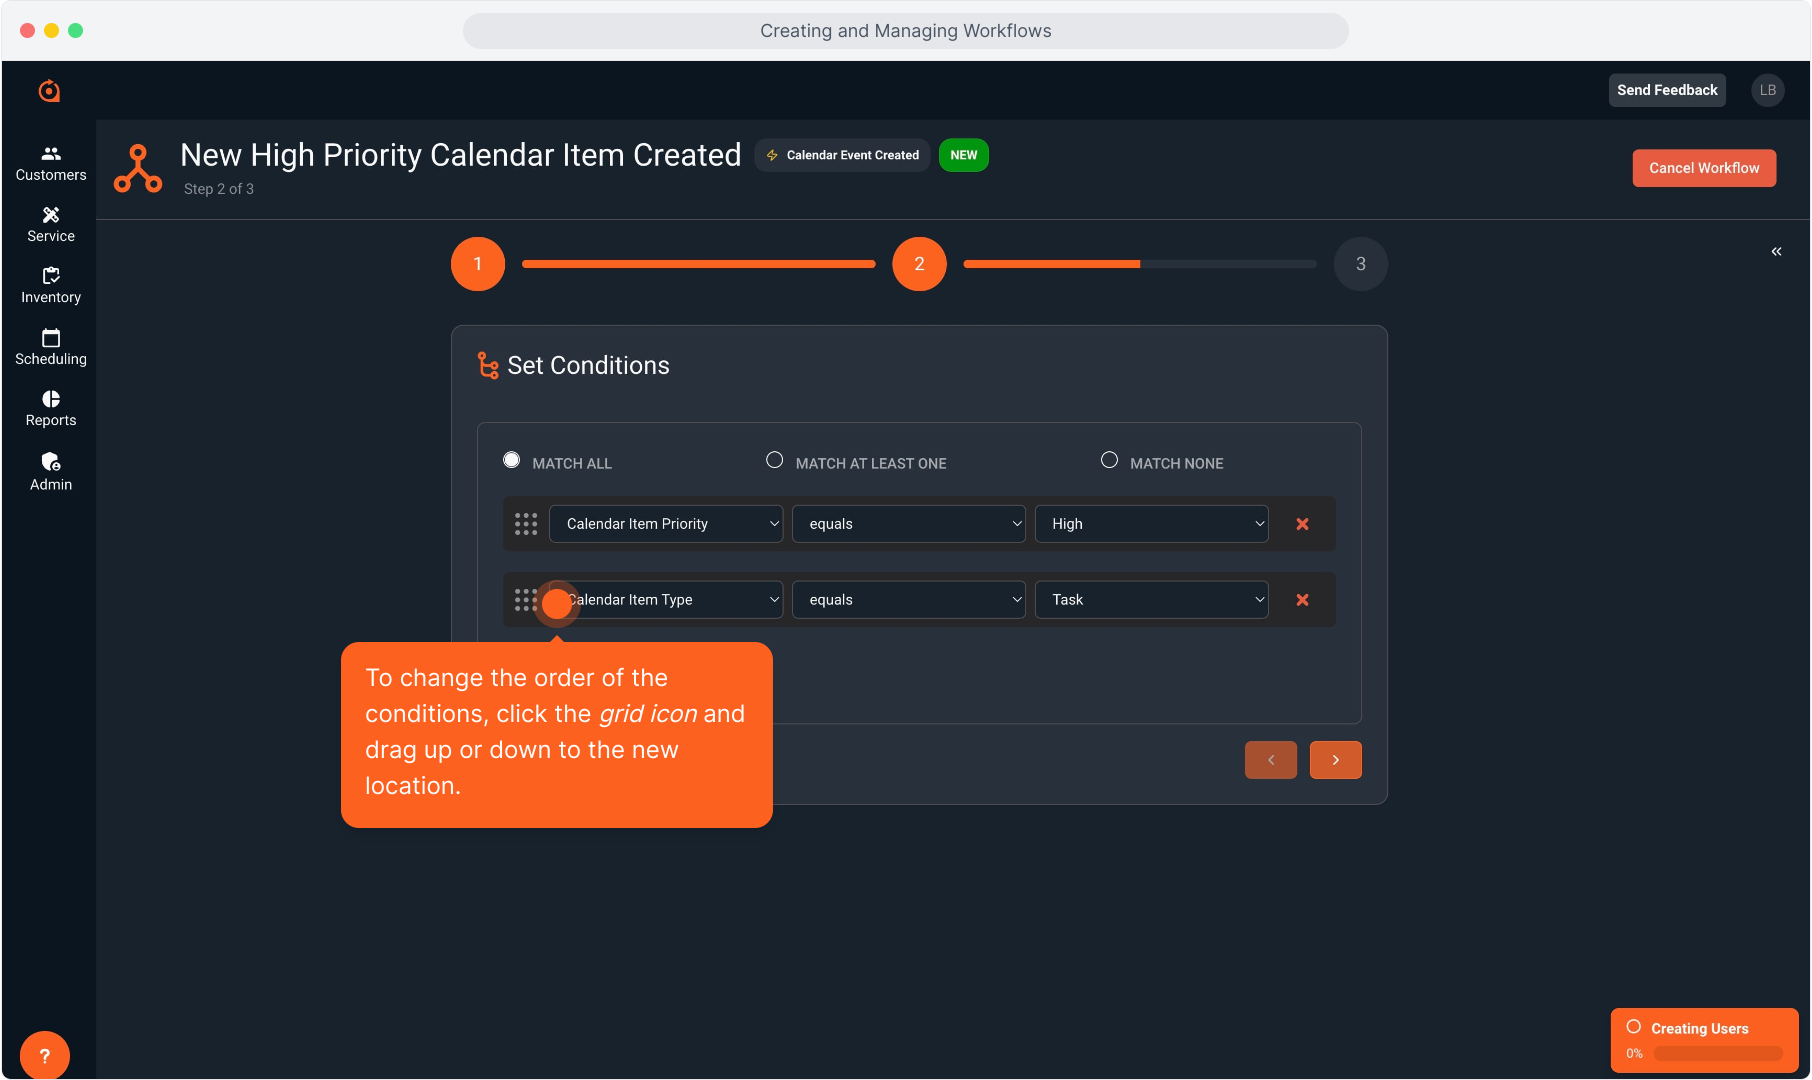
21. To change the order of the conditions, click the grid icon and drag up or down to the new location.
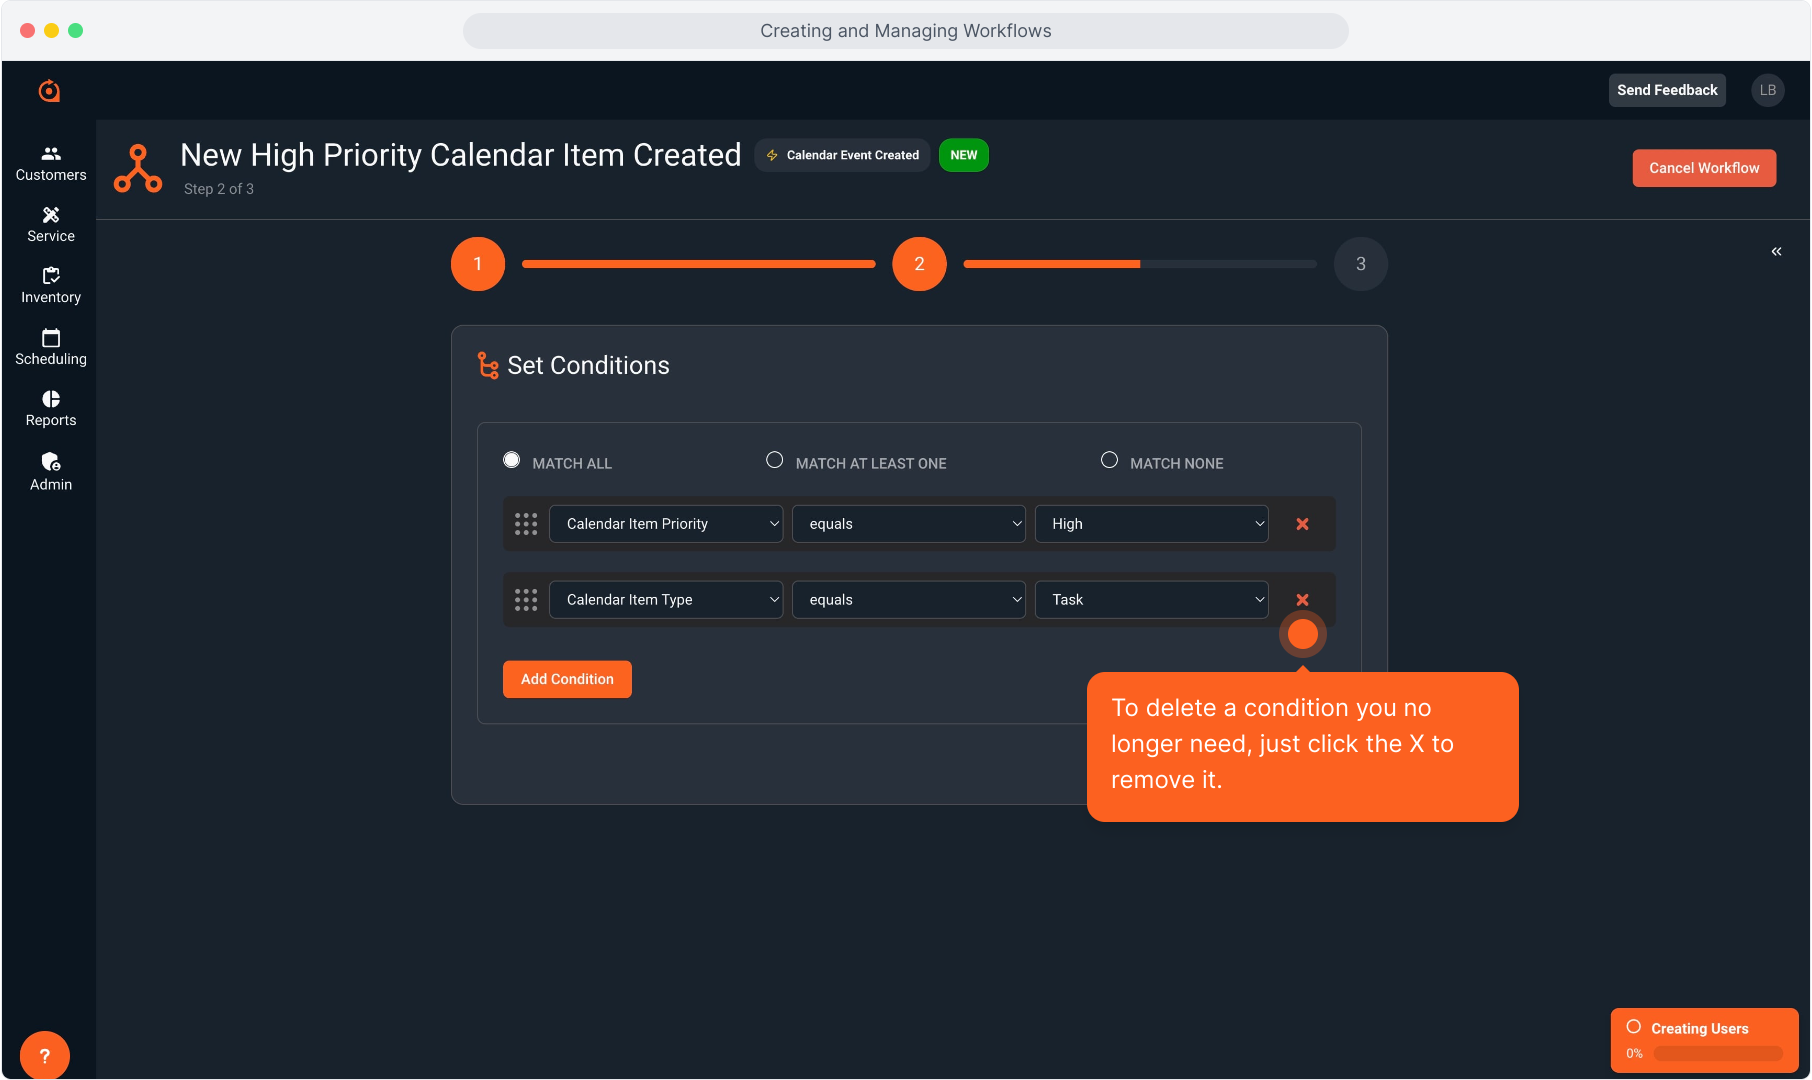
22. To delete a condition you no longer need, just click the X to remove it.
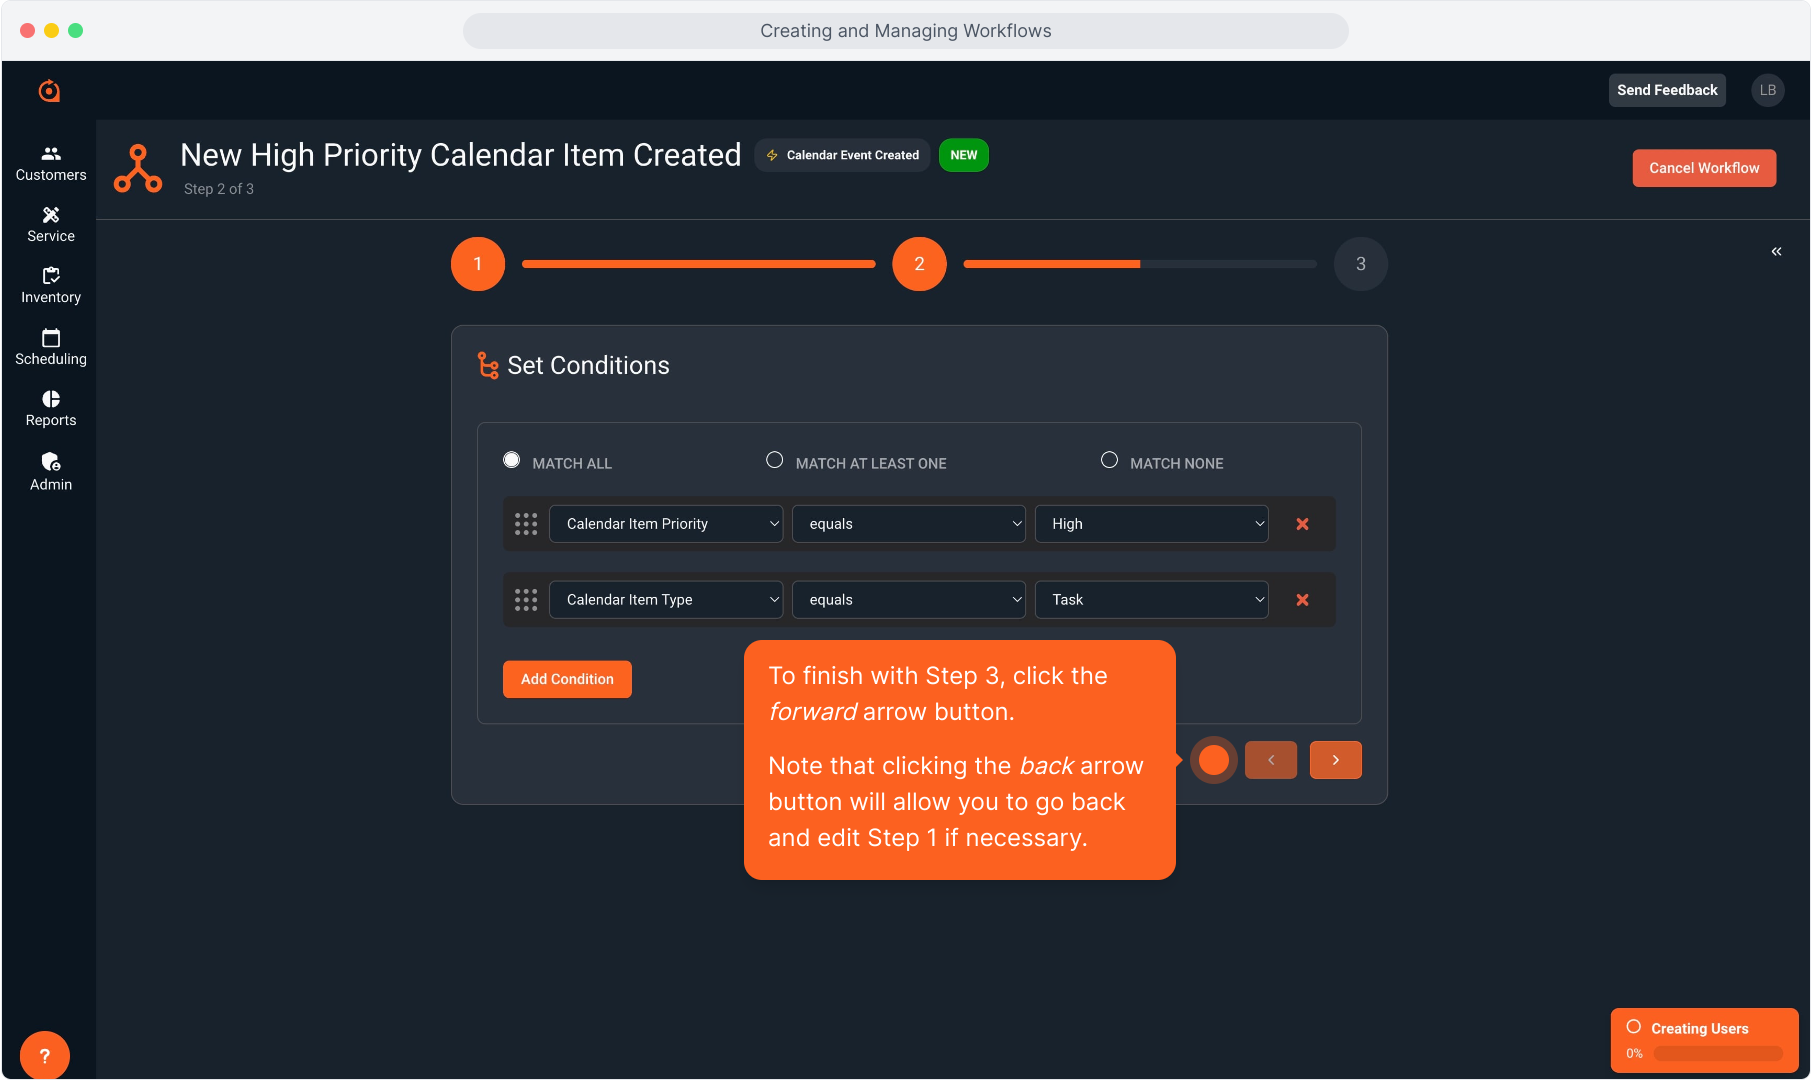
23. To finish with Step 3, click the forward arrow button.
Note that clicking the back arrow button will allow you to go back and edit Step 1 if necessary.
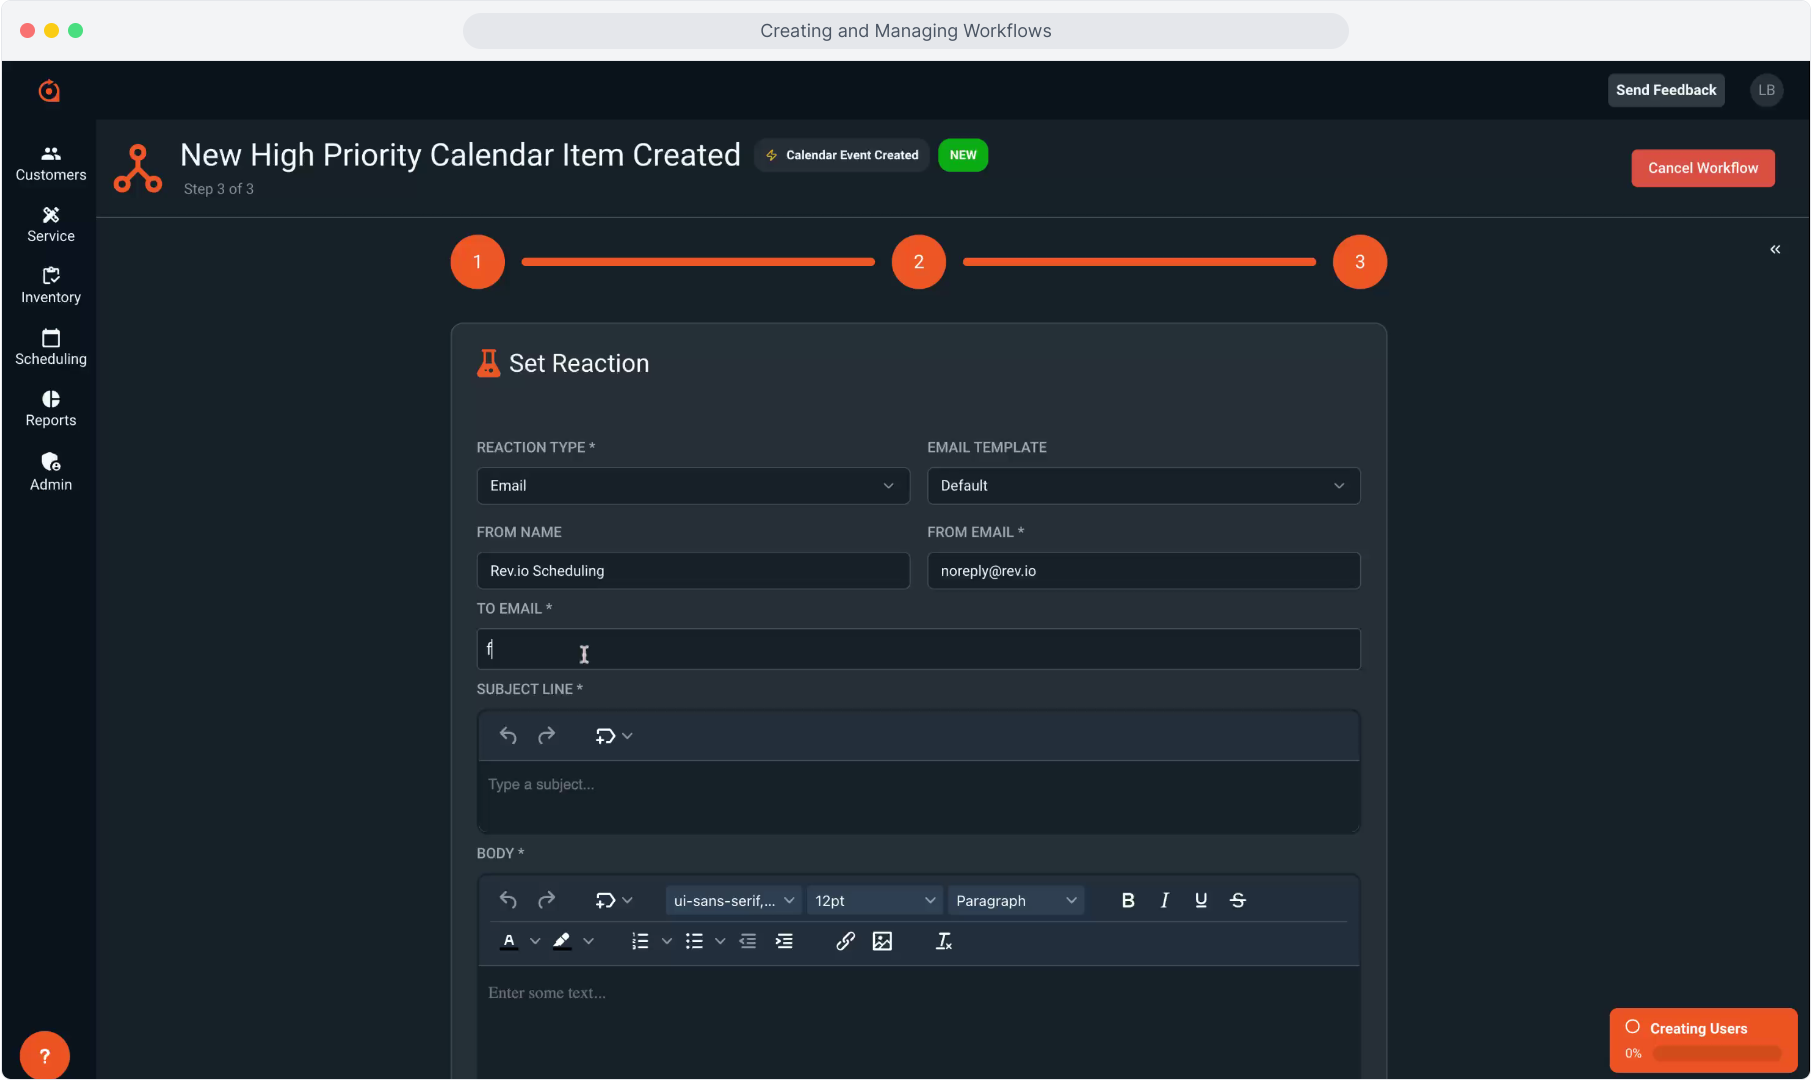
24. Step 3 is the final step where you will set the reaction. A reaction is basically the action that will be generated when the triggering item occurs and the conditions are met.
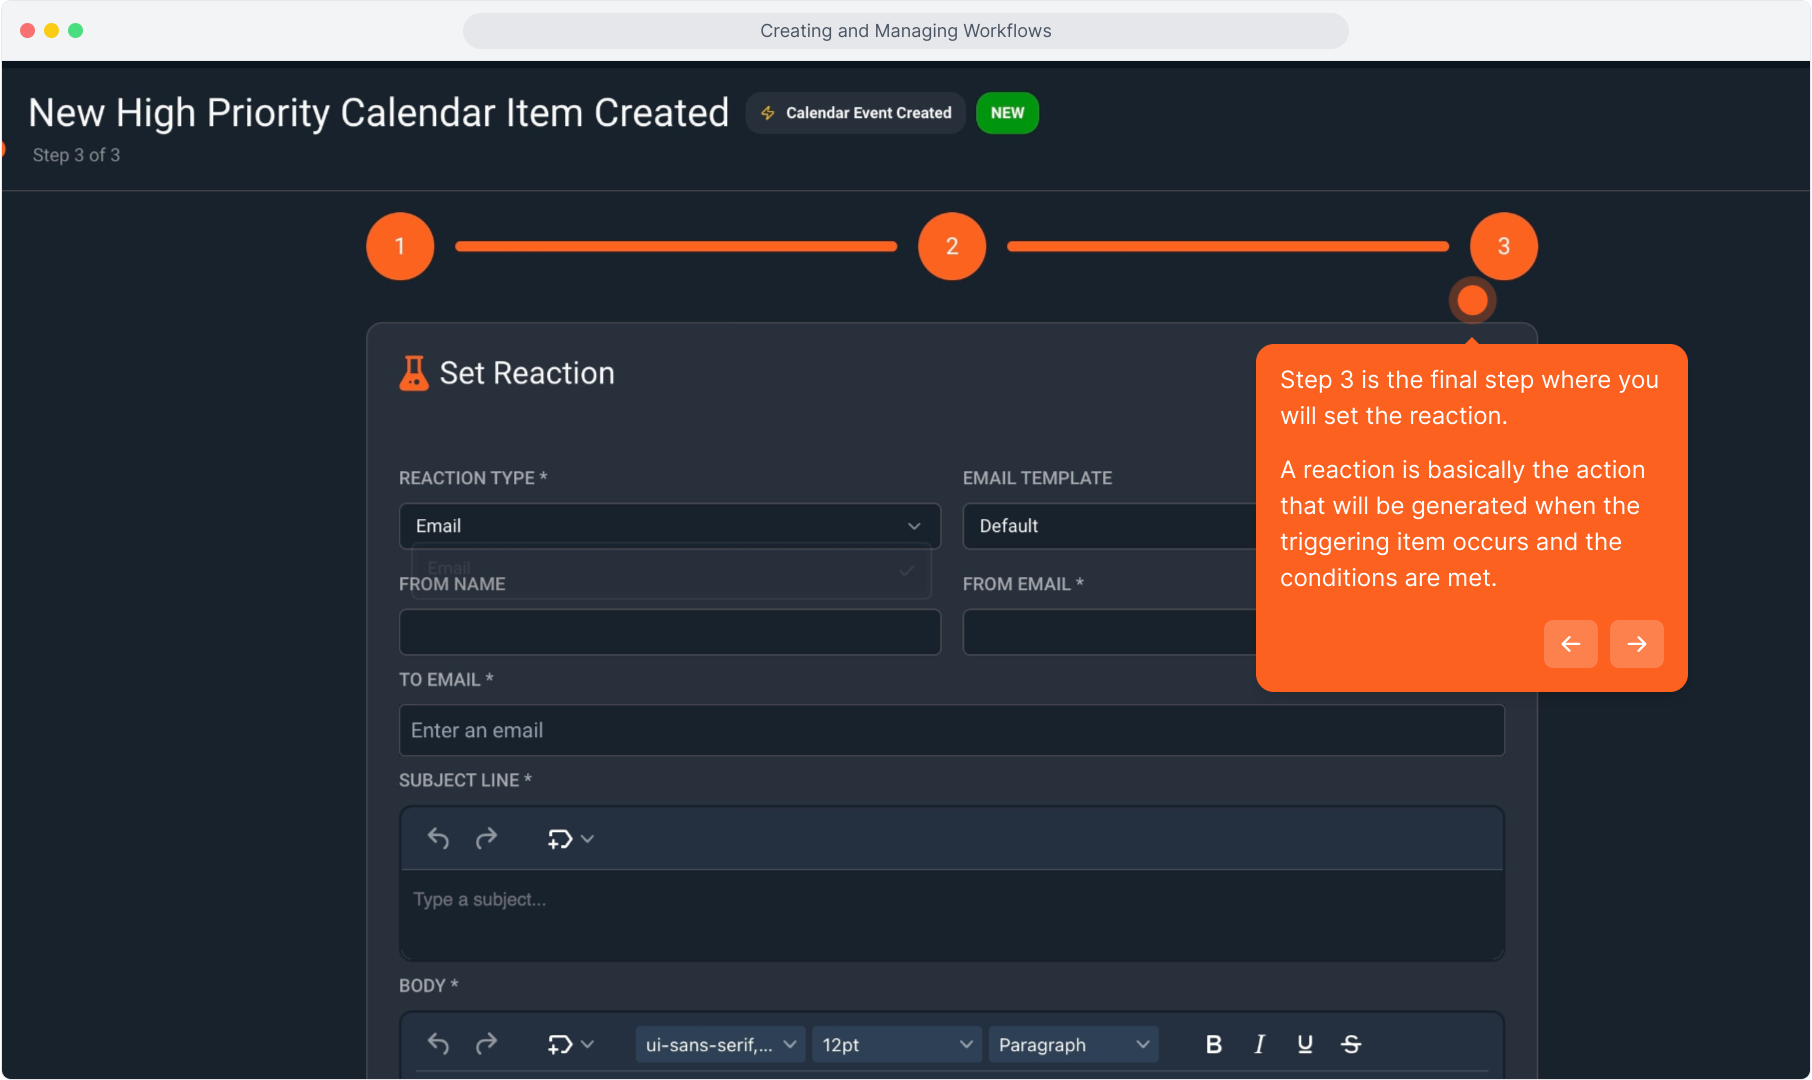
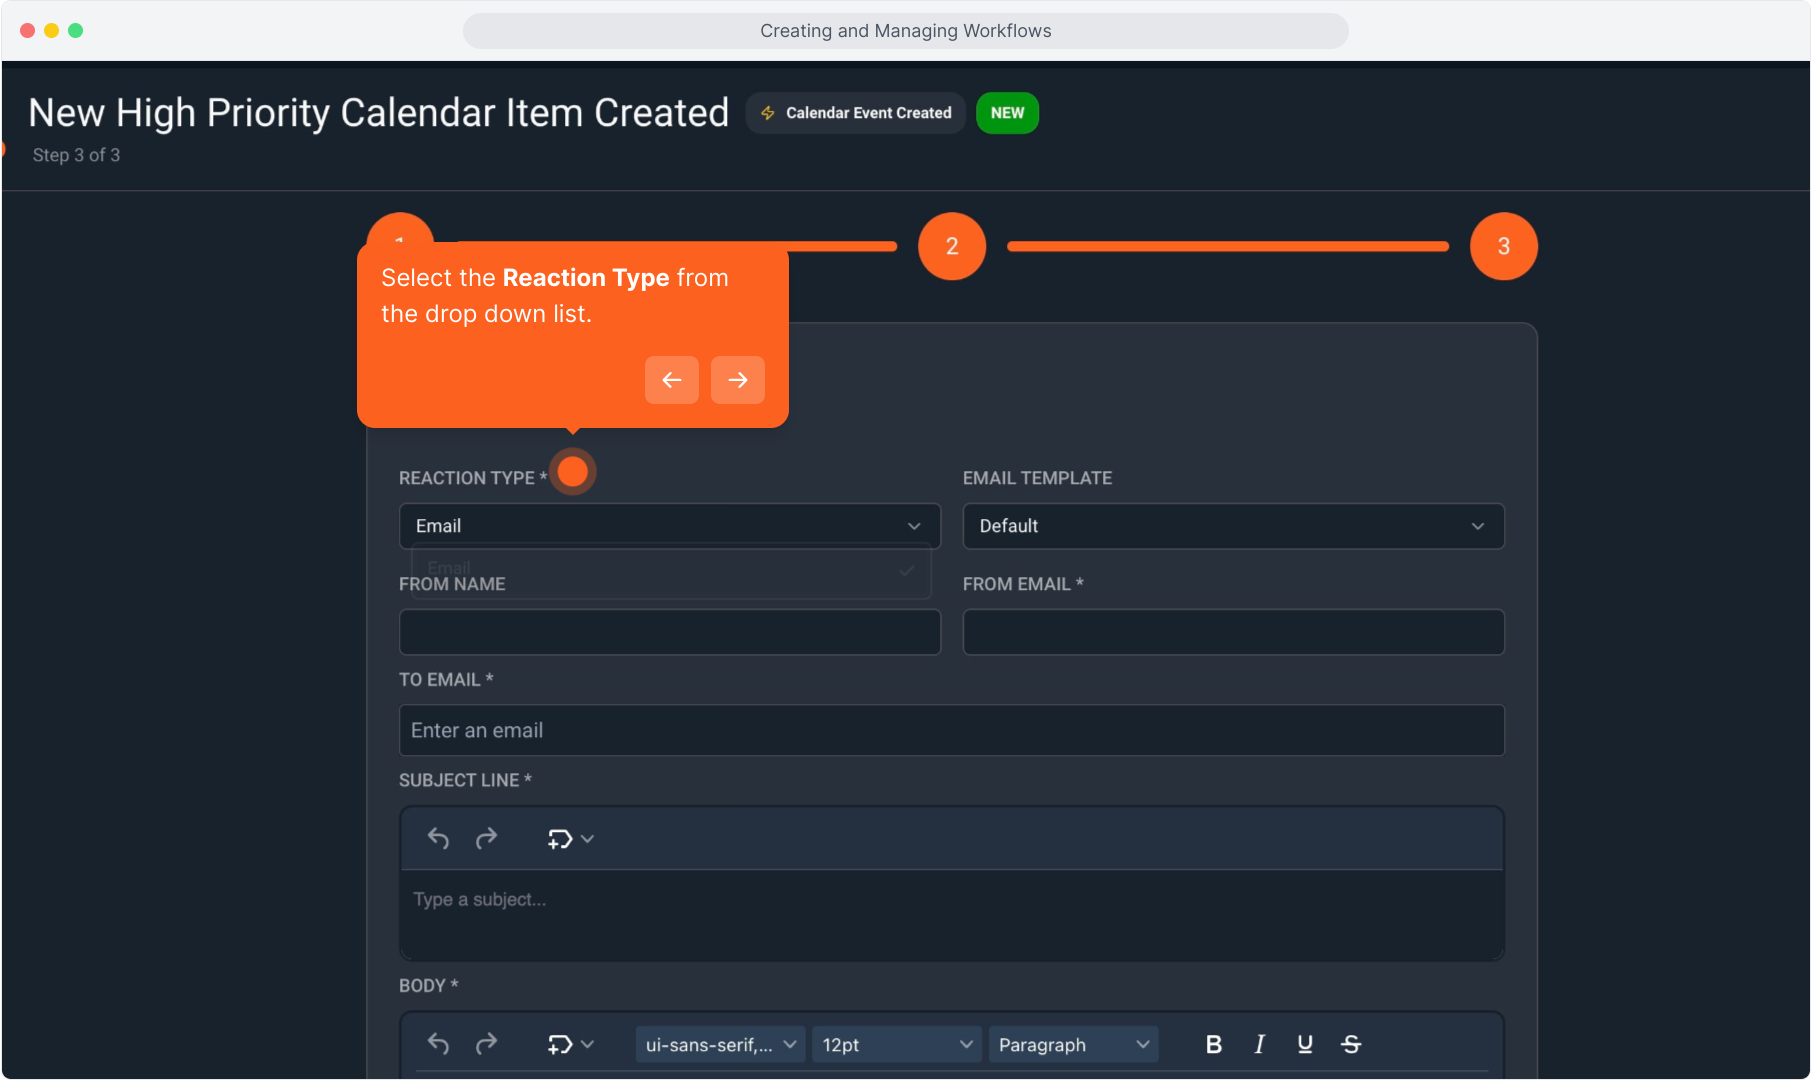
25. Select the Reaction Type from the drop down list.
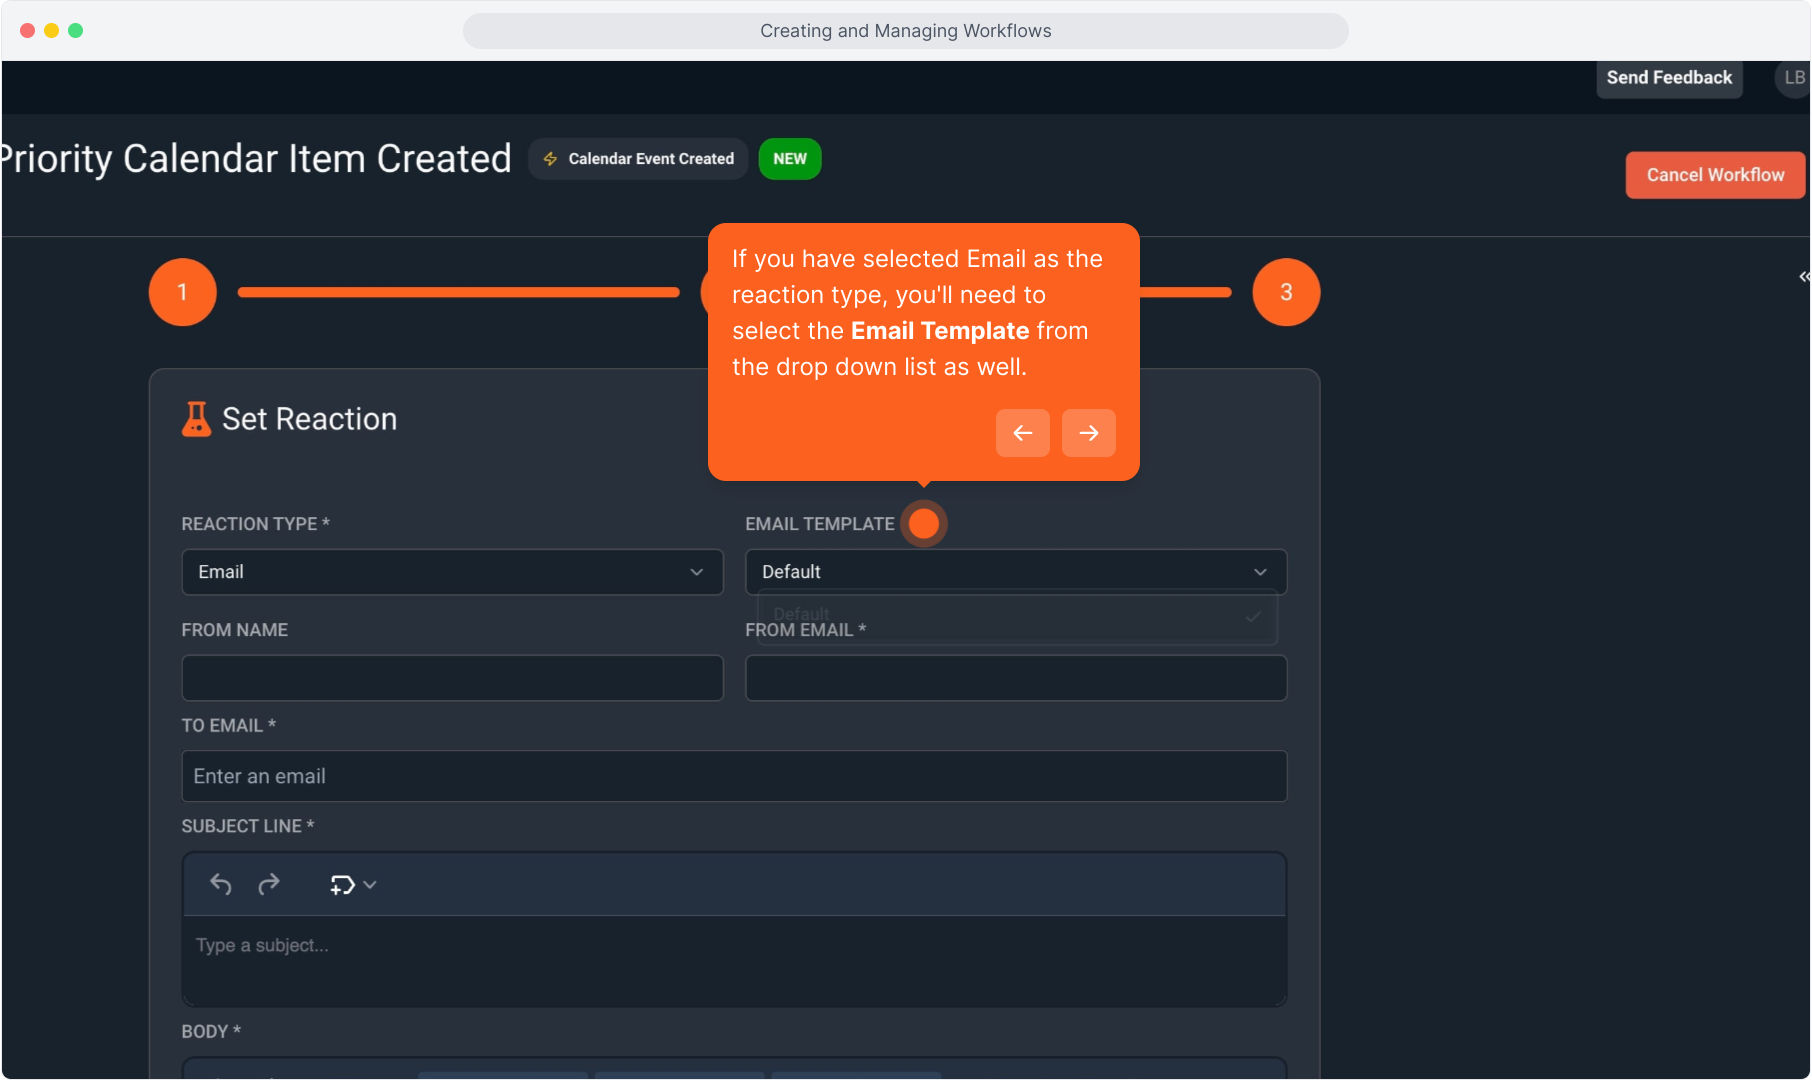
26. If you have selected Email as the reaction type, you'll need to select the Email Template from the drop down list as well.
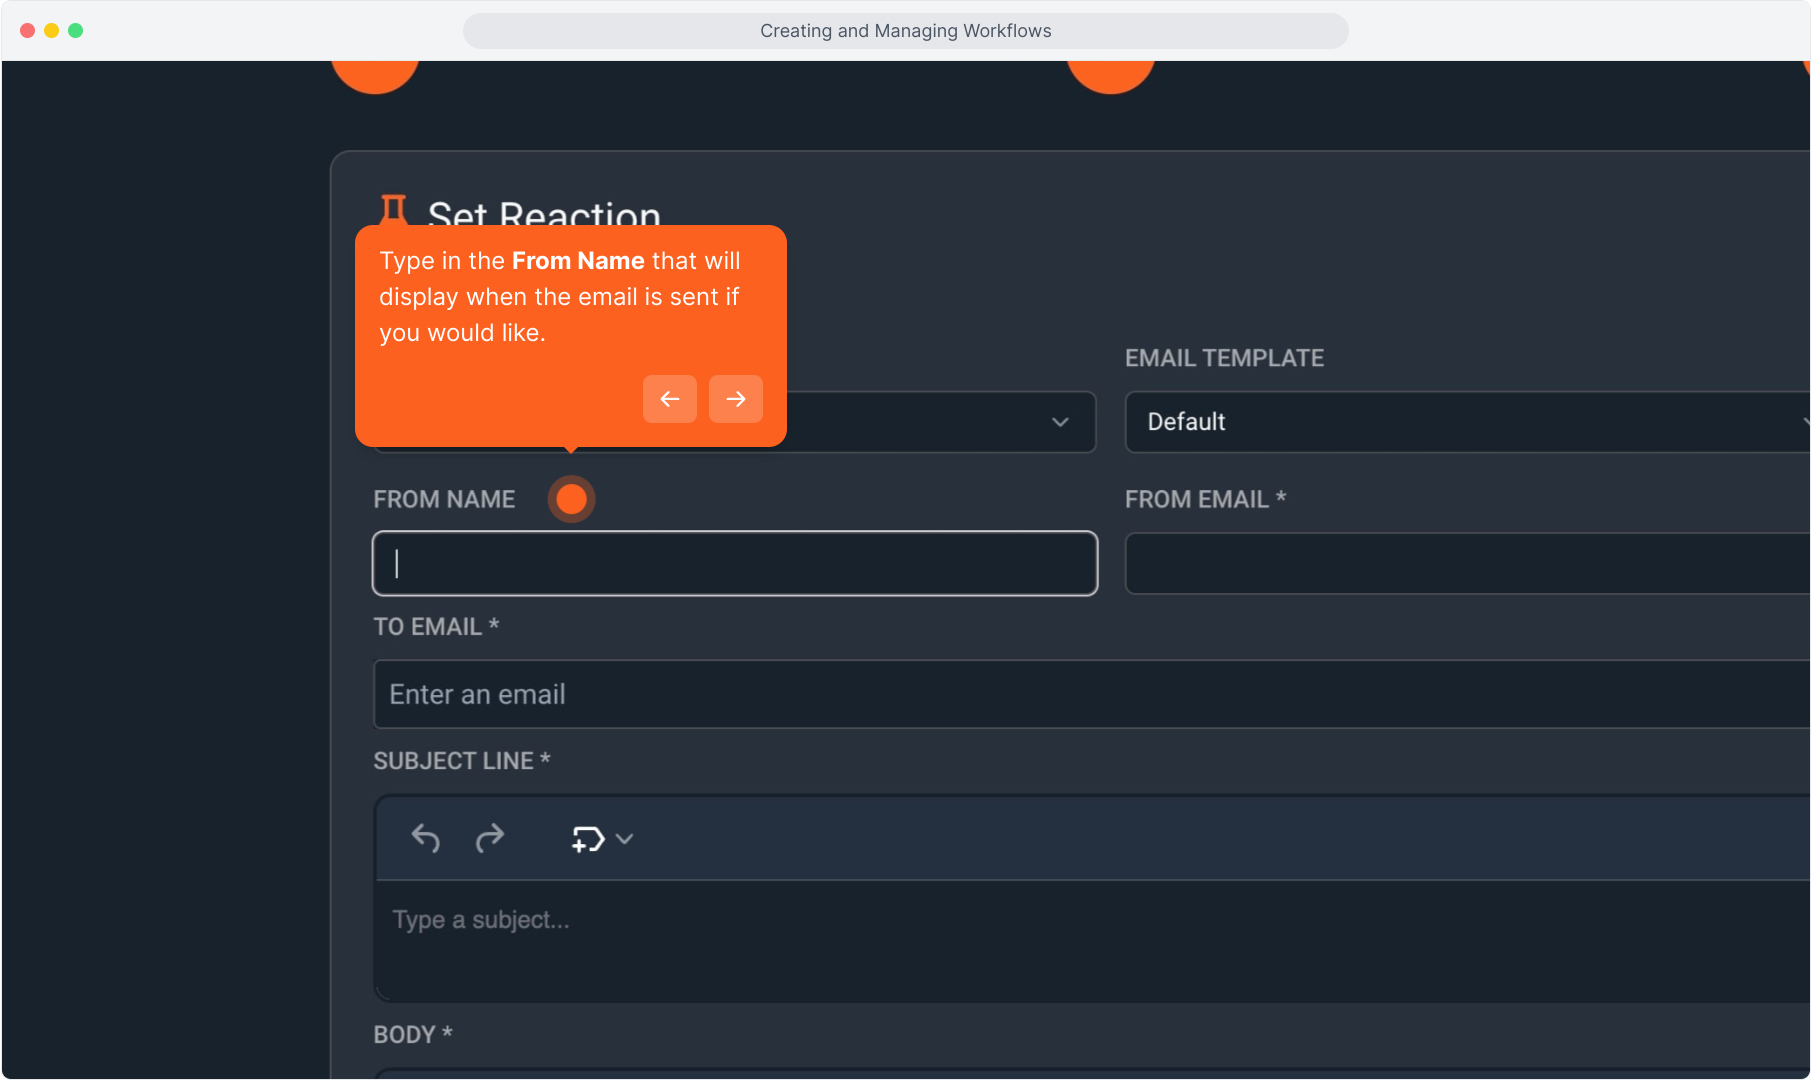
27. Type in the From Name that will display when the email is sent if you would like.
28. Intentionally blank.
29. Type the from name.
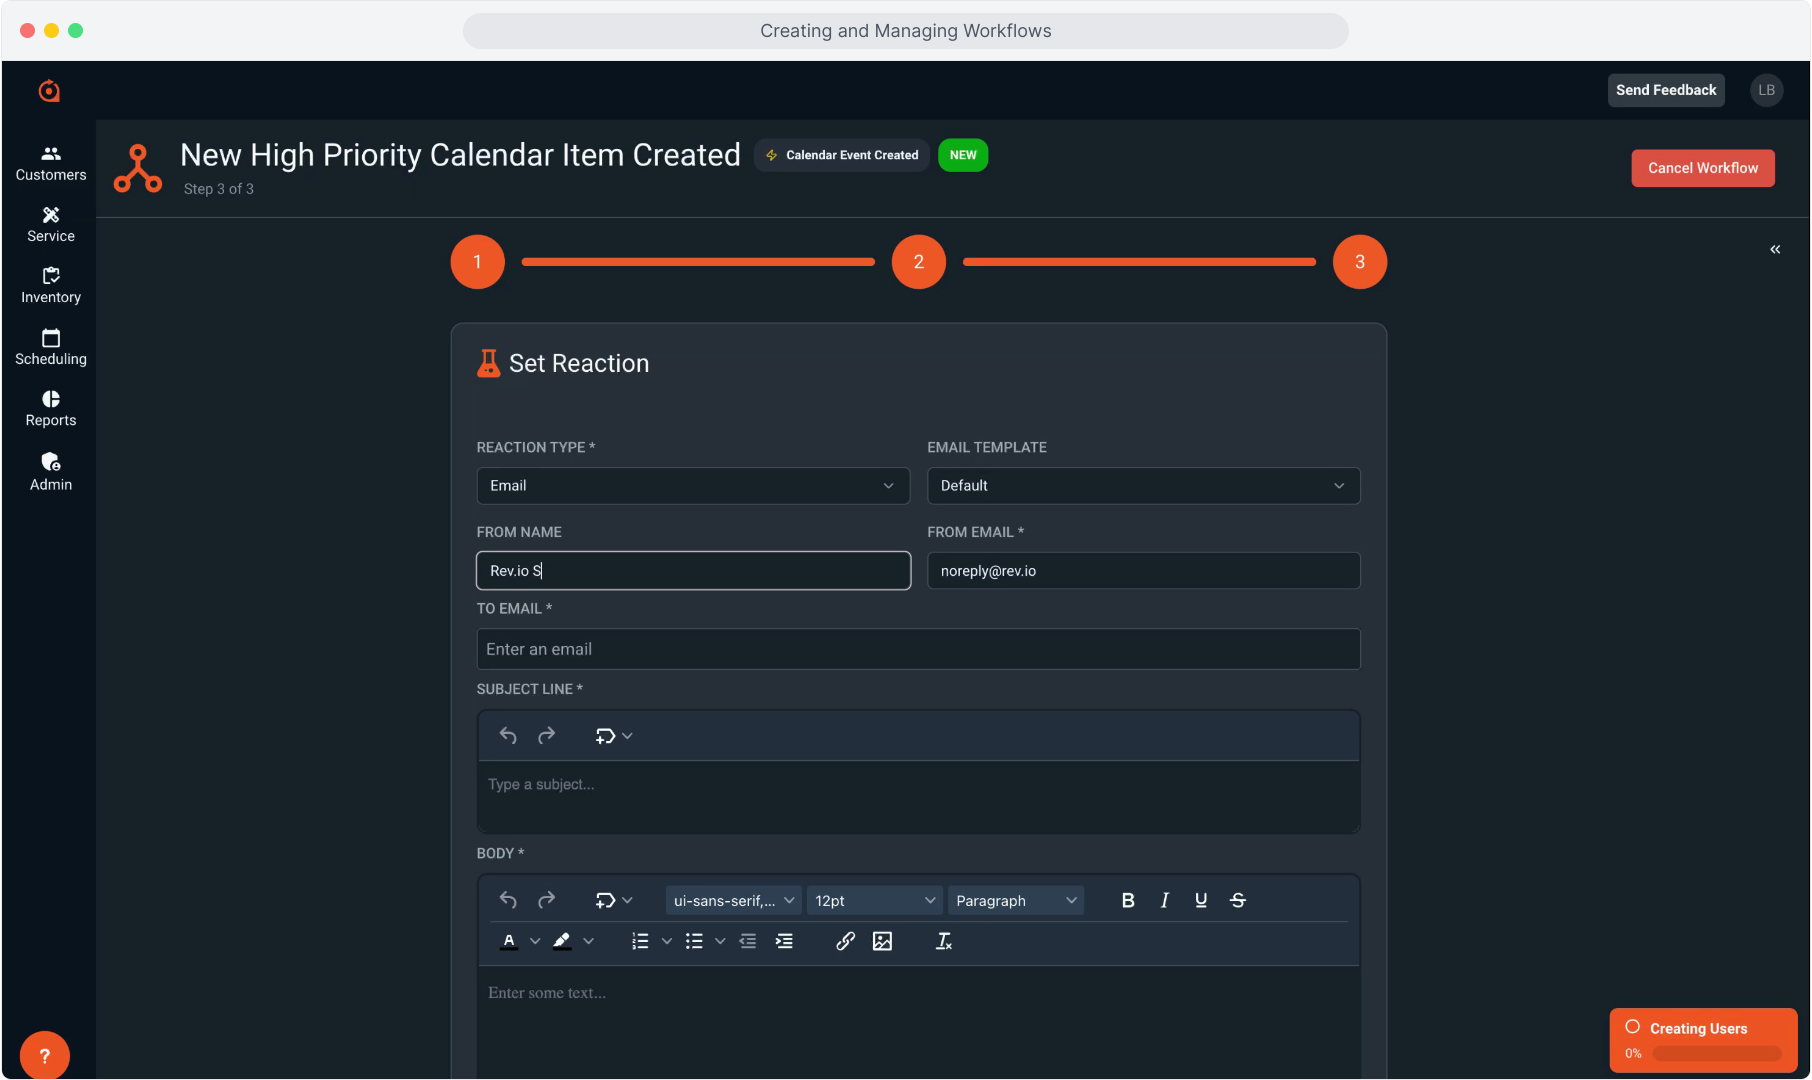
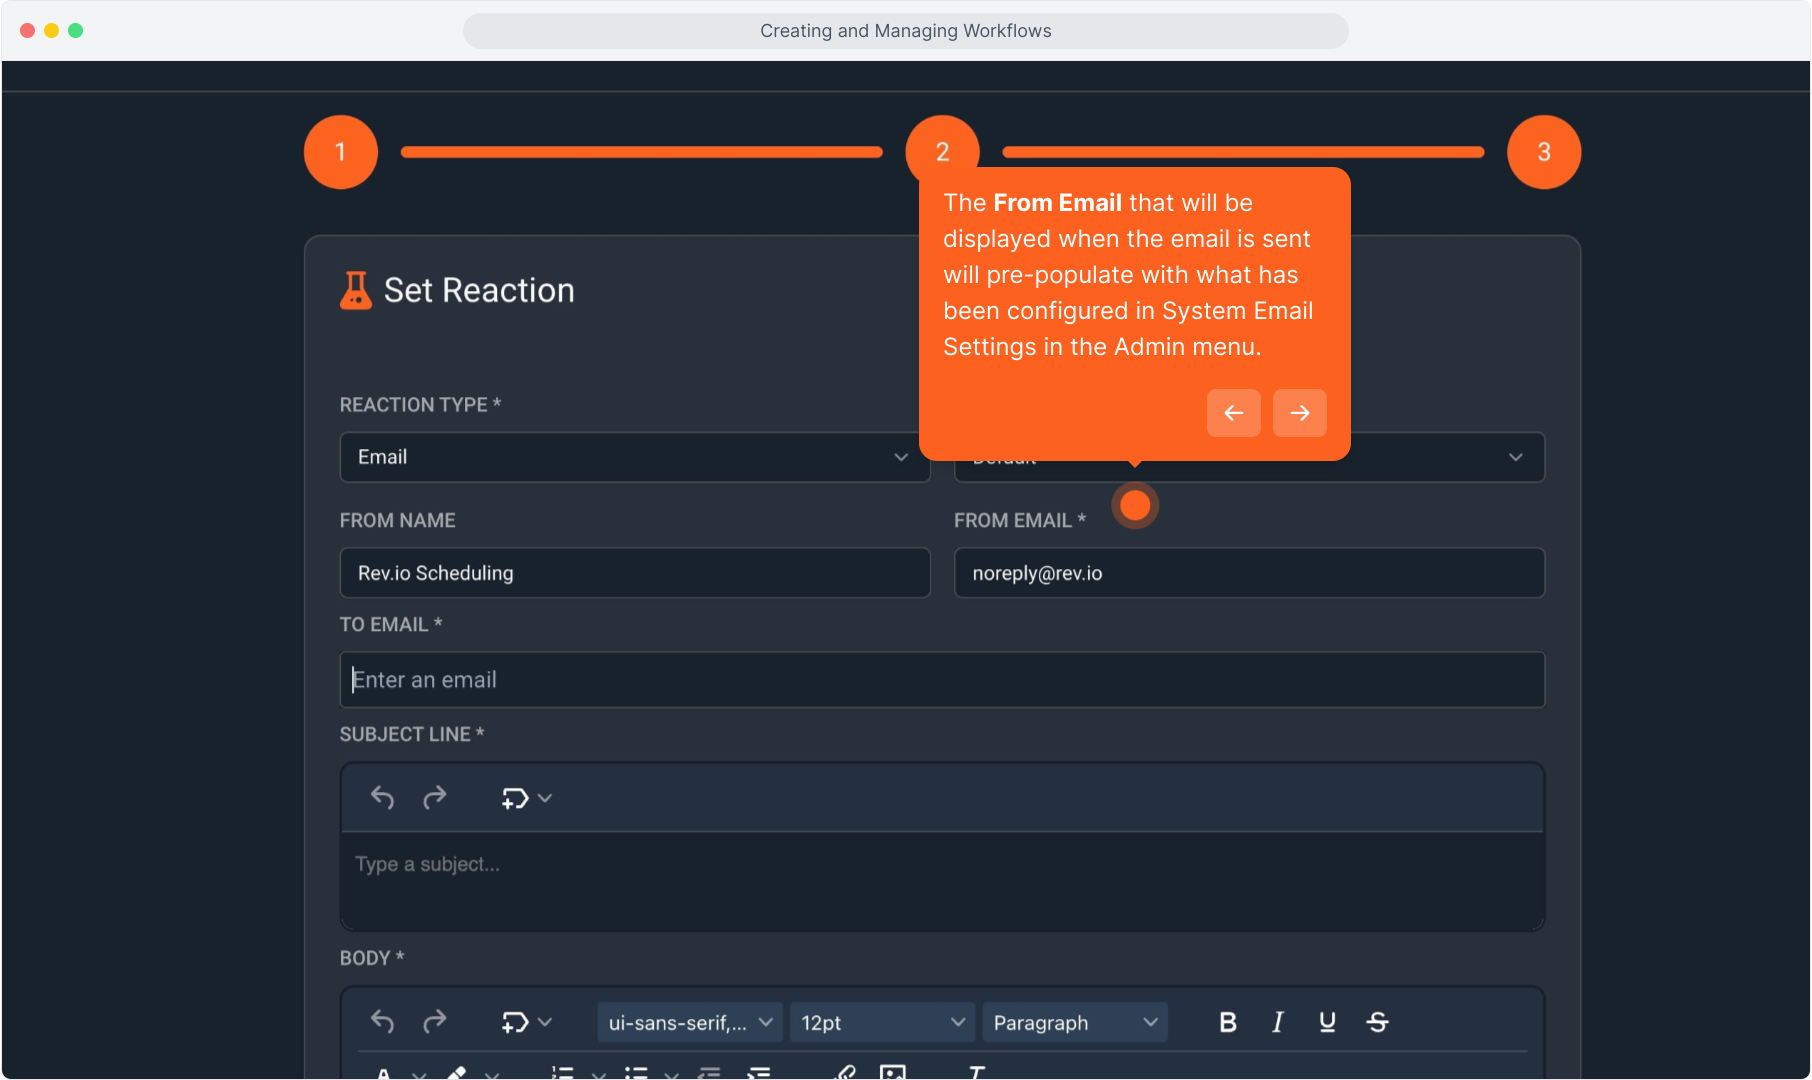
30. The From Email that will be displayed when the email is sent will pre-populate with what has been configured in System Email Settings in the Admin menu.
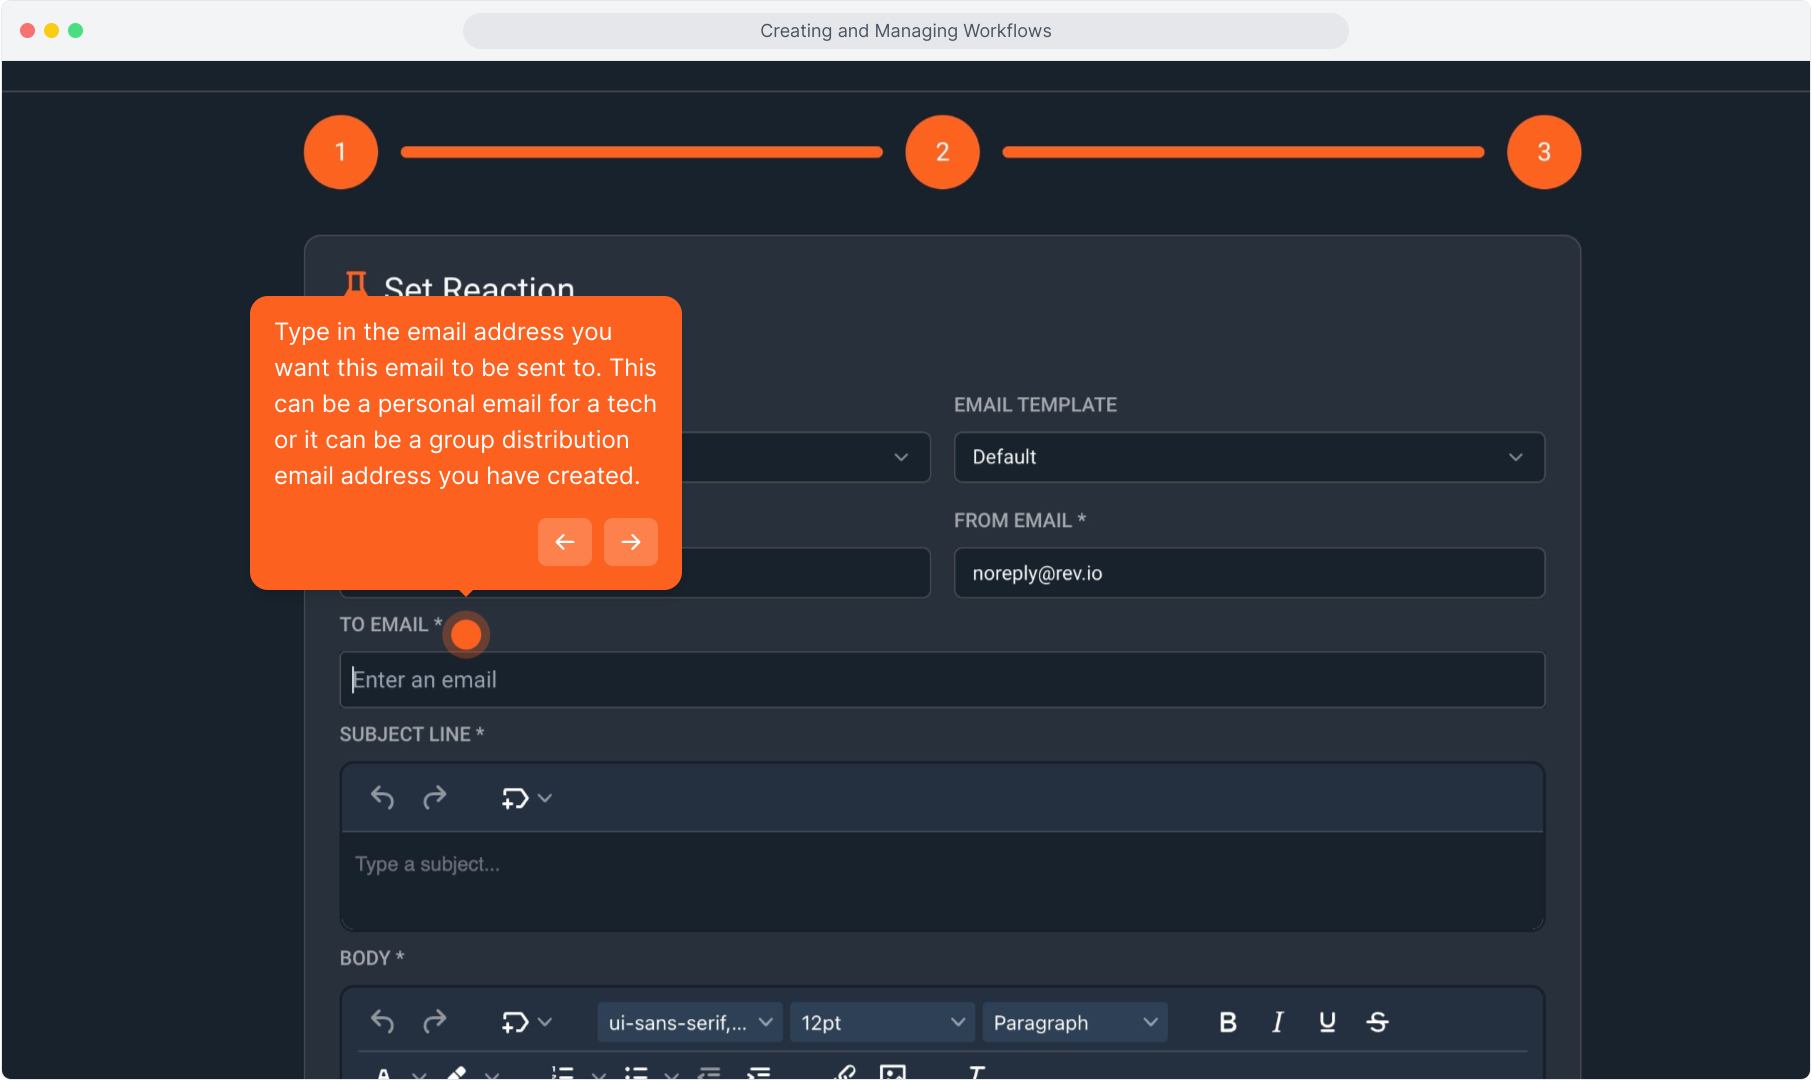
31. Type in the email address you want this email to be sent to. This can be a personal email for a tech or it can be a group distribution email address you have created.
32. Begin typing the "To" email.
33. Enter text to create a Subject Line.
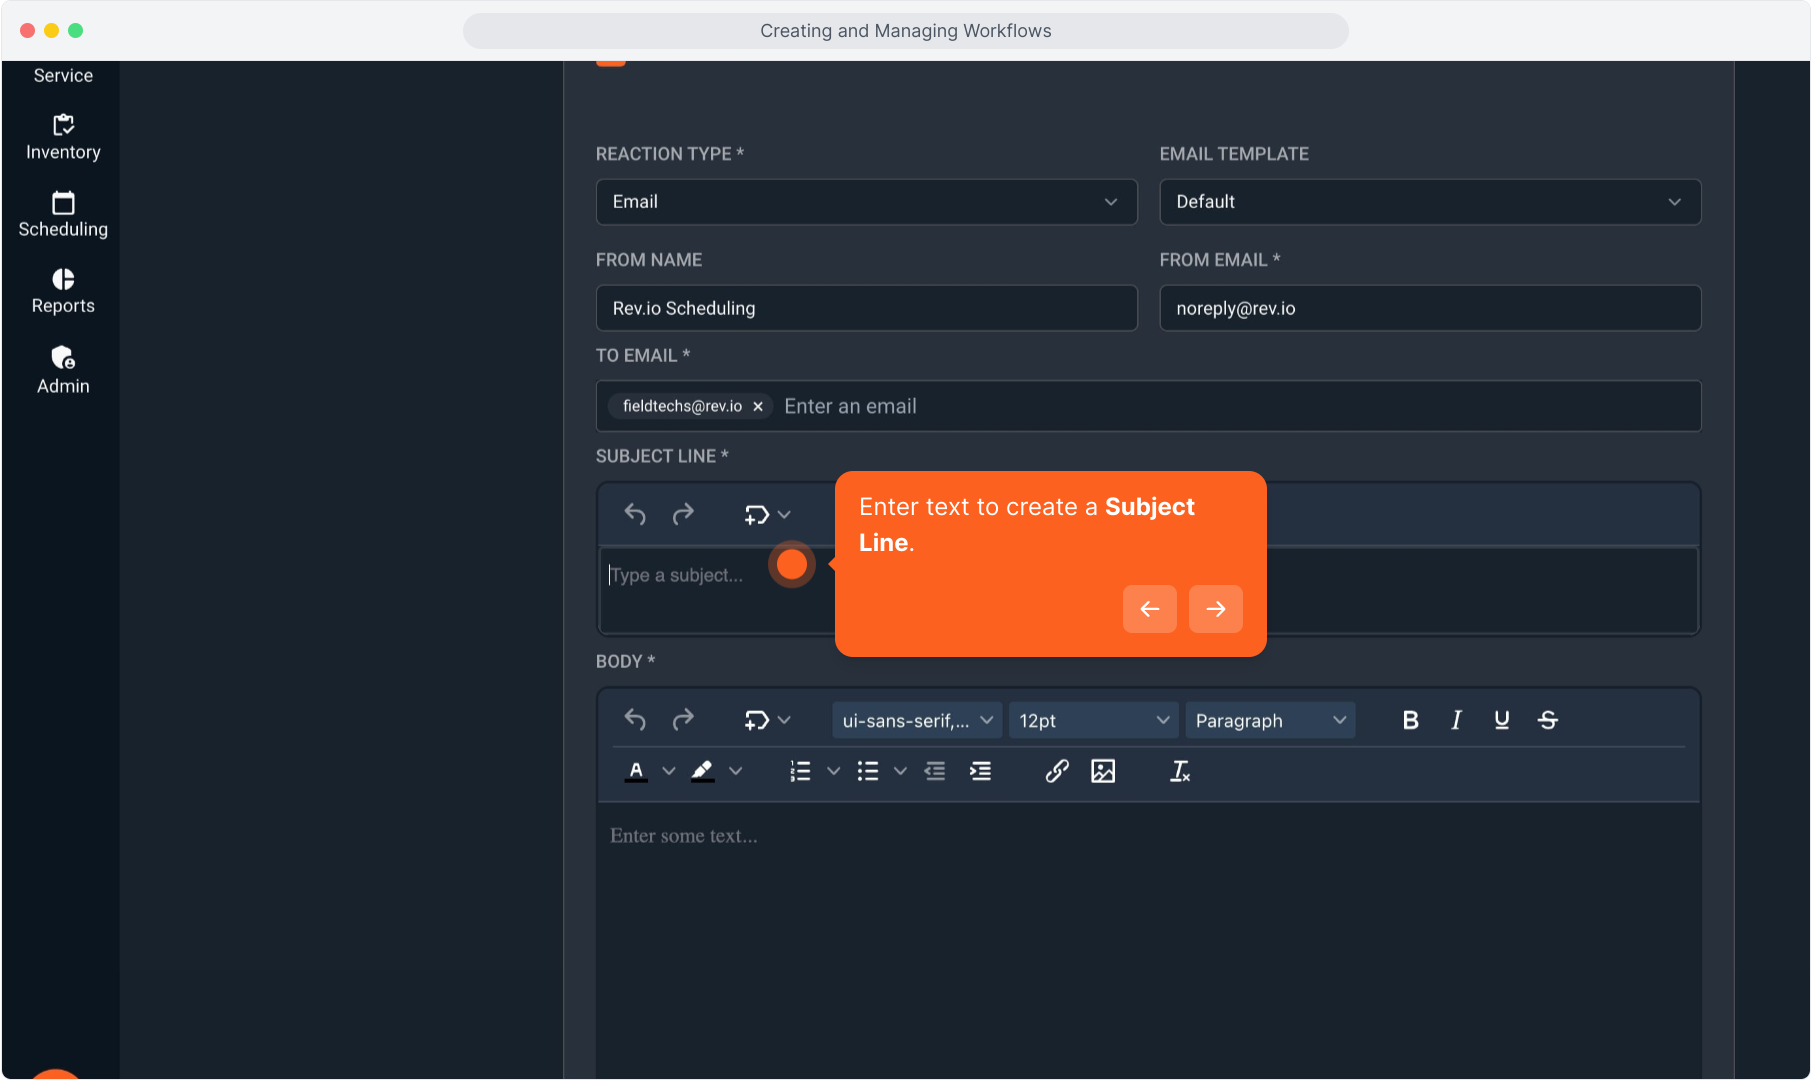
34. Begin typing the Subject line.
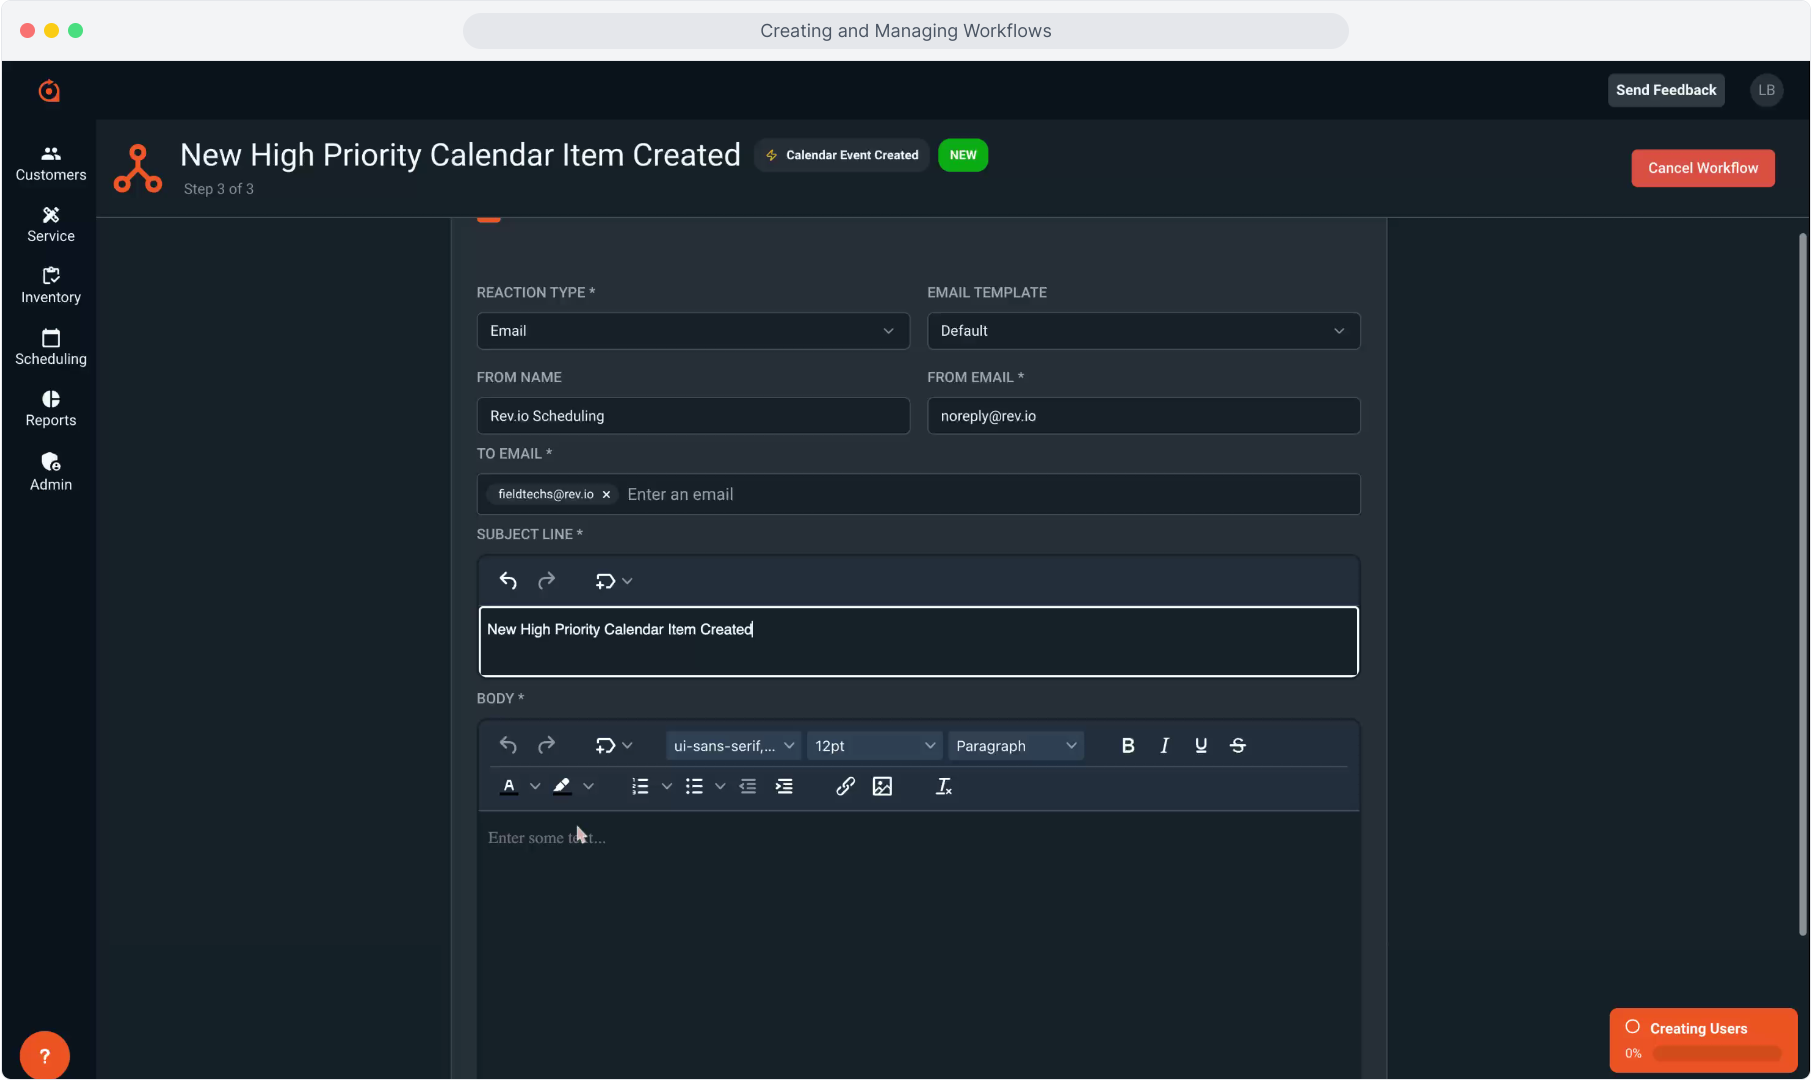
35. Enter the body of the email now.
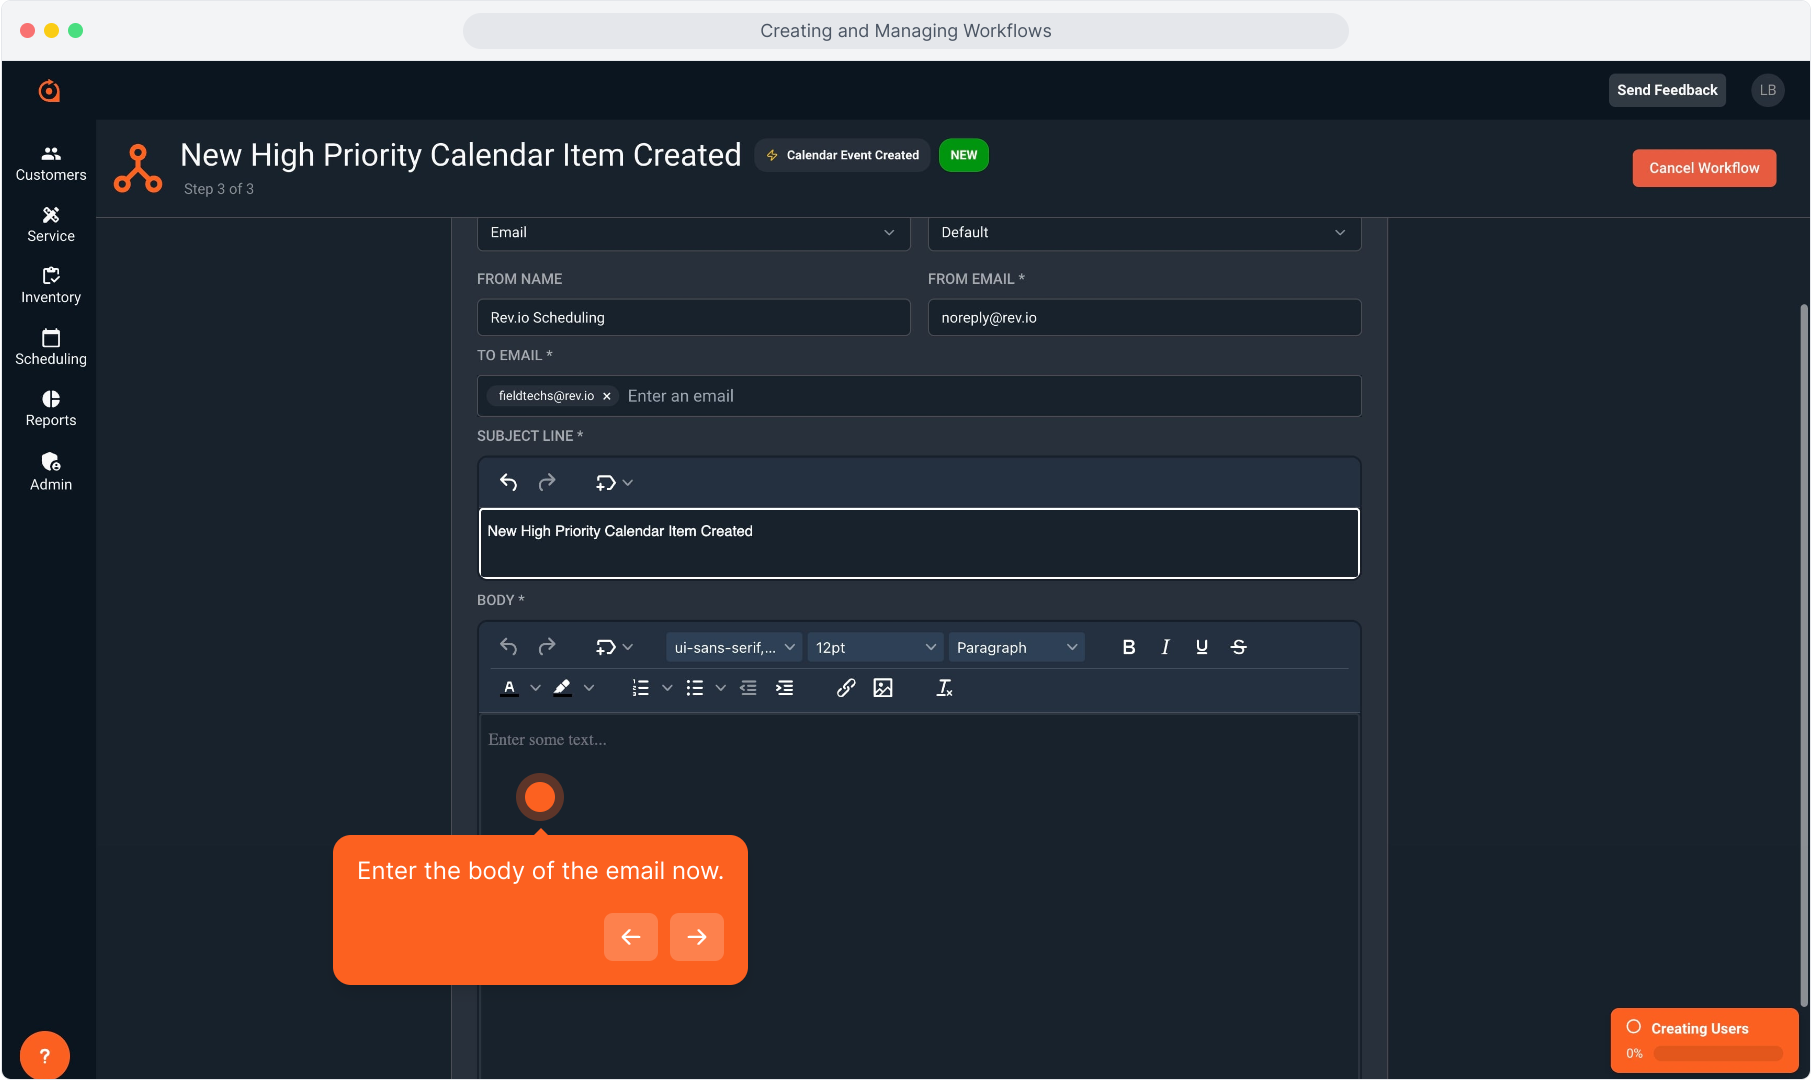
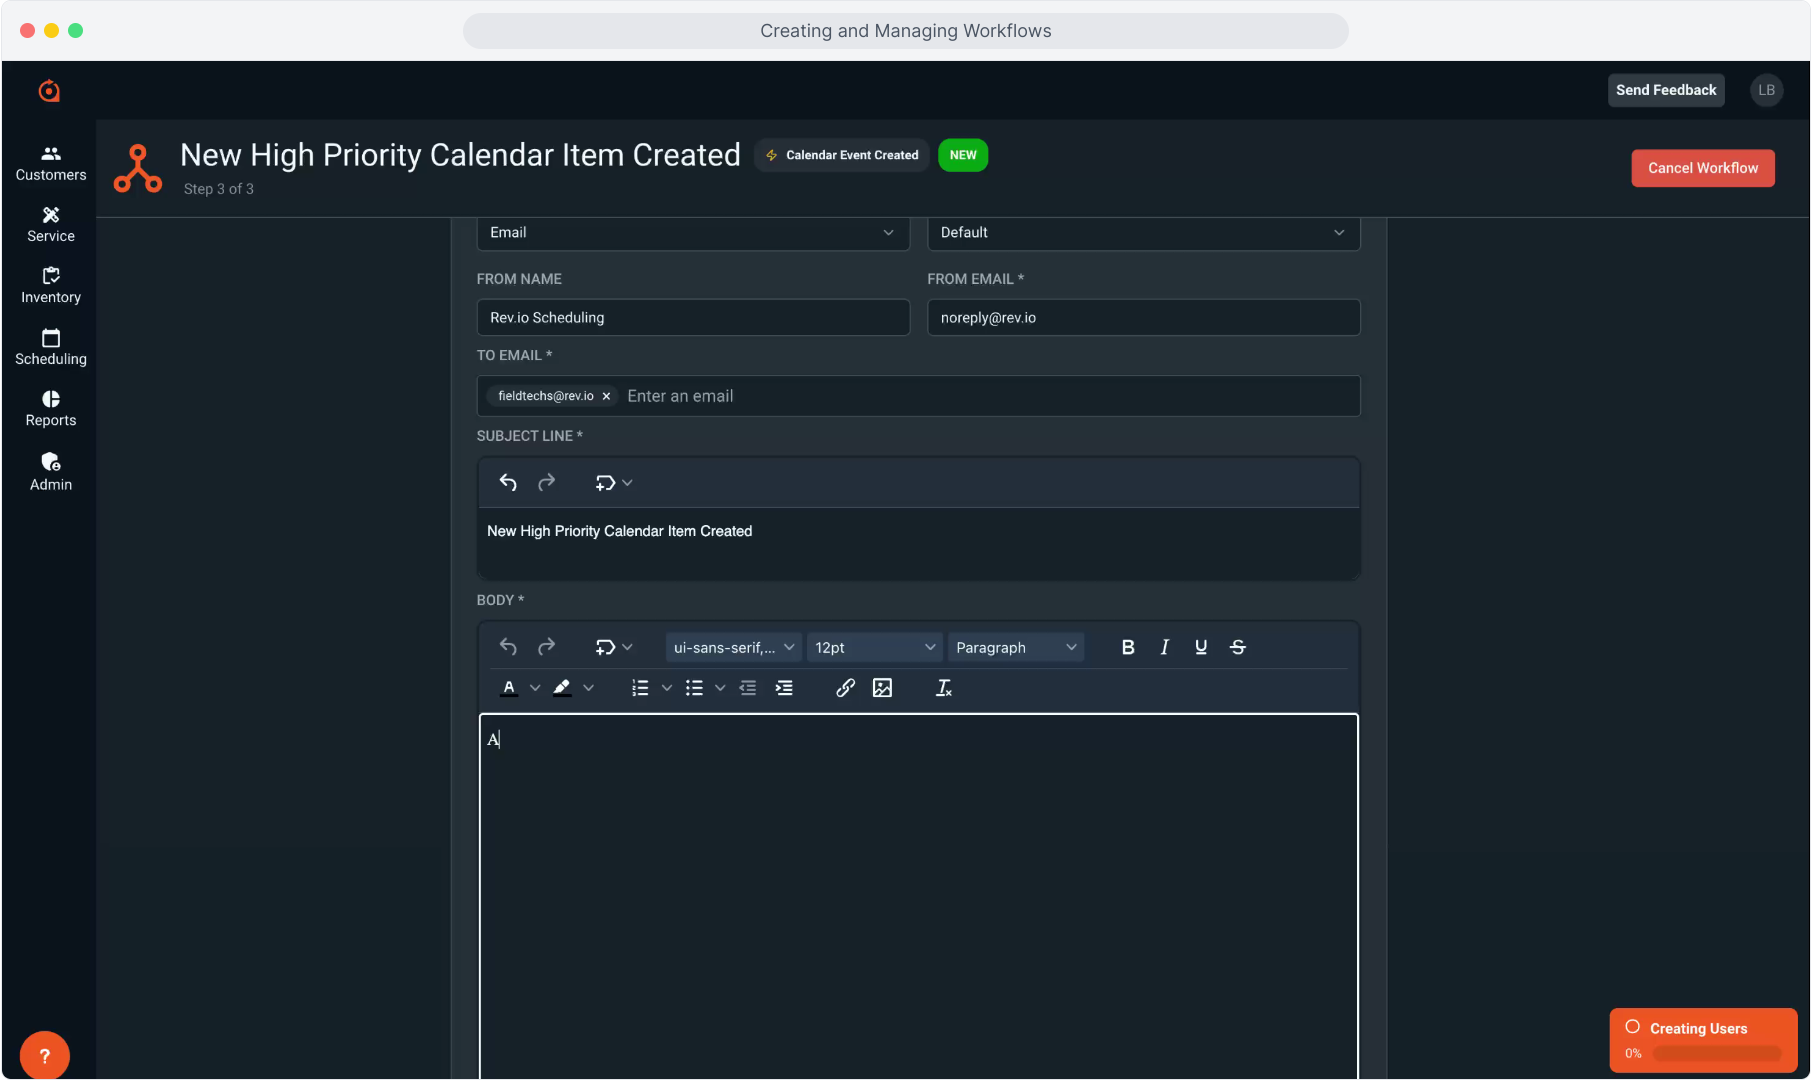
36. Begin typing the body of the message.
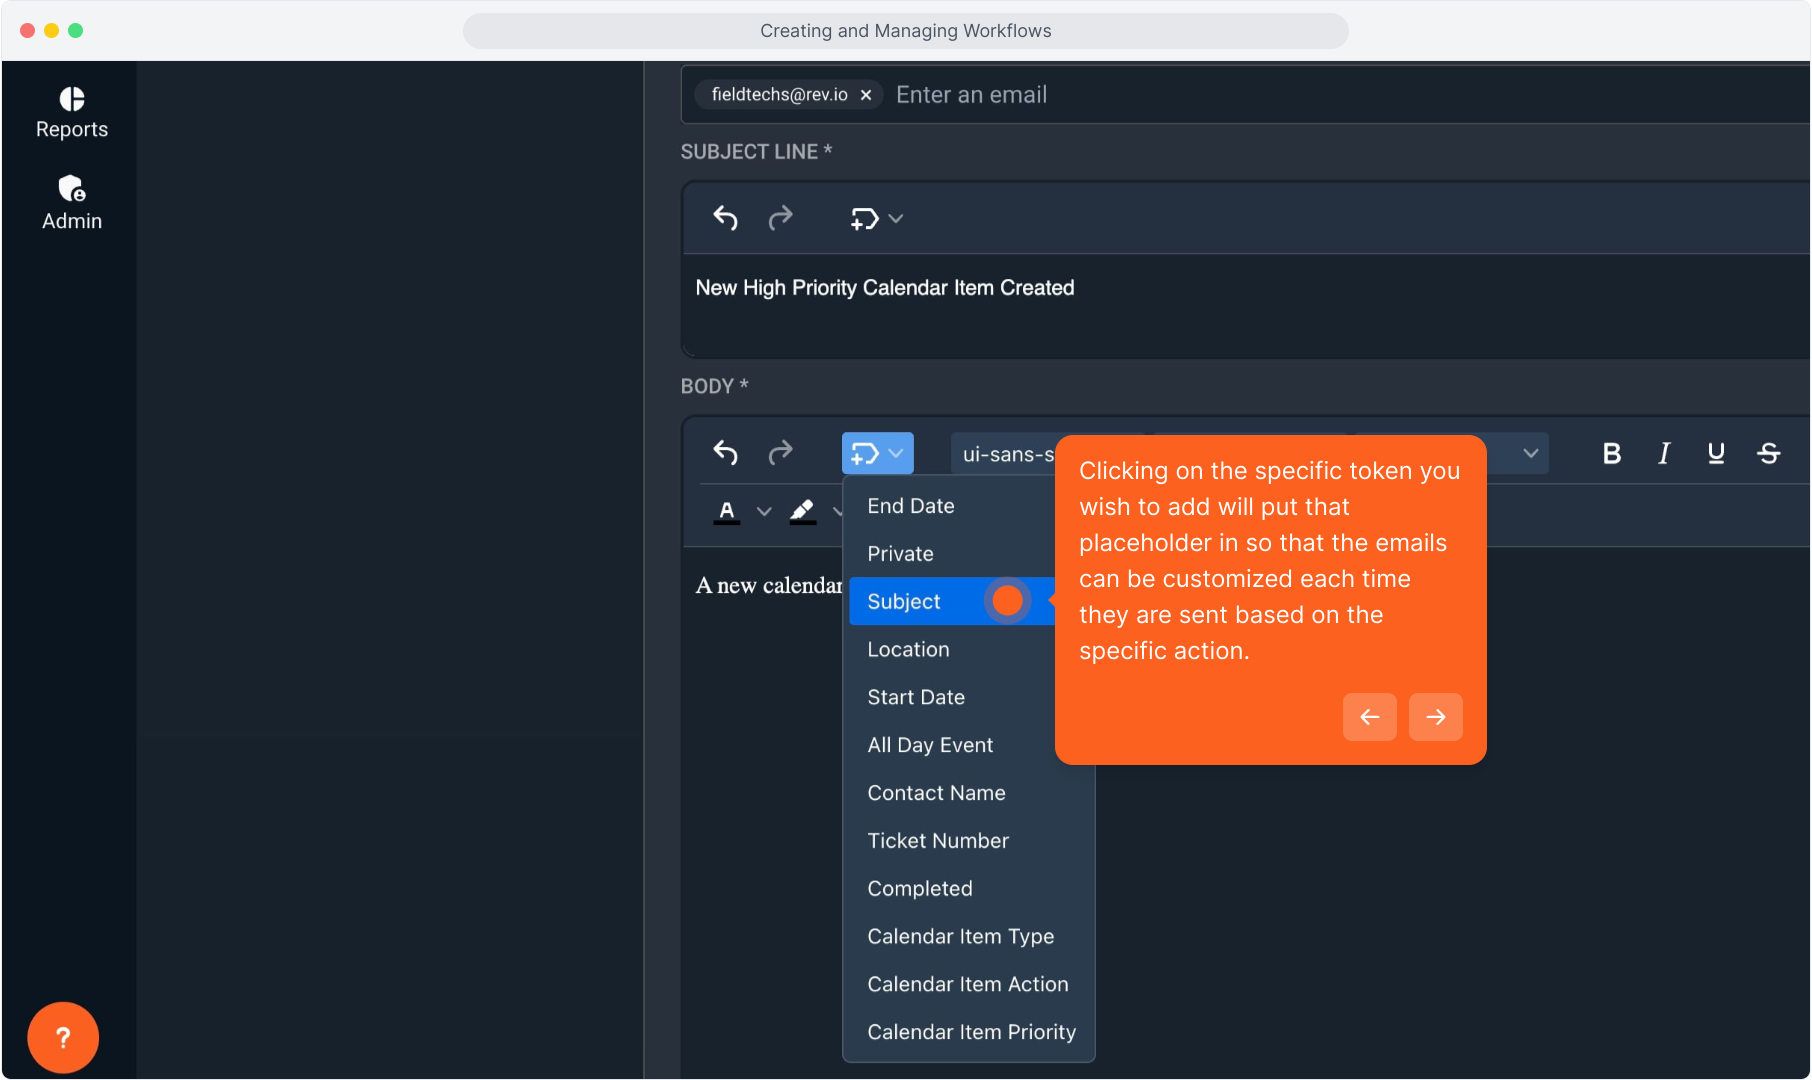
37. Clicking the Token icon allows you to add placeholder tokens into the email to pull information specific to the unique case into the email when it is triggered.
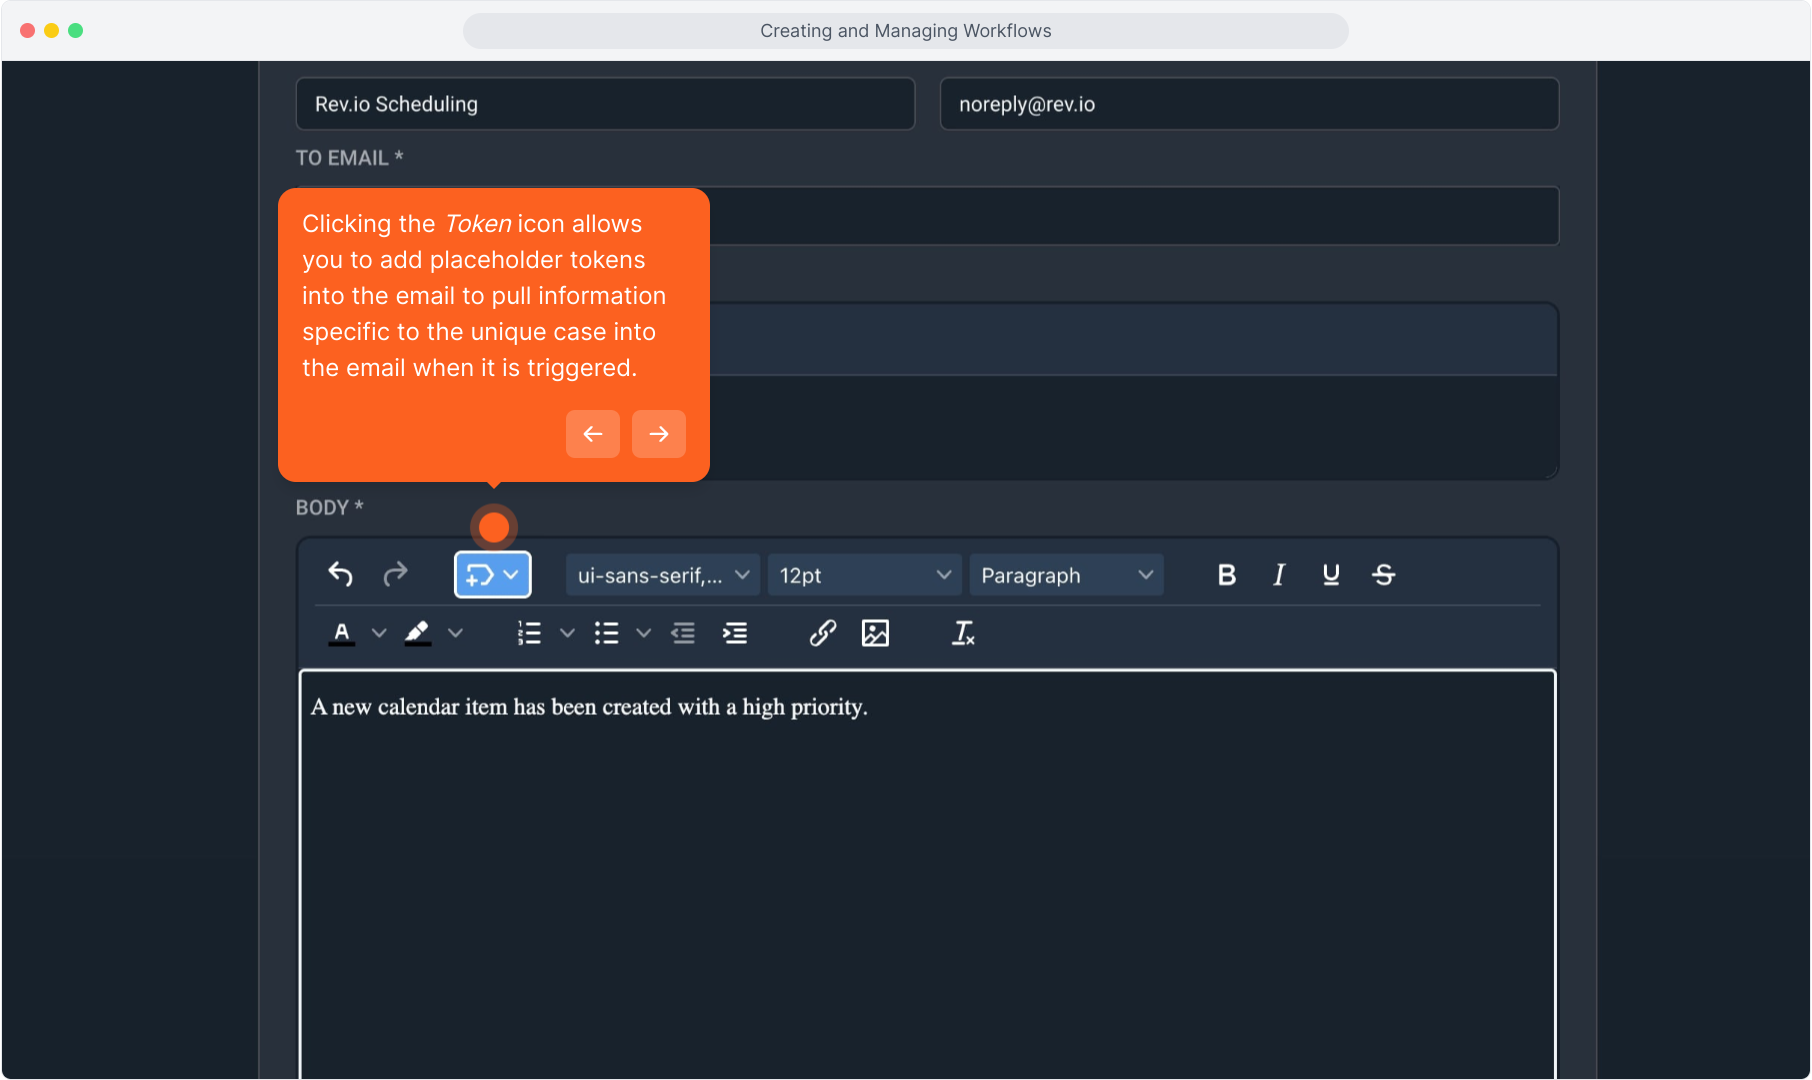
38. Clicking on the specific token you wish to add will put that placeholder in so that the emails can be customized each time they are sent based on the specific action.
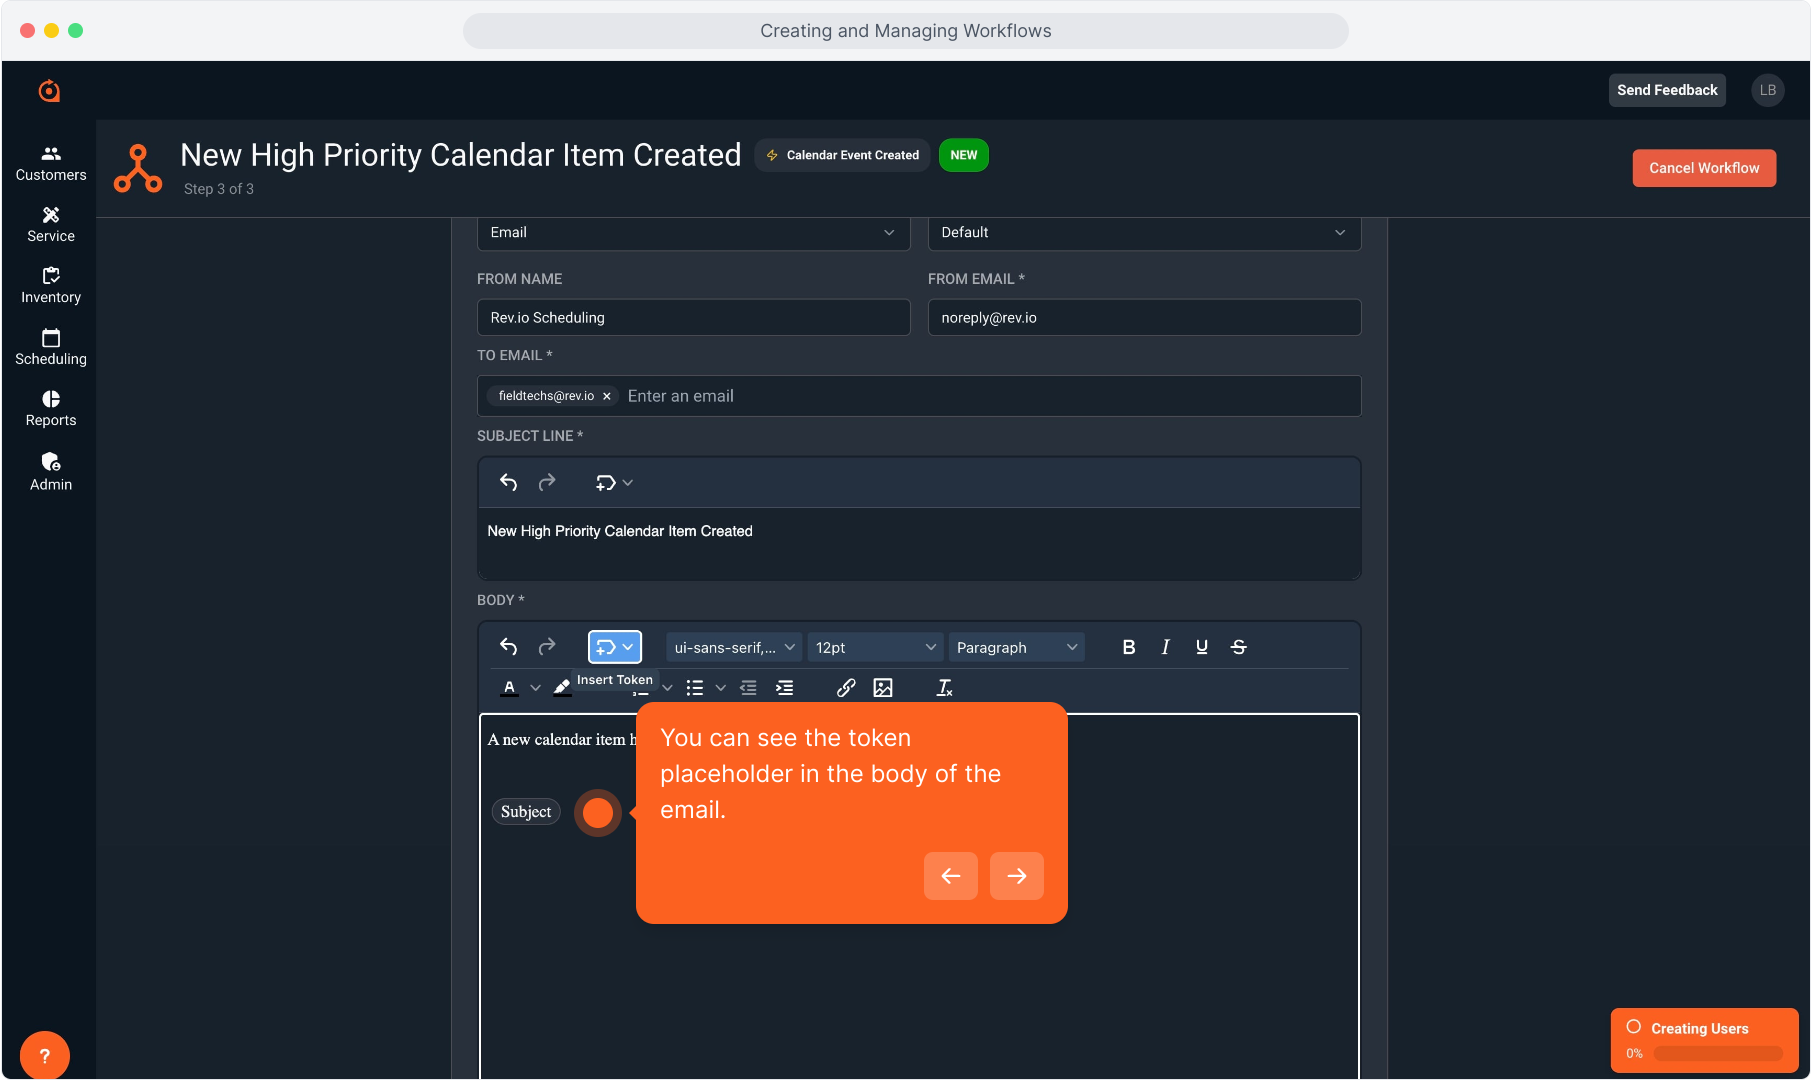
39. You can see the token placeholder in the body of the email.
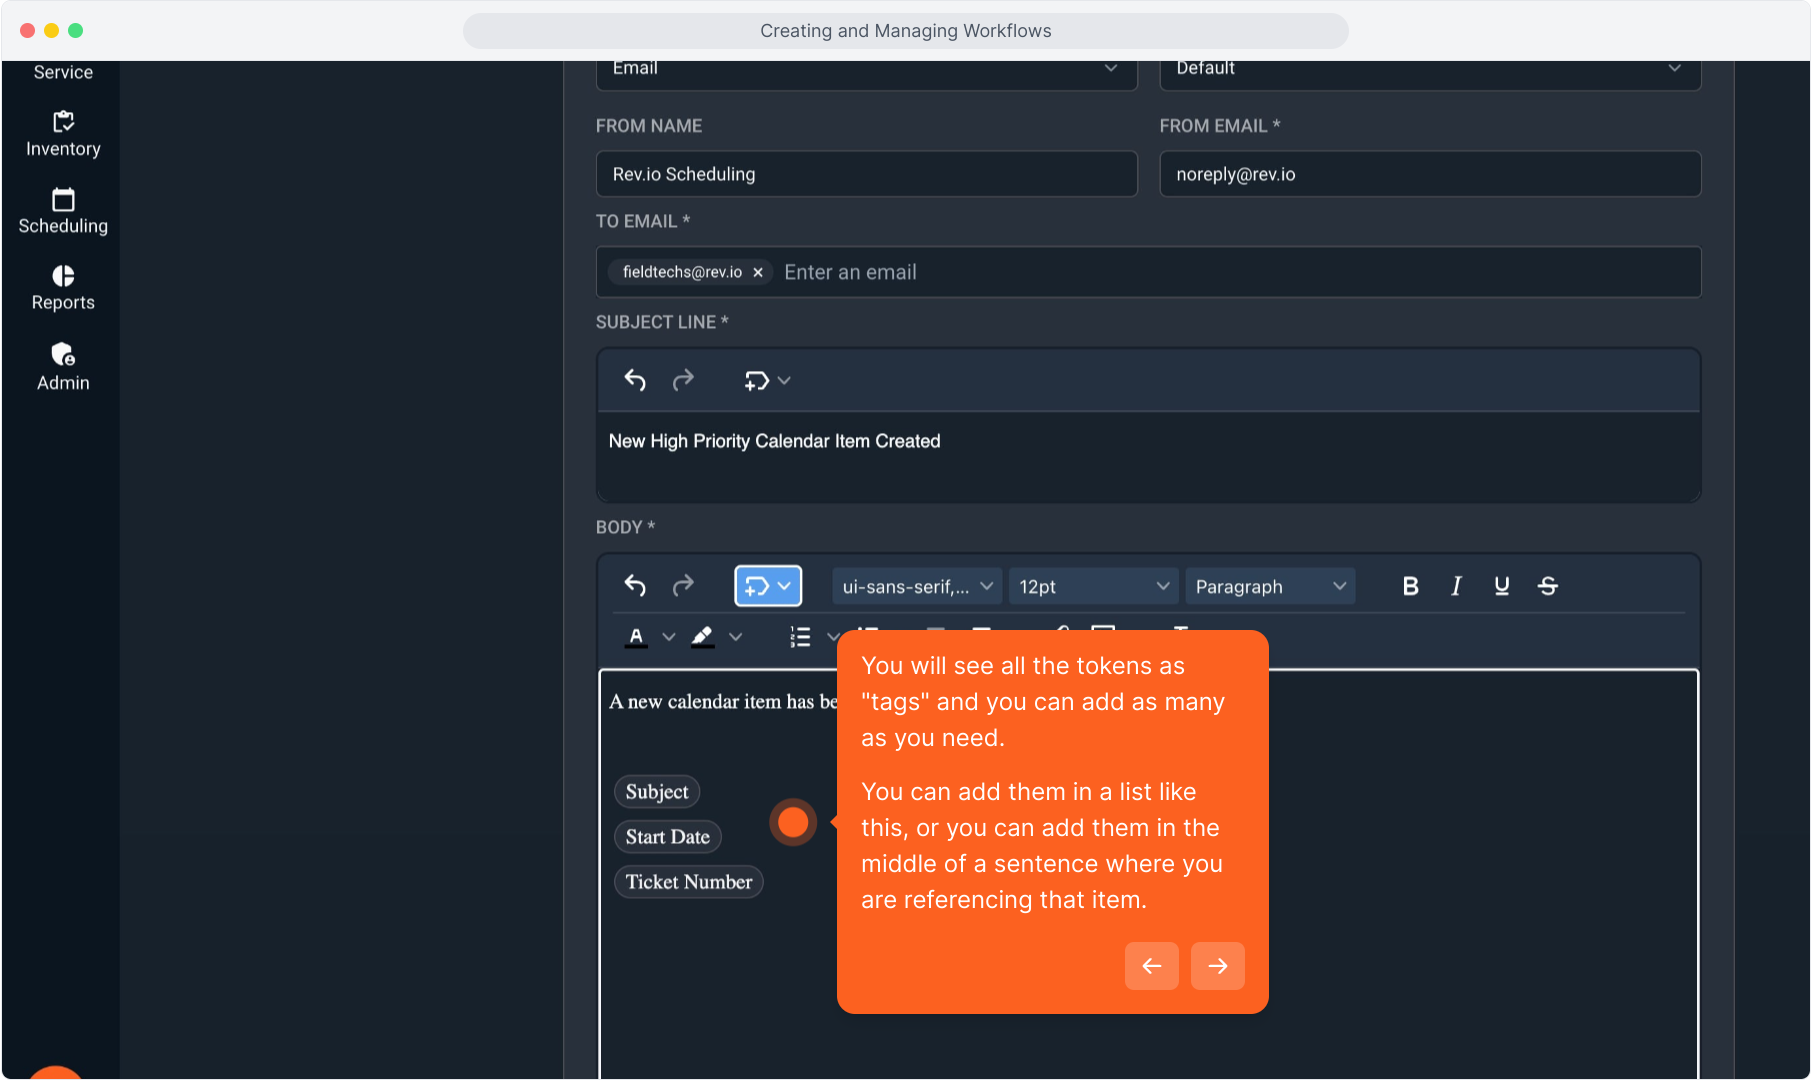
40. You will see all the tokens as "tags" and you can add as many as you need.
You can add them in a list like this, or you can add them in the middle of a sentence where you are referencing that item.
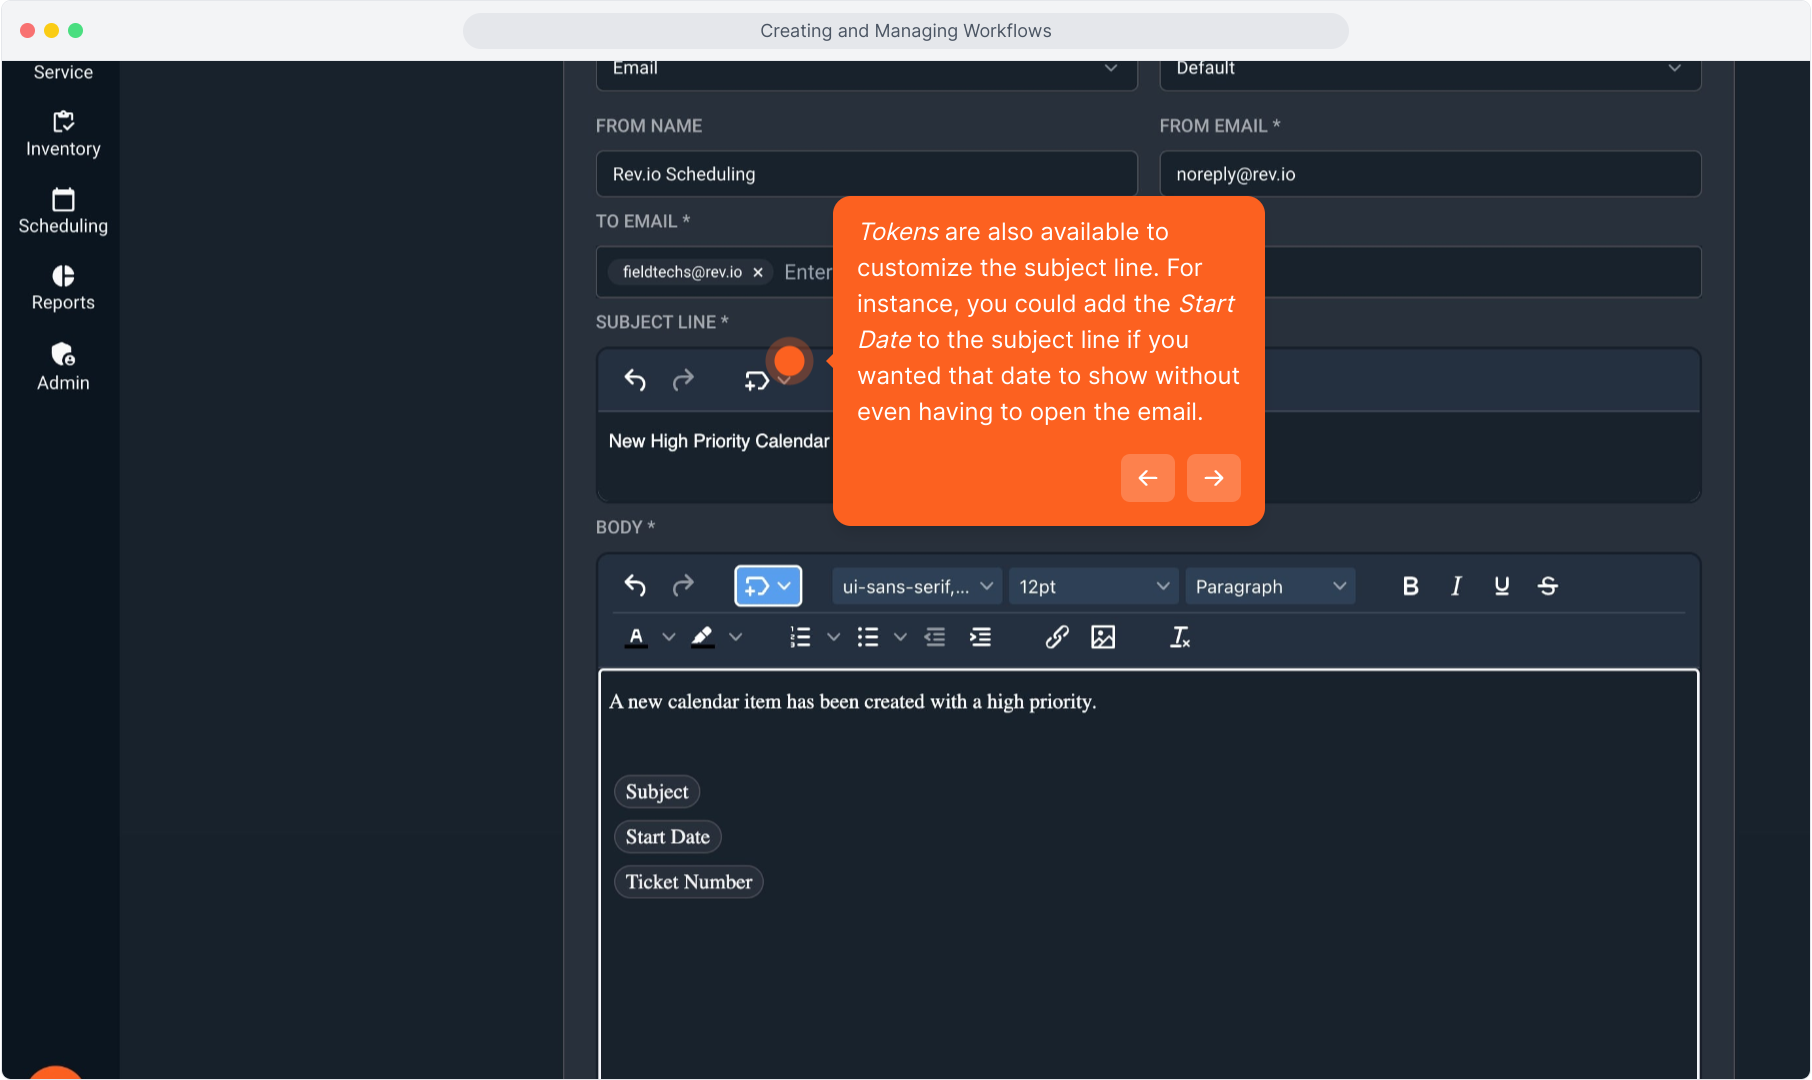
41. Tokens are also available to customize the subject line. For instance, you could add the Start Date to the subject line if you wanted that date to show without even having to open the email.
42. Click the Create button to save the workflow.

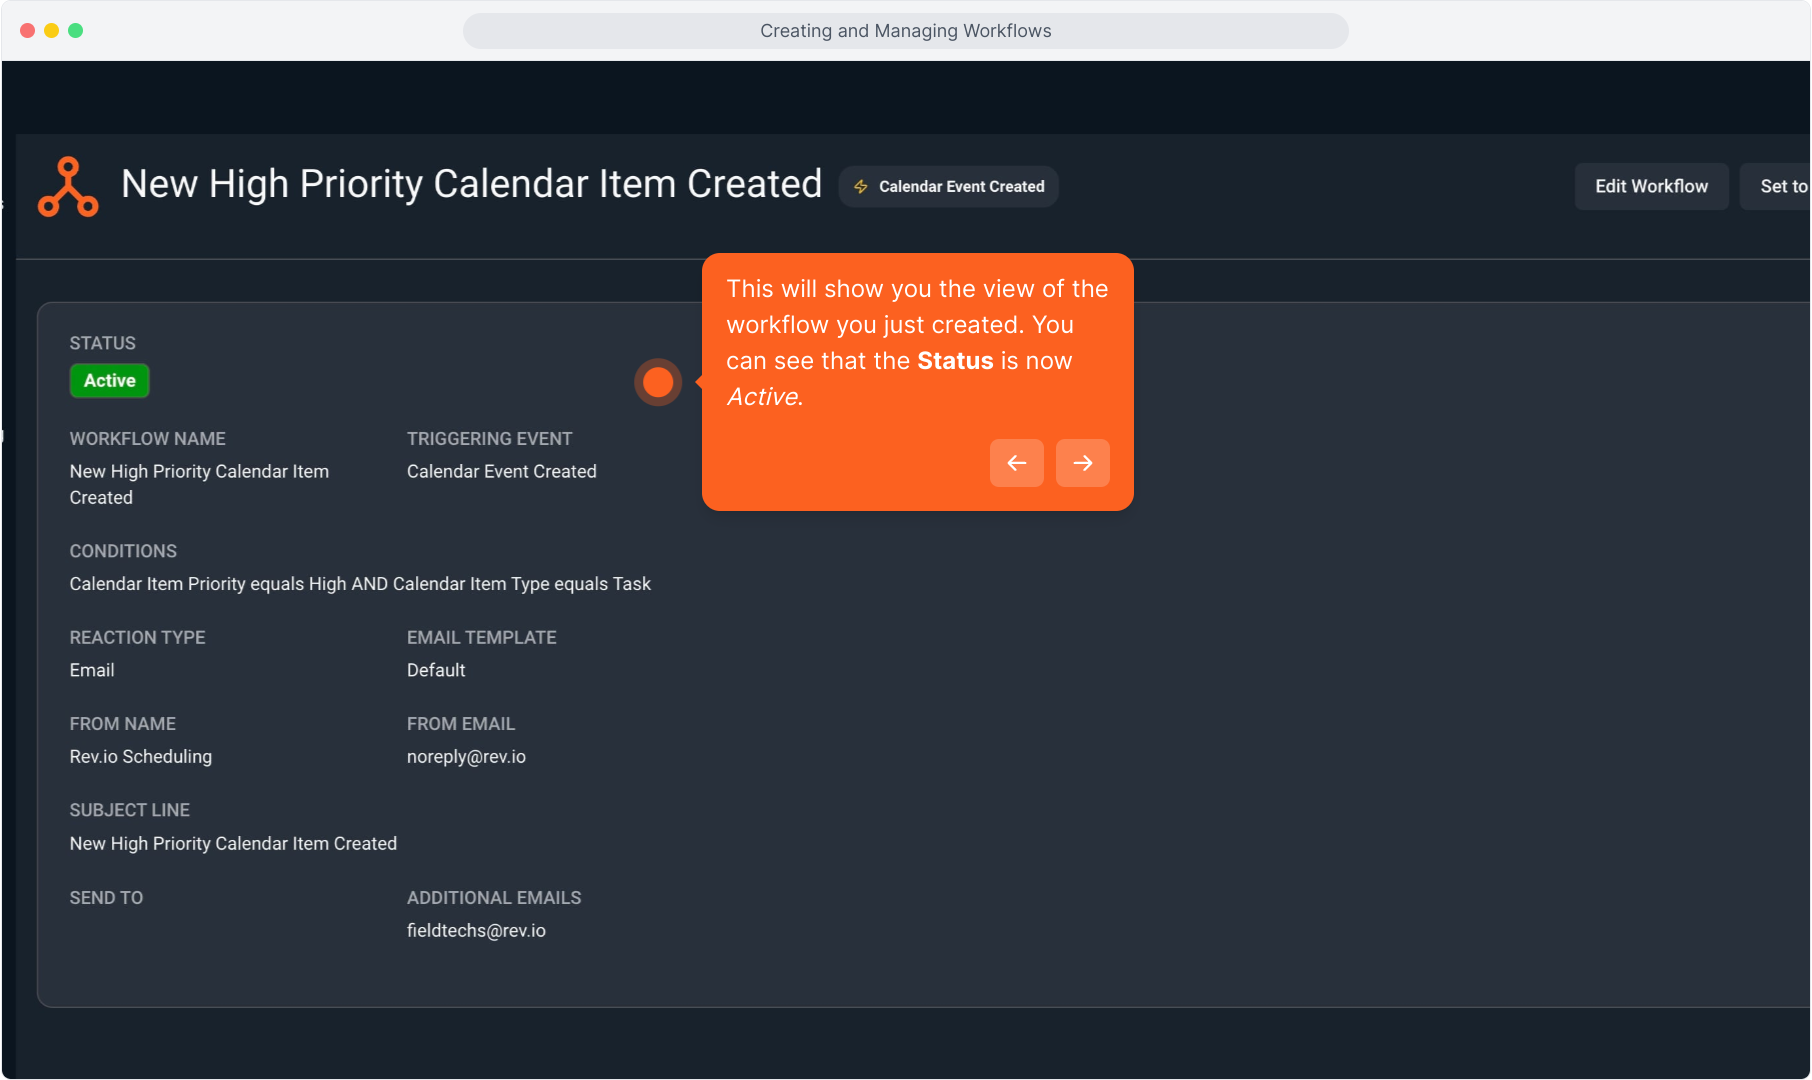
43. This will show you the view of the workflow you just created. You can see that the Status is now Active.
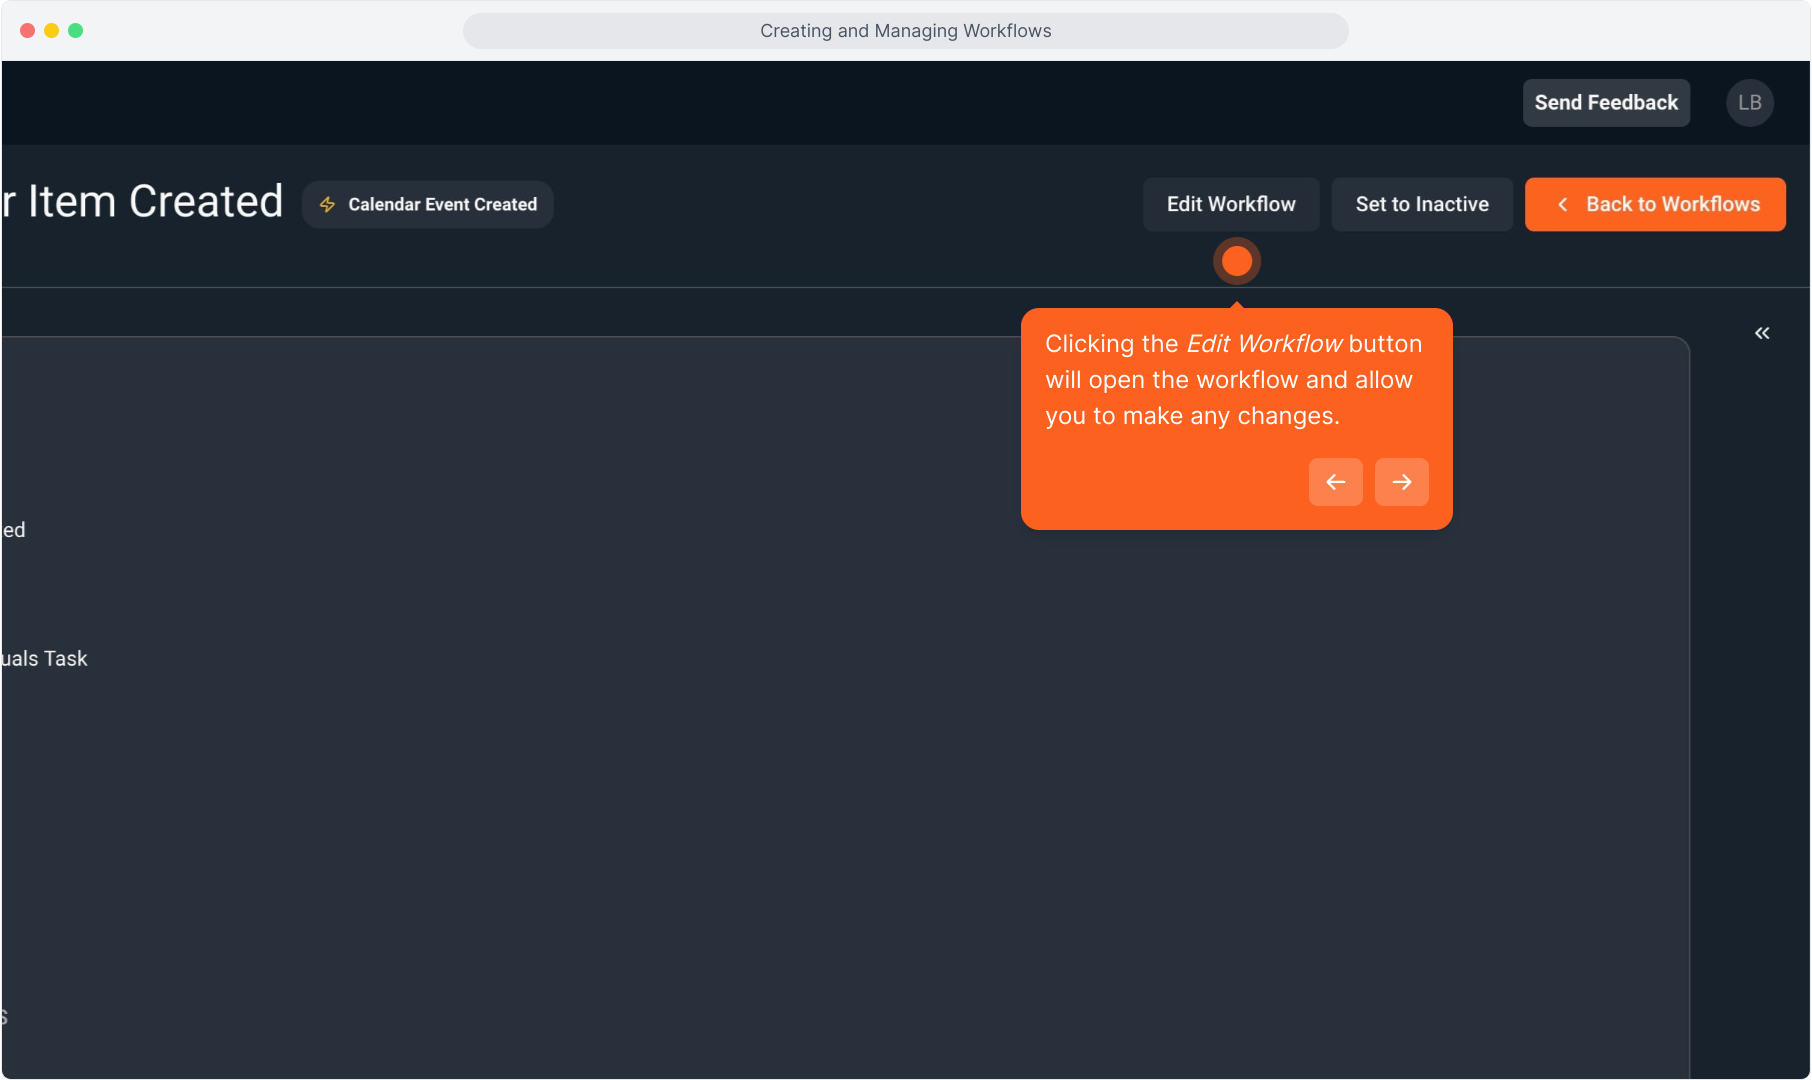
44. Clicking the Edit Workflow button will open the workflow and allow you to make any changes.
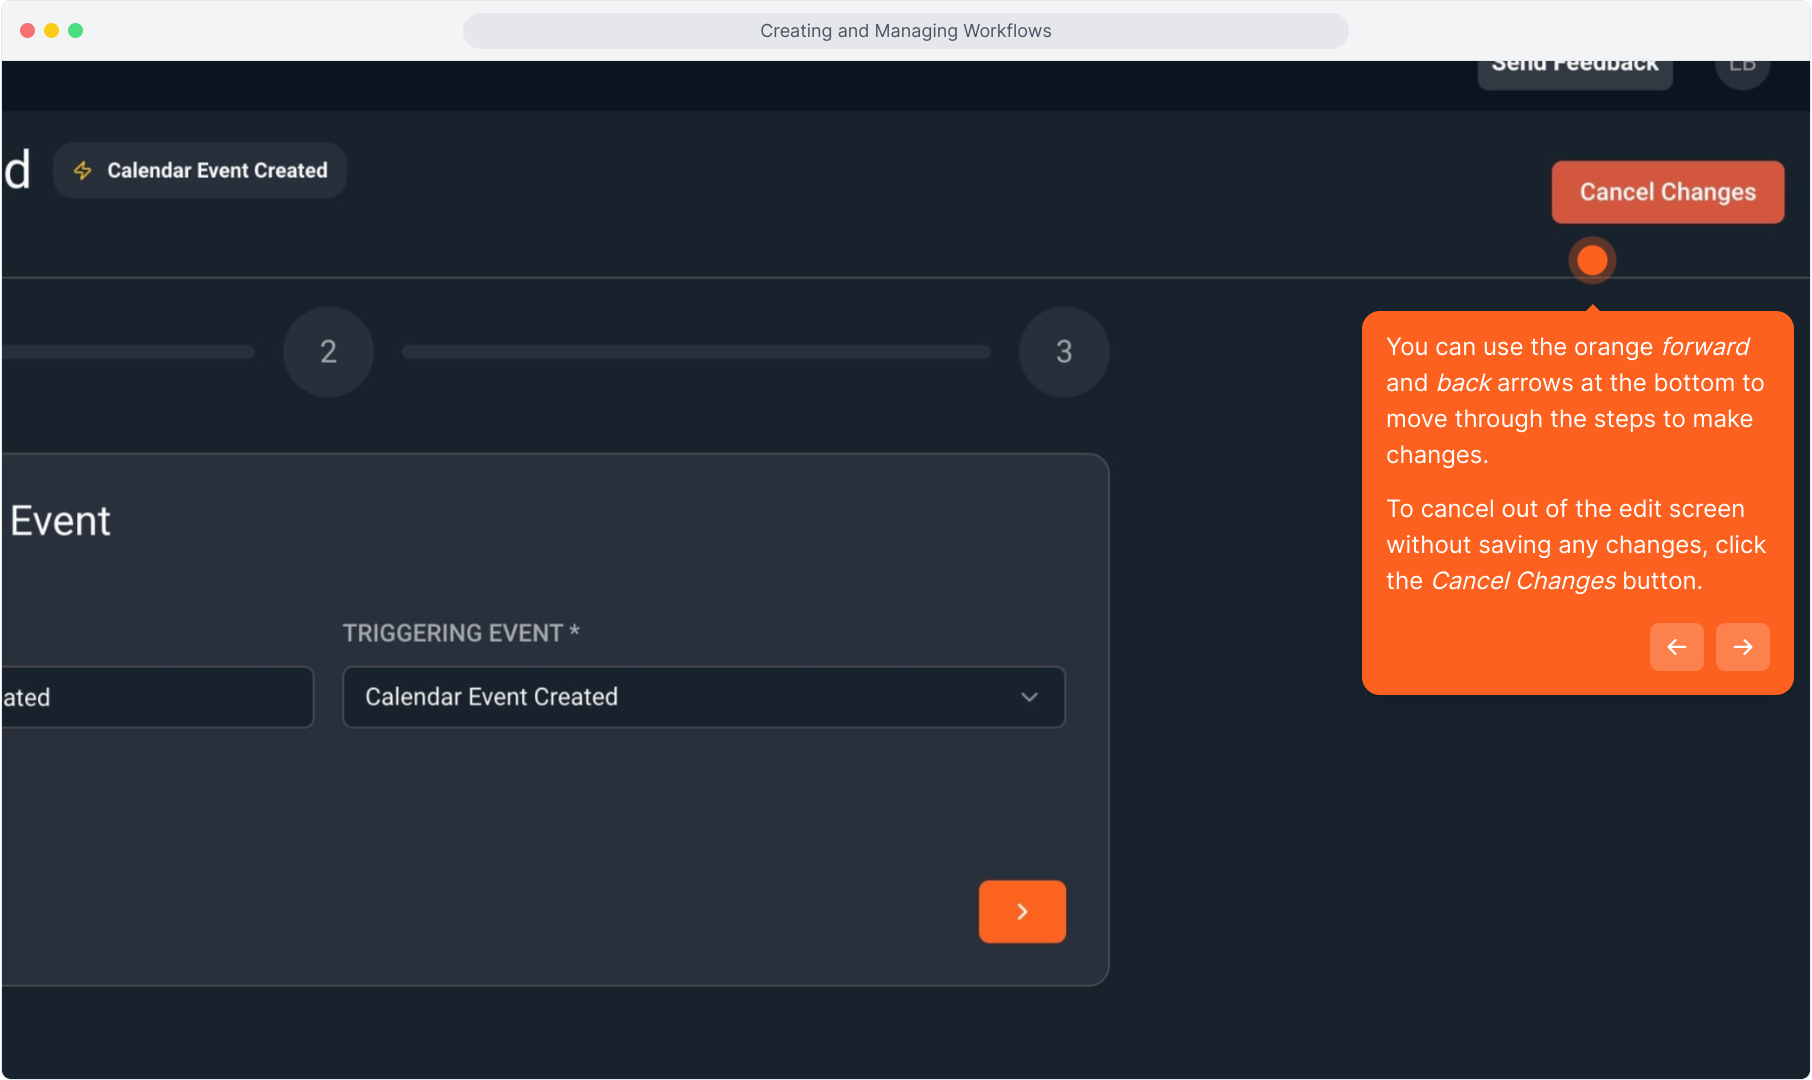
45. You can use the orange forward and back arrows at the bottom to move through the steps to make changes.
To cancel out of the edit screen without saving any changes, click the Cancel Changes button.
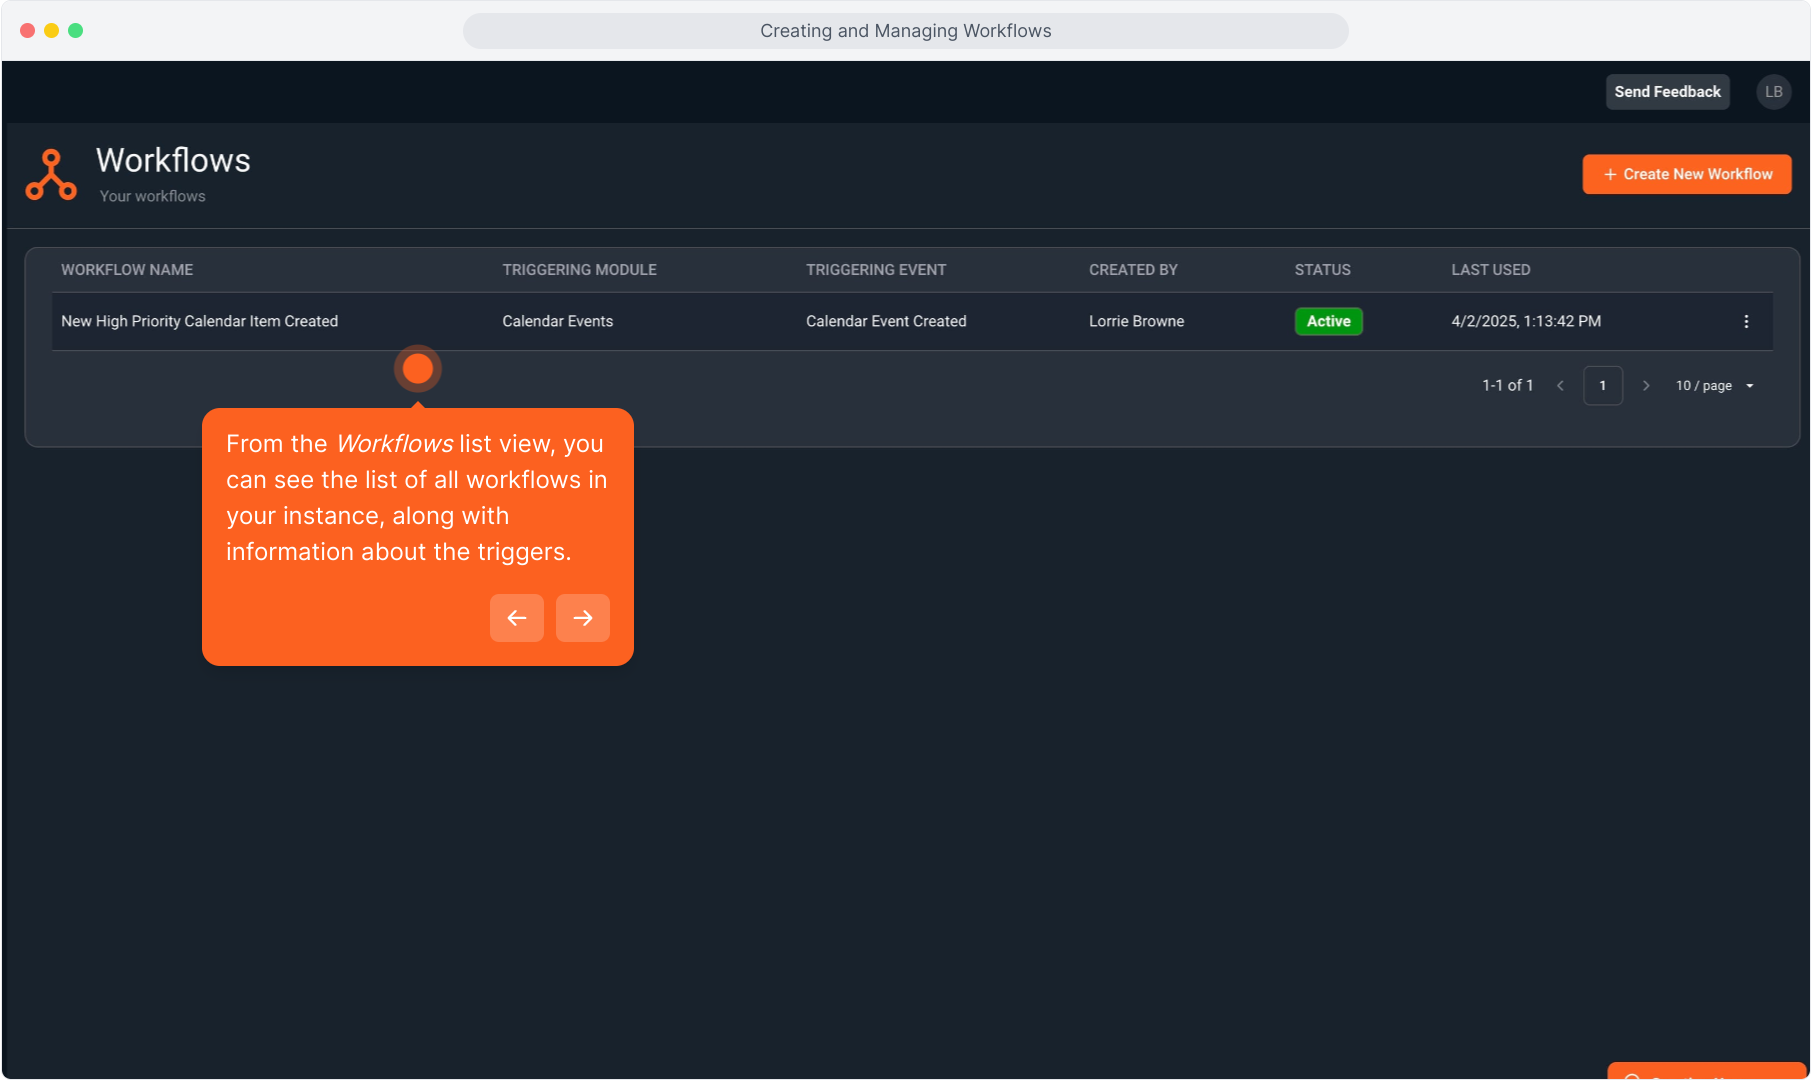
46. From the Workflows list view, you can see the list of all workflows in your instance, along with information about the triggers.
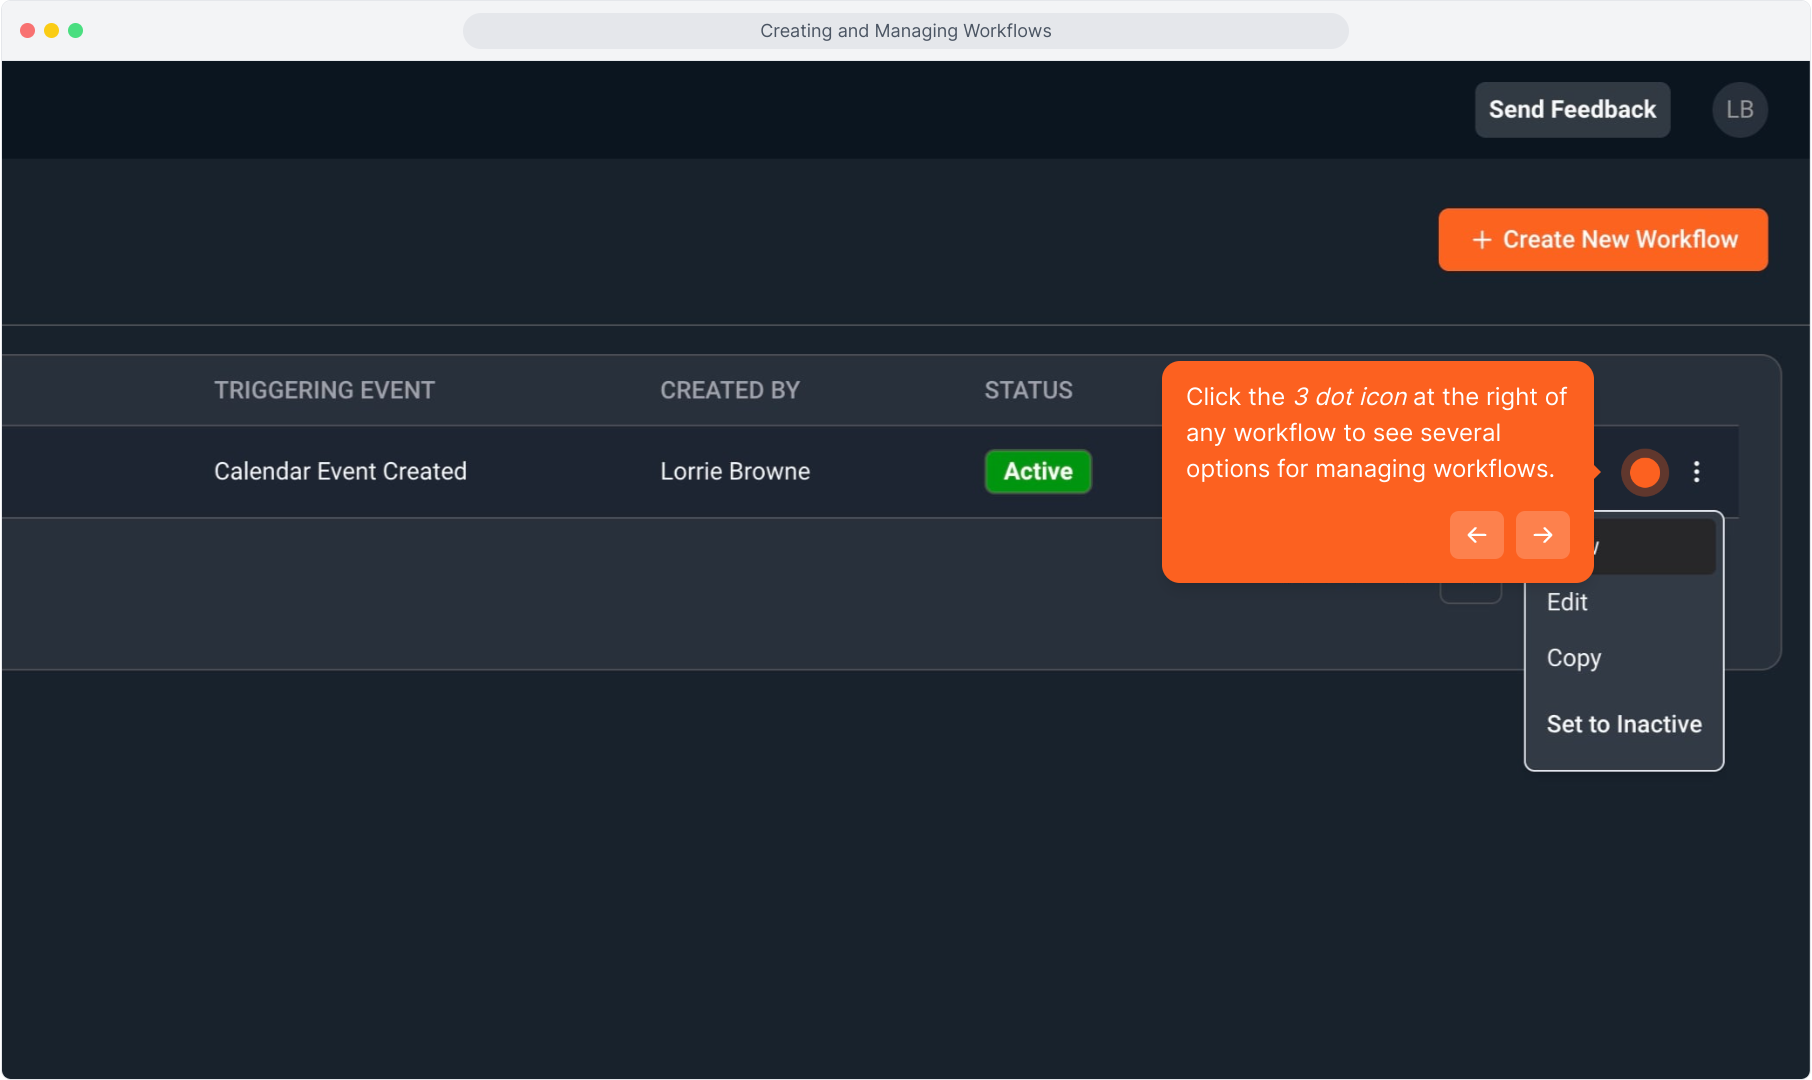
47. Click the 3 dot icon at the right of any workflow to see several options for managing workflows.
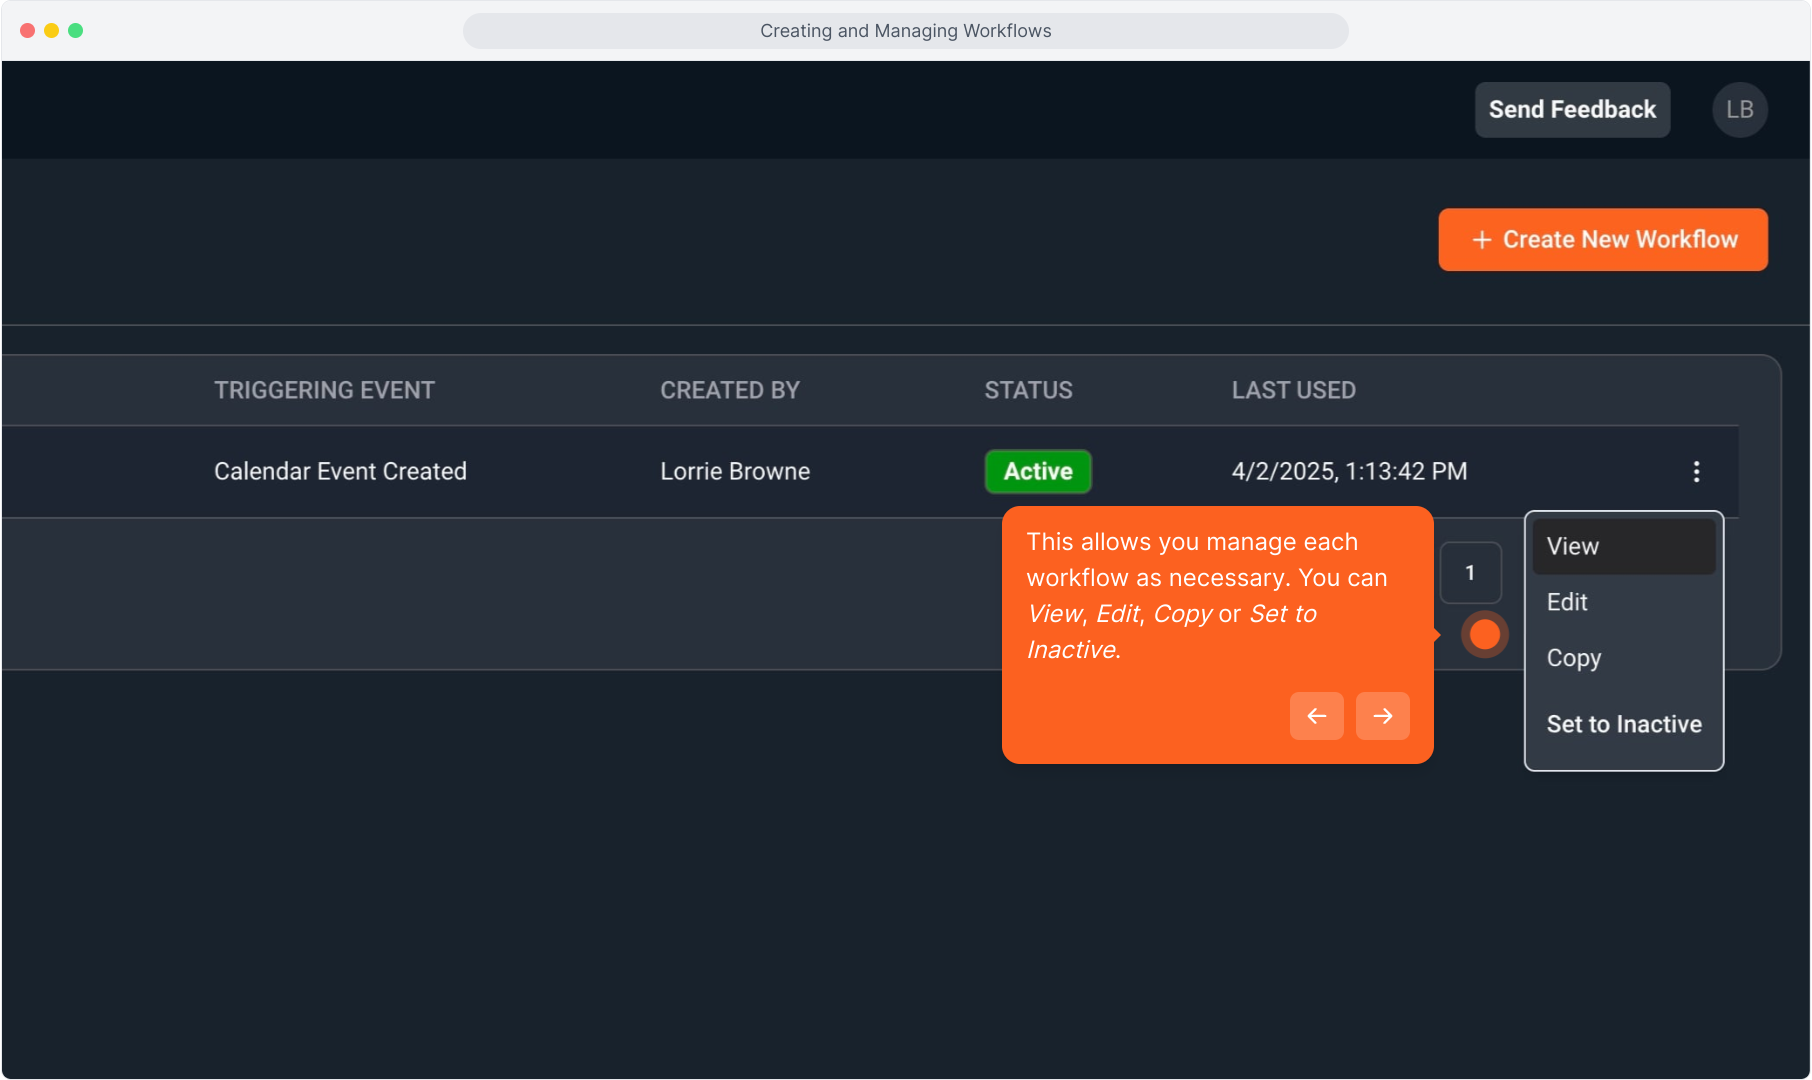
48. This allows you manage each workflow as necessary. You can View, Edit, Copy or Set to Inactive.
49. You can also set a workflow to inactive when you are on the View screen of any workflow.

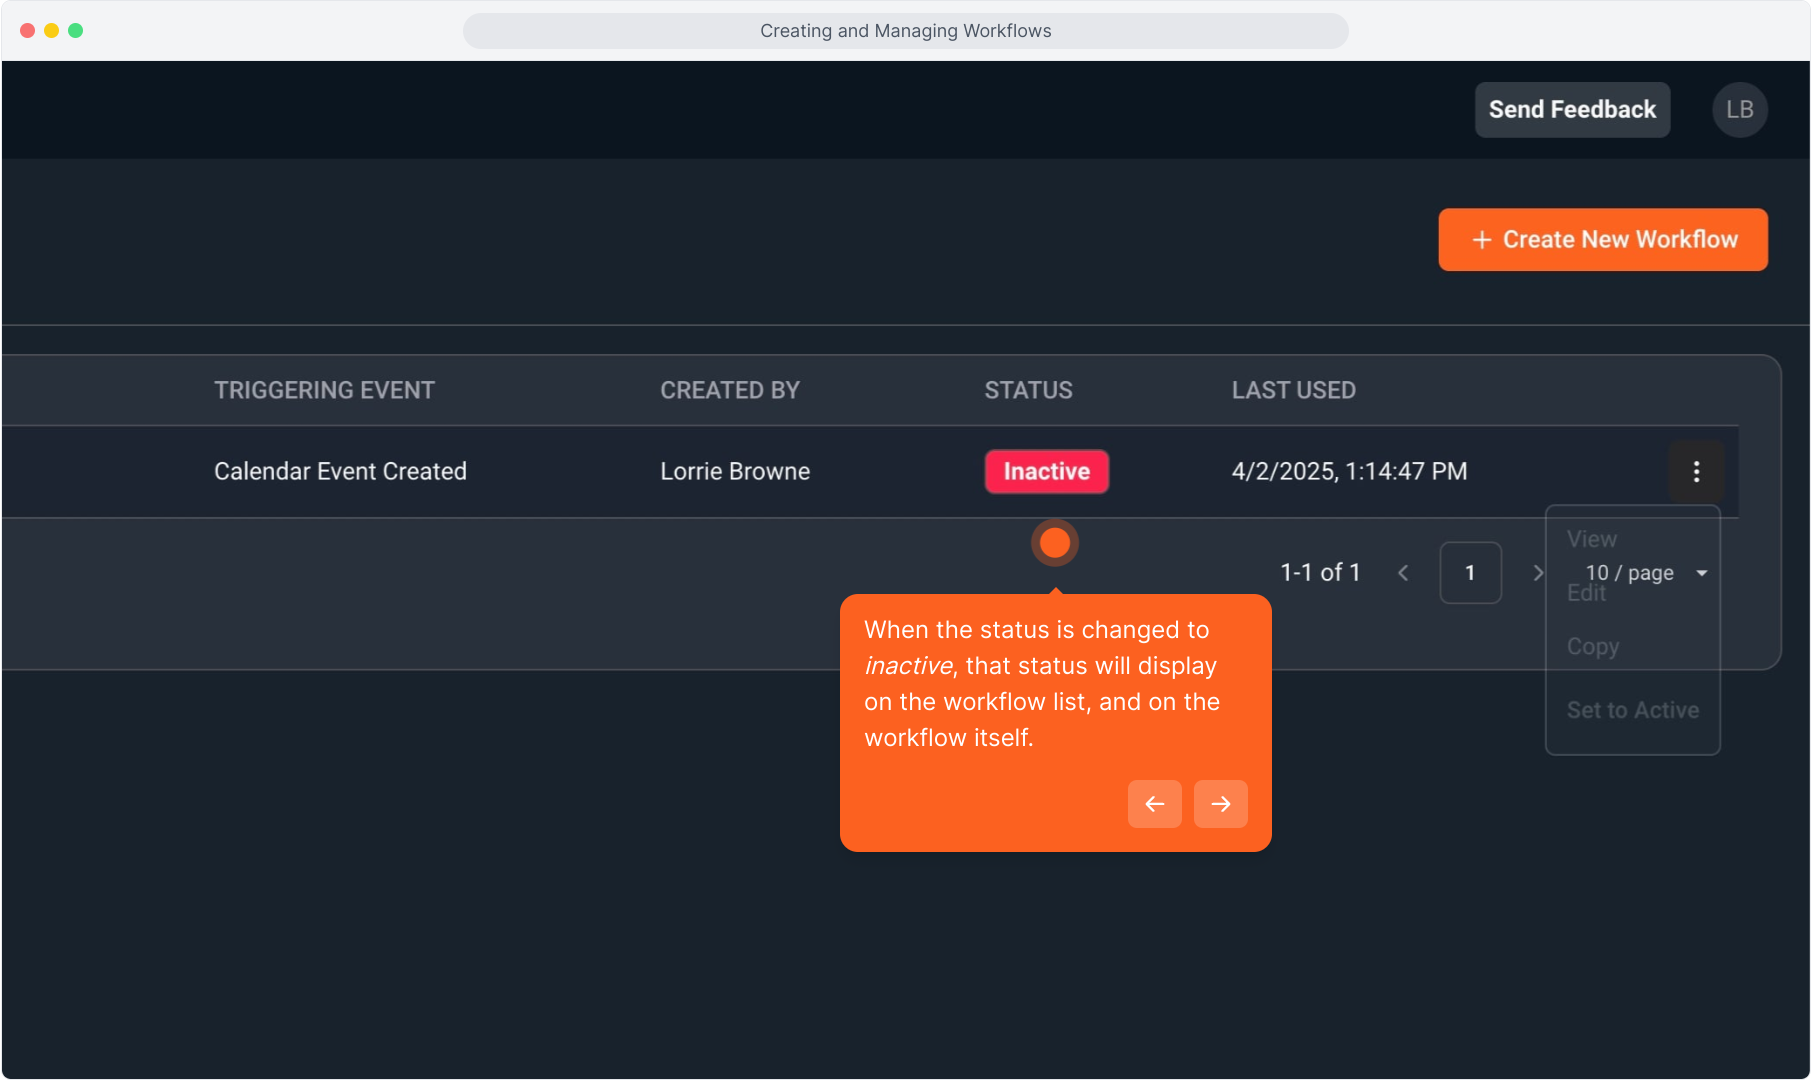
50. When the status is changed to inactive, that status will display on the workflow list, and on the workflow itself.
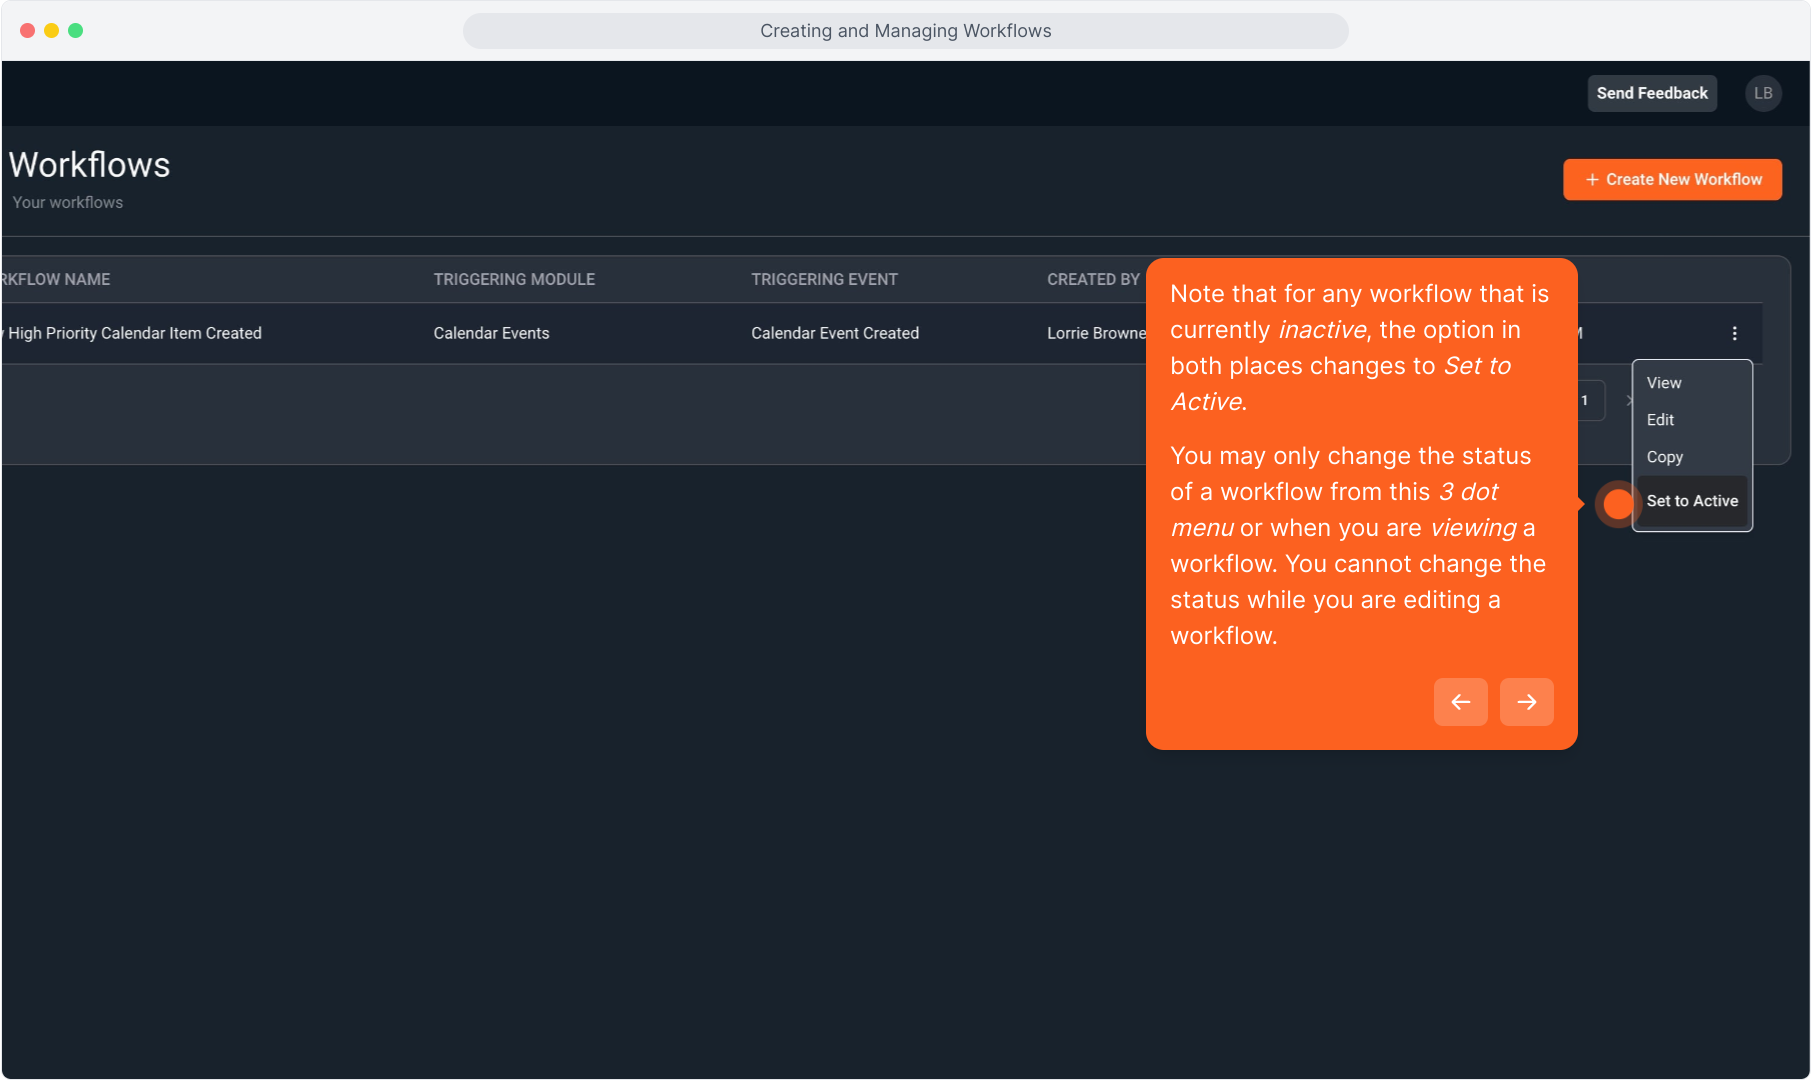
51. Note that for any workflow that is currently inactive, the option in both places changes to Set to Active.
You may only change the status of a workflow from this 3 dot menu or when you are viewing a workflow. You cannot change the status while you are editing a workflow.
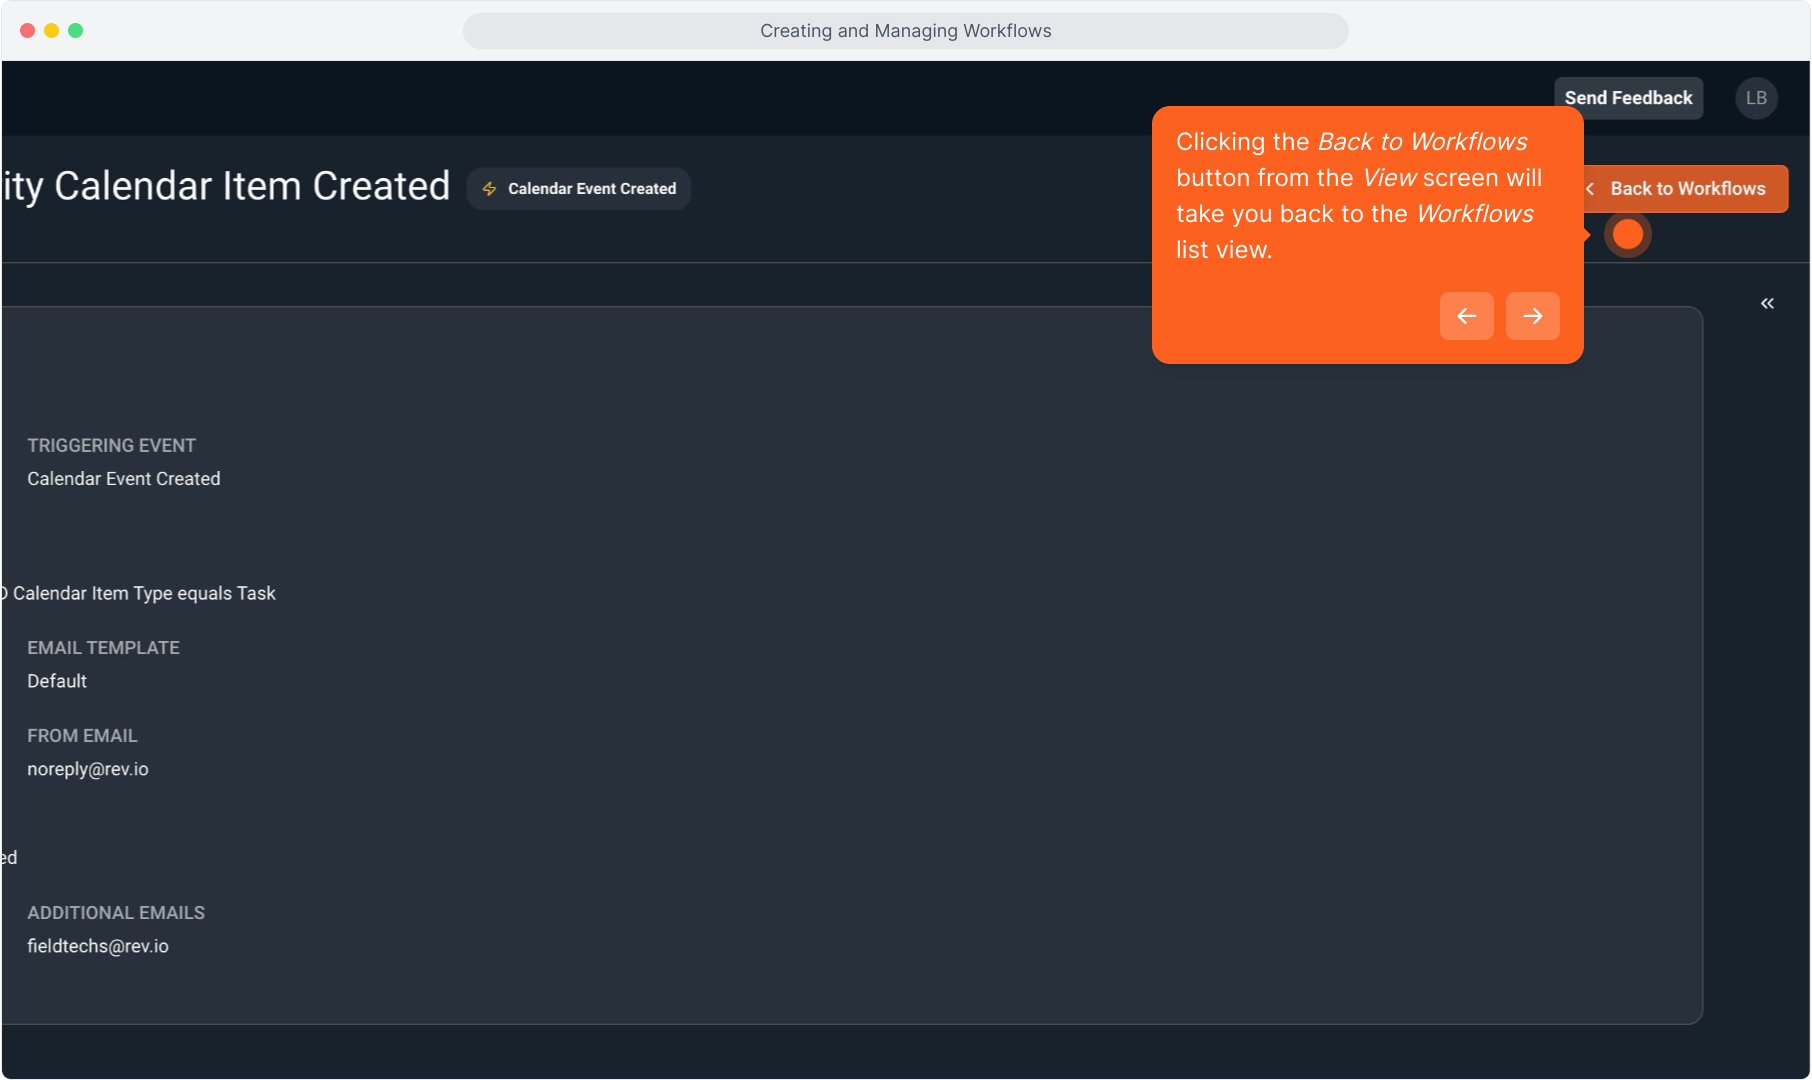
52. Clicking the Back to Workflows button from the View screen will take you back to the Workflows list view.