How To Guide: Creating and Managing Customers using Revii
1. Introduction

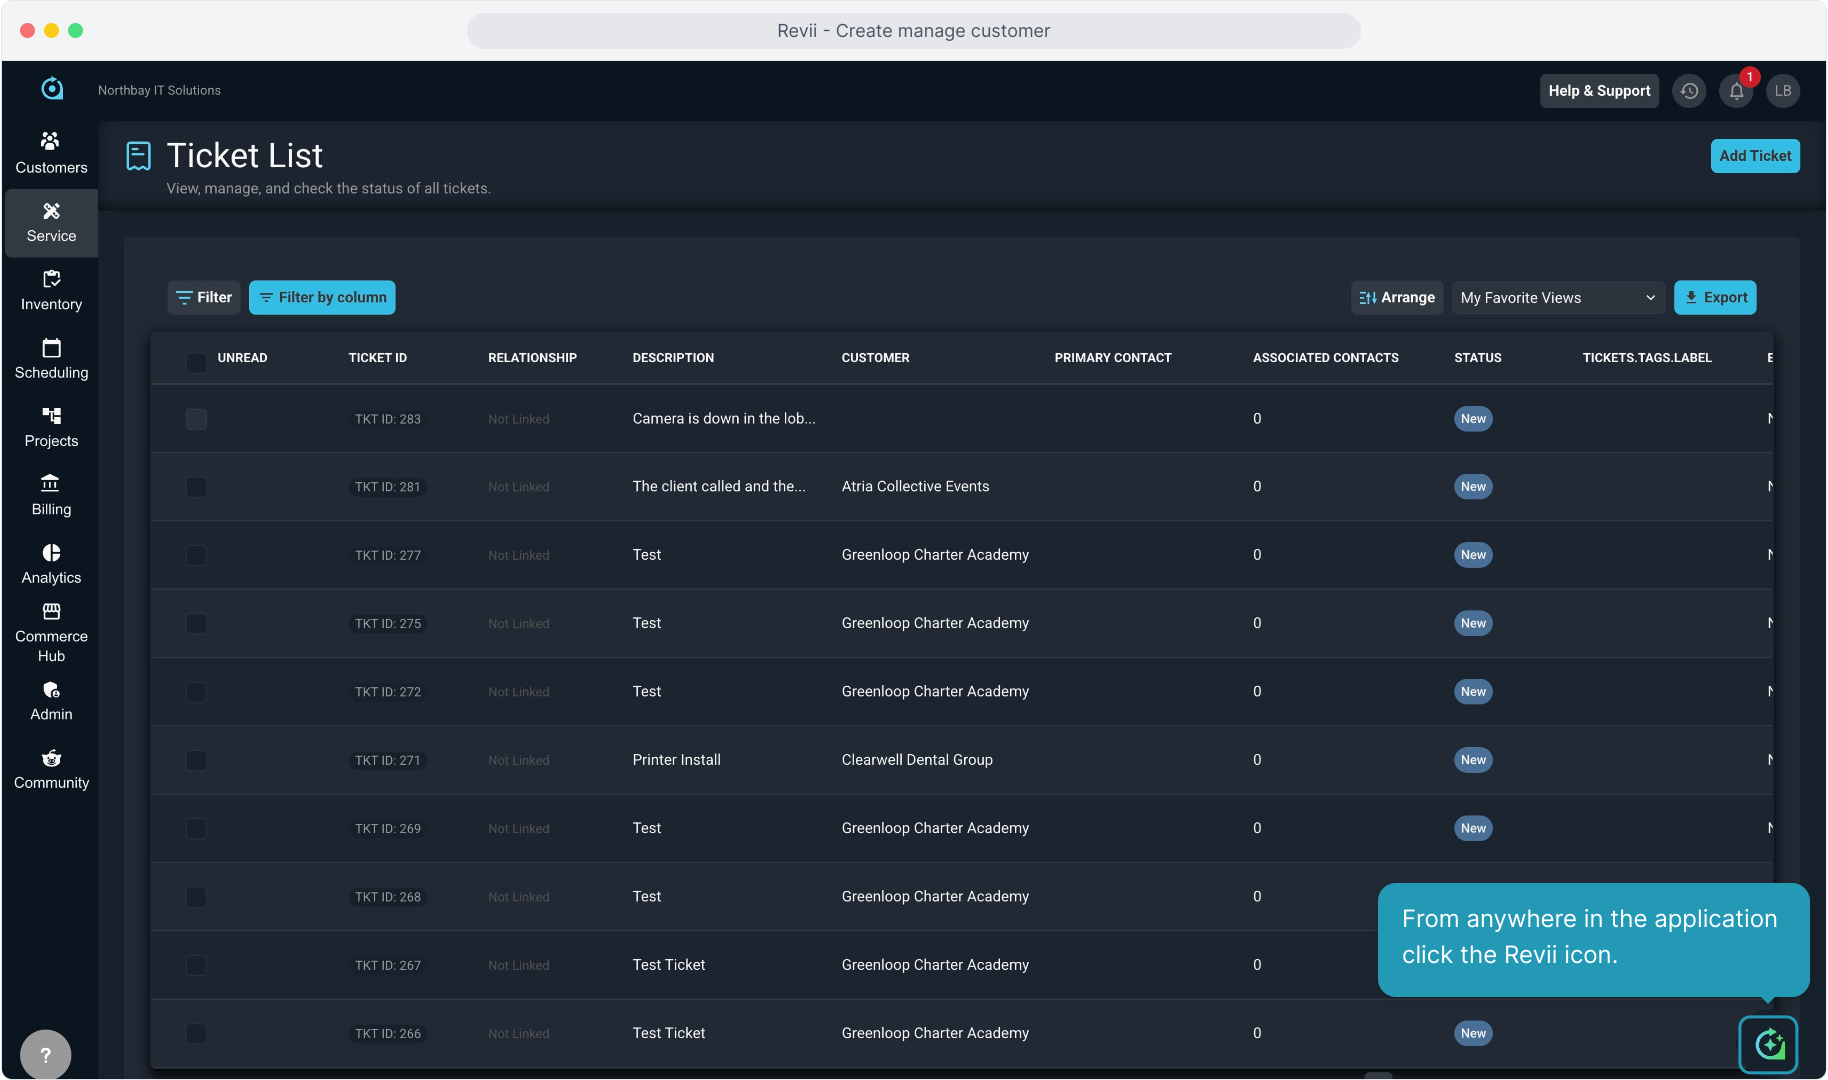
2. From anywhere in the application click the Revii icon.
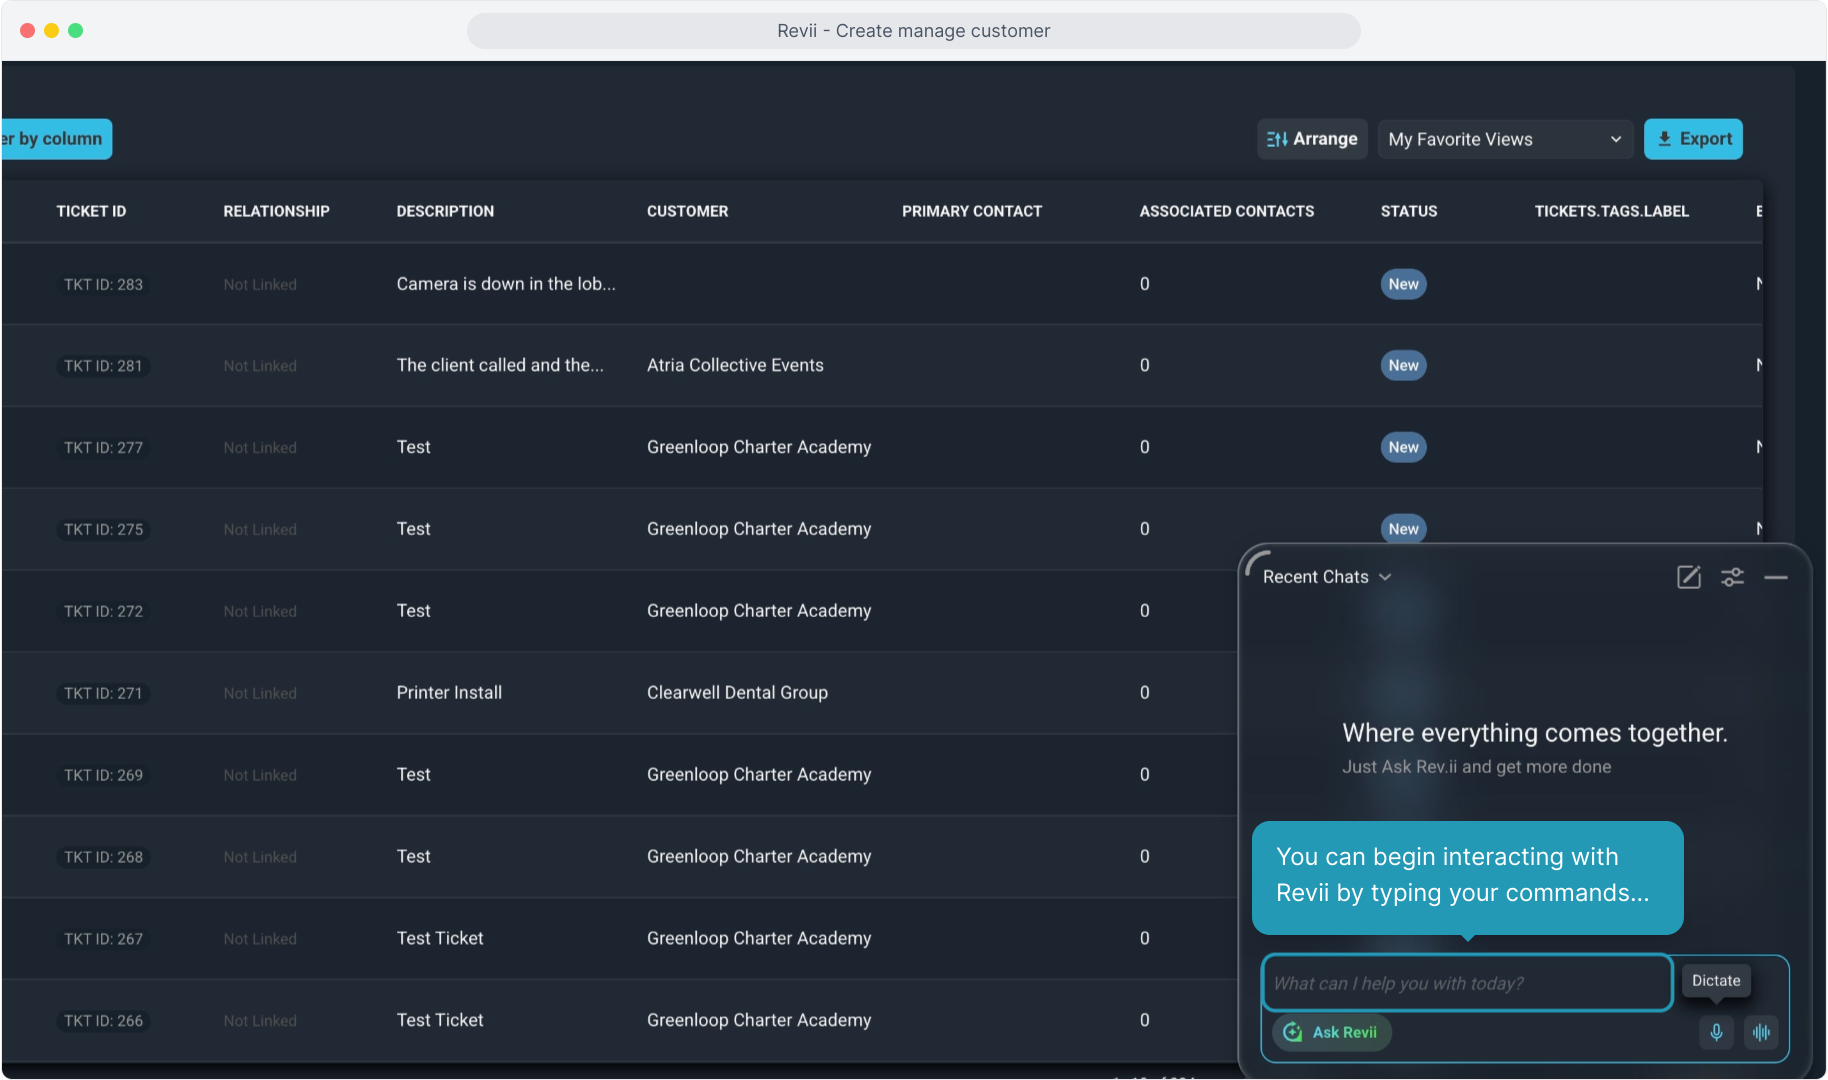
3. You can begin interacting with Revii by typing your commands...
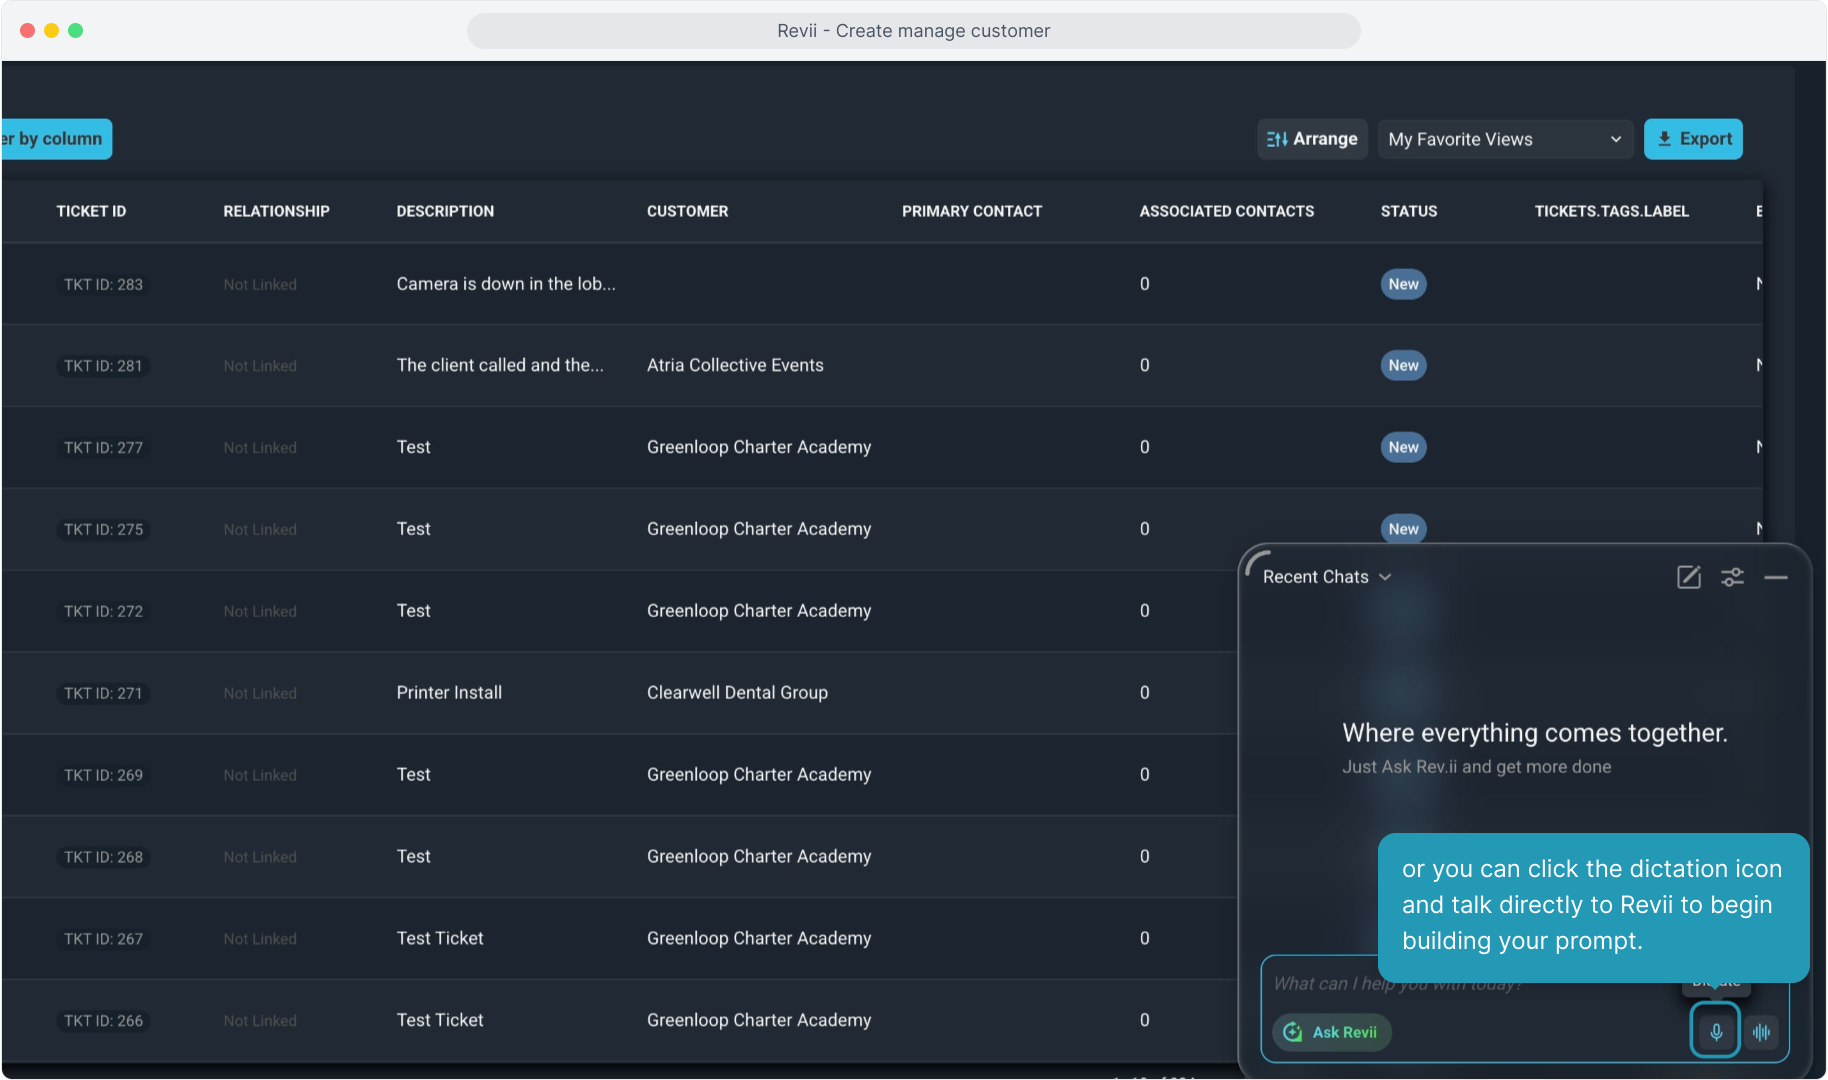
4. or you can click the dictation icon and talk directly to Revii to begin building your prompt.
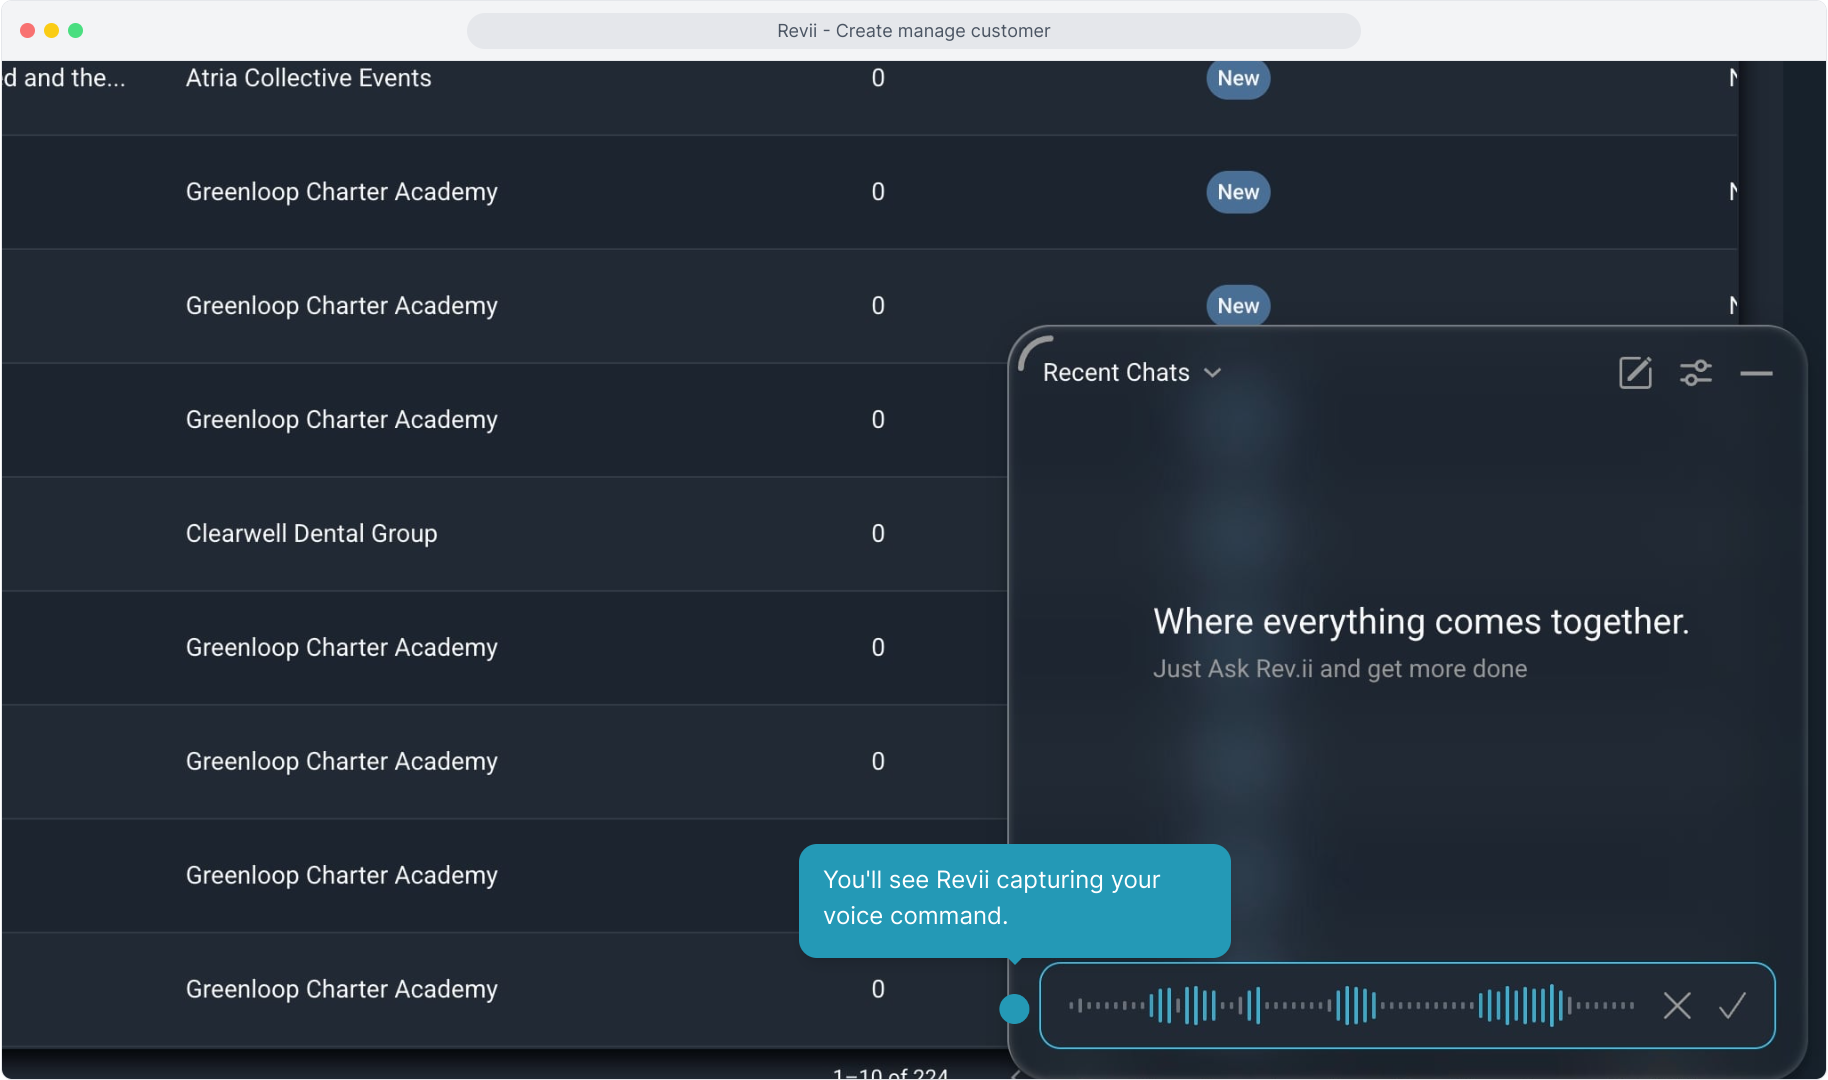
5. You'll see Revii capturing your voice command.
6. When you've finished speaking, click the checkmark to upload and translate the voice command to text.

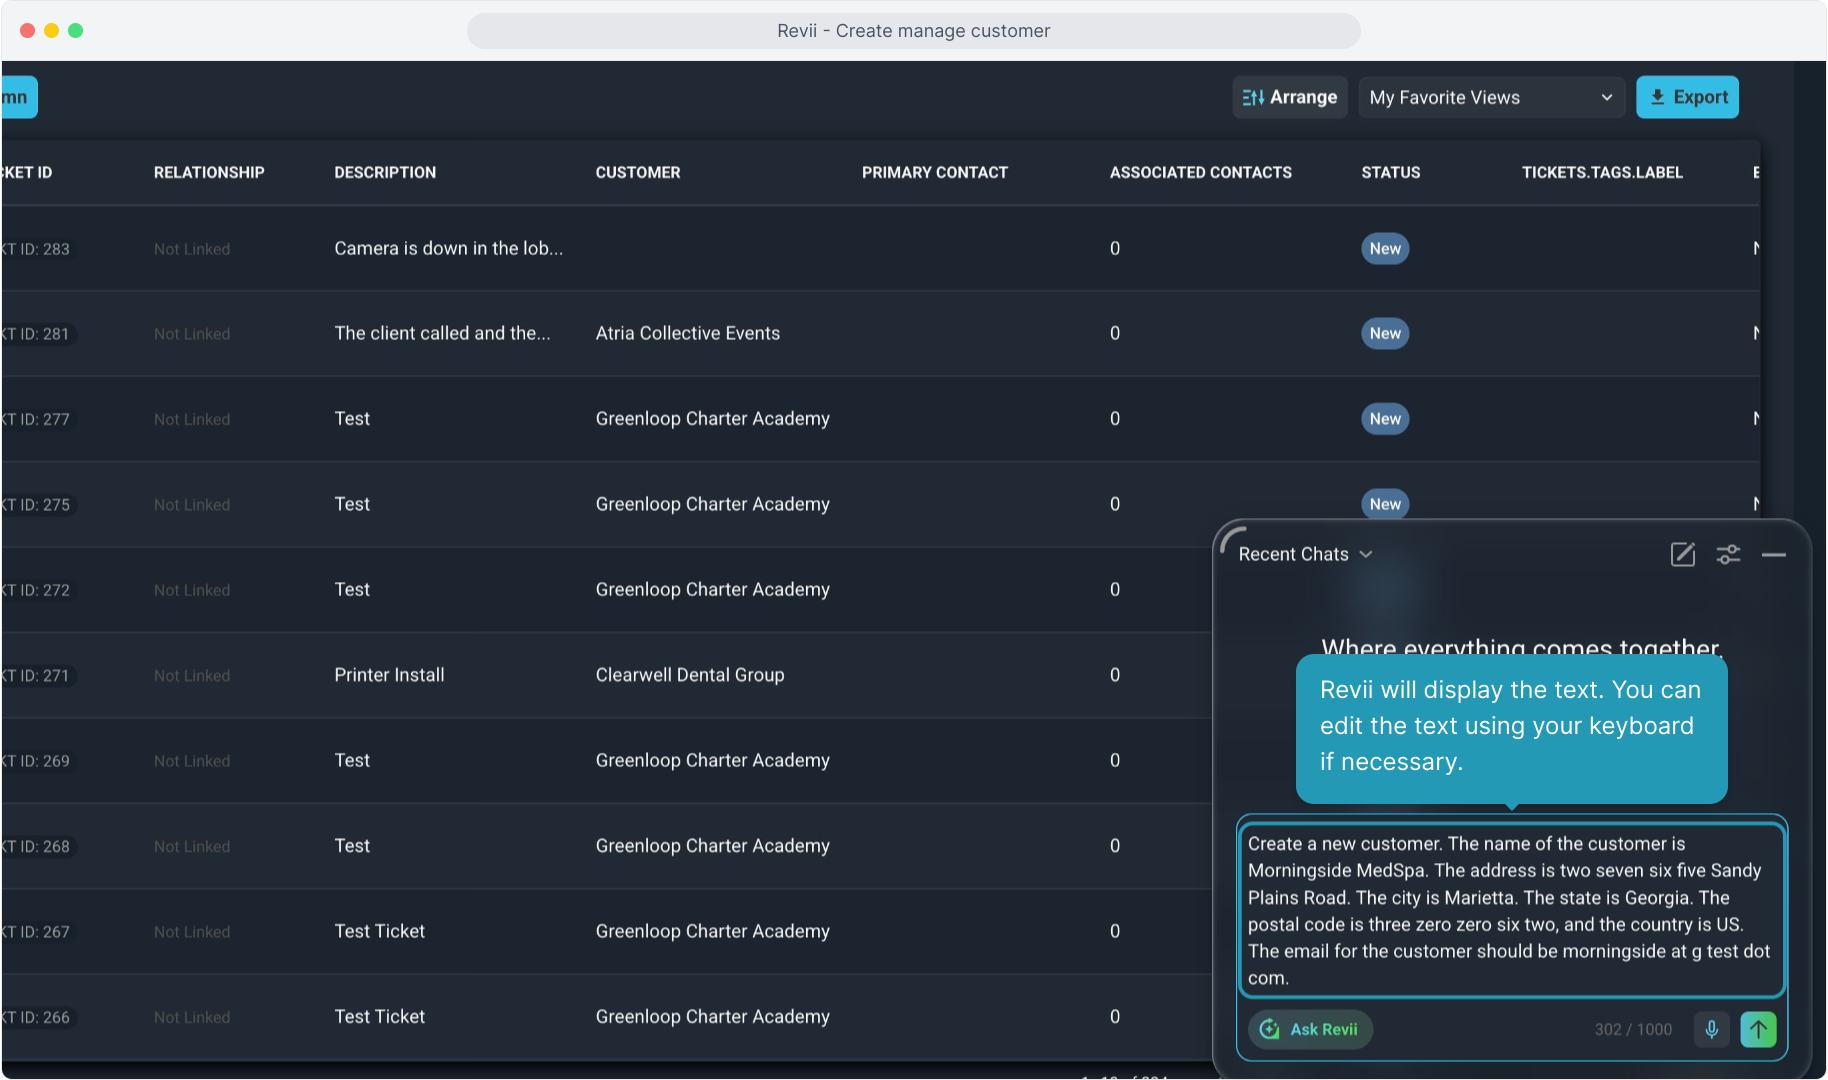
7. Revii will display the text. You can edit the text using your keyboard if necessary.
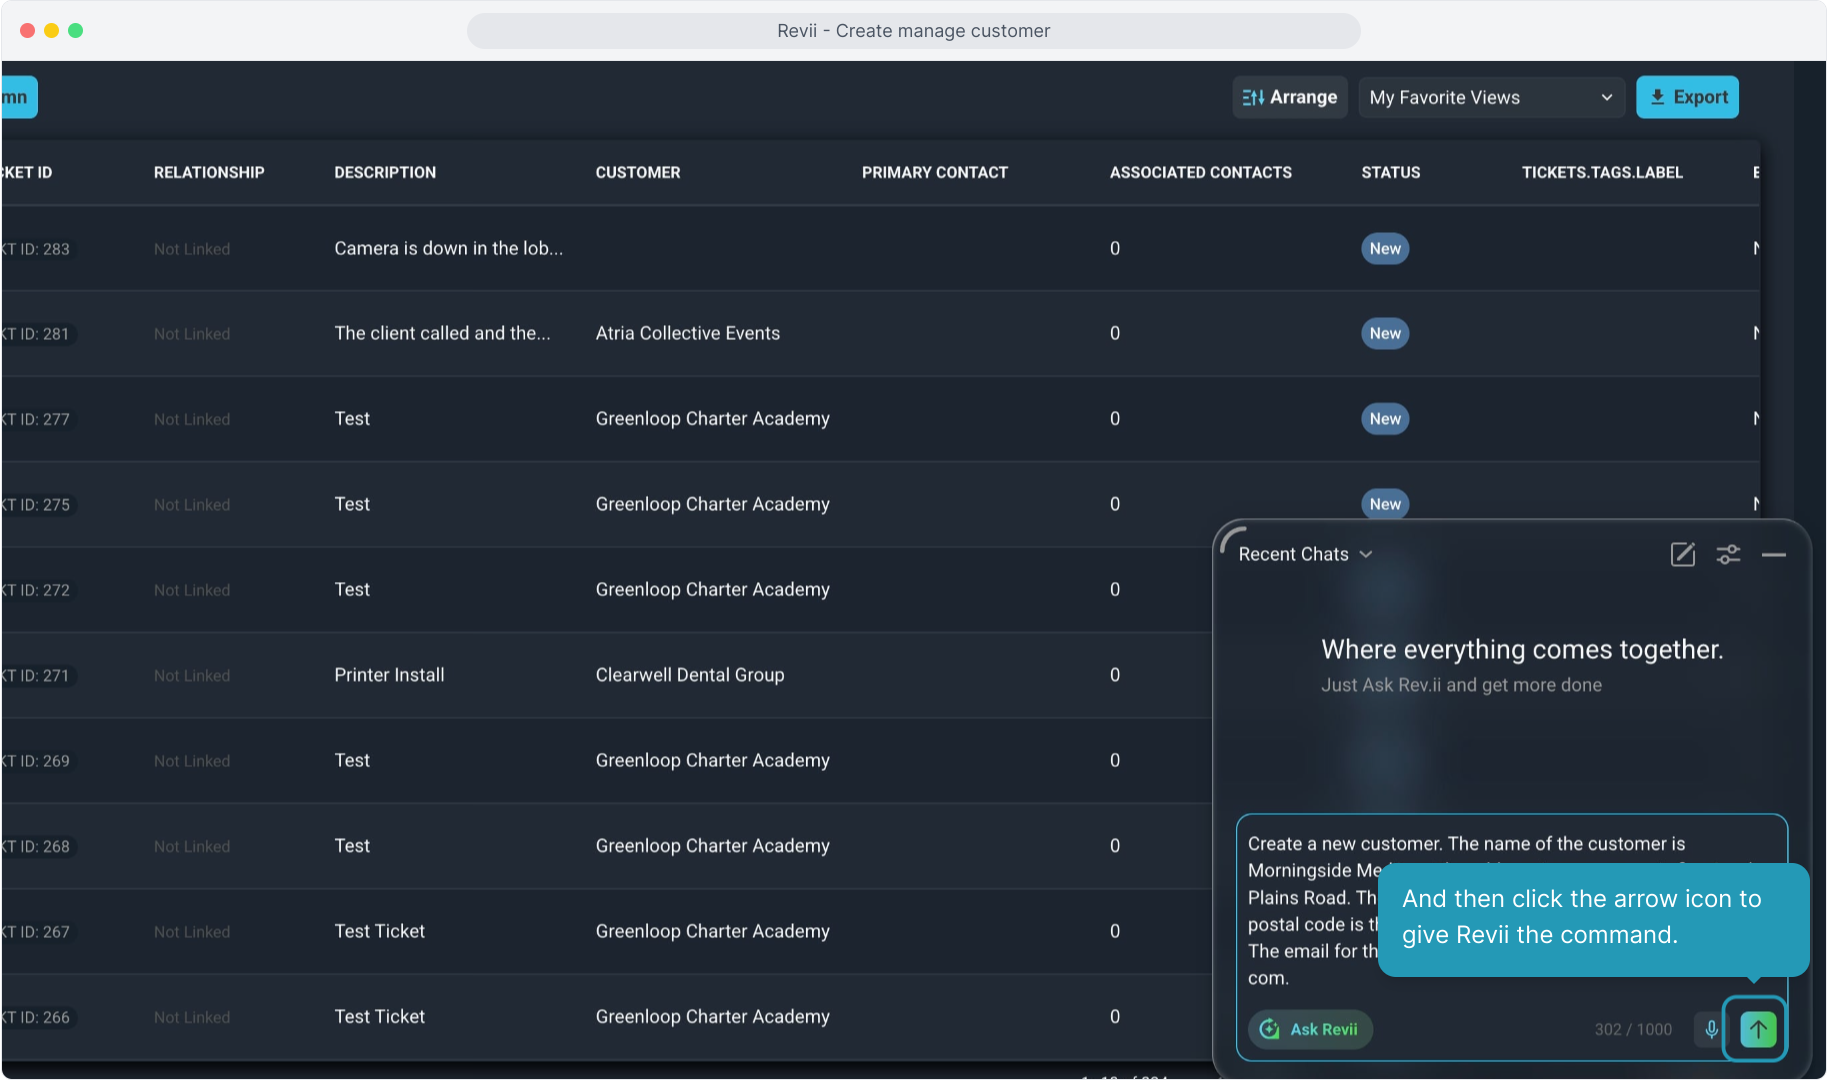
8. And then click the arrow icon to give Revii the command.
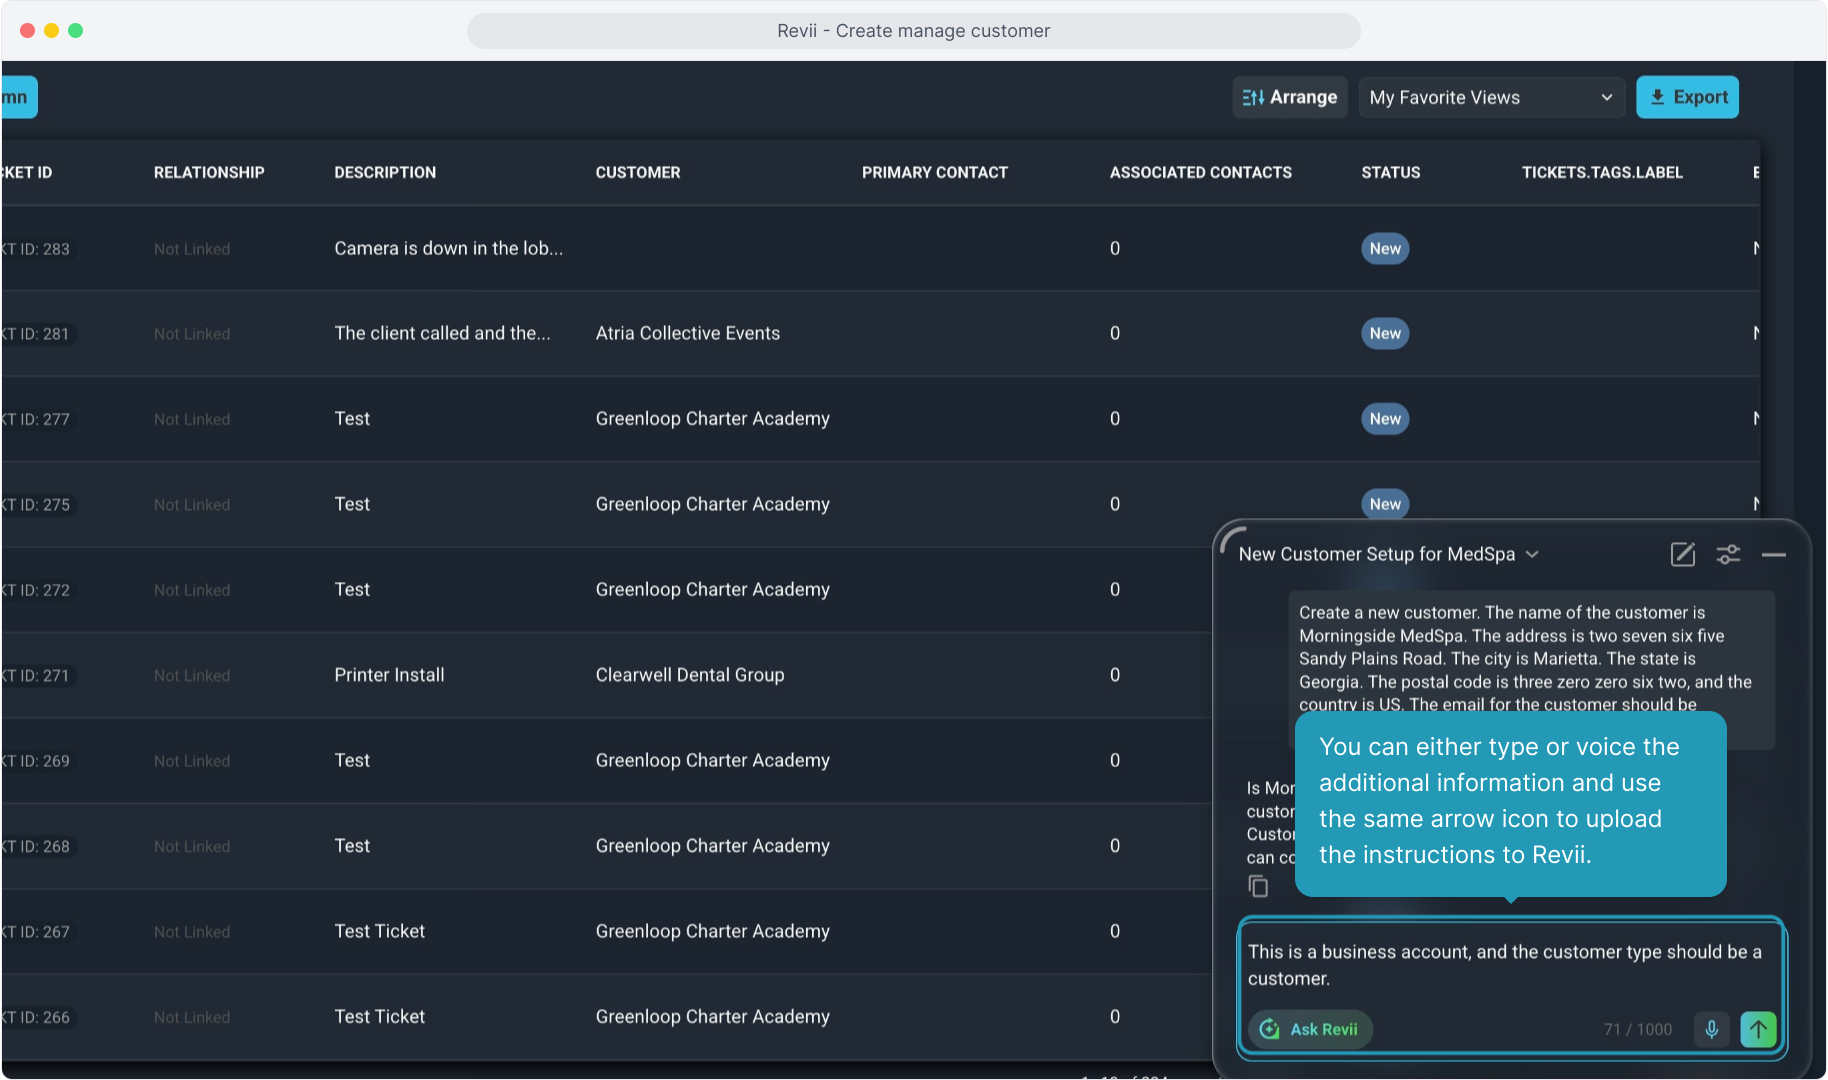
9. Sometimes Revii will need more context or have additional questions for you to clarify the prompt.
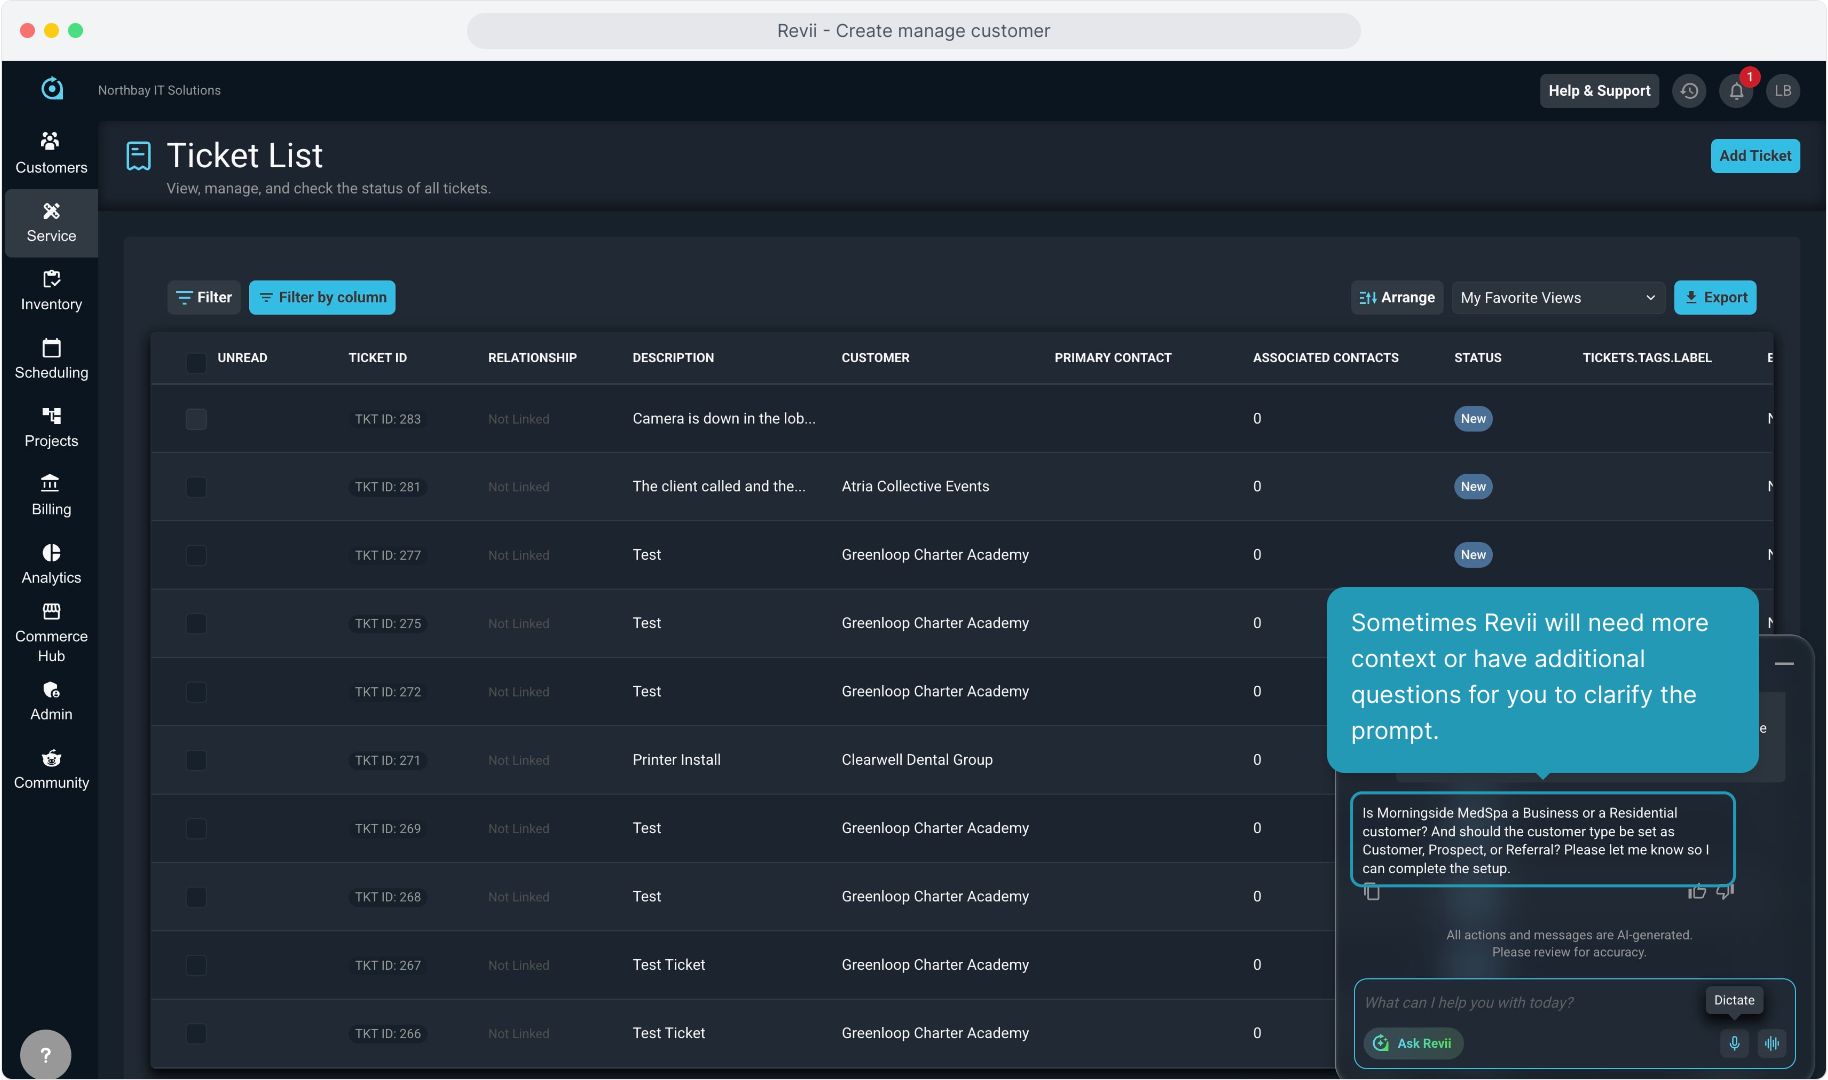
10. You can either type or voice the additional information and use the same arrow icon to upload the instructions to Revii.
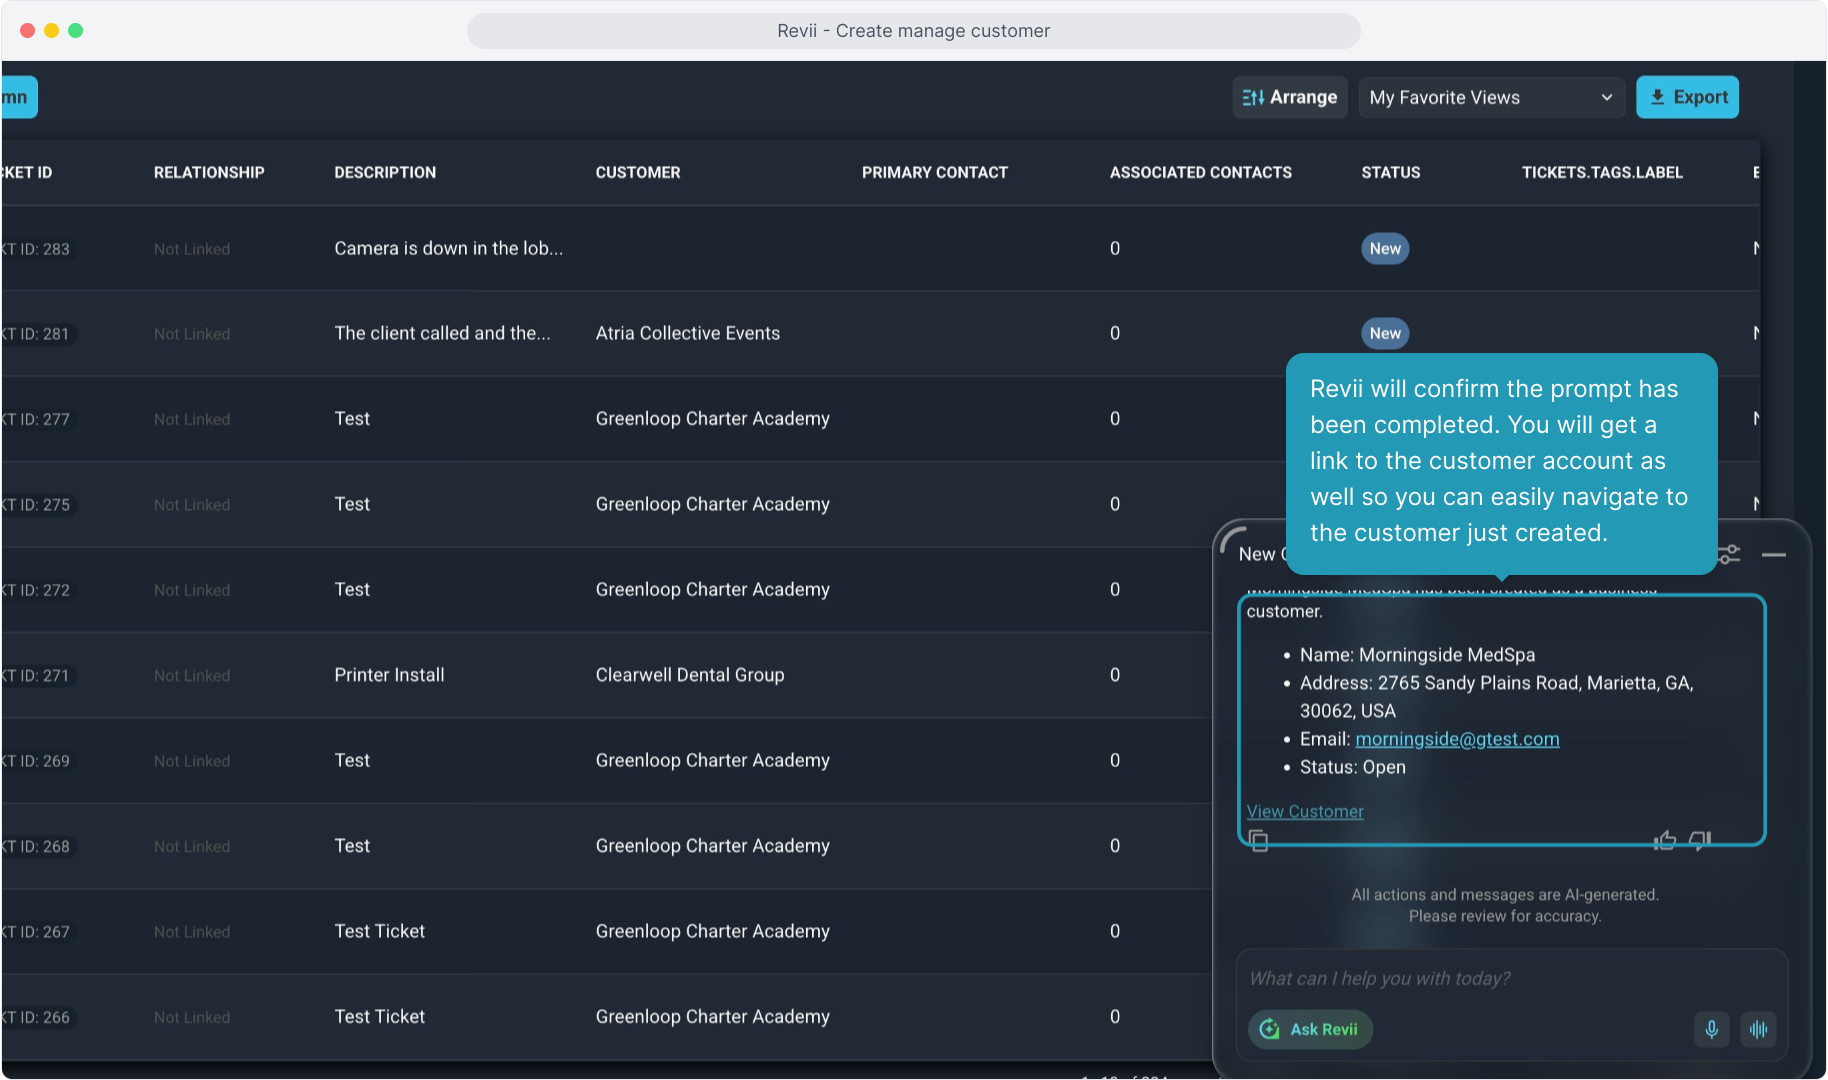
11. Revii will confirm the prompt has been completed. You will get a link to the customer account as well so you can easily navigate to the customer just created.
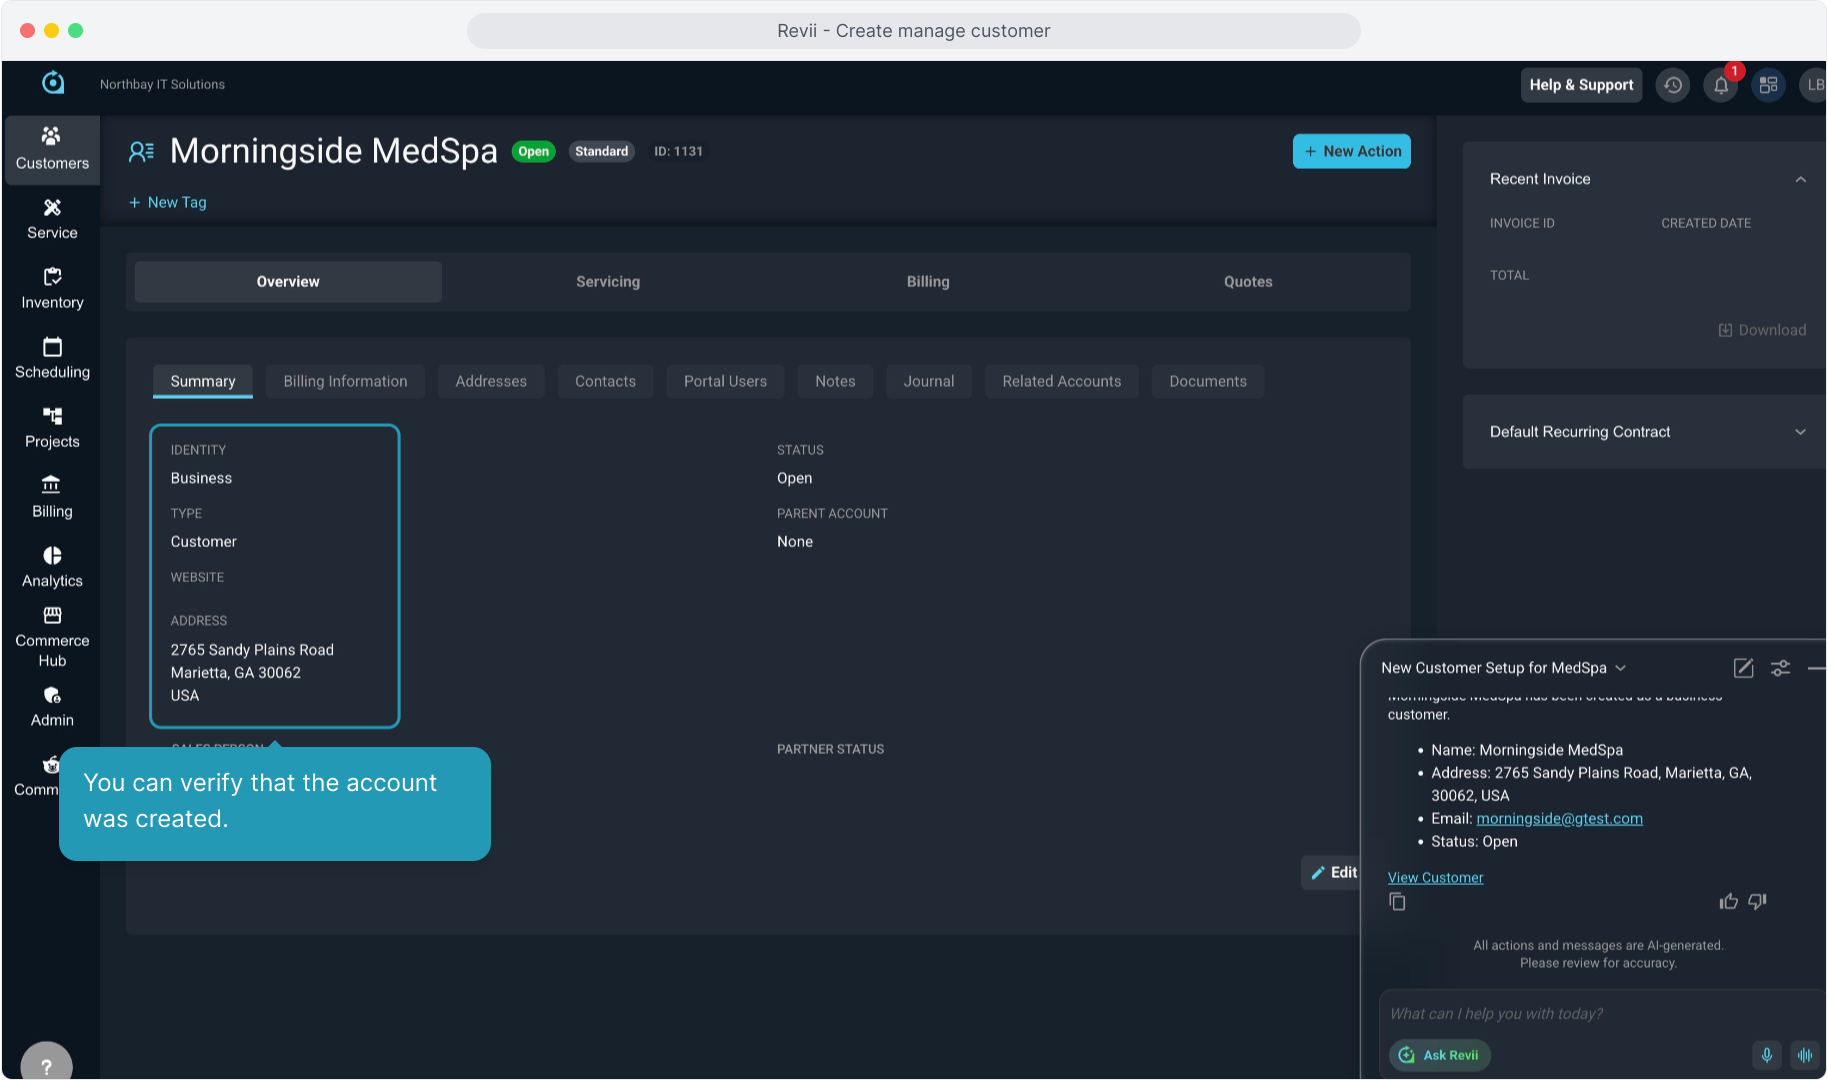
12. You can verify that the account was created.
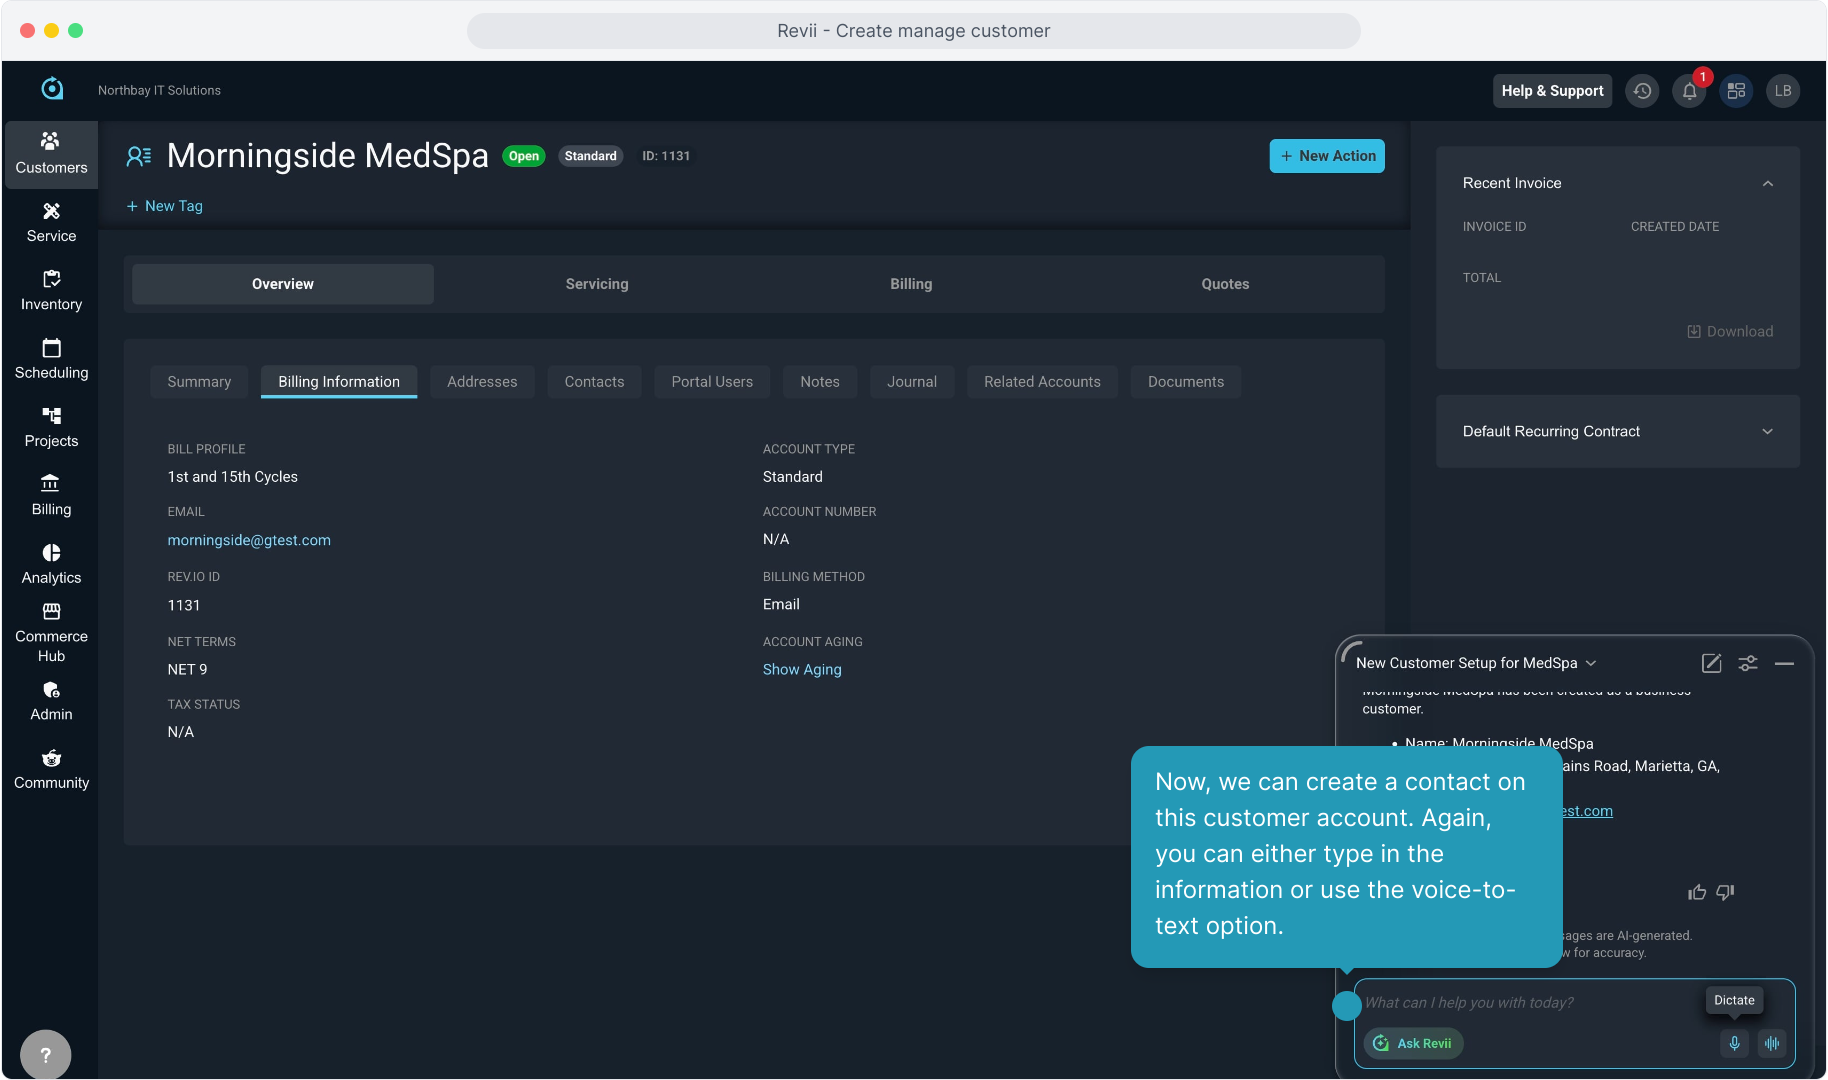
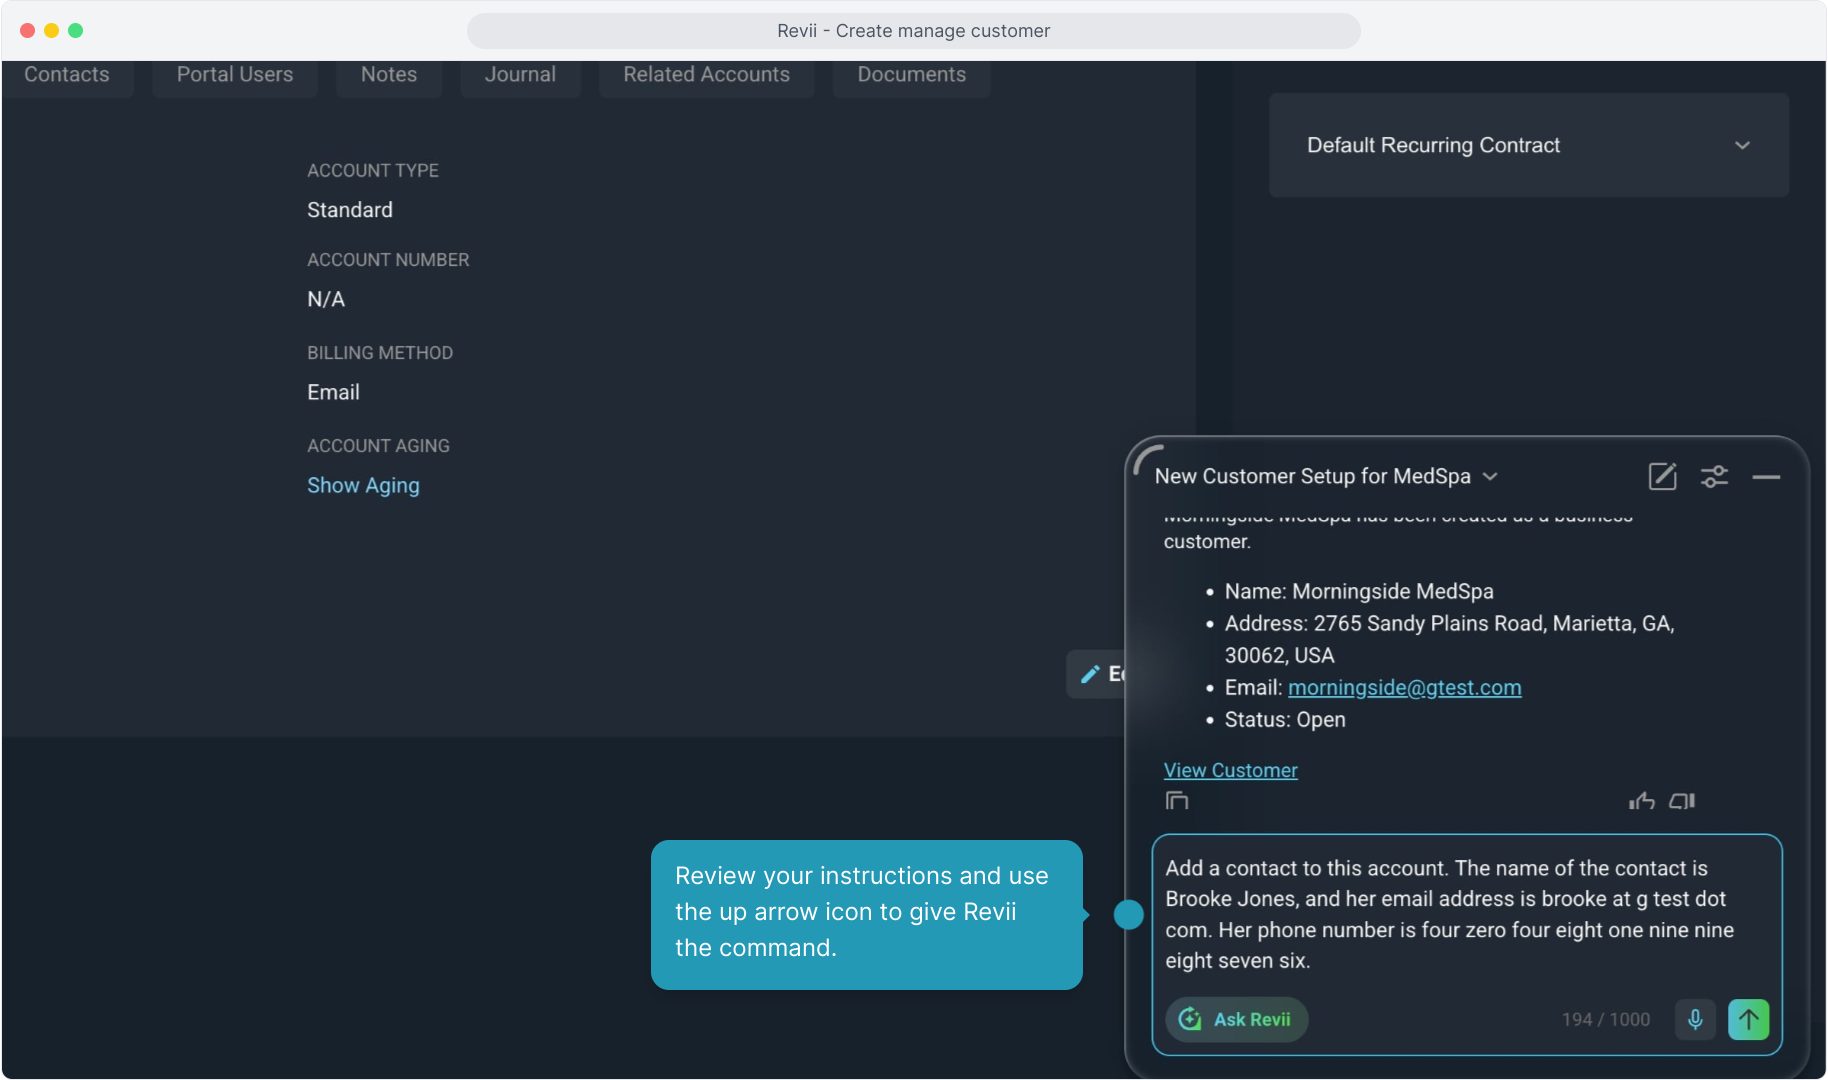
13. Now, we can create a contact on this customer account. Again, you can either type in the information or use the voice-to-text option.
14. Review your instructions and use the up arrow icon to give Revii the command.
15. Again Revii will confirm the contact has been created.
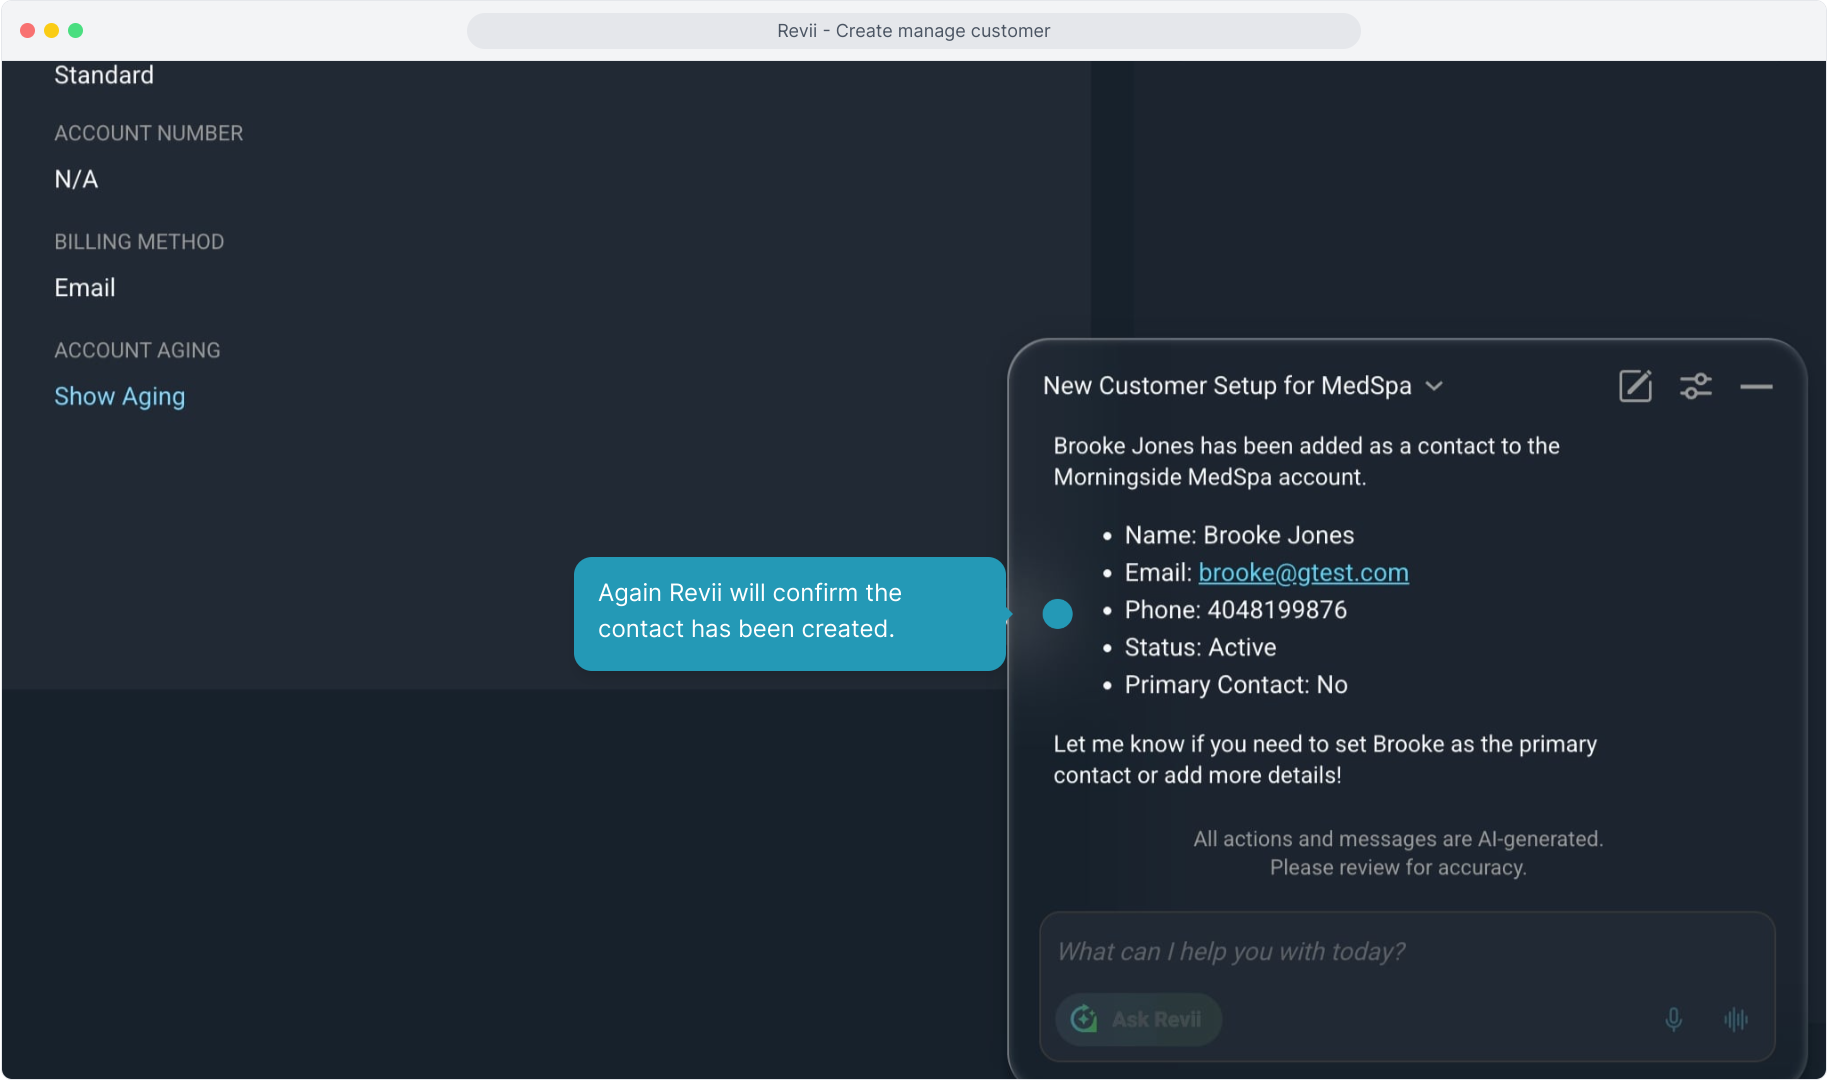
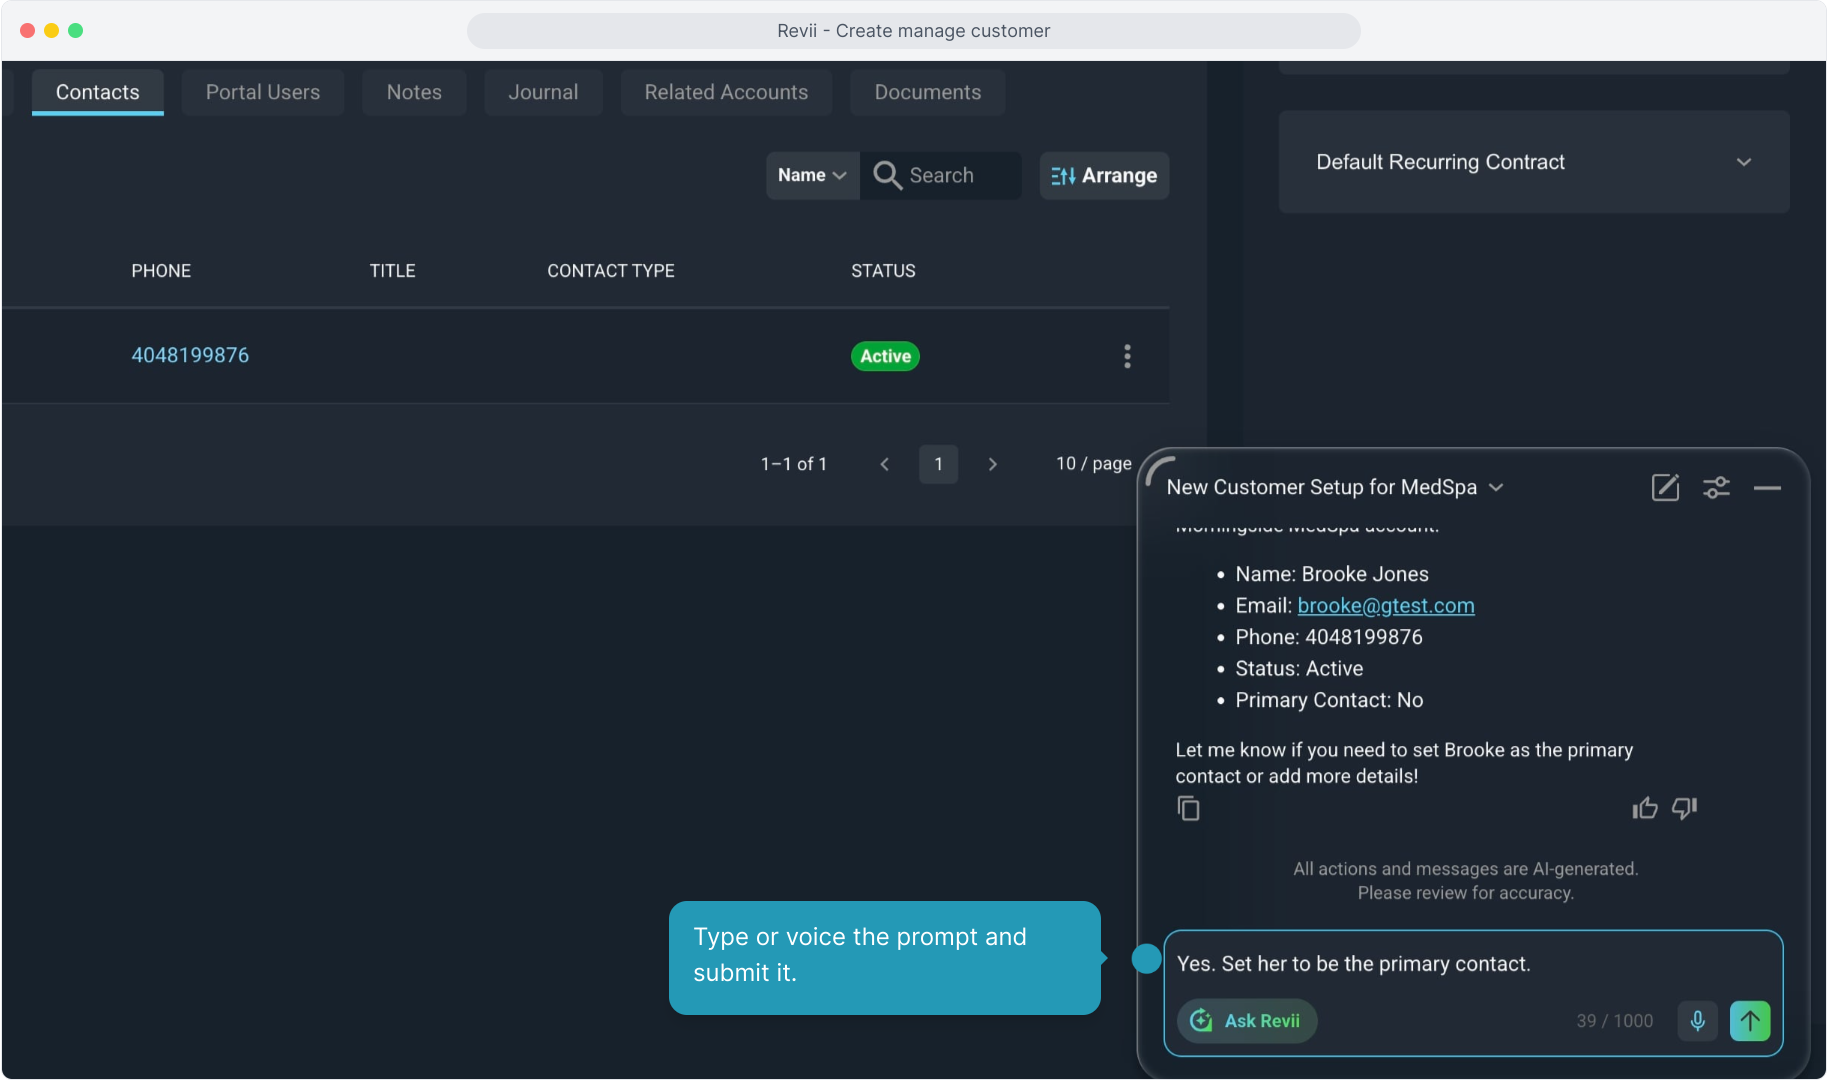
16. Revii prompts us with additional questions. In this case, we will answer Revii that we do want to set Brooke as the primary contact.

17. Type or voice the prompt and submit it.
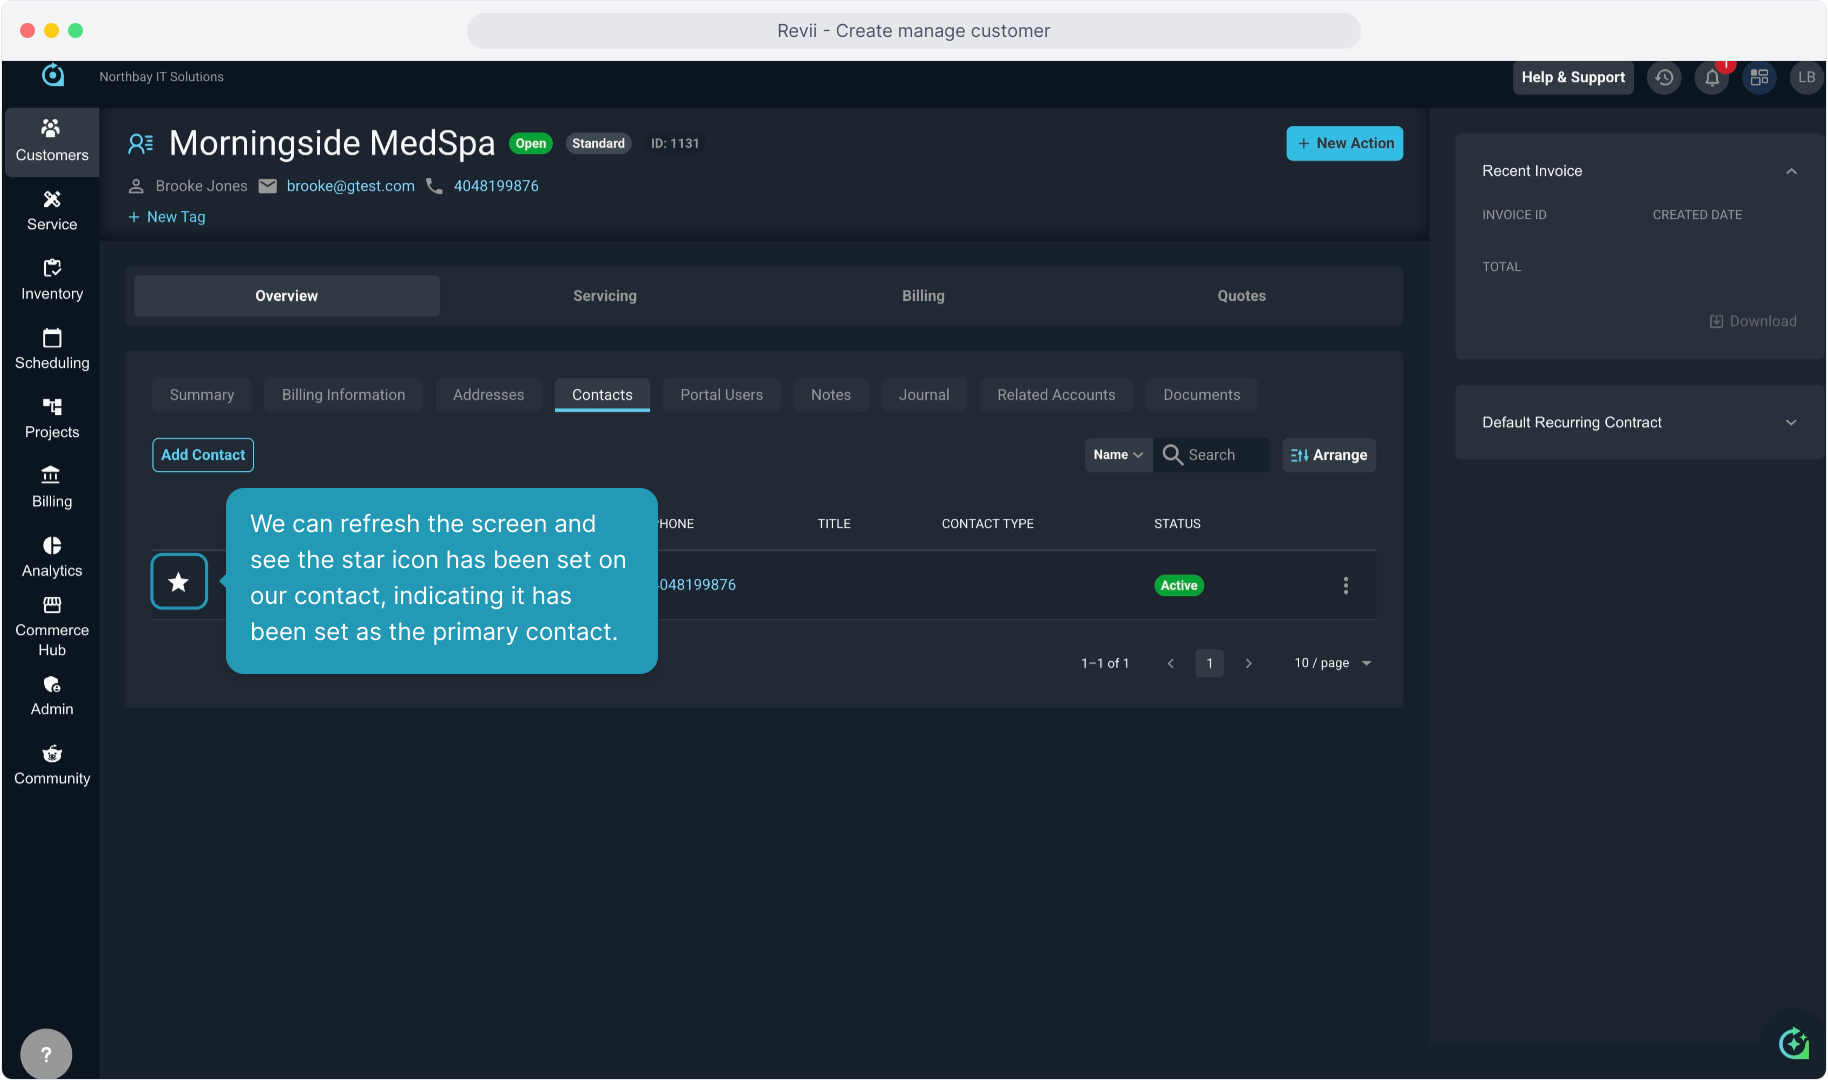
18. We can refresh the screen and see the star icon has been set on our contact, indicating it has been set as the primary contact.
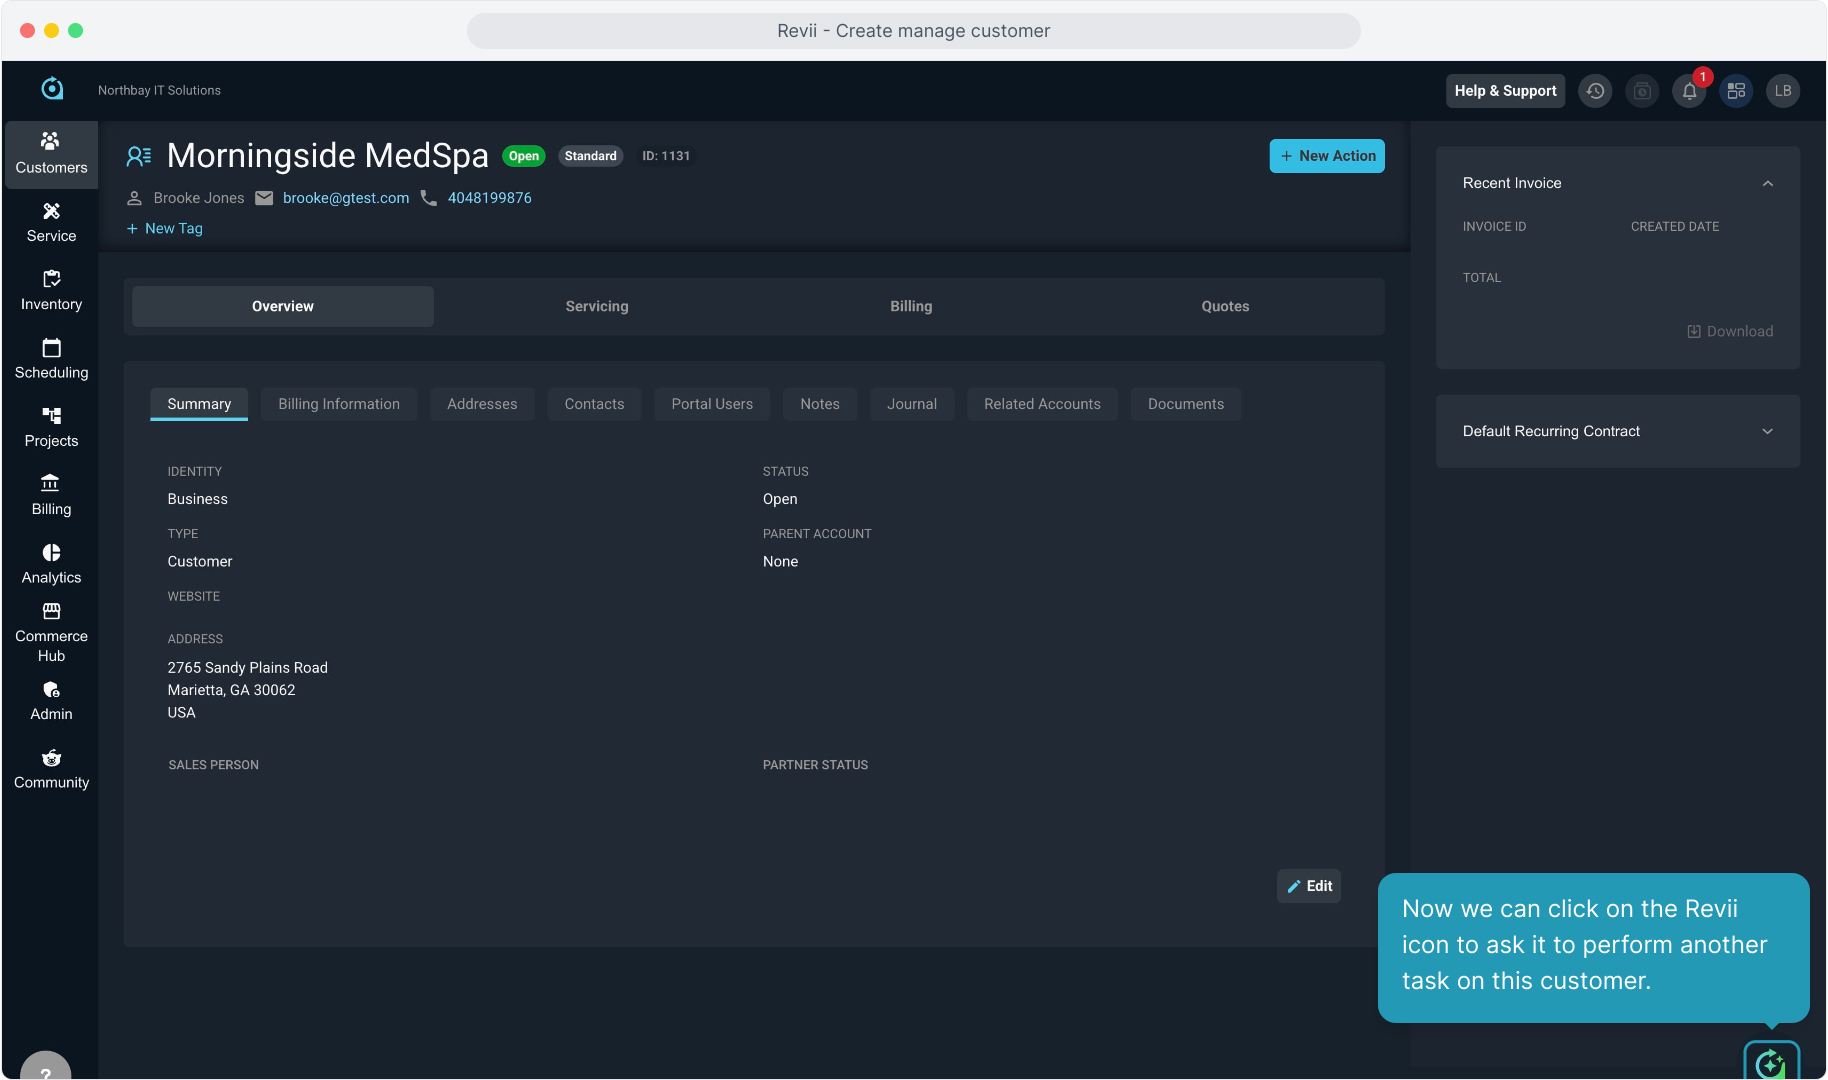
19. Now we can click on the Revii icon to ask it to perform another task on this customer.
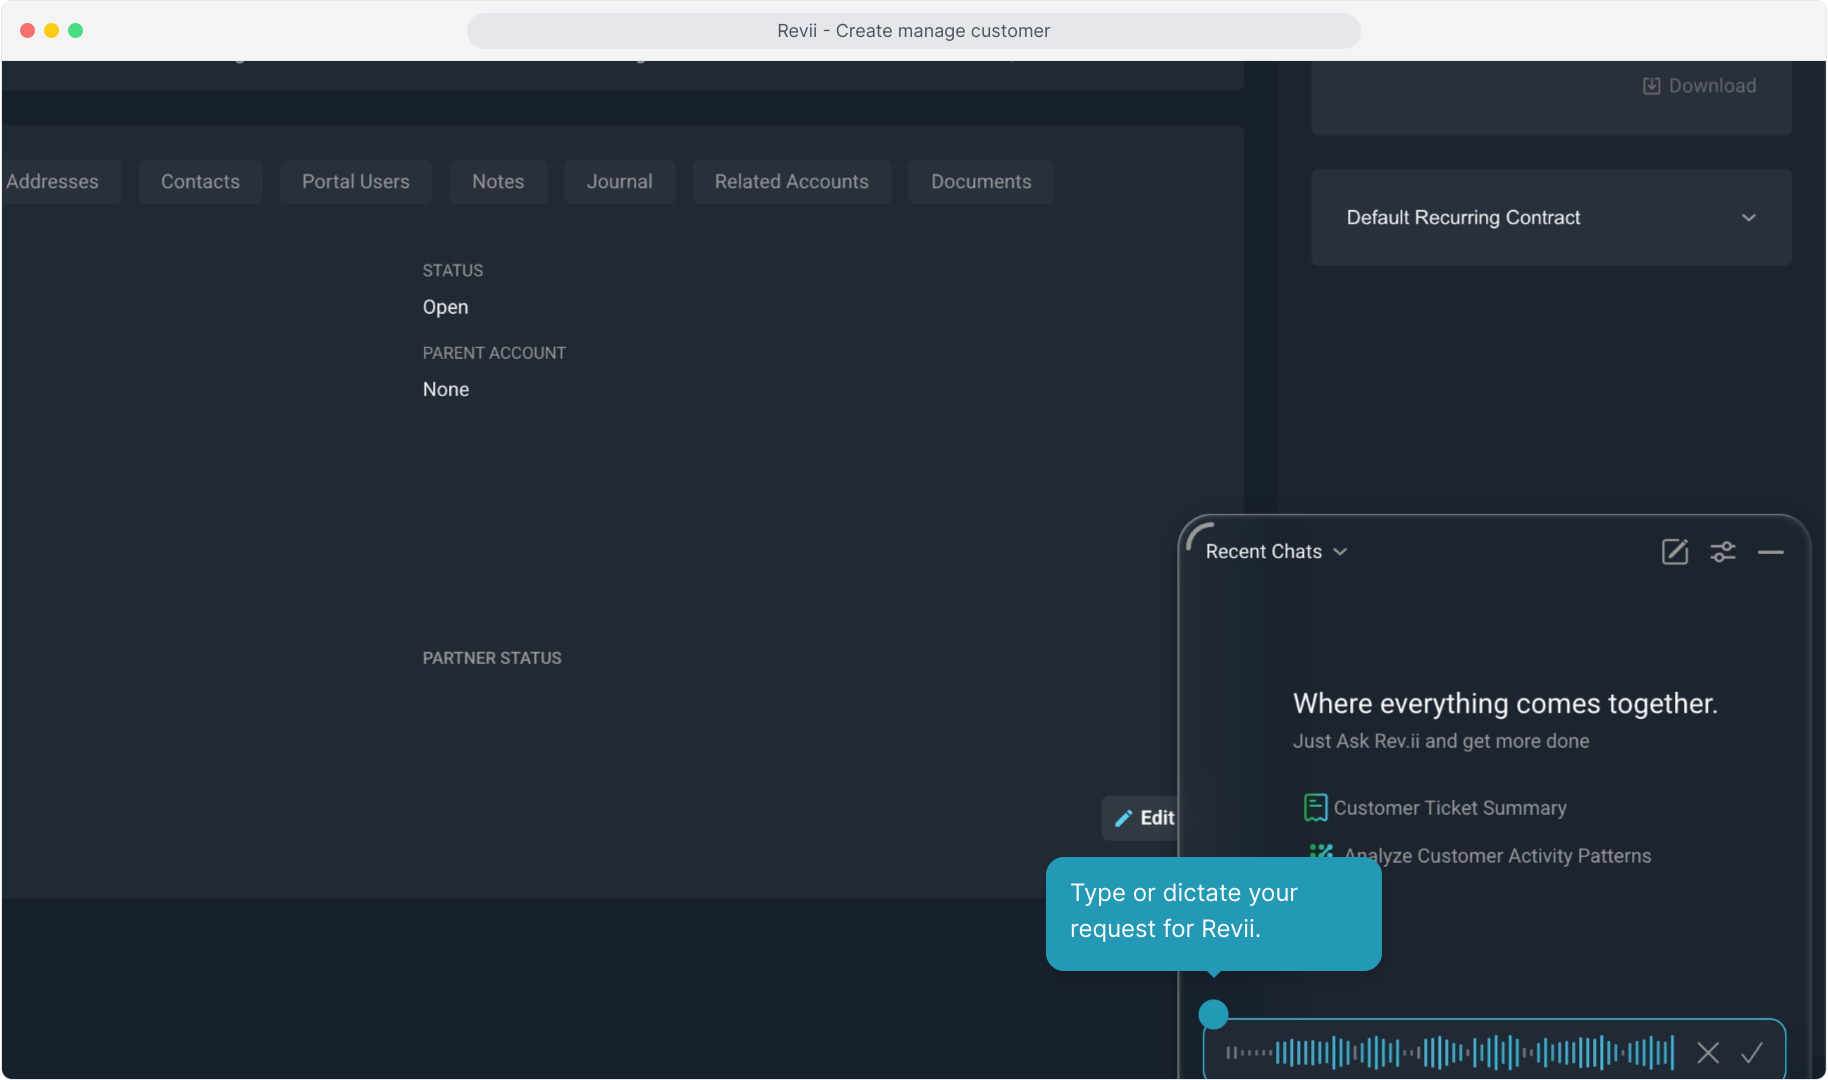
20. Type or dictate your request for Revii.
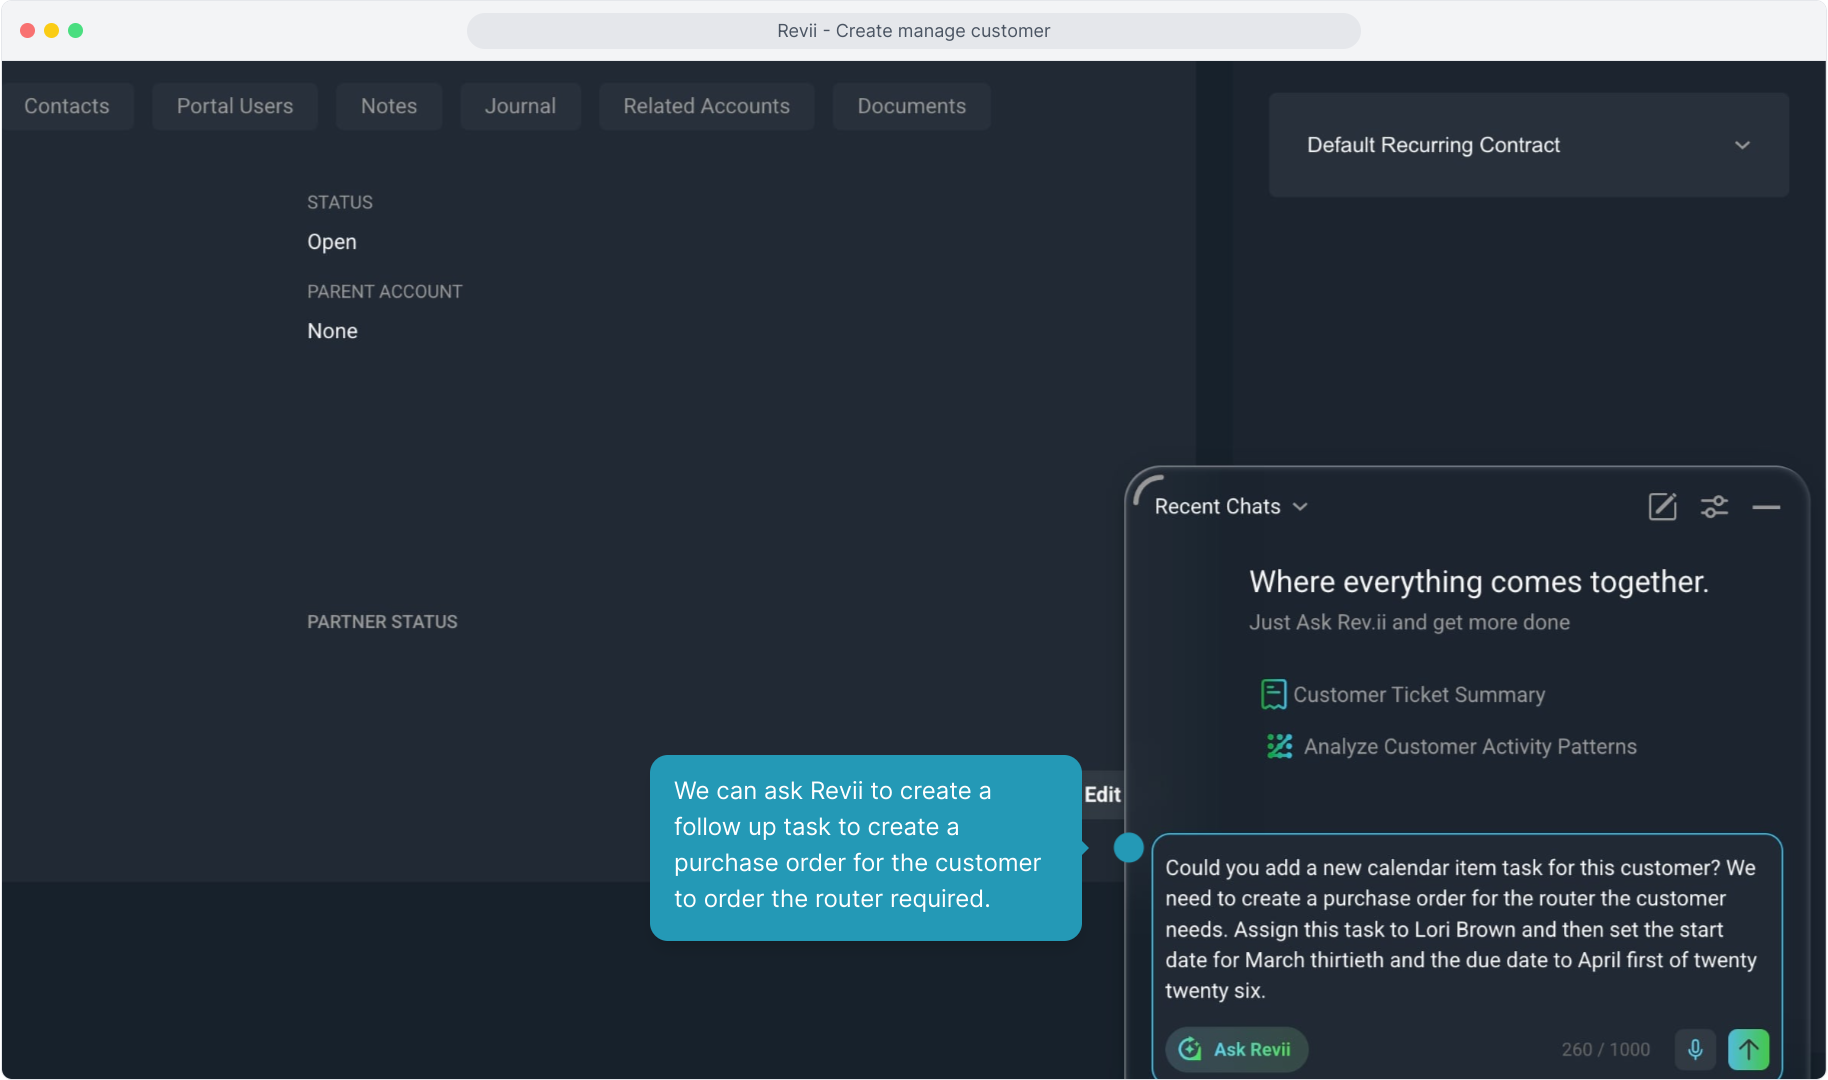
21. We can ask Revii to create a follow up task to create a purchase order for the customer to order the router required.
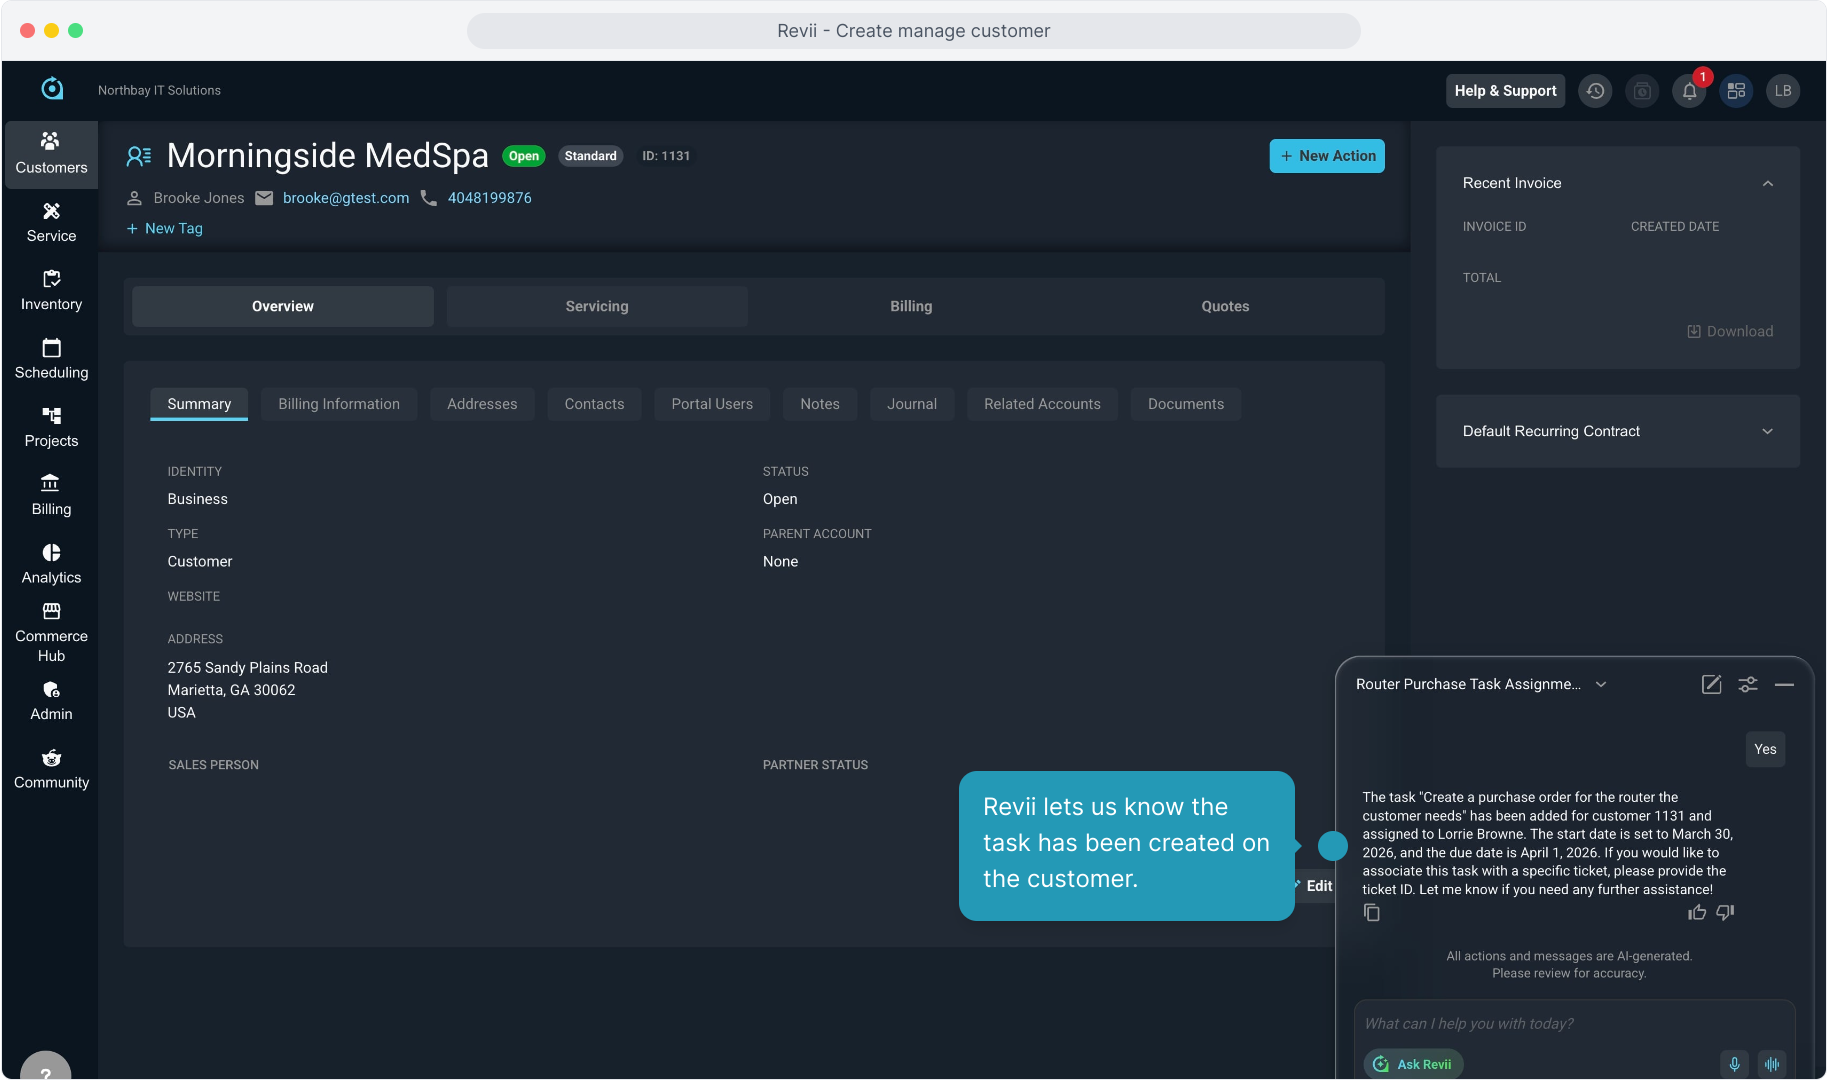
22. Revii lets us know the task has been created on the customer.
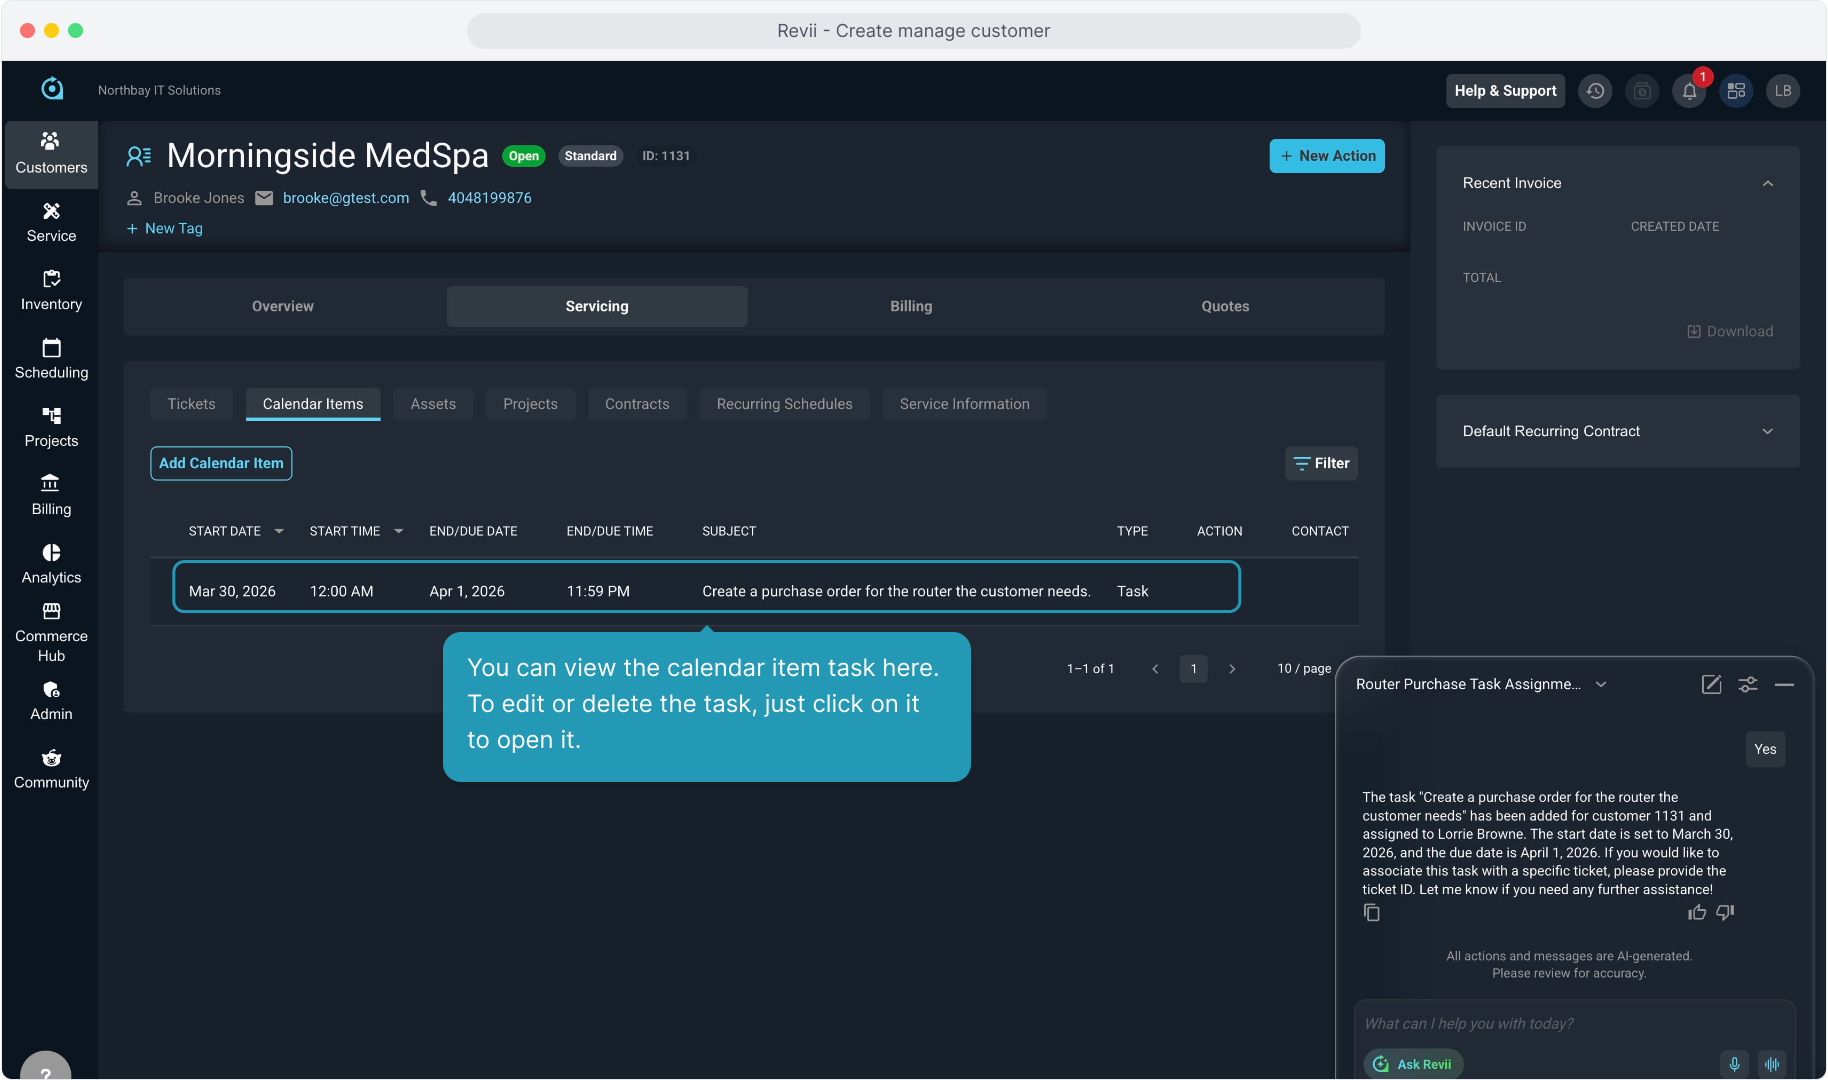
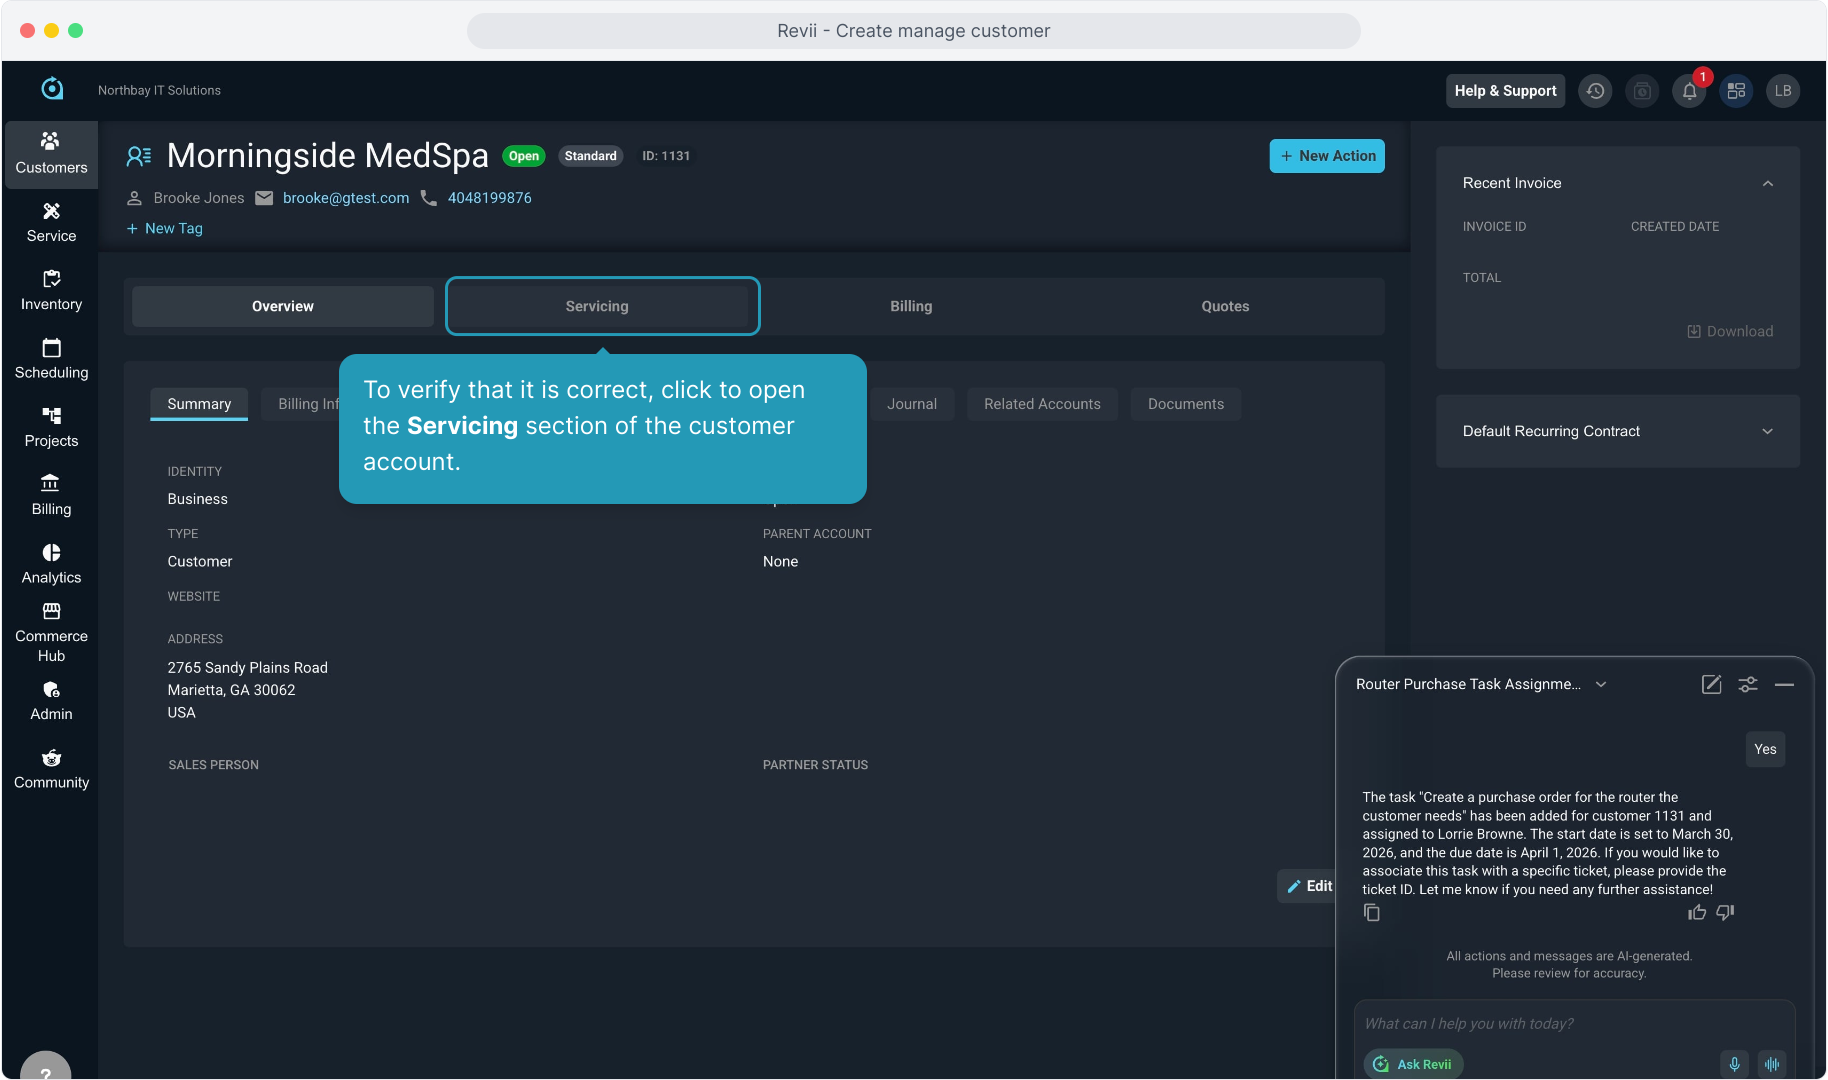
23. To verify that it is correct, click to open the Servicing section of the customer account.
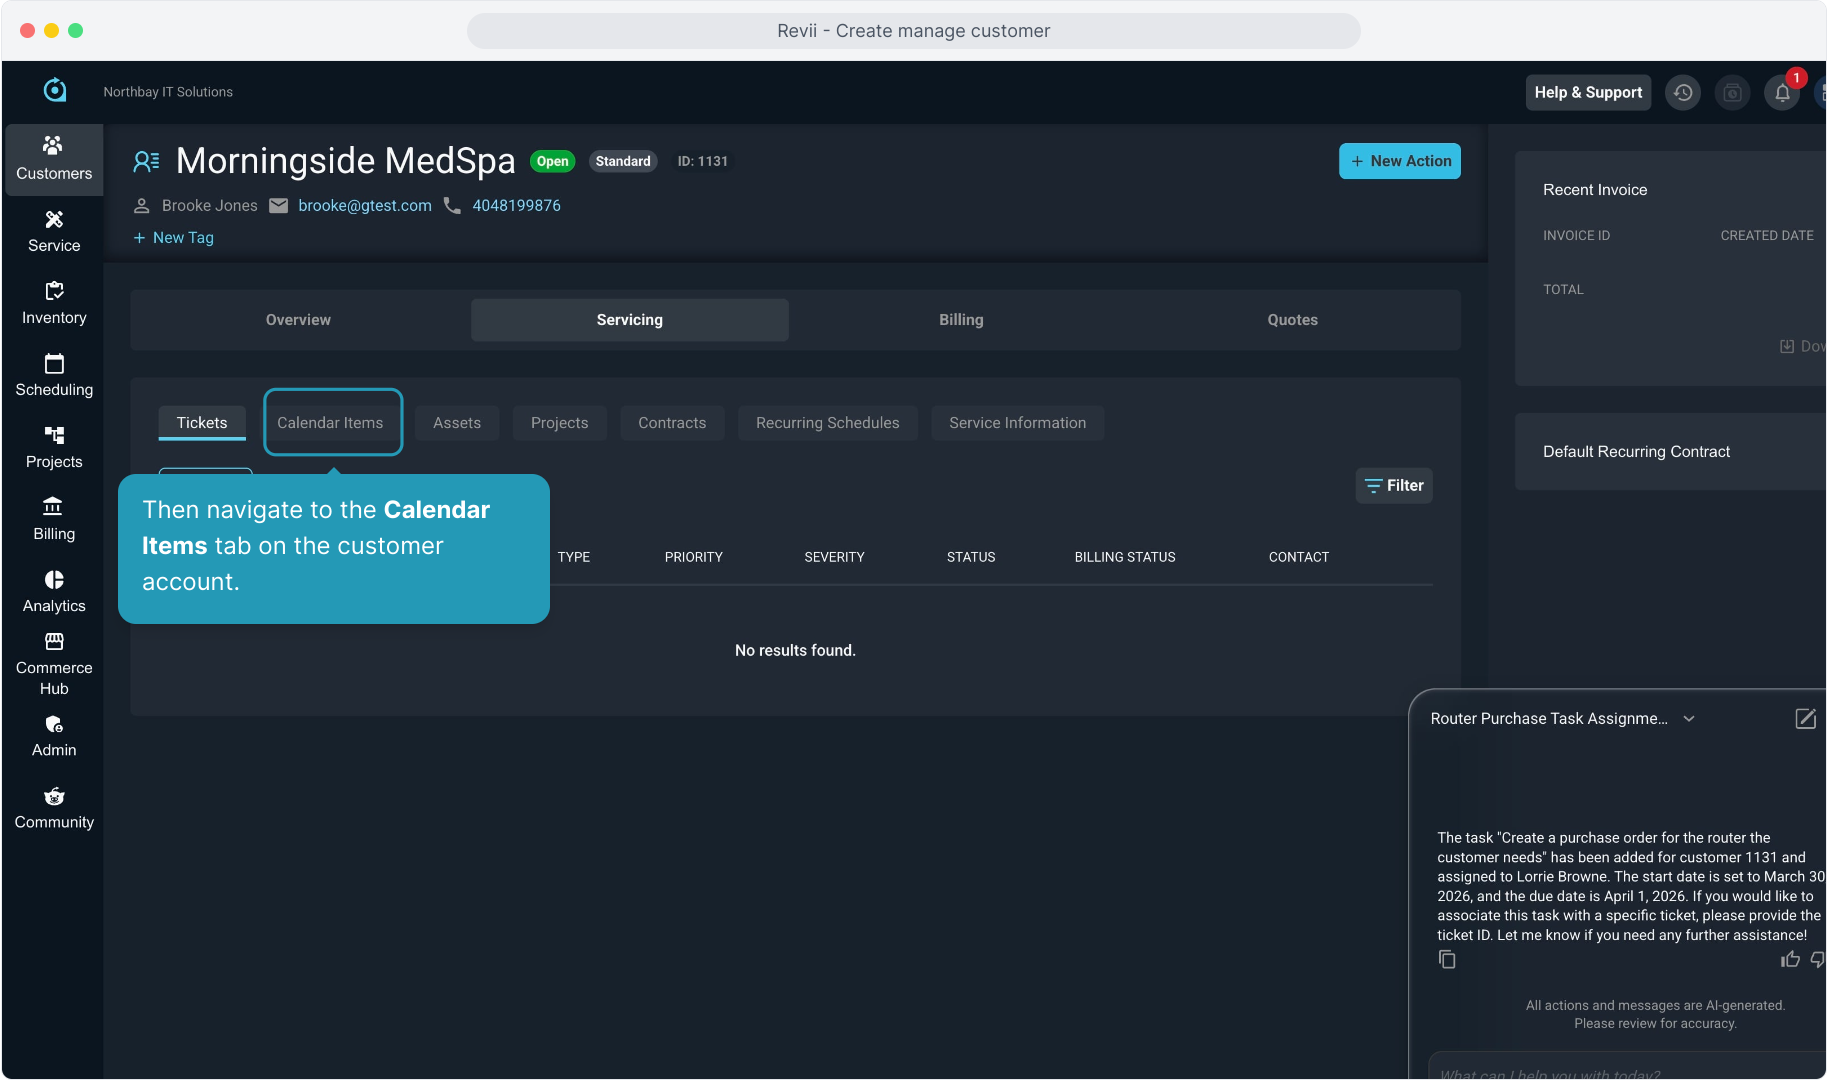
24. Then navigate to the Calendar Items tab on the customer account.
25. You can view the calendar item task here. To edit or delete the task, just click on it to open it.