Portal.io Integration: Configuration
| NOTE: An authorized user account is required to run this integration. To support better security and audit visibility, we recommend creating a dedicated "service account" user. When configuring this integration, sign in using the service account rather than your personal user account to ensure that audit logs reflect the service account running the integration instead of the user who originally installed it. |
Complete the steps below to configure the Portal.io integration.
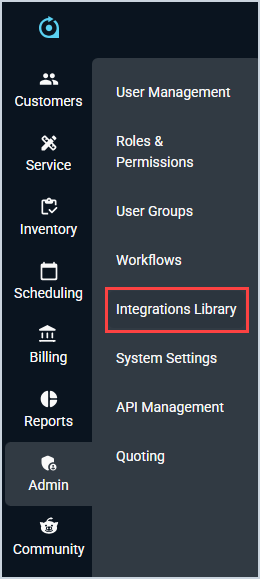
- Click Admin on the sidebar menu and select Integrations Library.
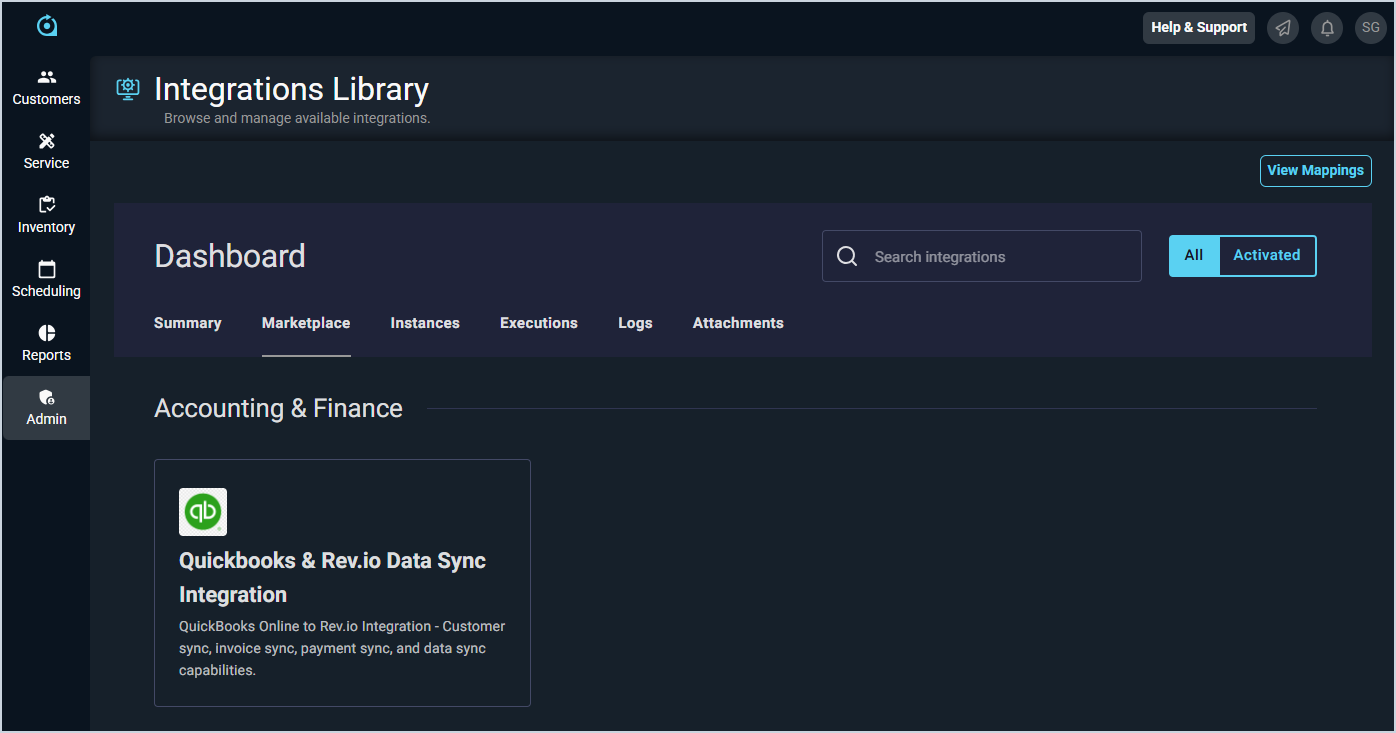
- Click the Marketplace tab.
- Locate and select the Portal.io integration in the Data Sync section.
- Click the Configure button.
- The Initial Configuration section is automatically populated. Click the Next button.
- In the Portal.io Connection section, enter the URL for your Portal.io instance in the Base URL field. Then, enter your App ID, Secret Key, and Portal Username for Portal.io and click the Next button.
- Configure the following settings for the Proposal Sync and Notifications steps of the wizard. See the Portal.io Integration: Proposal Sync and Portal.io Integration: Notifications articles for more information on each setting.
- Default Service Type: the service type used for service lines on every quote created by the integration. Required.
- Notification User: the Rev.io user who receives integration alerts. Required.
- Auto-Approve Quotes: approve clean quotes automatically or hold them in Draft for your review.
- Customer Creation Policy: auto-create new customers from proposals, or require matching customers to exist in Rev.io.
- Landing Target: choose whether accepted proposals create a quote or a ticket in Rev.io.
- Default customer details: bill profile, customer type, identity, and placeholder address used when a new customer is created.
- Default Salesperson: optional fallback salesperson when the proposal's salesperson cannot be matched.
- Sync Delay Minutes: optional delay (0-60 minutes) between acceptance and sync, giving you time before a quote is created.
- Notifications: Choose which channels fire for each of the five notification events. All are enabled by default. See the Portal.io Integration: Notifications article for more information.
- The integration will run its initial cost sync, updating Estimated Cost values on the Purchasing tab for products in your catalog that already have Portal.io listed as a vendor. The integration will also cross-reference any product without a Portal.io vendor entry against the Portal.io catalog by Manufacturer Part Number and automatically add Portal.io as a new vendor row when a match is found. Once the integration is connected, it will appear on the Marketplace tab with a green check mark indicating an active connection.