NOTE: An authorized user account is required to run this integration. To support better security and audit visibility, we recommend creating a dedicated "service account" user. When configuring this integration, sign in using the service account rather than your personal user account to ensure that audit logs reflect the service account running the integration instead of the user who originally installed it.
Complete the steps below to configure the Zoho CRM integration.
NOTE: Before starting the configuration steps below, be sure you have completed the required prerequisite steps. See the Zoho CRM Integration: Prerequisites article for more information.
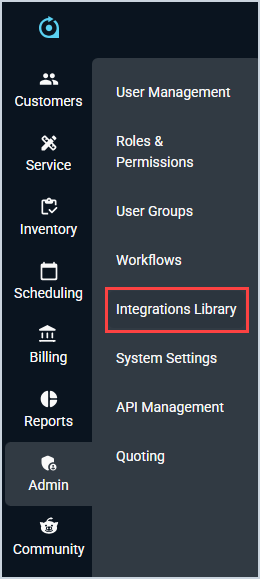
Click Admin on the sidebar menu and select Integrations Library.
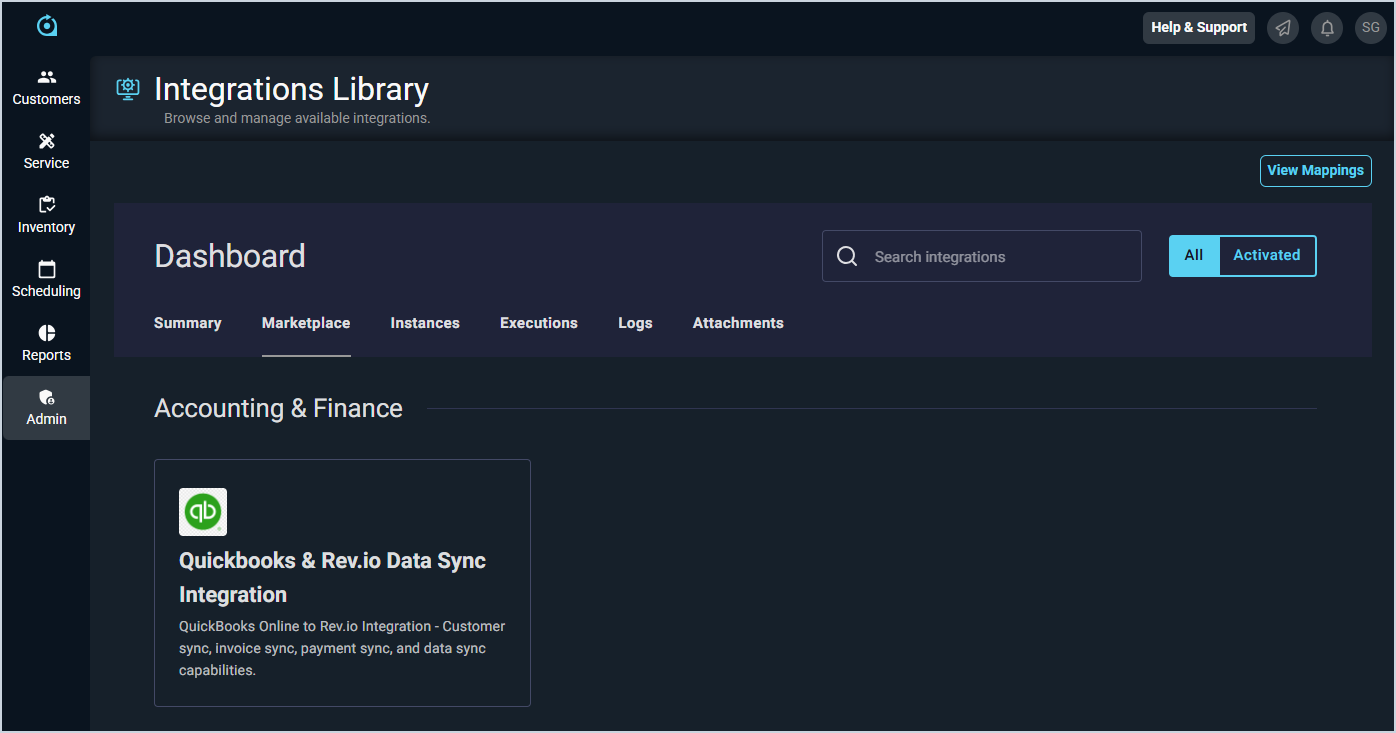
Click the Marketplace tab.
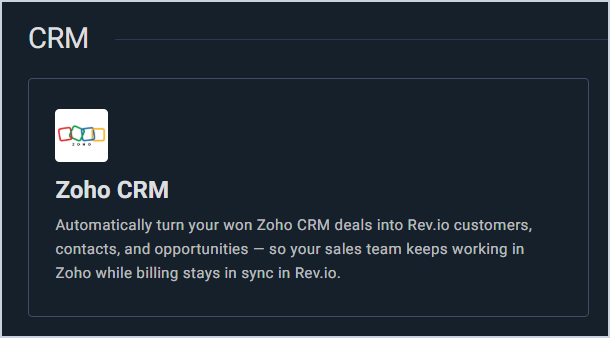
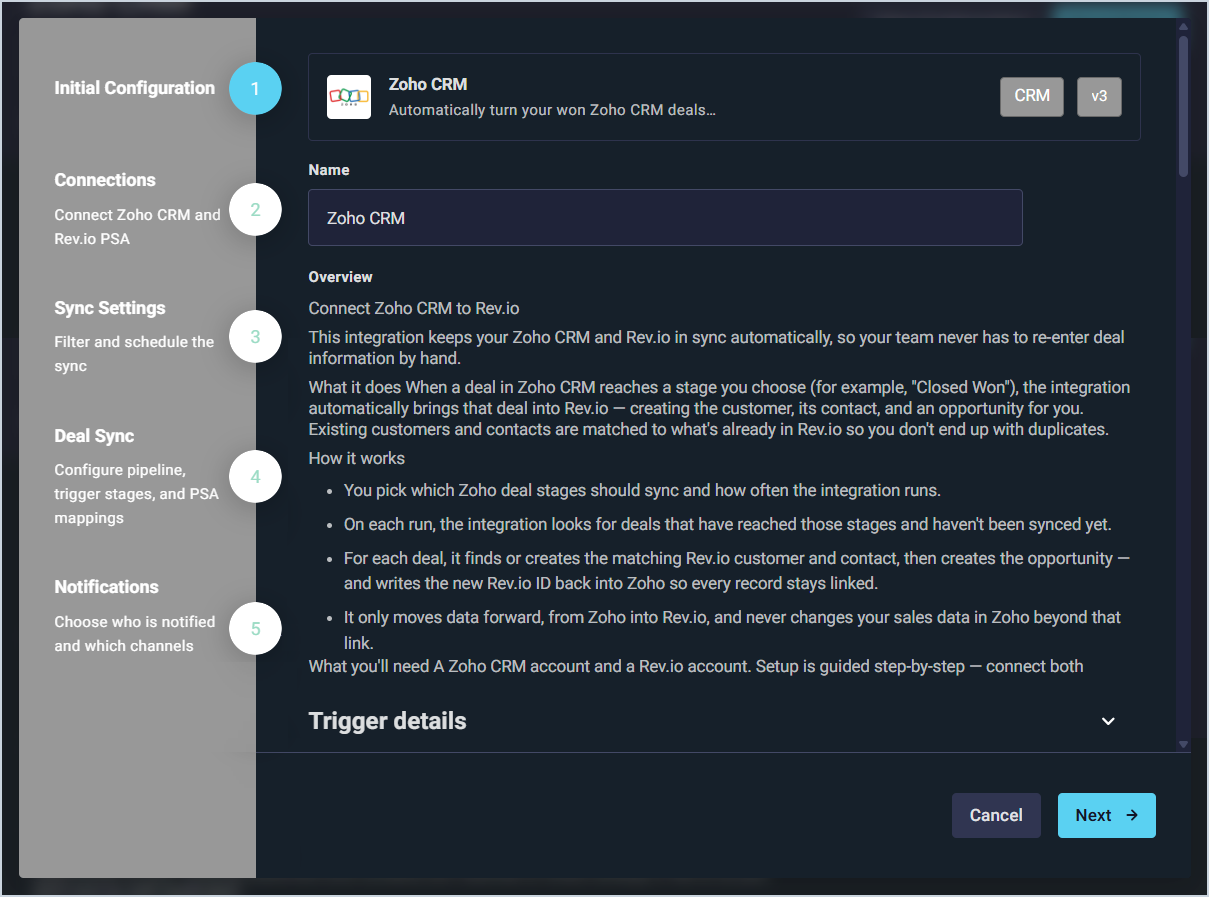
Locate and select the Zoho CRM integration in the CRM section.
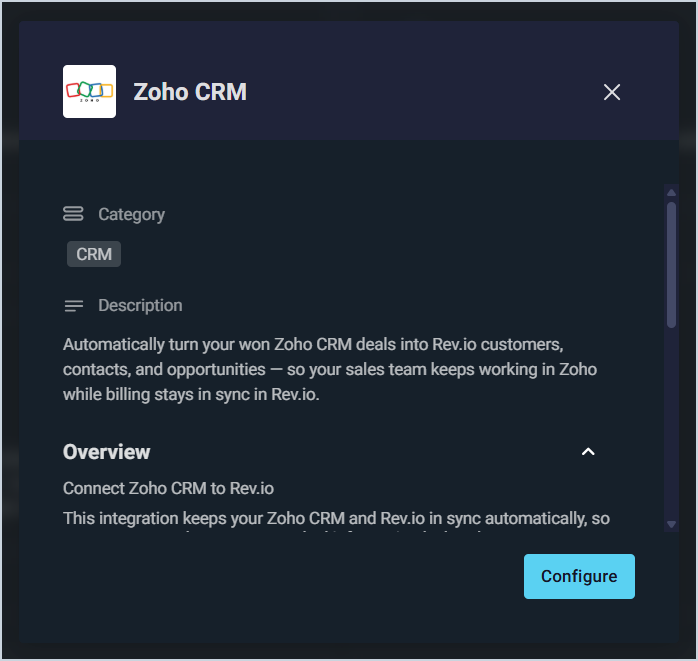
Click the Configure button.
The Initial Configuration section is automatically populated. Click the Next button.
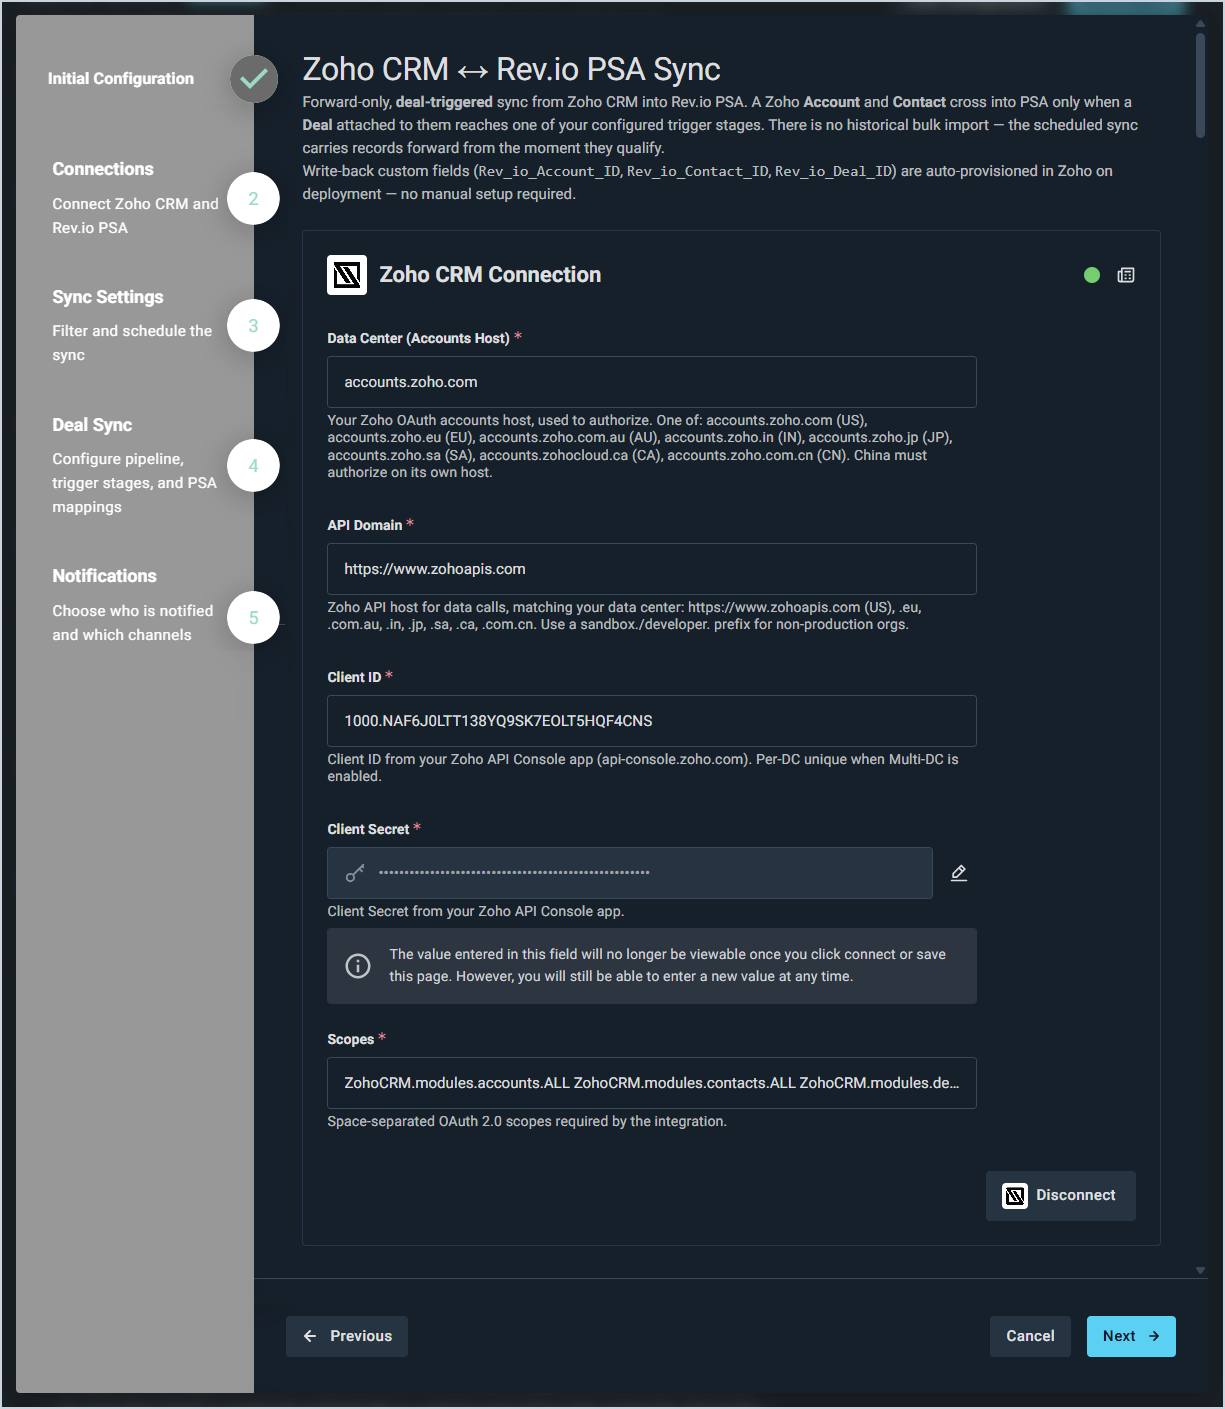
In the Zoho CRM Connection section, enter your Data Center (Accounts Host), API Domain, Client ID, Client Secret, and Scopes. The Data Center and API Domain values must match your Zoho organization's region. The Client ID and Client Secret are obtained from your Zoho API Console app at api-console.zoho.com. Click Next.
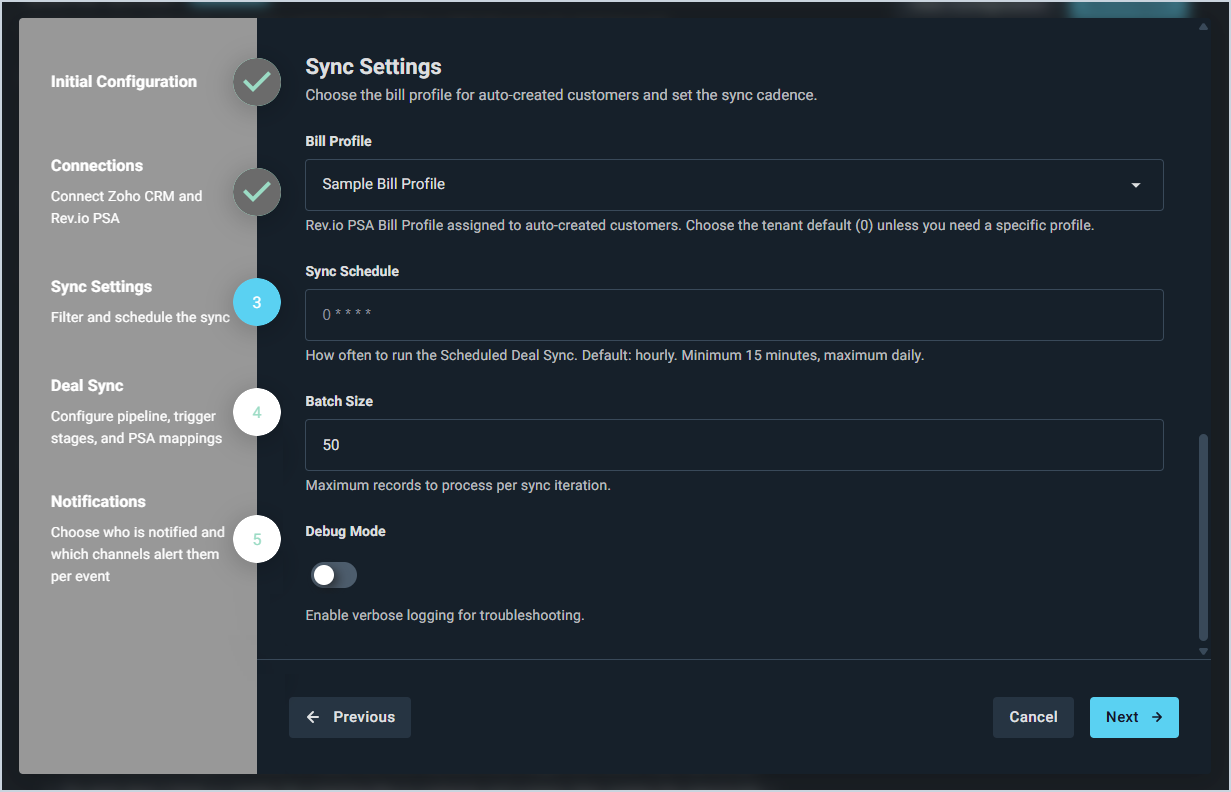
On the Sync Settings page, select the Bill Profile to assign to any new customers the integration creates automatically. Set your preferred Sync Schedule, which defaults to hourly with a minimum of every 15 minutes and a maximum of once daily. Leave Batch Size and Debug Mode at their default values unless advised otherwise. Click Next.
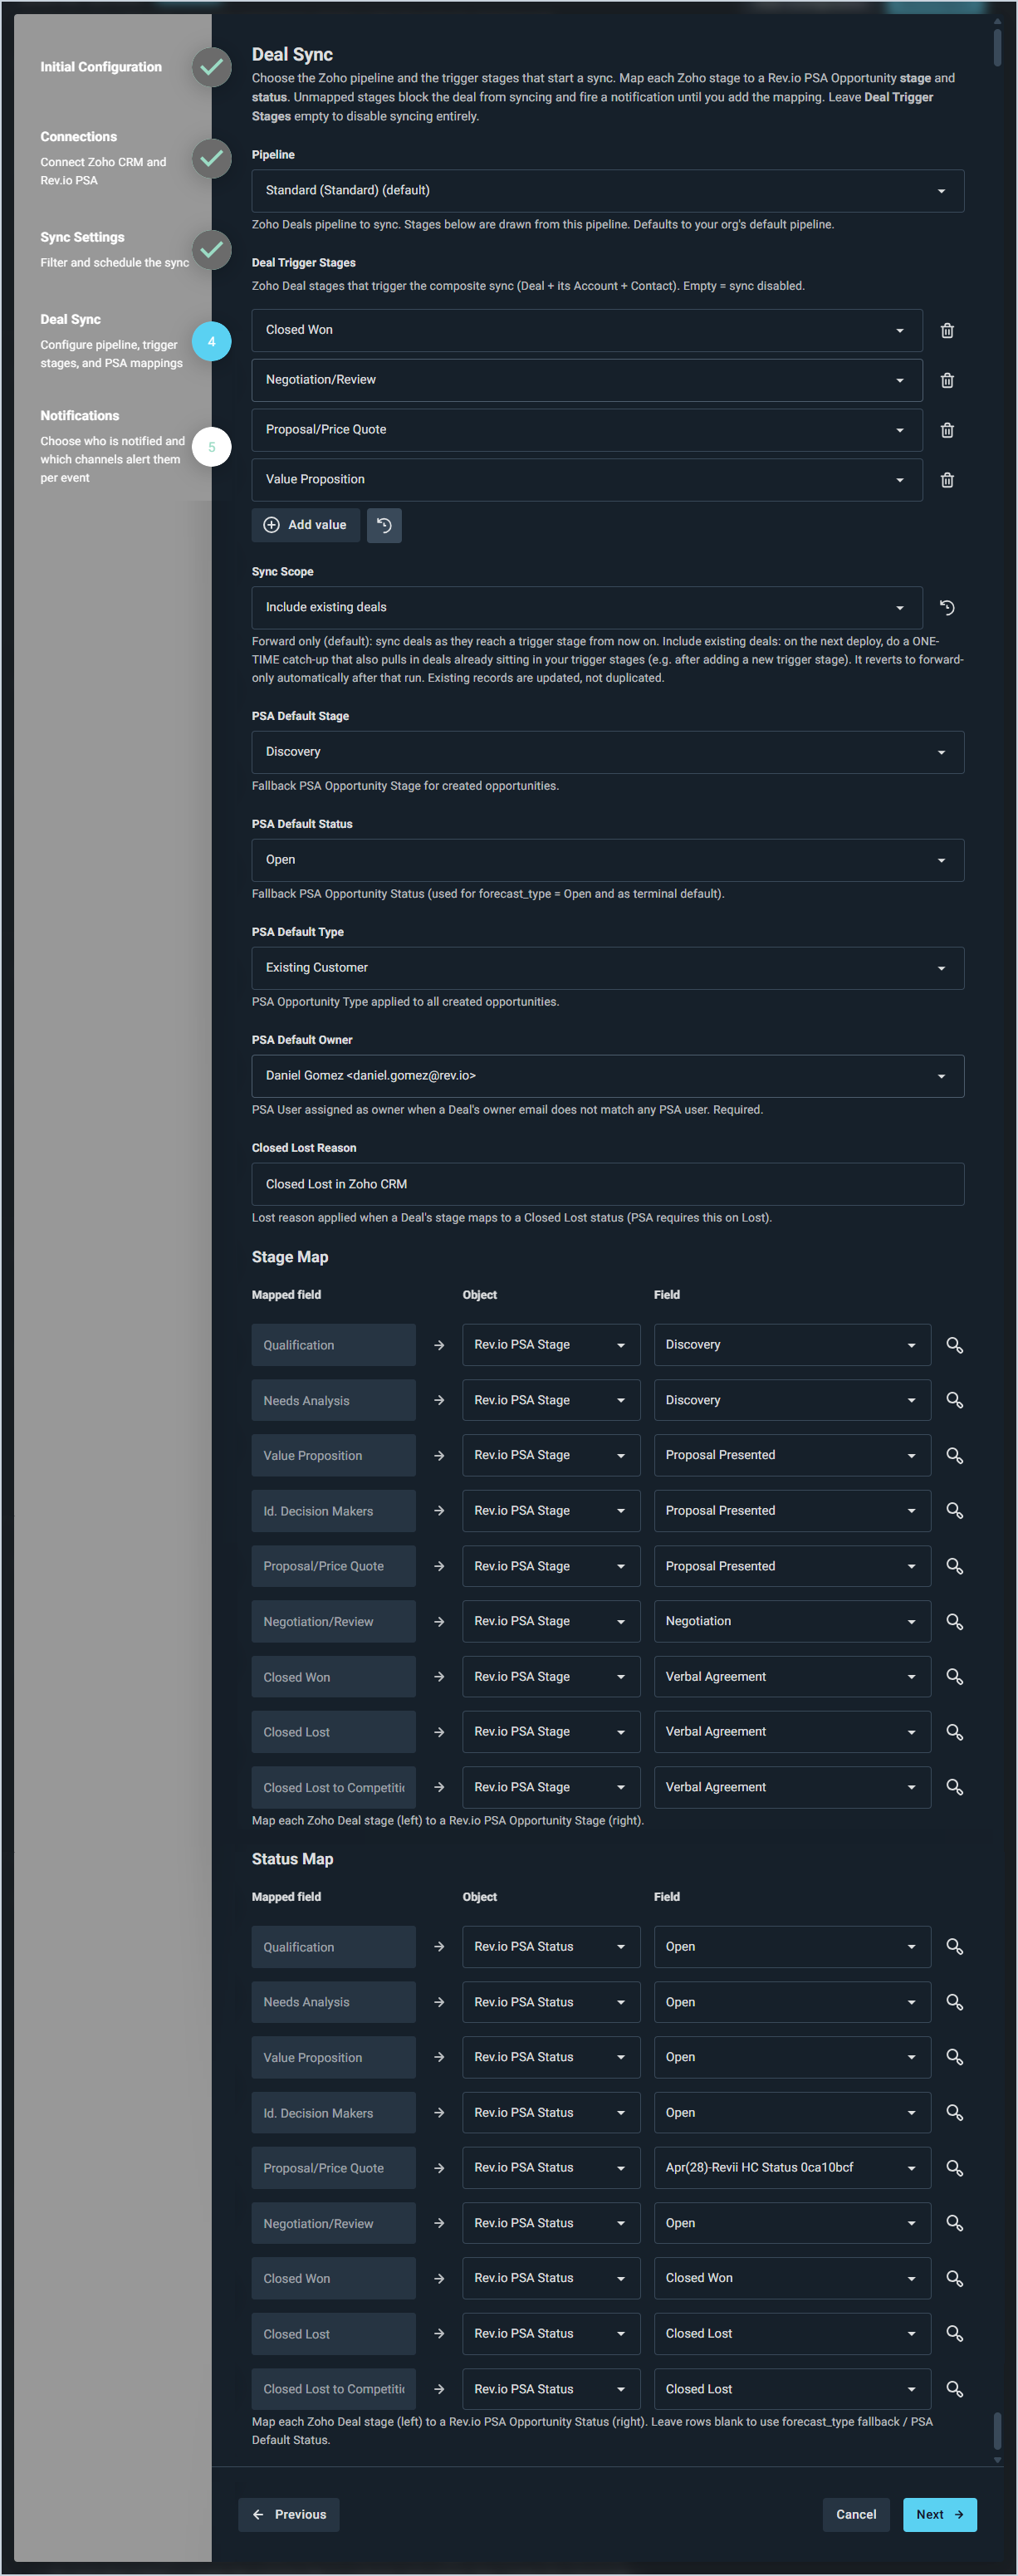
On the Deal Sync page, configure the following settings and click Next.
Select the Pipeline you want the integration to monitor. Stage options below are drawn from this pipeline.
Under Deal Trigger Stages, select the Zoho stages that should trigger a sync. Leaving this field empty disables syncing entirely.
Set the Sync Scope to Forward only to sync deals as they reach a trigger stage going forward, or Include existing deals to also perform a one-time catch-up of deals already sitting in your trigger stages on the next deploy.
Select the PSA Default Stage, PSA Default Status, and PSA Default Type to use as fallbacks for created opportunities.
Select a PSA Default Owner for deals where the Zoho deal owner's email does not match a Rev.io user. This field is required.
Enter a Closed Lost Reason to apply when a deal's stage maps to a Closed Lost status.
Complete the Stage Map to define how each Zoho deal stage maps to a Rev.io opportunity stage.
Complete the Status Map to define how each Zoho deal stage maps to a Rev.io opportunity status. Rows left blank will use the PSA Default Status as a fallback.
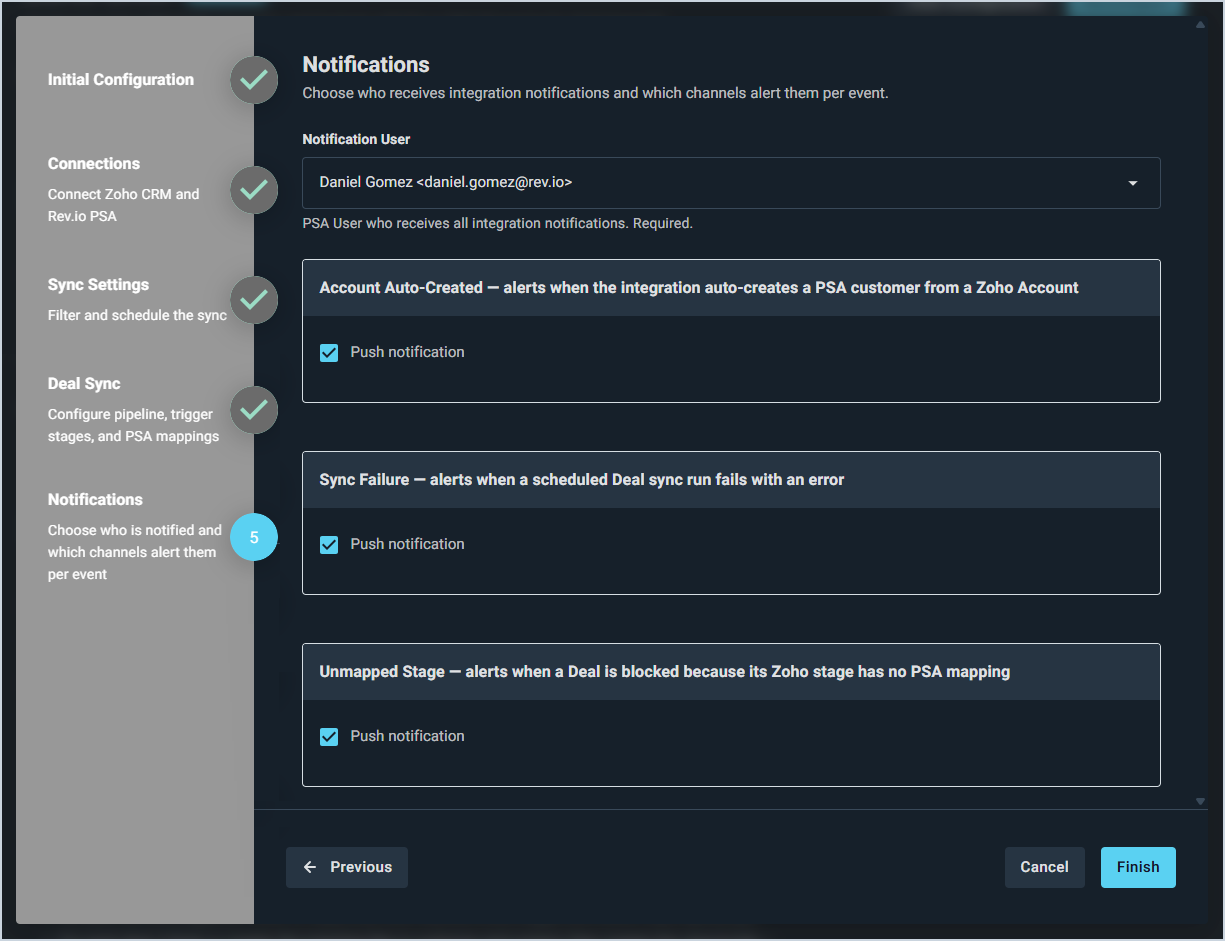
On the Notifications page, select the Notification User who will receive in-app alerts from the integration. This field is required. Enable or disable the following alert types as needed and click Finish.
Account Auto-Created - alerts when the integration auto-creates a customer from a Zoho account.
Sync Failure - alerts when a scheduled deal sync run fails with an error.
Unmapped Stage - alerts when a deal is blocked because its Zoho stage has no PSA mapping.
Once deployed, the integration runs an initial sync immediately. In Rev.io, confirm that opportunities appear with the correct customer, owner, stage, status, and amount. If you receive an Account Auto-Created notification, open the new customer record and confirm the address and details are accurate. If you receive an Unmapped Stage notification, add the missing stage mapping and the deal will sync on the next scheduled run.