How To Guide: Opportunity Management
1. Introduction
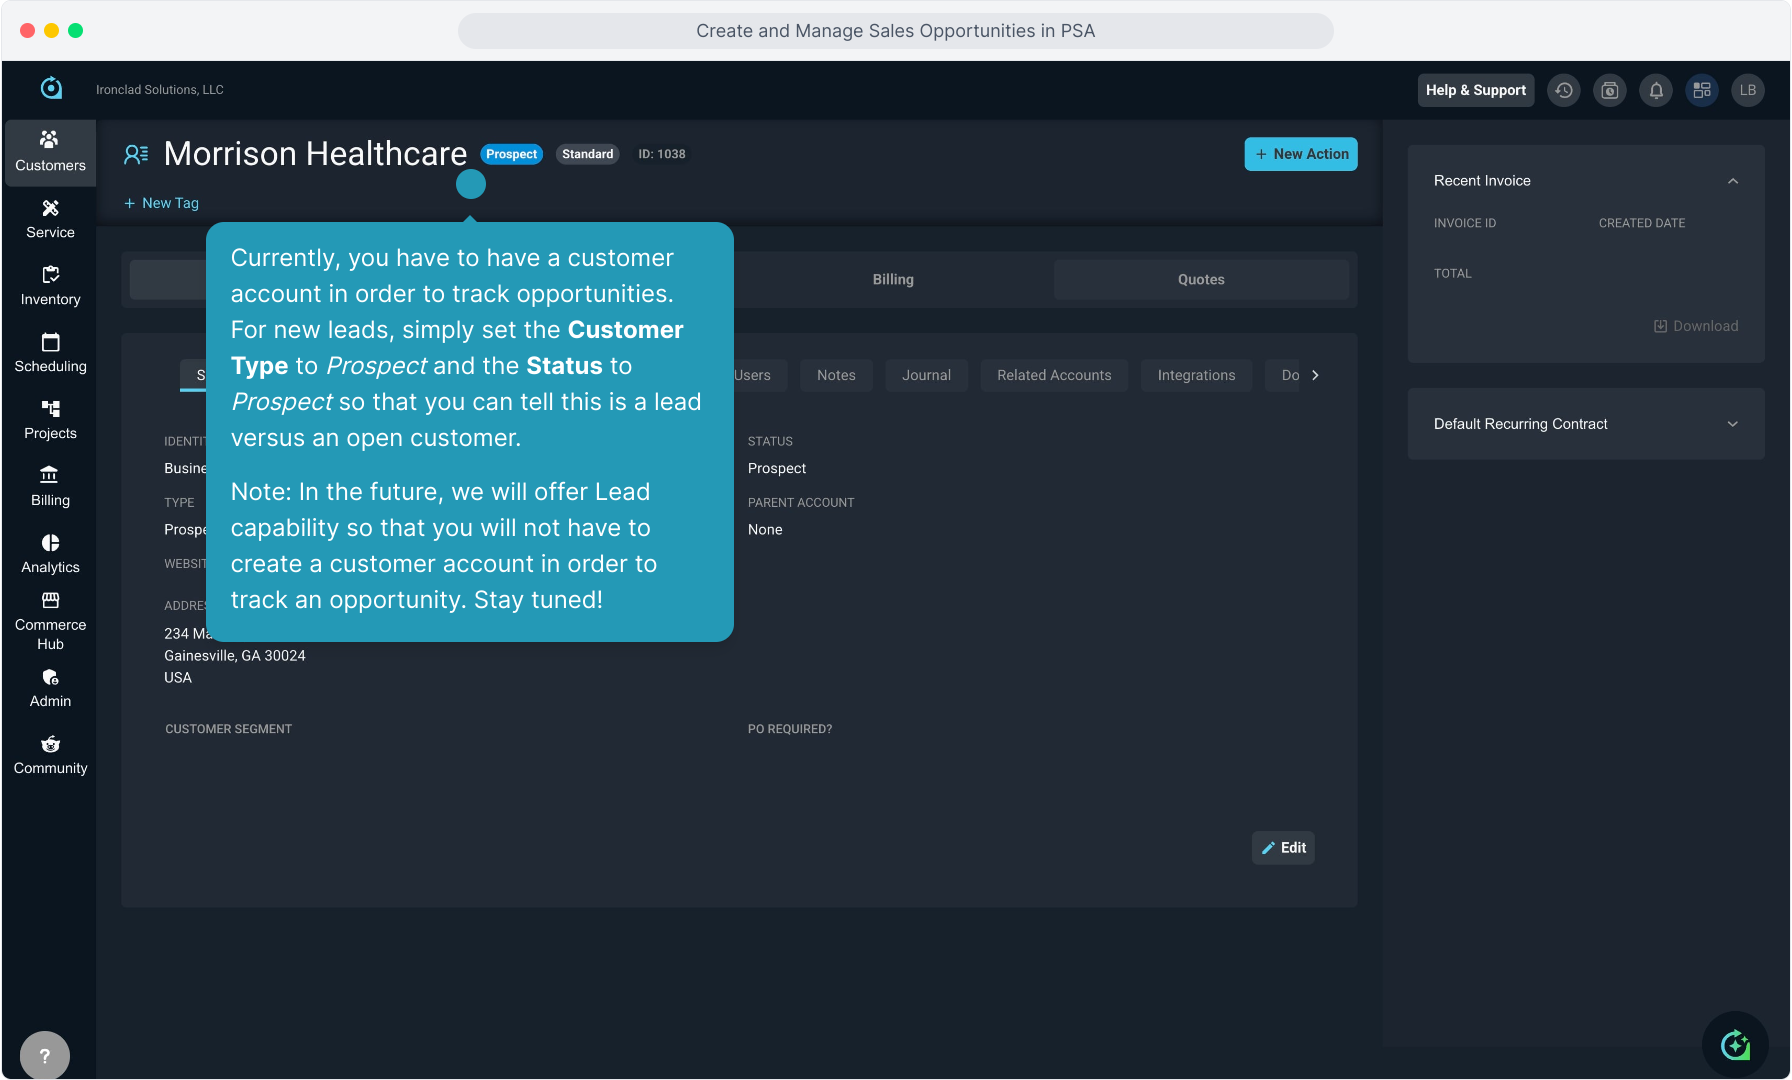
2. Currently, you have to have a customer account in order to track opportunities. For new leads, simply set the Customer Type to Prospect and the Status to Prospect so that you can tell this is a lead versus an open customer.
Note: In the future, we will offer Lead capability so that you will not have to create a customer account in order to track an opportunity. Stay tuned!
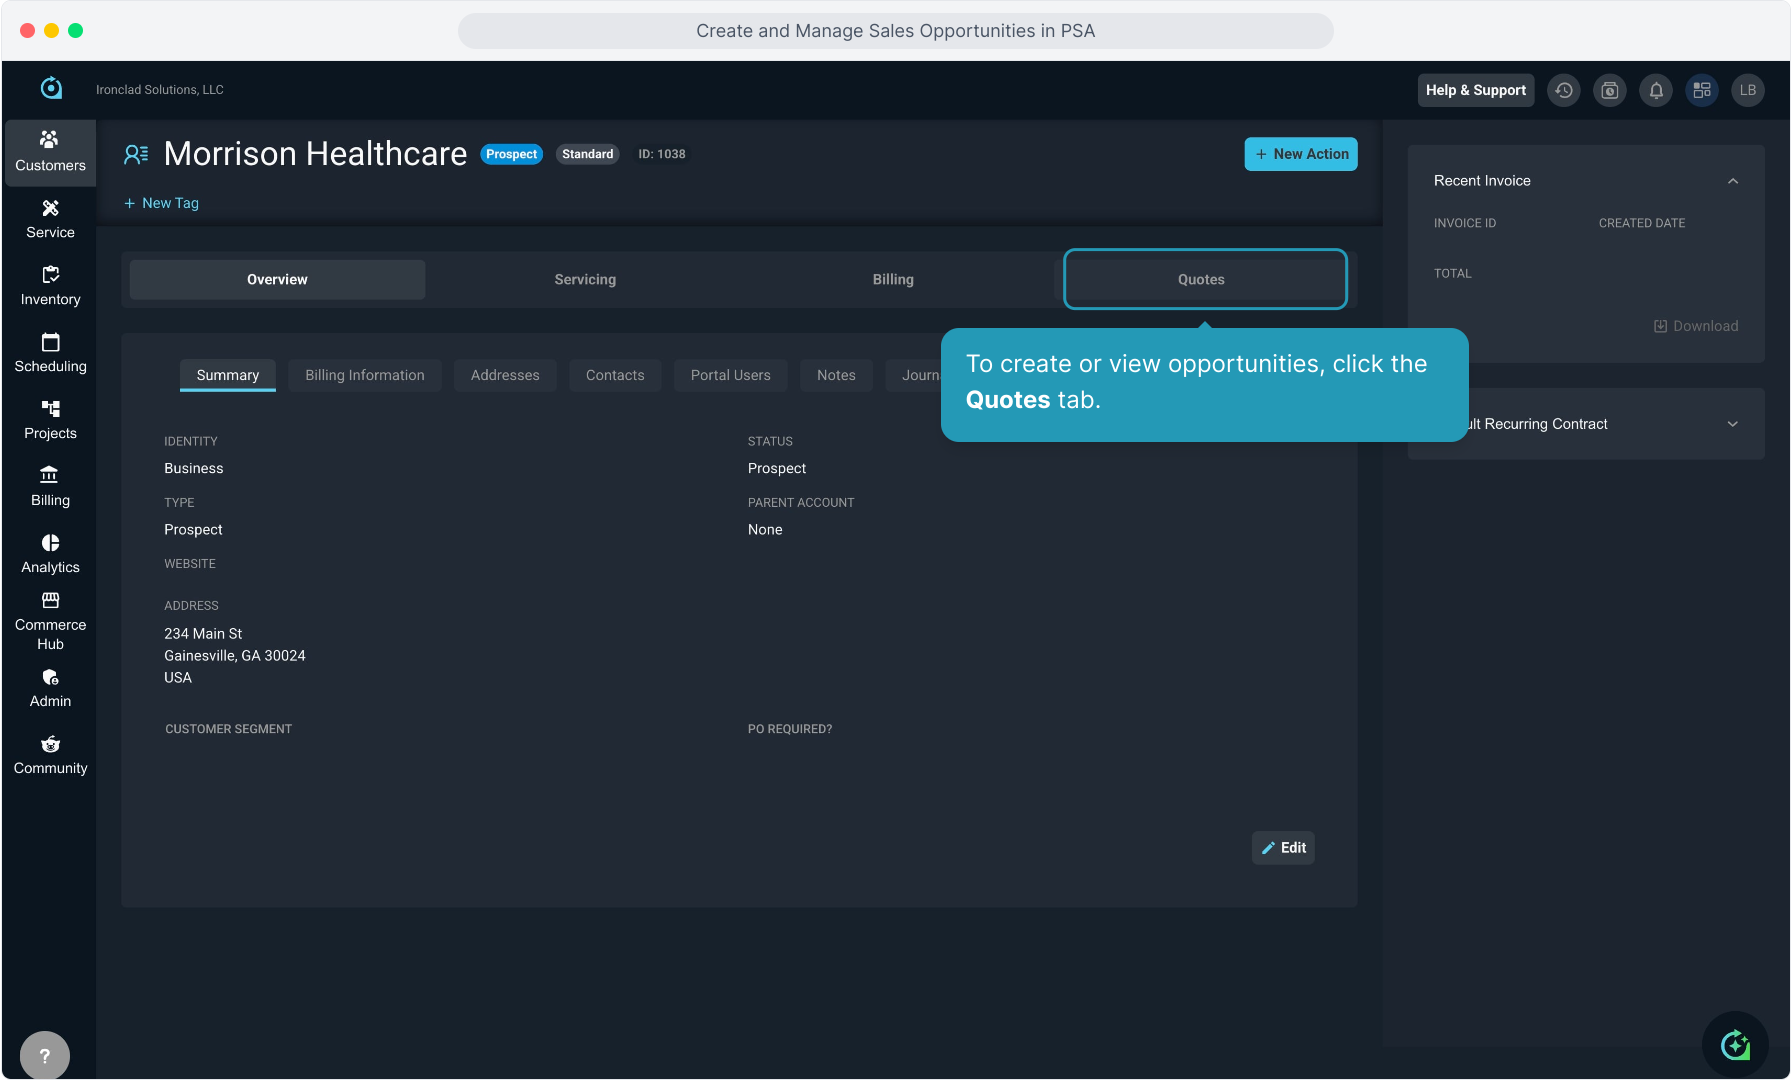
3. To create or view opportunities, click the Quotes tab.
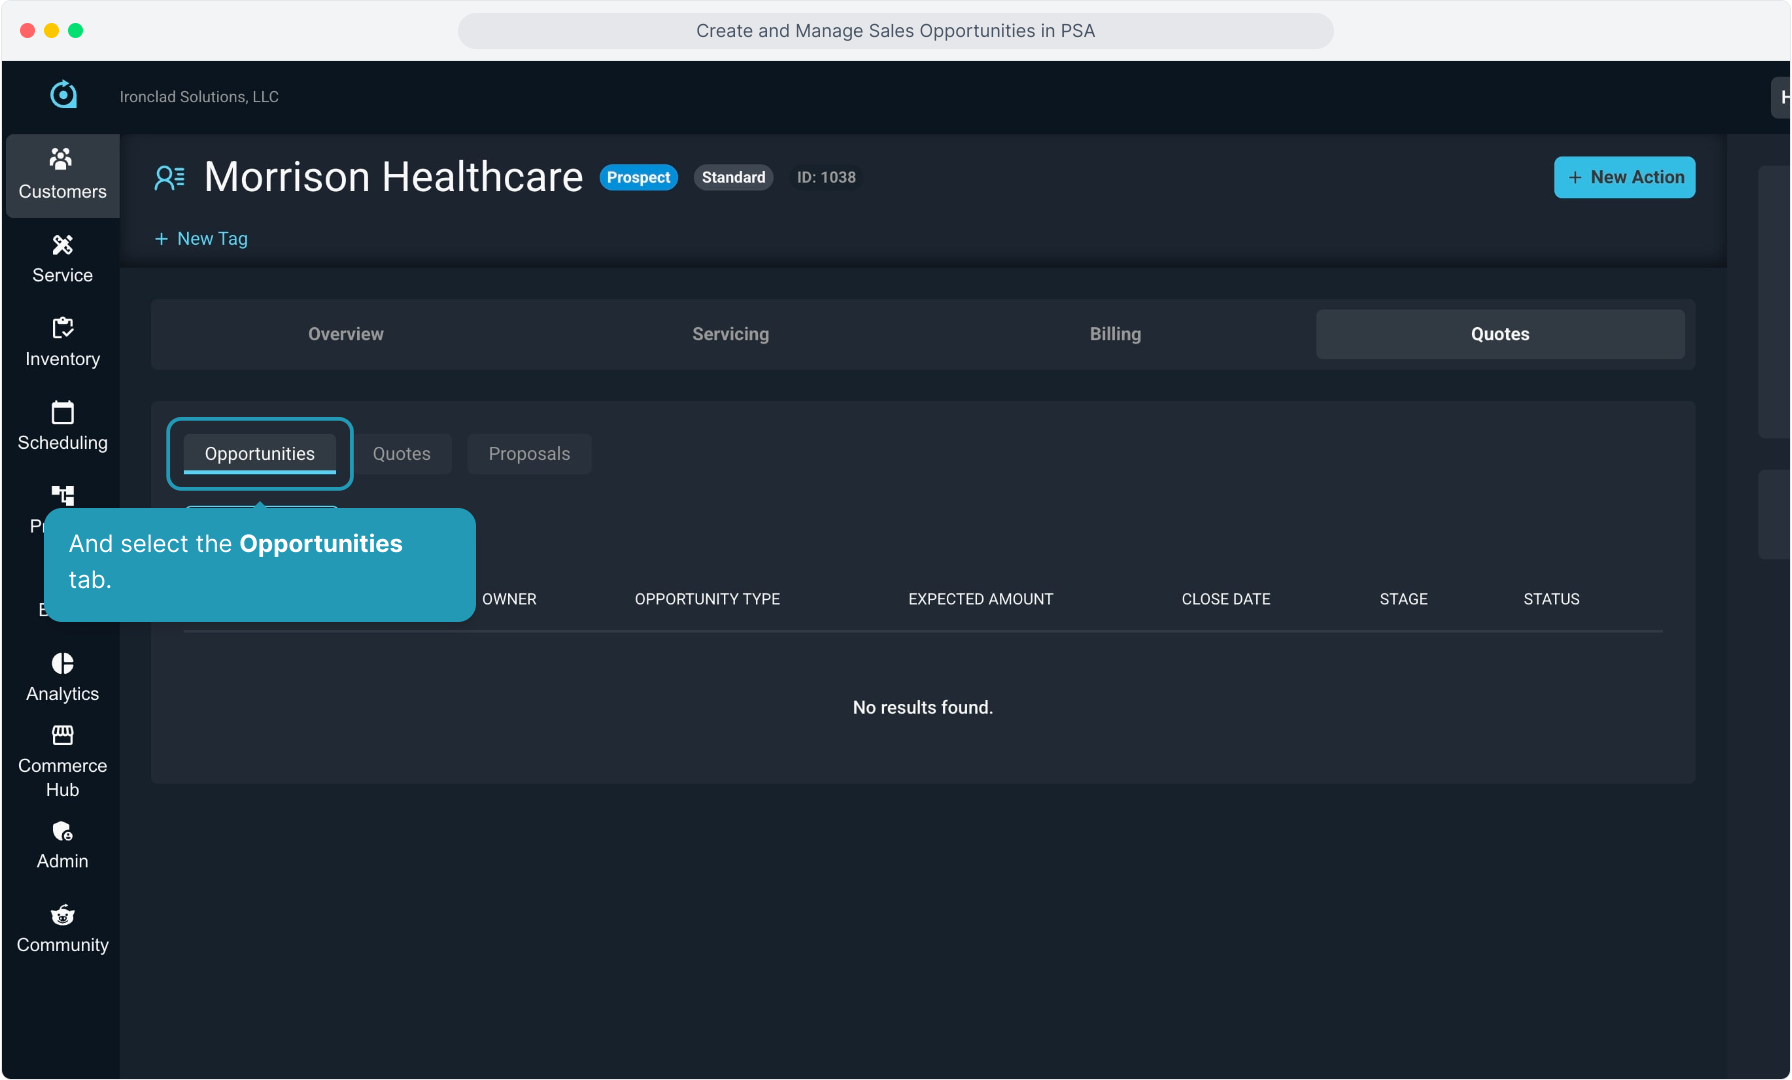
4. And select the Opportunities tab.
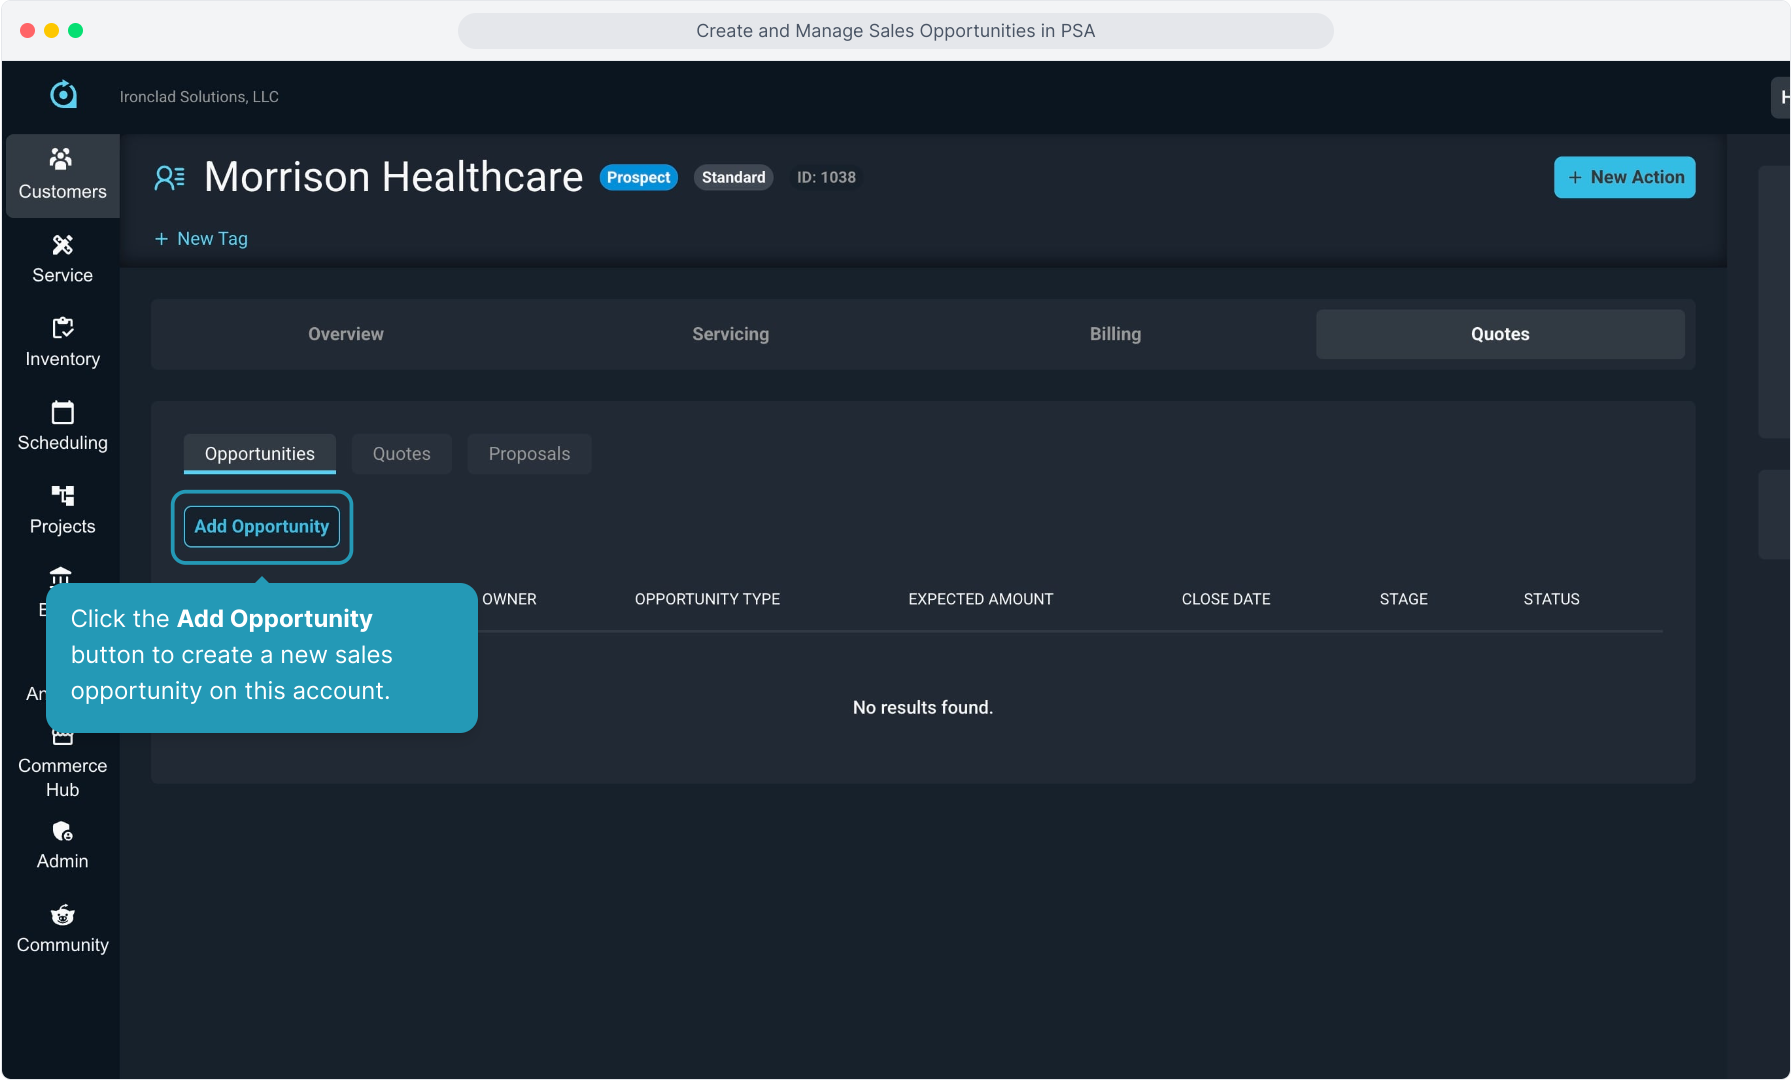
5. Click the Add Opportunity button to create a new sales opportunity on this account.
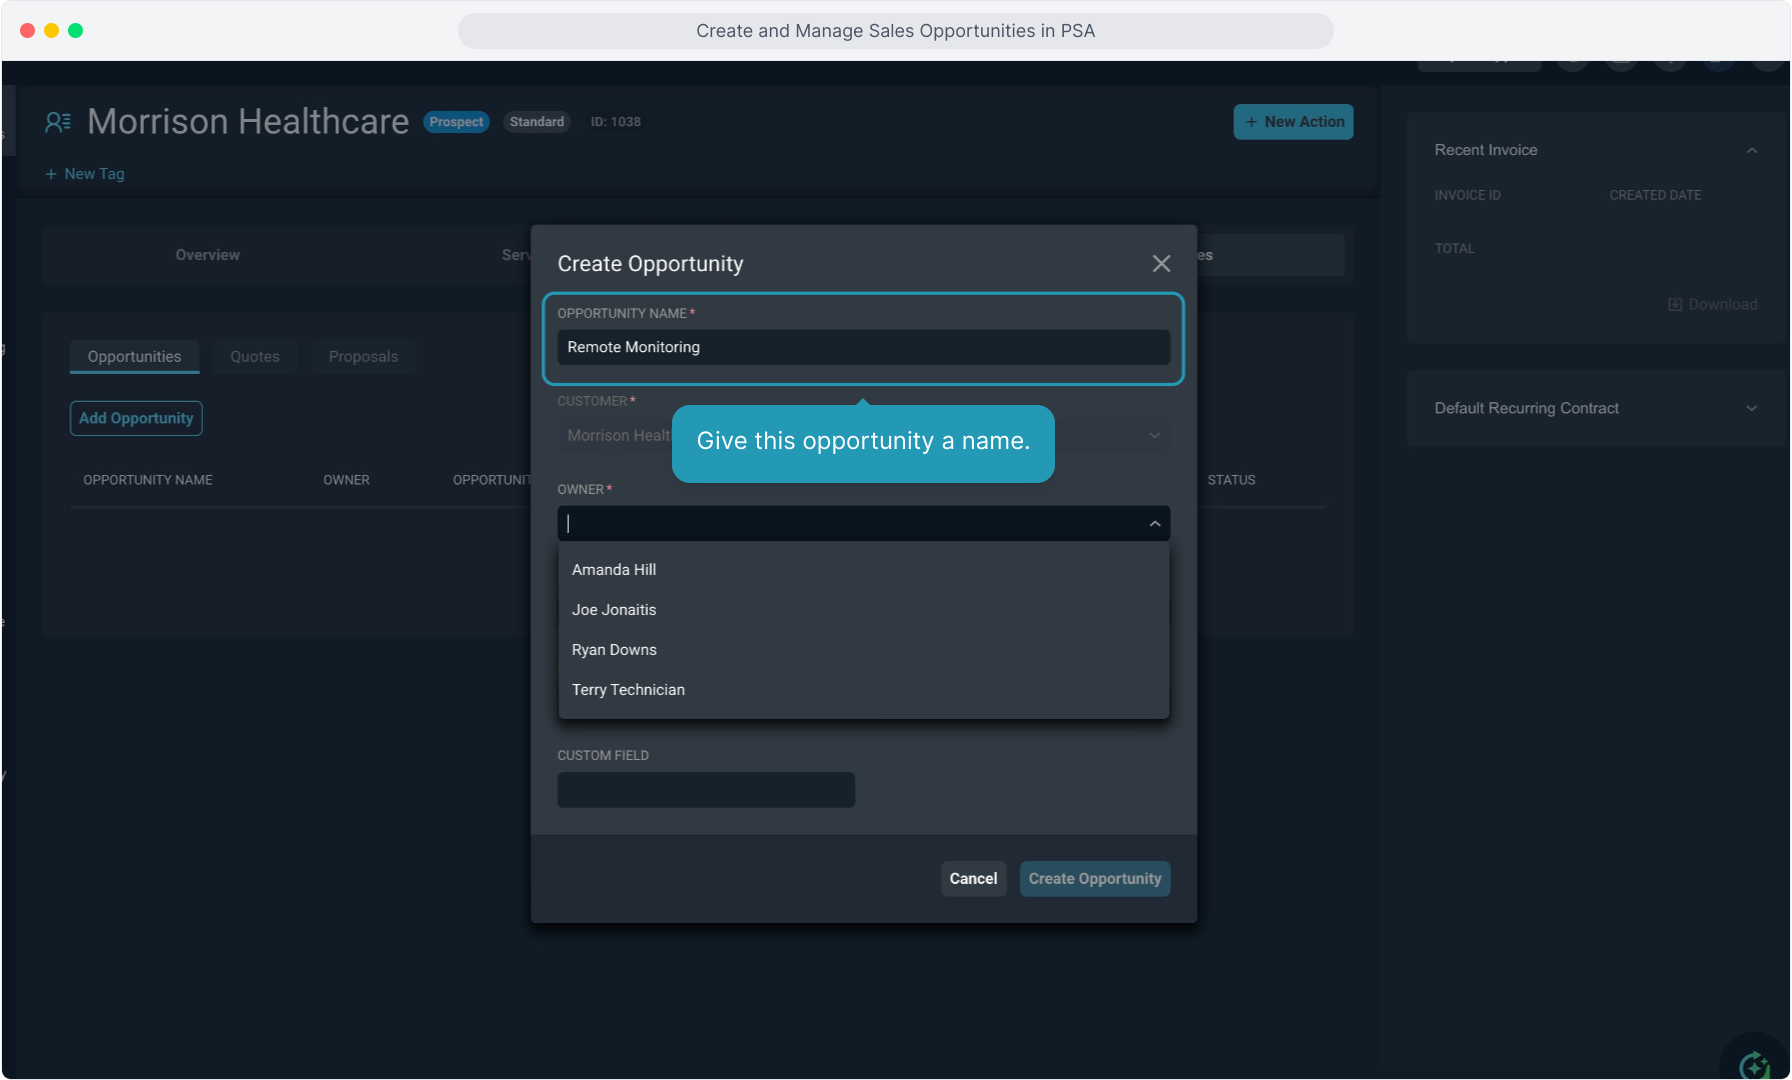
6. Give this opportunity a name.
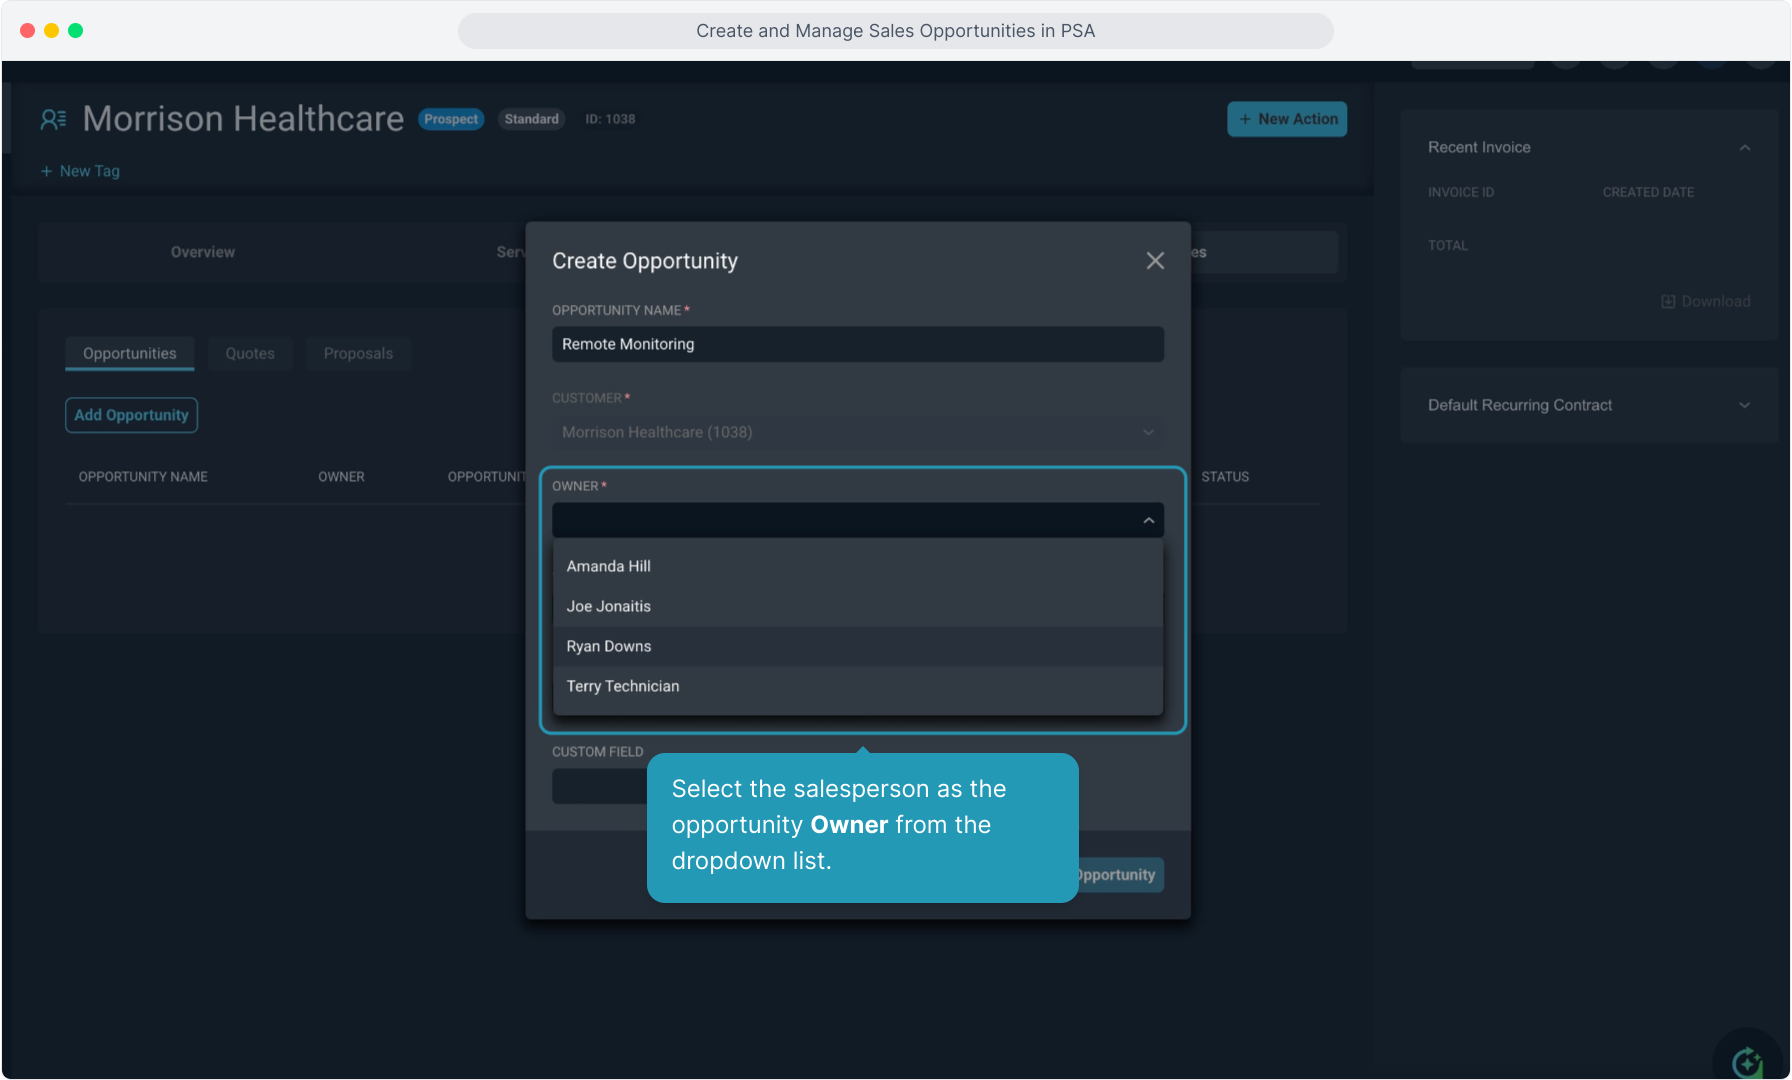
7. Select the salesperson as the opportunity Owner from the dropdown list.
8. Select the Opportunity Type from the dropdown list. This dropdown list, along with several others on this screen, can be customized. Let's look at how to do that.

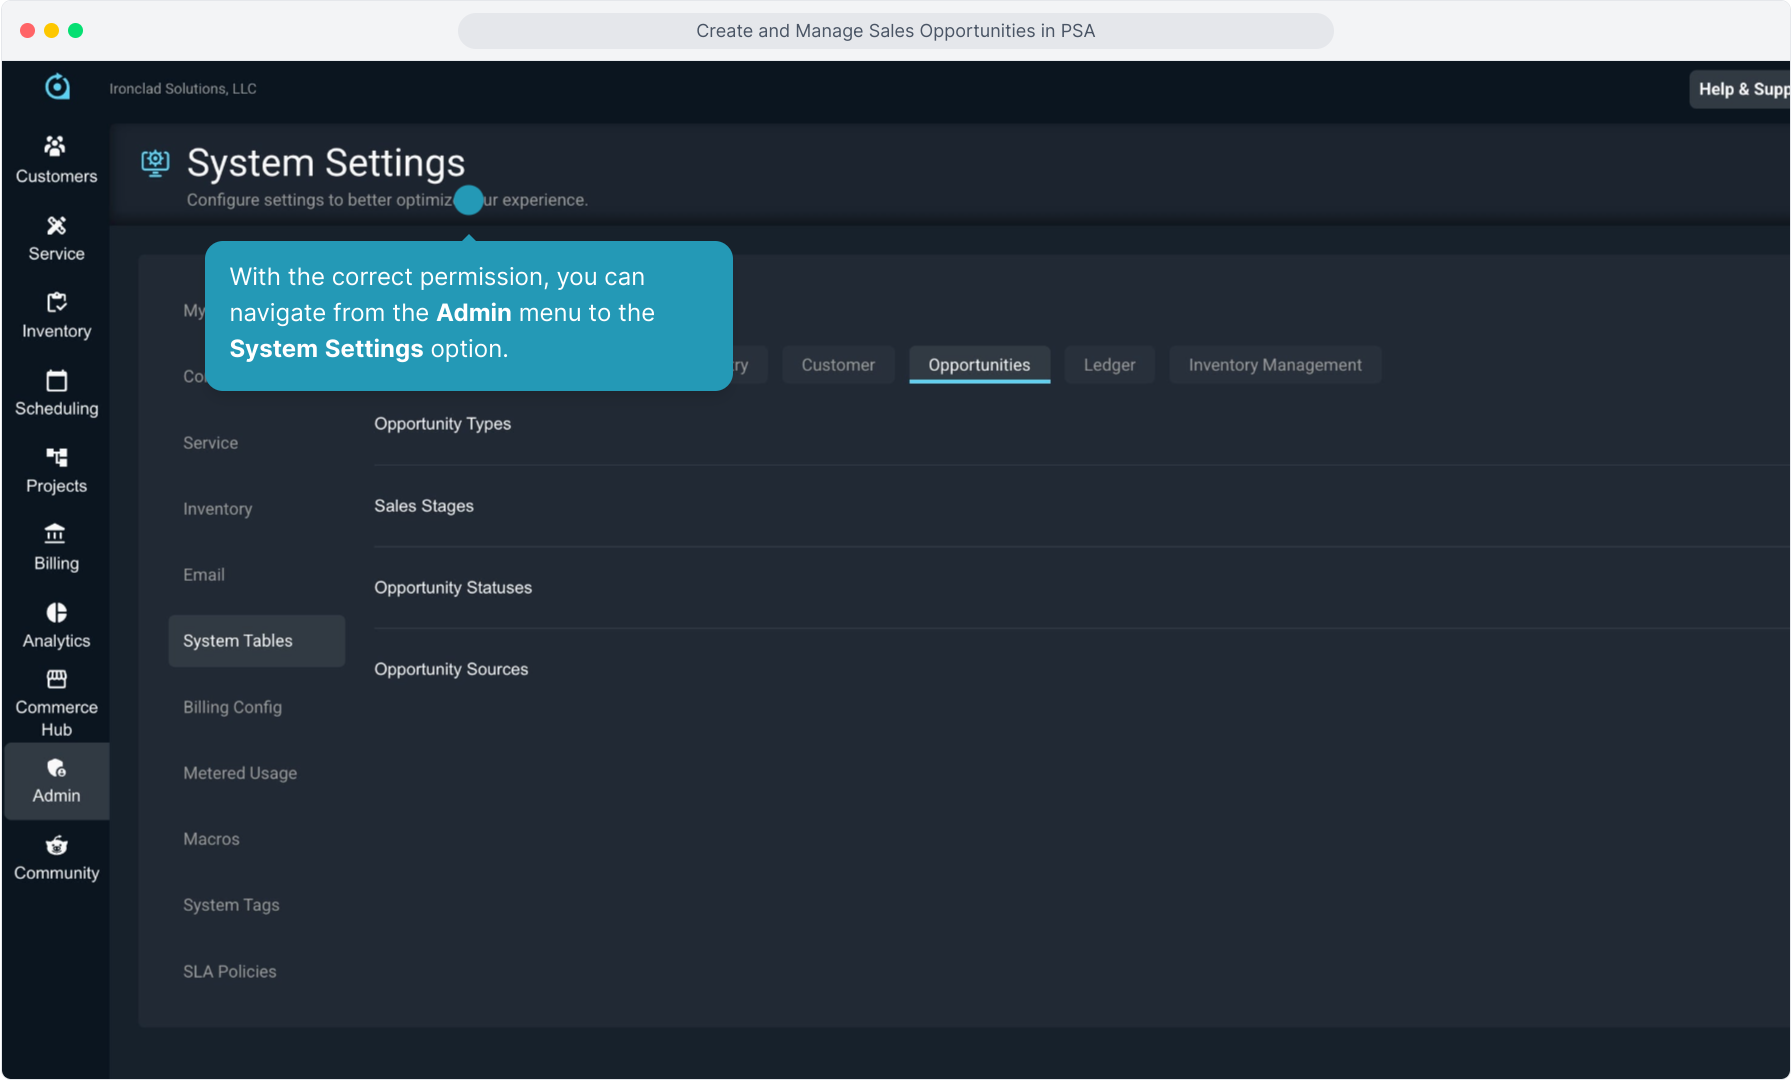
9. With the correct permission, you can navigate from the Admin menu to the System Settings option.
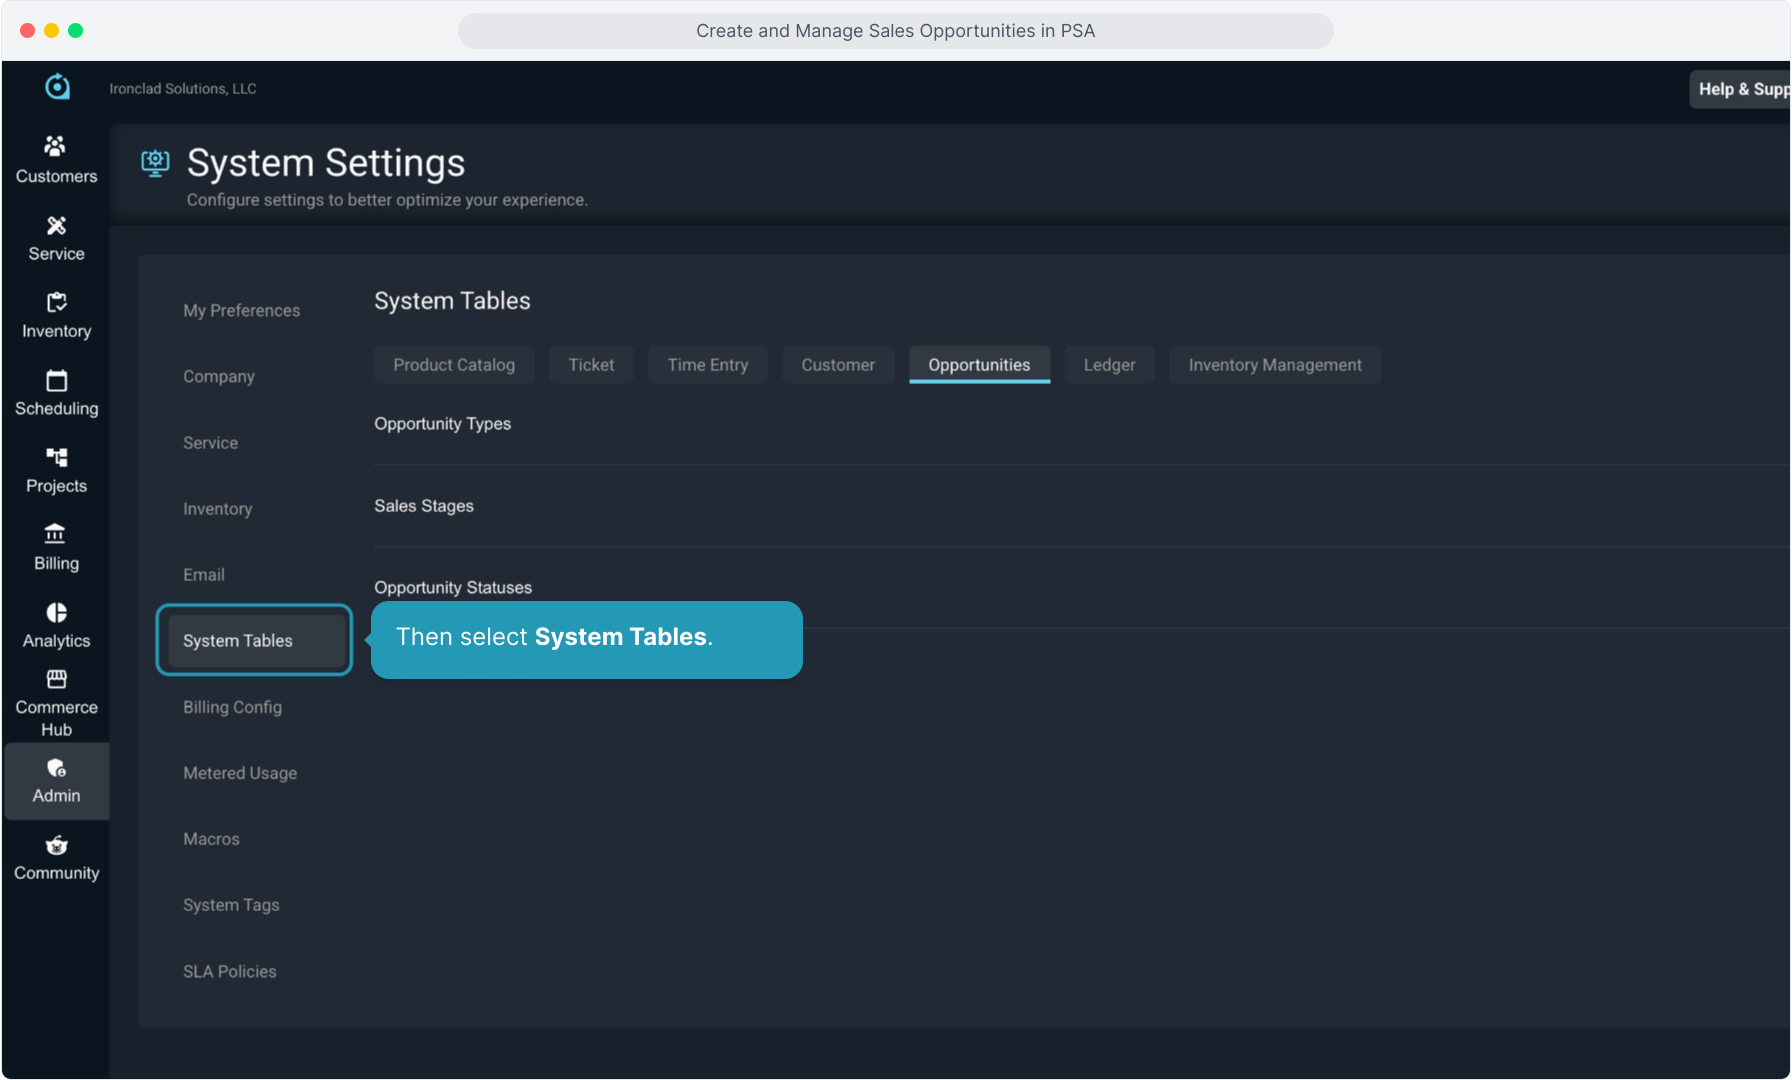
10. Then select System Tables.
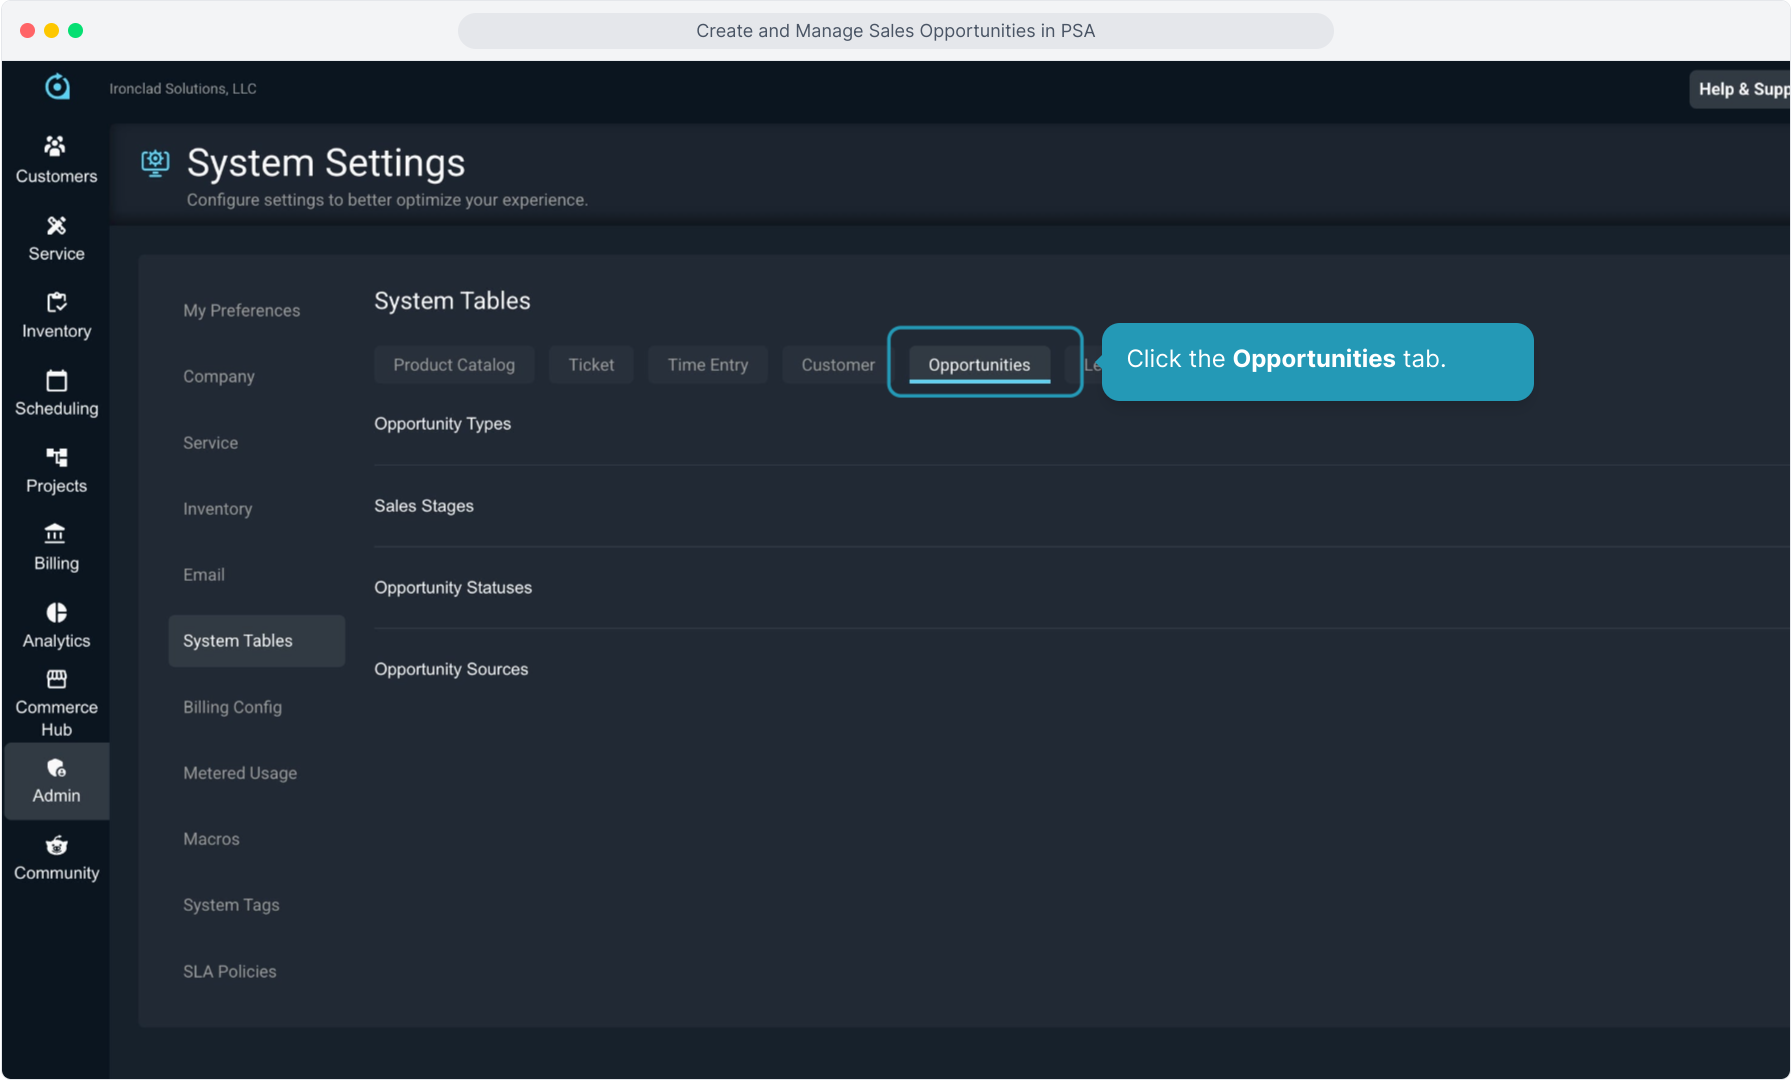
11. Click the Opportunities tab.
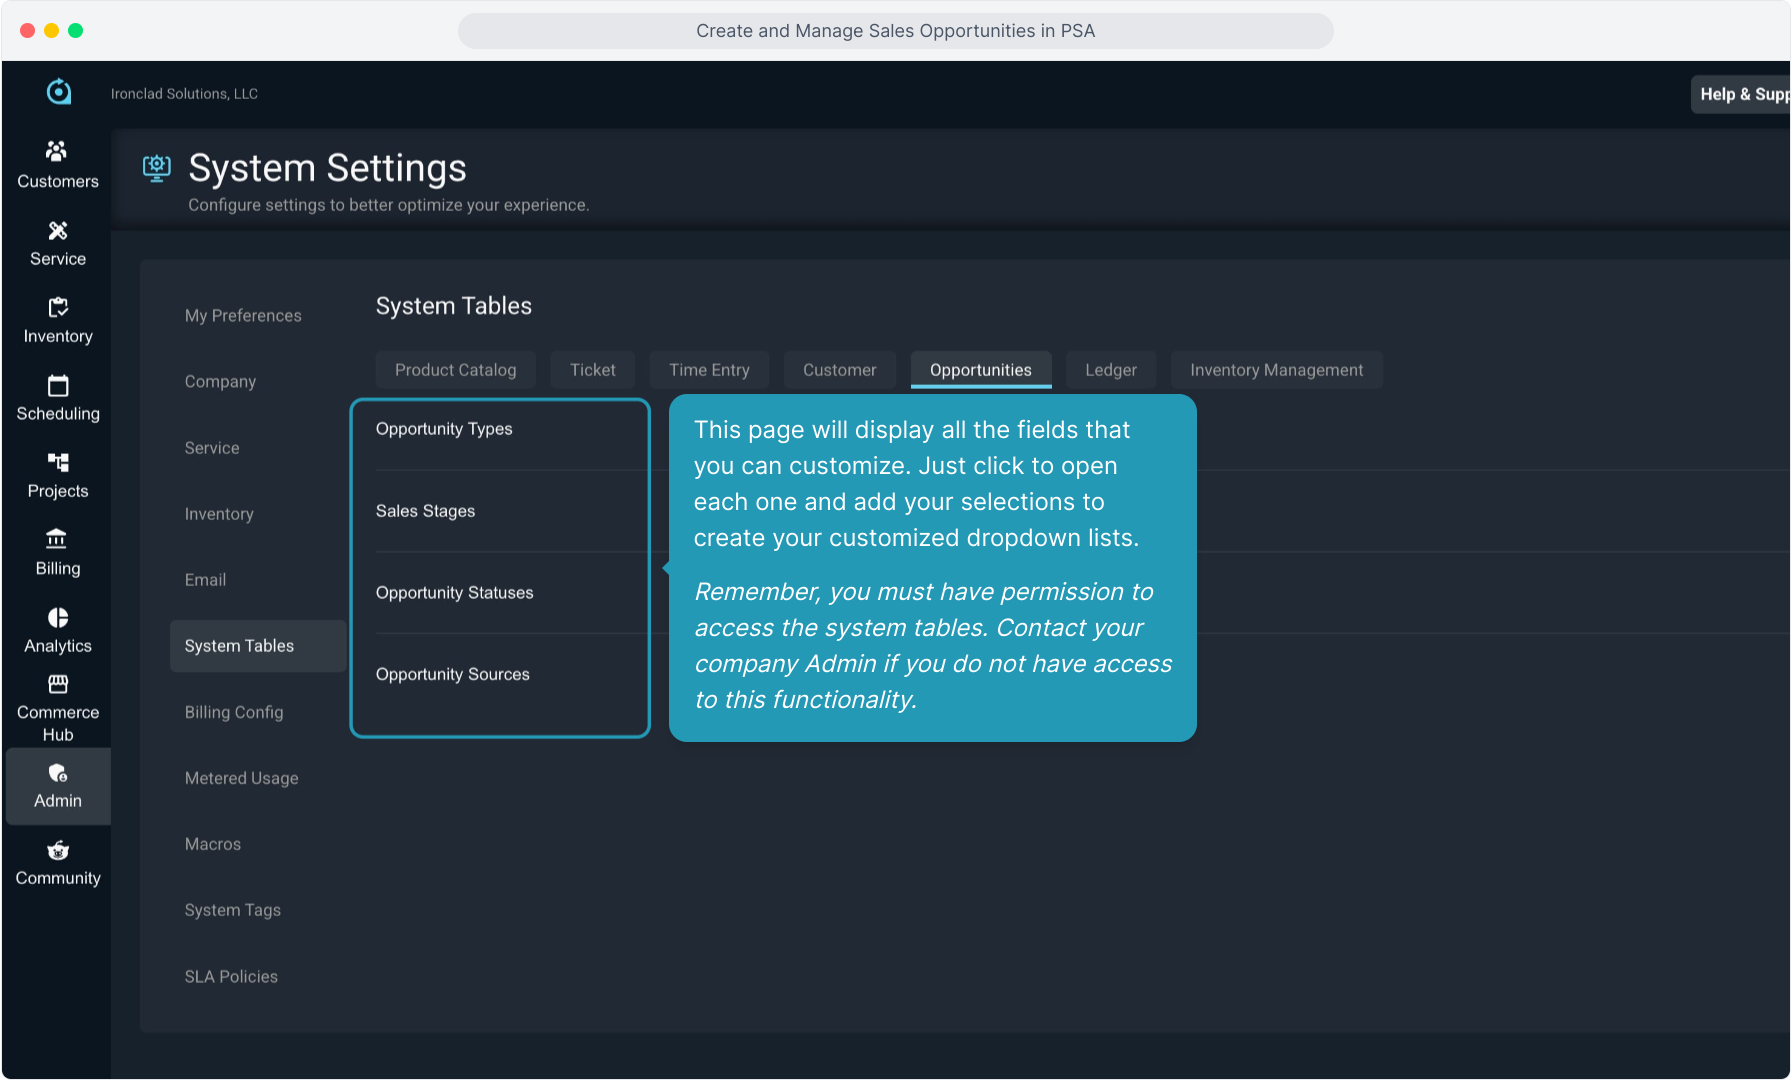
12. This page will display all the fields that you can customize. Just click to open each one and add your selections to create your customized dropdown lists.
Remember, you must have permission to access the system tables. Contact your company Admin if you do not have access to this functionality.
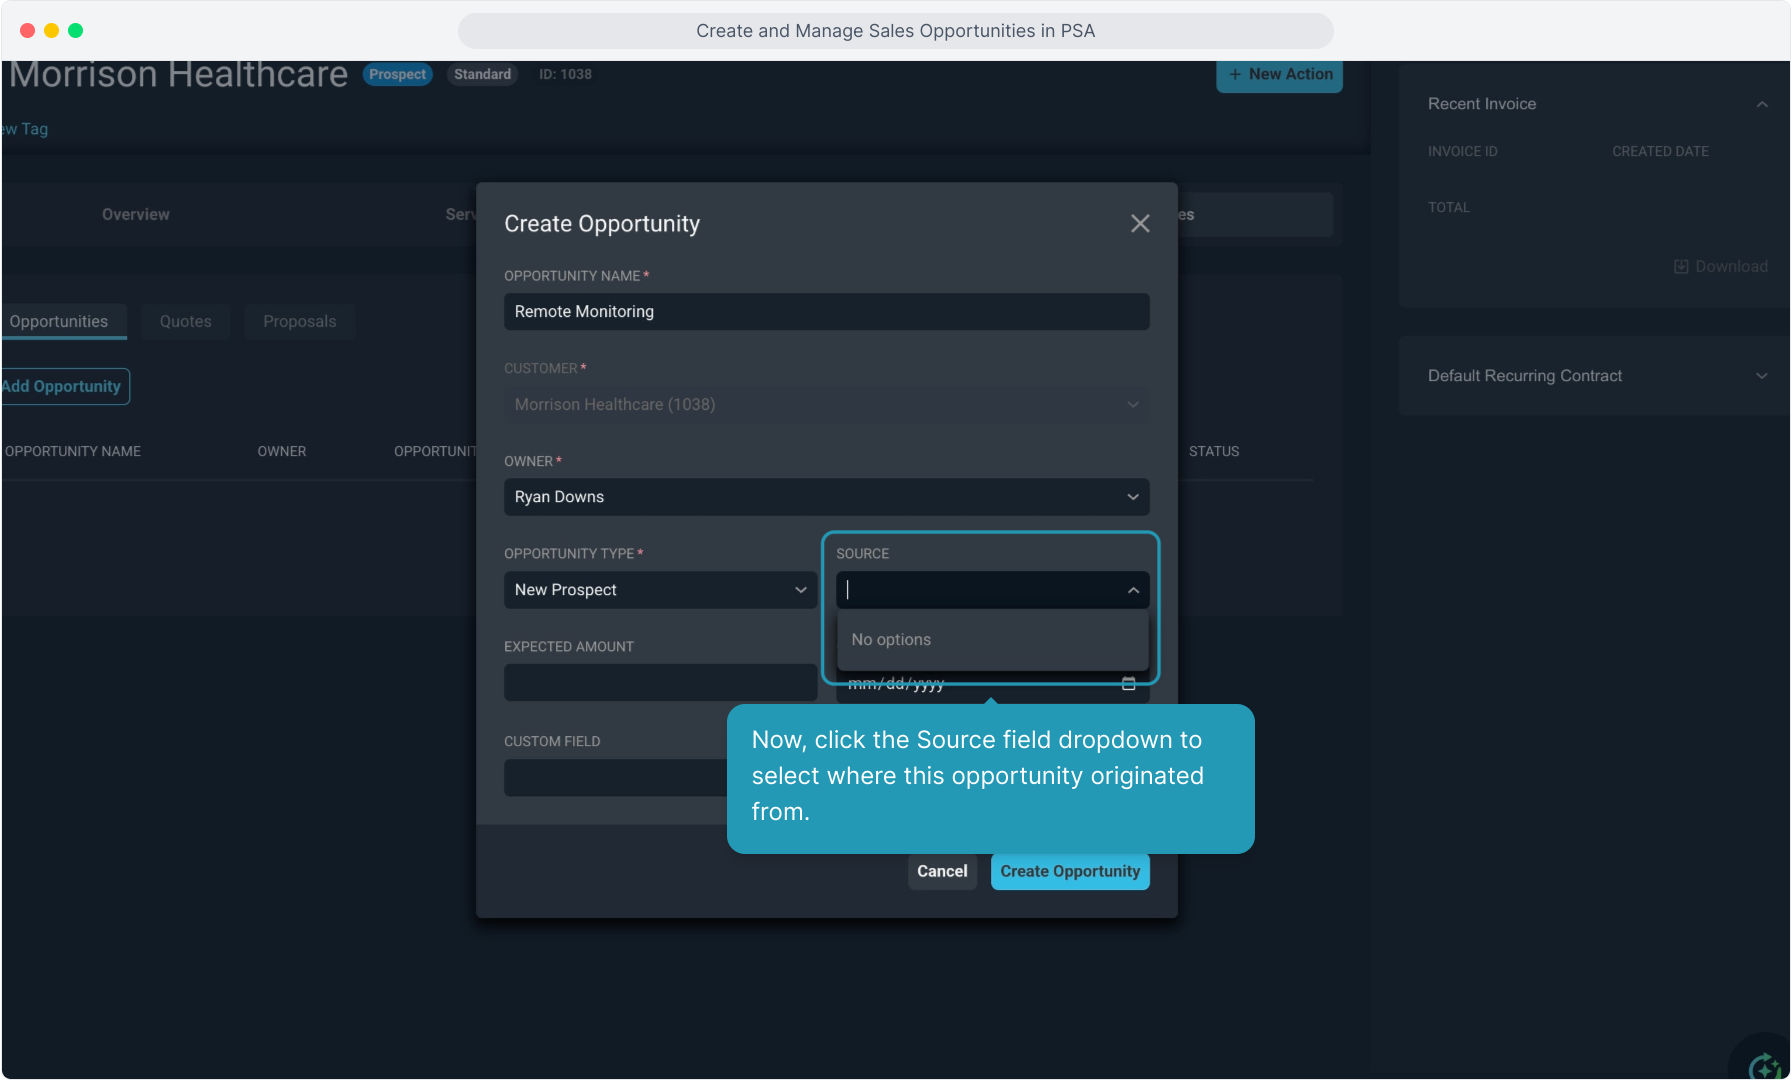
13. Now, click the Source field dropdown to select where this opportunity originated from.
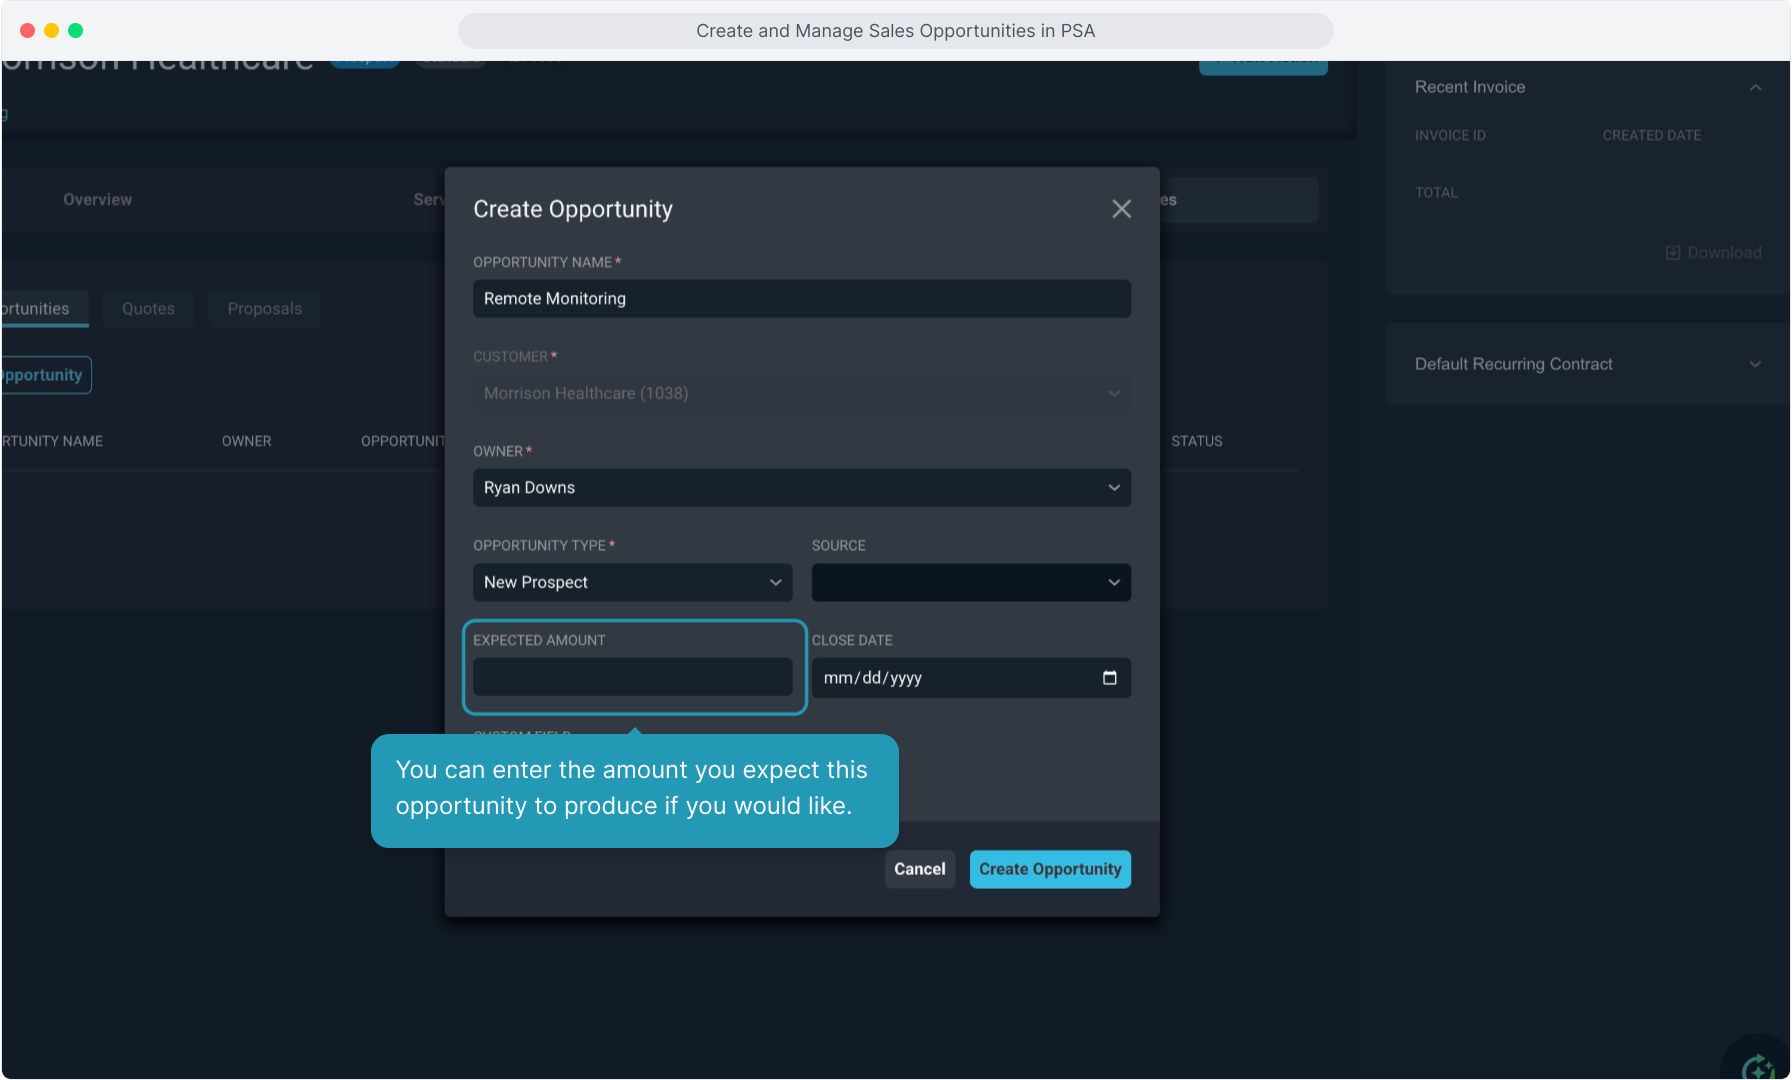
14. You can enter the amount you expect this opportunity to produce if you would like.
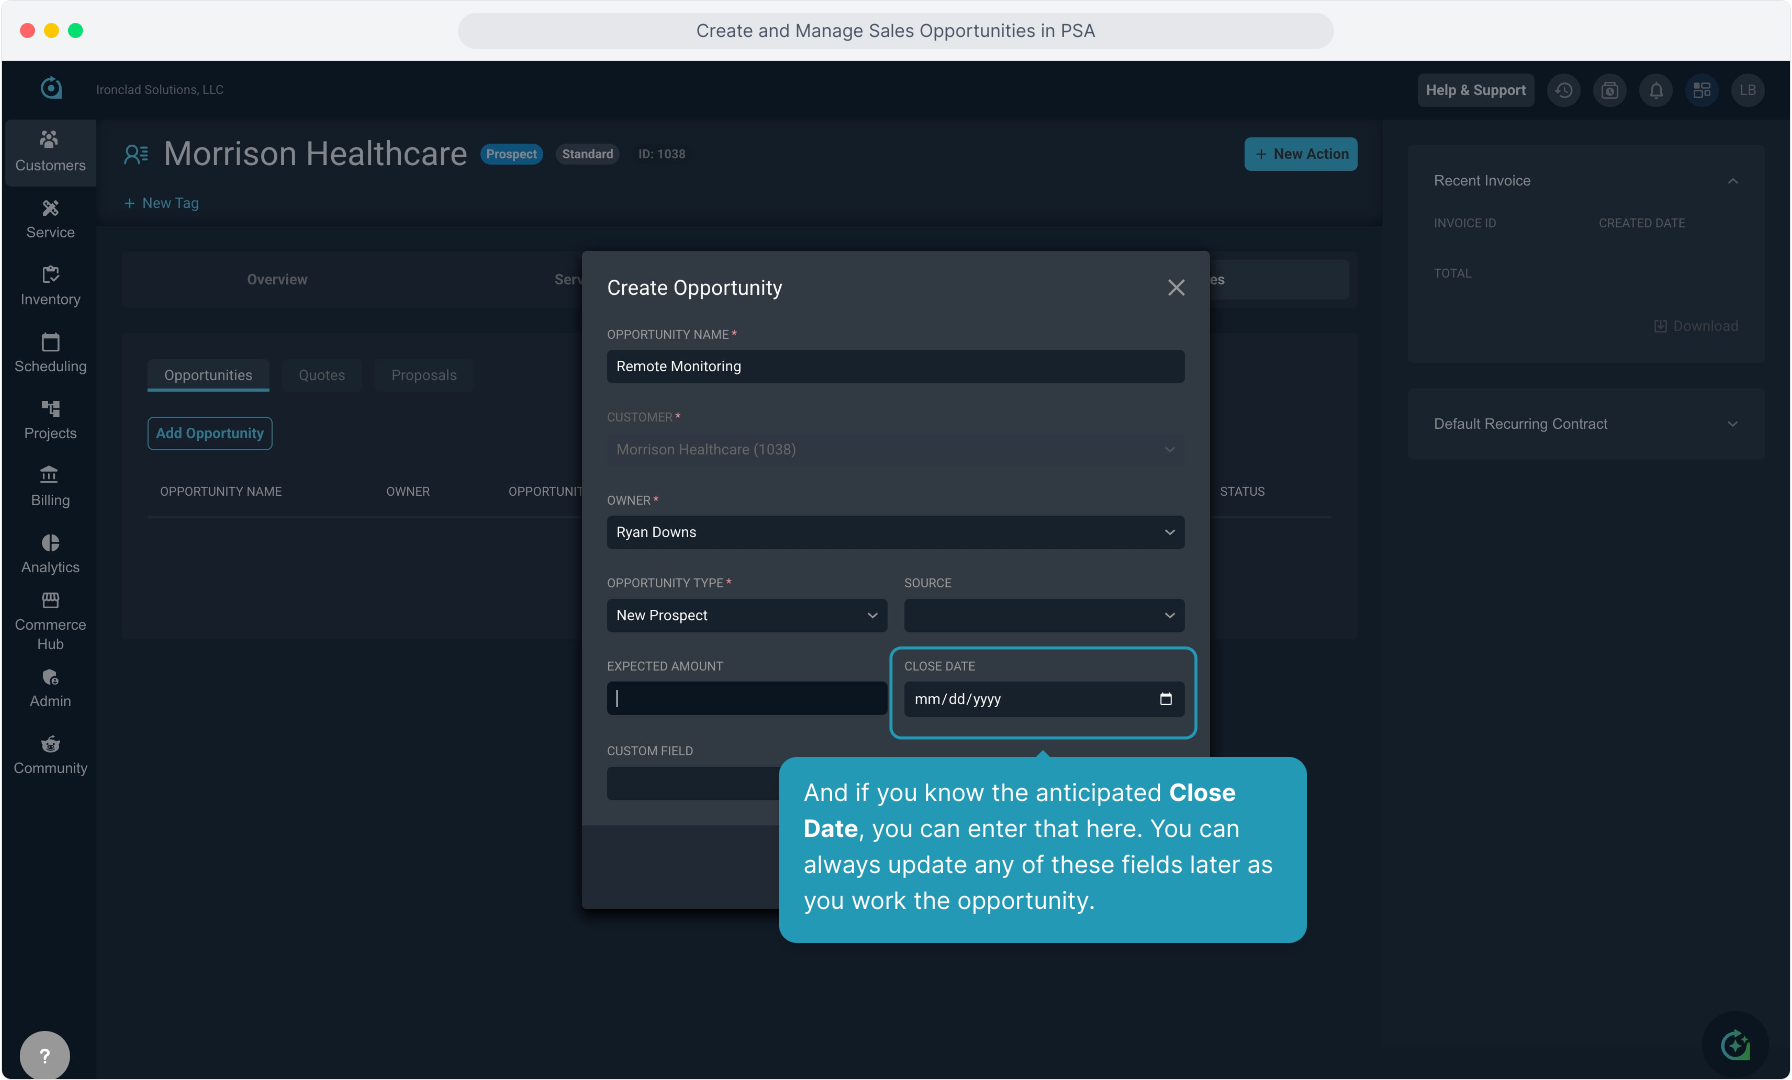
15. And if you know the anticipated Close Date, you can enter that here. You can always update any of these fields later as you work the opportunity.
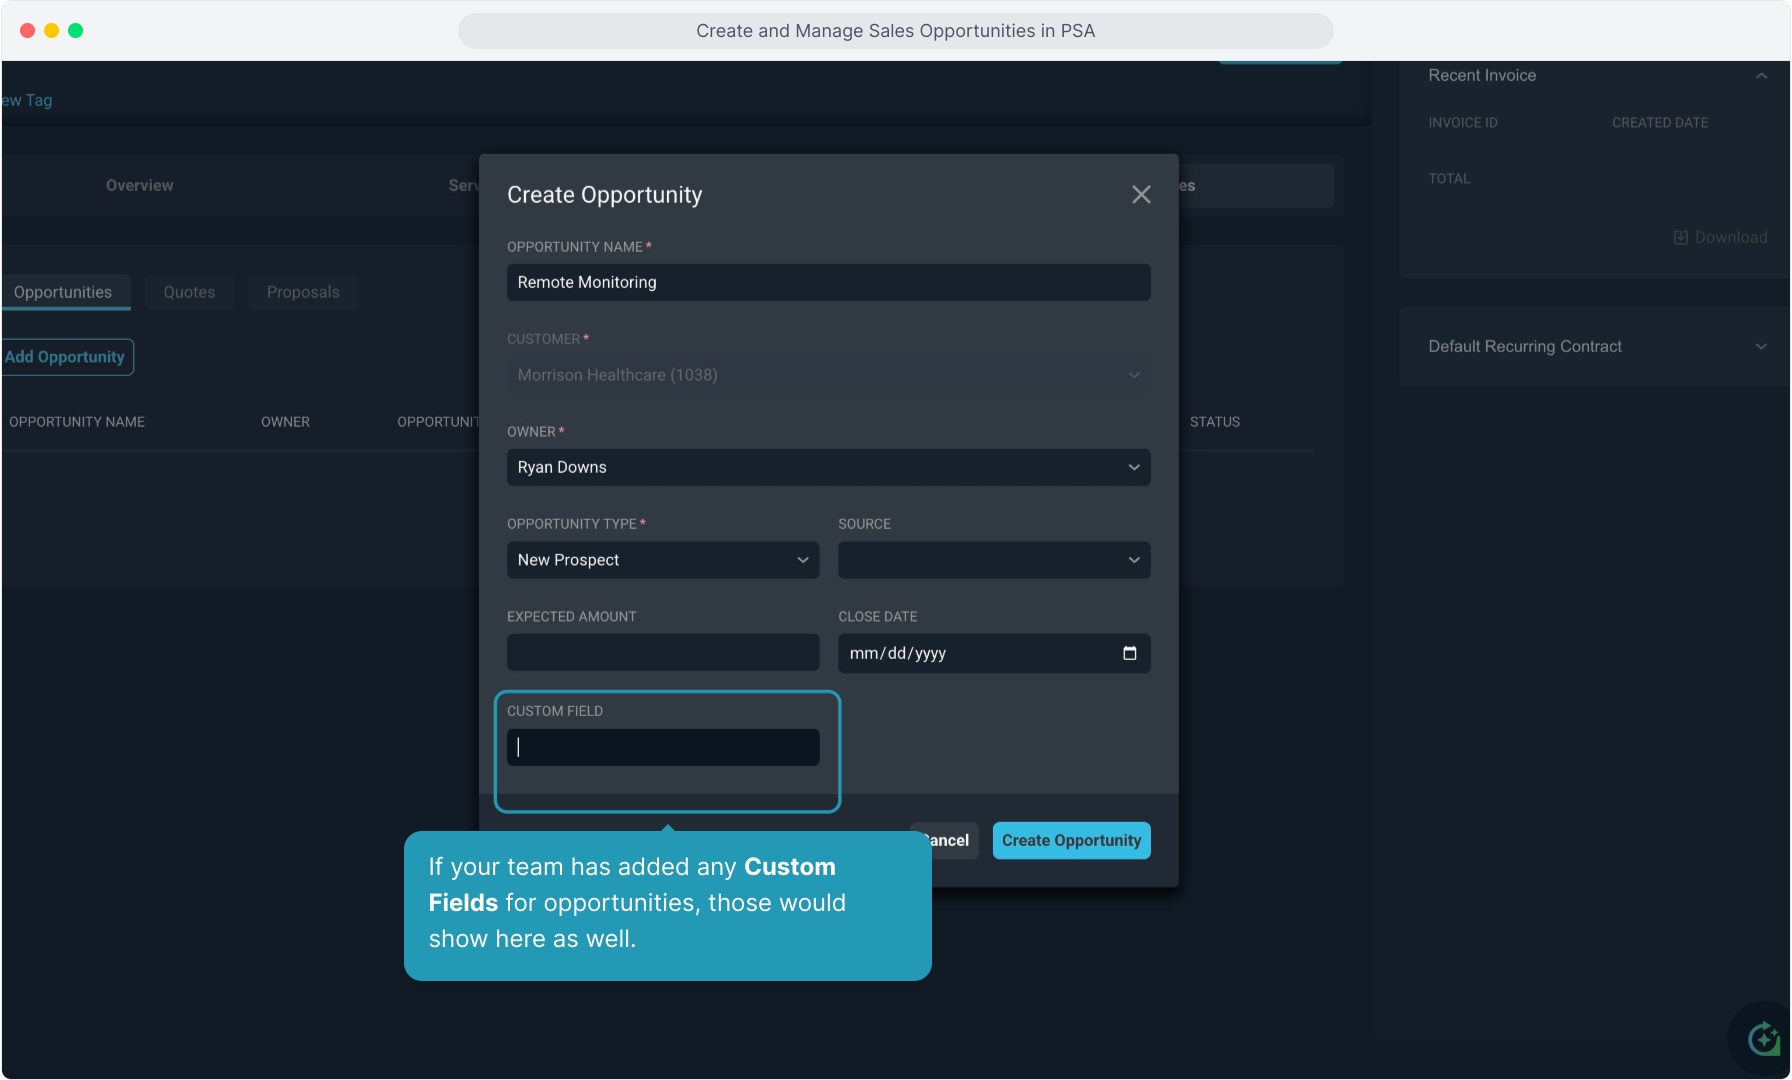
16. If your team has added any Custom Fields for opportunities, those would show here as well.
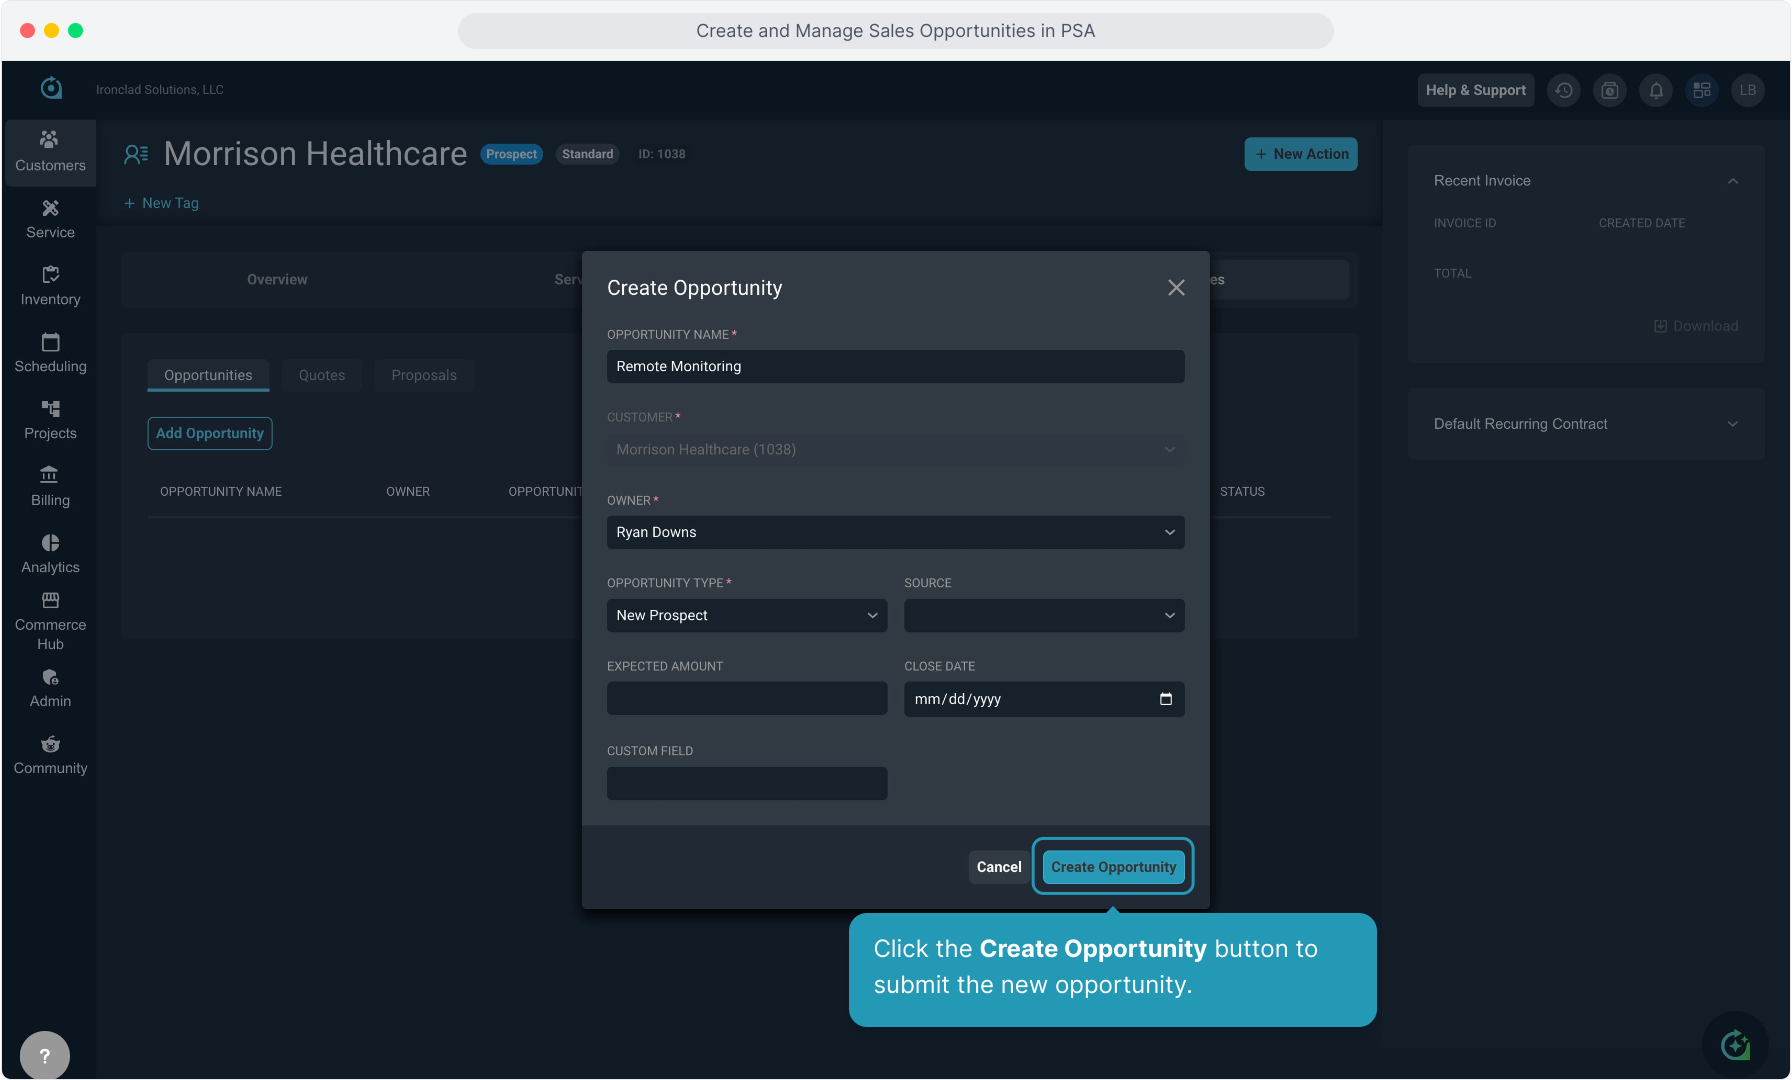
17. Click the Create Opportunity button to submit the new opportunity.
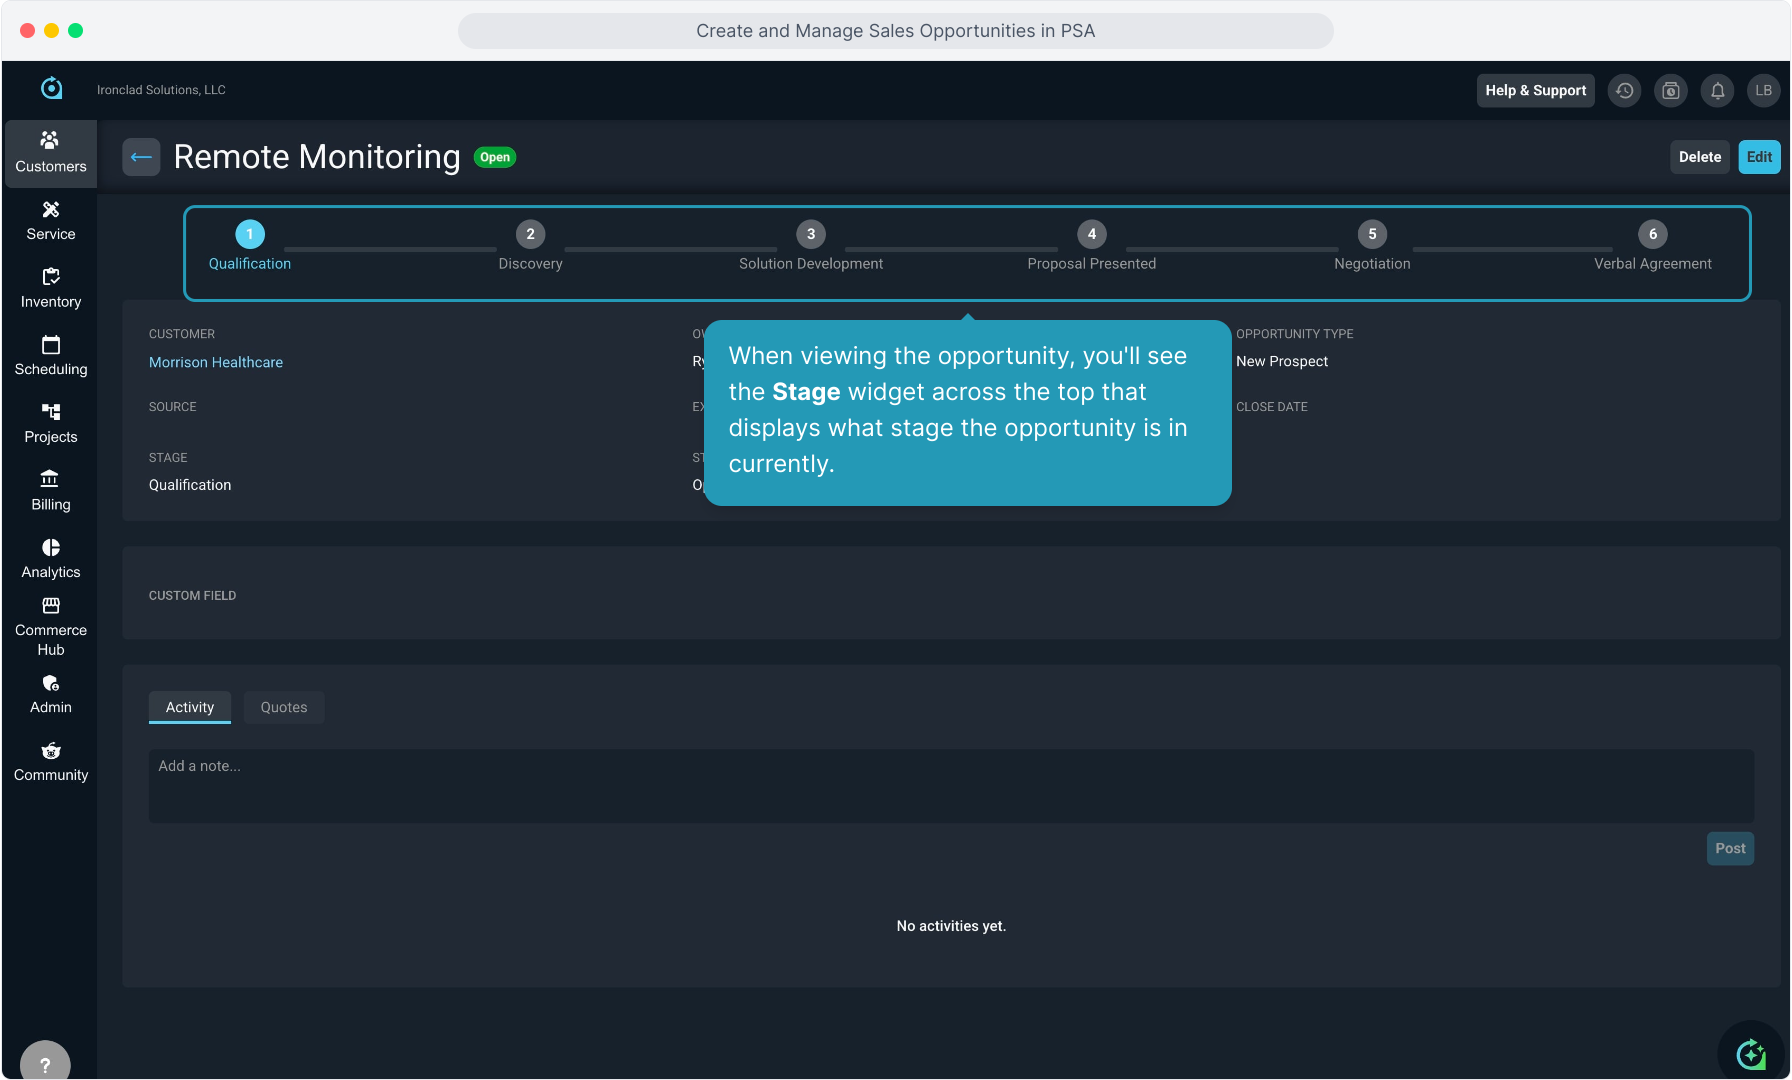
18. When viewing the opportunity, you'll see the Stage widget across the top that displays what stage the opportunity is in currently.
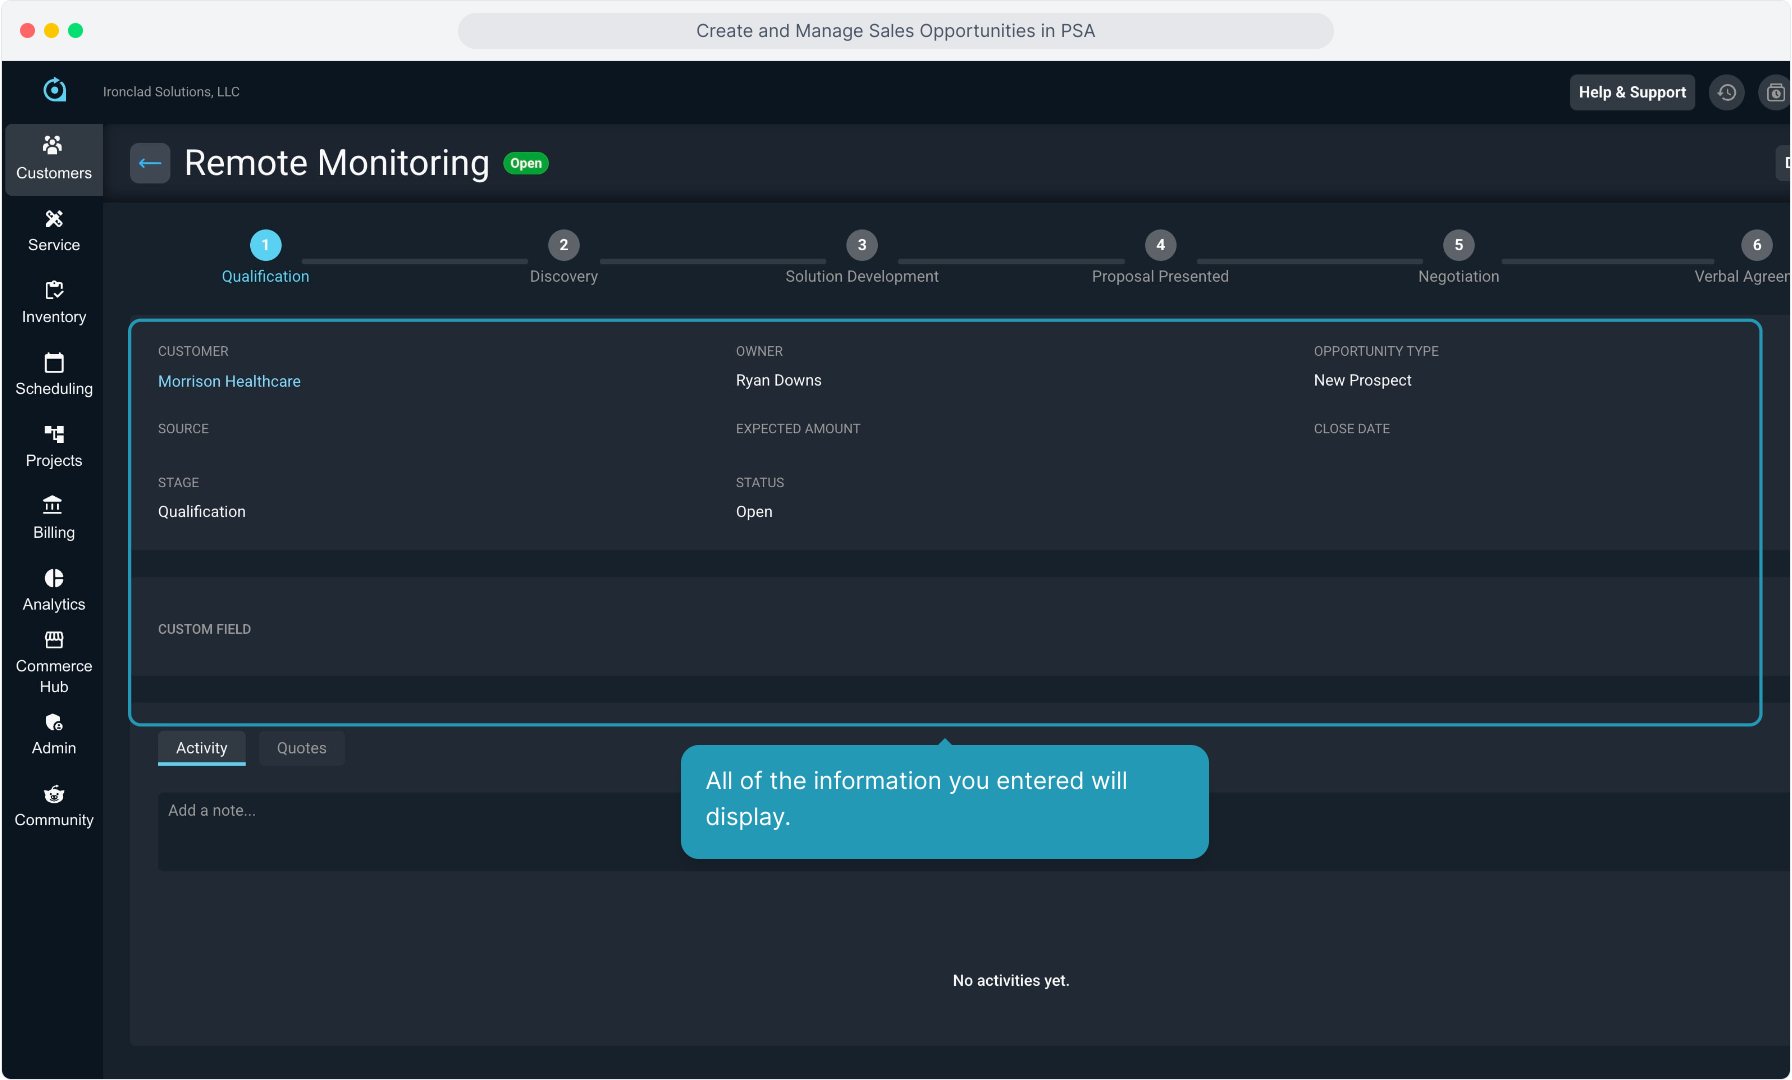
19. All of the information you entered will display.
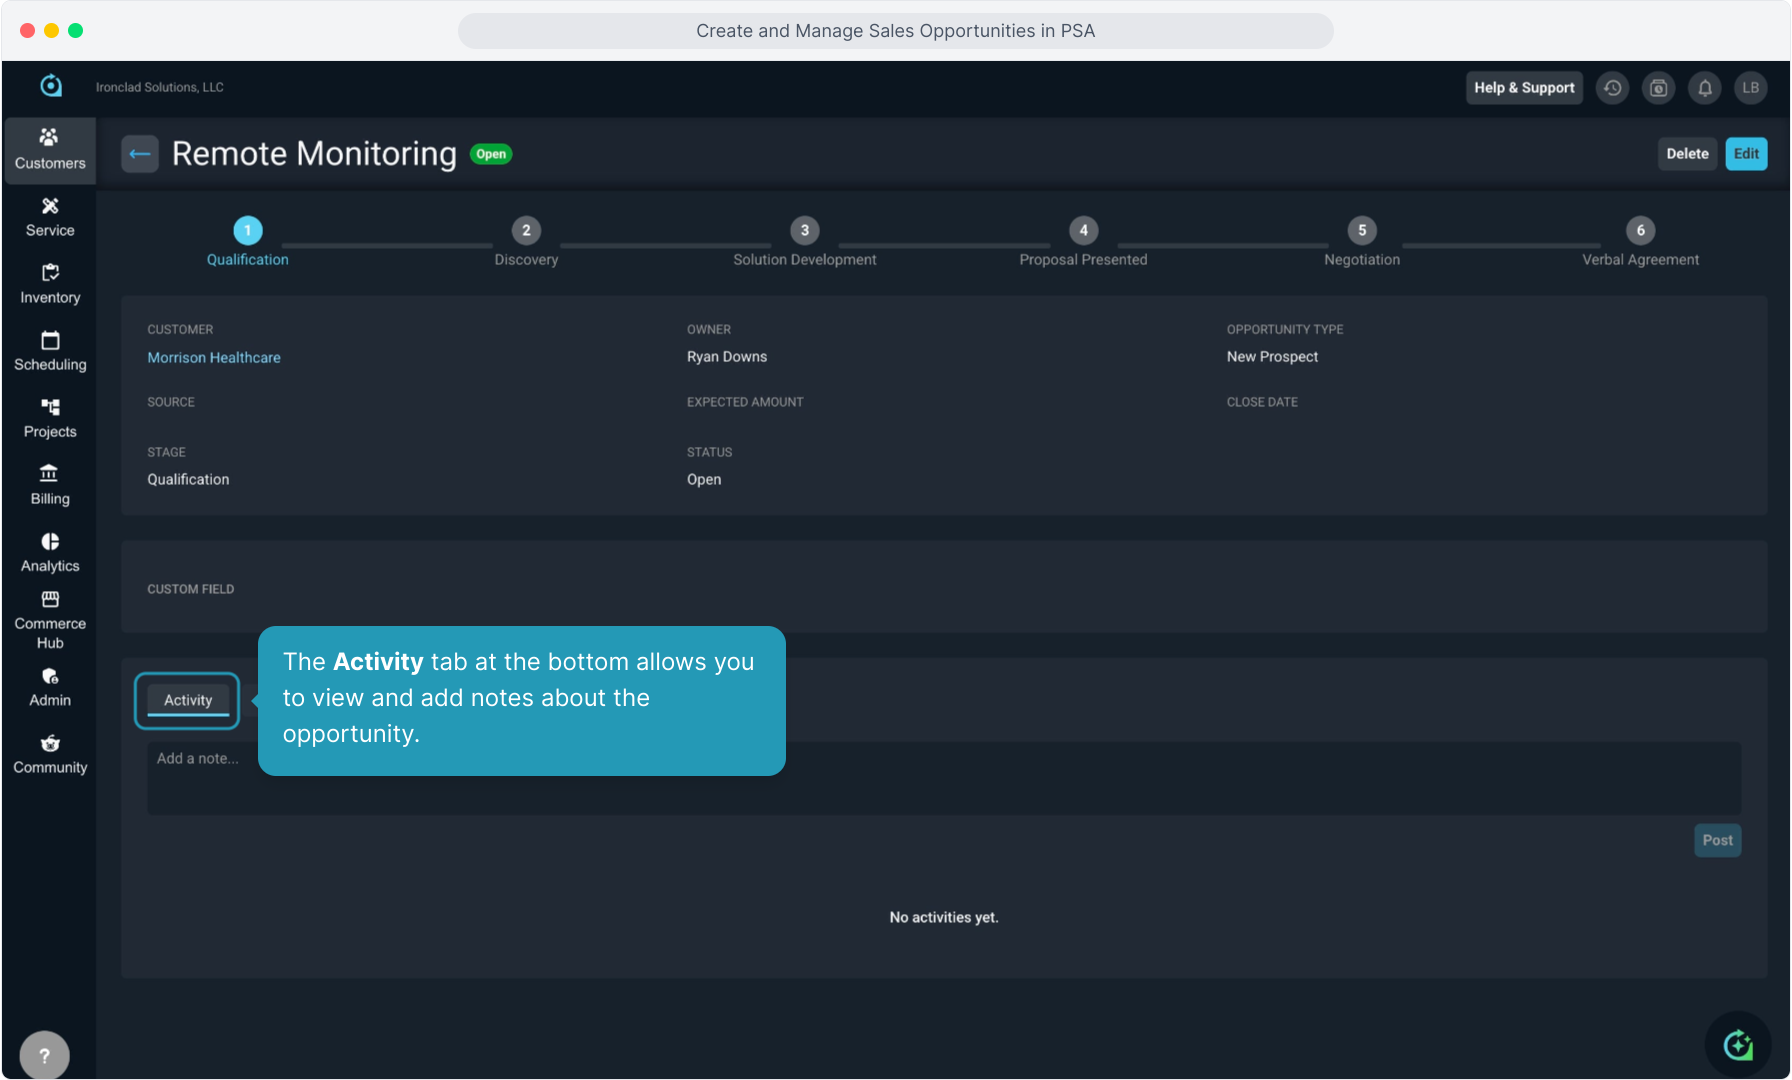
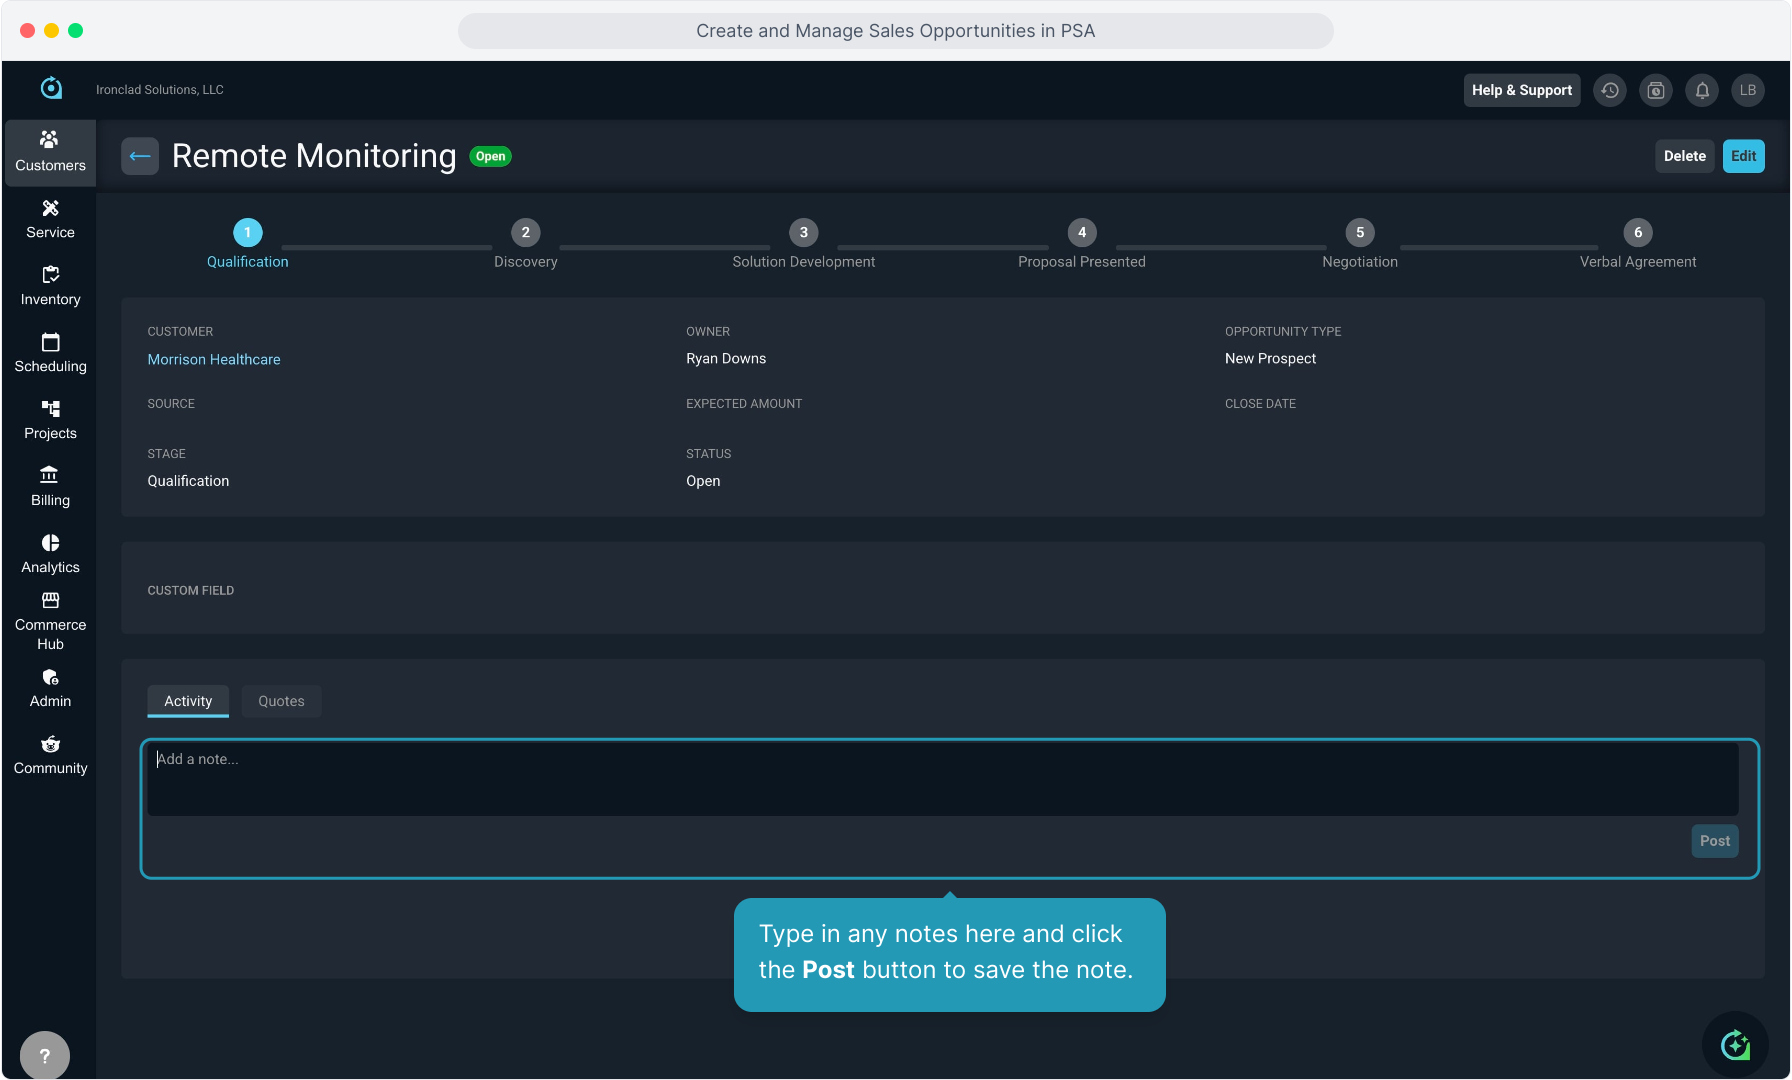
20. The Activity tab at the bottom allows you to view and add notes about the opportunity.
21. Type in any notes here and click the Post button to save the note.
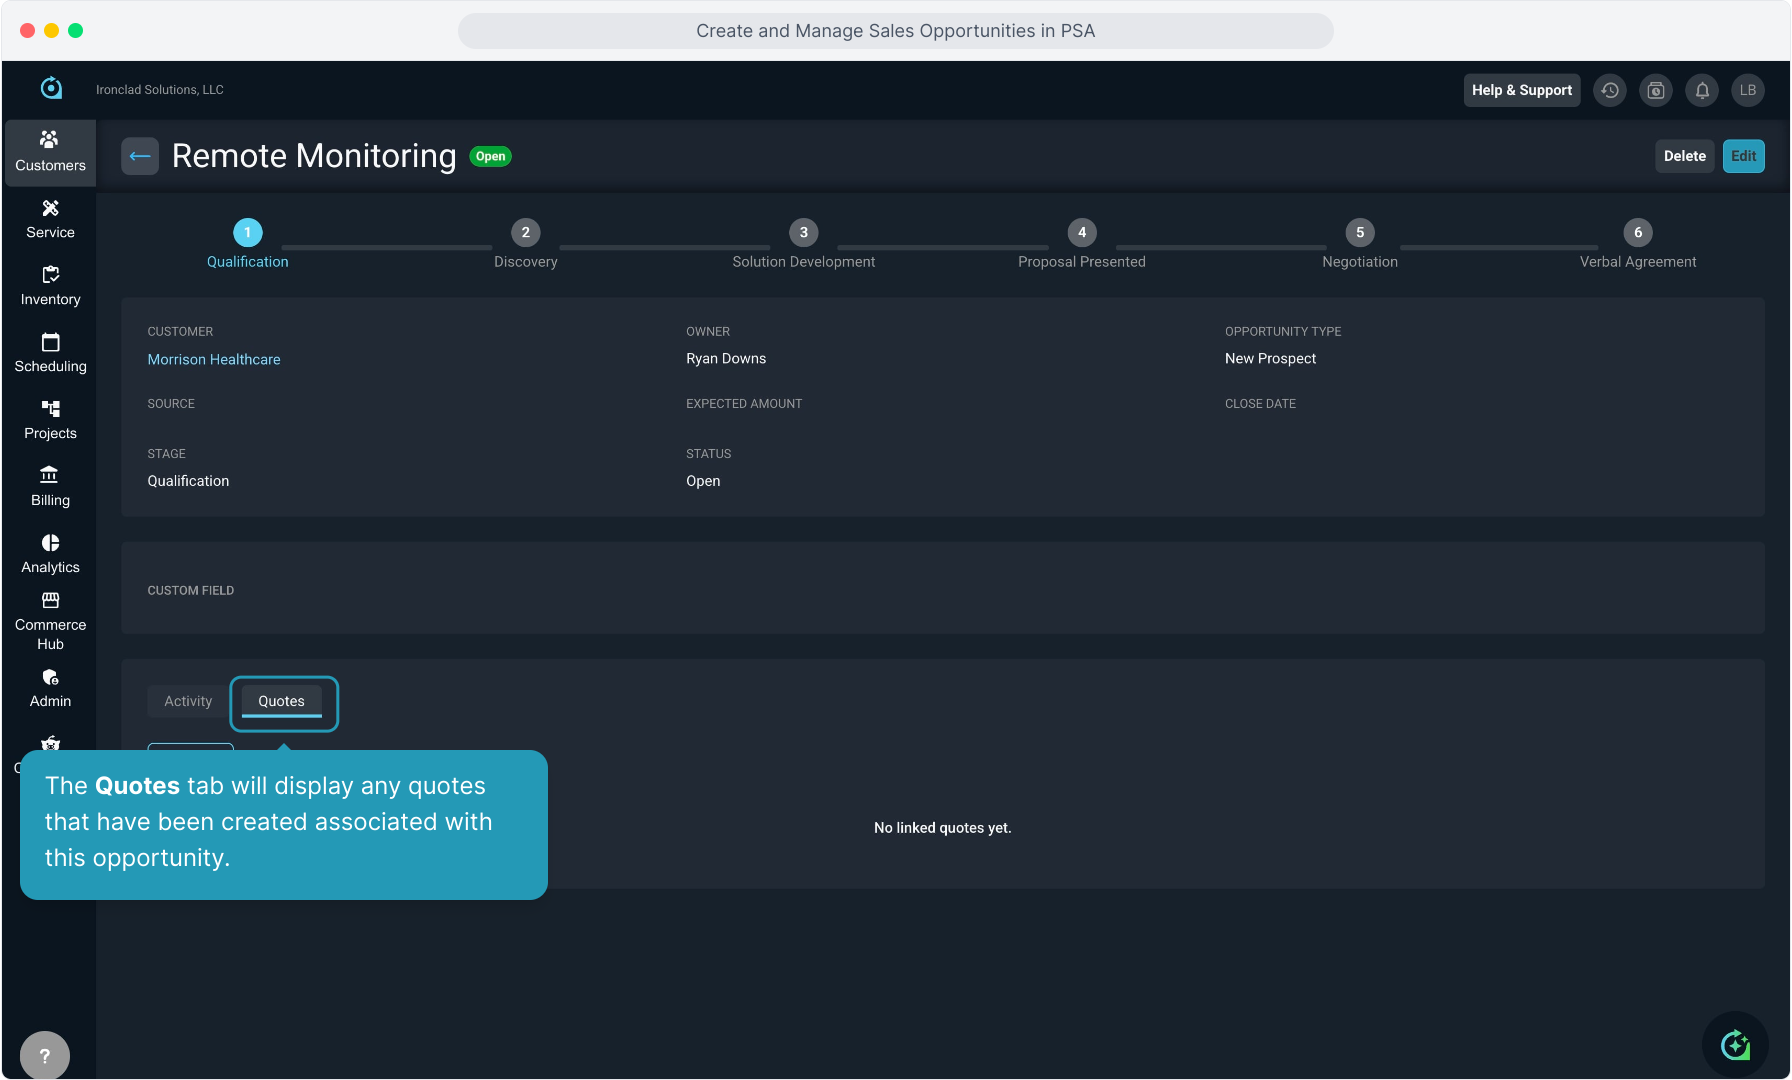
22. The Quotes tab will display any quotes that have been created associated with this opportunity.
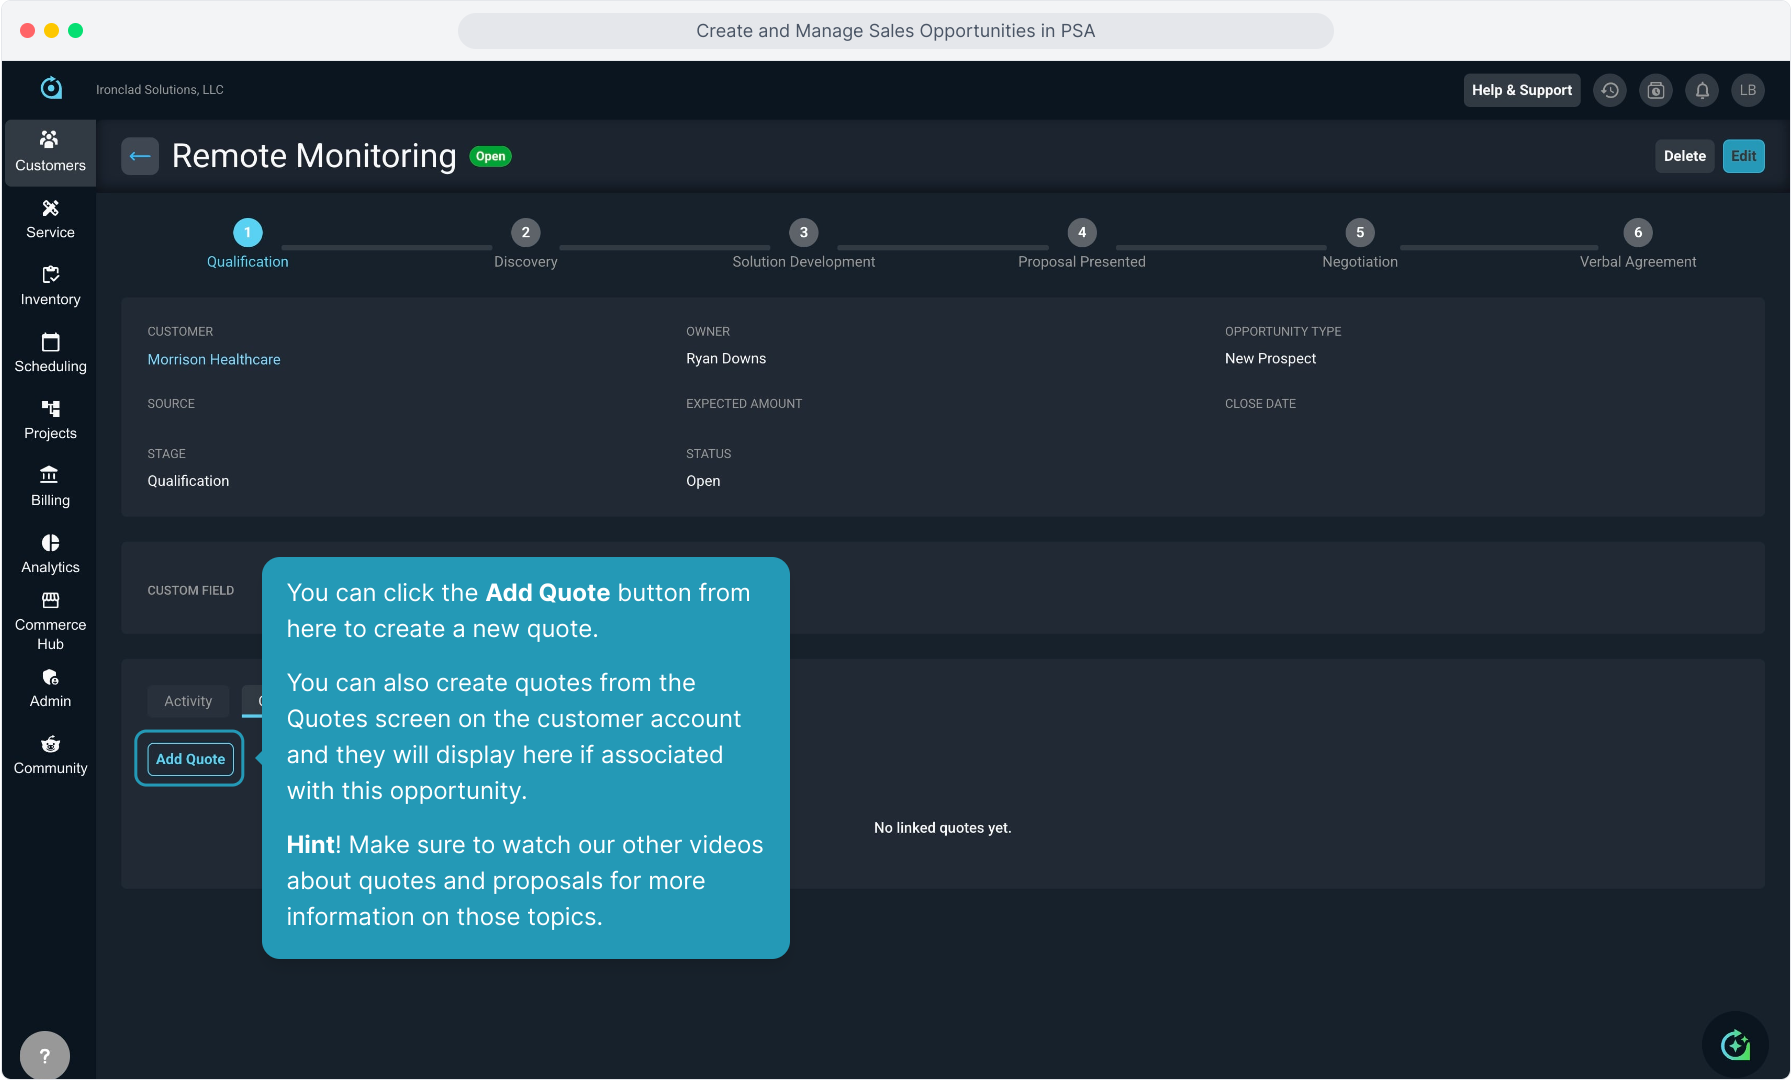
23. You can click the Add Quote button from here to create a new quote.
You can also create quotes from the Quotes screen on the customer account and they will display here if associated with this opportunity.
Hint! Make sure to watch our other videos about quotes and proposals for more information on those topics.
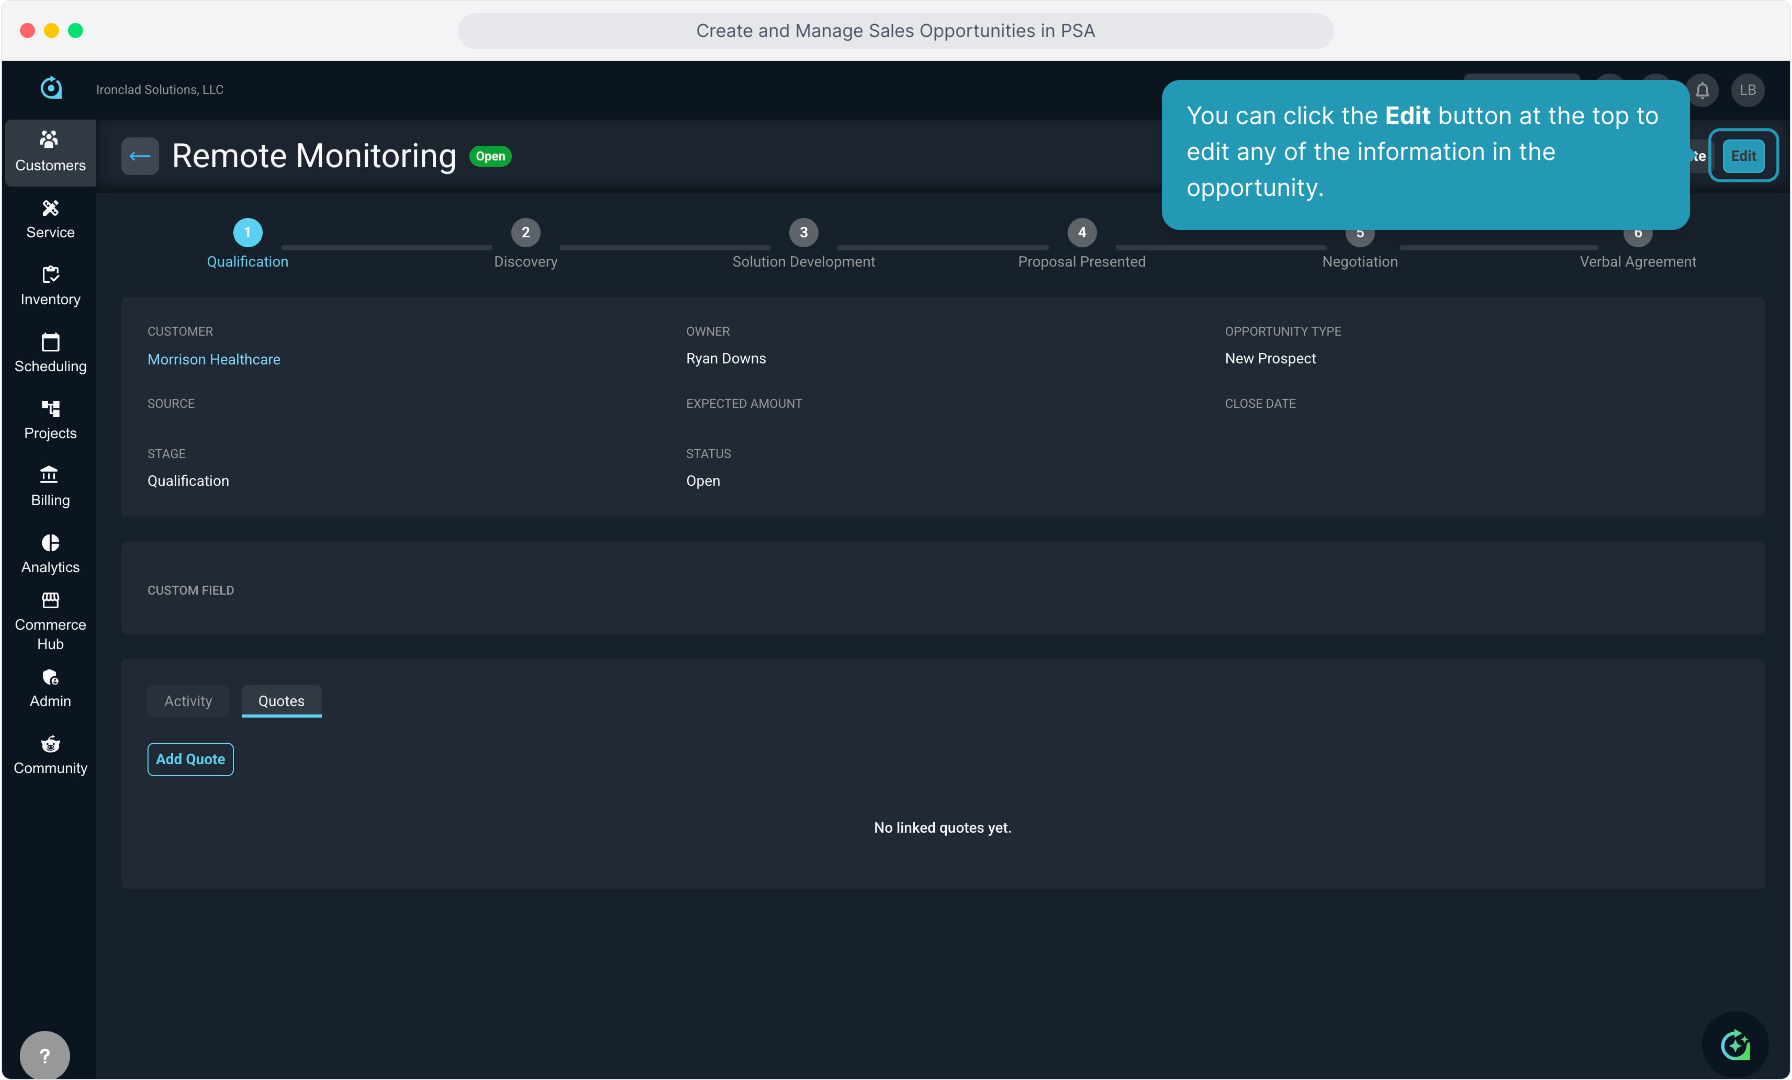
24. You can click the Edit button at the top to edit any of the information in the opportunity.
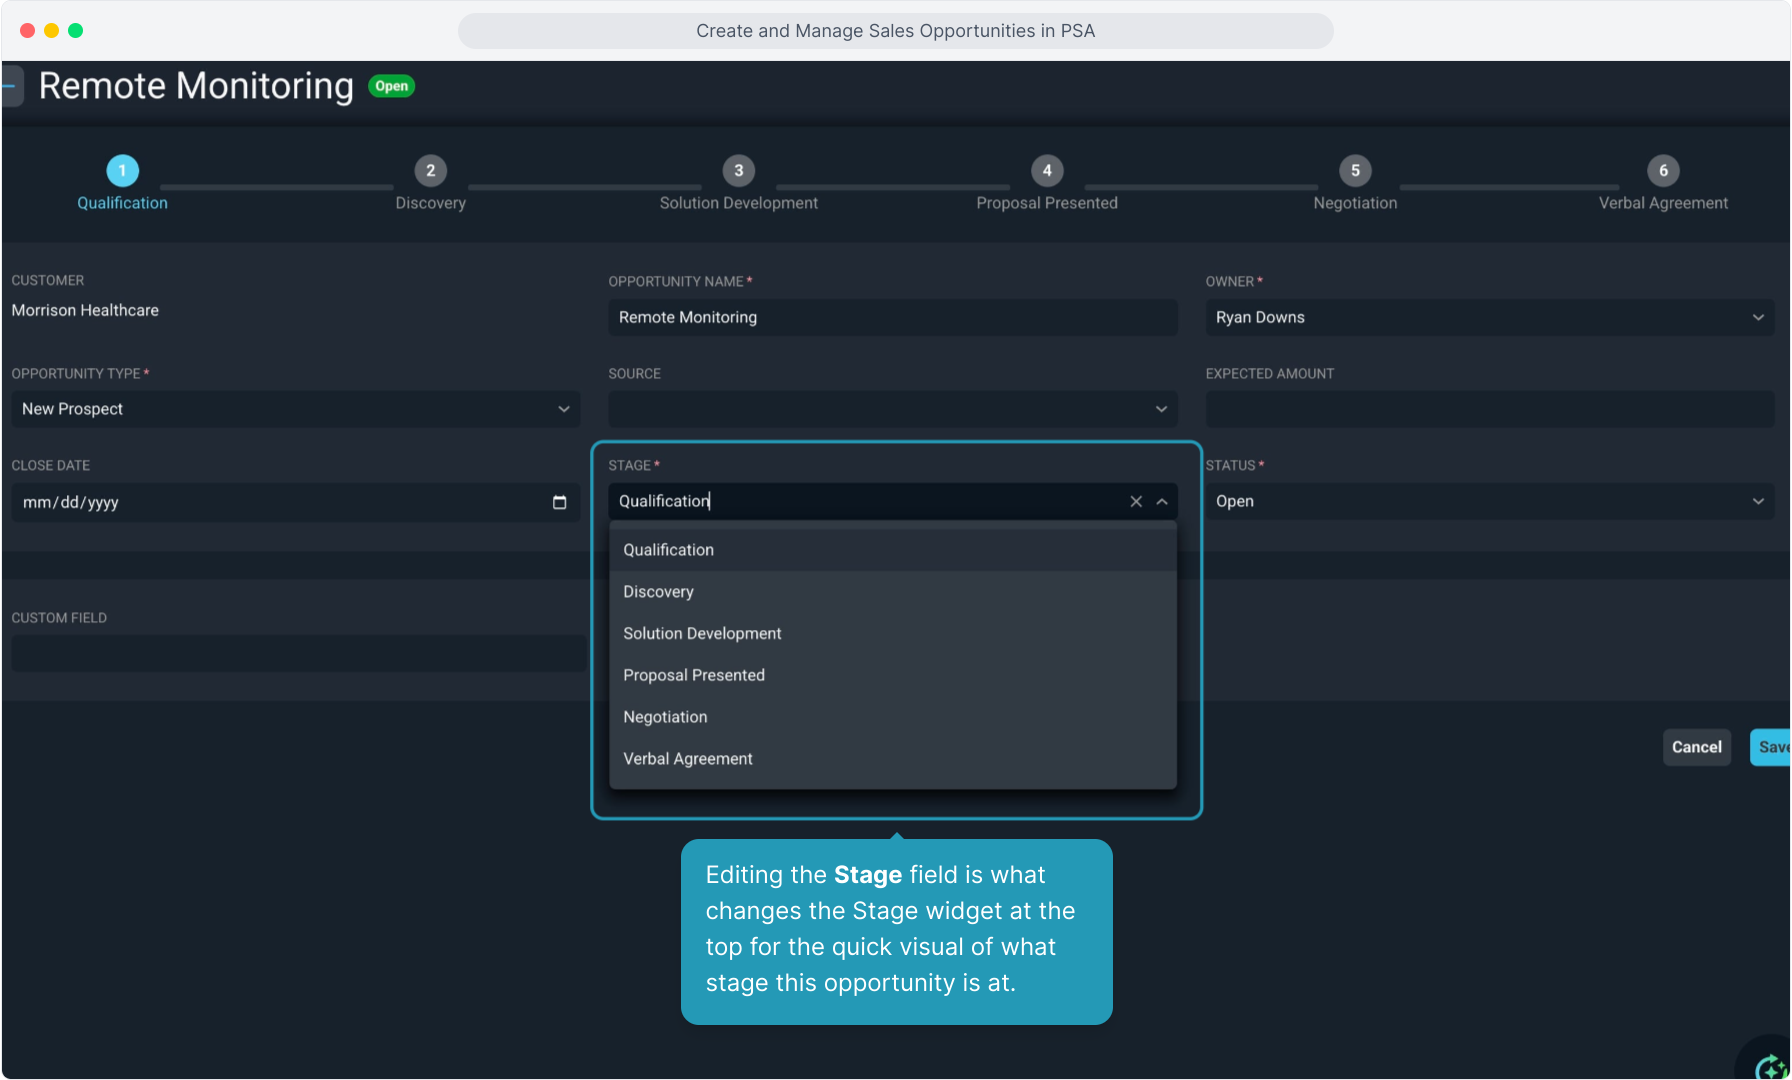
25. Editing the Stage field is what changes the Stage widget at the top for the quick visual of what stage this opportunity is at.
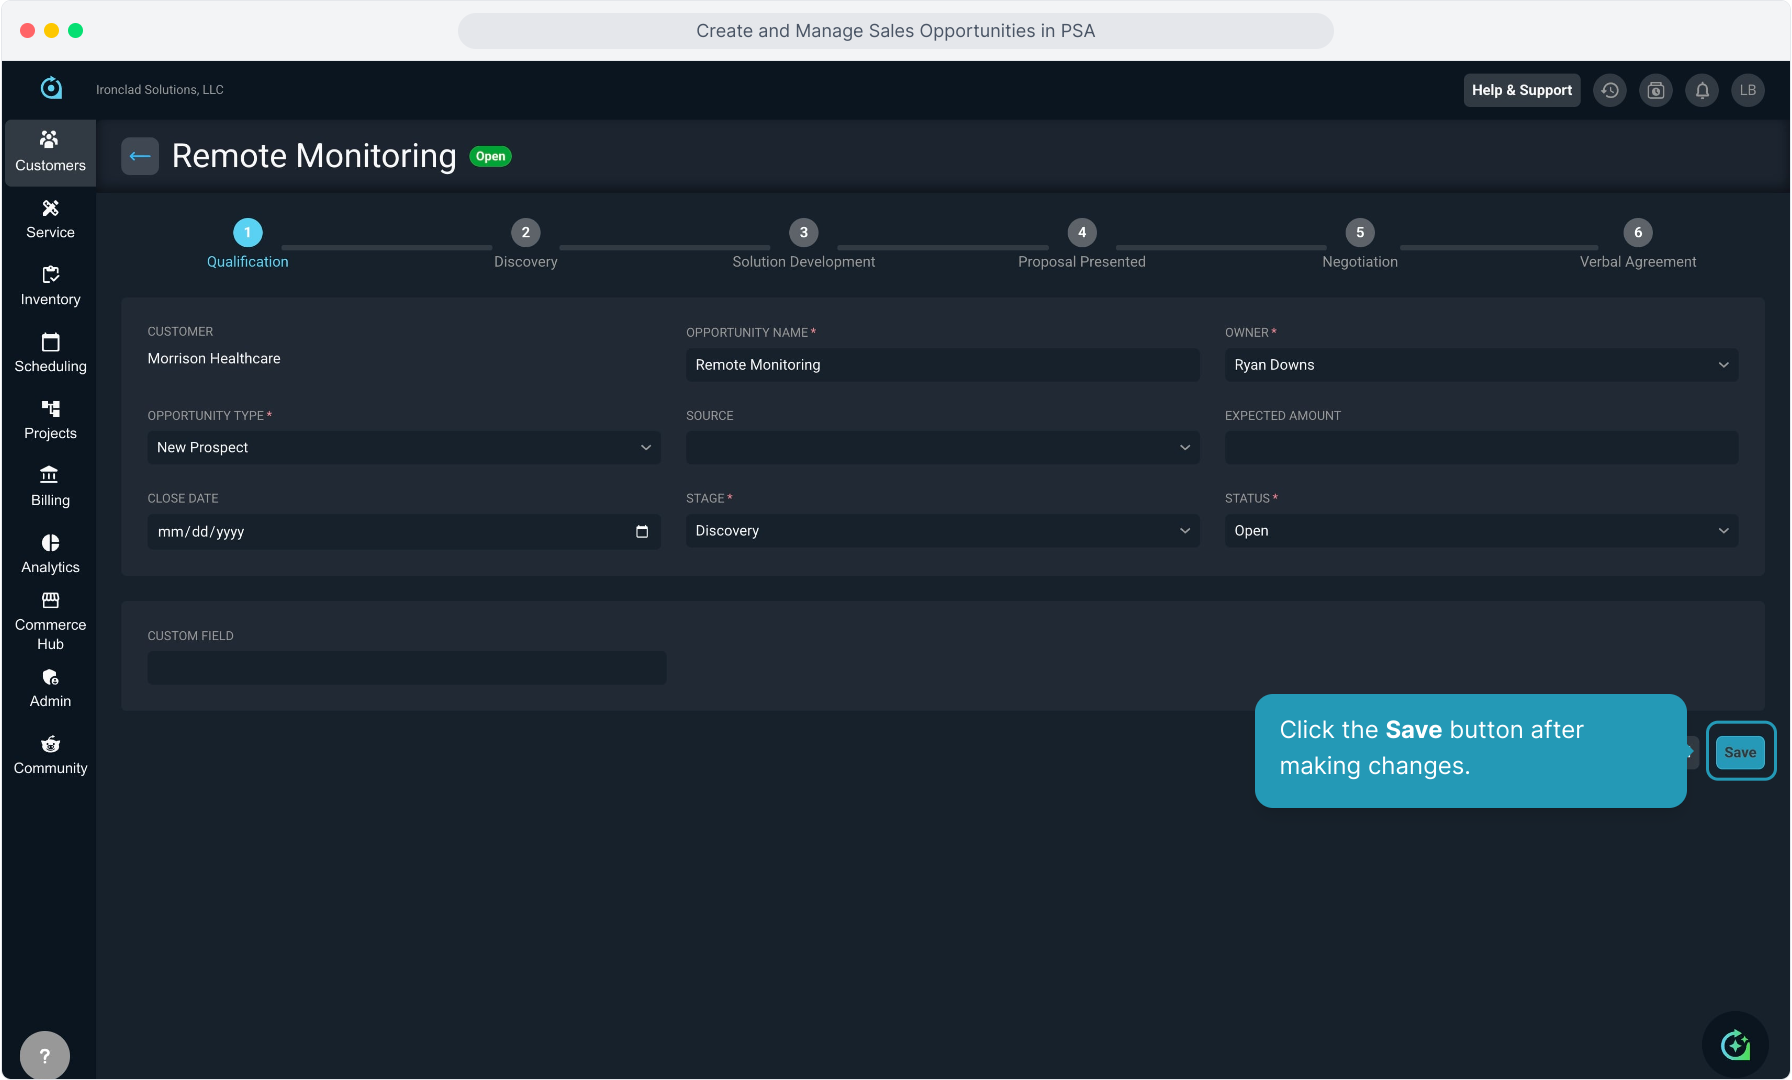
26. Click the Save button after making changes.
27. If you've changed the Stage, you'll see it highlighted in the widget at the top once you save the change.

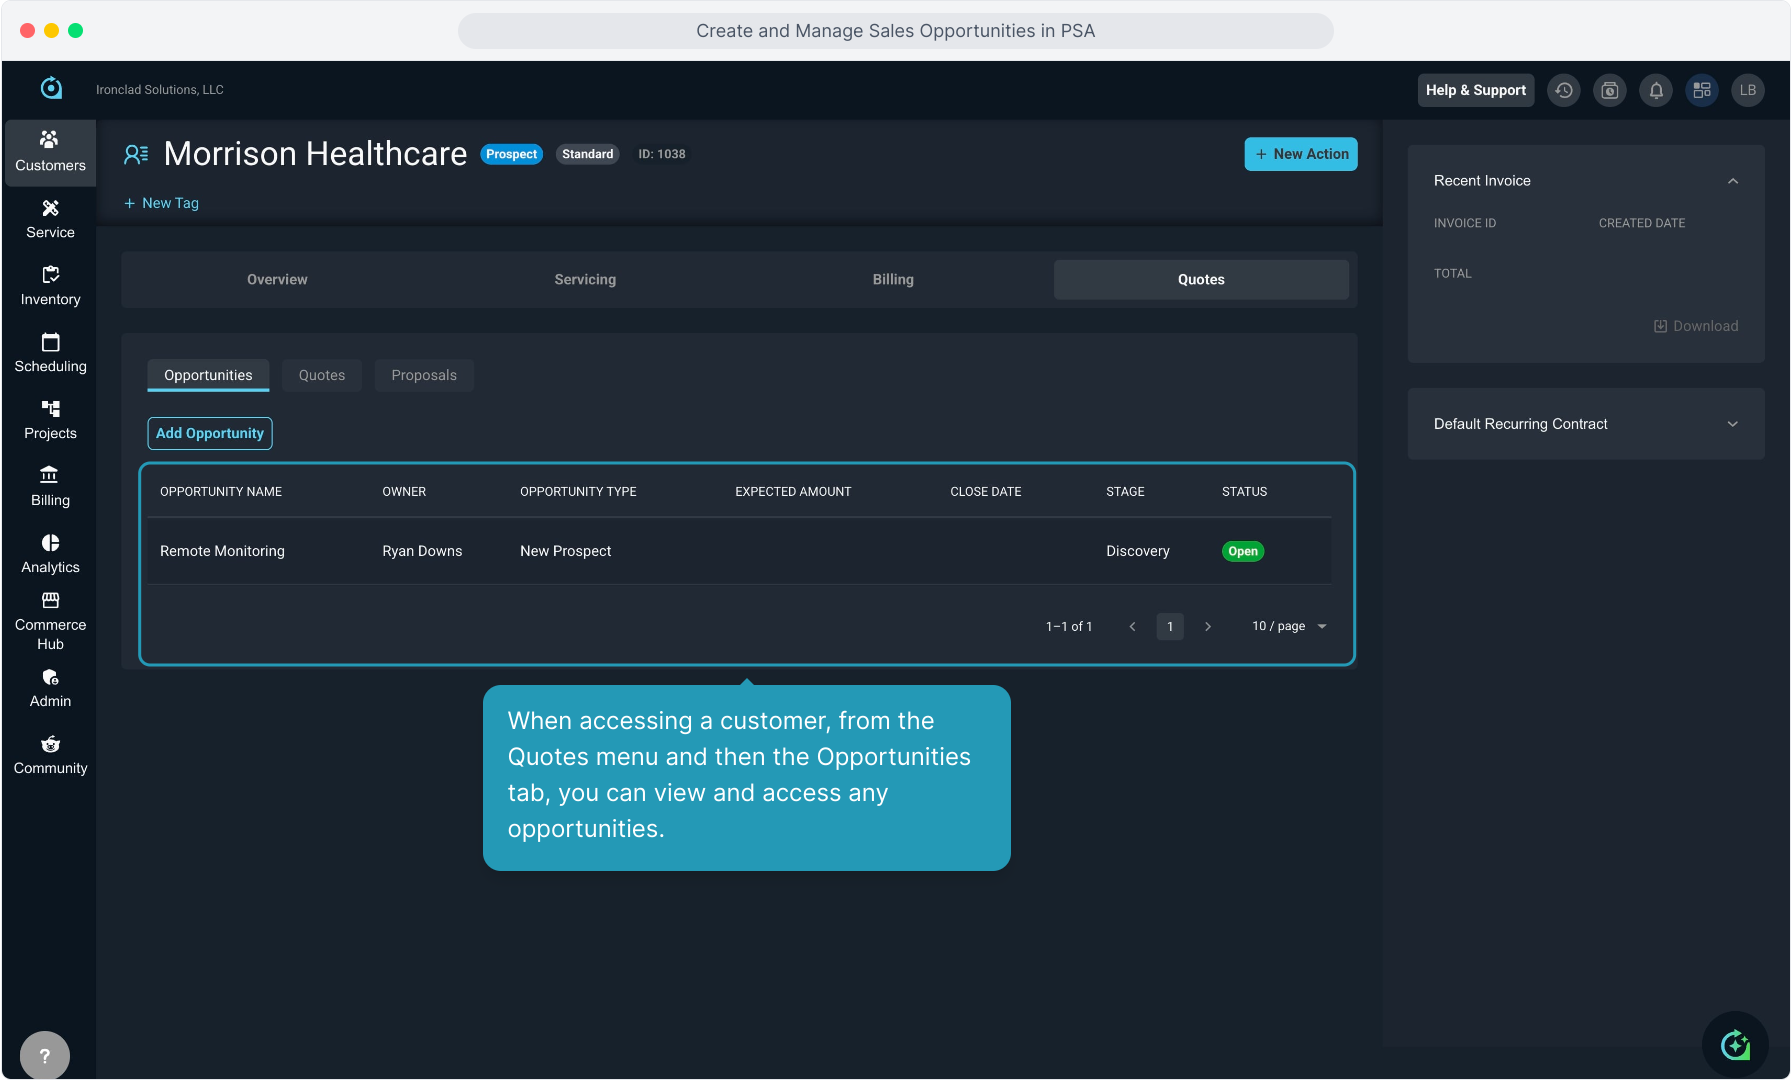
28. When accessing a customer, from the Quotes menu and then the Opportunities tab, you can view and access any opportunities.
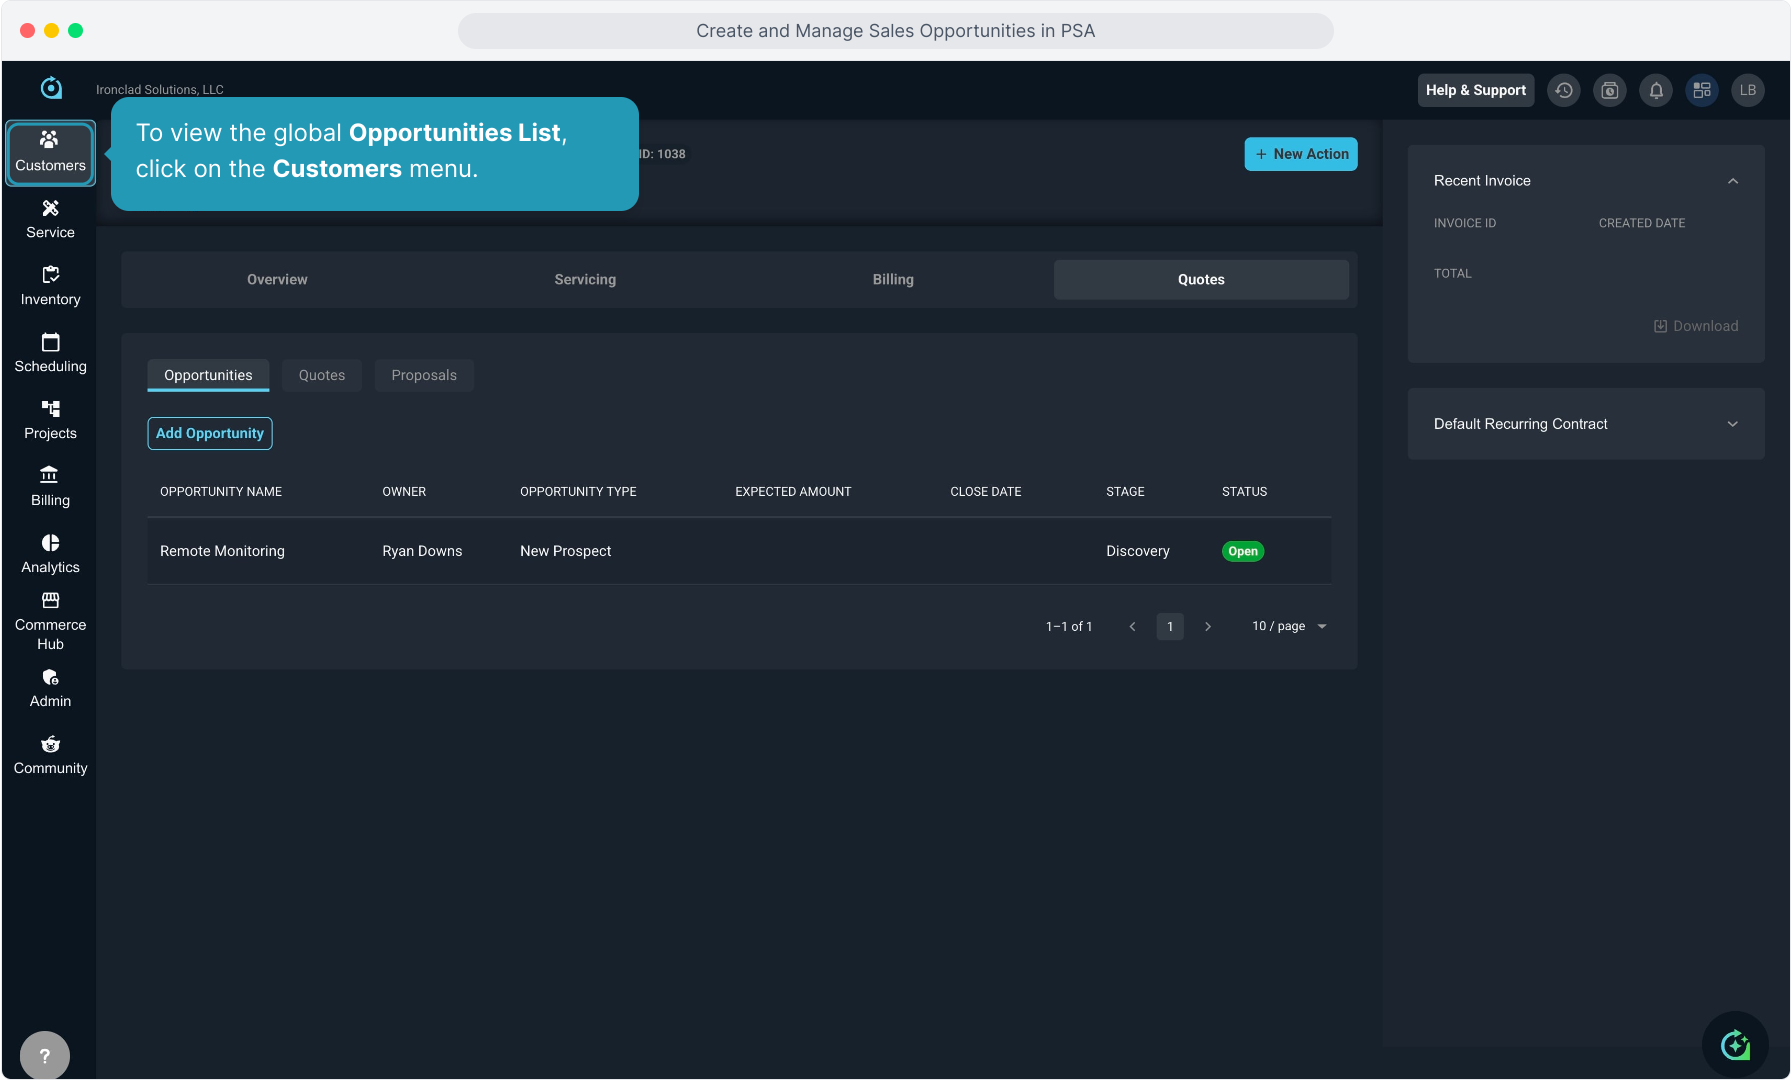
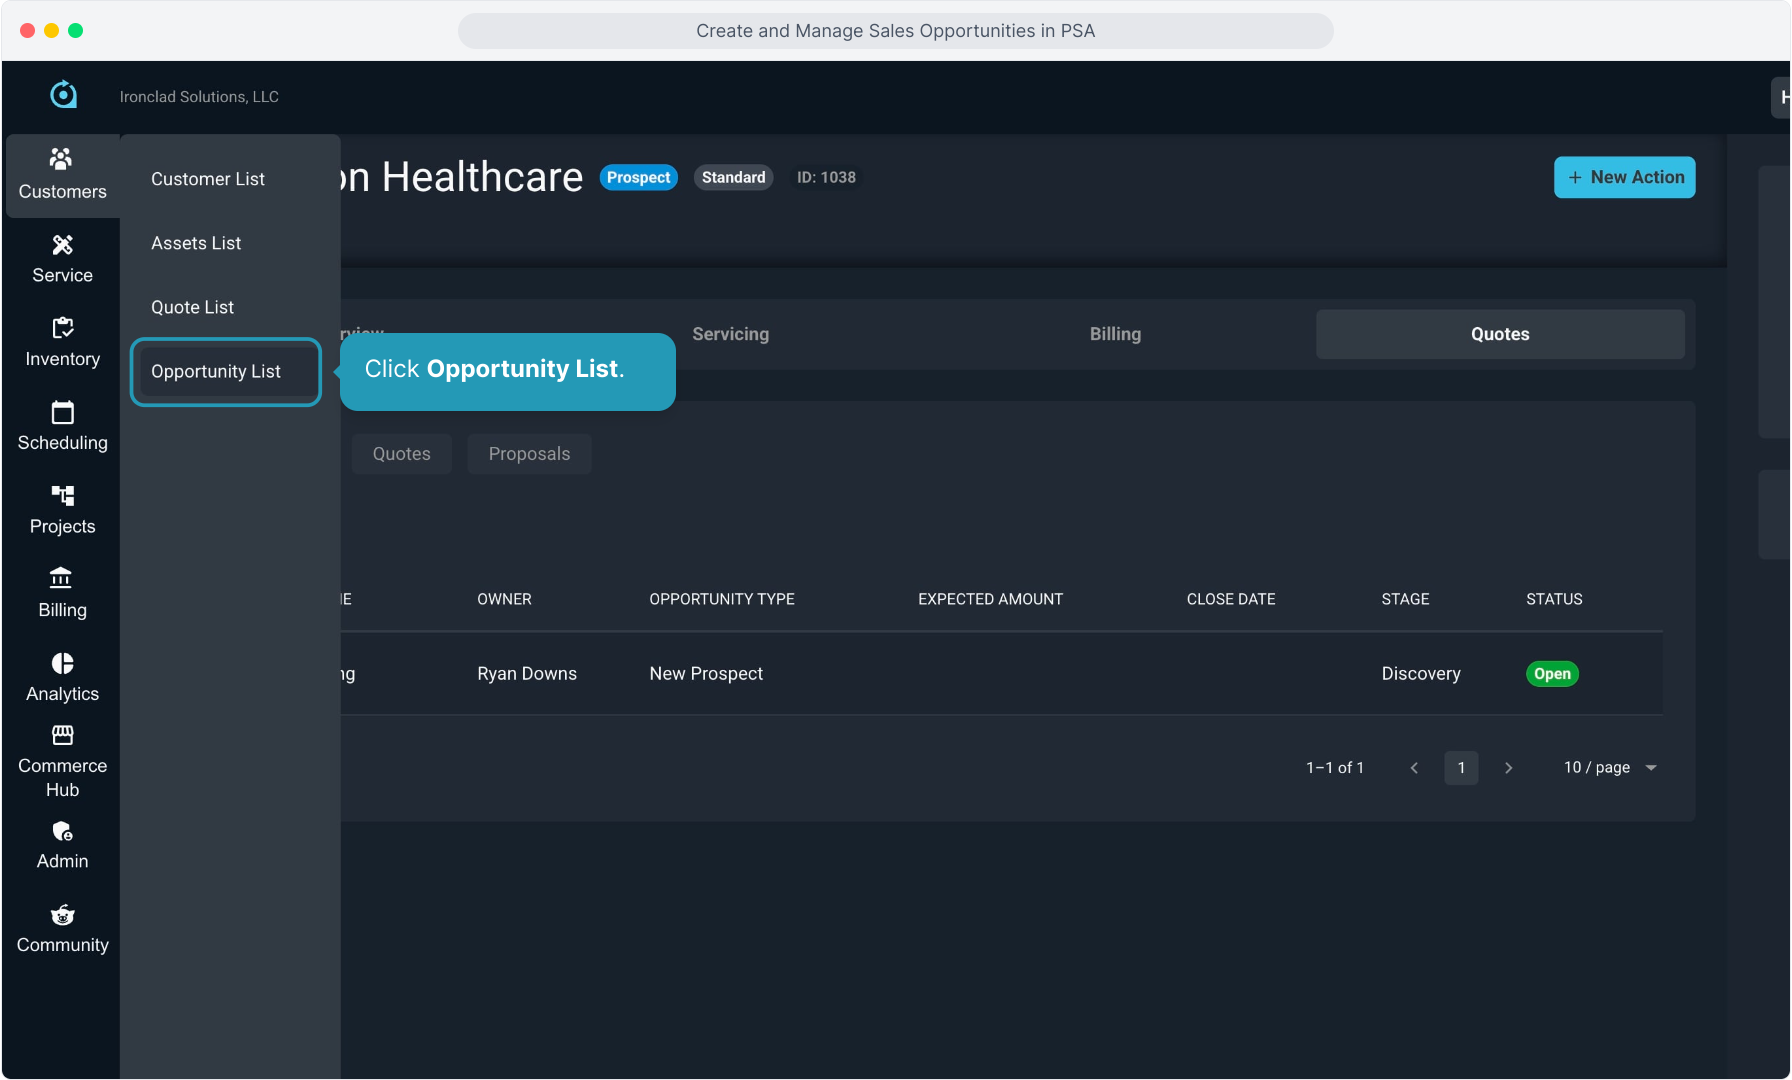
29. To view the global Opportunities List, click on the Customers menu.
30. Click Opportunity List.
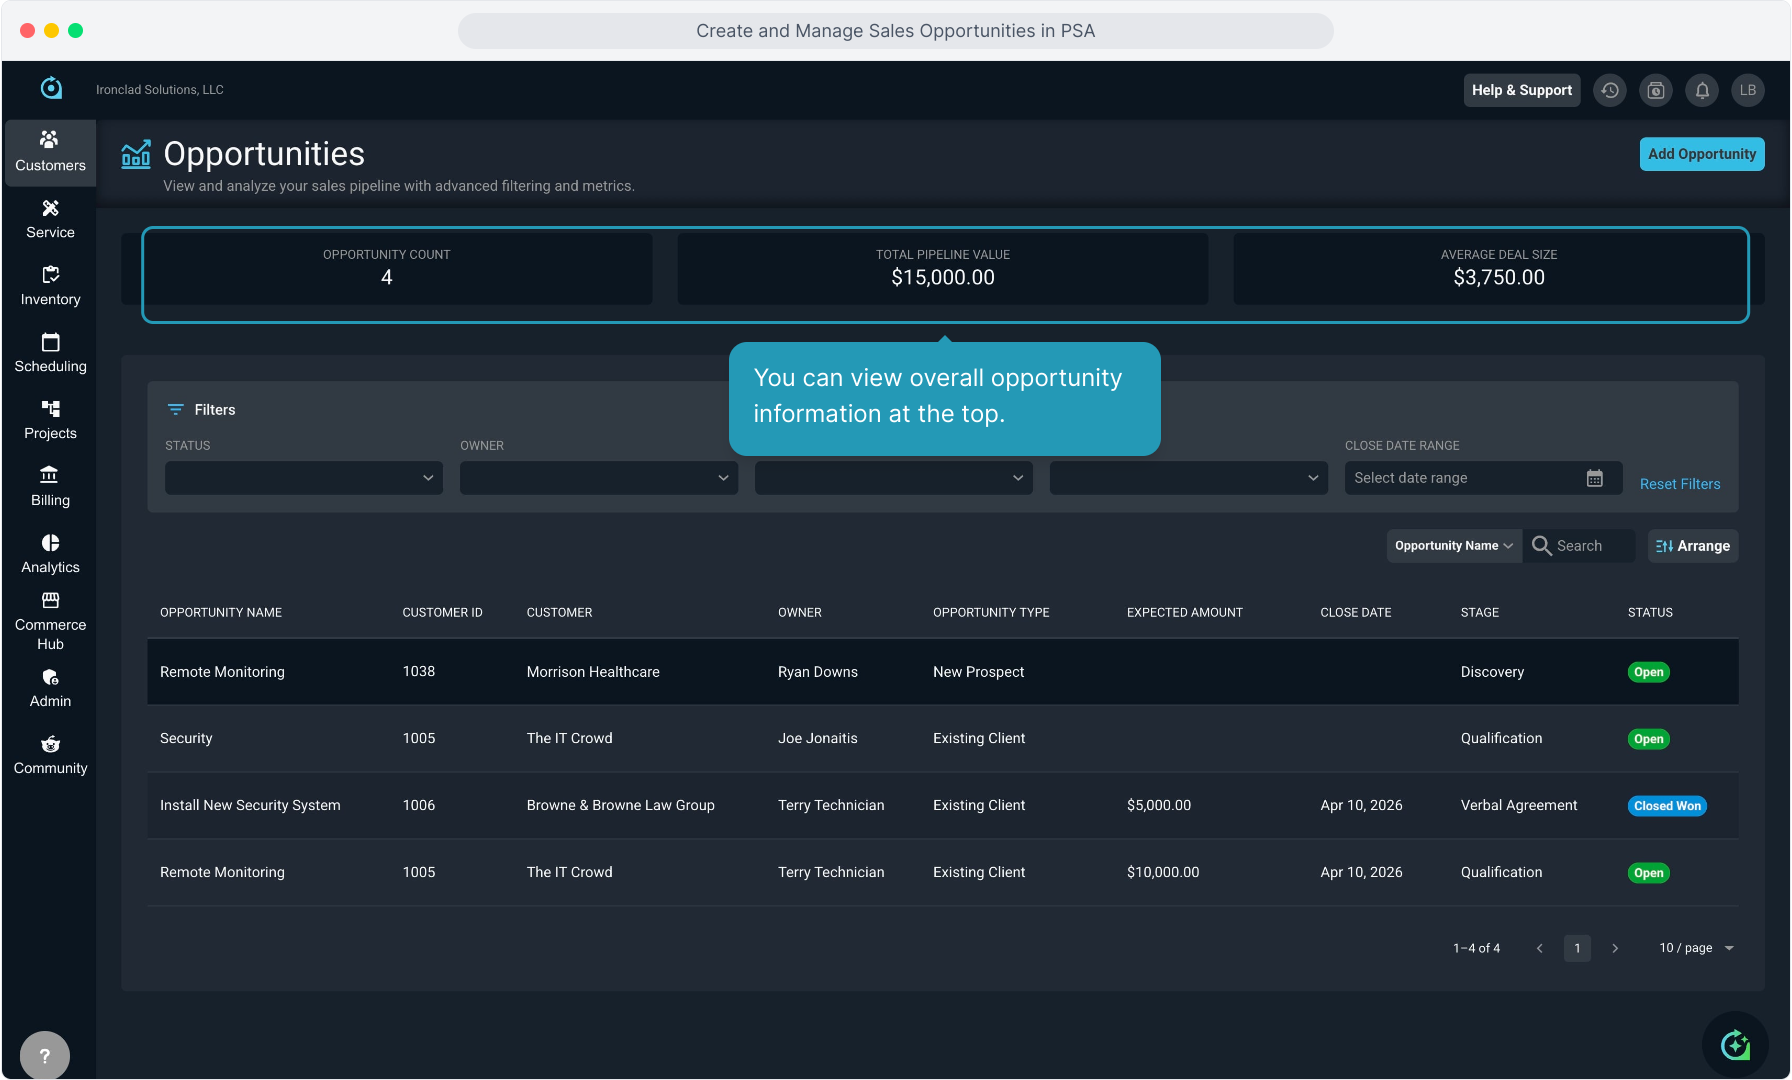
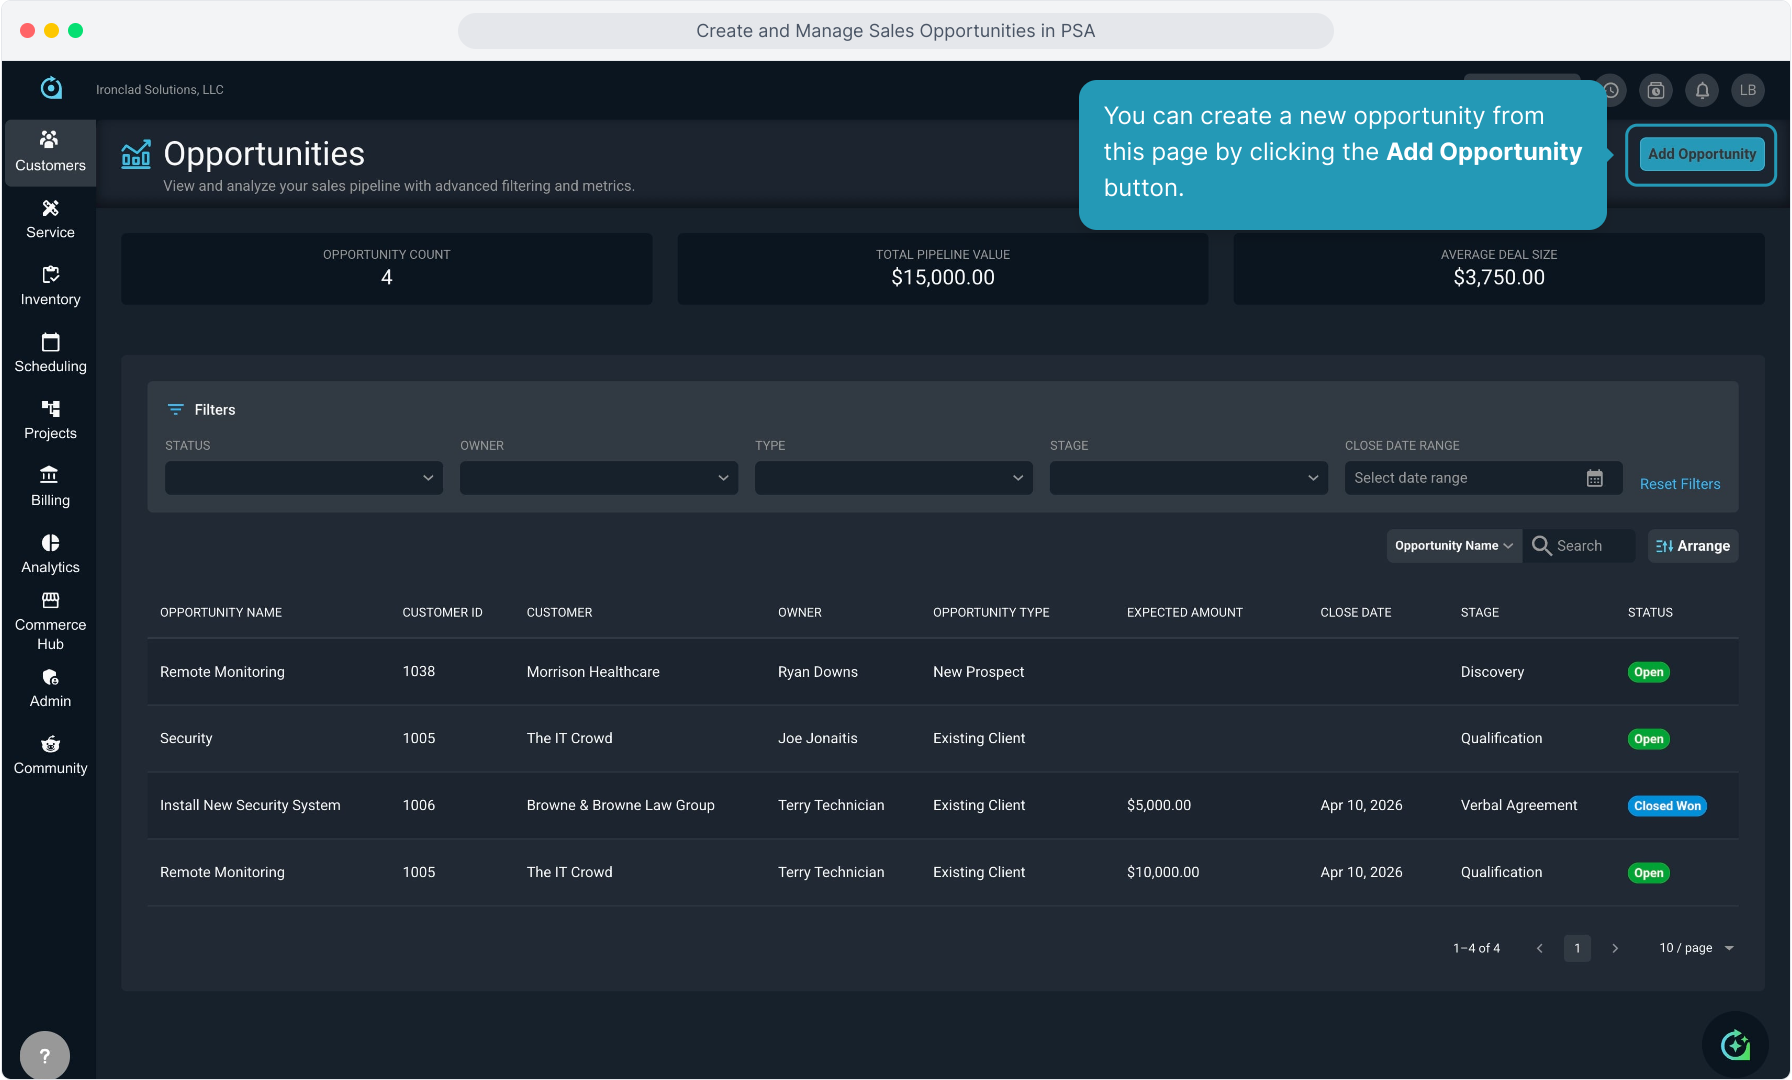
31. You can view overall opportunity information at the top.
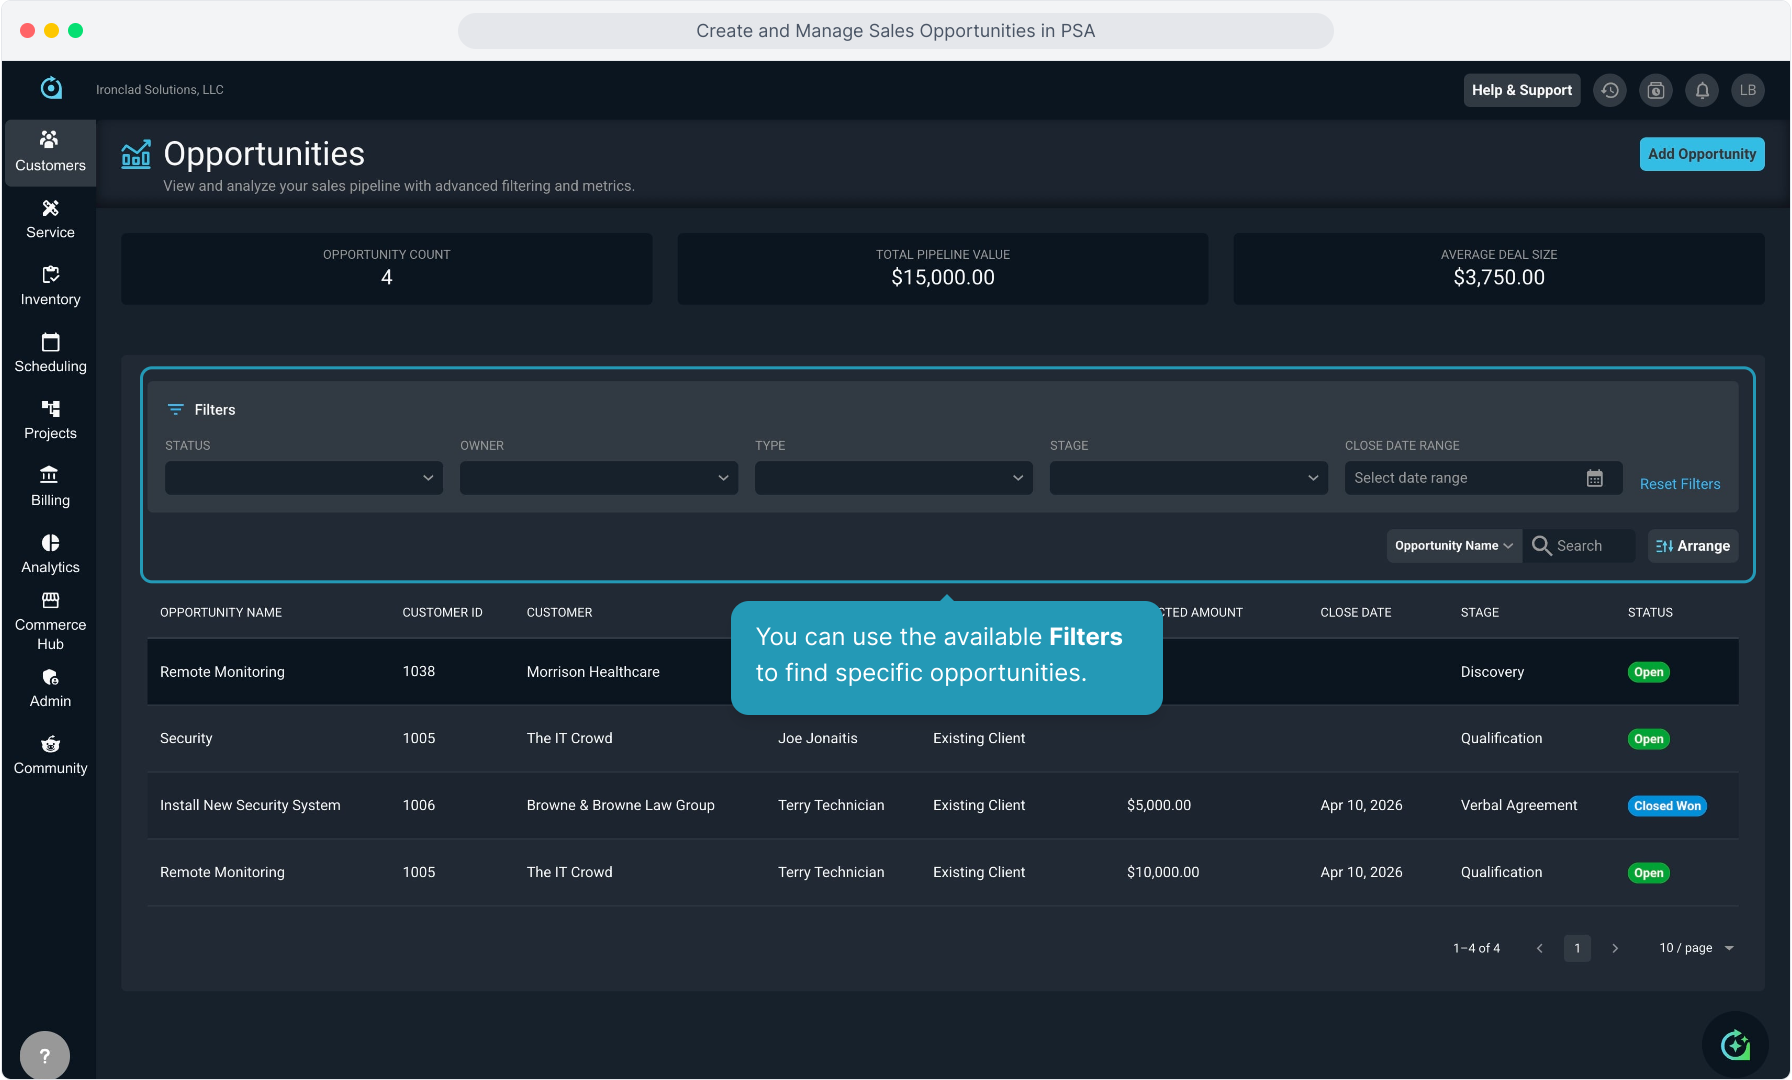
32. You can use the available Filters to find specific opportunities.
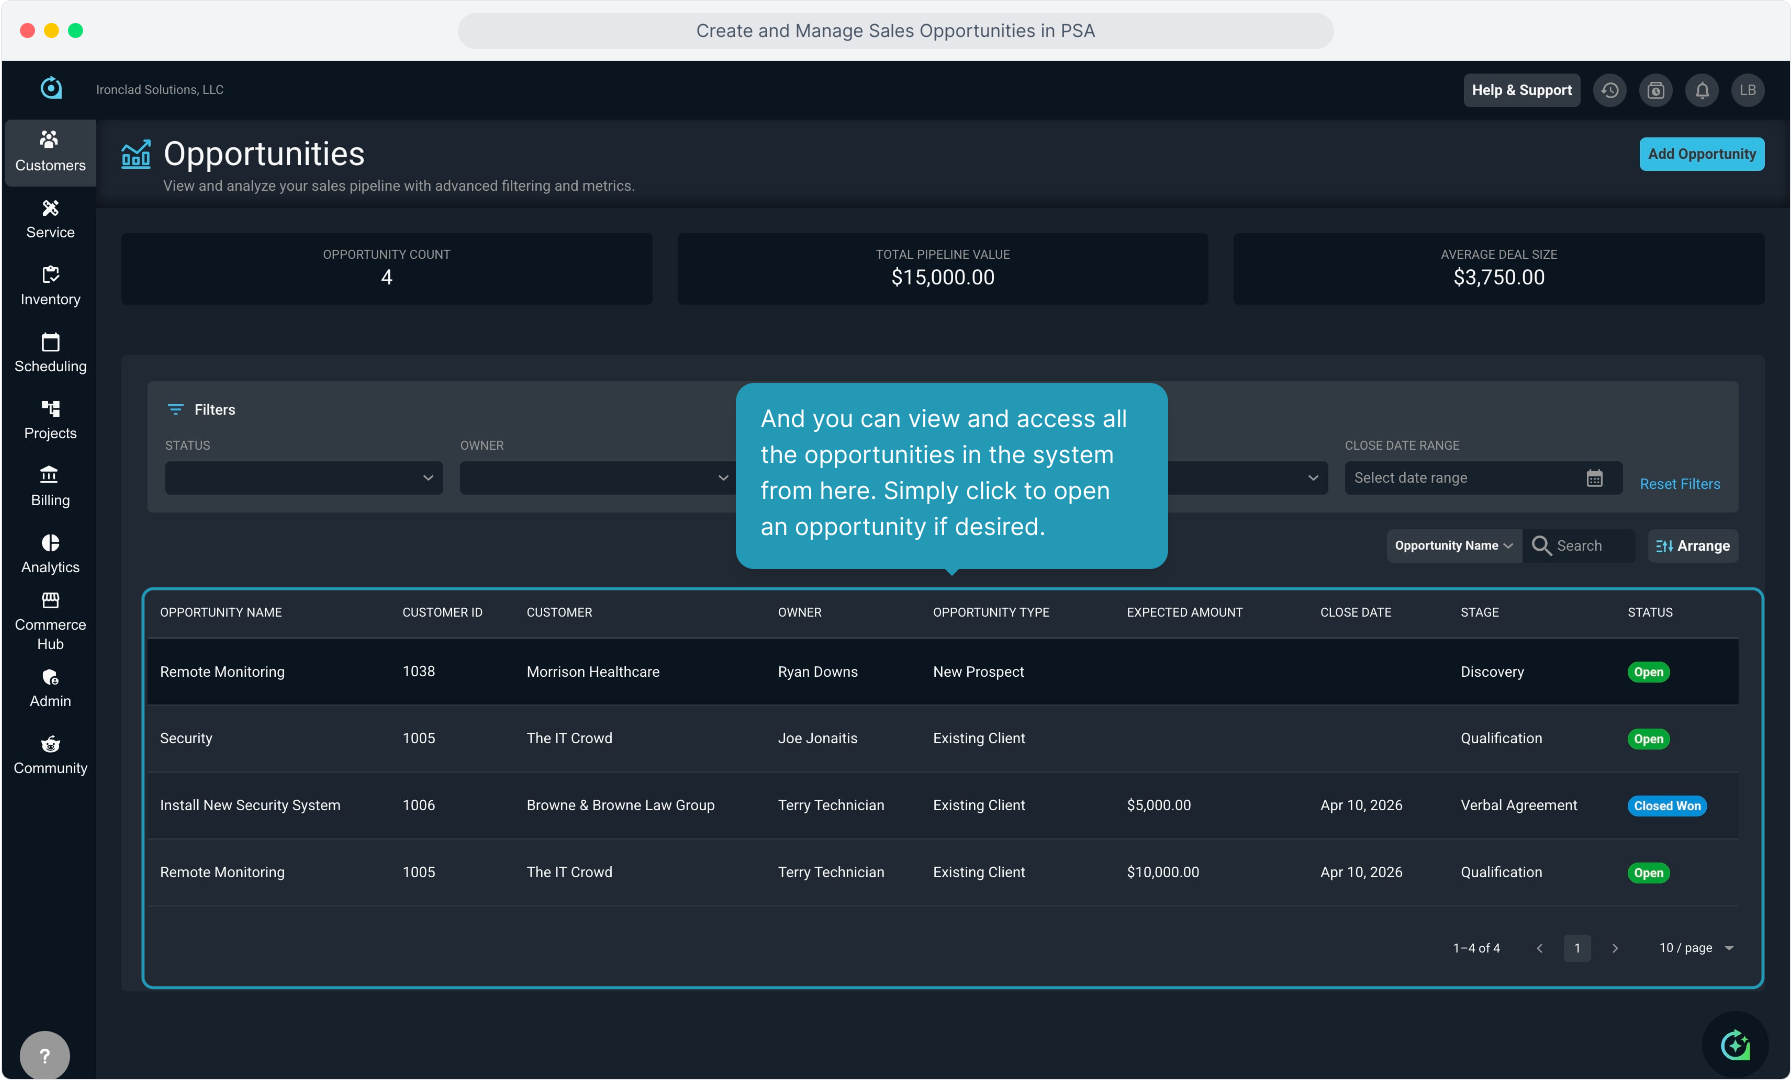
33. And you can view and access all the opportunities in the system from here. Simply click to open an opportunity if desired.
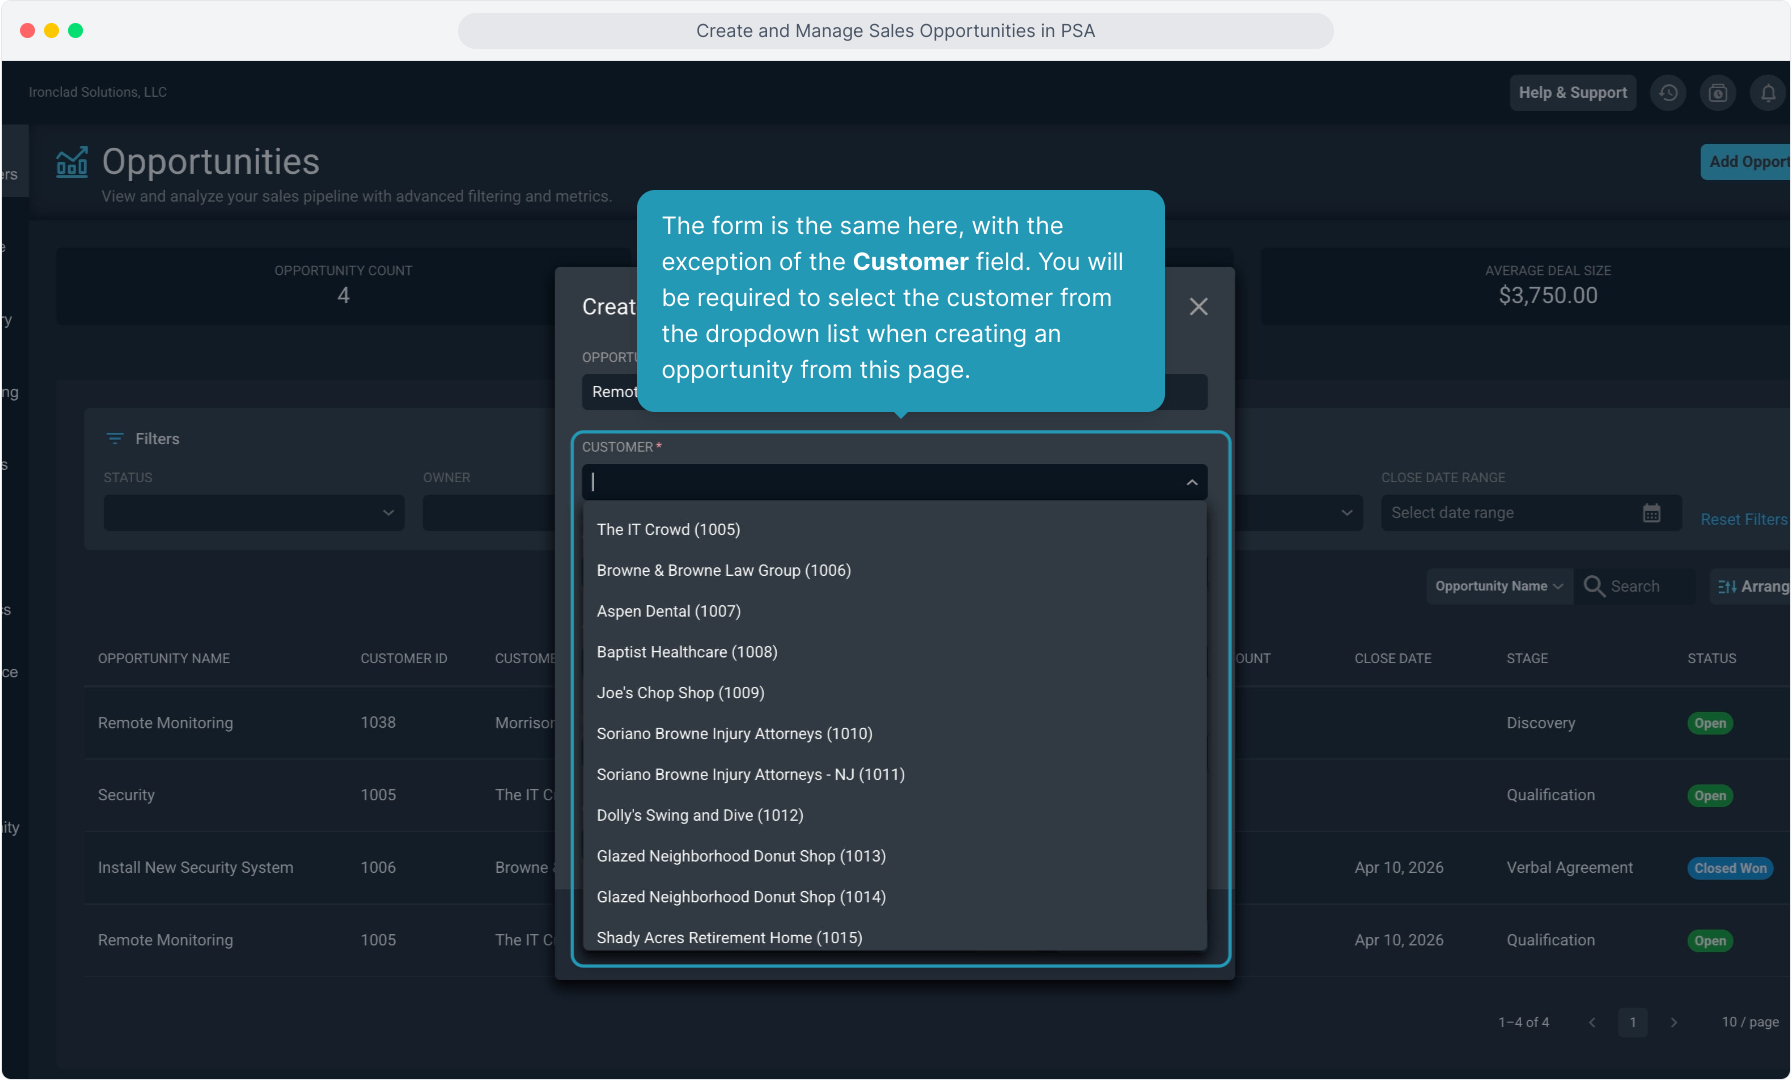
34. You can create a new opportunity from this page by clicking the Add Opportunity button.
35. The form is the same here, with the exception of the Customer field. You will be required to select the customer from the dropdown list when creating an opportunity from this page.