
Ticket Details: Workflows Tab
The Workflow tab on the ticket detail view allows you to assign a flow to the ticket and track its progress through the phases and actions defined in that flow. A flow is a structured process made up of phases and actions that guides your team through the steps required to complete the work on a ticket. Each phase contains one or more actions that must be addressed before the flow can advance, and routes between phases allow the flow to branch based on the outcome of the work. Flows must be assigned manually on a per-ticket basis.
| NOTE: Flows must be activated in Admin > Workflows before they can be assigned to tickets. |
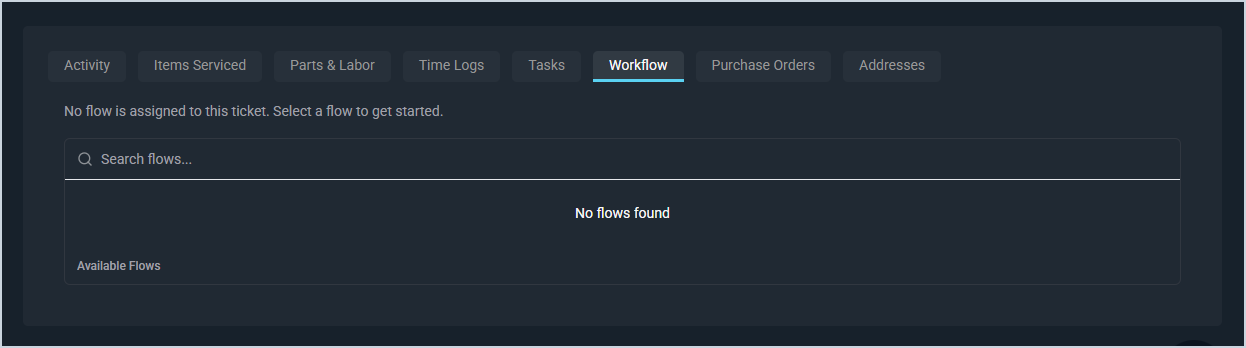
Assigning a Flow to a Ticket
To assign a flow to a ticket, start typing in the Search flows field on the Workflows tab and select the flow you want to assign. Once assigned, the flow launches automatically and places the ticket into the first phase of the flow, creating all tasks associated with that phase.
| NOTE: Automatic flow assignment at ticket creation is planned for a future release. At this time, flows must be assigned manually from the Workflows tab. |
Once a flow is assigned, an orange status bar also appears at the top of the ticket screen displaying the current workflow name and active phase. This bar is always visible regardless of which tab you are on, so you can track the flow's progress without navigating to the Workflow tab. When route selection is pending, the bar becomes a clickable prompt that takes you directly to the Workflow tab.

Current Workflow
The Current Workflow section displays the name of the flow currently assigned to the ticket.
The following actions are available in the Current Workflow section.
- View the Visual Map for the assigned flow by clicking the View Visual Map button. See the Workflows: Visual Map article for more information.
- Edit the flow assignment by clicking the Edit button.
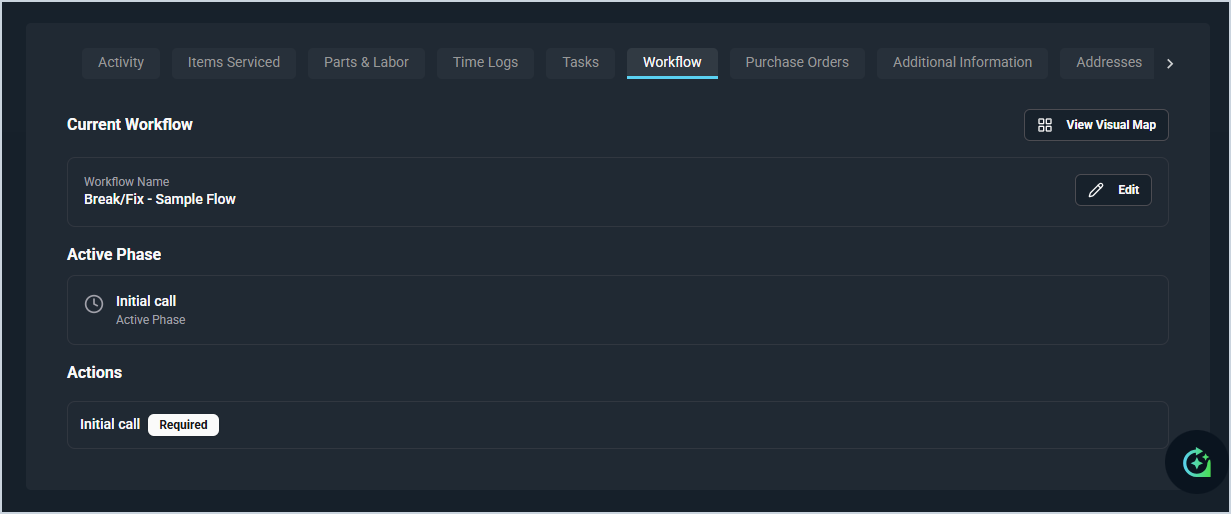
Active Phase
The Active Phase section displays the name of the phase the ticket is currently in, along with an Active Phase label indicating it is the phase currently in progress.
Actions
The Actions section displays all actions associated with the current phase. Actions marked Required must be completed before a route can be selected, based on the gate logic defined on the phase.
Once all gate logic conditions are met, an orange Route Selection Ready banner appears at the bottom of the Actions section indicating that gate conditions have been met and a route must be selected to continue the workflow. Click the Select Route button and choose the appropriate route. The flow will then advance to the next phase and launch its associated tasks automatically.
| NOTE: All gate logic conditions must be met before a route can be selected. You cannot skip a phase or advance to a later phase without addressing all required actions in the current phase. If your flow requires changes, update the flow in the Flow Builder. See the Create/Edit Flows article for more information. |
