How To Guide: Google Calendar Integration - Admin Config and User Setup
1. Introduction
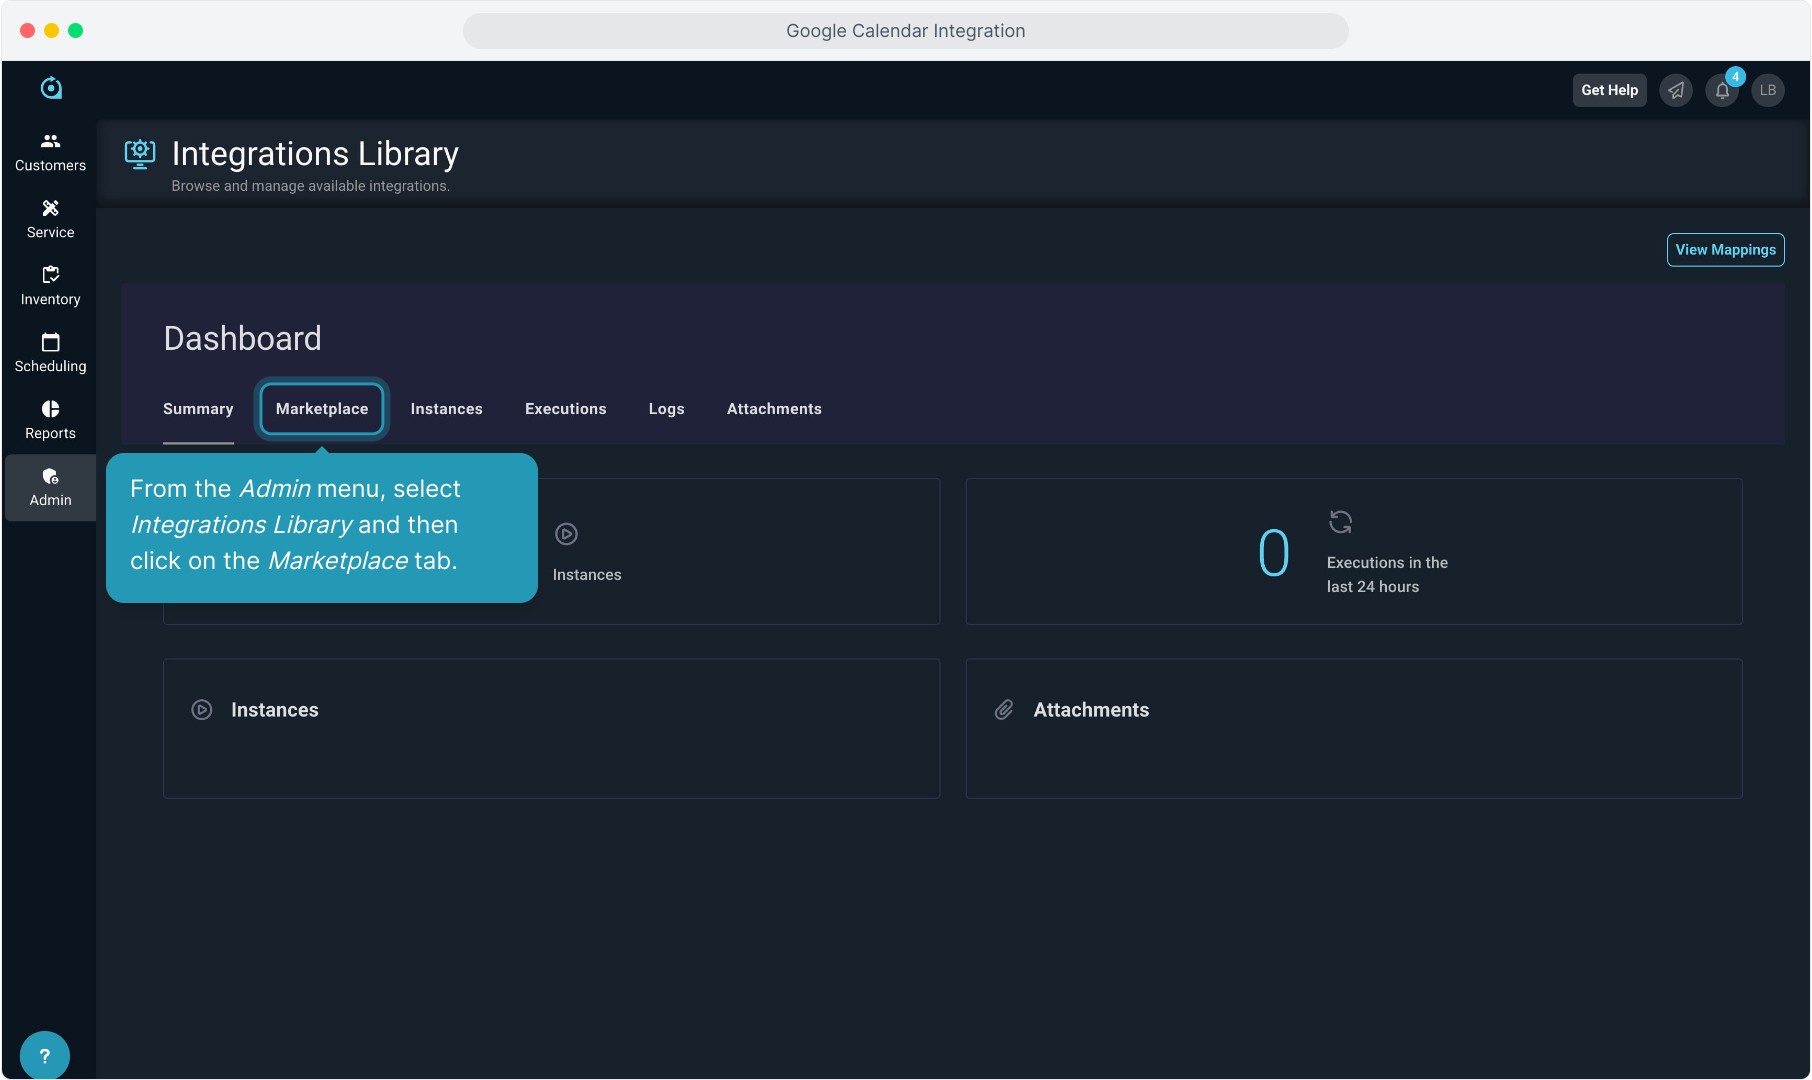
2. From the Admin menu, select Integrations Library and then click on the Marketplace tab.
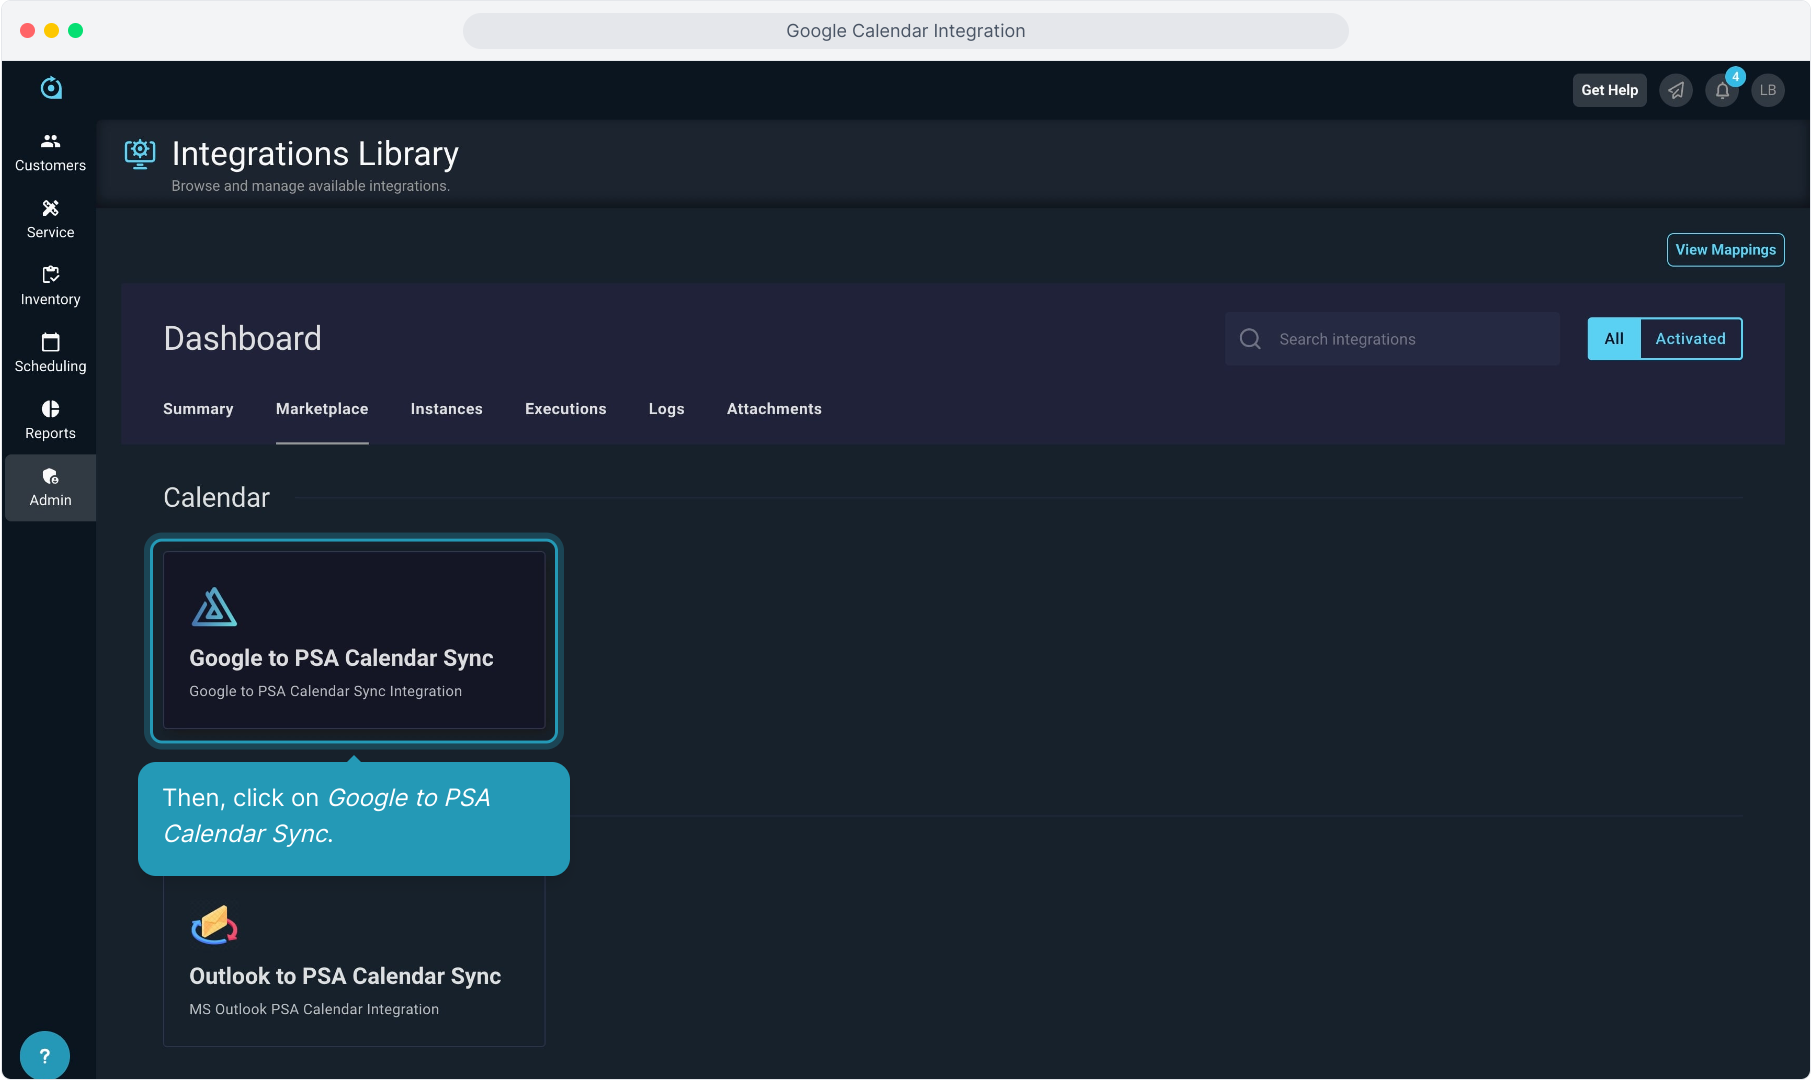
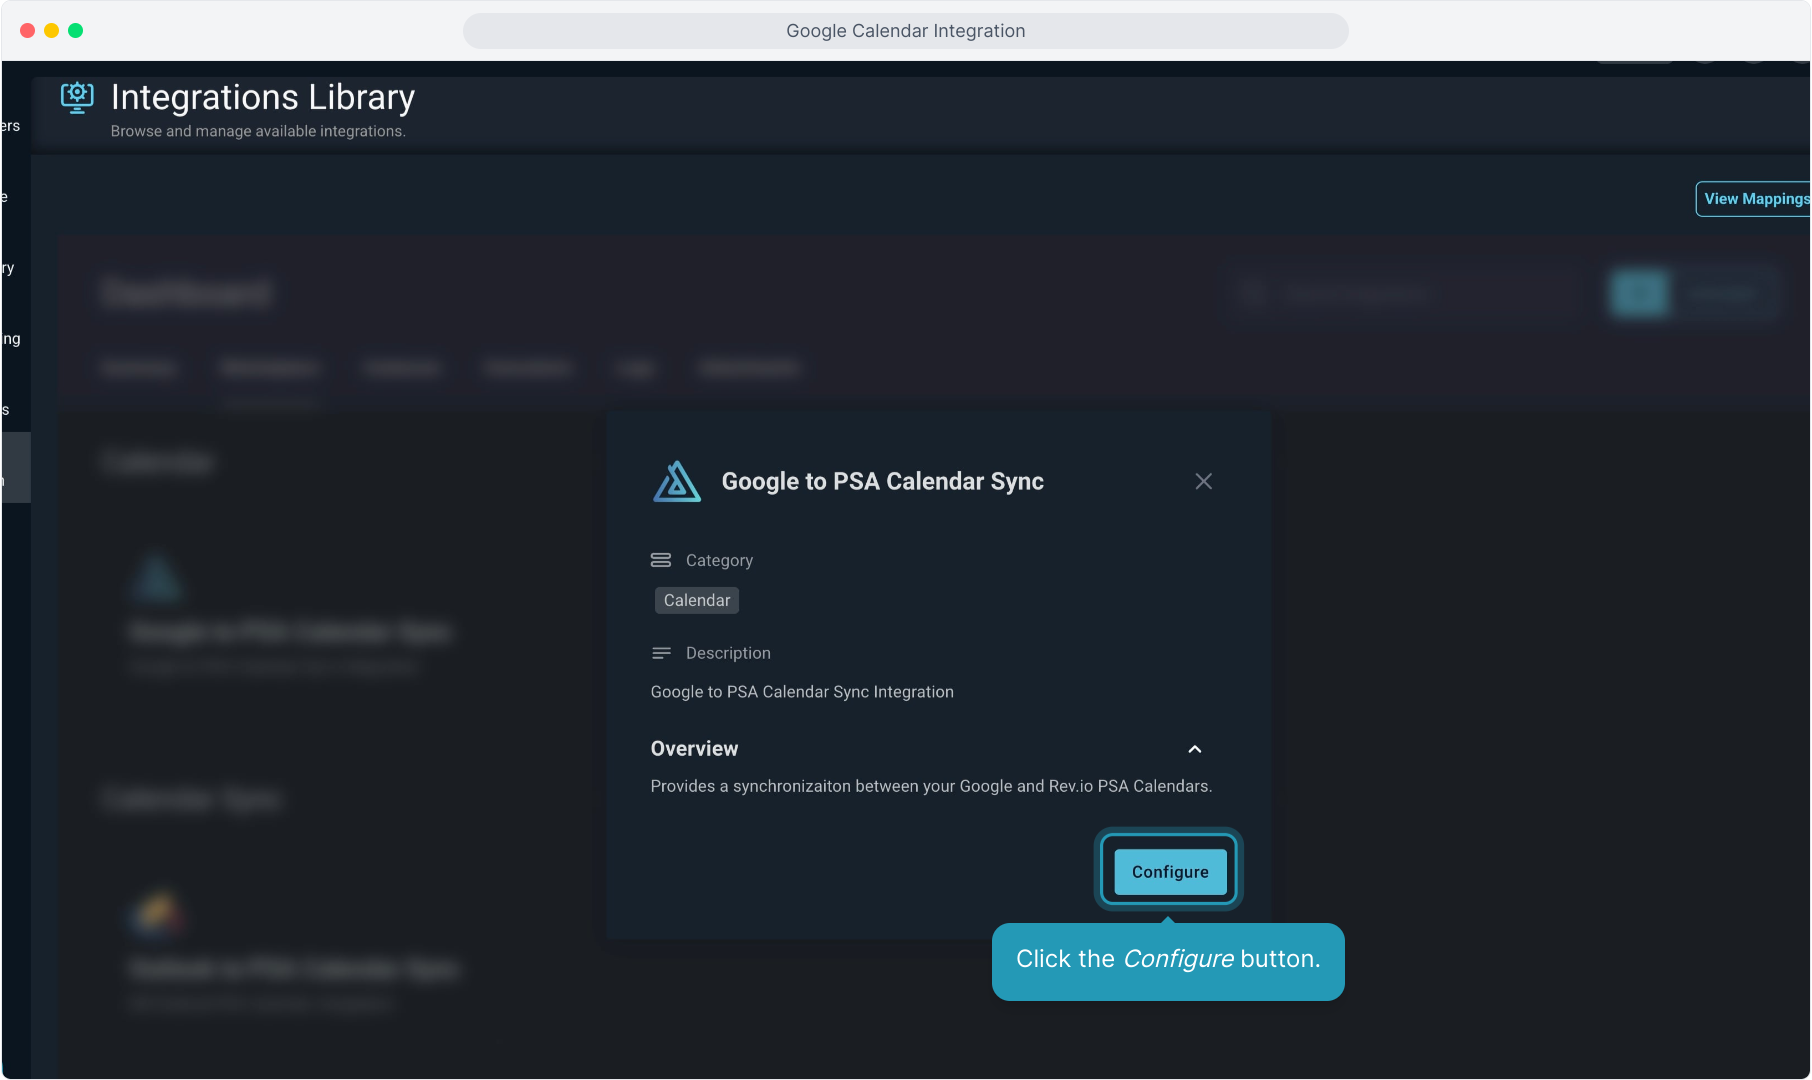
3. Then, click on Google to PSA Calendar Sync.
4. Click the Configure button.
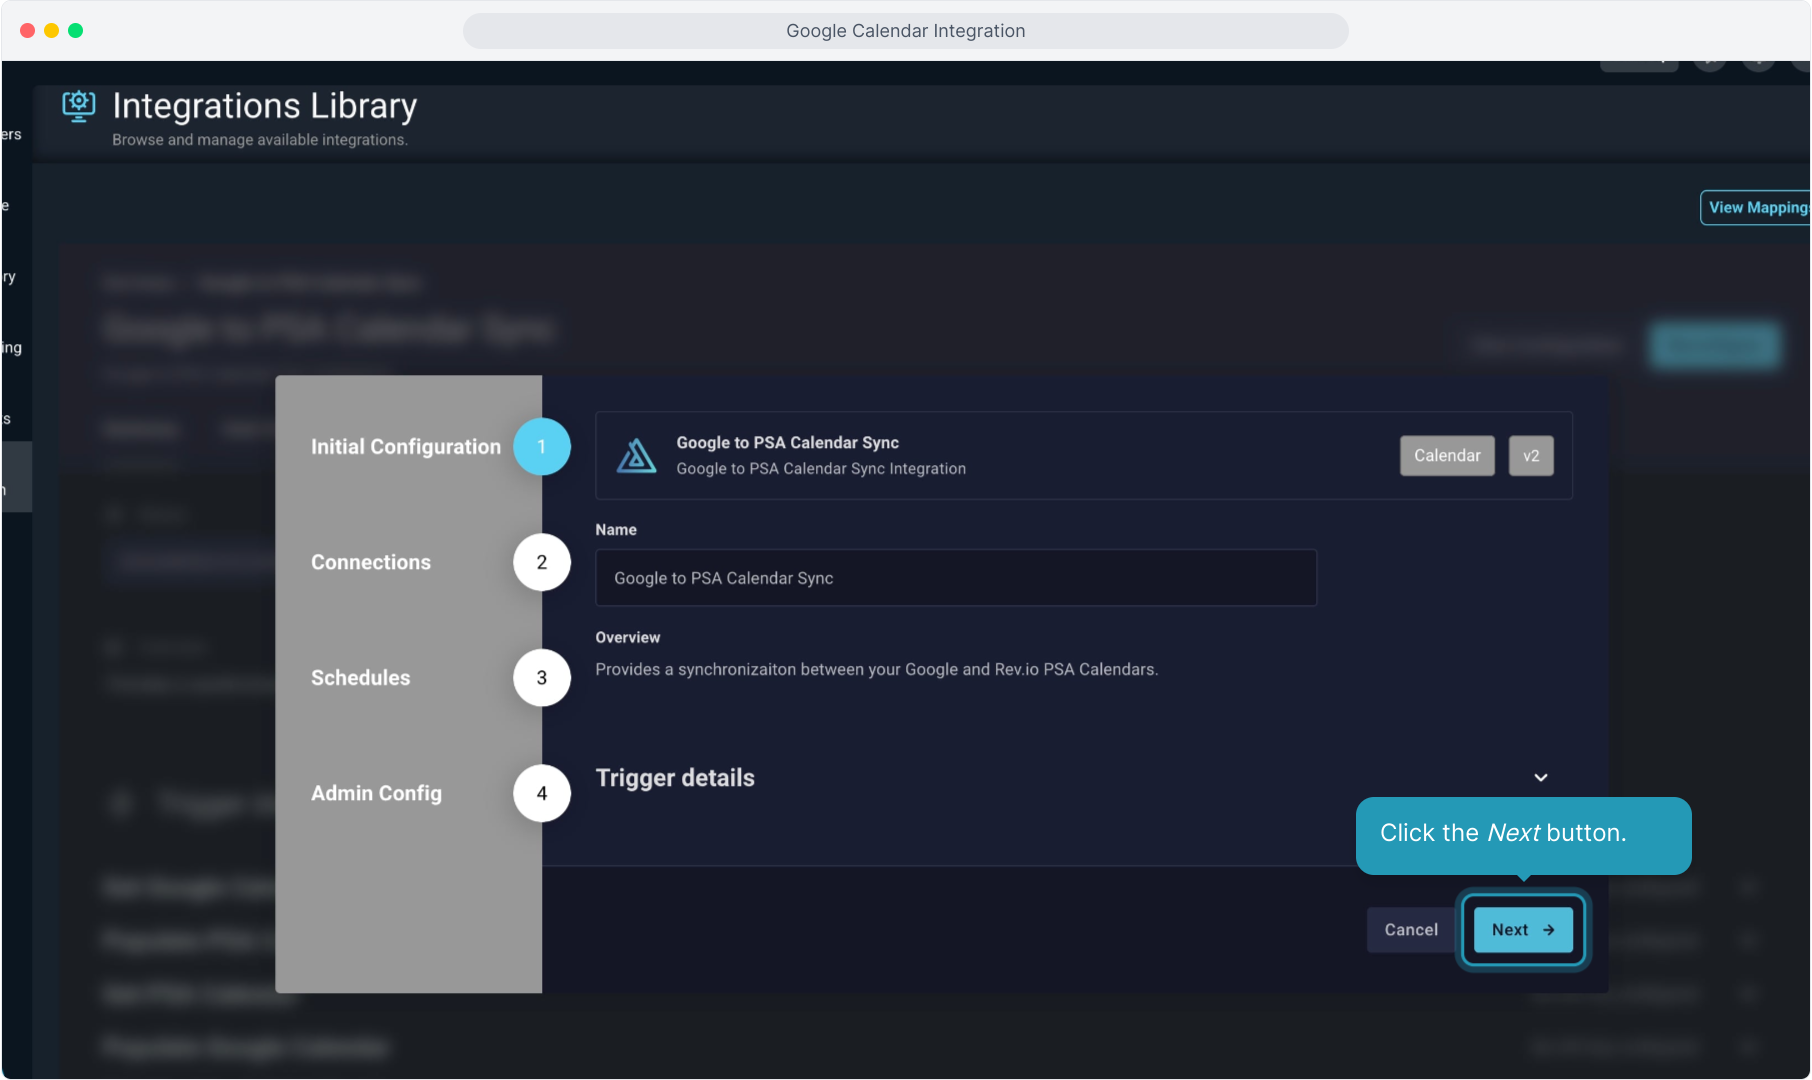
5. Click the Next button.
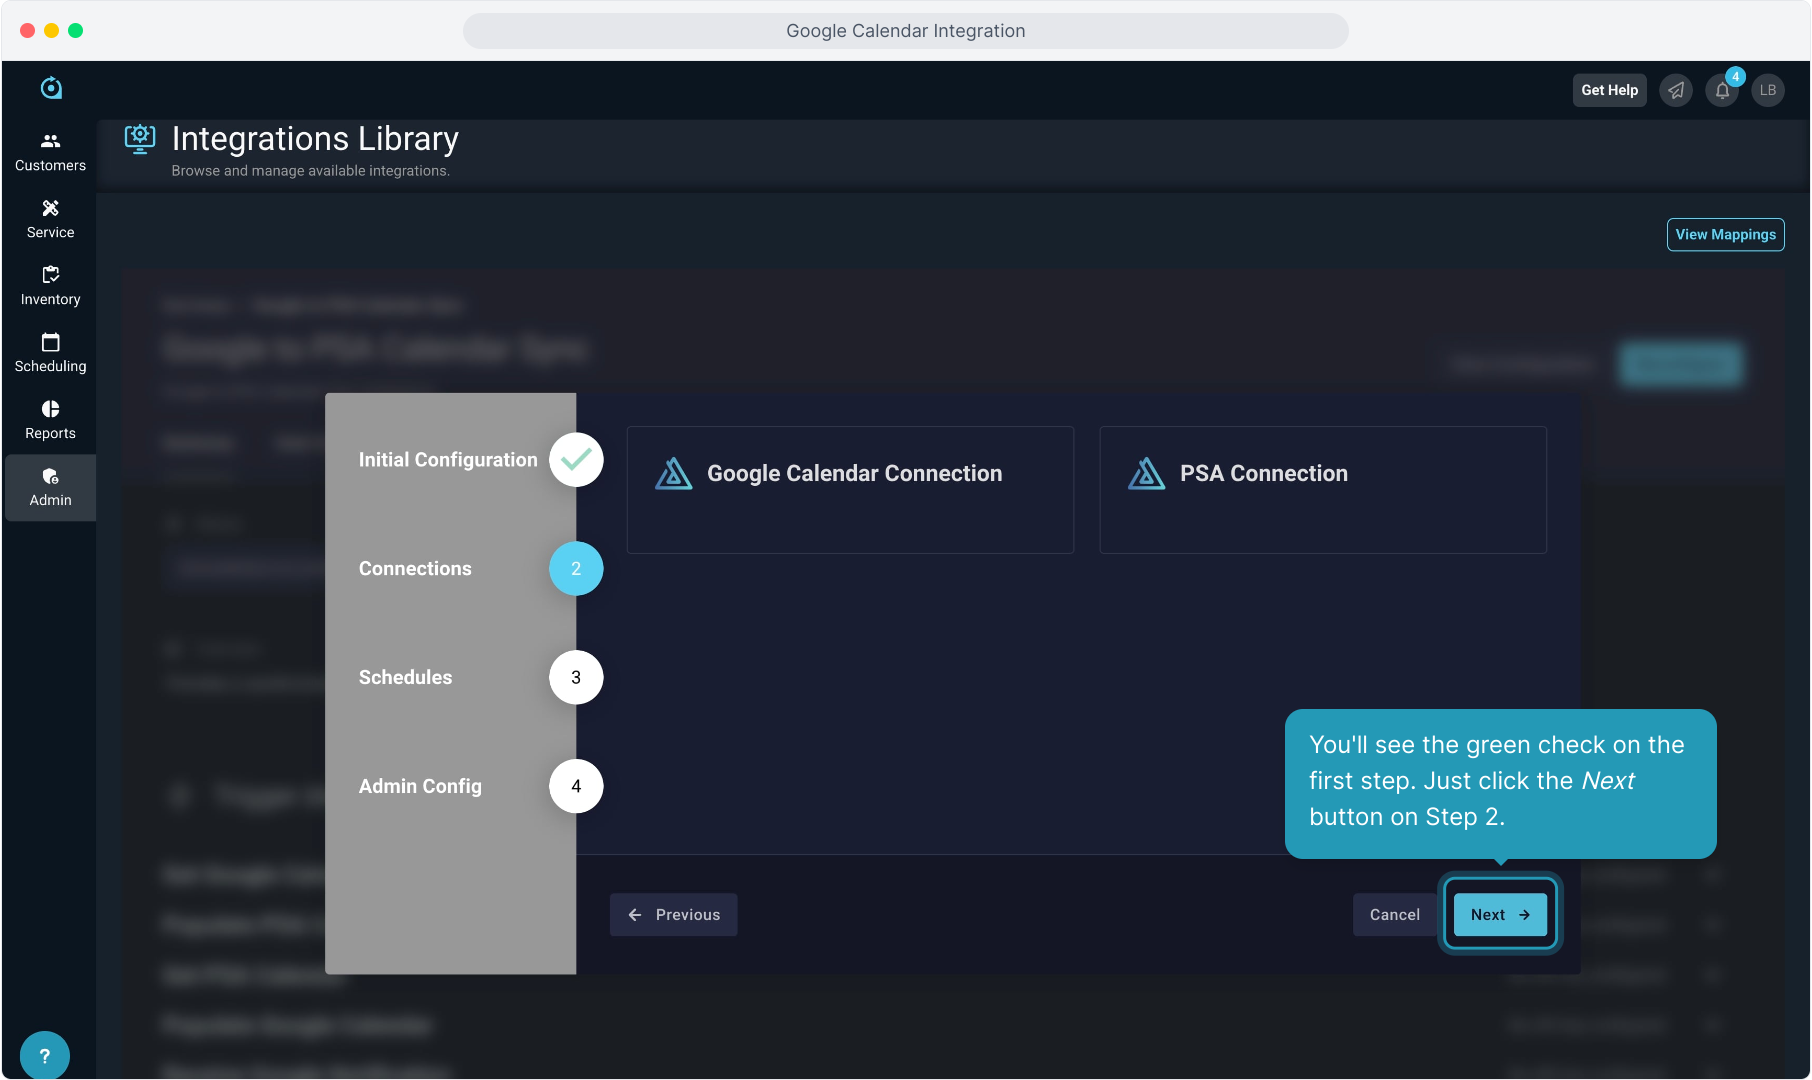
6. You'll see the green check on the first step. Just click the Next button on Step 2.
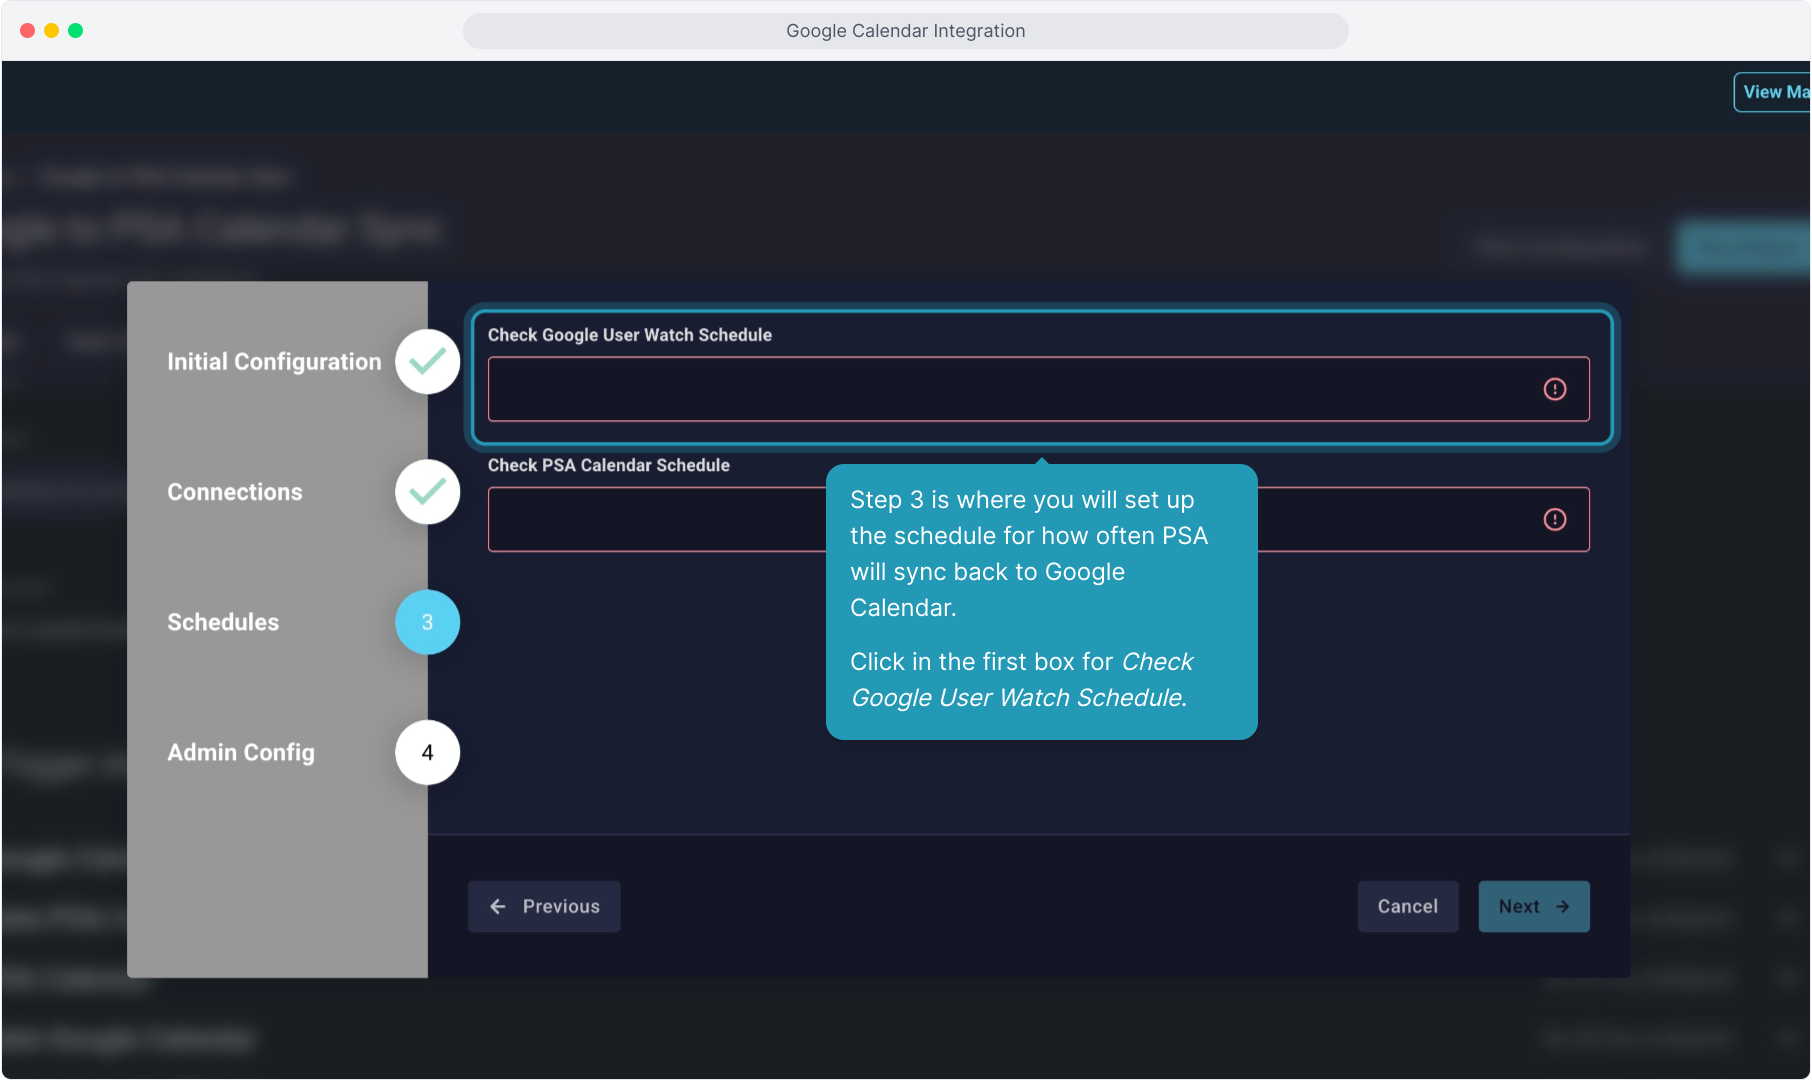
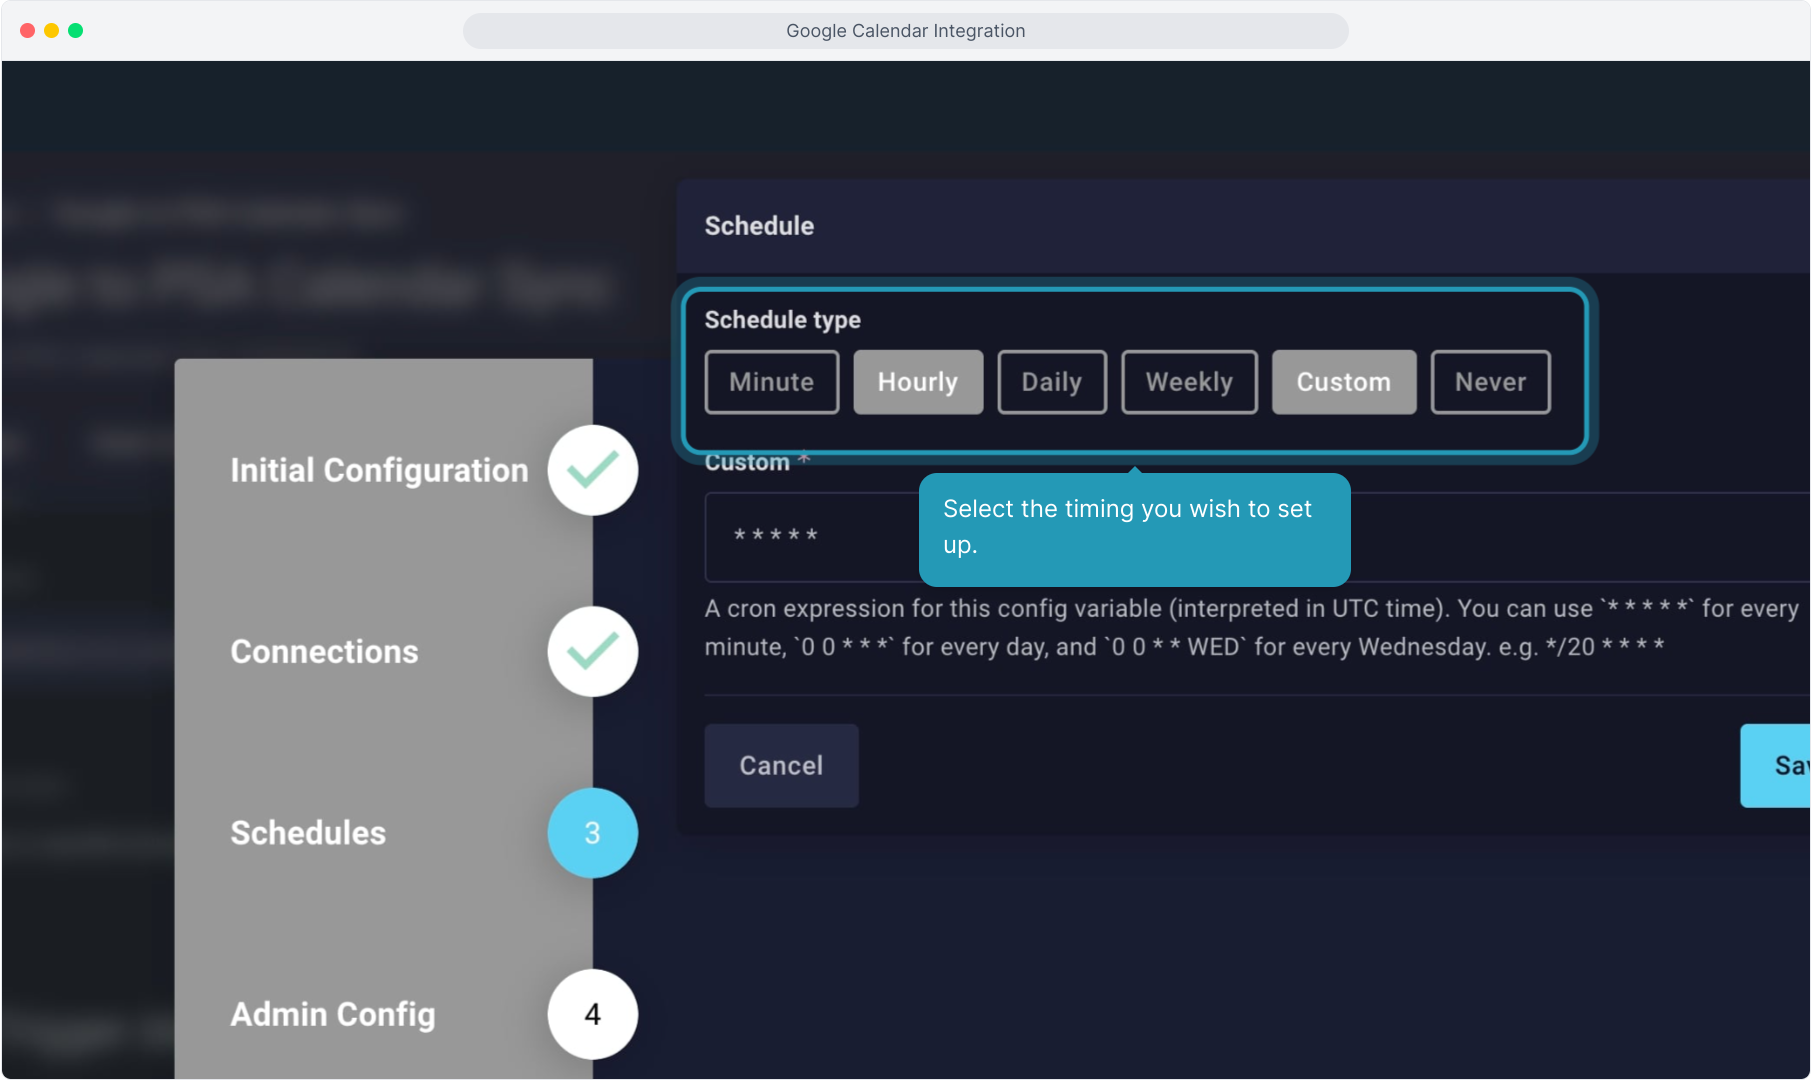
7. Step 3 is where you will set up the schedule for how often PSA will sync back to Google Calendar.
Click in the first box for Check Google User Watch Schedule.
8. Select the timing you wish to set up.
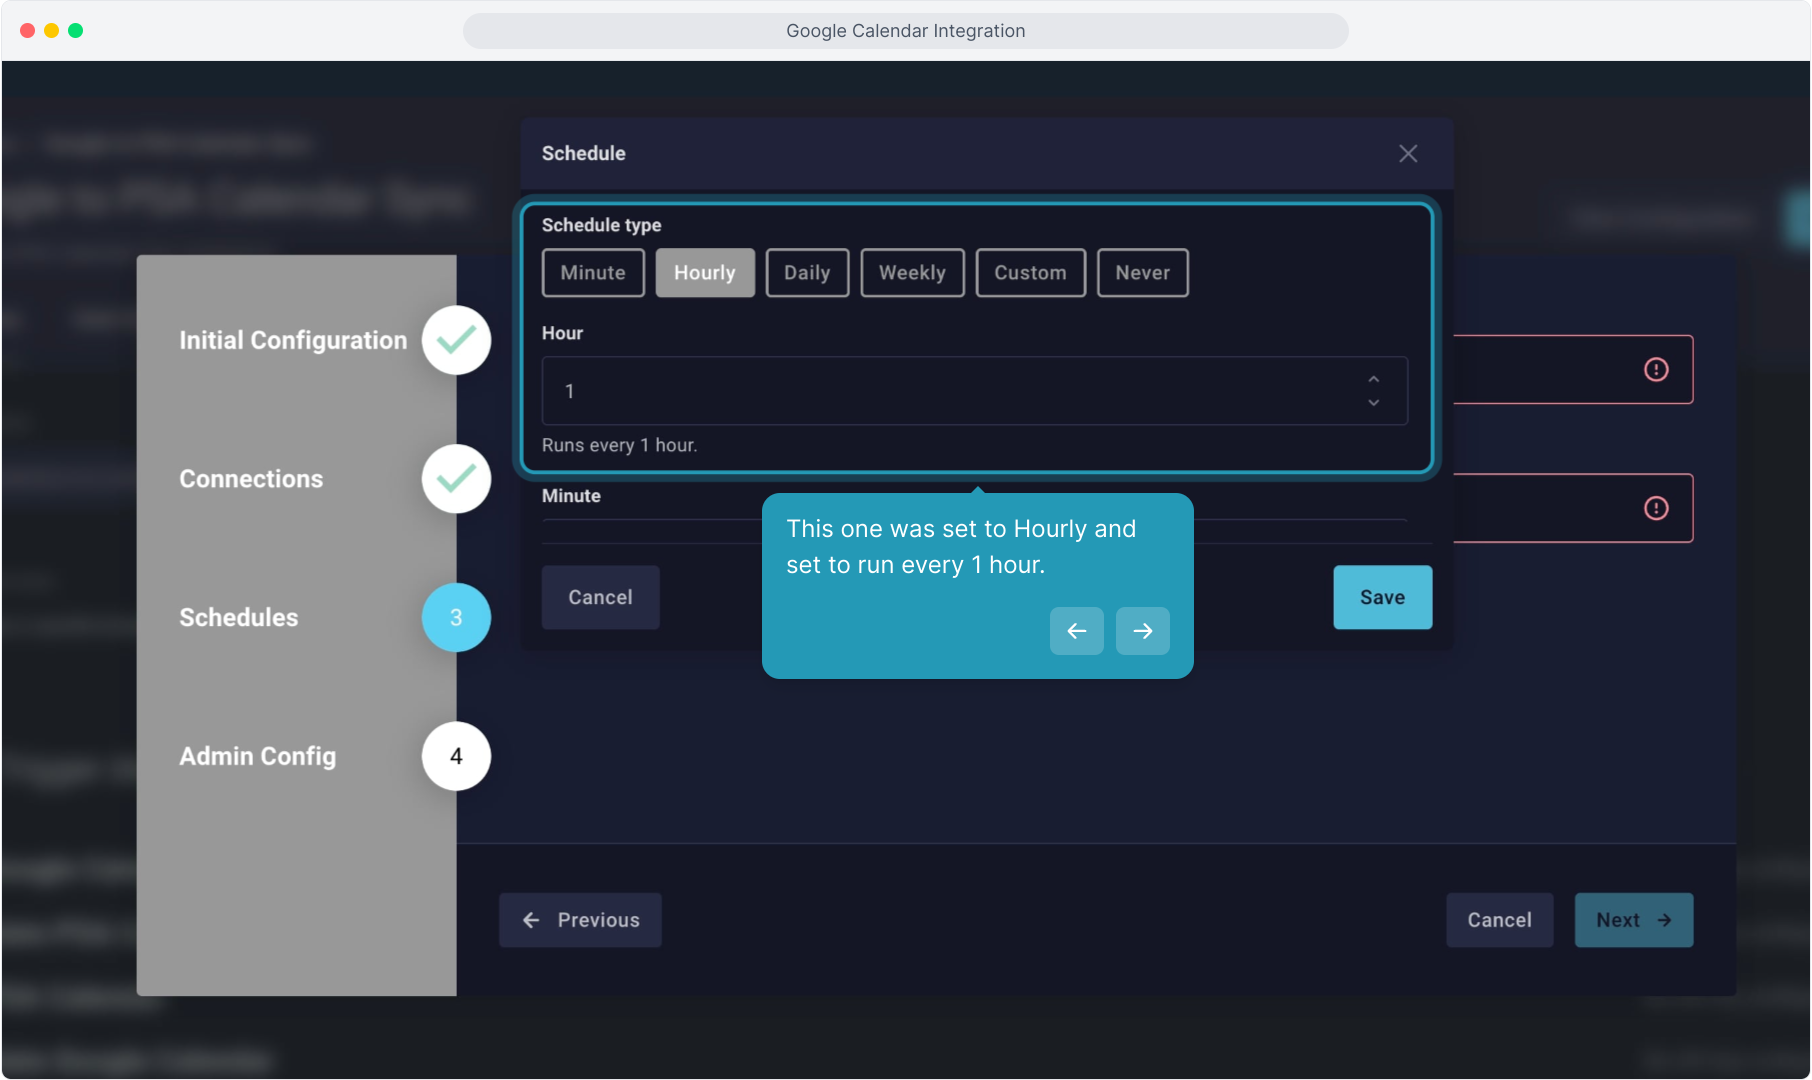
9. This one was set to Hourly and set to run every 1 hour.
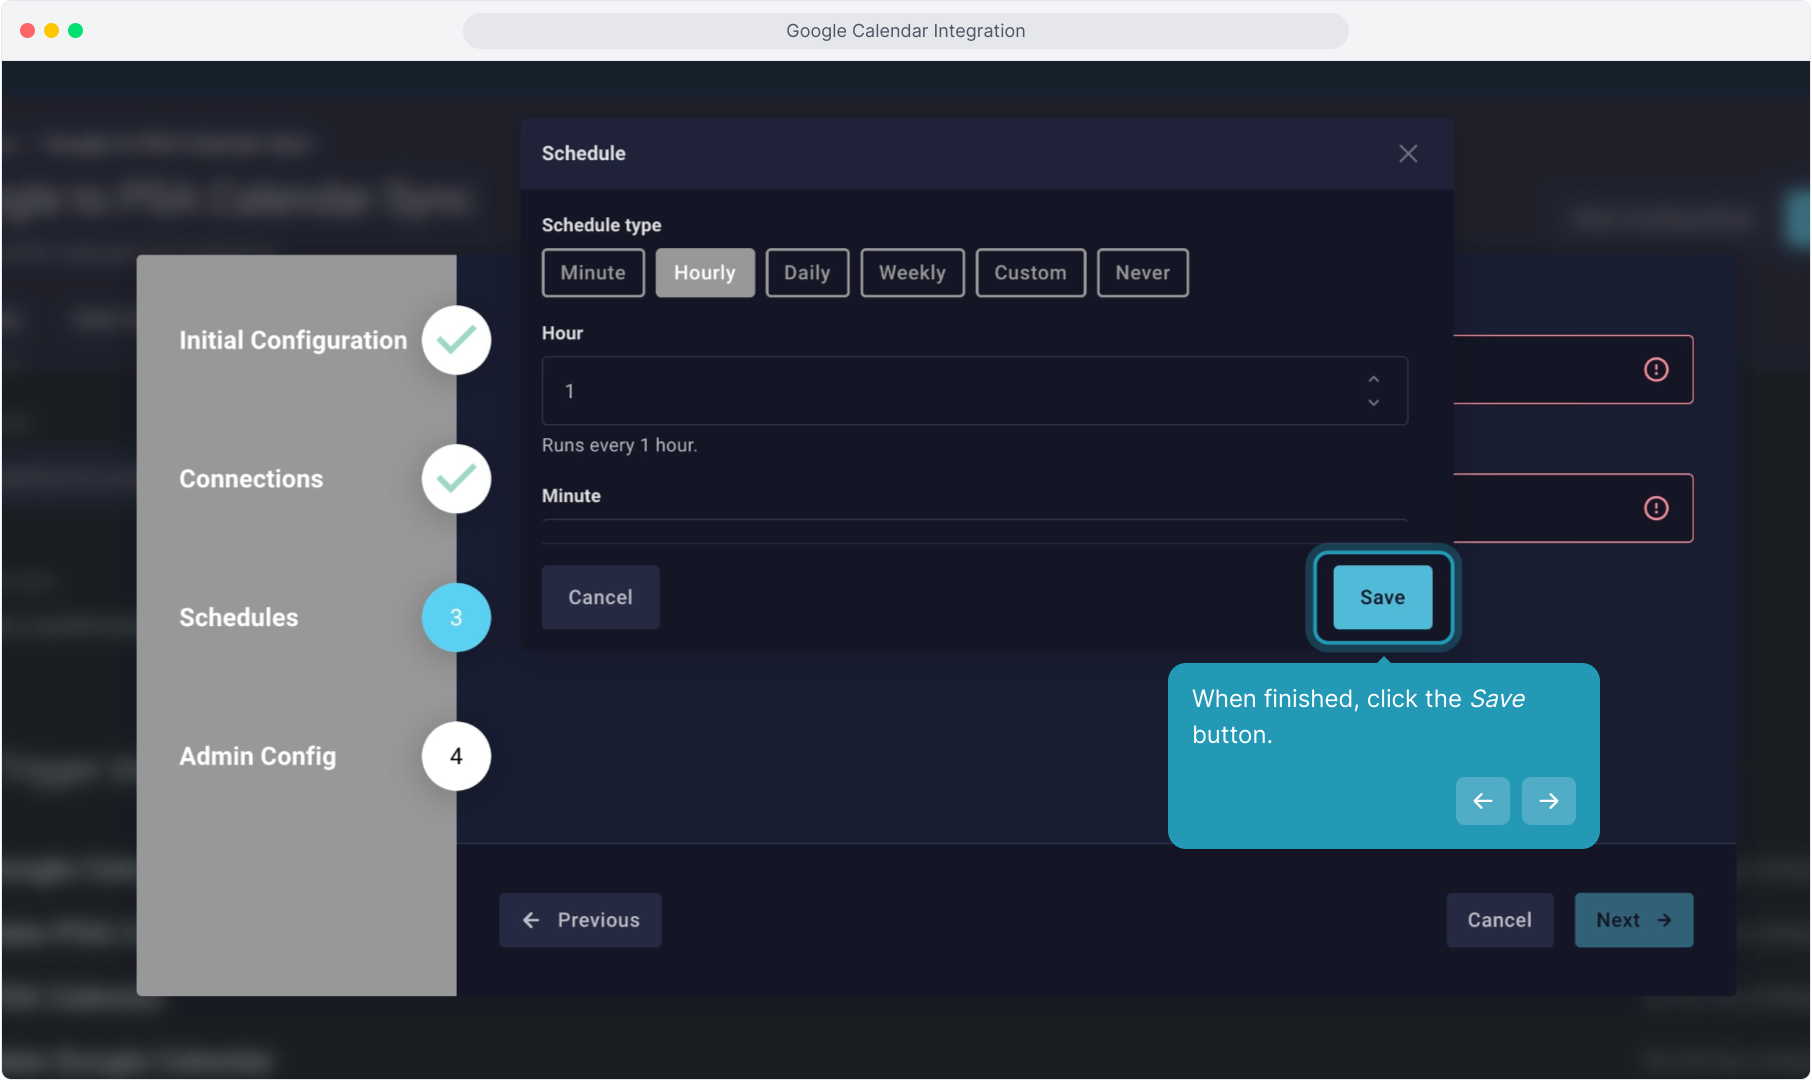
10. When finished, click the Save button.
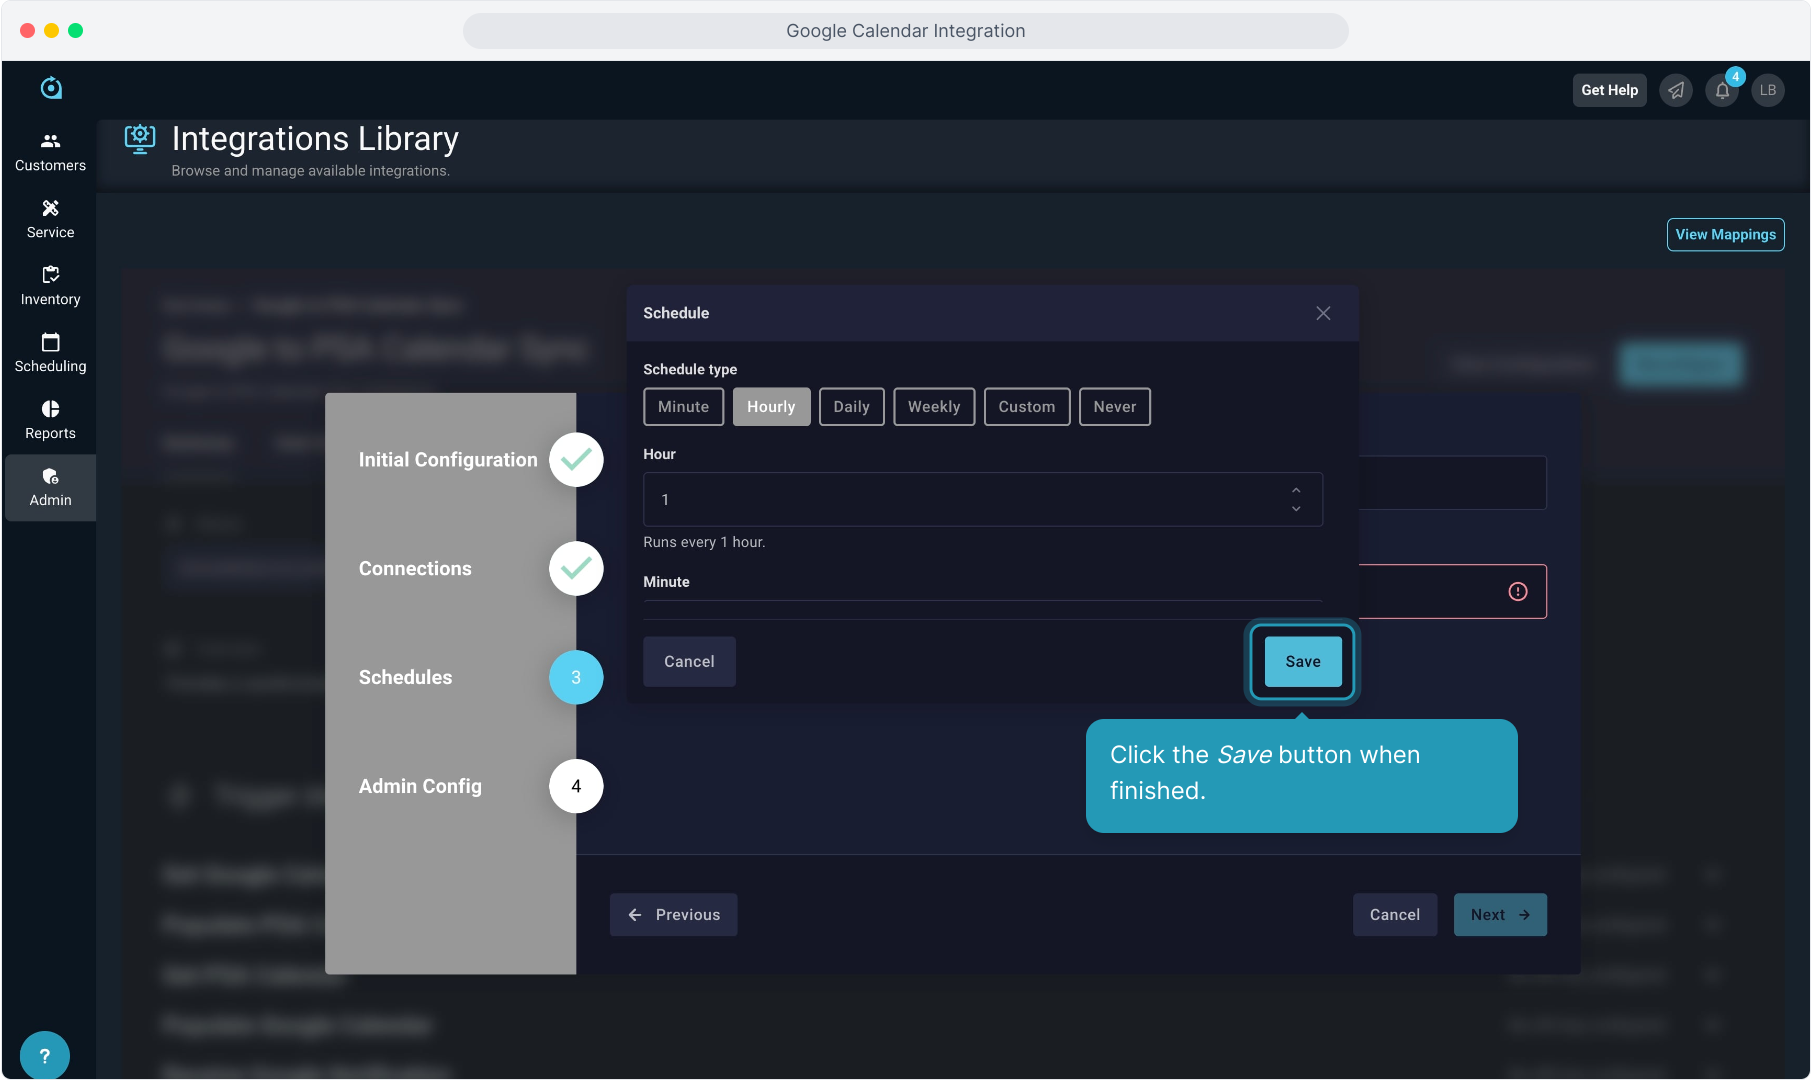
11. Click in the second box for Check PSA Calendar Schedule.
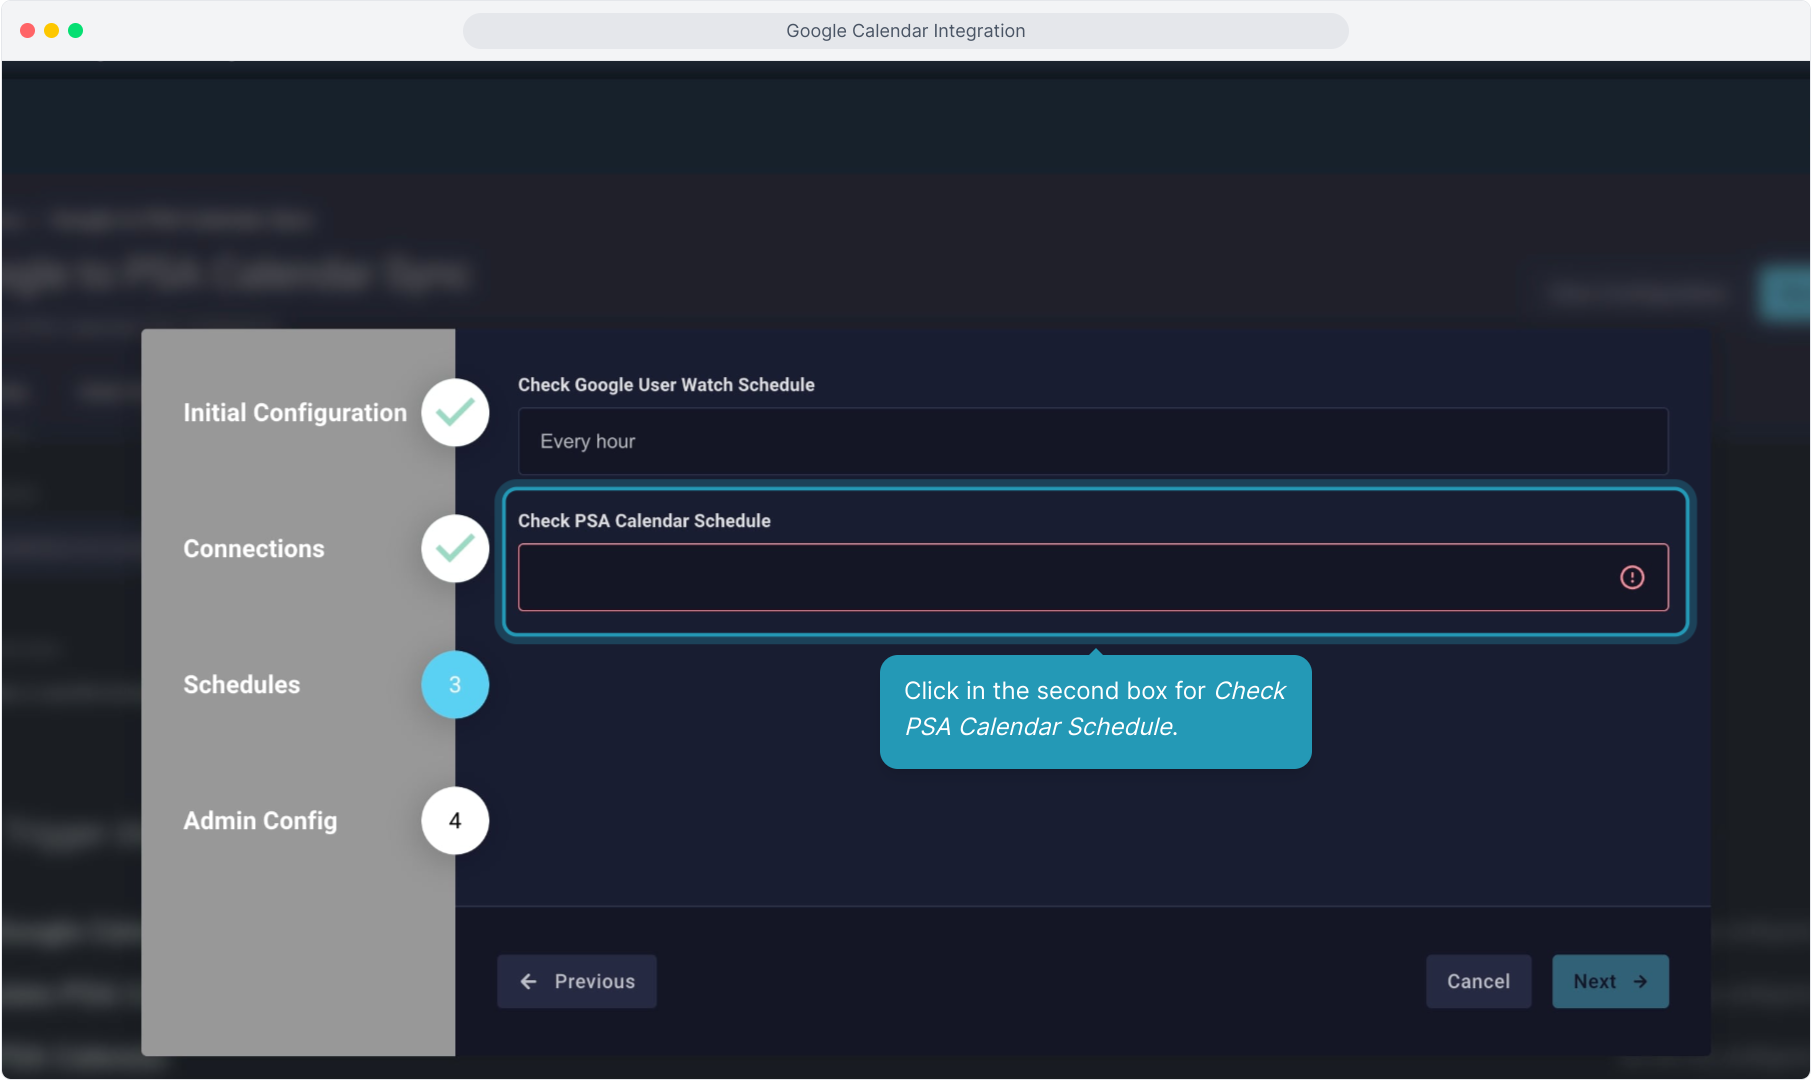
12. Set this sync up in the same way. Select the timing schedule type and the increment.

13. Click the Save button when finished.
14. Once your schedules are configured, click Next.

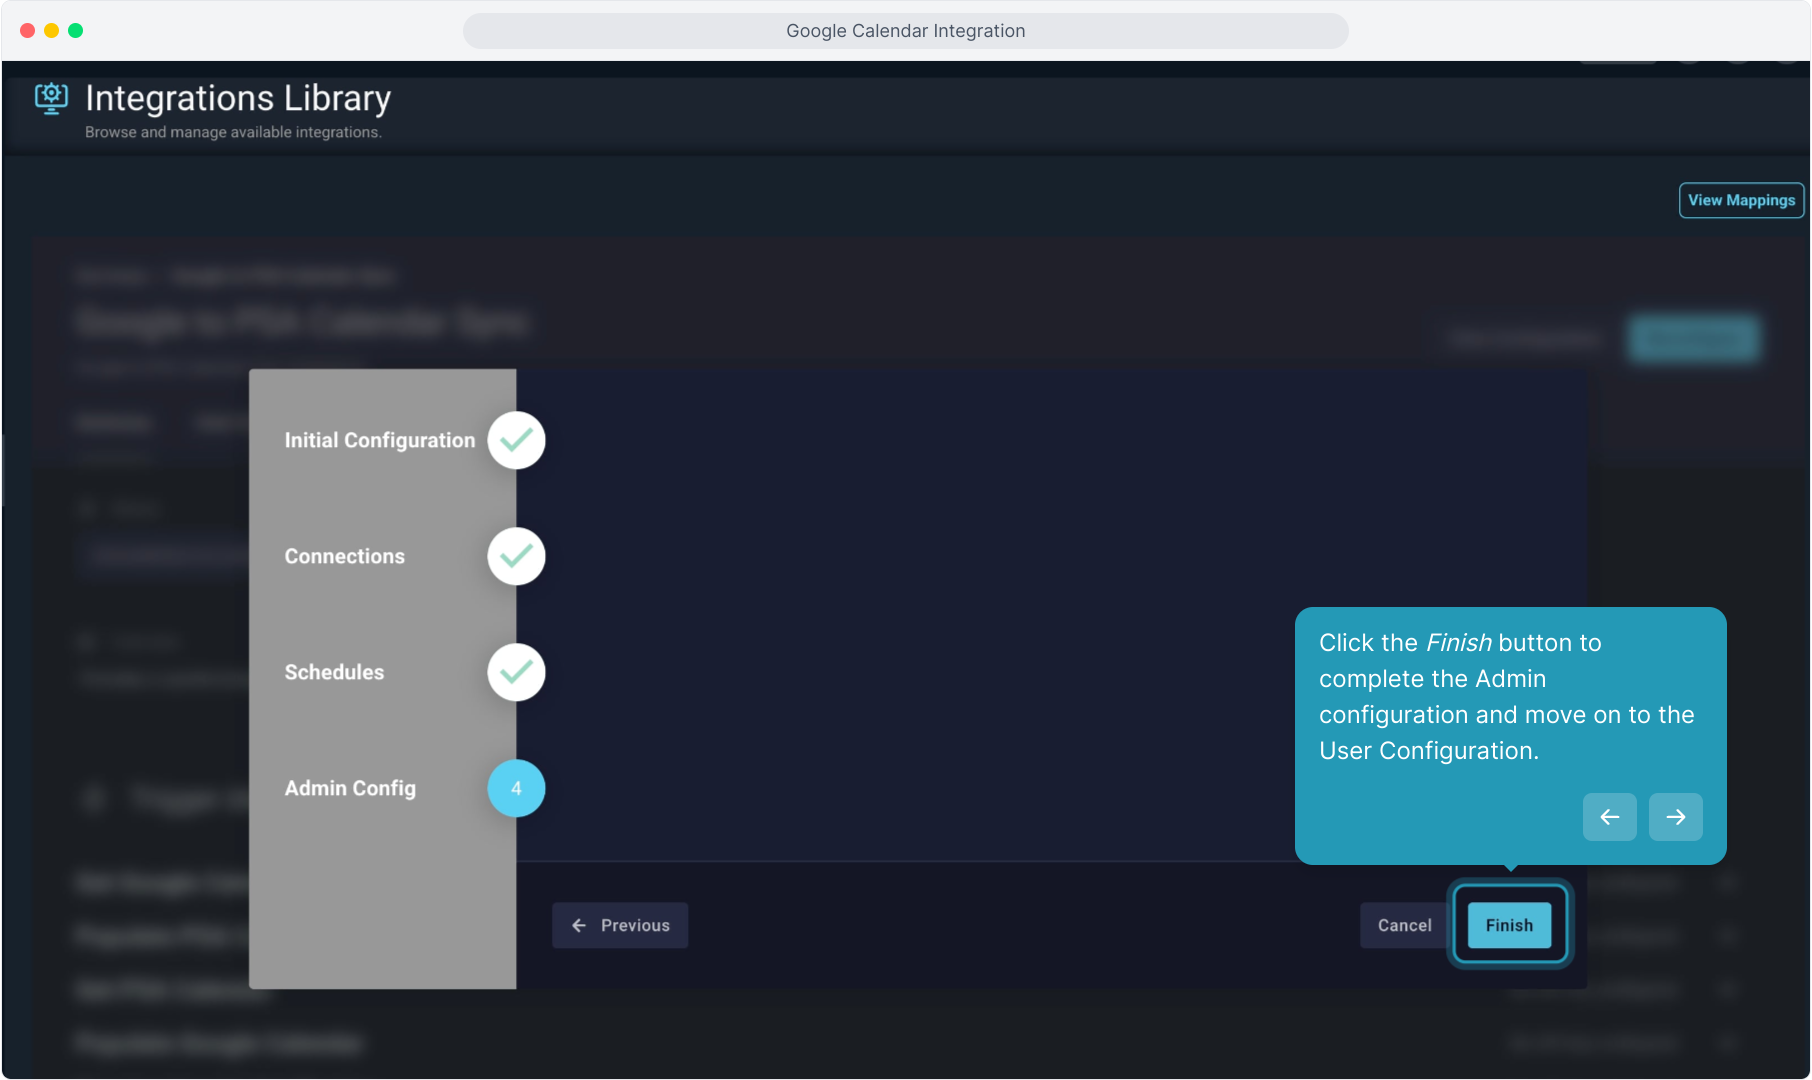
15. Click the Finish button to complete the Admin configuration and move on to the User Configuration.
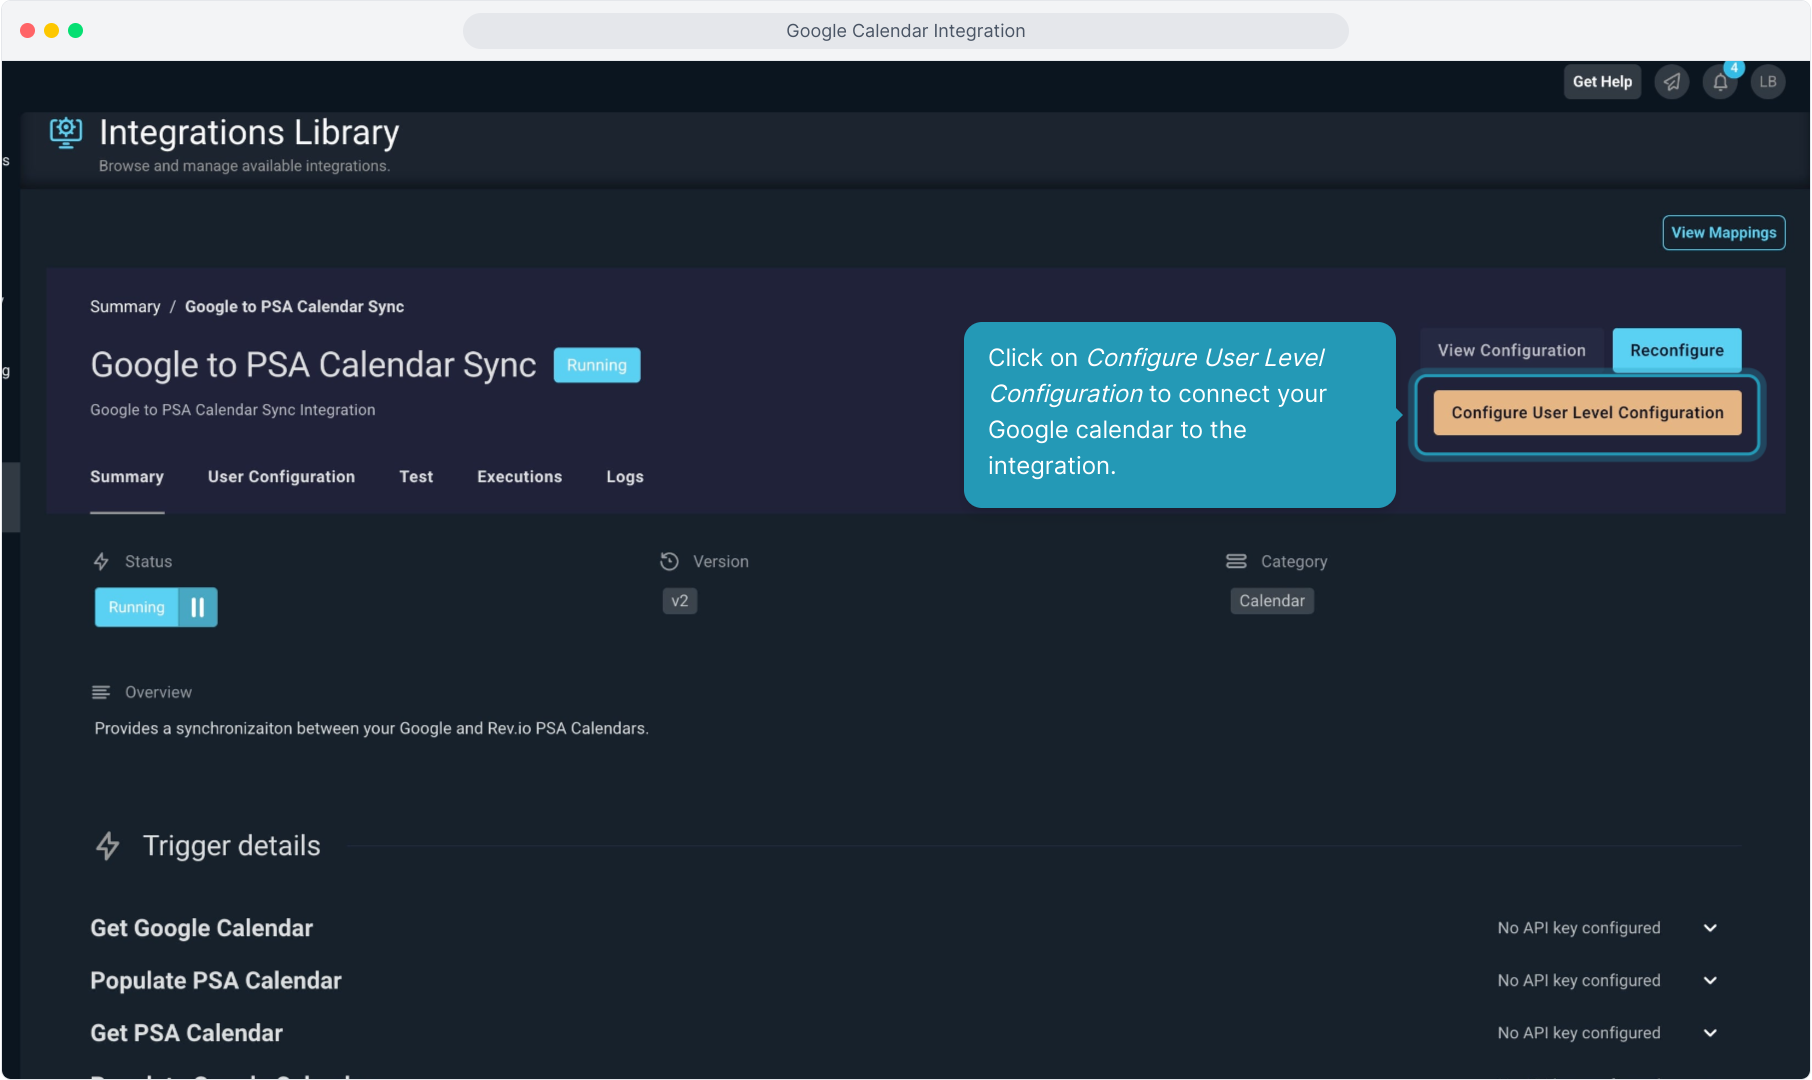
16. Click on Configure User Level Configuration to connect your Google calendar to the integration.
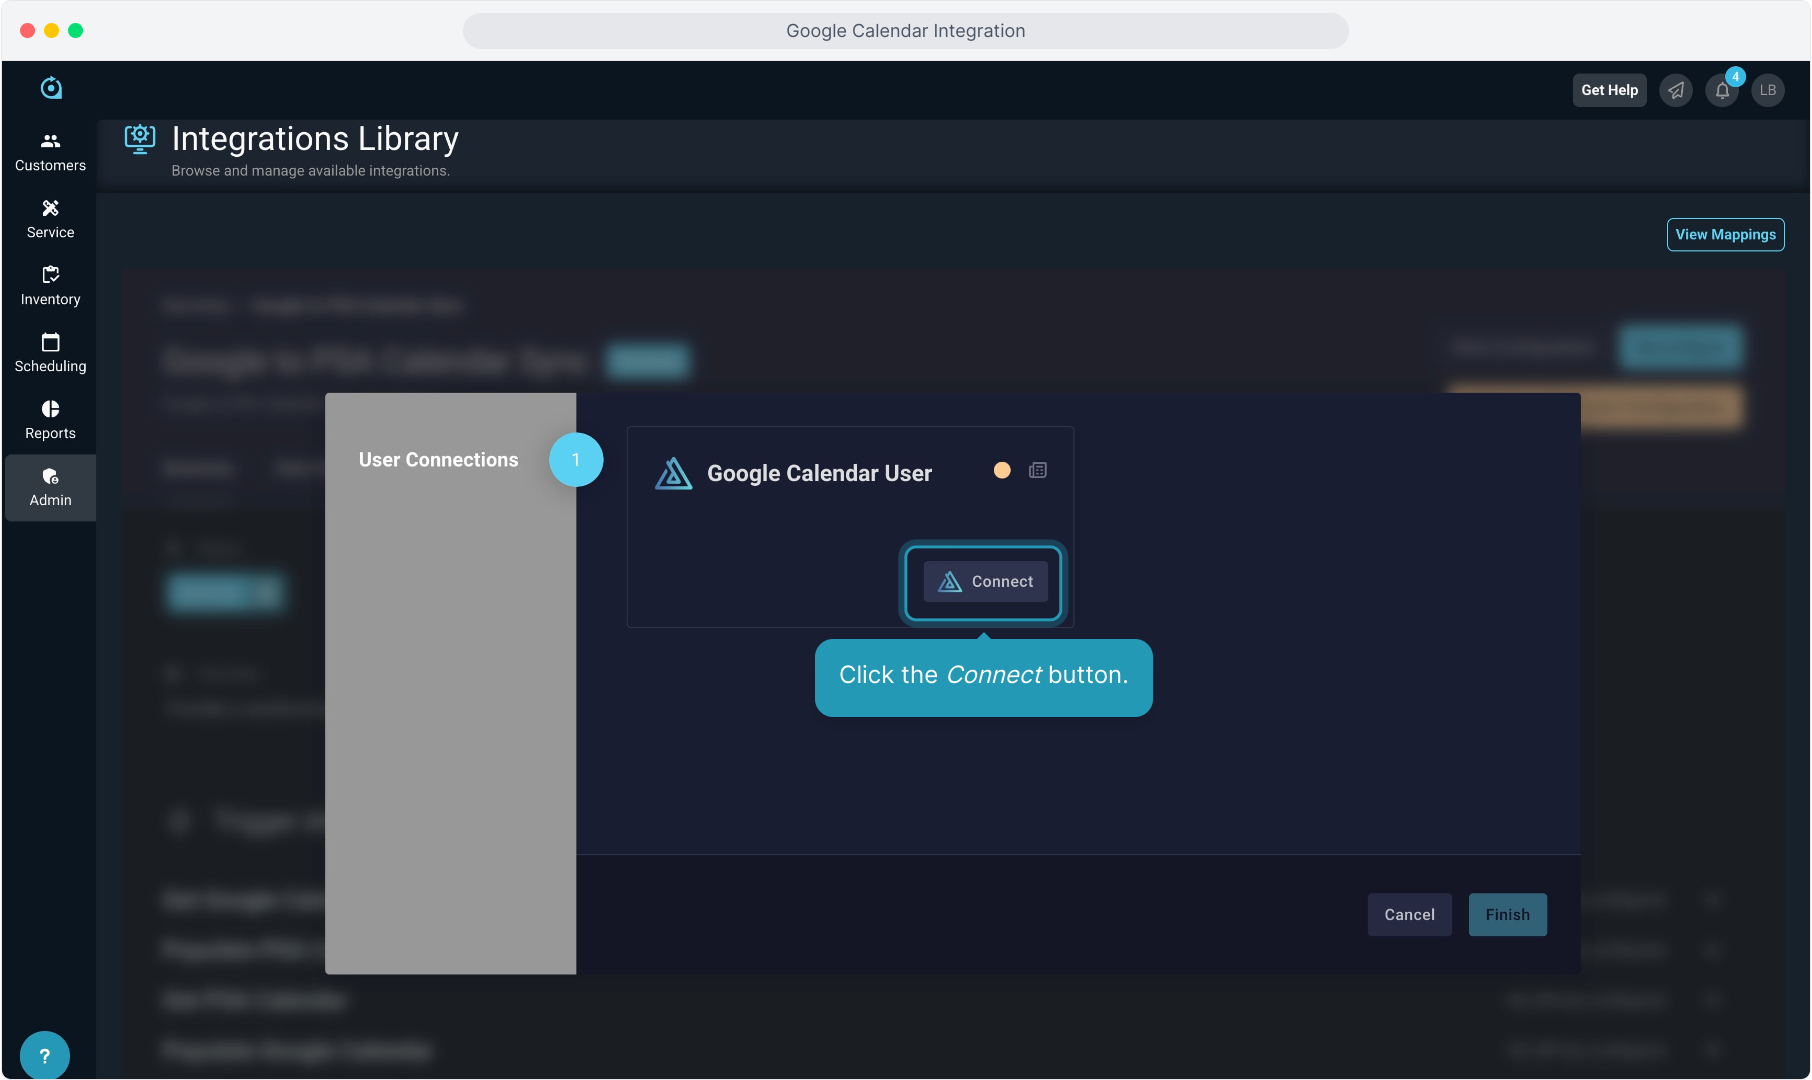
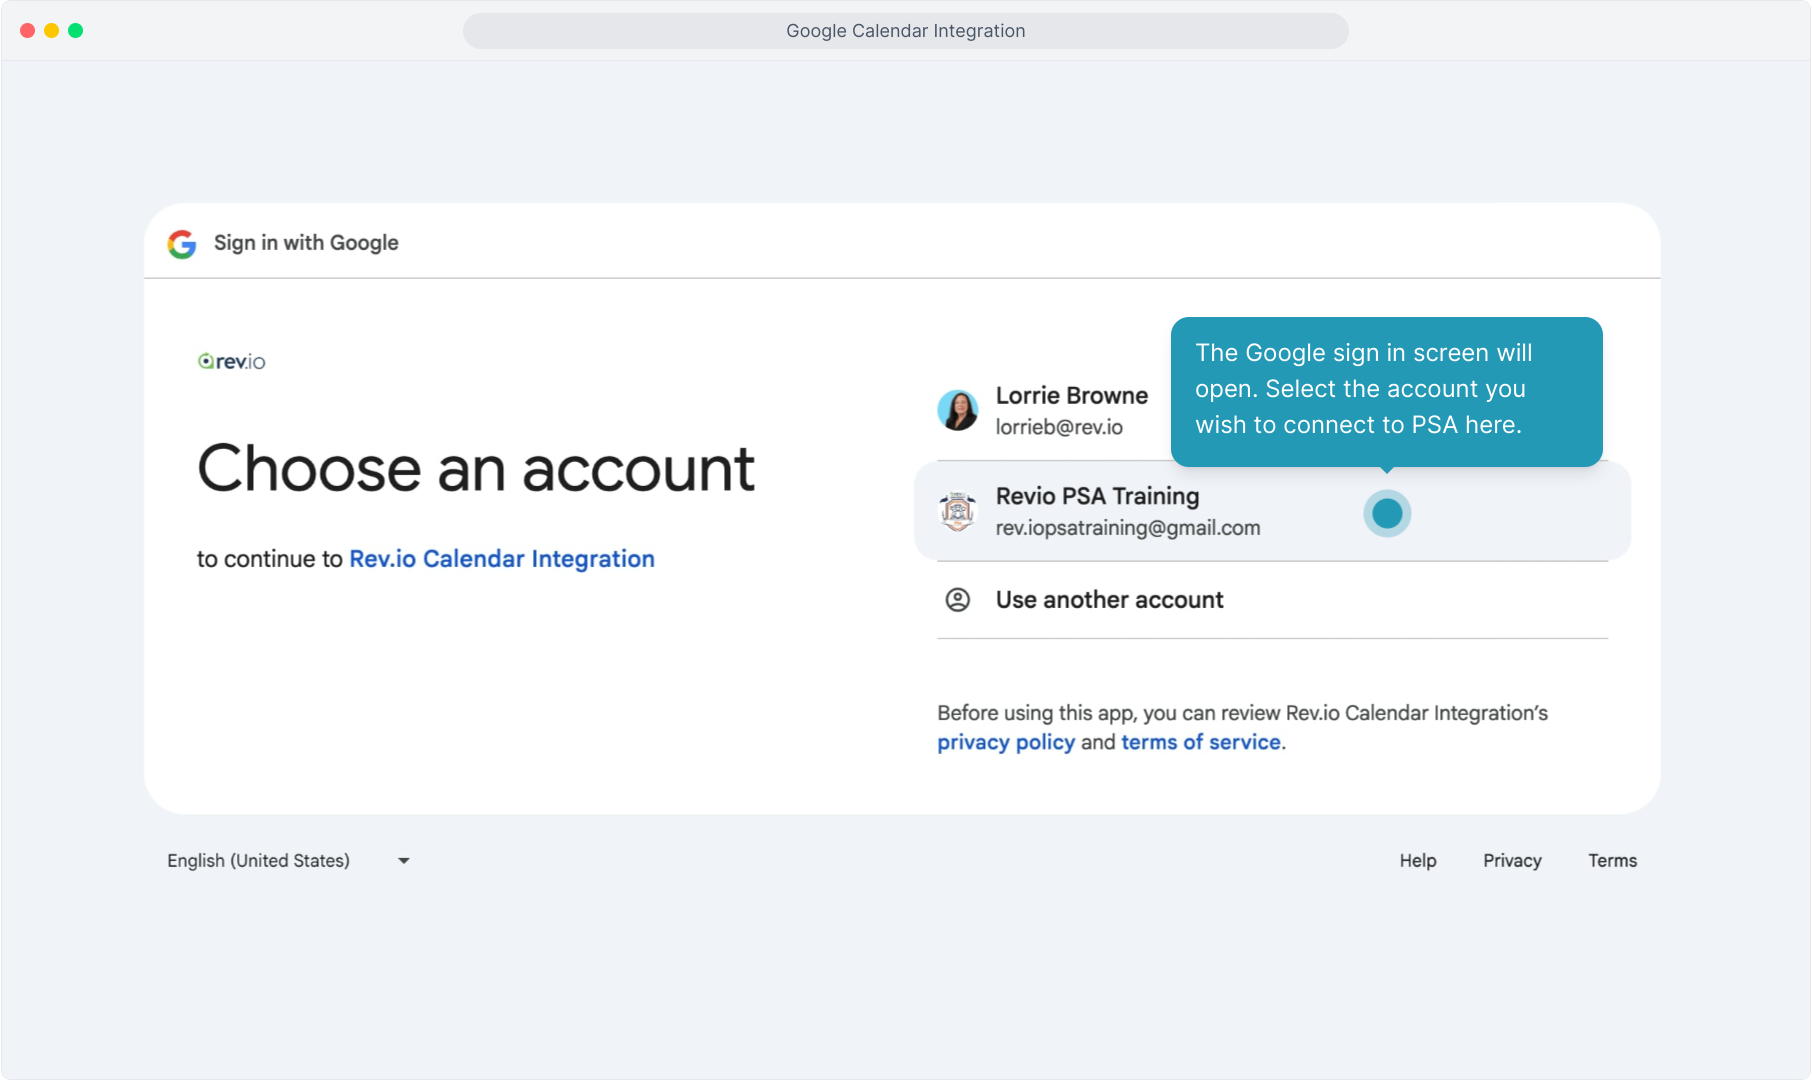
17. Click the Connect button.
18. The Google sign in screen will open. Select the account you wish to connect to PSA here.
19. Click the Continue button.

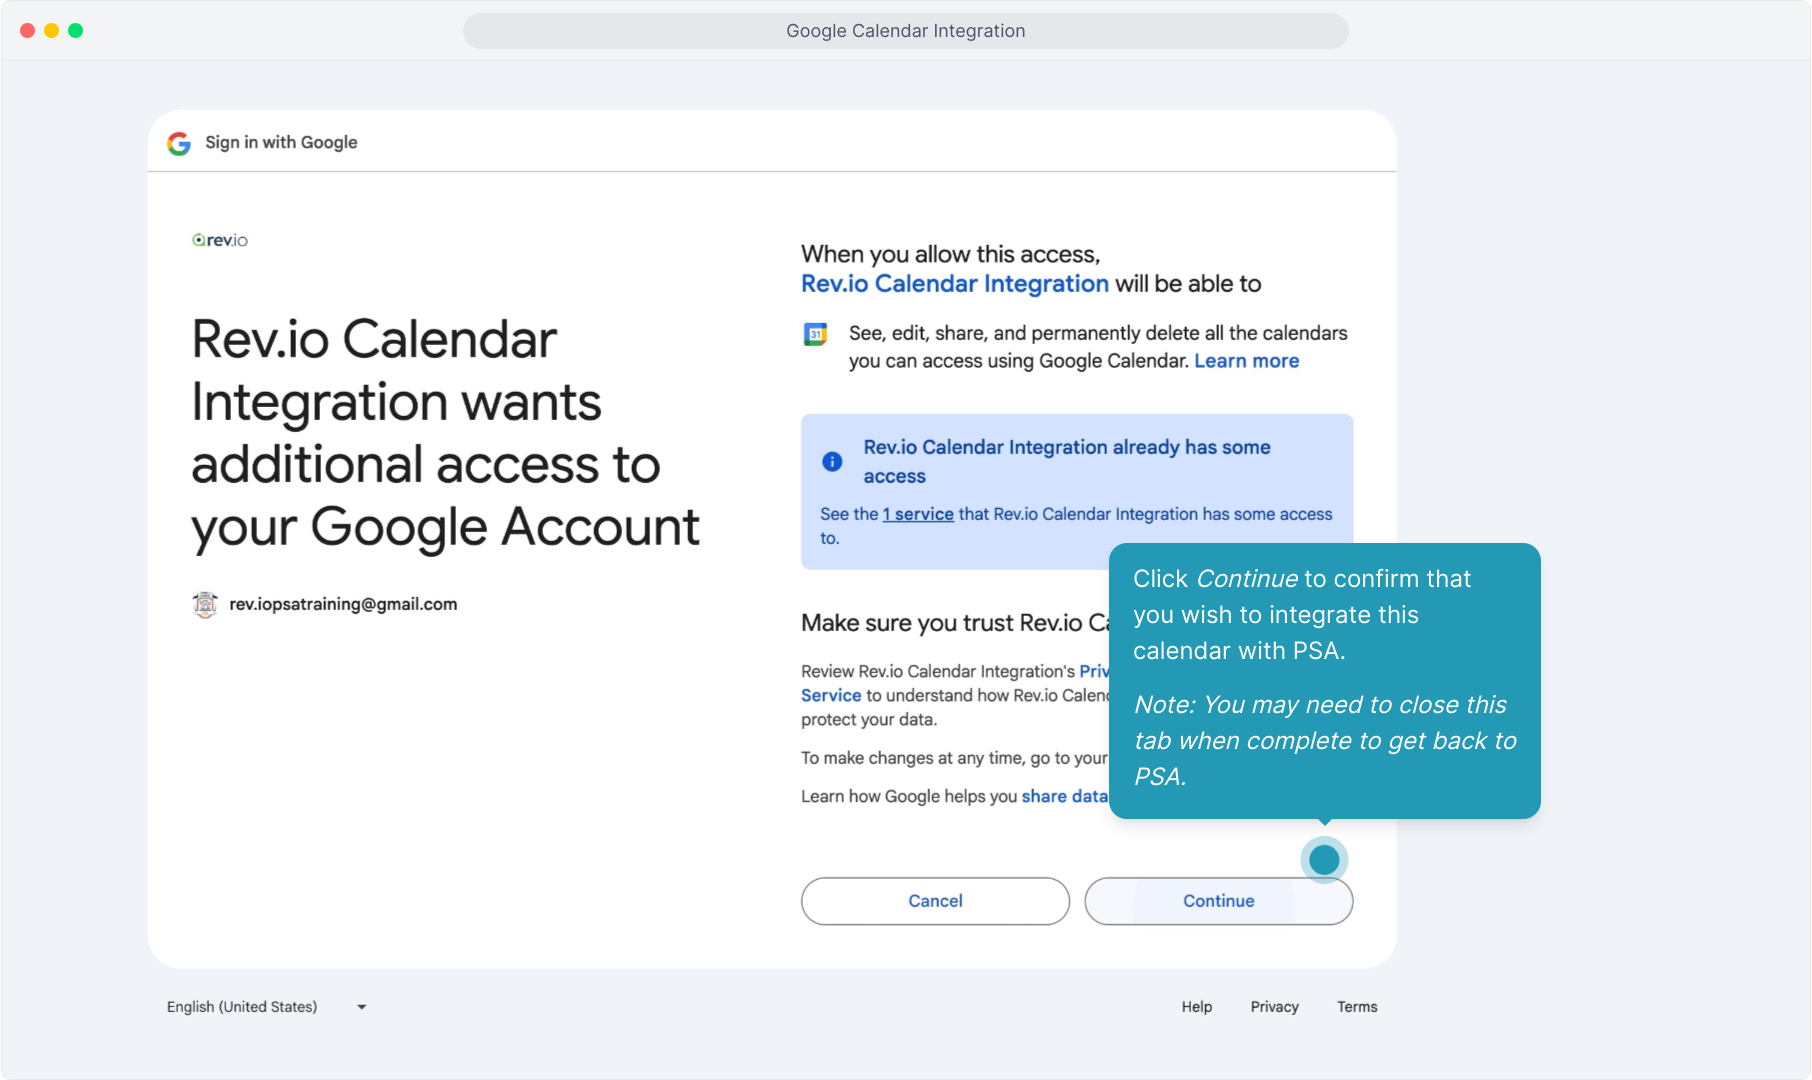
20. Click Continue to confirm that you wish to integrate this calendar with PSA.
Note: You may need to close this tab when complete to get back to PSA.
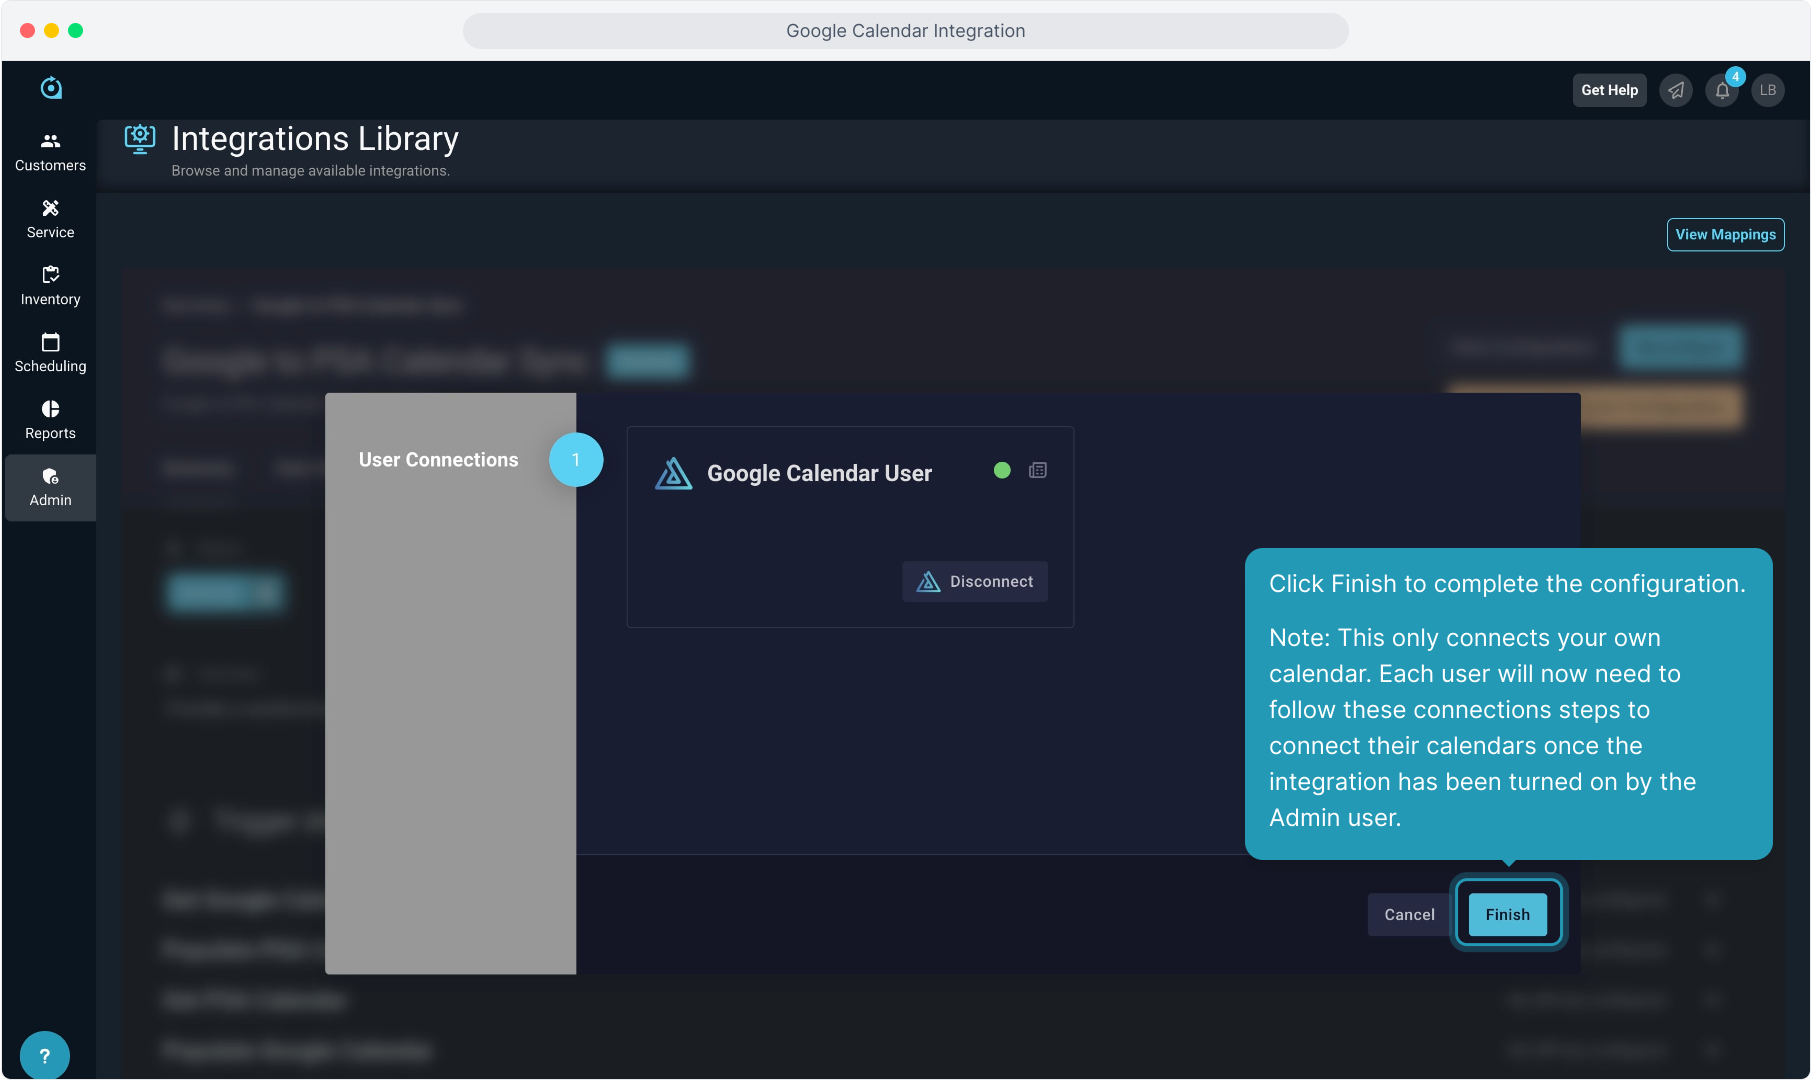
21. Click Finish to complete the configuration.
Note: This only connects your own calendar. Each user will now need to follow these connections steps to connect their calendars once the integration has been turned on by the Admin user.
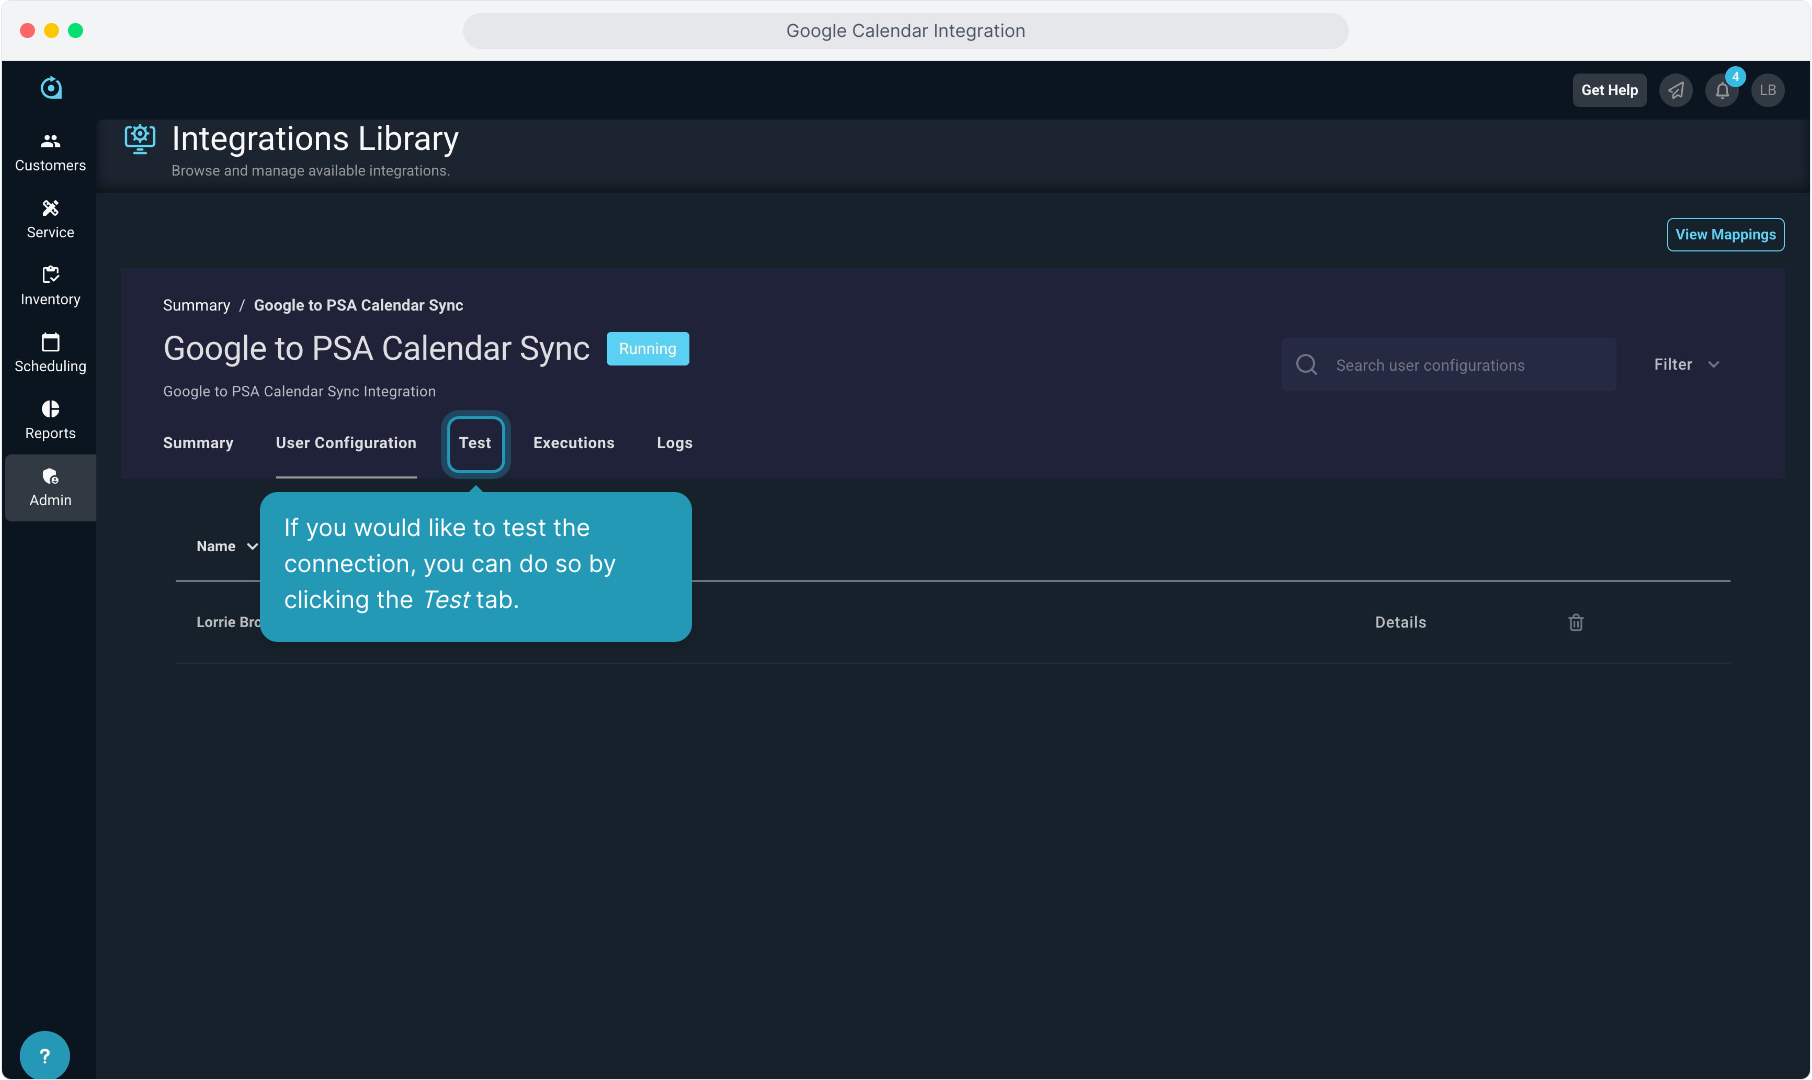
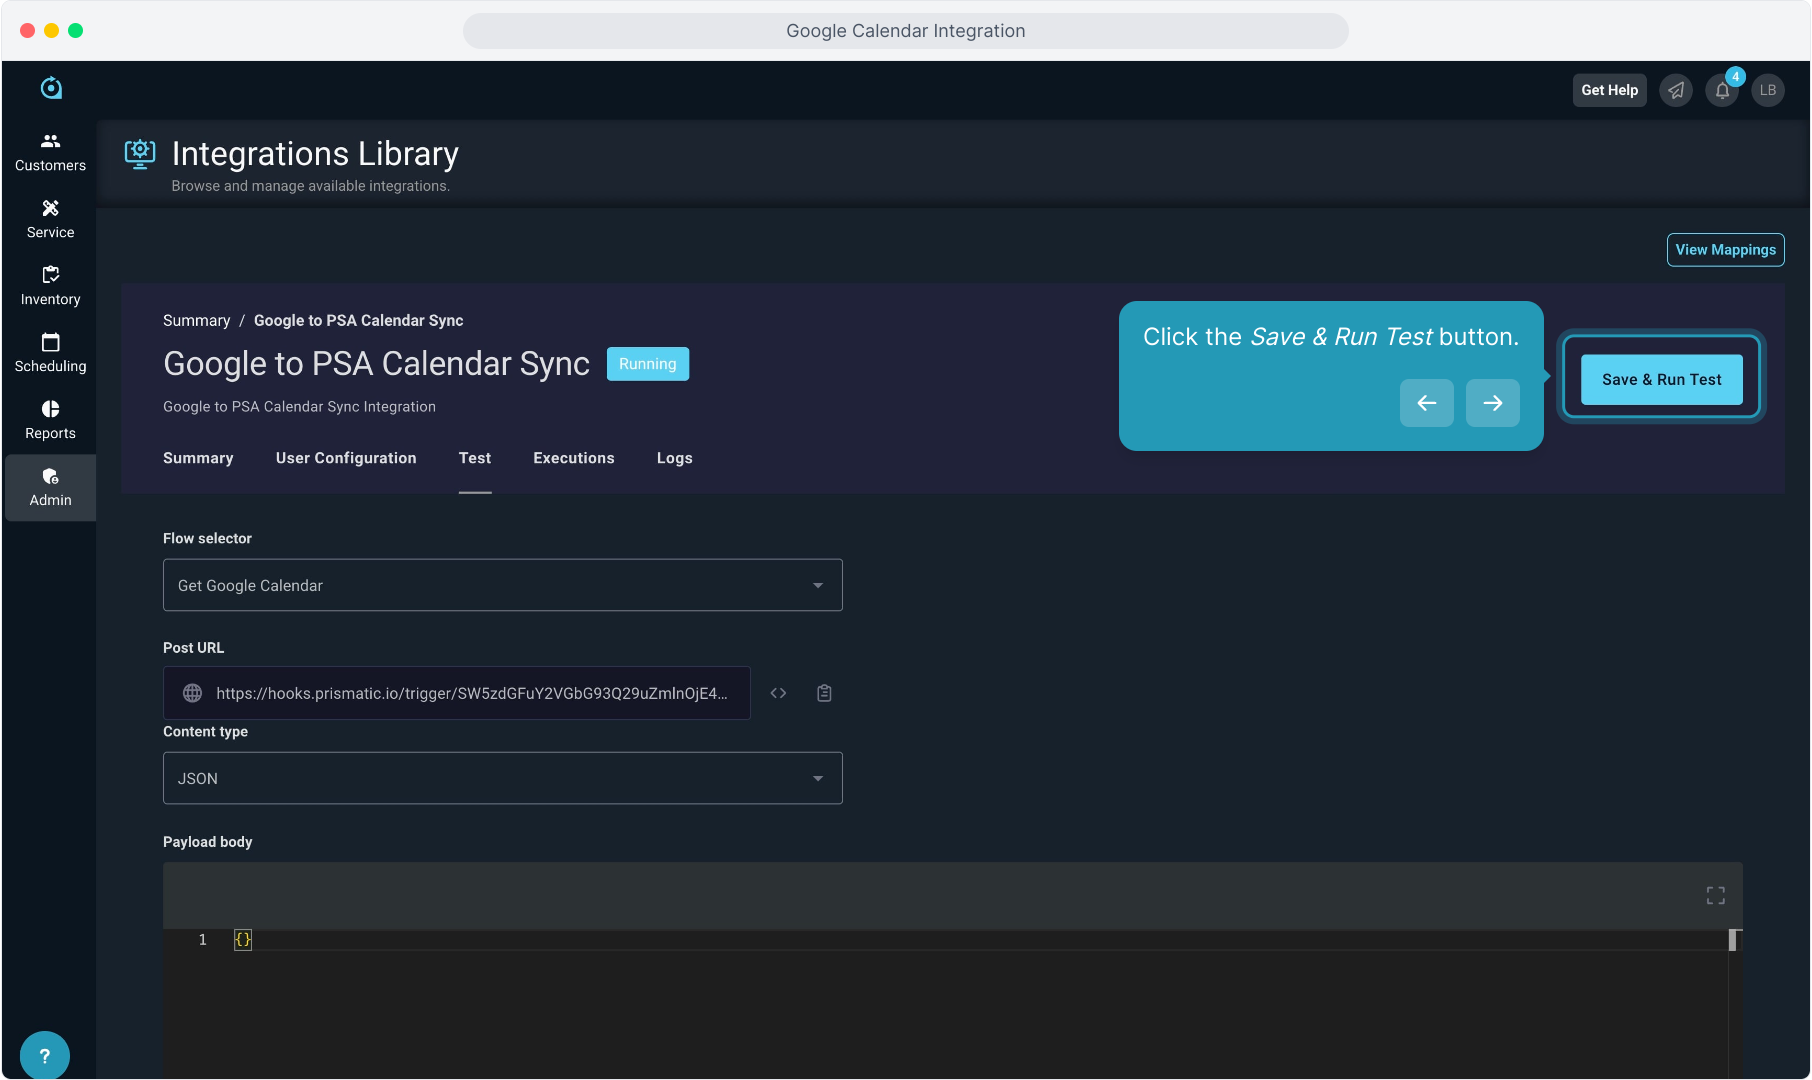
22. If you would like to test the connection, you can do so by clicking the Test tab.
23. Click the Save & Run Test button.
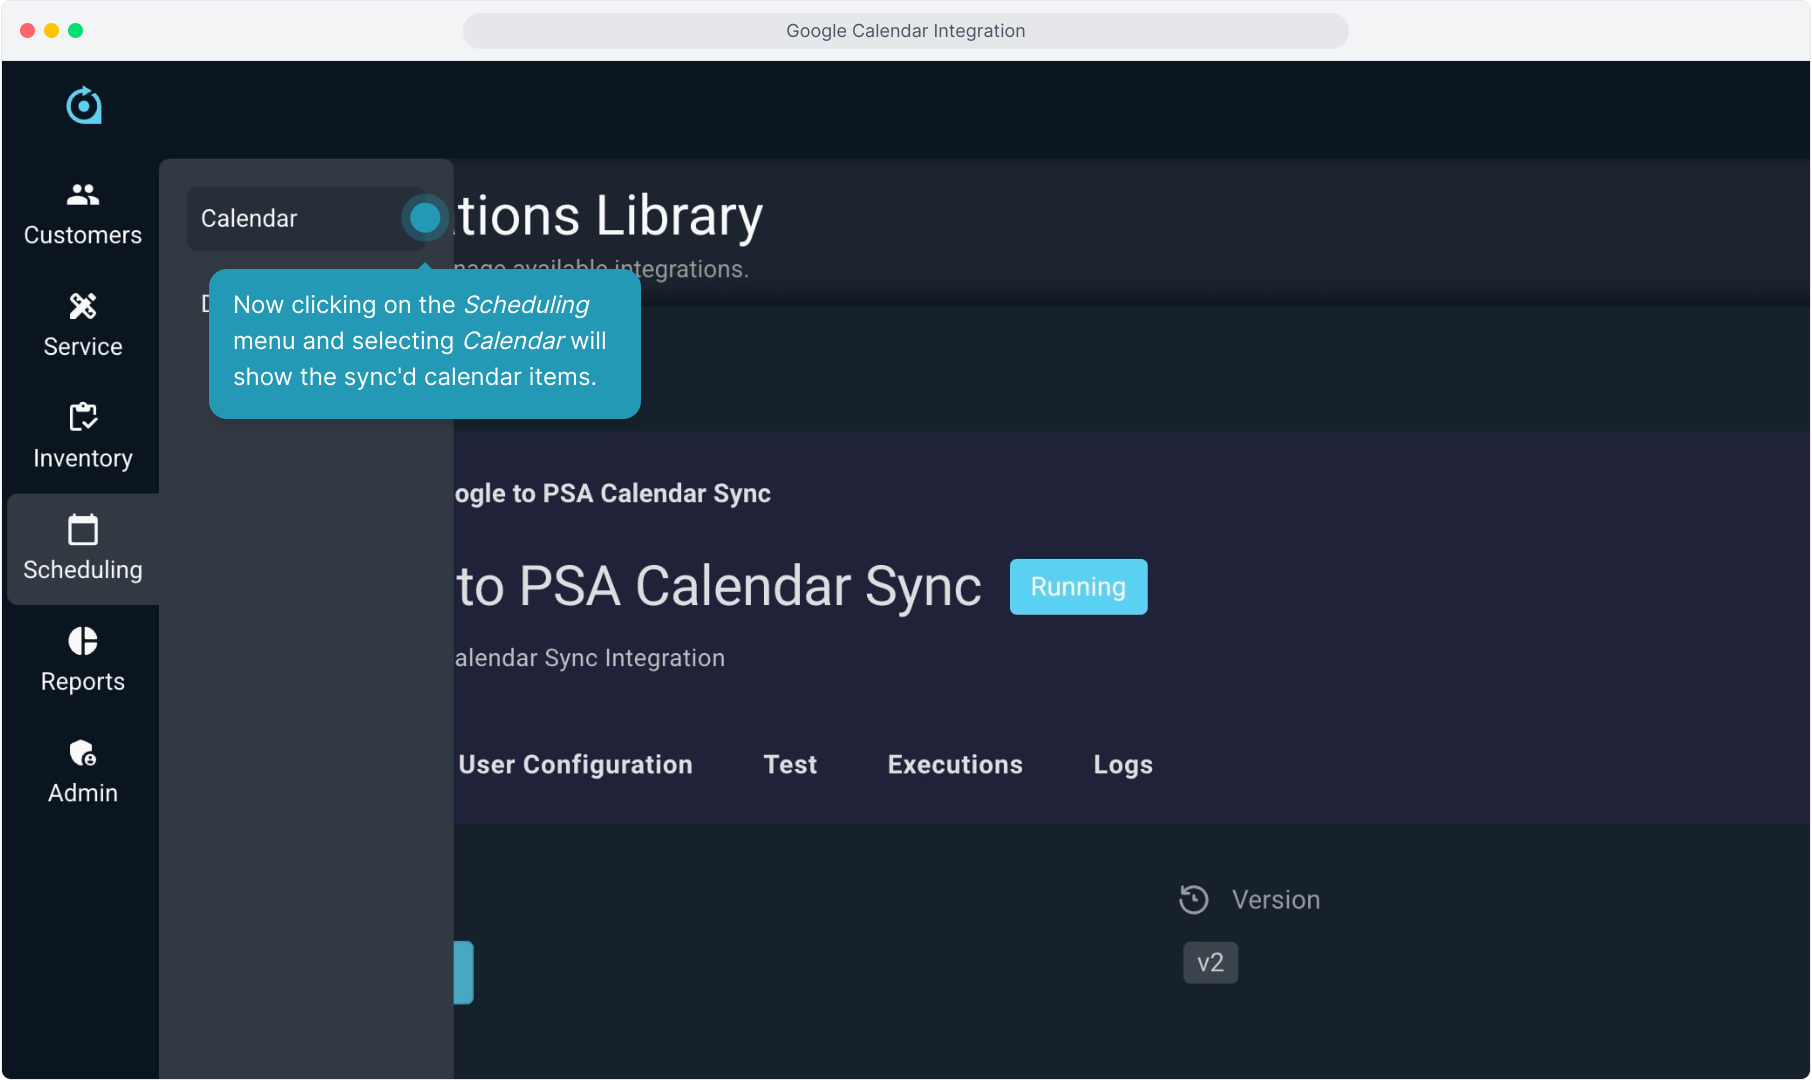
24. Now clicking on the Scheduling menu and selecting Calendar will show the sync'd calendar items.
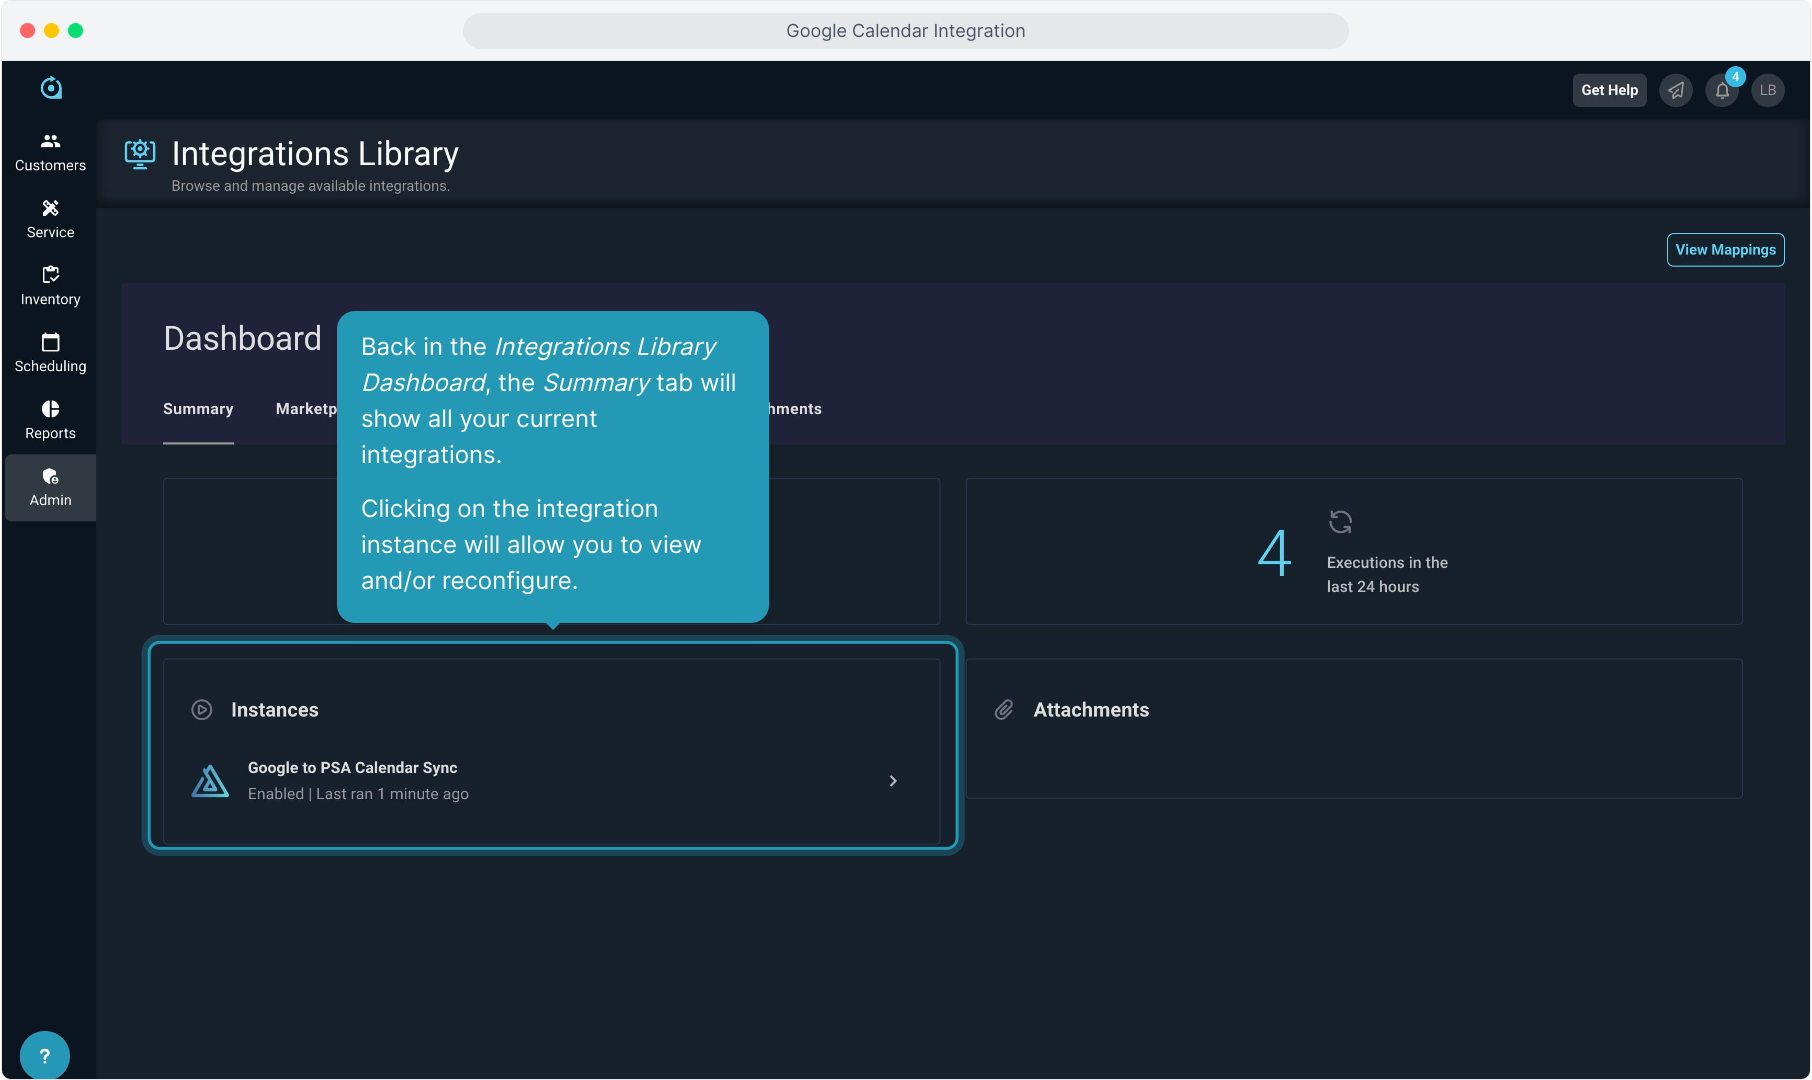
25. Back in the Integrations Library Dashboard, the Summary tab will show all your current integrations.
Clicking on the integration instance will allow you to view and/or reconfigure.
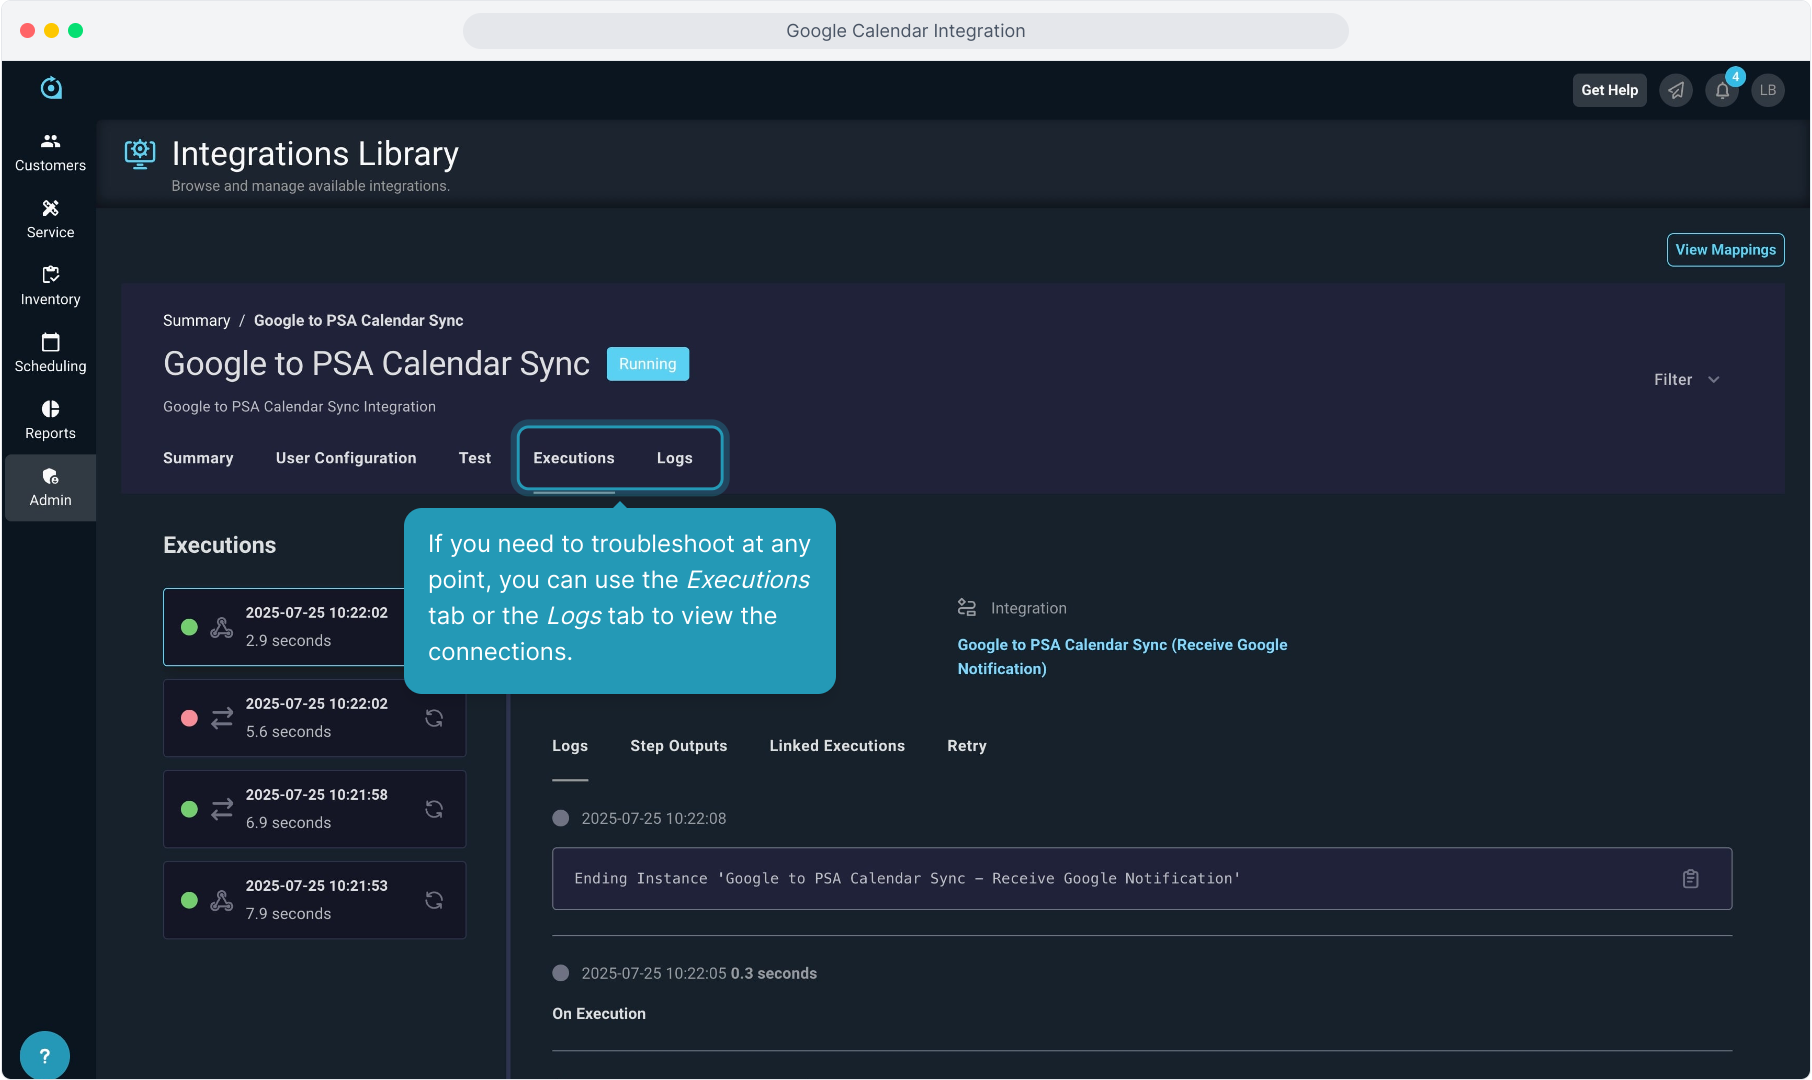
26. If you need to troubleshoot at any point, you can use the Executions tab or the Logs tab to view the connections.
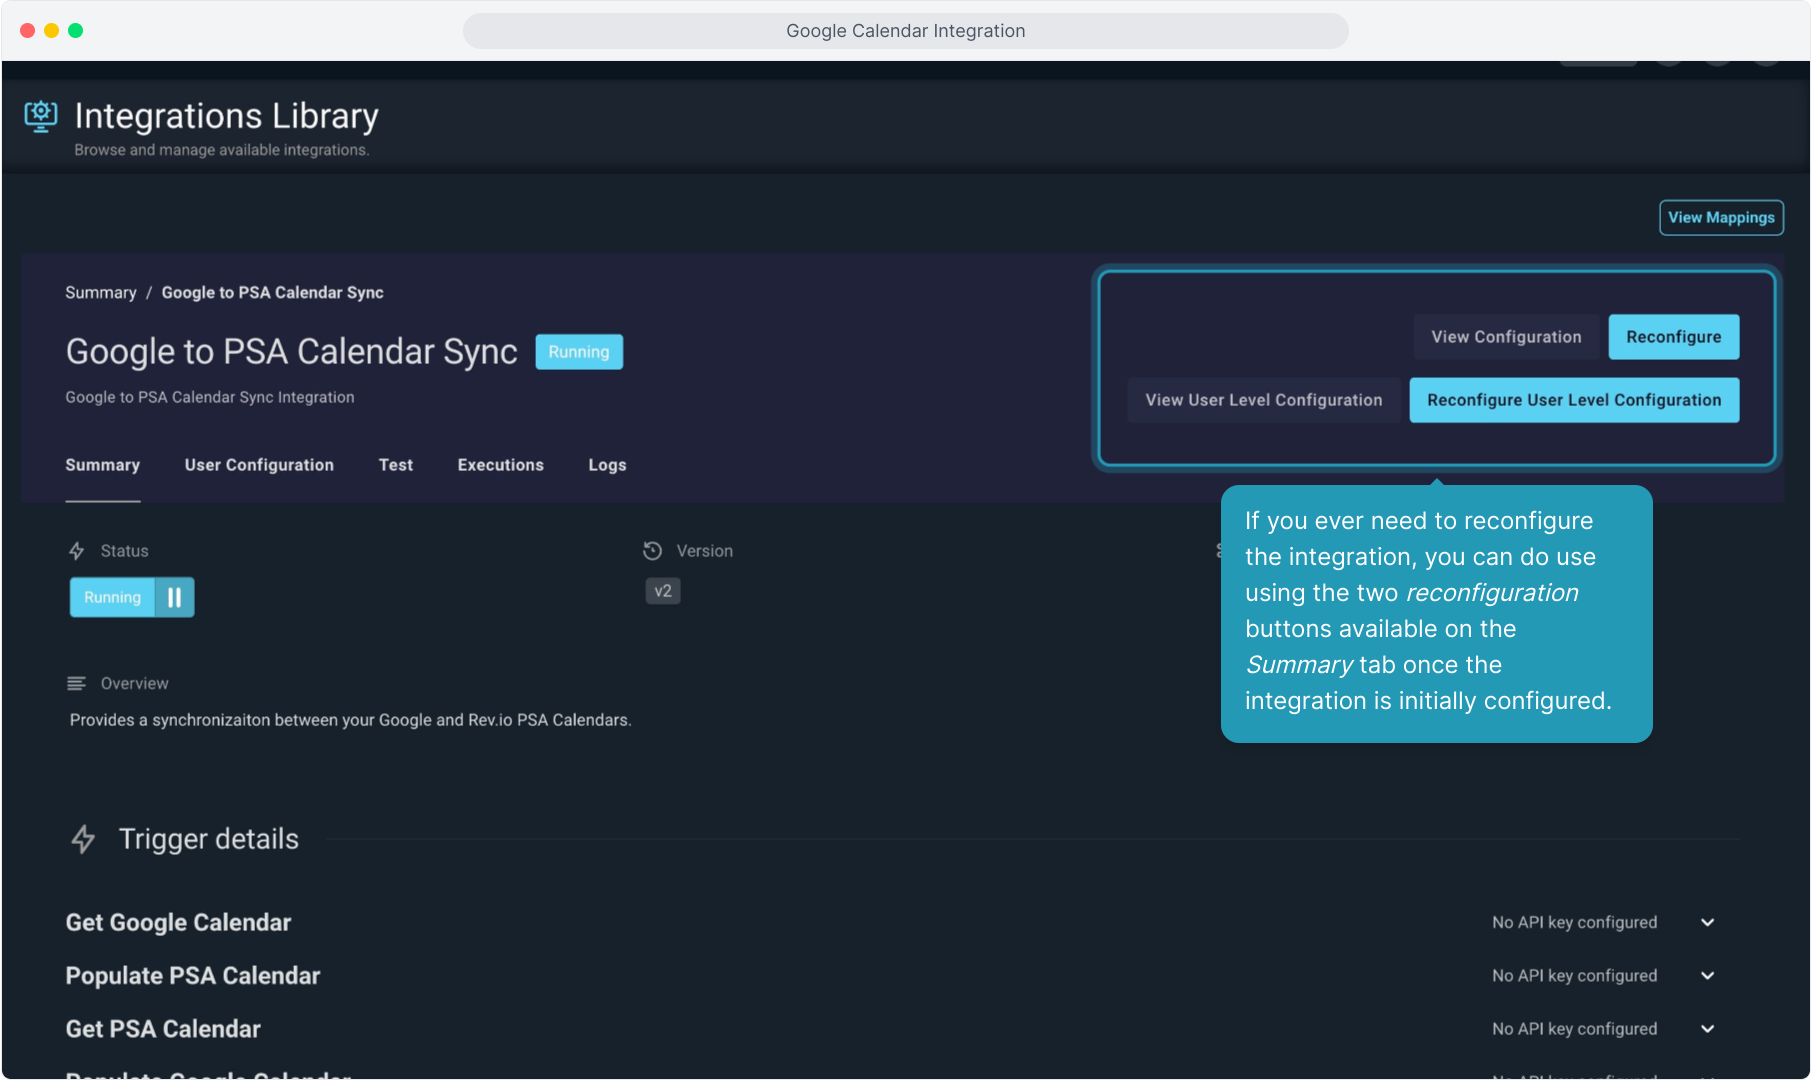
27. If you ever need to reconfigure the integration, you can do use using the two reconfiguration buttons available on the Summary tab once the integration is initially configured.
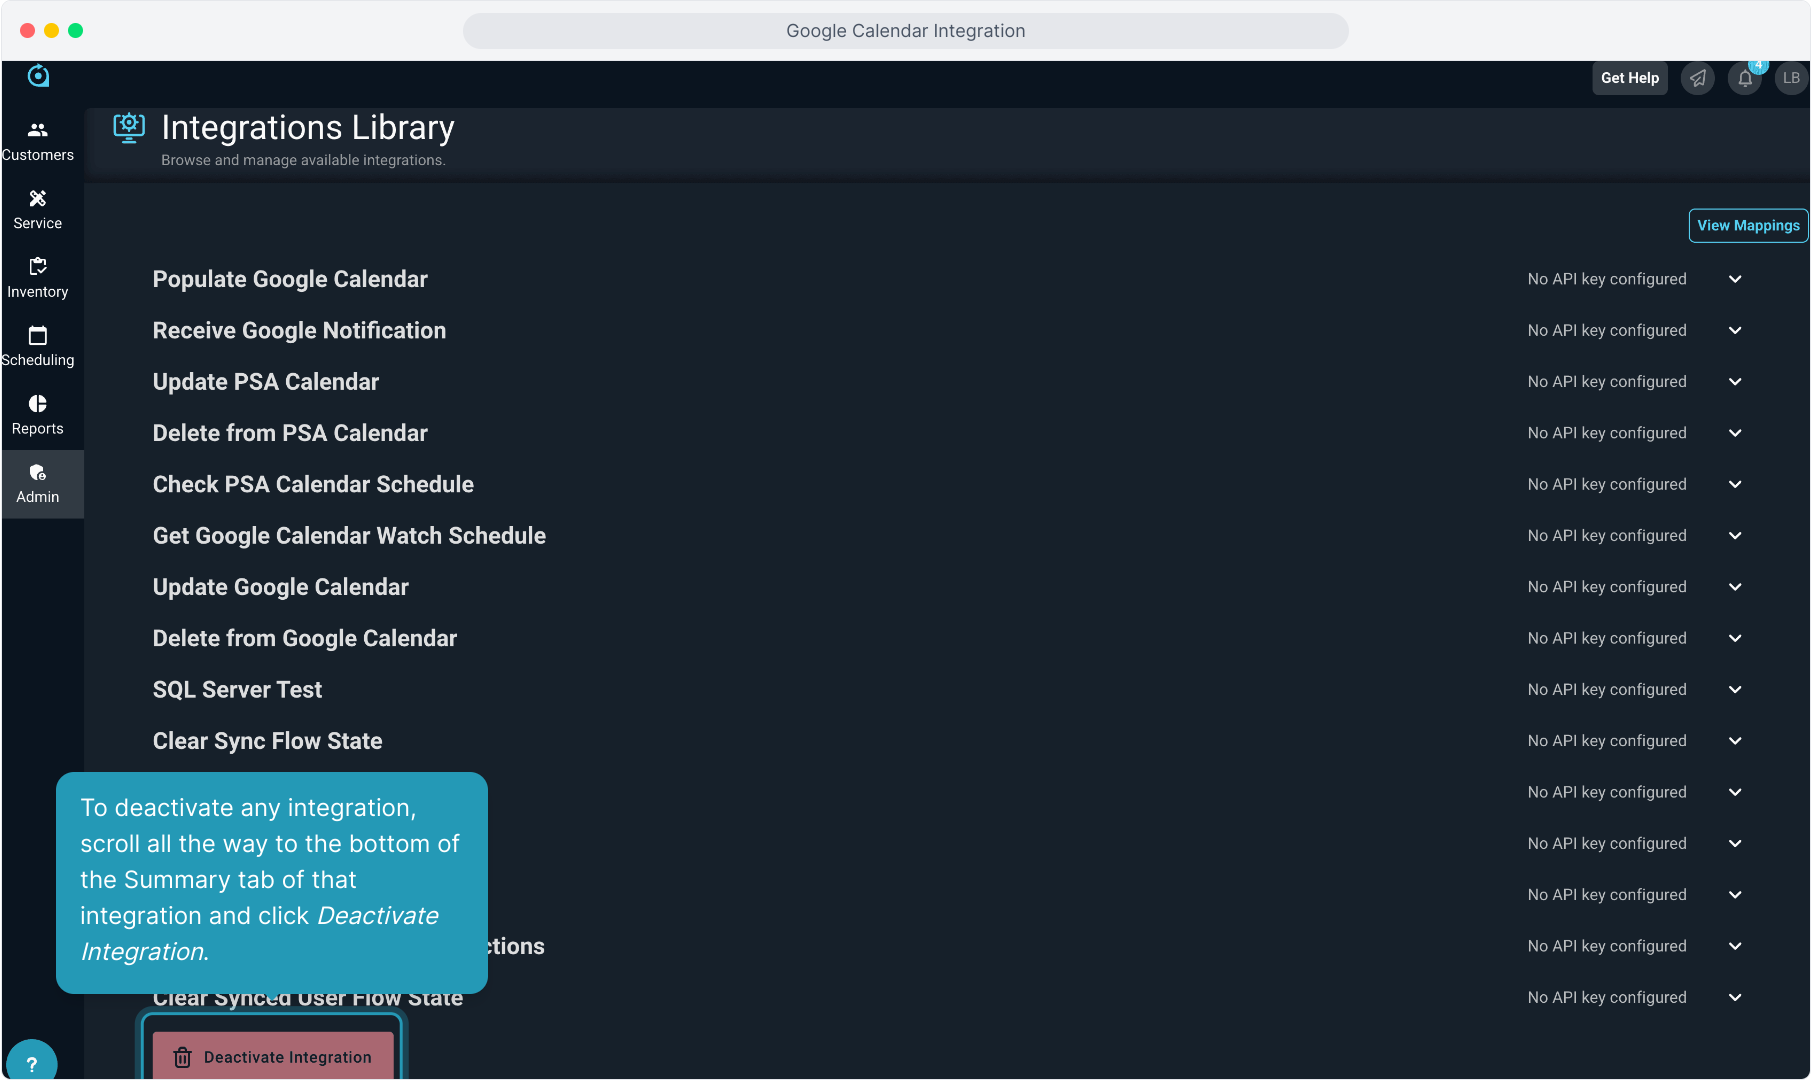
28. To deactivate any integration, scroll all the way to the bottom of the Summary tab of that integration and click Deactivate Integration.