Agreements: Agreement Templates
New Demo
Author: Lorrie Browne
Steps: 12
Source: Supademo
1. Introduction
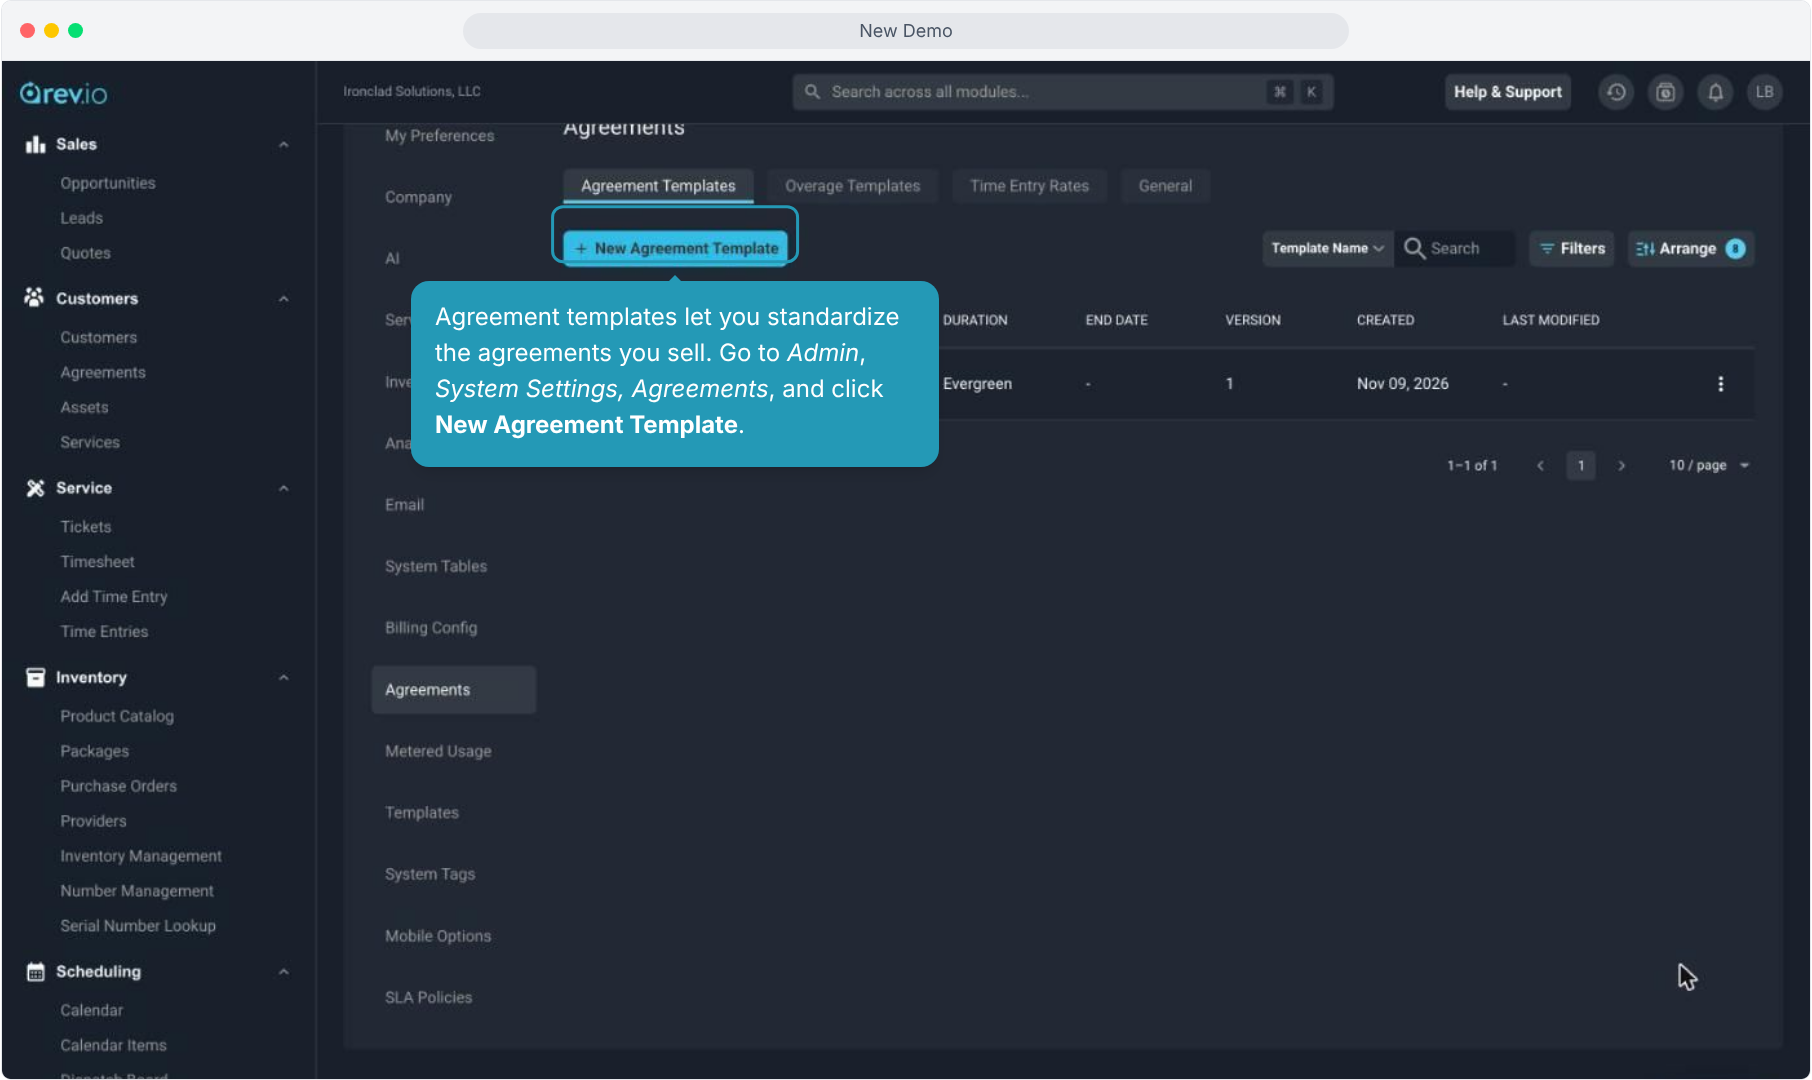
2. Agreement templates let you standardize the agreements you sell. Go to Admin, System Settings, Agreements, and click New Agreement Template.
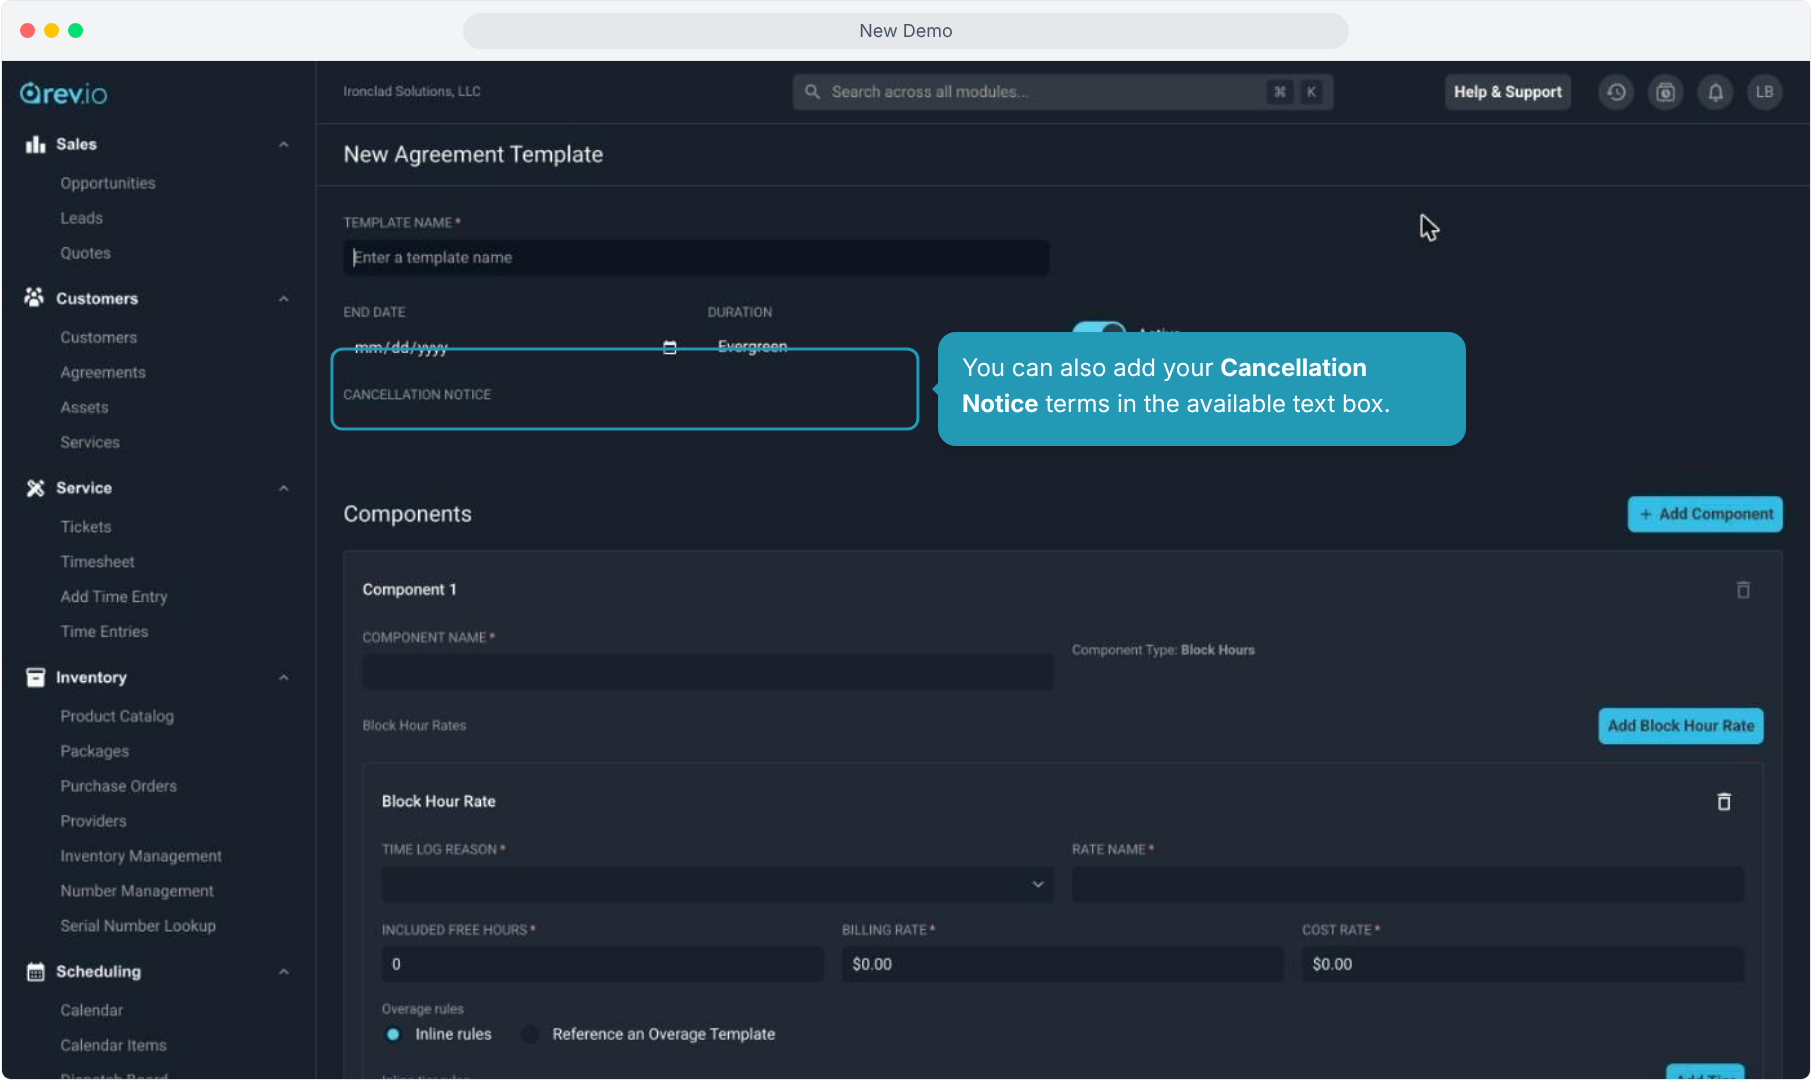
3. Name the template. Next, either enter an end date for the agreement to switch the Duration to Fixed Term or, to make the template duration Evergreen, leave End Date blank. You can always override the end date when you apply the template.
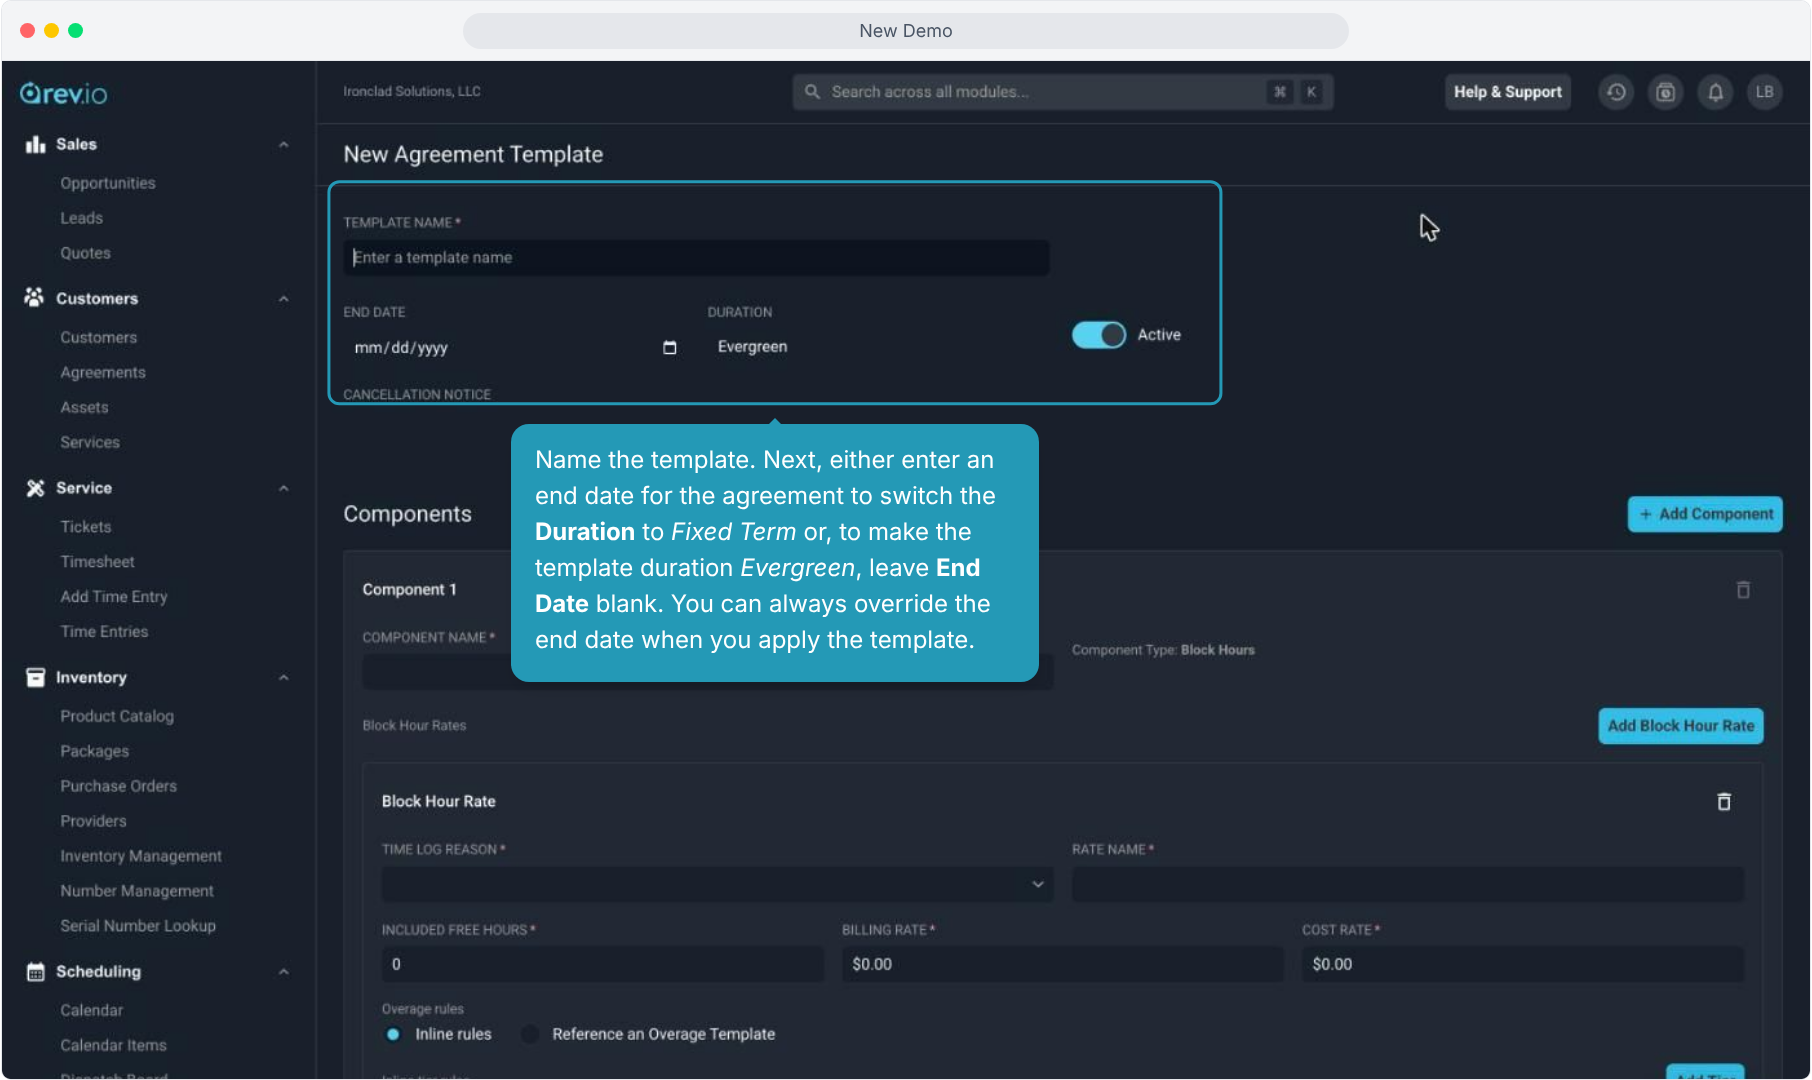
4. You can also add your Cancellation Notice terms in the available text box.
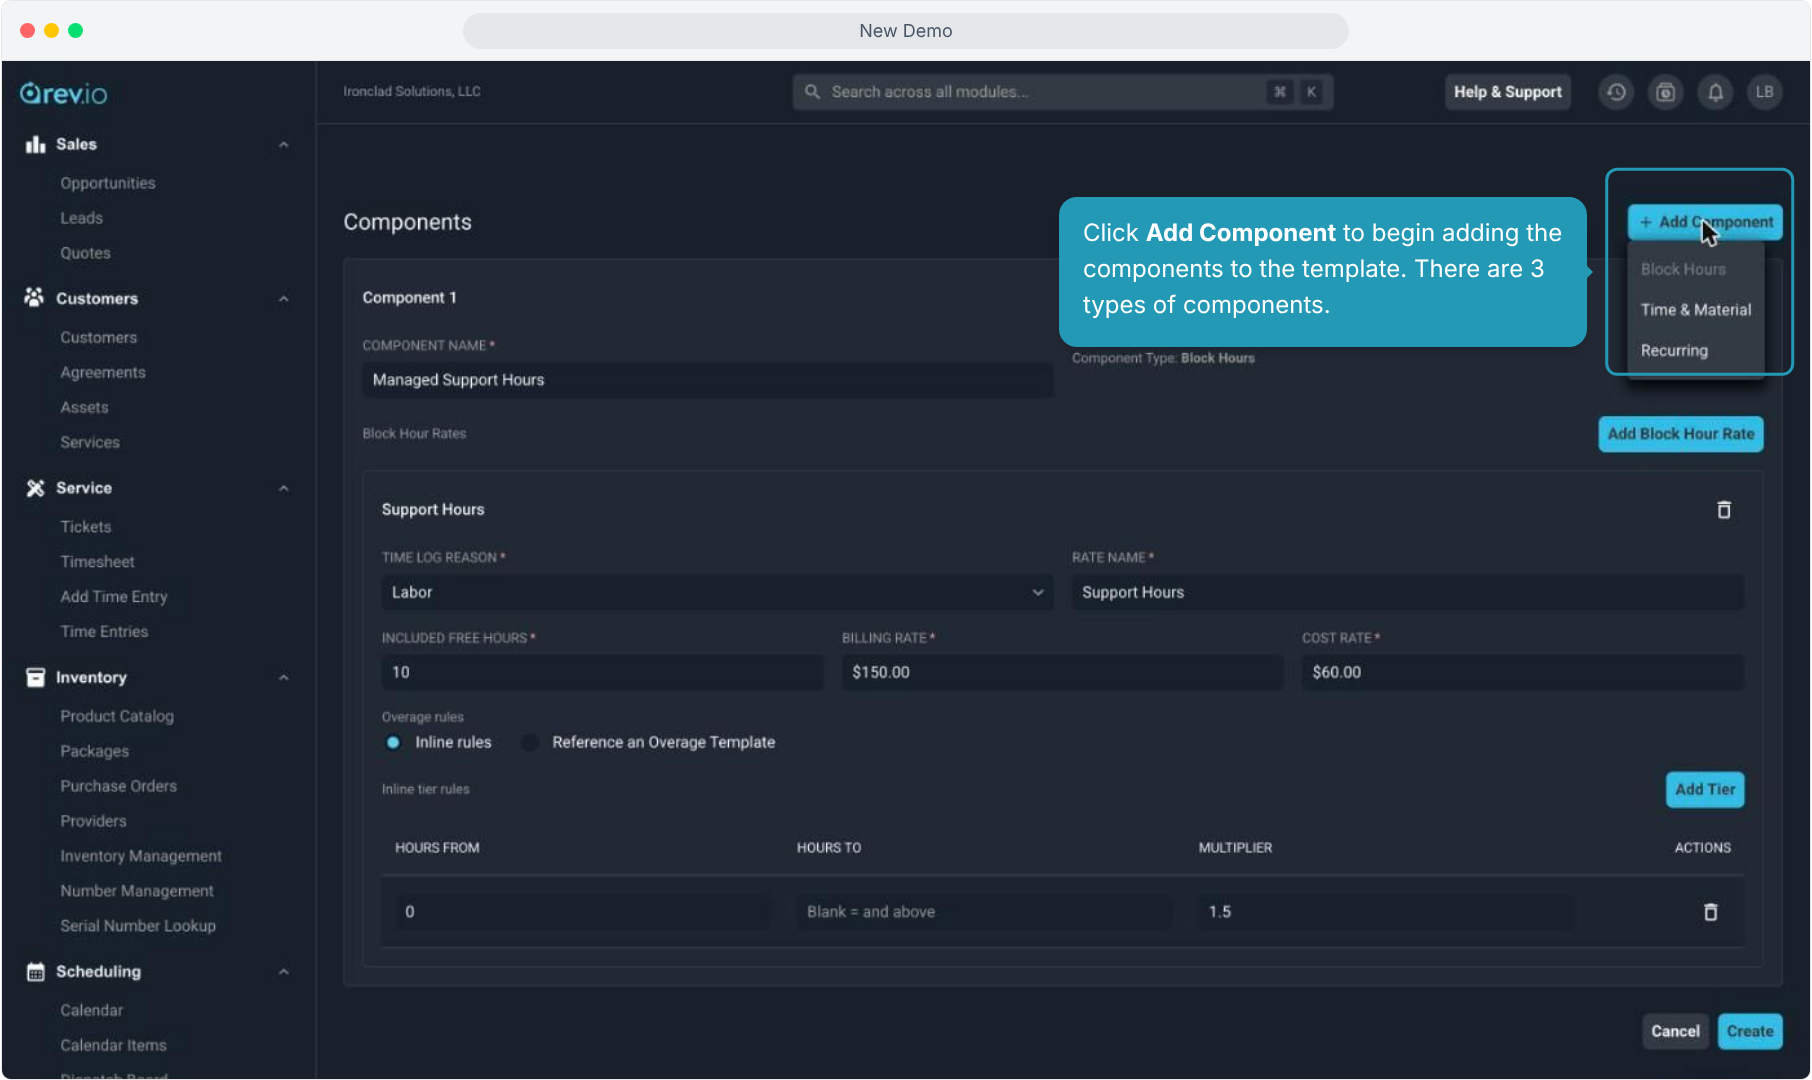
5. Click Add Component to begin adding the components to the template. There are 3 types of components.
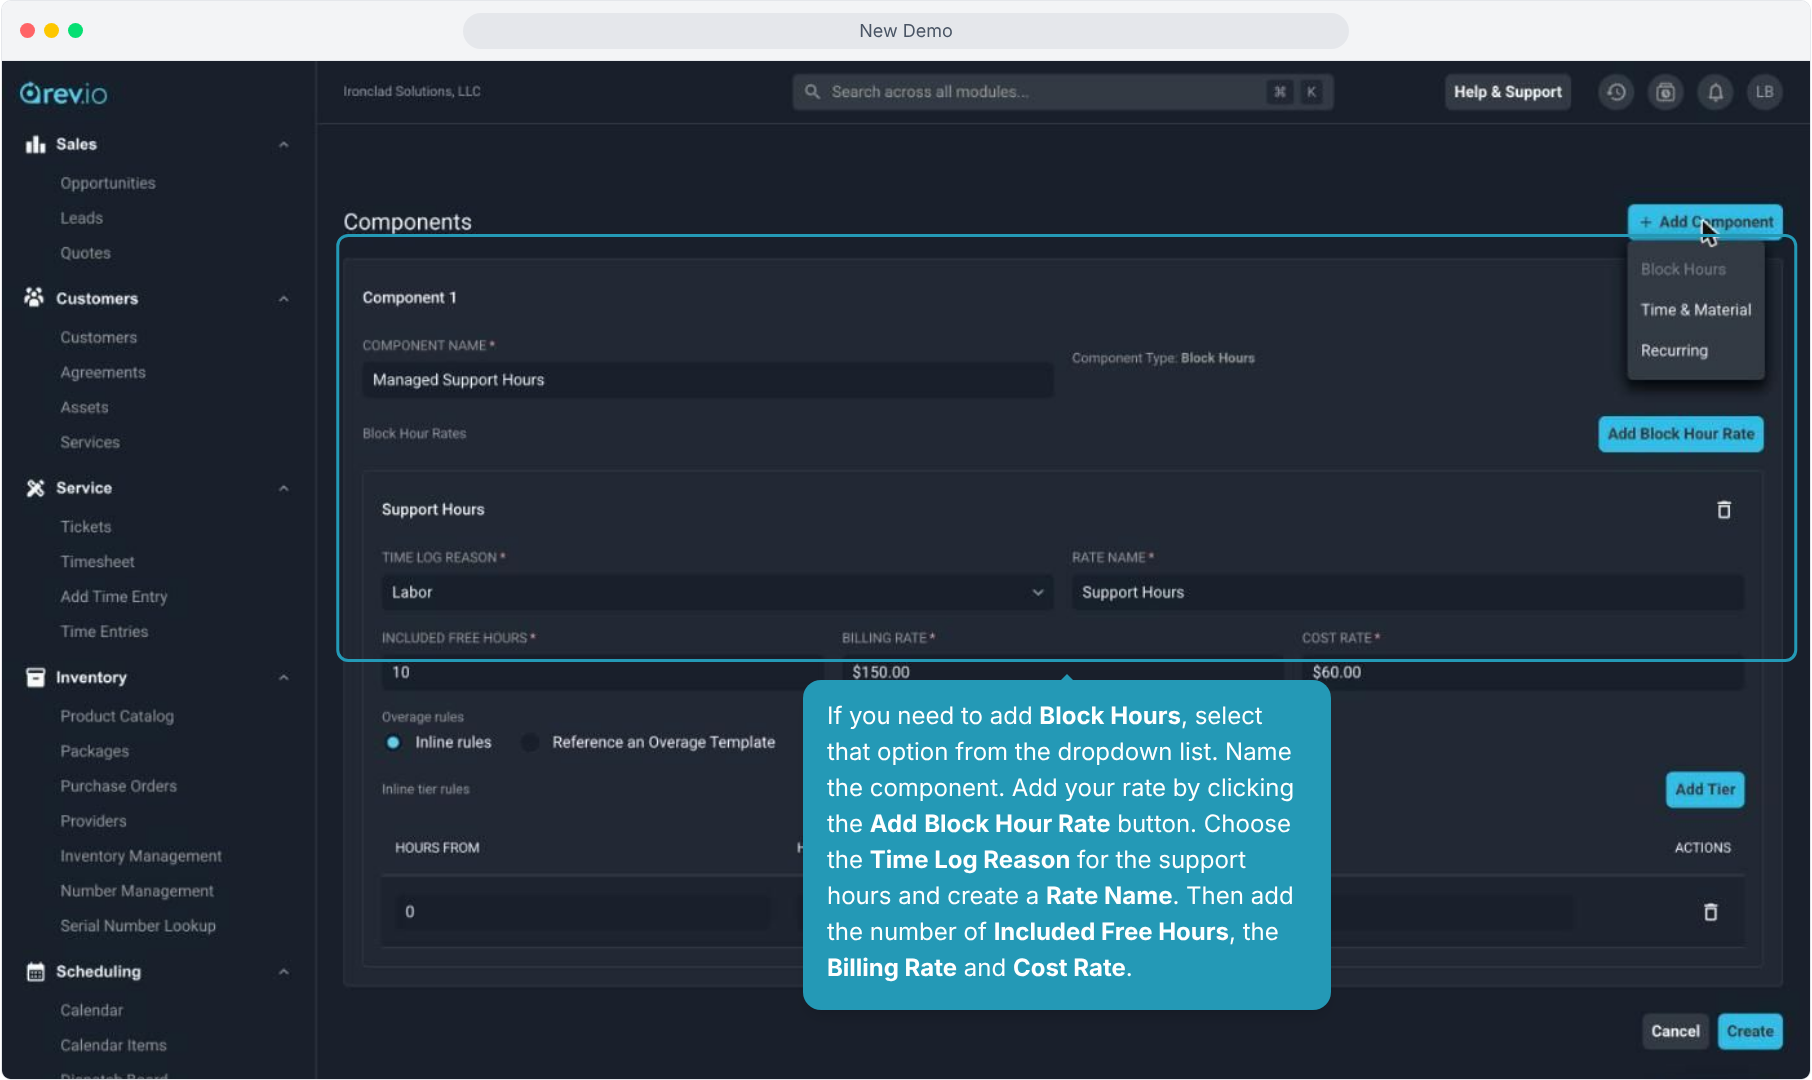
6. If you need to add Block Hours, select that option from the dropdown list. Name the component. Add your rate by clicking the Add Block Hour Rate button. Choose the Time Log Reason for the support hours and create a Rate Name. Then add the number of Included Free Hours, the Billing Rate and Cost Rate.
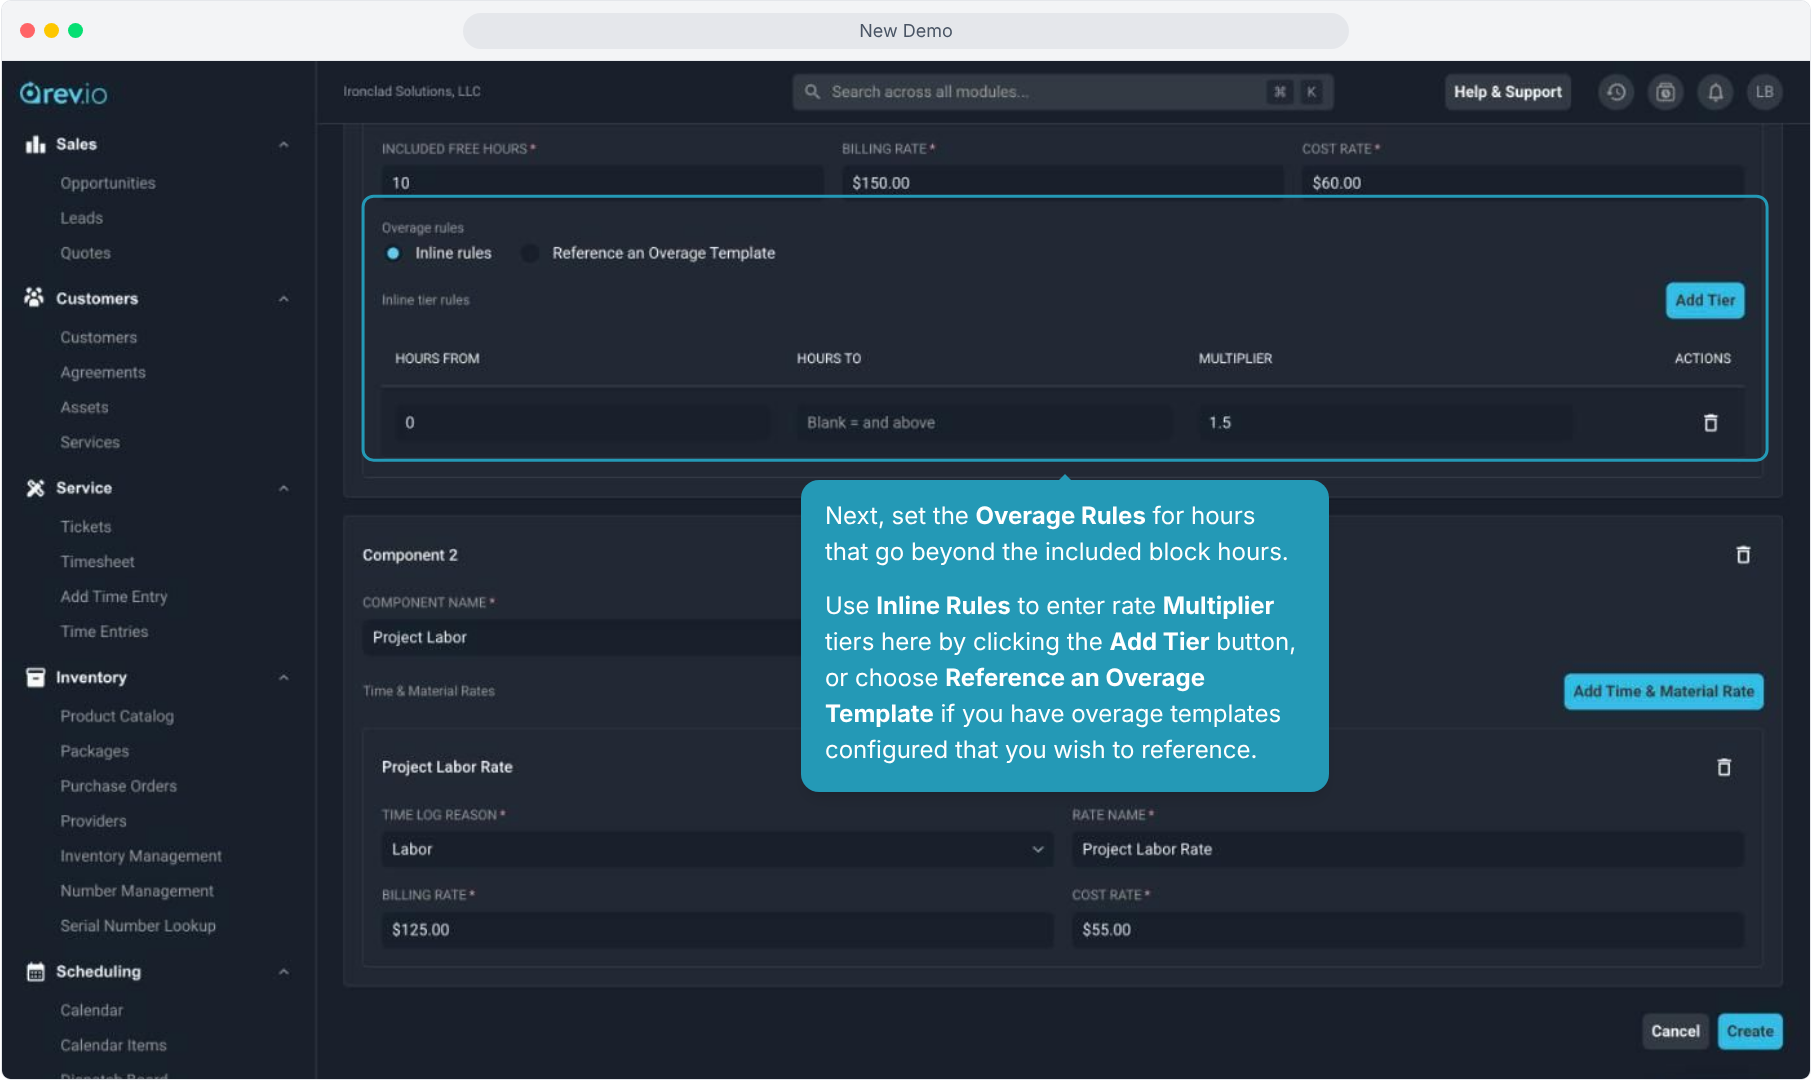
7. Next, set the Overage Rules for hours that go beyond the included block hours.
Use Inline Rules to enter rate Multiplier tiers here by clicking the Add Tier button, or choose Reference an Overage Template if you have overage templates configured that you wish to reference.
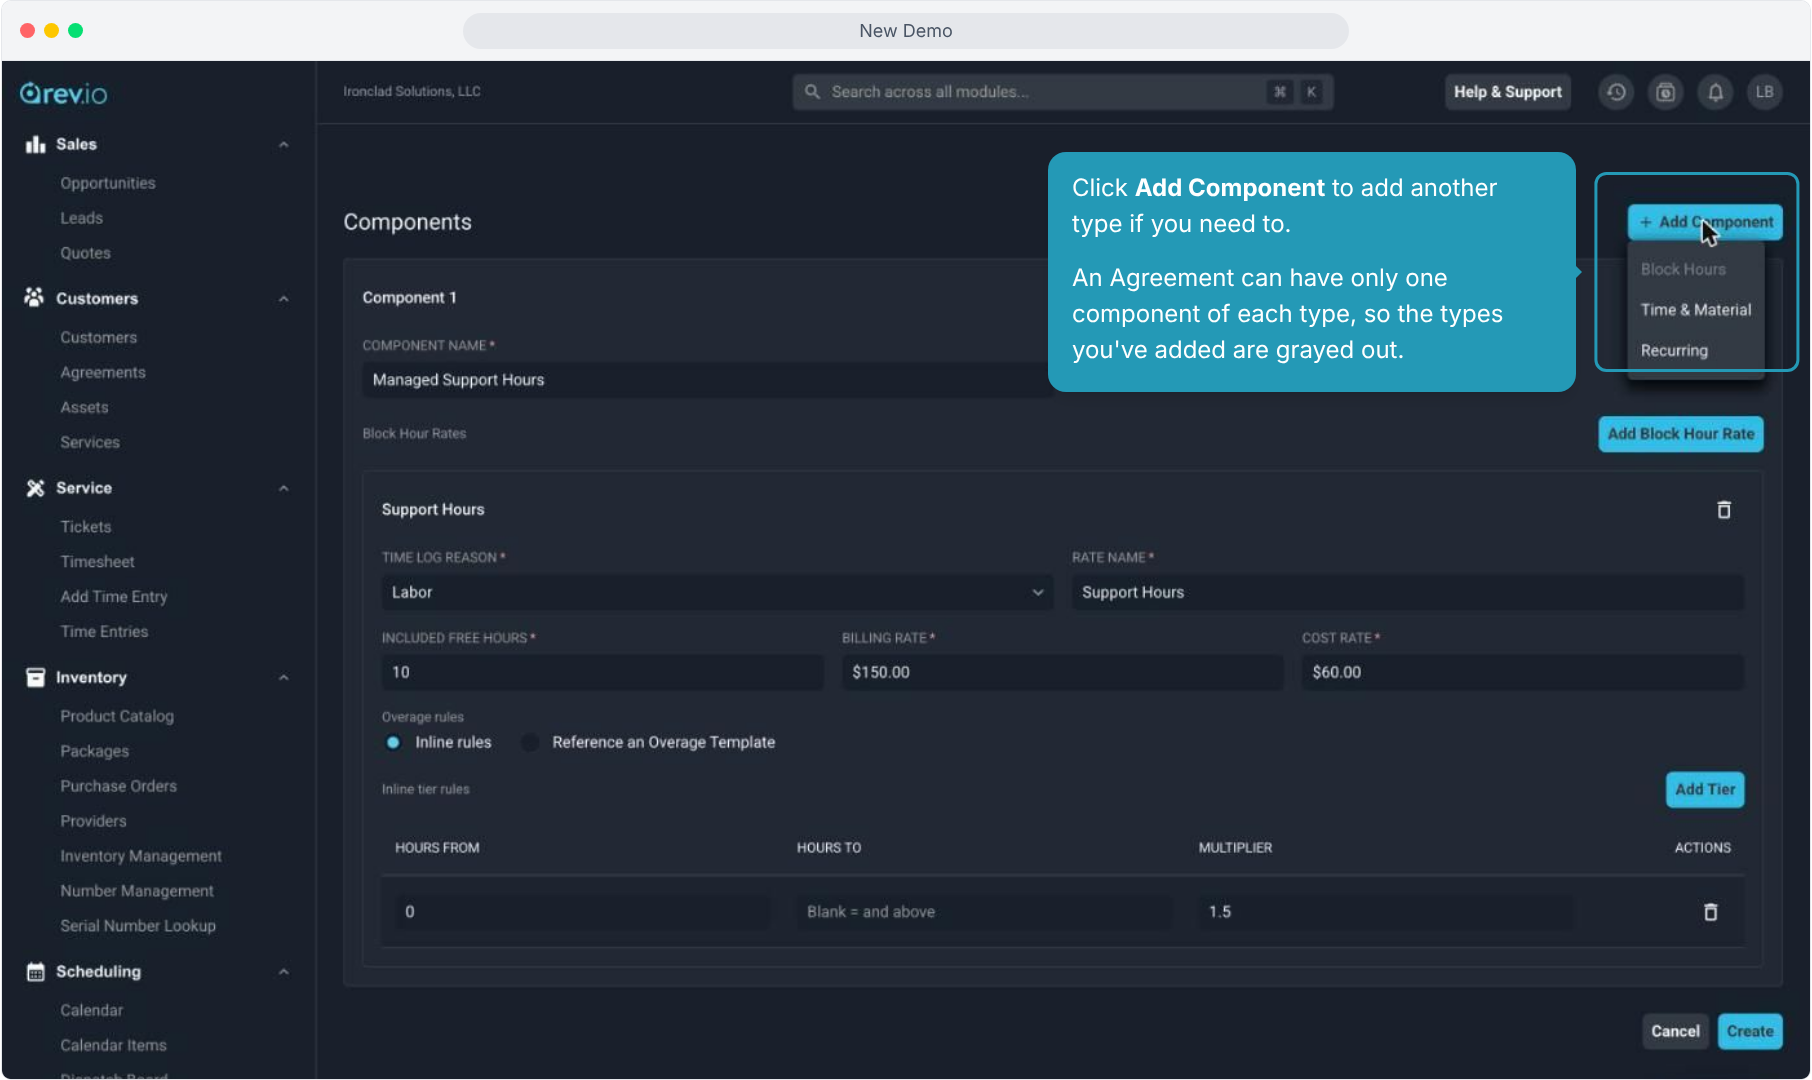
8. Click Add Component to add another type if you need to.
An Agreement can have only one component of each type, so the types you've added are grayed out.
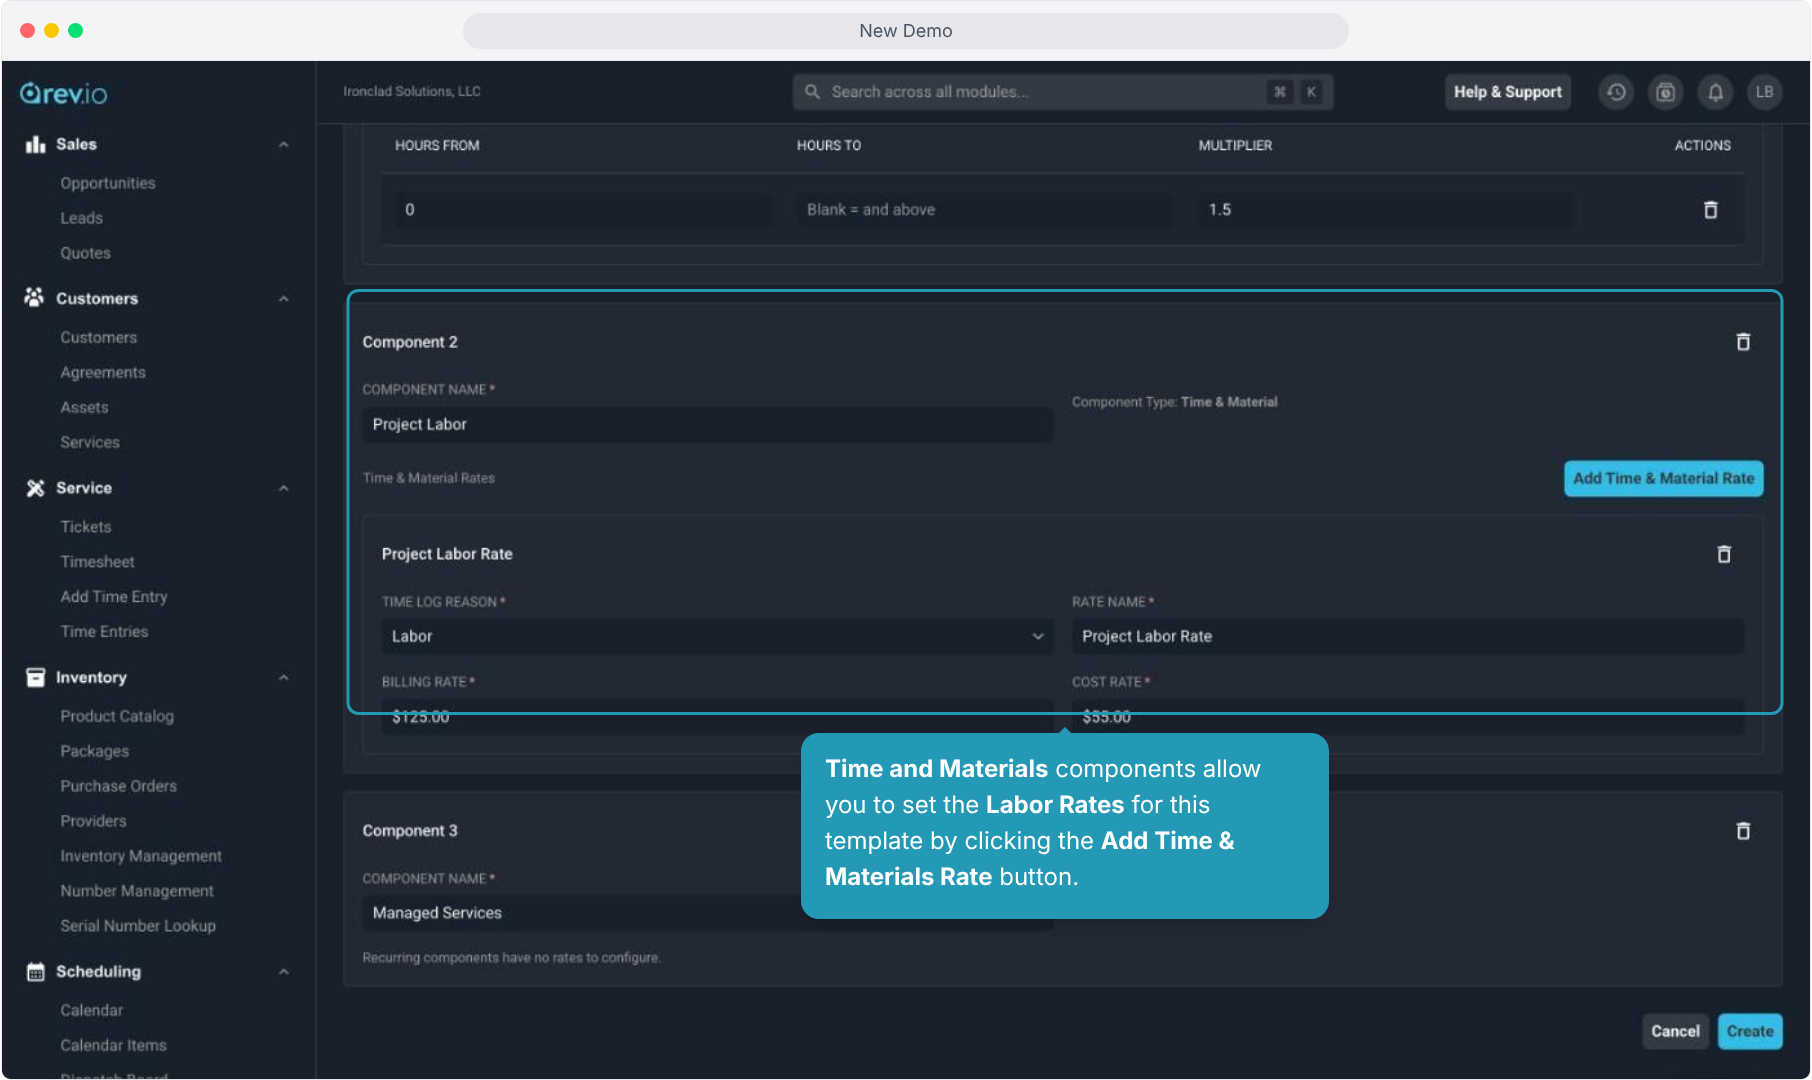
9. Time and Materials components allow you to set the Labor Rates for this template by clicking the Add Time & Materials Rate button.
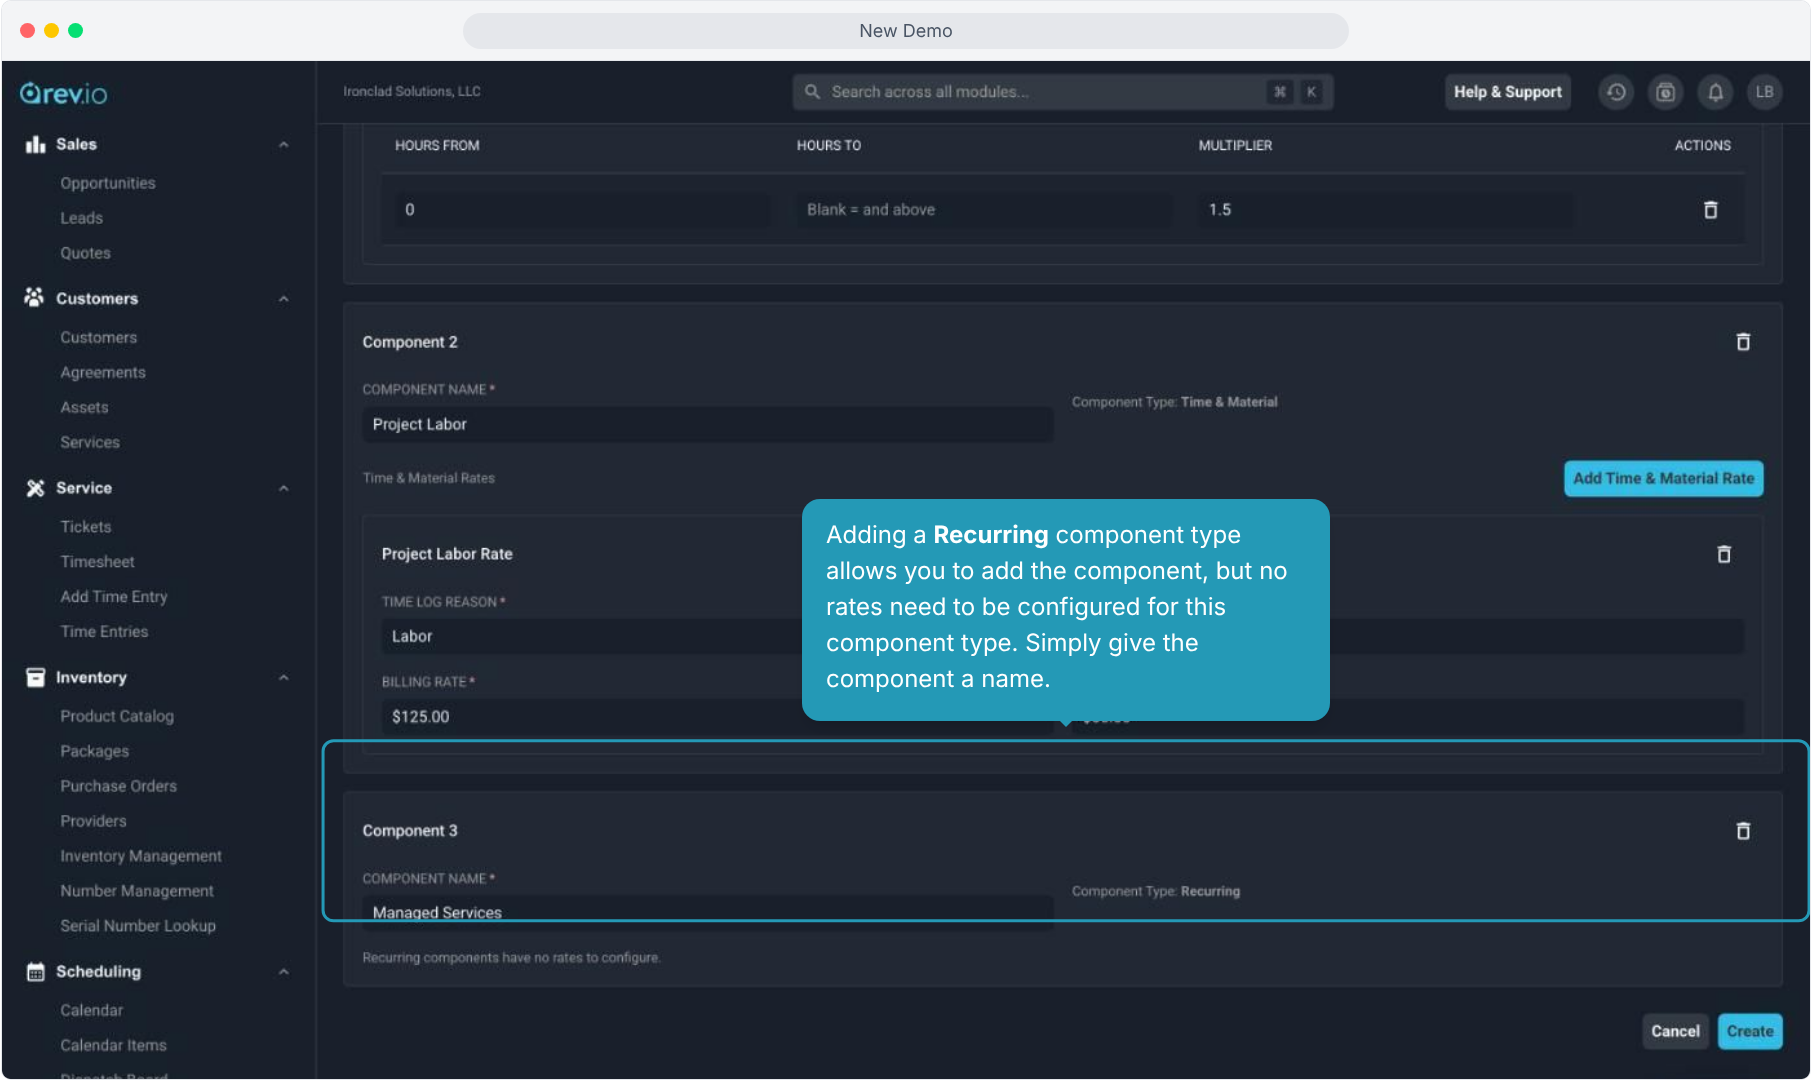
10. Adding a Recurring component type allows you to add the component, but no rates need to be configured for this component type. Simply give the component a name.
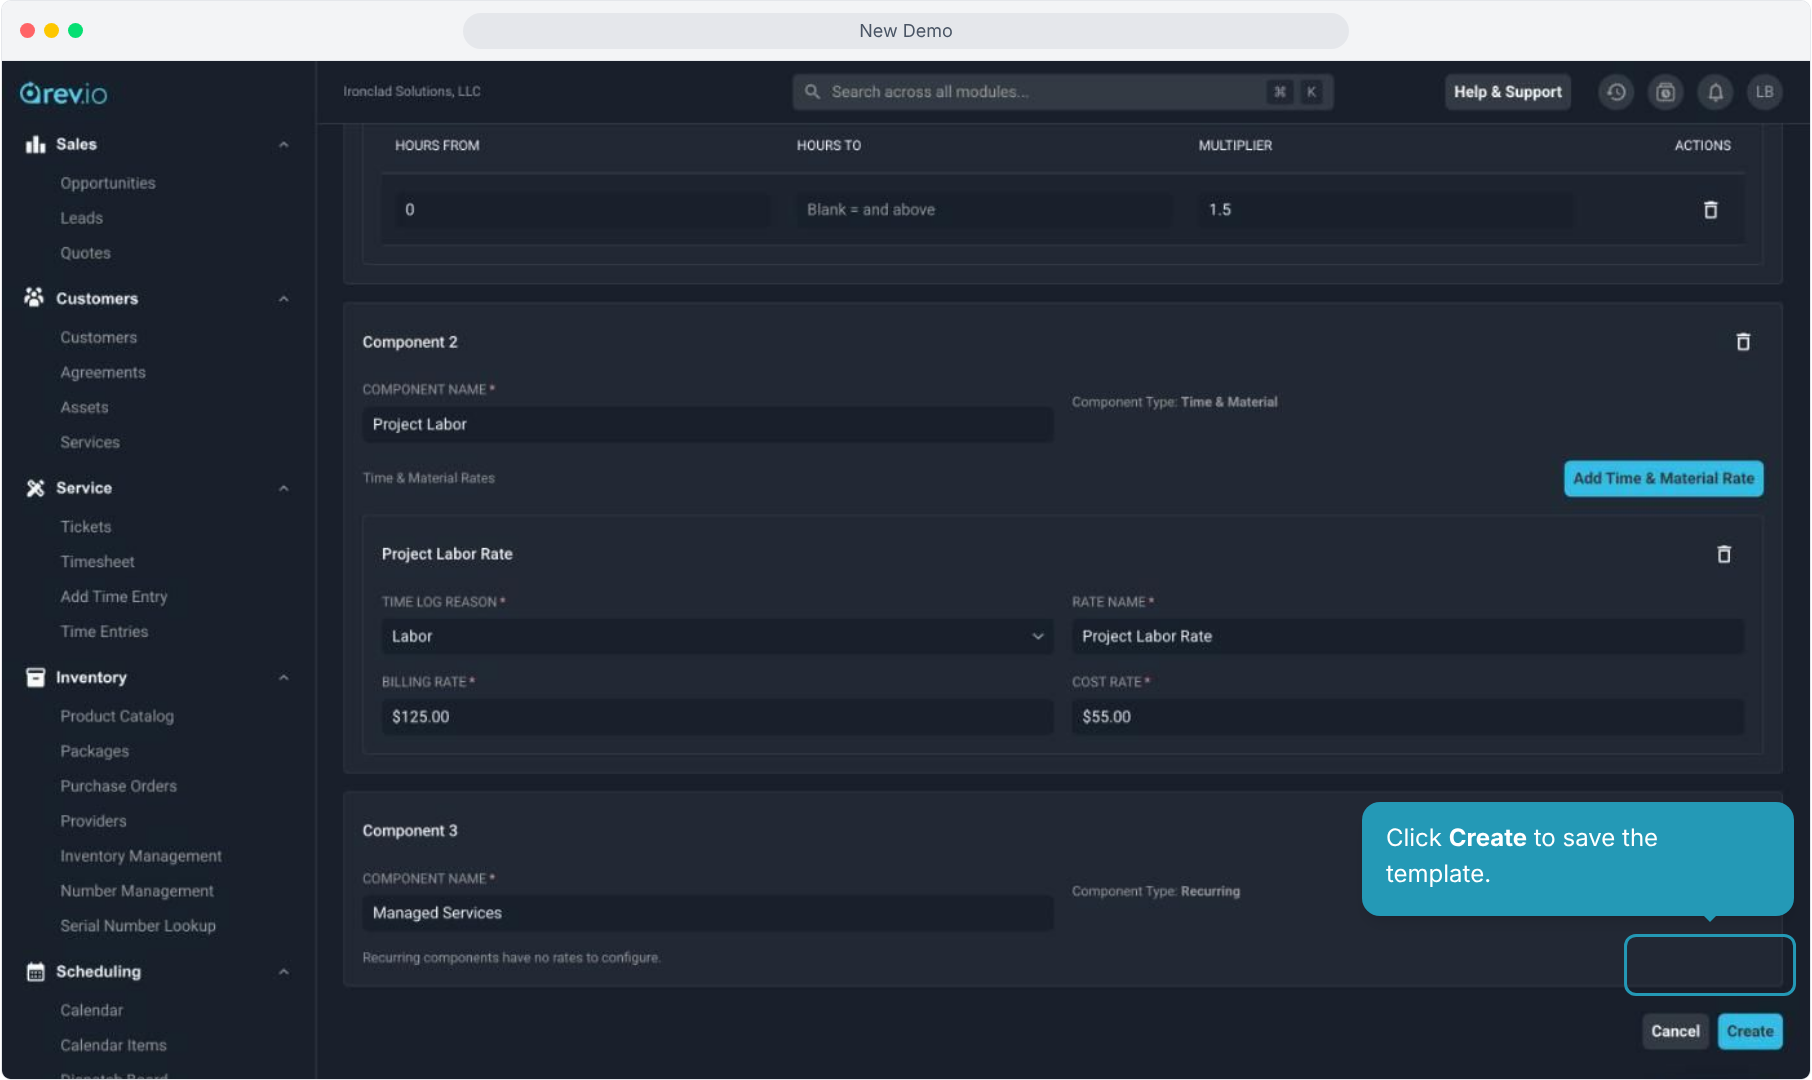
11. Click Create to save the template.