
N-Able Integration: Configuration
| NOTE: An authorized user account is required to run this integration. To support better security and audit visibility, we recommend creating a dedicated "service account" user. When configuring this integration, sign in using the service account rather than your personal user account to ensure that audit logs reflect the service account running the integration instead of the user who originally installed it. |
Complete the steps below to configure the N-Able integration.
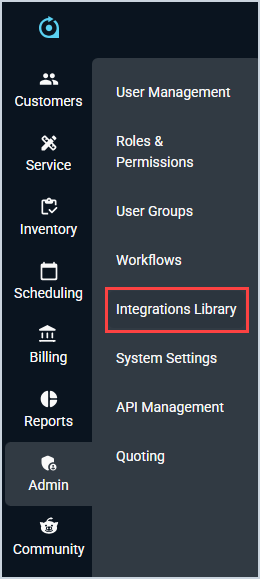
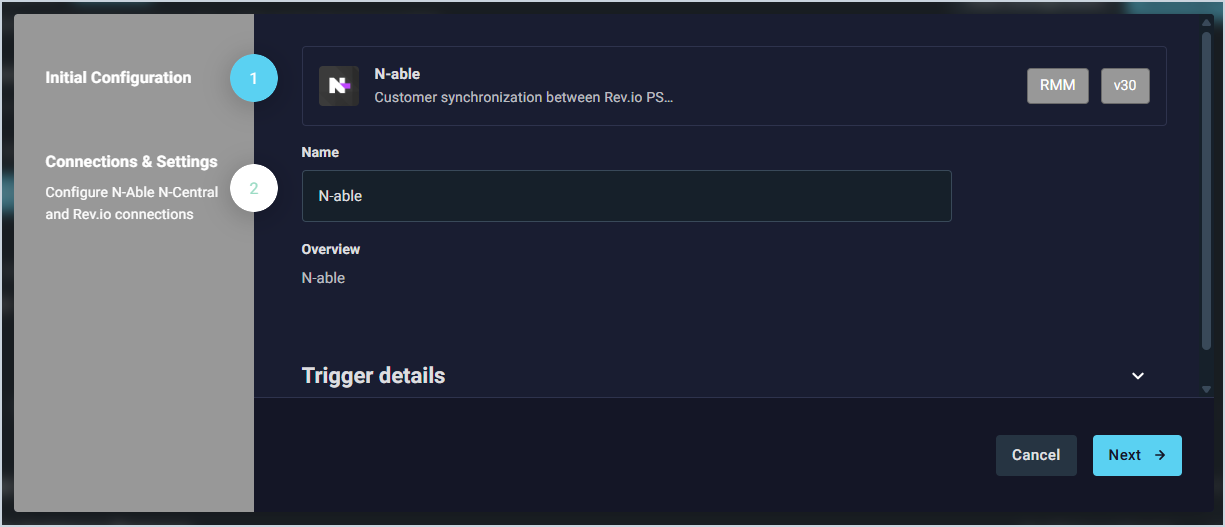
- Click Admin on the sidebar menu and select Integrations Library.
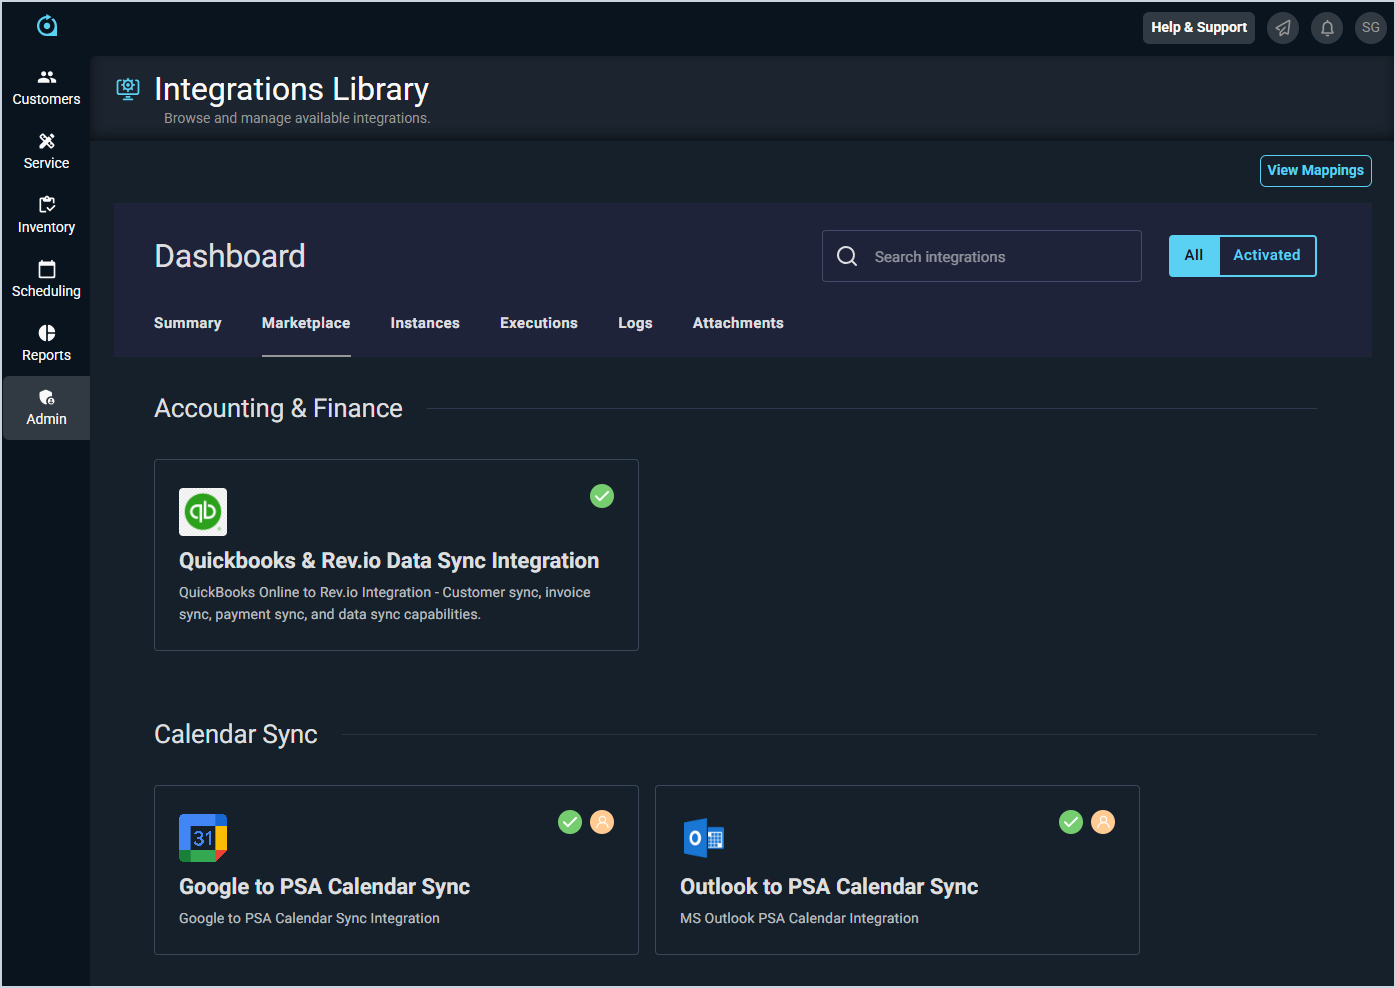
- Click the Marketplace tab.
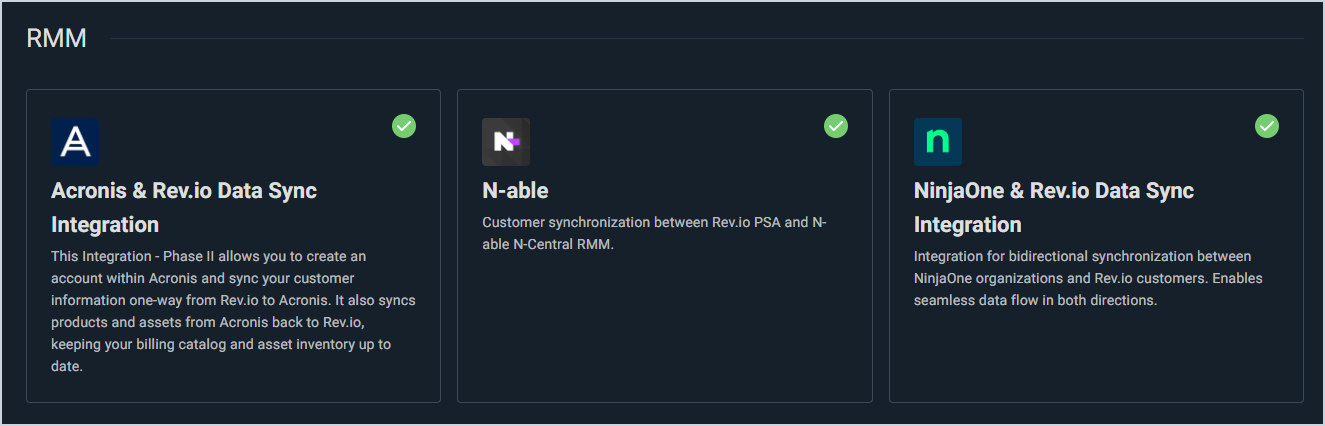
- Locate and select the N-Able Integration in the RMM section.
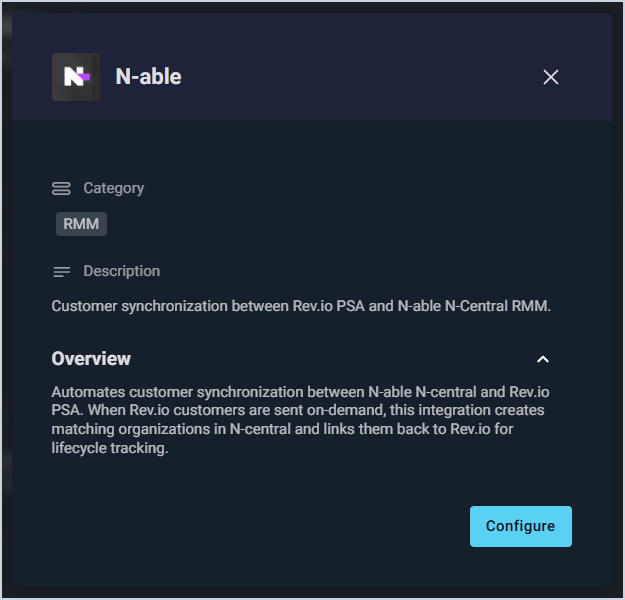
- Click the Configure button.
- The Initial Configuration section is automatically populated. Click the Next button.
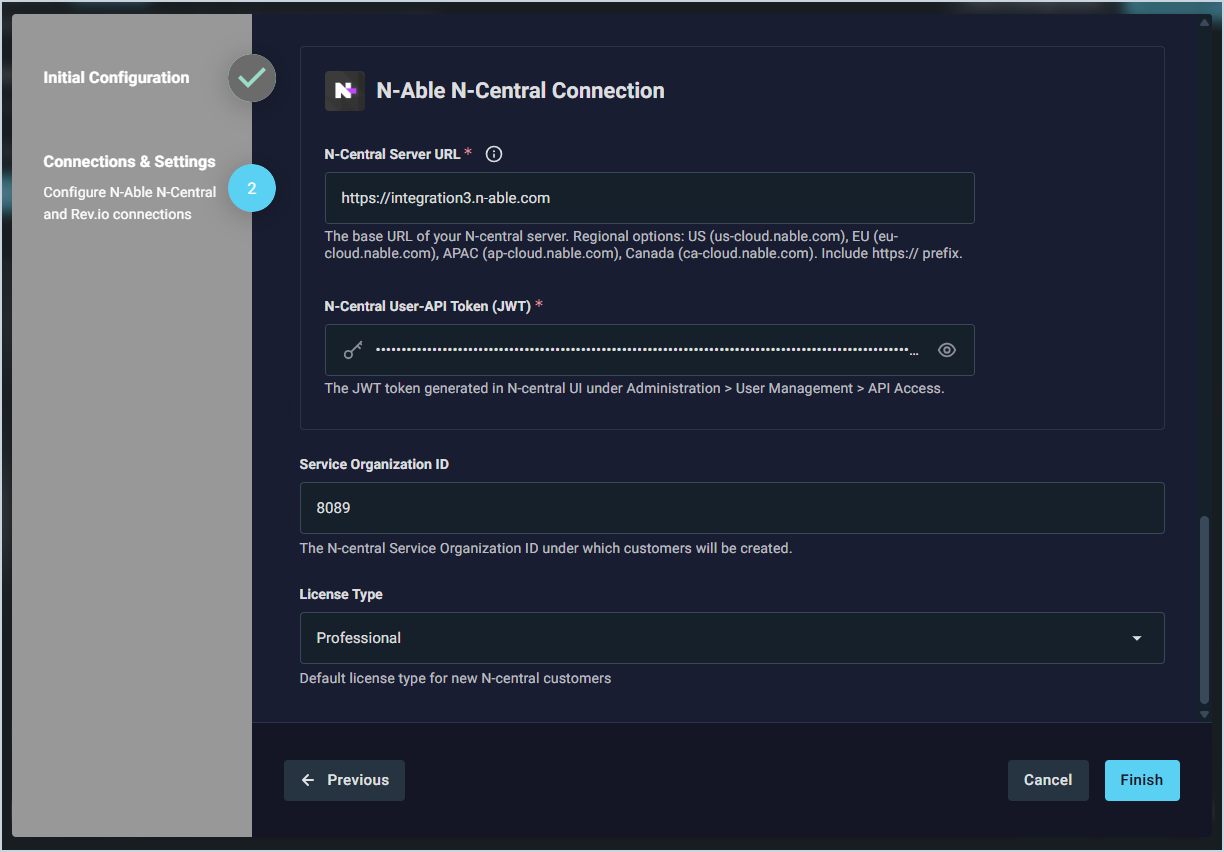
- In the N-able N-Central Connection section, enter your N-Central Server URL, N-Central User-API Token, Service Organization ID, and License Type from N-able. Then, click the Finish button.
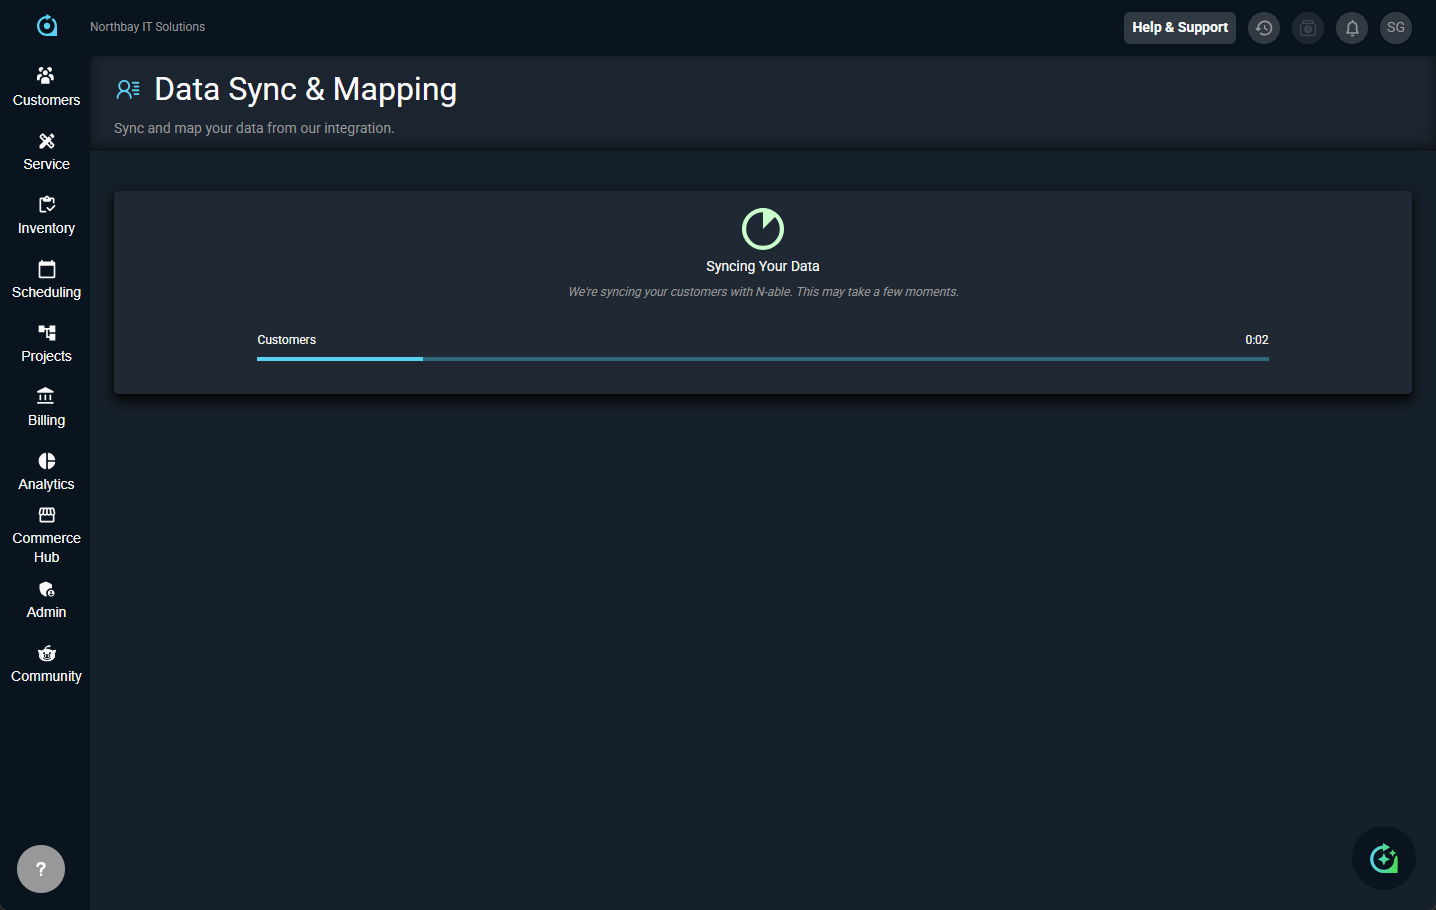
- The integration will prepare to sync your customers. Do not leave this page while the sync is running. If you need to work on something in the system while the integration syncs, open Rev.io in another tab.
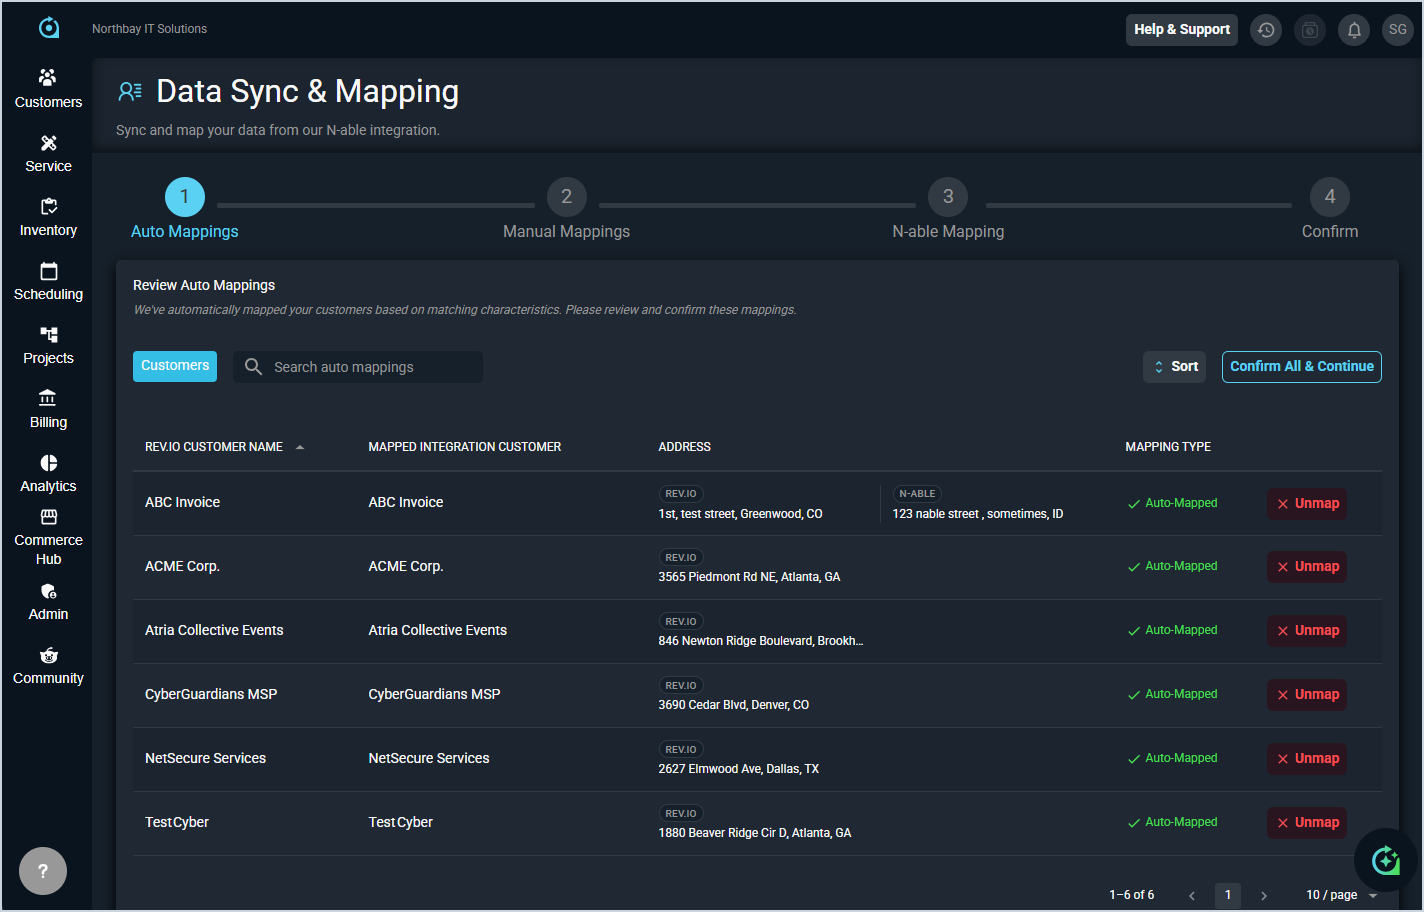
- Complete the process to sync your data with N-Able. See the Integrations Library: Data Sync & Mapping article for more information about mapping your customers for N-Able.
- To sync new customers with N-Able, open the Integrations tab on the customer profile screen and click the Sync button for the N-Able integration. To deactivate a customer's N-Able sync, you'll need to remove the sync manually from both Rev.io and N-Able.

Asset Sync
Once the customer sync is complete, the integration automatically begins syncing N-Central devices to Rev.io assets on an hourly schedule. No additional configuration is required for asset sync.
The integration fetches all devices from N-Central for each linked customer every hour. Devices are matched to existing Rev.io assets by serial number first, then by name. If no match is found, a new asset is created. On subsequent syncs, only devices that have checked in since the last sync are processed. Synced fields include device name, serial number, MAC address, IP address, operating system, model, processor, and memory. Assets linked to a different RMM integration are not overwritten.
Synced assets appear on the customer profile under the Service tab in the Assets tab. Assets created by the integration are linked to the N-Central device and will continue to receive updates on each hourly sync.
Alert-to-Ticket Sync
The integration can automatically create Rev.io tickets from active N-Central monitoring alerts. This feature is disabled by default and must be enabled in the integration configuration.
Enabling Alert Sync
- Navigate to Admin > Integrations Library.
- Open the N-Able integration instance.
- Locate the Sync Alerts toggle in the configuration settings and enable it.
- Save your changes.
| IMPORTANT: Before enabling alert sync, review your N-Central monitoring policies. All active alerts across linked customers will generate Rev.io tickets. Configure your N-Central alert thresholds and monitoring policies to control which alerts are created. |
How Alert Sync Works
The integration polls N-Central for active alerts every 5 minutes. For each new alert, a Rev.io ticket is created under the linked customer with the following details:
- Title: Alert service name and device name.
- Type: RMM Alert, or EDR Alert for EDR-related services.
- Priority: High.
- Status: New.
- Description: Alert details including alert title and category, device name, notification state, alert timestamp, and monitoring type and service details.
When an alert clears in N-Central, the corresponding Rev.io ticket is automatically set to a closed status and an activity note is added recording the closure. If the alerting device has a linked Rev.io asset, the asset is automatically attached to the ticket under the Items Serviced tab.
Disabling Alert Sync
To stop creating tickets from alerts, navigate to the integration configuration and disable the Sync Alerts toggle. Existing tickets are not affected.
Additional Configuration Options
During configuration, you can optionally set a Default Bill Profile that is applied to any new customers created through the integration. If not set, Rev.io uses the system default bill profile.