
Tracking Time on Tickets
There are two main ways to track time on tickets in Rev.io PSA: using the ticket timer to keep track of time as you work on a ticket and entering a time log manually on the Time Logs tab. Either option allows you to modify the various fields on the Time Logs tab. The timer option helps you keep track of time while the manual option requires you to note the time when you start working the ticket.
Using the Ticket Timer
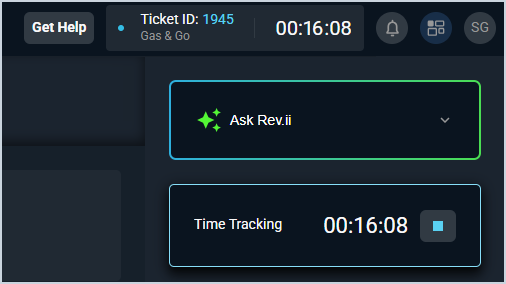
From the specific ticket you'd like to track time on, find the Time Tracking section on the ticket stage side panel to enter time using timer functionality. See the View Ticket: Stage article for more information about the other options available on the stage.
When you start a timer on a ticket by clicking the start button, the timer begins counting time spent on the ticket. You can always see the timer on the ticket's stage side panel. The timer also displays on the top toolbar and remains there even as you navigate to other areas of the system.
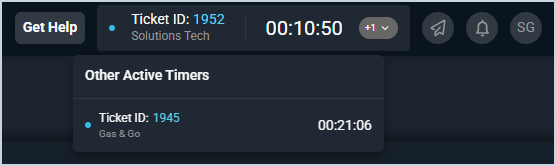
Each technician can have timers running for up to 3 different tickets at the same time, but only the most recent will be immediately visible at a glance. To see other active timers, click the dropdown arrow on the right side of the running timer in the toolbar. To access a ticket with a running timer, simply click anywhere on the active timer.
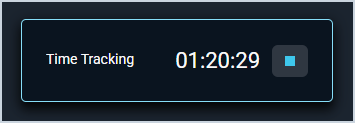
When you've completed work on the ticket, click the timer to navigate back to the ticket and then click the stop button.
The Time Logs tab will display, allowing you to select a time log Reason, enter your Work Performed notes, and modify the other fields on the log before clicking the Create New Time Log button to officially save it to the ticket. See the Create/Edit Time Logs article for more information about entering time logs on tickets.
| IMPORTANT: You must click the Create New Time Log button in order to save any time tracked using the ticket timer. |
Manually Entering Time Logs
From the specific ticket you'd like to track time on, select the Time Logs tab to enter a time log manually, without using the timer to keep track of the time you spent on the ticket. With this method, it's important to note the time you started working on the ticket so that you can enter an accurate time log.
From this tab, simply click the New Time Log button, complete the fields for the time log, and click the Create New Time Log button to save the time log to the ticket. See the Create/Edit Time Logs article for more information about entering time logs on tickets.