NOTE: An authorized user account is required to run this integration. To support better security and audit visibility, we recommend creating a dedicated "service account" user. When configuring this integration, sign in using the service account rather than your personal user account to ensure that audit logs reflect the service account running the integration instead of the user who originally installed it.
Complete the steps below to configure the HubSpot integration.
NOTE: Before starting the configuration steps below, be sure you have completed the required prerequisite steps. See the HubSpot Integration: Prerequisites article for more information.
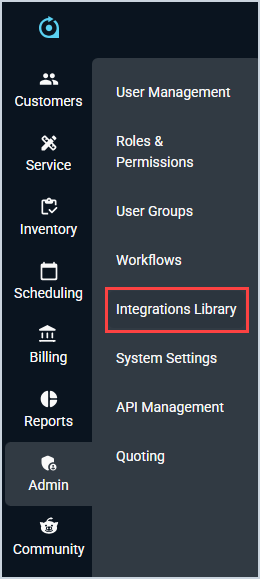
Click Admin on the sidebar menu and select Integrations Library.
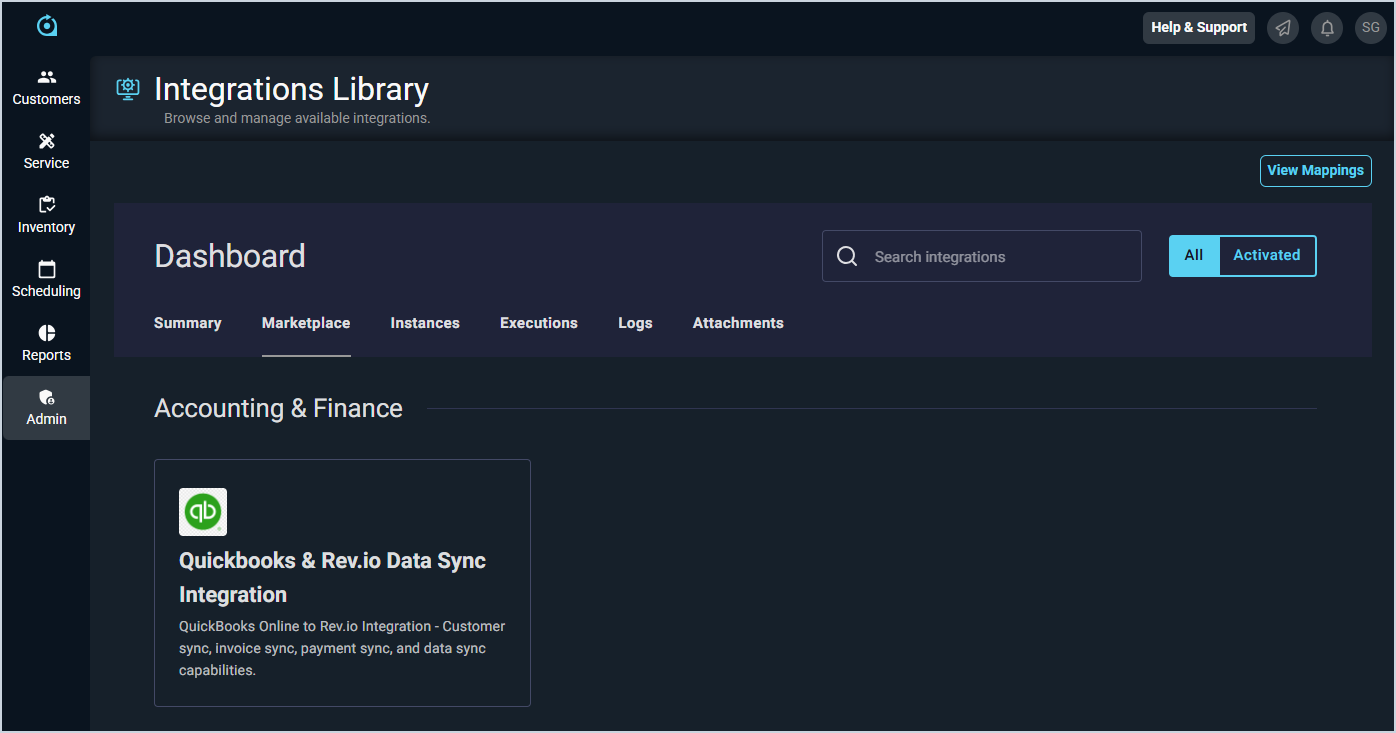
Click the Marketplace tab.
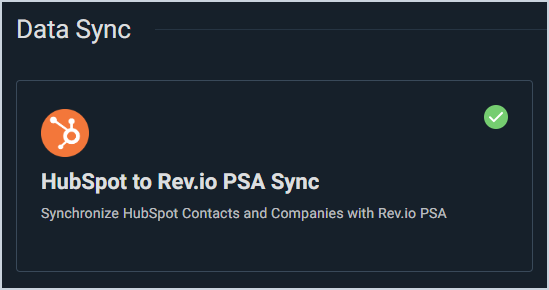
Locate and select the HubSpot to Rev.io PSA Sync in the CRM section.
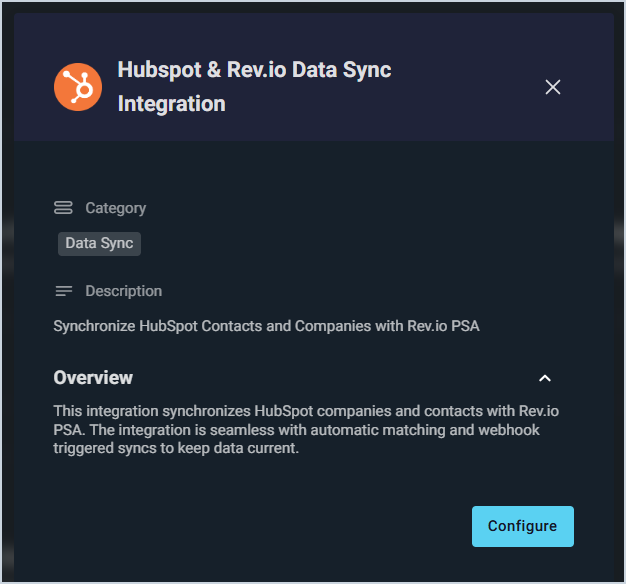
Click the Configure button.
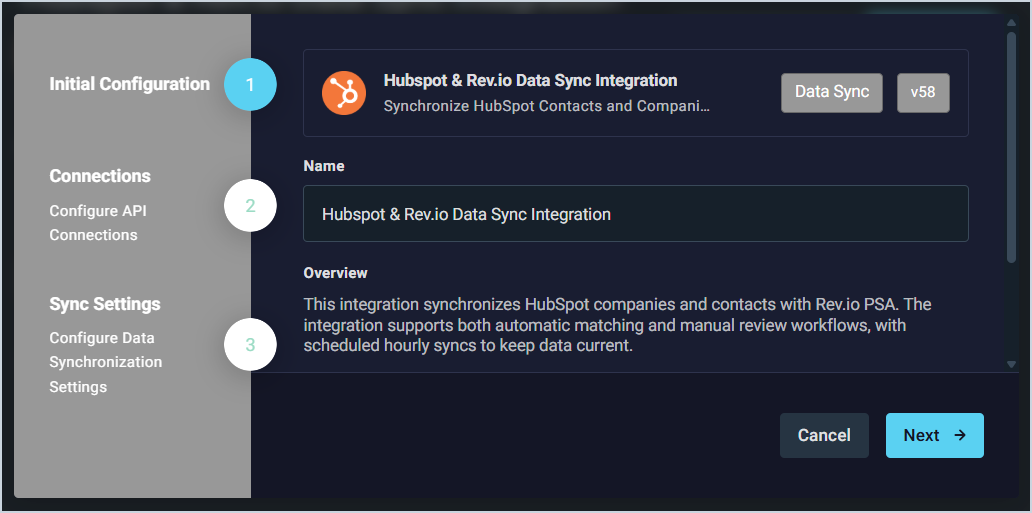
The Initial Configuration section is automatically populated. Click the Next button.
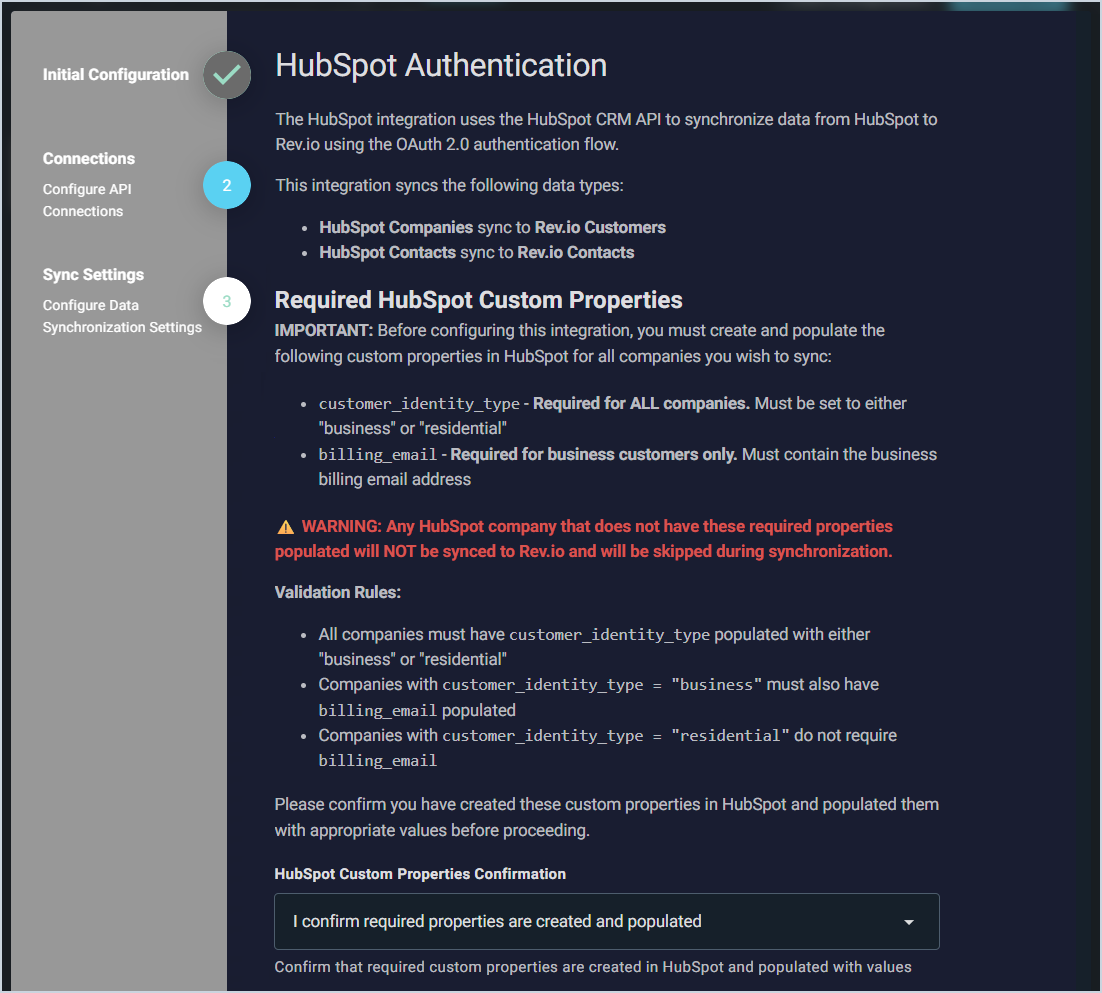
To configure the integration, you must have custom properties created in HubSpot. See the HubSpot Integration: Prerequisites article for more information. Click the HubSpot Custom Properties Confirmation dropdown to confirm that you have created these properties.
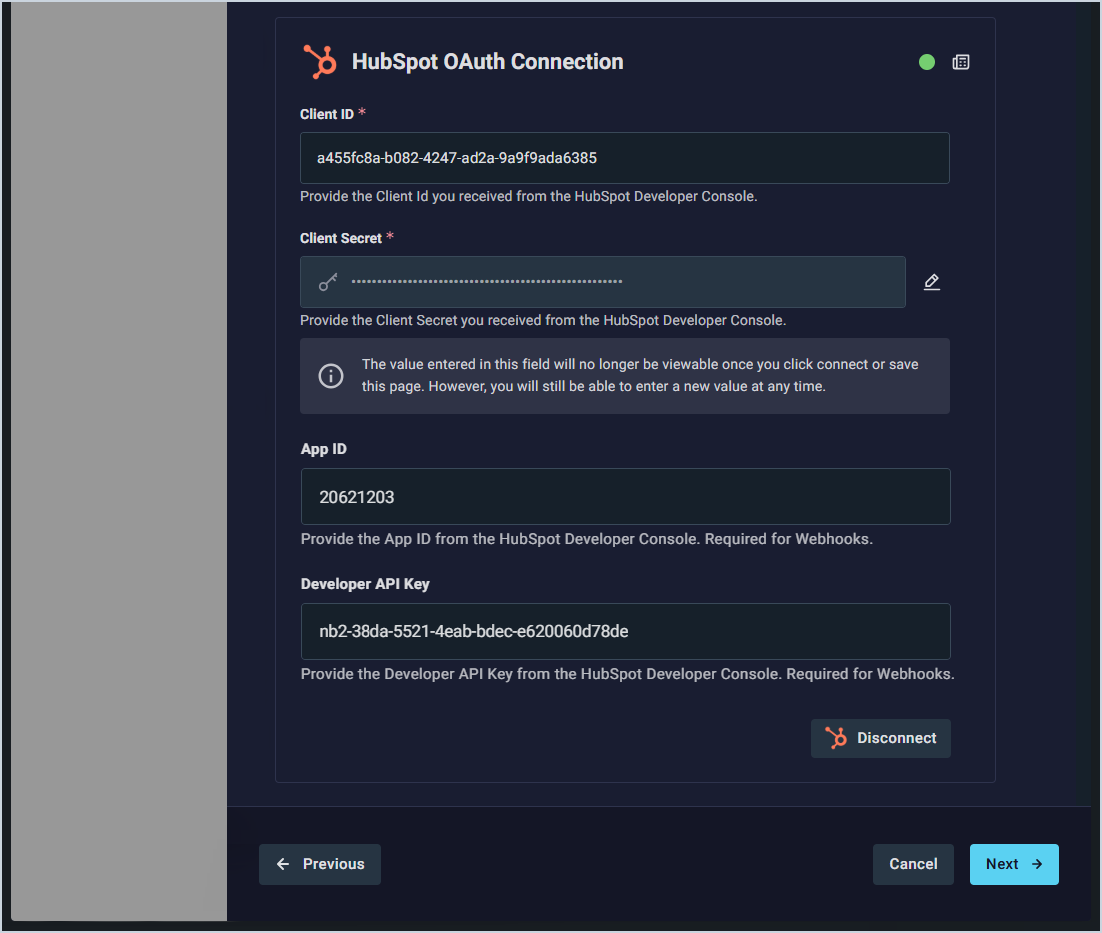
In the HubSpot OAuth Connection section, enter your Client ID and Client Secret from HubSpot. By default, the integration runs on an hourly sync schedule. However, if you provide the App ID and Developer API Key, the integration will use webhooks to sync changes in real time as they occur, rather than on a scheduled interval. Click the Connect button. You will be redirected to HubSpot to login with your credentials.
Enter your credentials to log into your HubSpot account. Once the authorization is successfully completed, close the HubSpot tab in your browser and return to Rev.io.
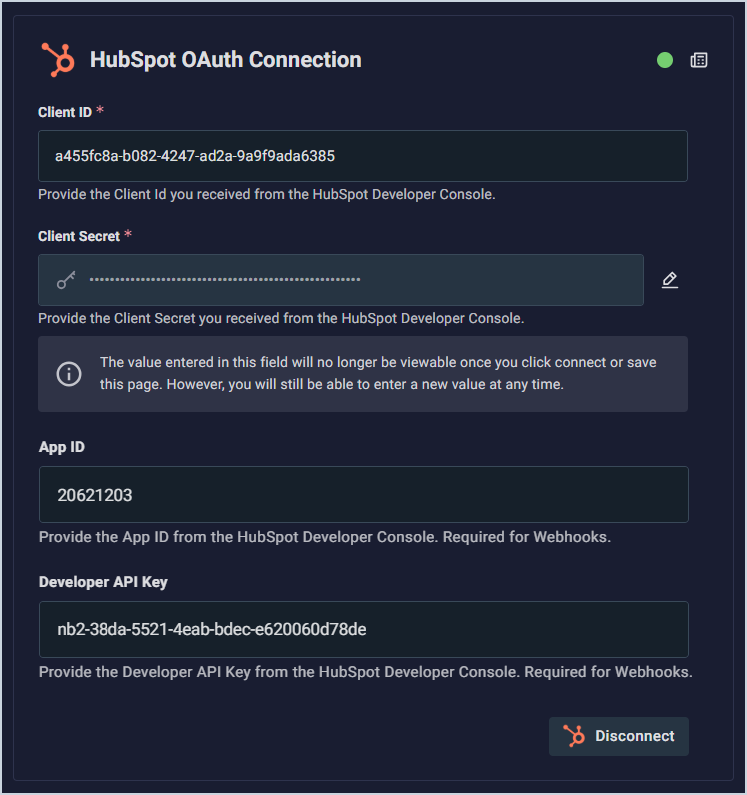
If your connection was successful, the status circle in the HubSpot OAuth Connection section will be green. Click the Next button.
For each Lifecycle Stage in HubSpot, select the type of customer you want to create in Rev.io. Type options in the dropdowns include None, Prospect, and Customer. This step also displays the default bill profiles assigned to business and residential customers. If the bill profiles displayed are not correct, you will need to exit the configuration and adjust your defaults before continuing. Click the Next button.
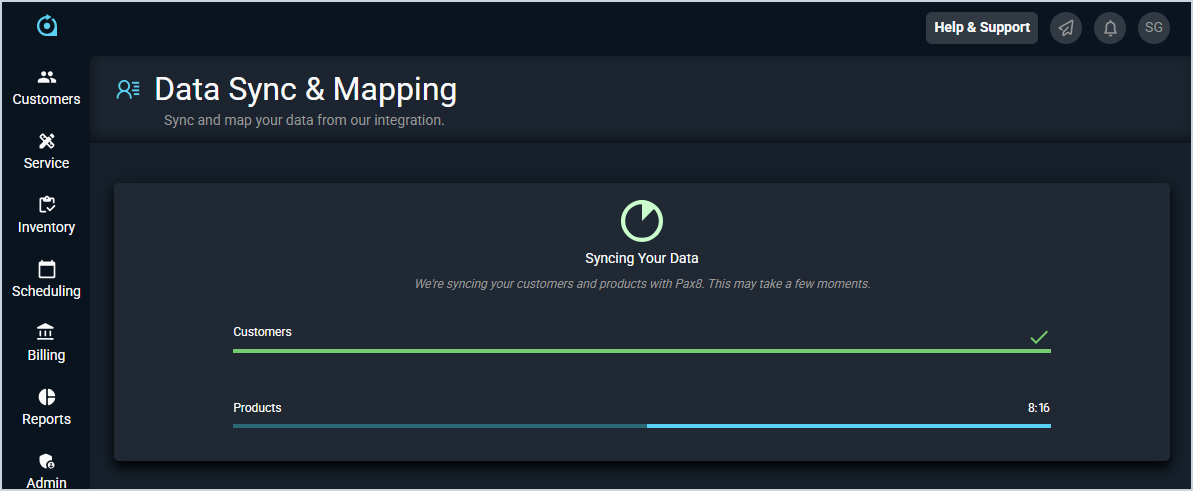
The integration will sync your customers and contacts. Once the sync is complete, click Customers > Customer List in Rev.io and view a few of your customers to ensure your data synced appropriately from HubSpot.