QuickBooks Online Integration: Configuration
| NOTE: An authorized user account is required to run this integration. To support better security and audit visibility, we recommend creating a dedicated "service account" user. When configuring this integration, sign in using the service account rather than your personal user account to ensure that audit logs reflect the service account running the integration instead of the user who originally installed it. |
Complete the steps below to configure the QuickBooks Online integration.
NOTE: Before you begin this configuration, complete the following to ensure you have everything you need to complete the setup.
|
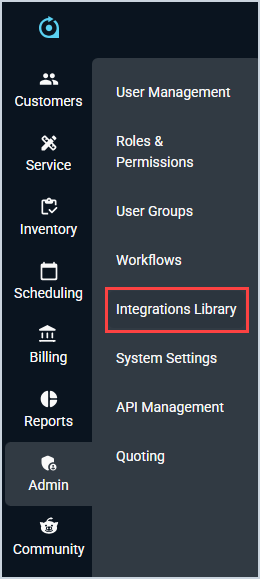
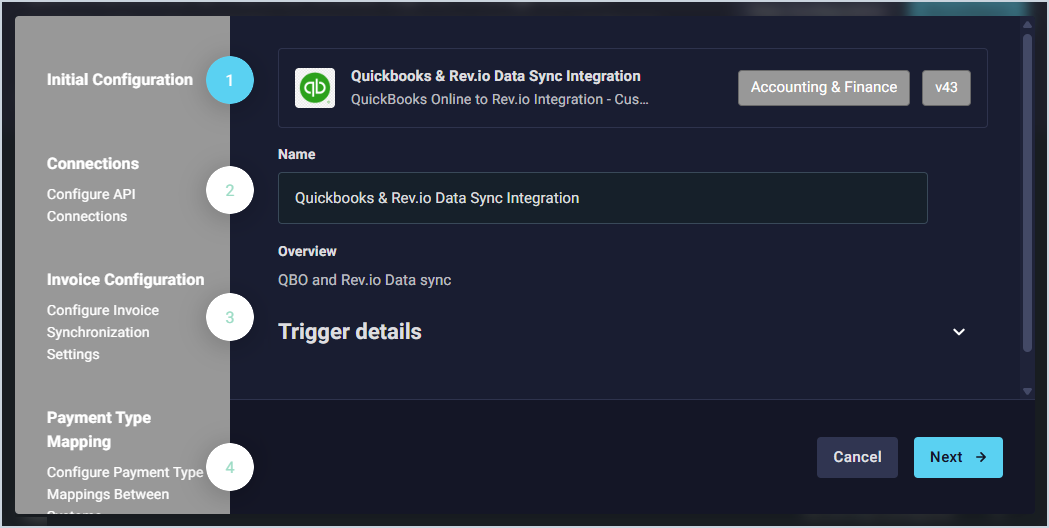
- Click Admin on the sidebar menu and select Integrations Library.
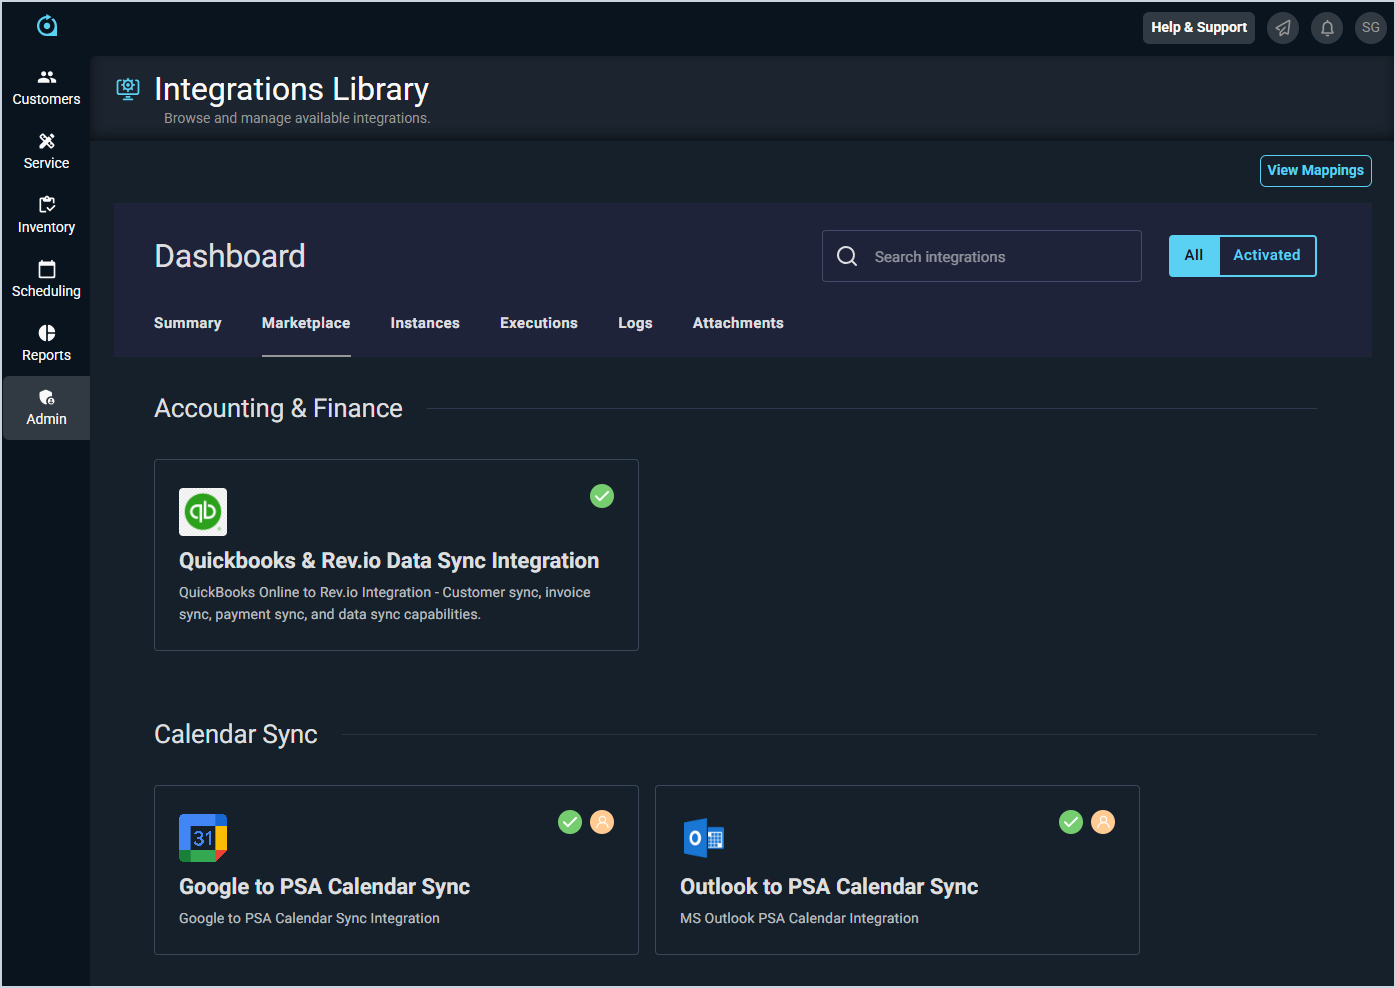
- Click the Marketplace tab.
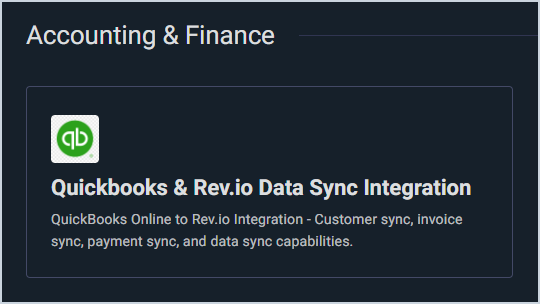
- Locate and select the QuickBooks & Rev.io Data Sync Integration in the Accounting & Finance section.
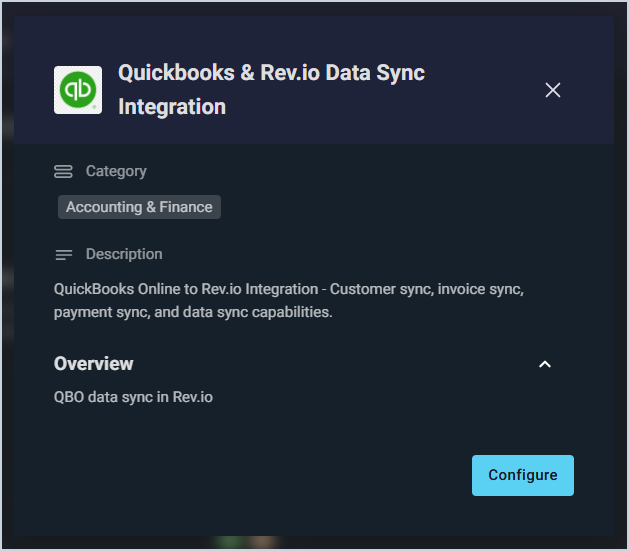
- Click the Configure button.
- The Initial Configuration section is automatically populated. Click the Next button.
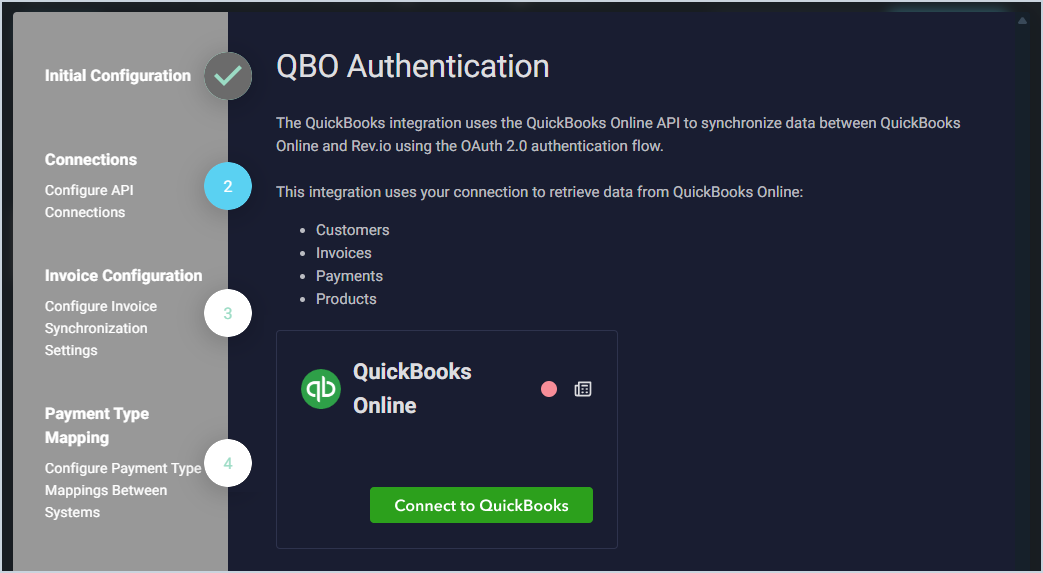
- Click the Connect to QuickBooks button. You will be redirected to QuickBooks to login with your credentials.
- Enter your credentials to log into your QuickBooks account. Once the authorization is successfully completed, close the QuickBooks tab in your browser and return to Rev.io PSA.
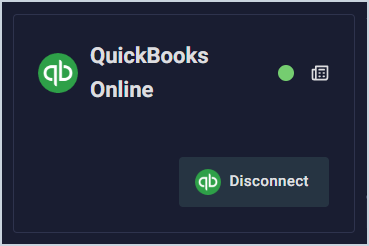
- If your connection was successful, the status circle in the QuickBooks Online section will be green. Click the Next button.
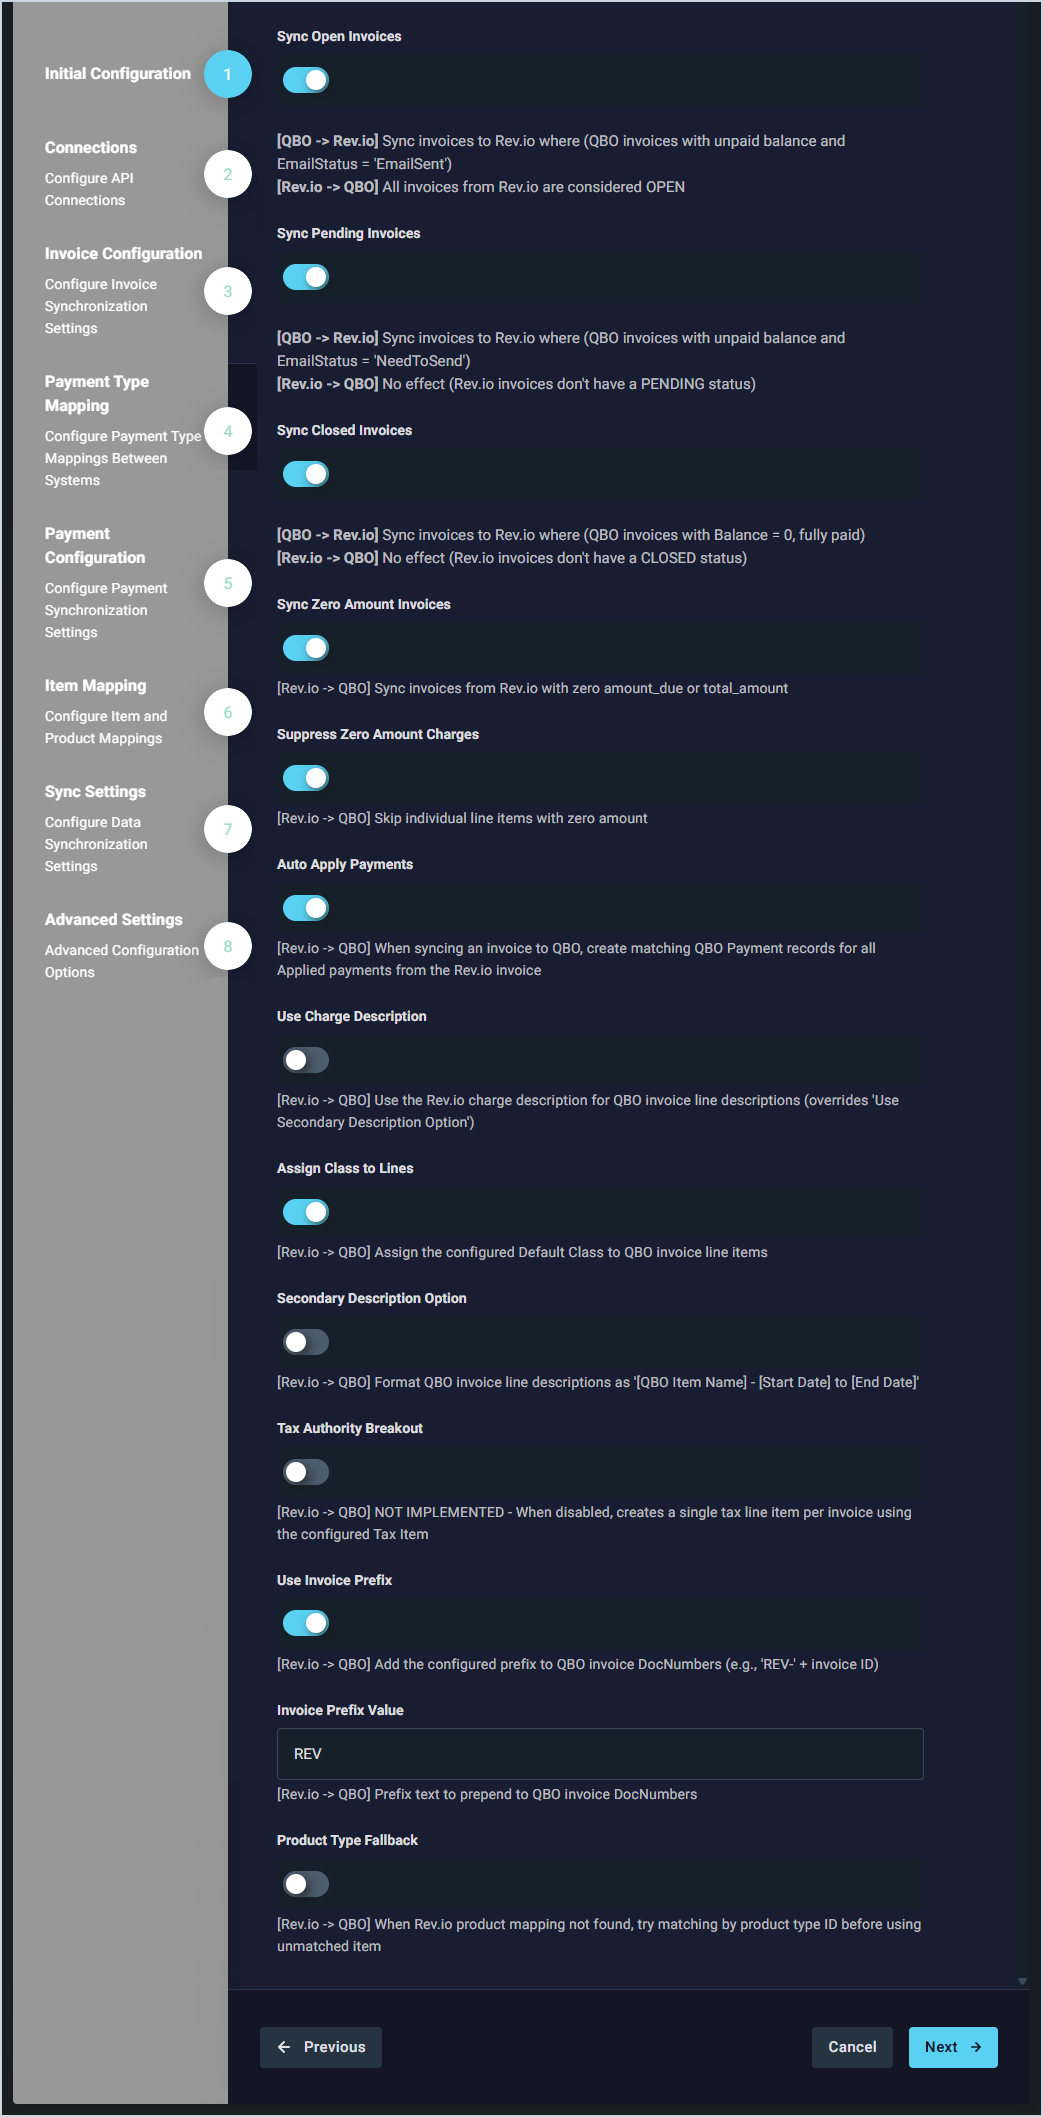
- The invoice configuration options display already configured. If you'd like to make any customizations, review the options on this screen and make any adjustments as desired. Then, click the Next button. NOTE: We strongly recommend keeping the Use Invoice Prefix option enabled to avoid any confusion when syncing invoices.
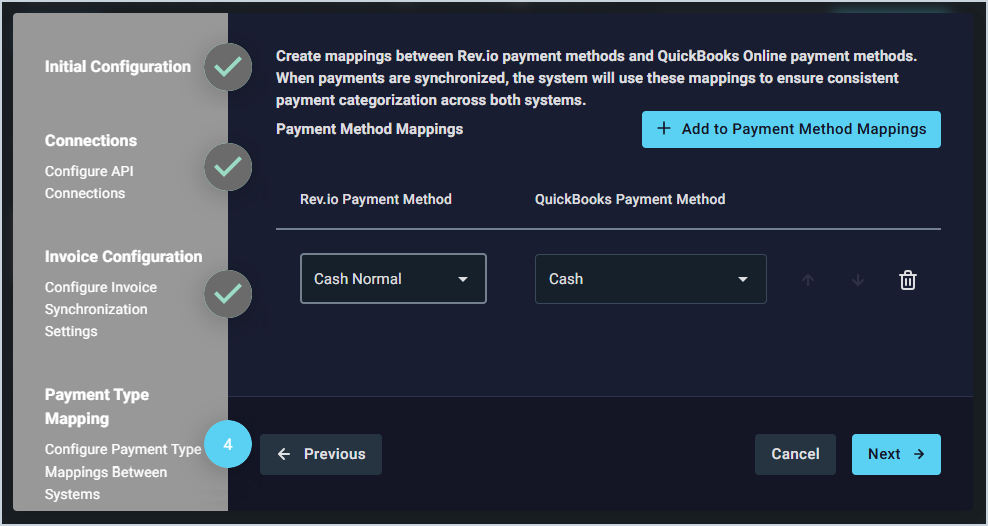
- Create mappings for your payment methods by selecting a Rev.io Payment Method option from the dropdown and the corresponding QuickBooks Payment Method. Repeat this process by clicking the Add to Payment Method Mappings button for as many payment methods as you support and making your selections. Then, click the Next button.
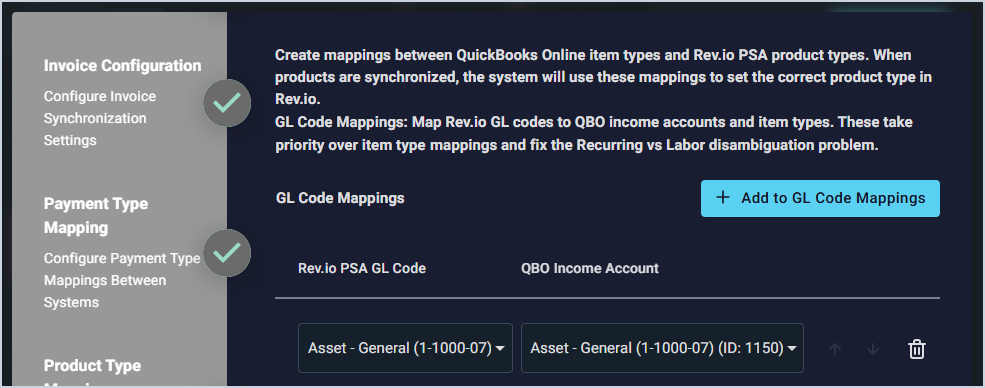
- Create mappings for your GL codes and income accounts by selecting a Rev.io PSA GL Code option from the dropdown and the corresponding QBO Income Amount. Repeat this process for as many GL codes as you support by clicking the Add to GL Code Mappings button and making your selections. Then, click the Next button.
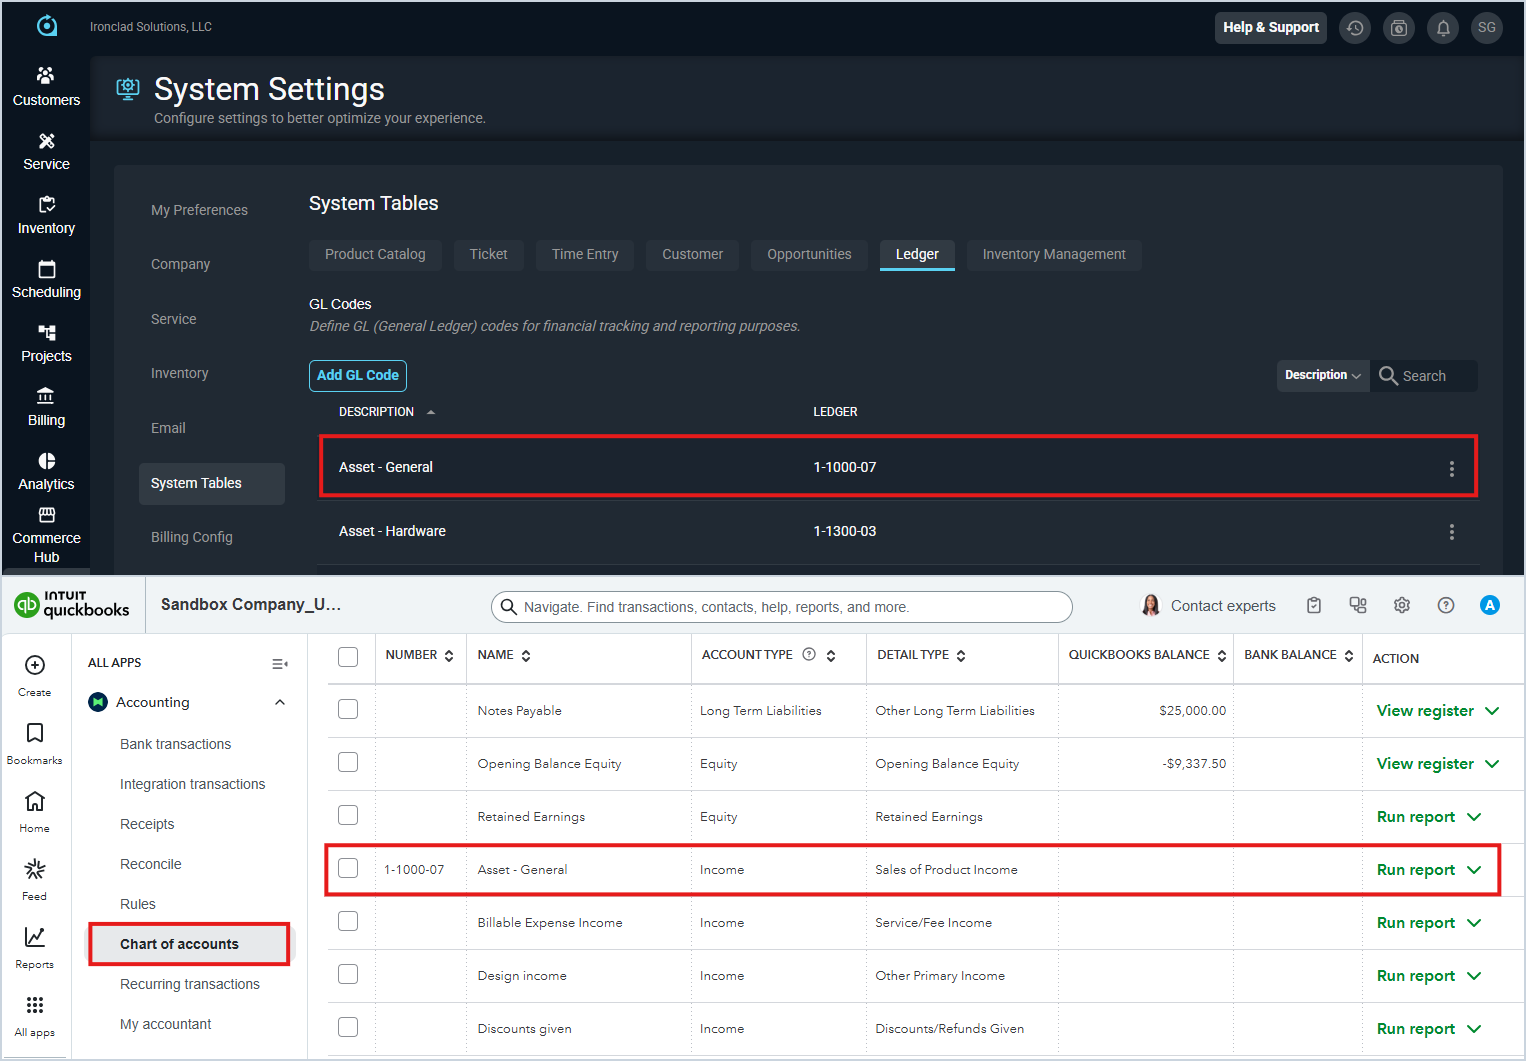
NOTE: See below for examples of GL Codes in Rev.io PSA and QuickBooks Online.
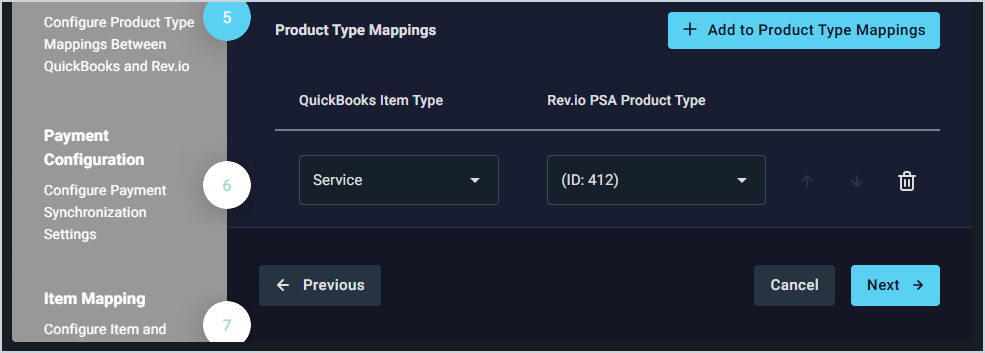
- Scroll down to the Product Type Mappings section and create mappings for your product types by selecting a QuickBooks Item Type option from the dropdown and the corresponding Rev.io PSA Product Type. Repeat this process for as many product types as you support by clicking the Add to Product Type Mappings button and making your selections. Then, click the Next button.
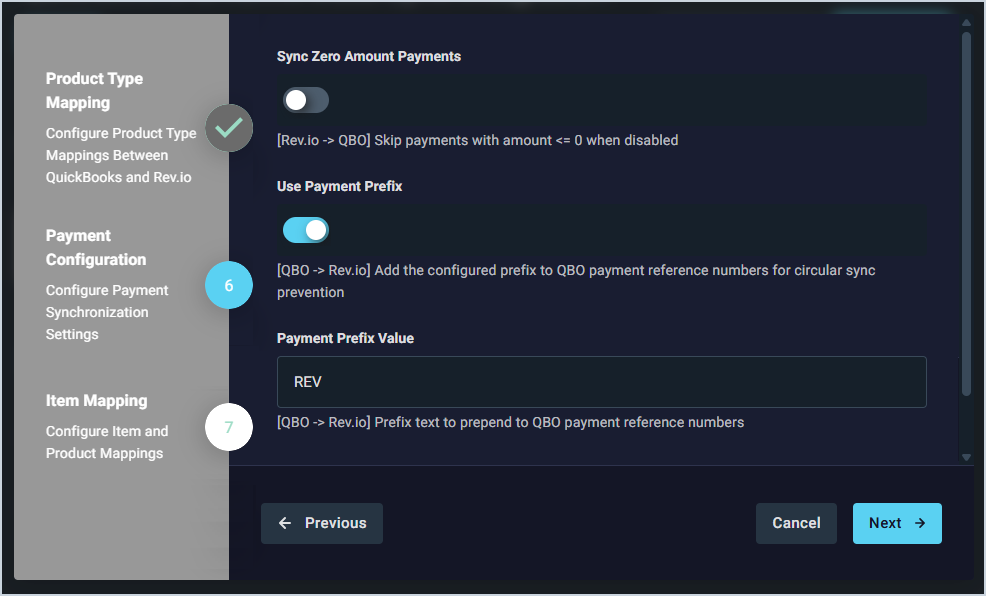
- The payment configuration options display already configured. If you'd like to make any customizations, review the options on this screen and make any adjustments as desired. Then, click the Next button. NOTE: We strongly recommend keeping the Use Payment Prefix option enabled to avoid any confusion when syncing payments.
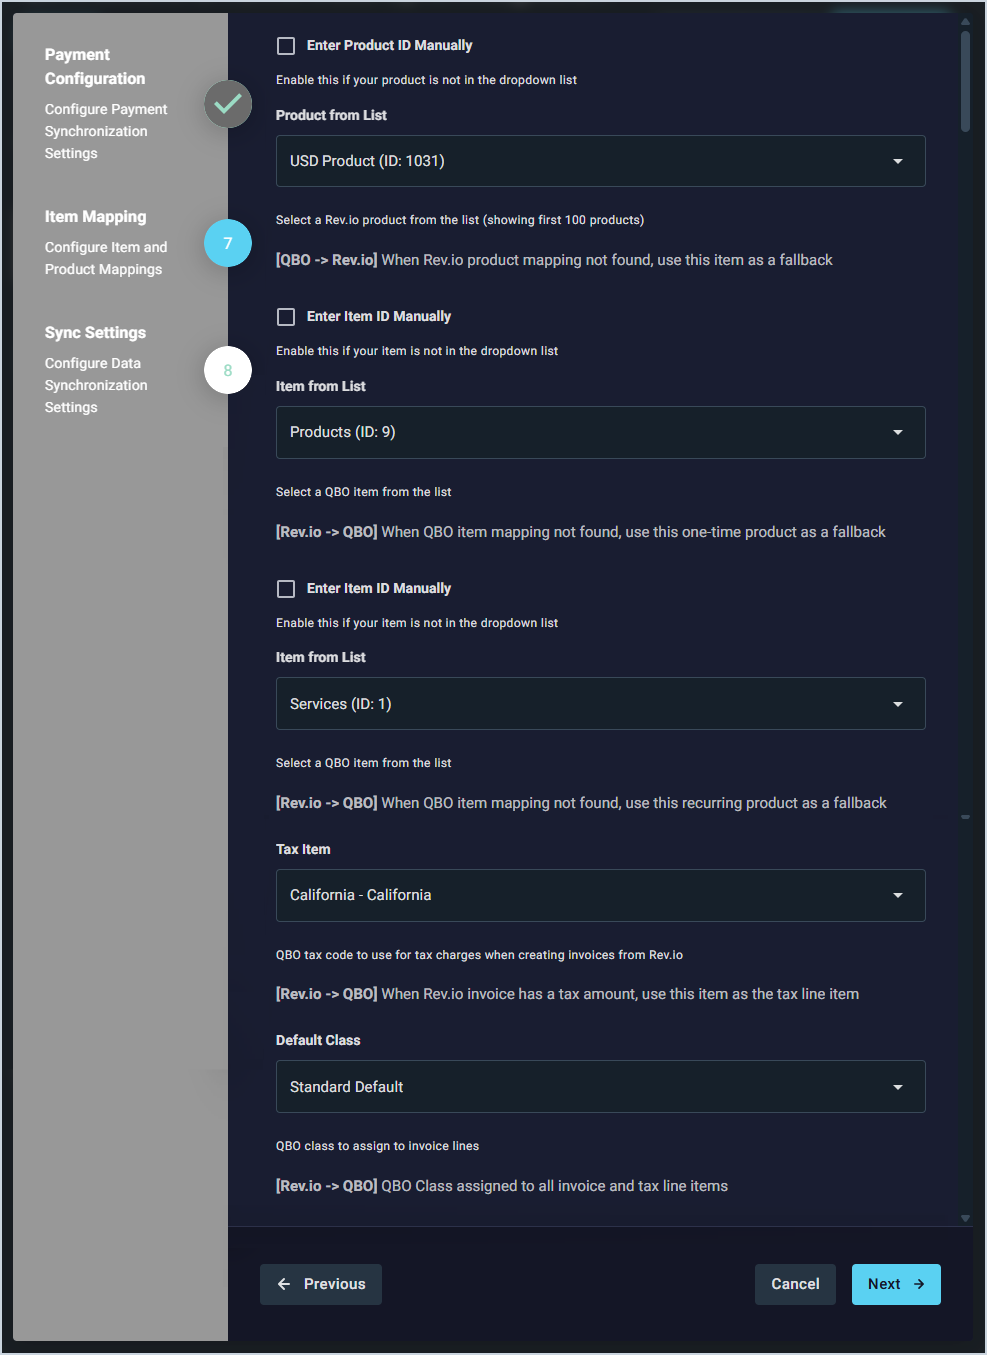
- Create mappings for unmatched items between QuickBooks Online and Rev.io by selecting the respective options from the dropdowns in this section as shown below. Then, click the Next button.
- Rev.io Product ID for unmatched items from QBO.
- QBO Item ID for unmatched one-time products from Rev.io.
- QBO Item ID for unmatched recurring products from Rev.io.
- QBO Tax Code to use when creating invoices from Rev.io.
- QBO Class to assign to invoice line items from Rev.io.
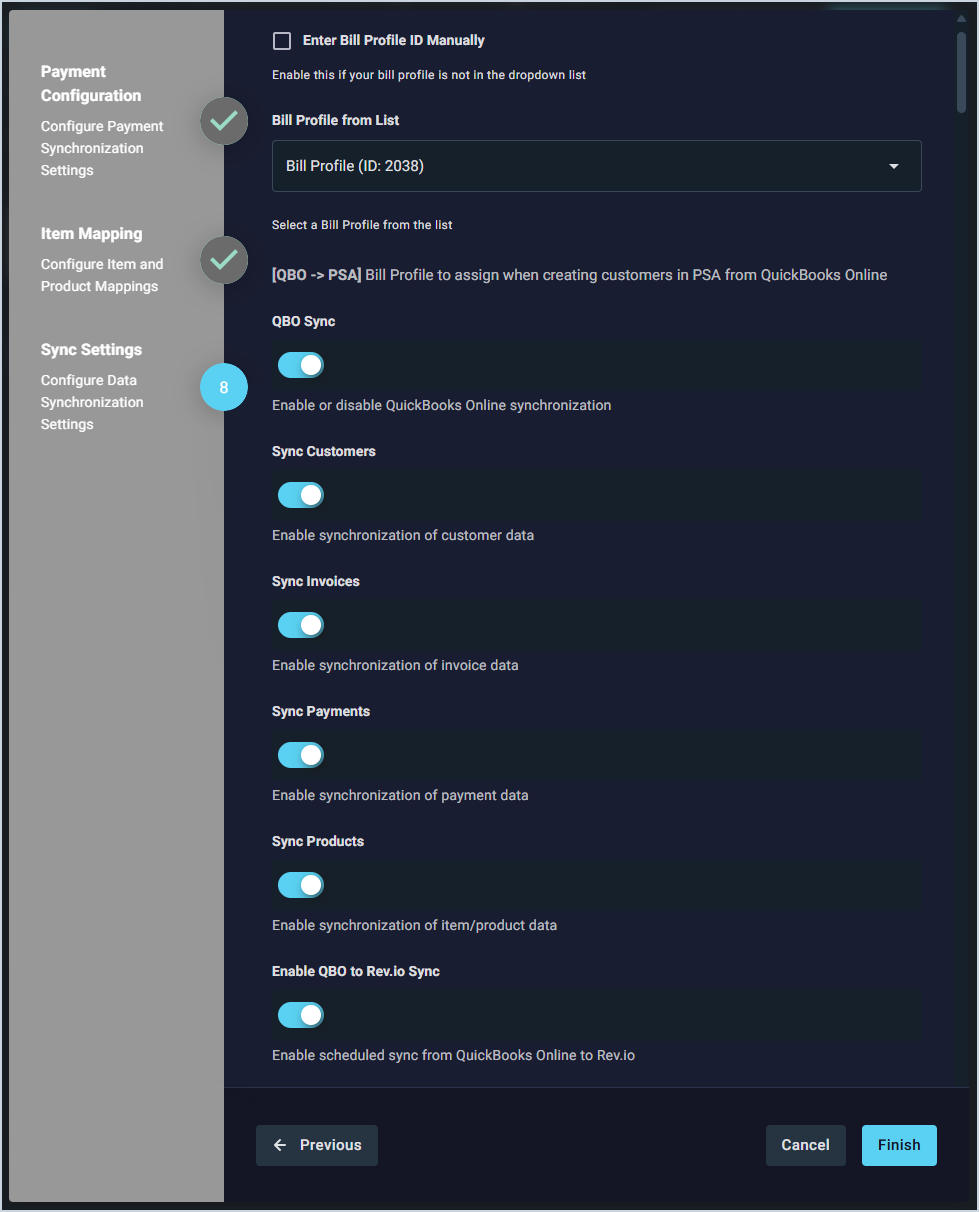
- Select a Rev.io Bill Profile to assign to new customers created in Rev.io from QuickBooks online. Review the remaining sync options on this screen, make any adjustments as desired, and click the Finish button.
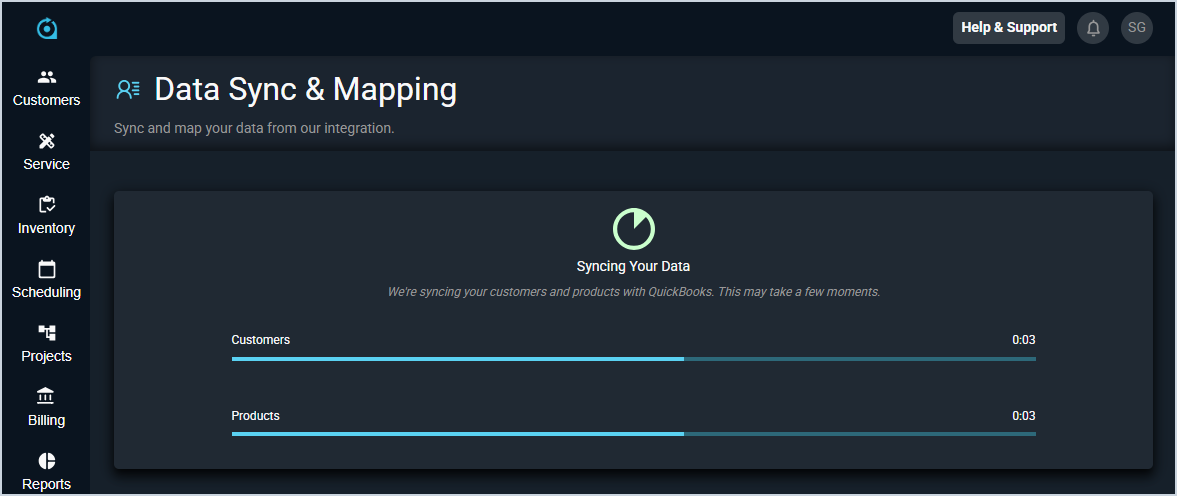
- The integration will sync your customers and products. Do not leave this page while the sync is running. If you need to work on something in the system while the integration syncs, open Rev.io in another tab. See the Integrations Library: Data Sync & Mapping article for more information about mapping your customers and products for QuickBooks Online.