How To Guide: Managing Timesheets
1. Introduction
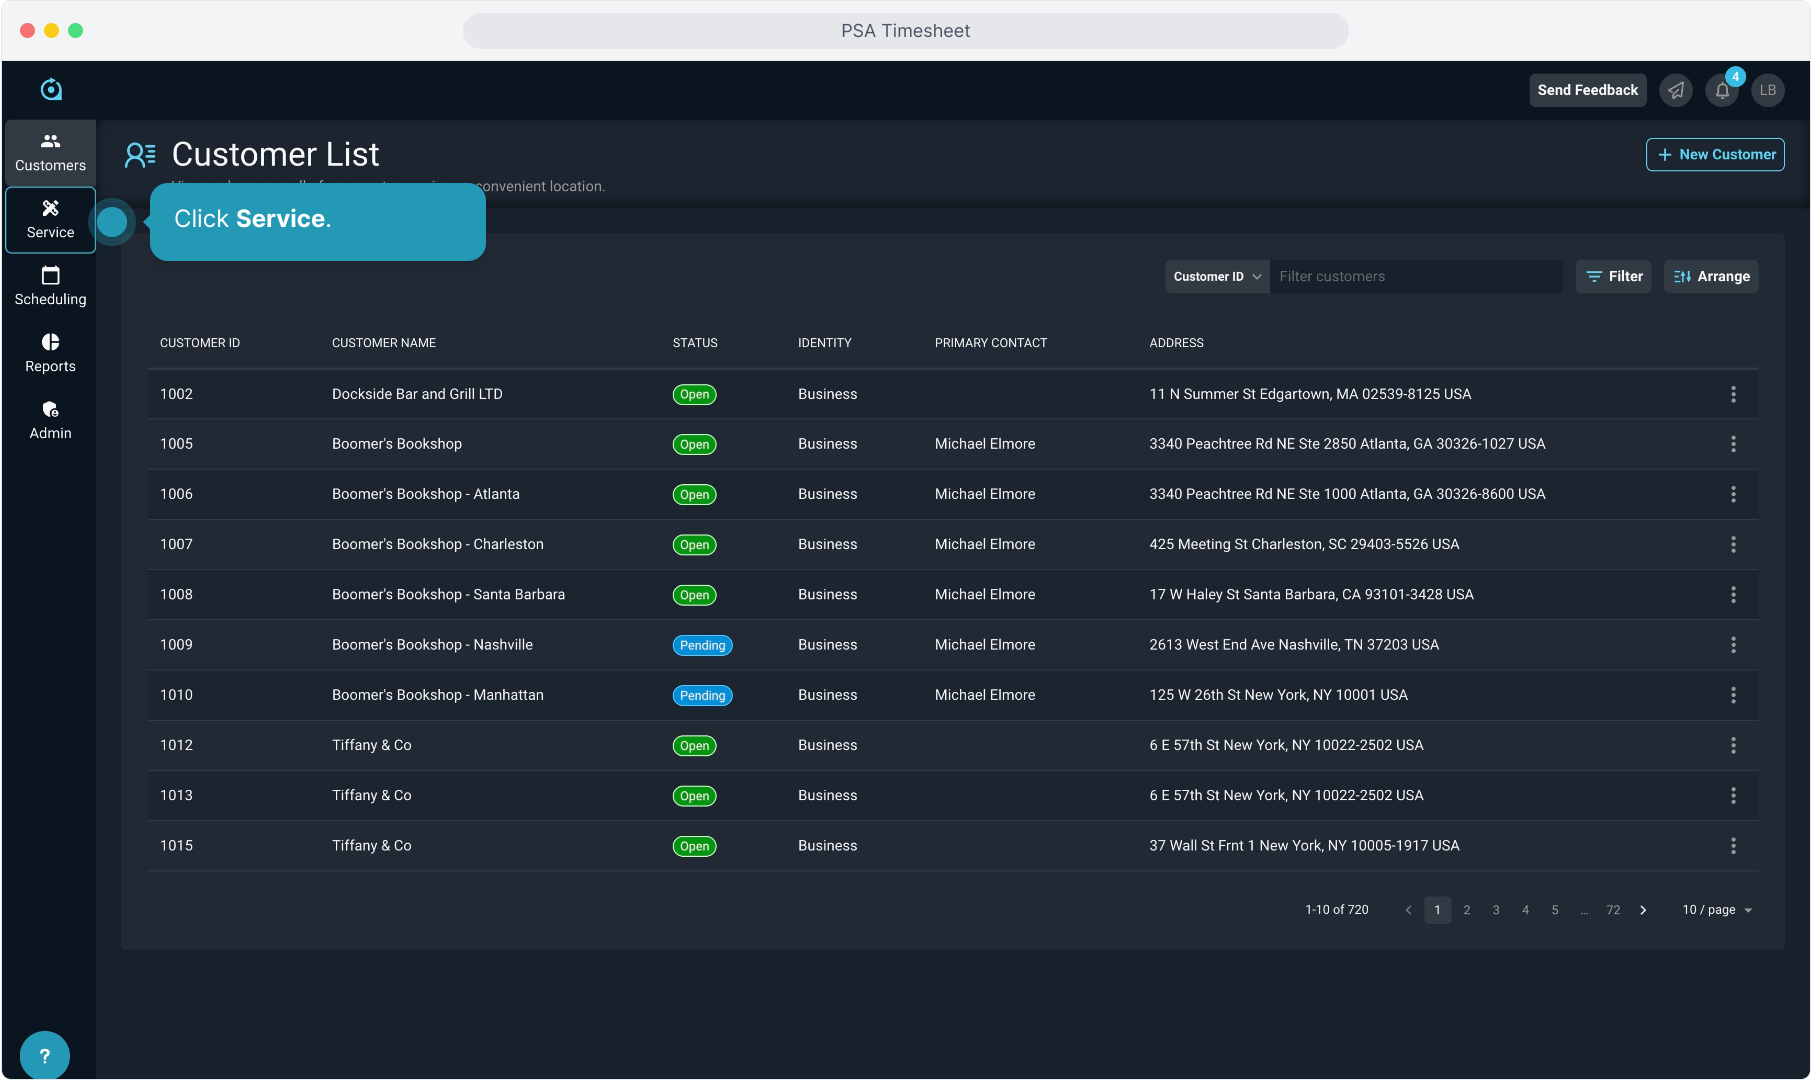
2. Click Service.
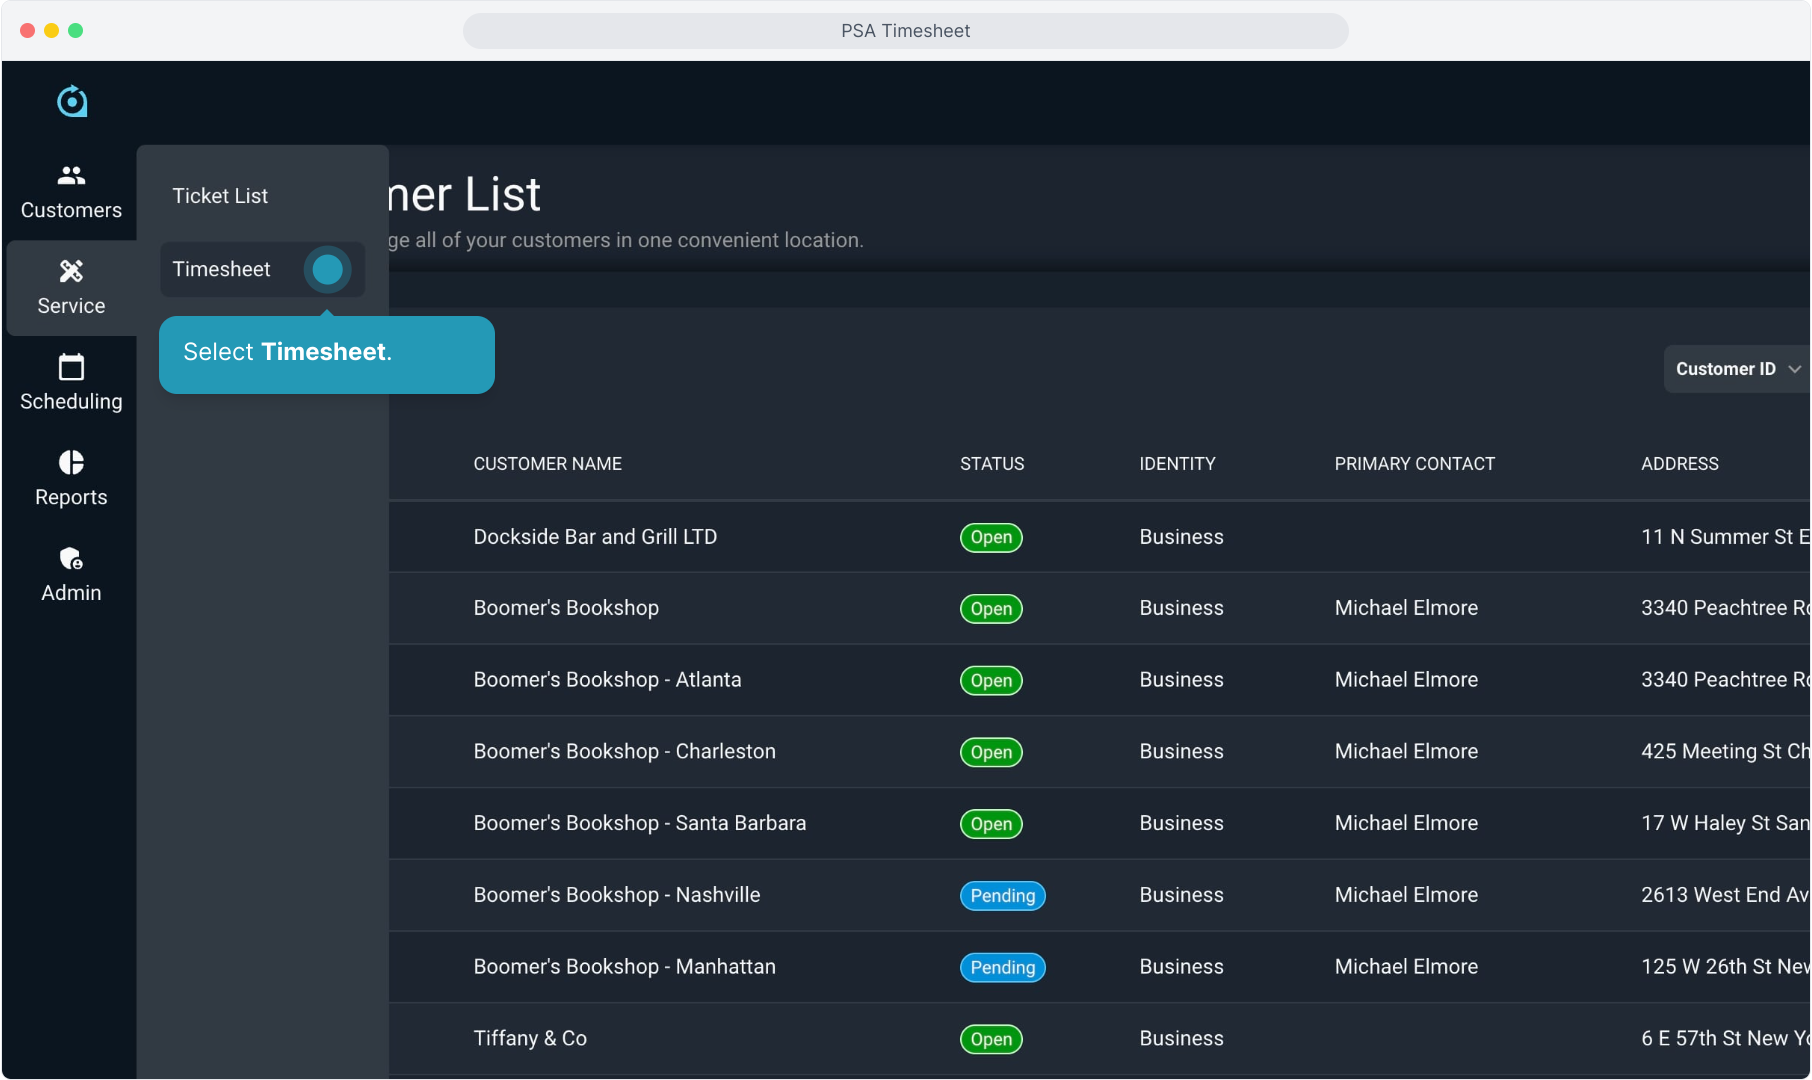
3. Select Timesheet.
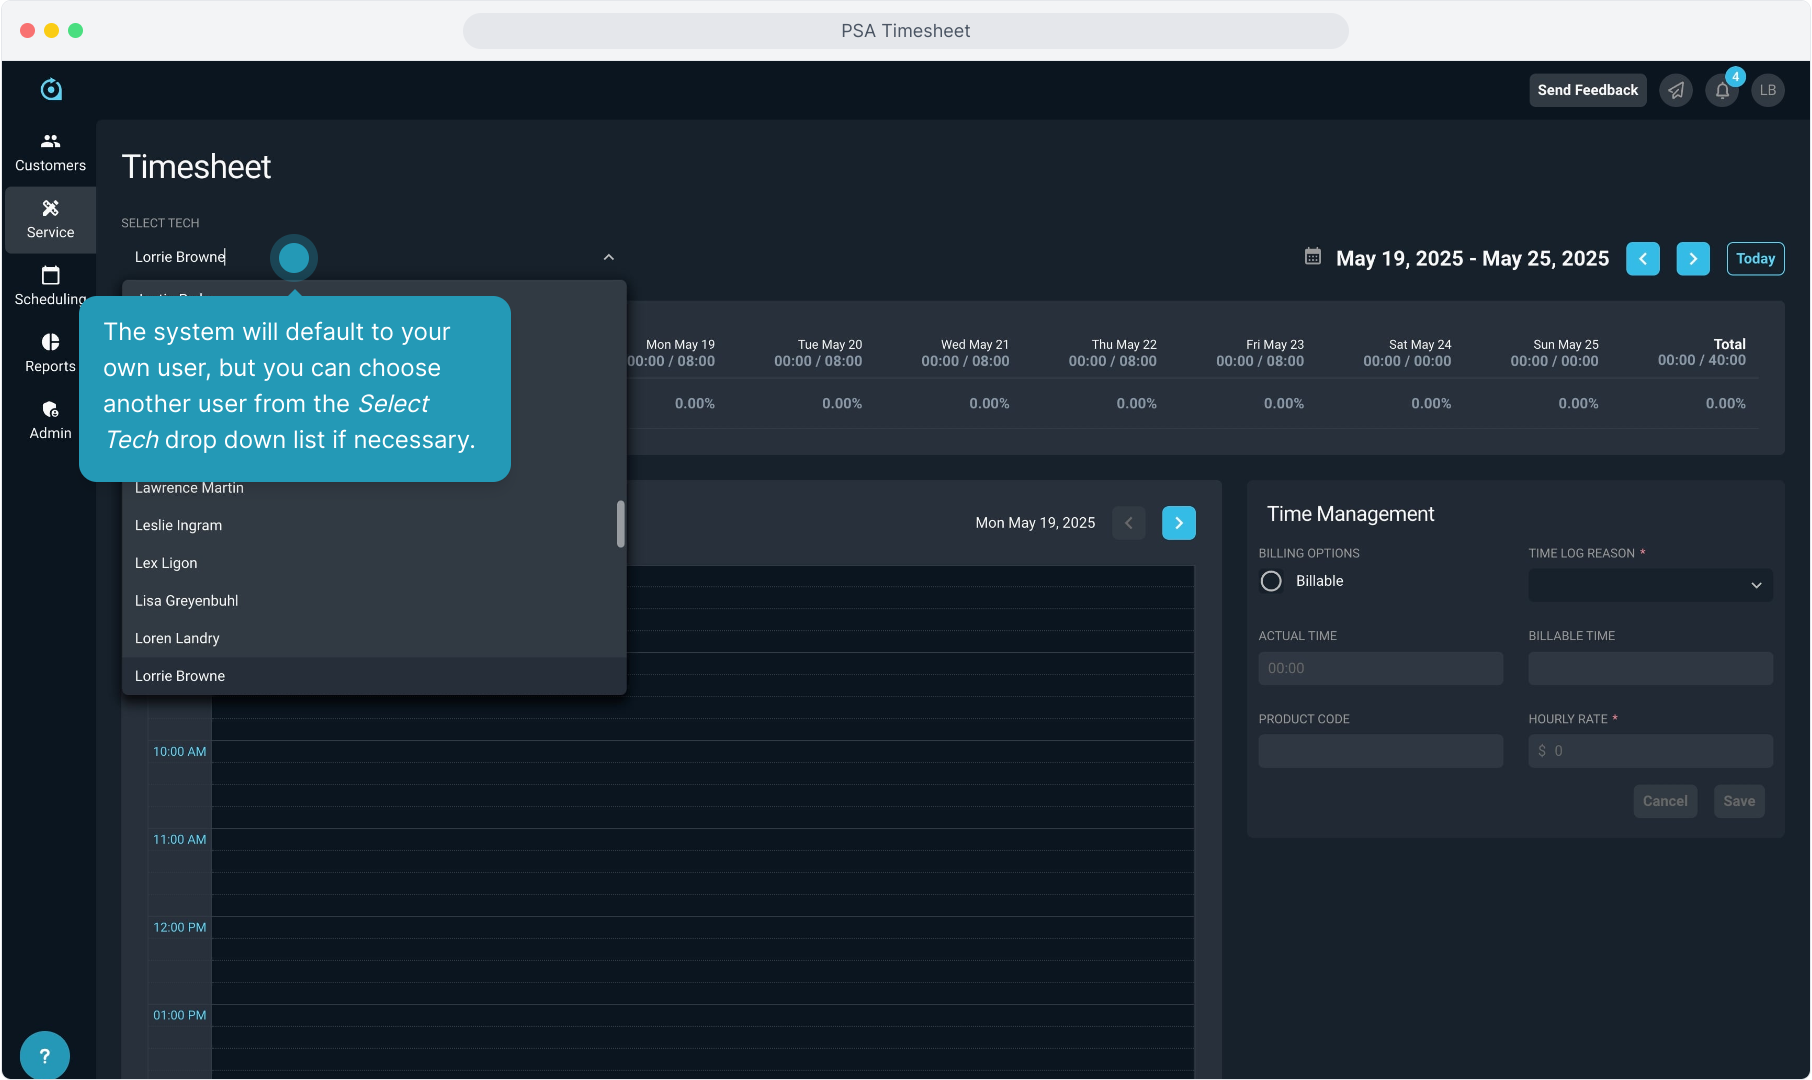
4. The system will default to your own user, but you can choose another user from the Select Tech drop down list if necessary.
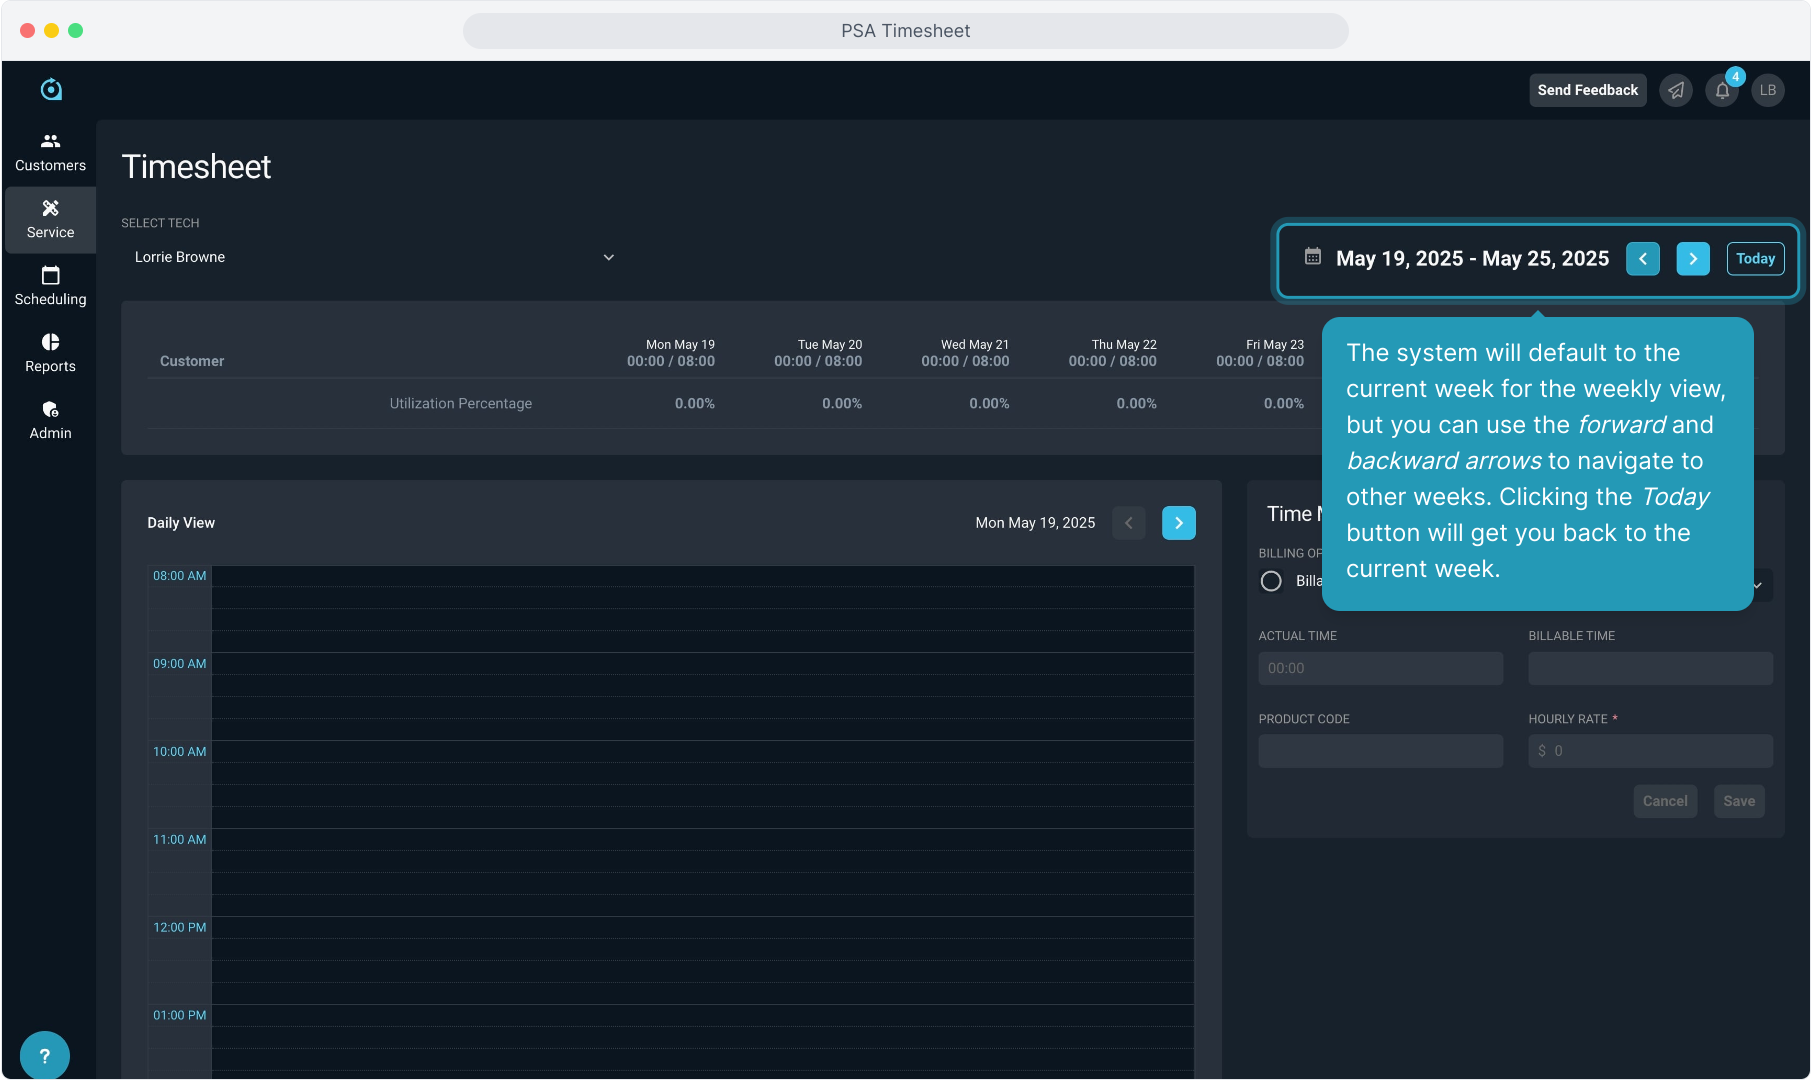
5. The system will default to the current week for the weekly view, but you can use the forward and backward arrows to navigate to other weeks. Clicking the Today button will get you back to the current week.
6. The weekly view at the top will display any customers the tech has created timelogs for. You will see the time for each day of the week, along with a weekly total for each customer.

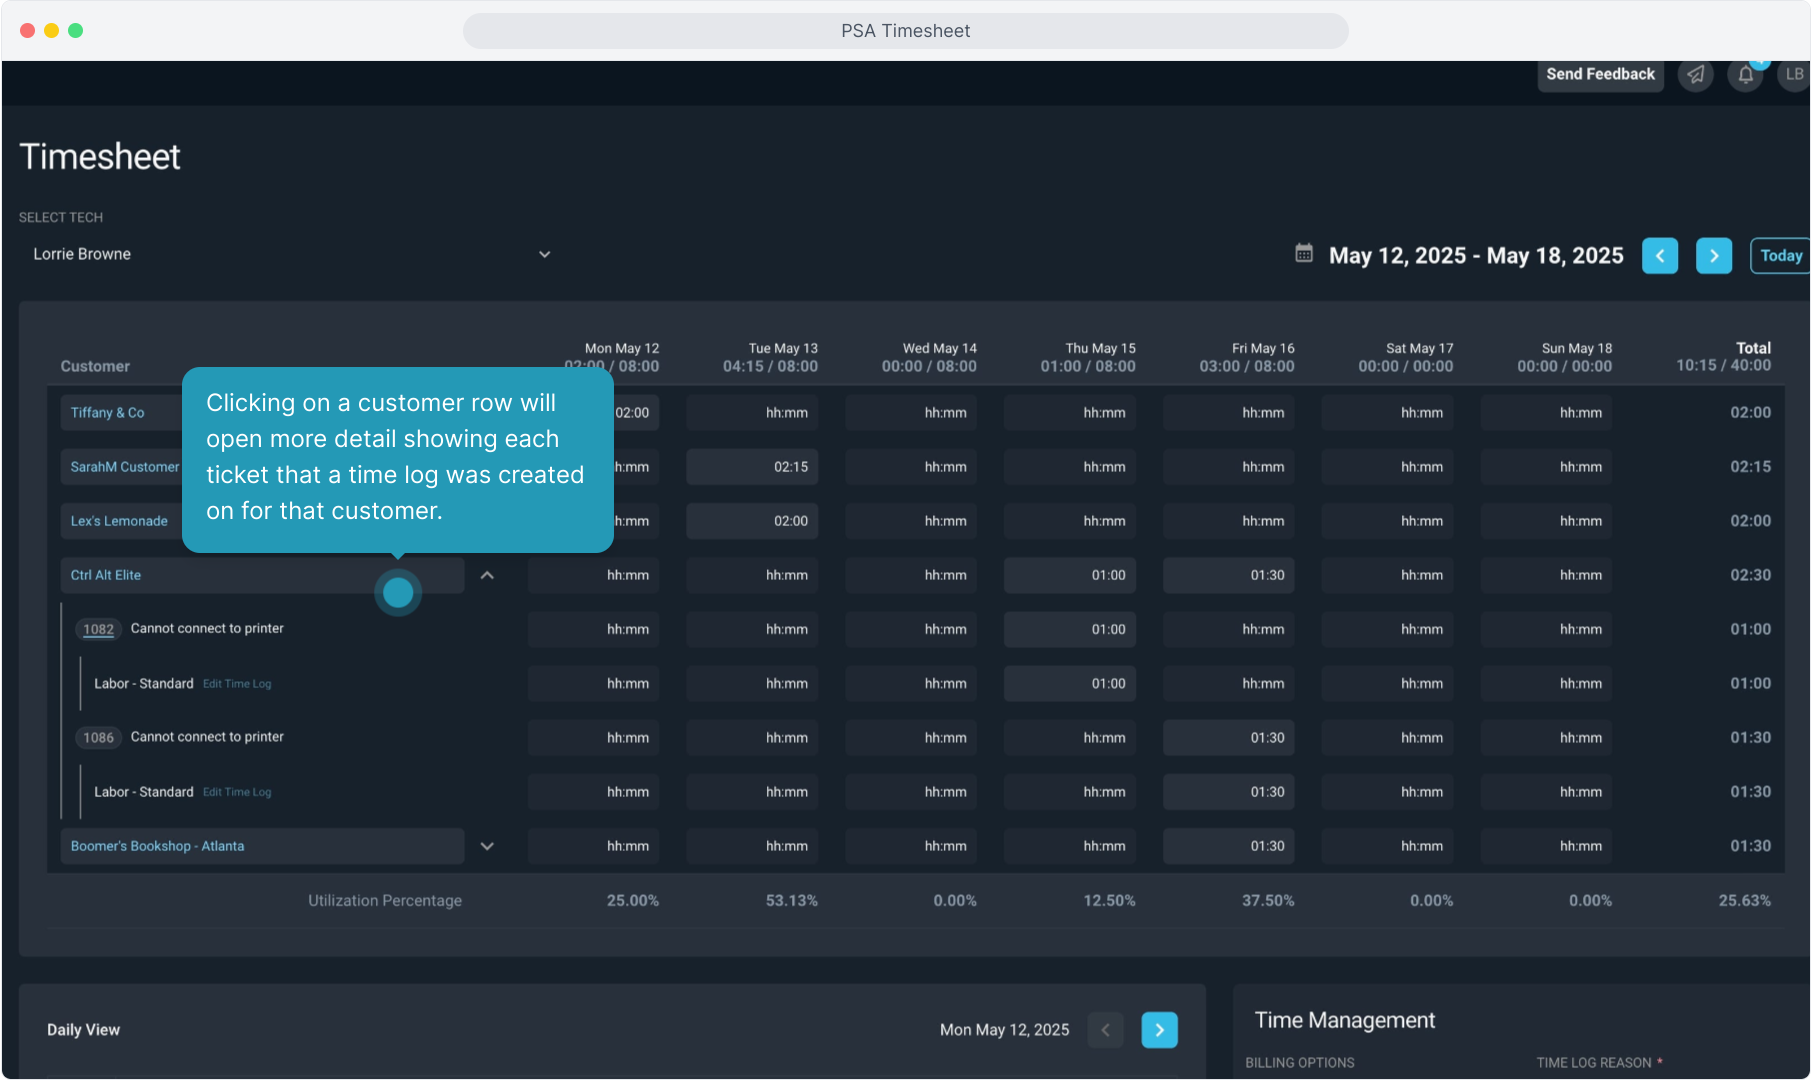
7. Clicking on a customer row will open more detail showing each ticket that a time log was created on for that customer.
8. Clicking the Ticket ID chip is a quick link to open that ticket.

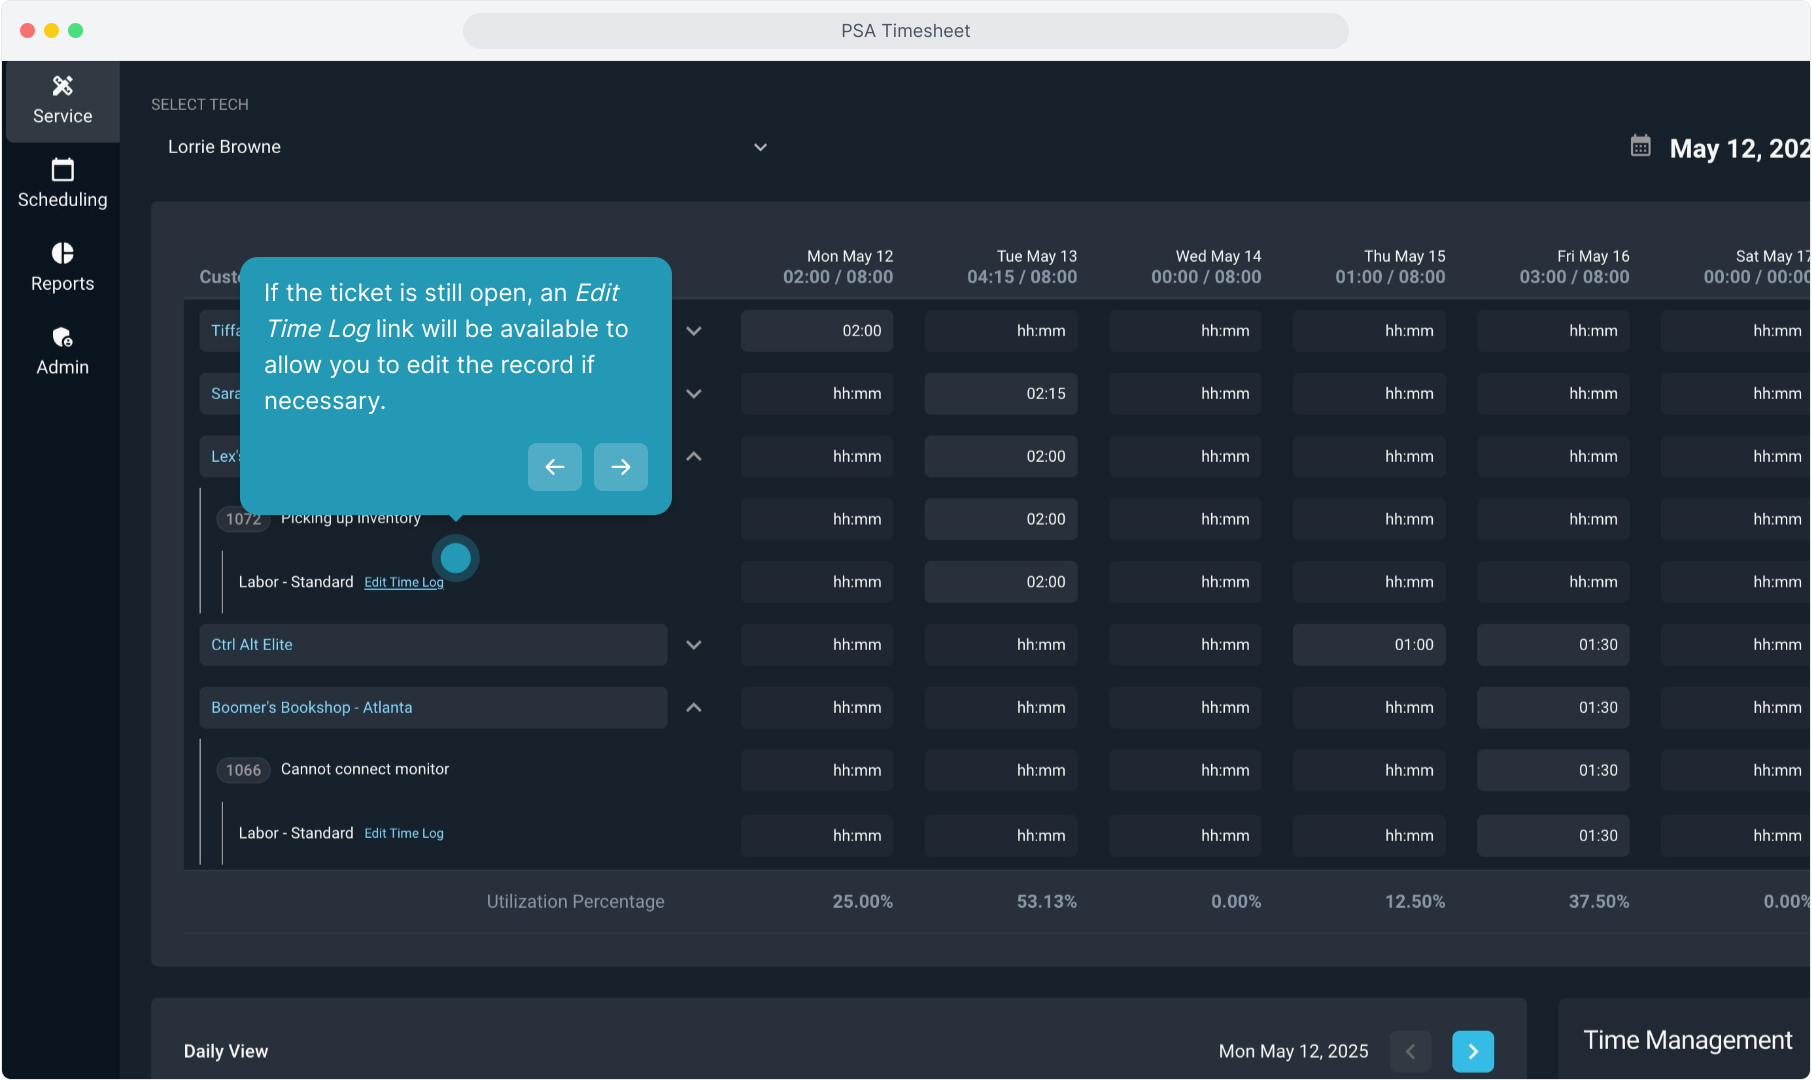
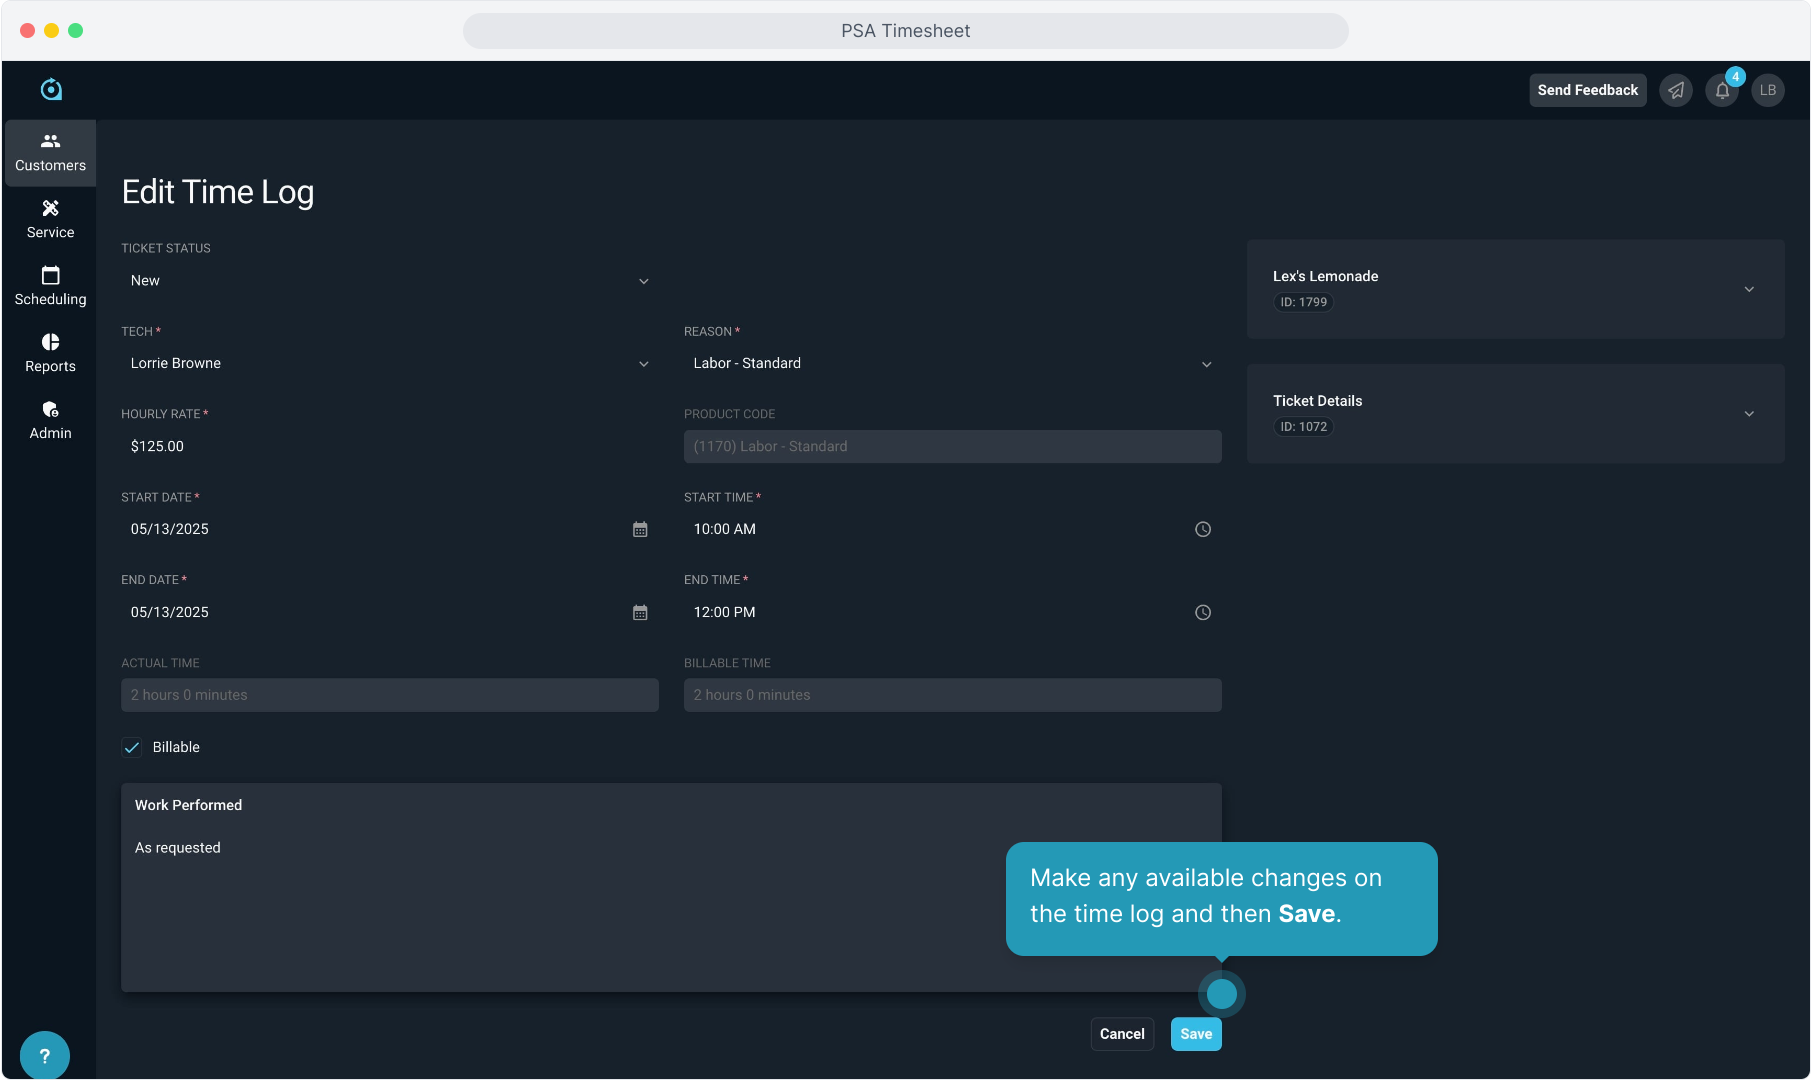
9. If the ticket is still open, an Edit Time Log link will be available to allow you to edit the record if necessary.
10. Make any available changes on the time log and then Save.
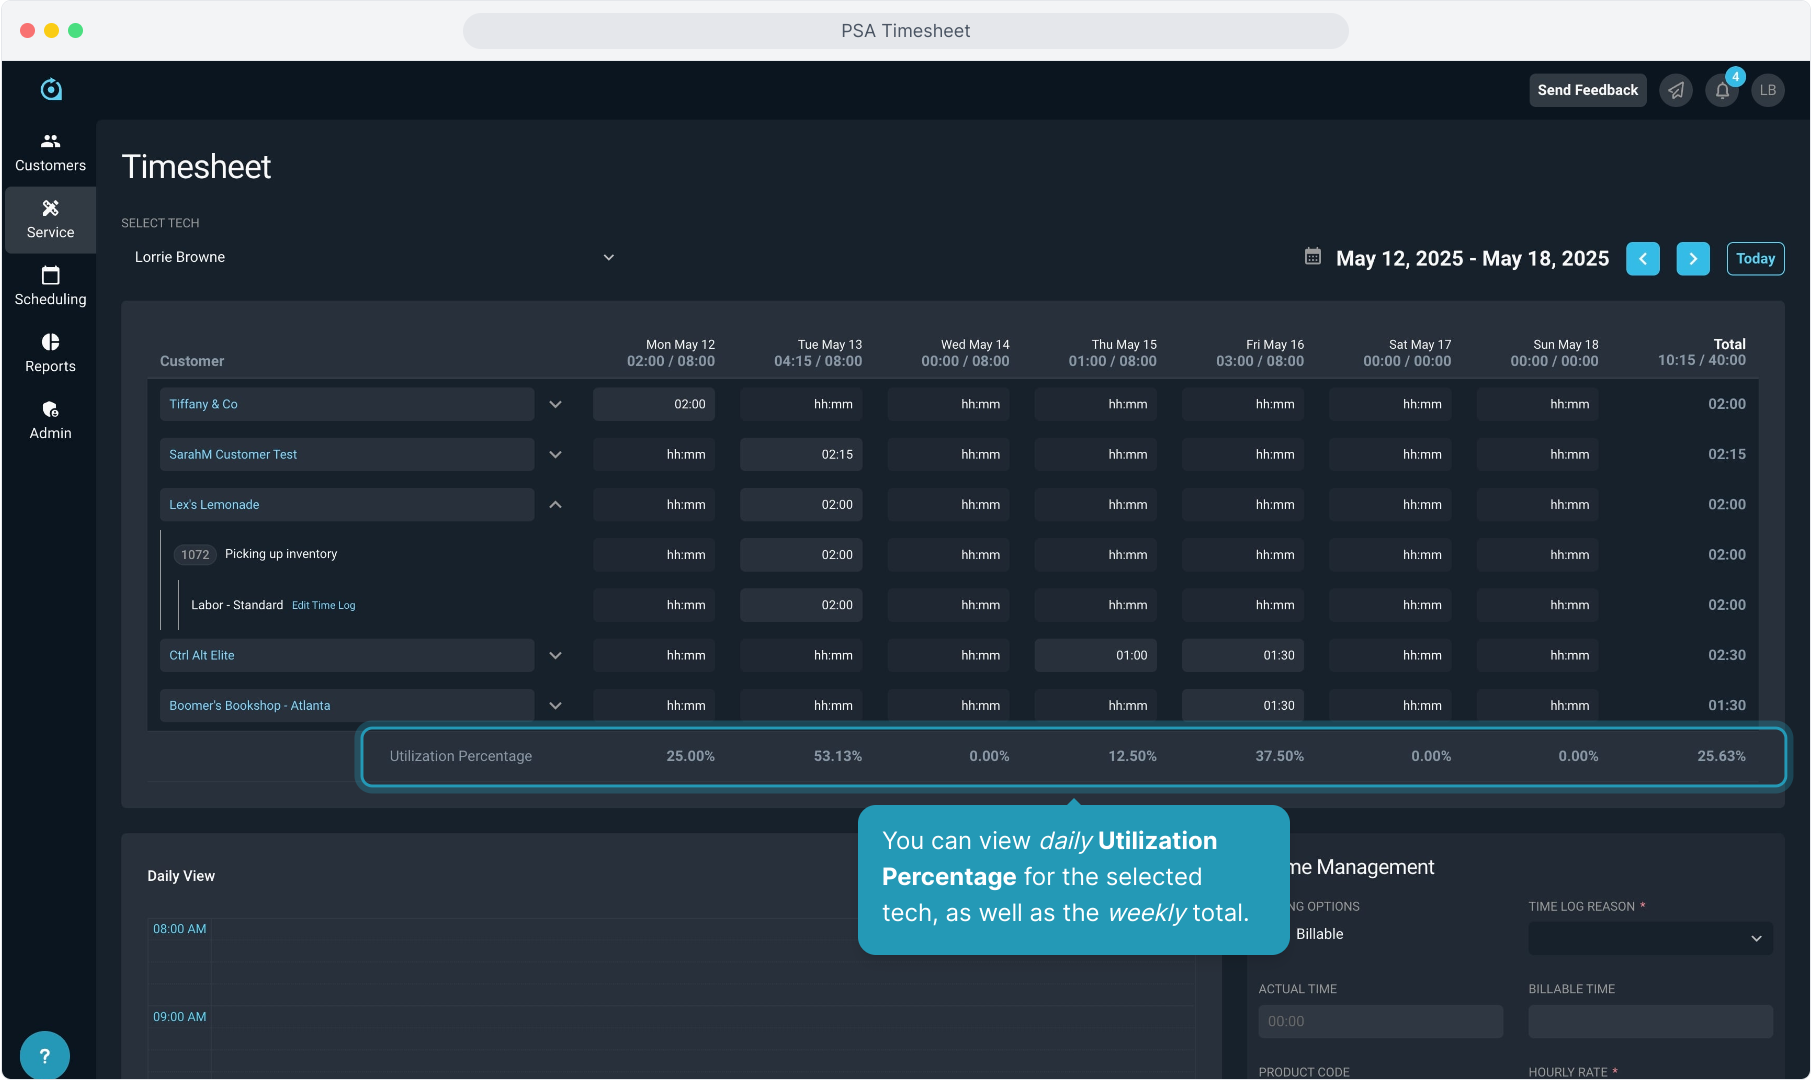
11. You can view daily Utilization Percentage for the selected tech, as well as the weekly total.
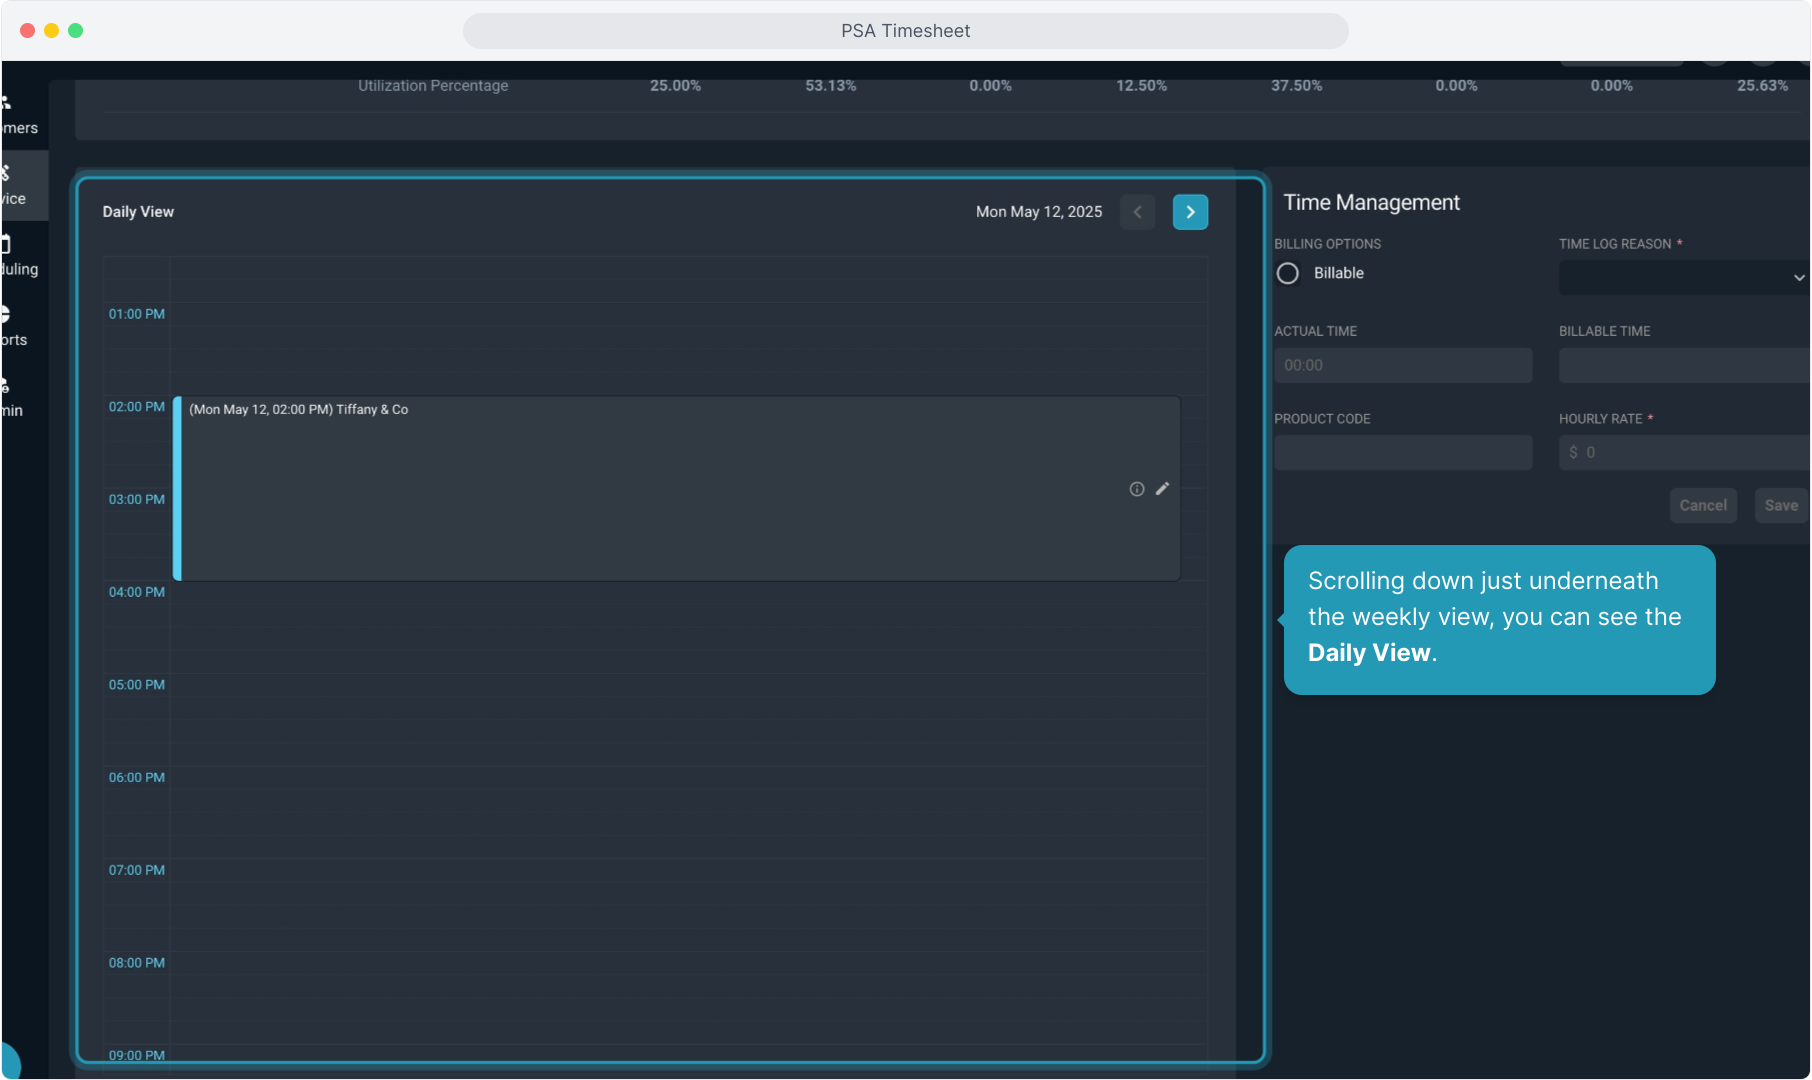
12. Scrolling down just underneath the weekly view, you can see the Daily View.
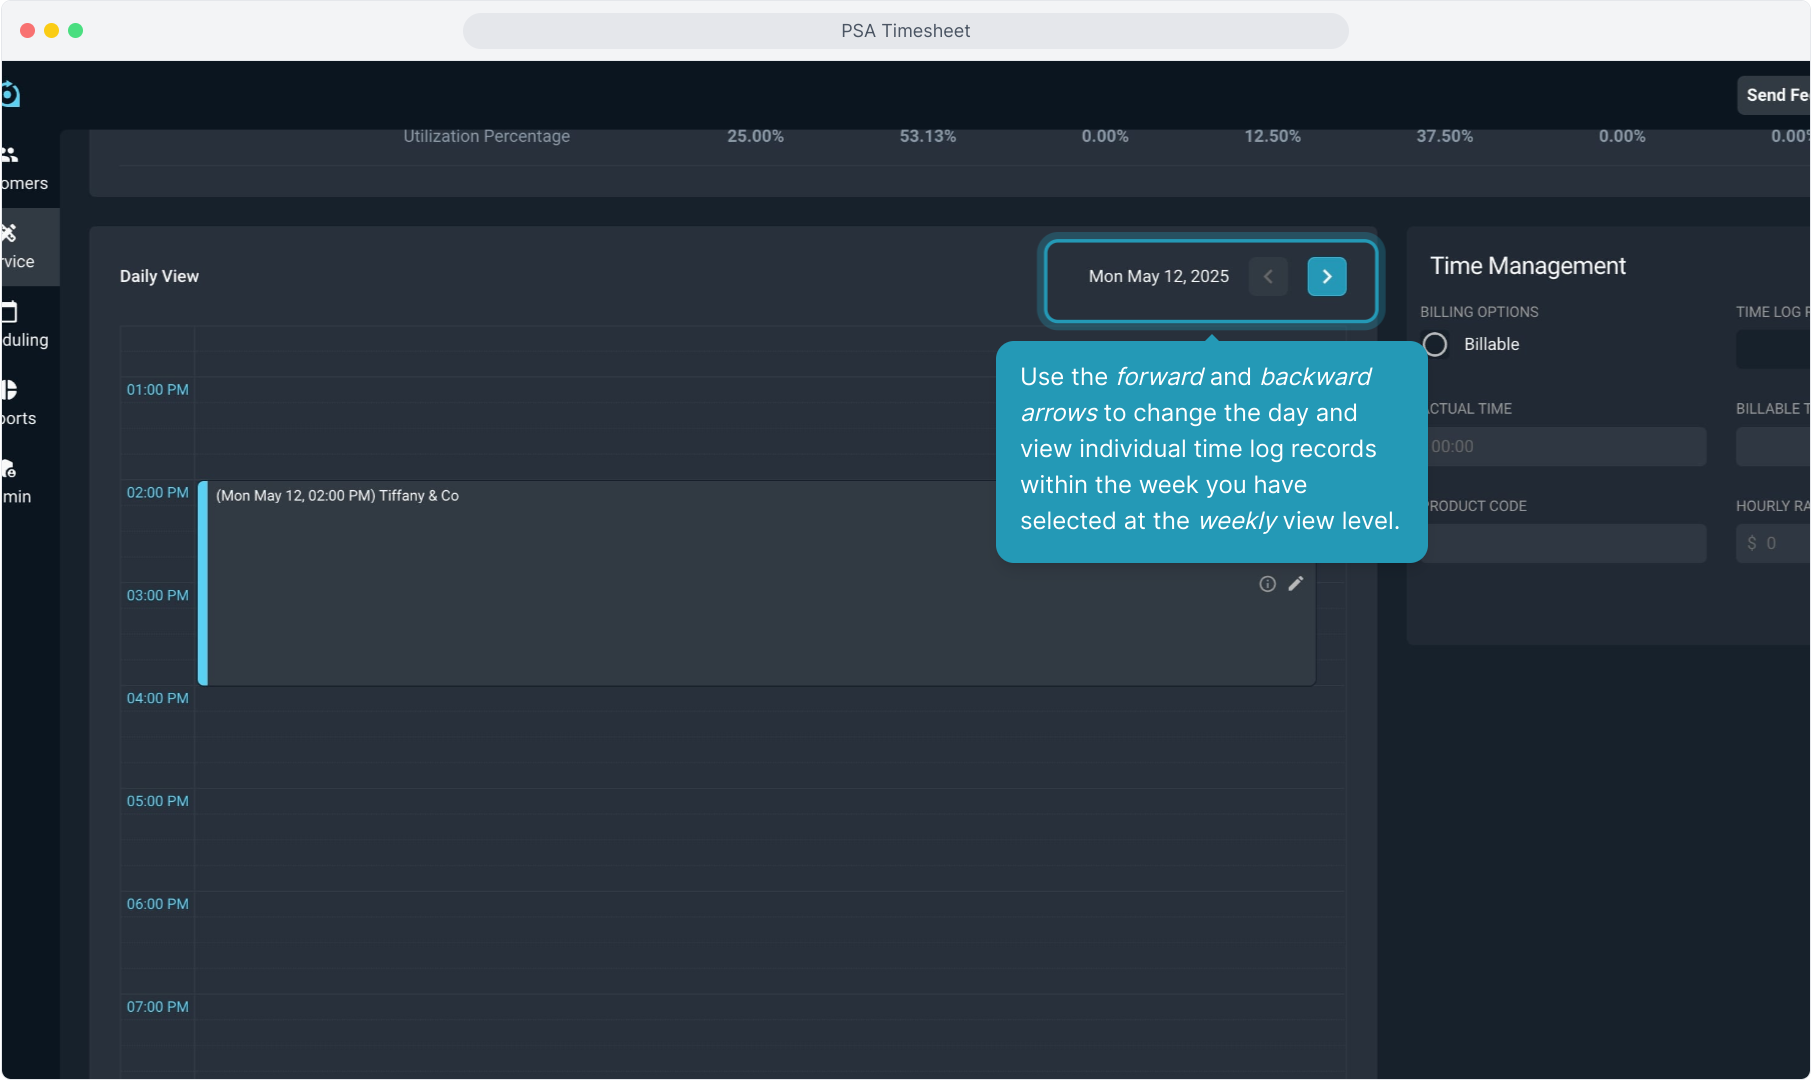
13. Use the forward and backward arrows to change the day and view individual time log records within the week you have selected at the weekly view level.
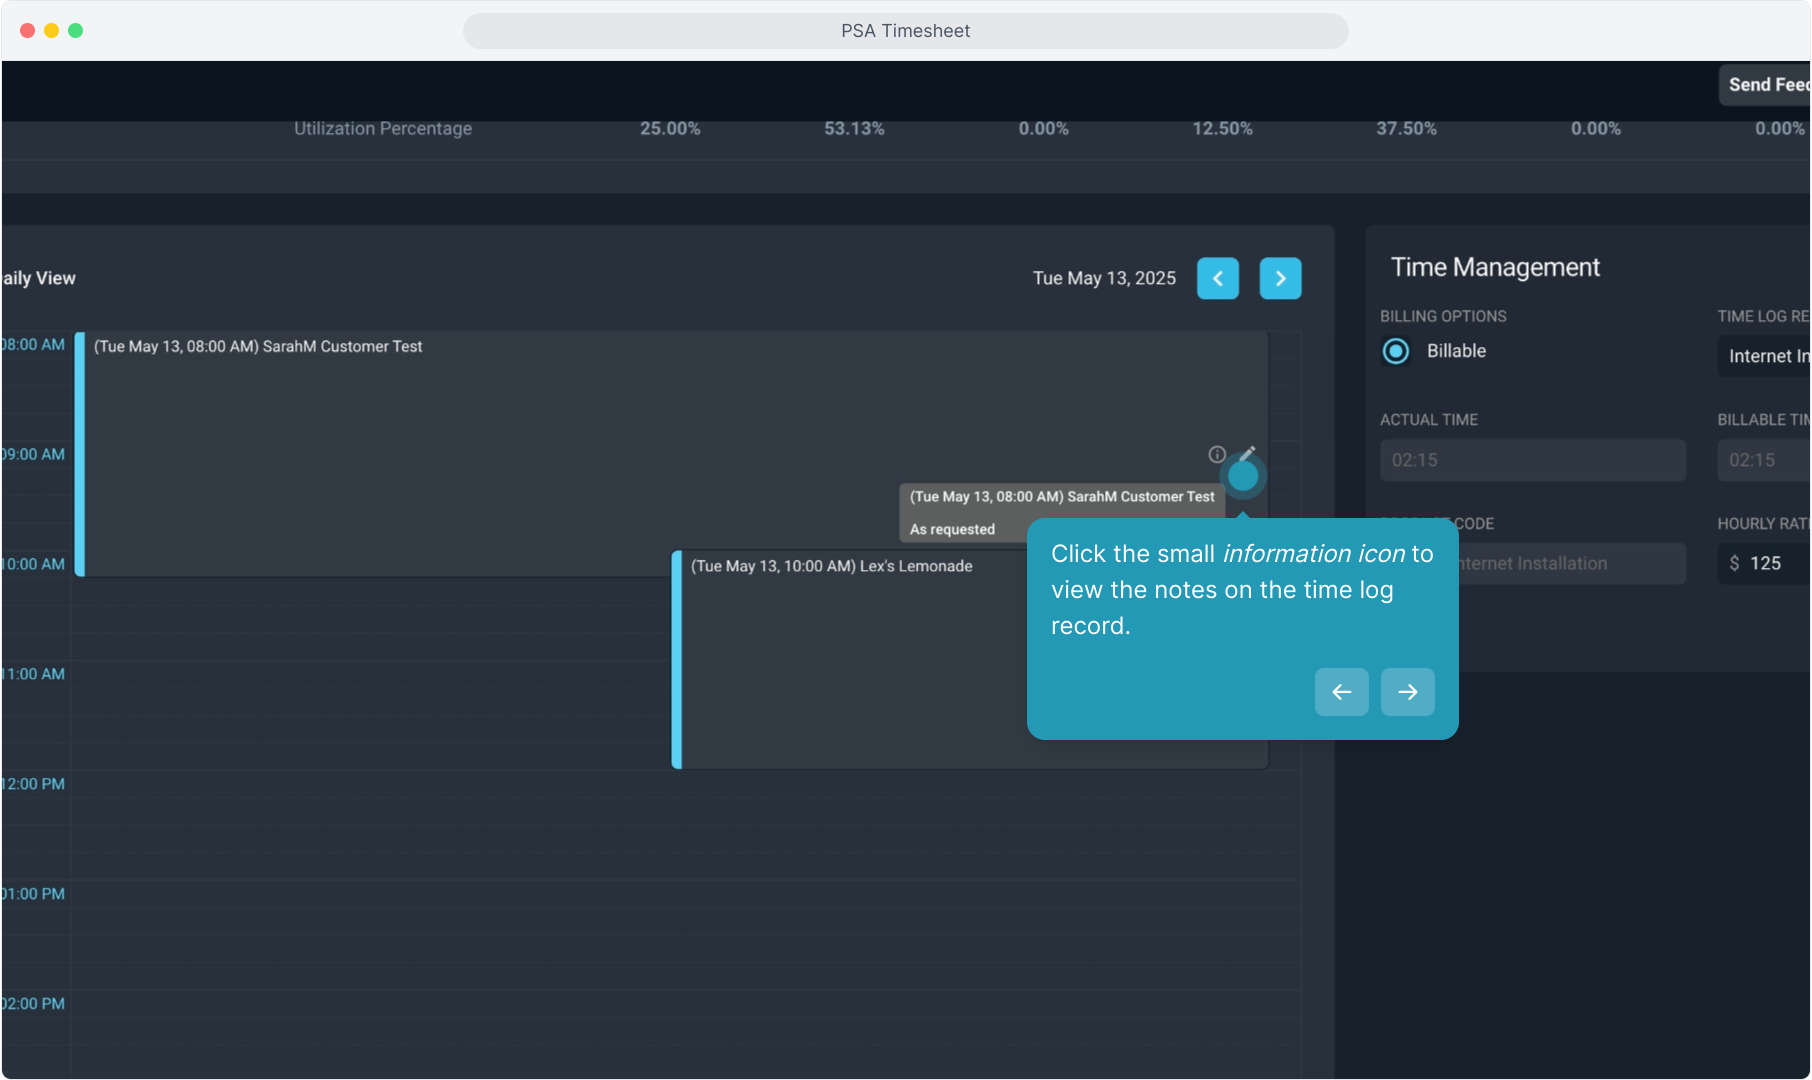
14. Click the small information icon to view the notes on the time log record.
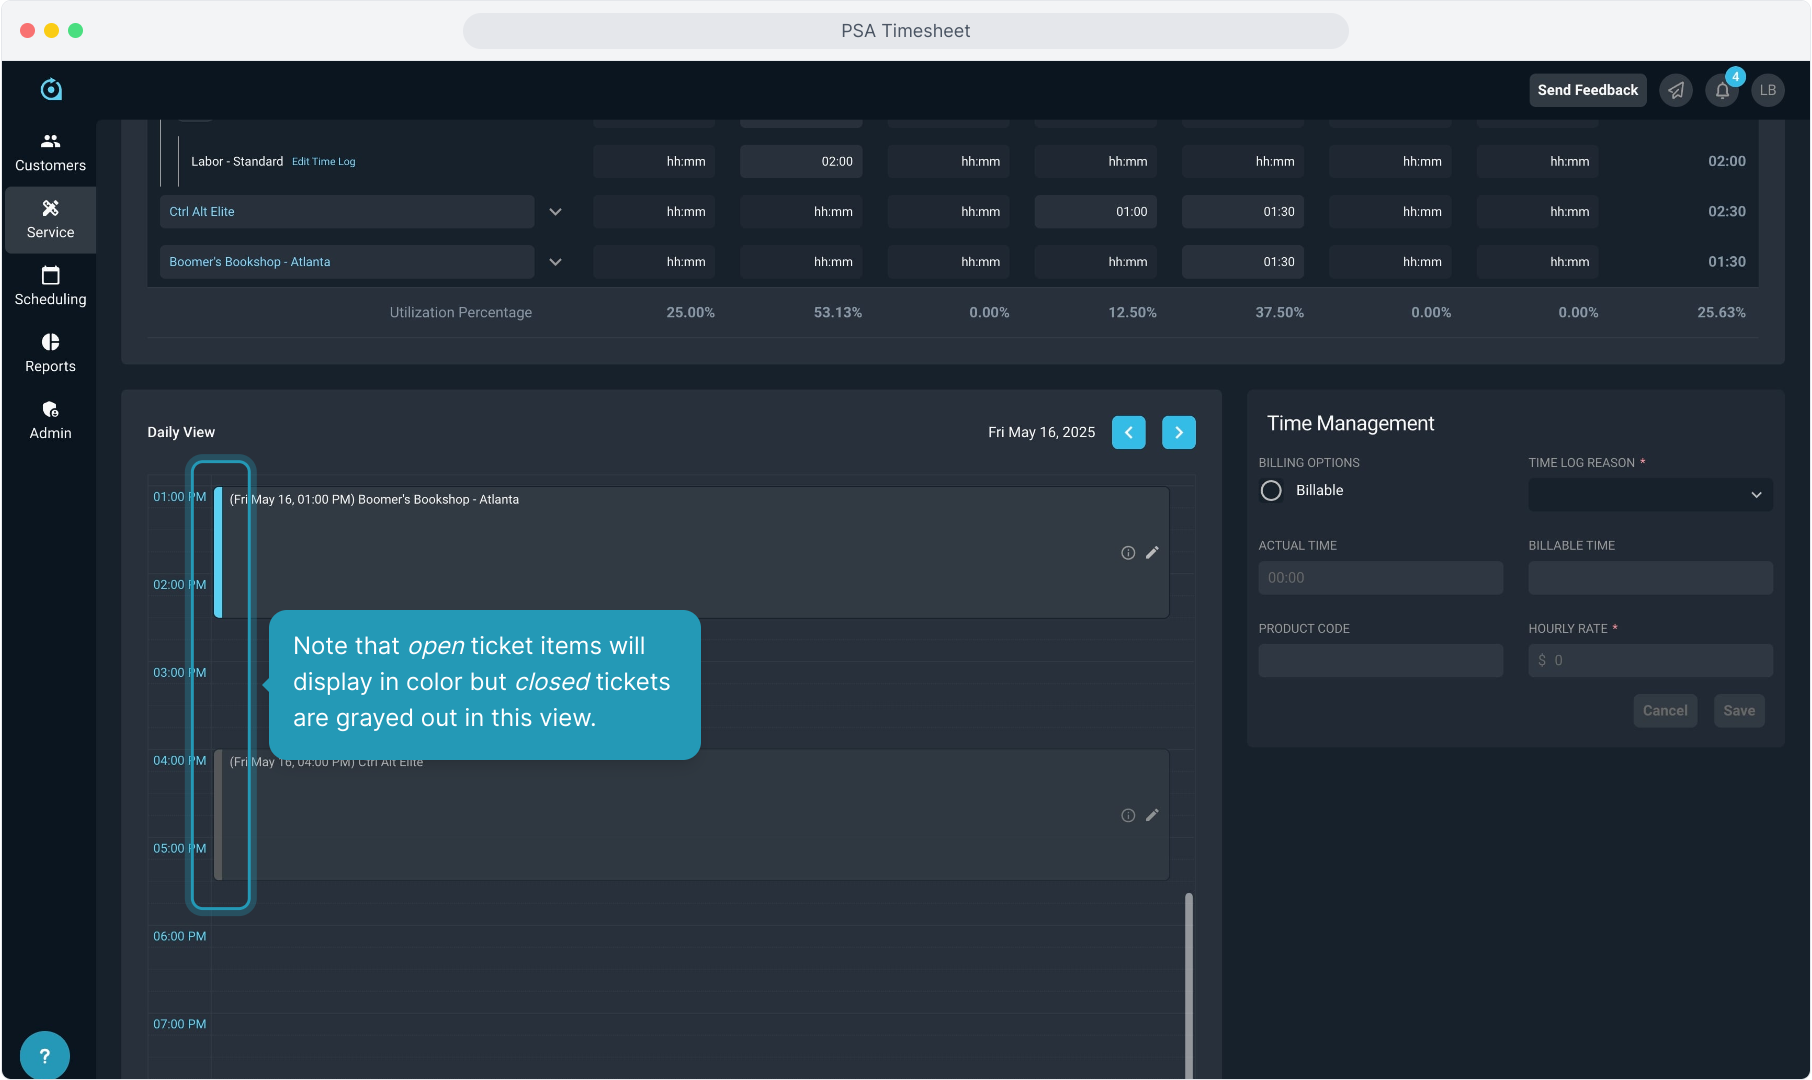
15. Note that open ticket items will display in color but closed tickets are grayed out in this view.
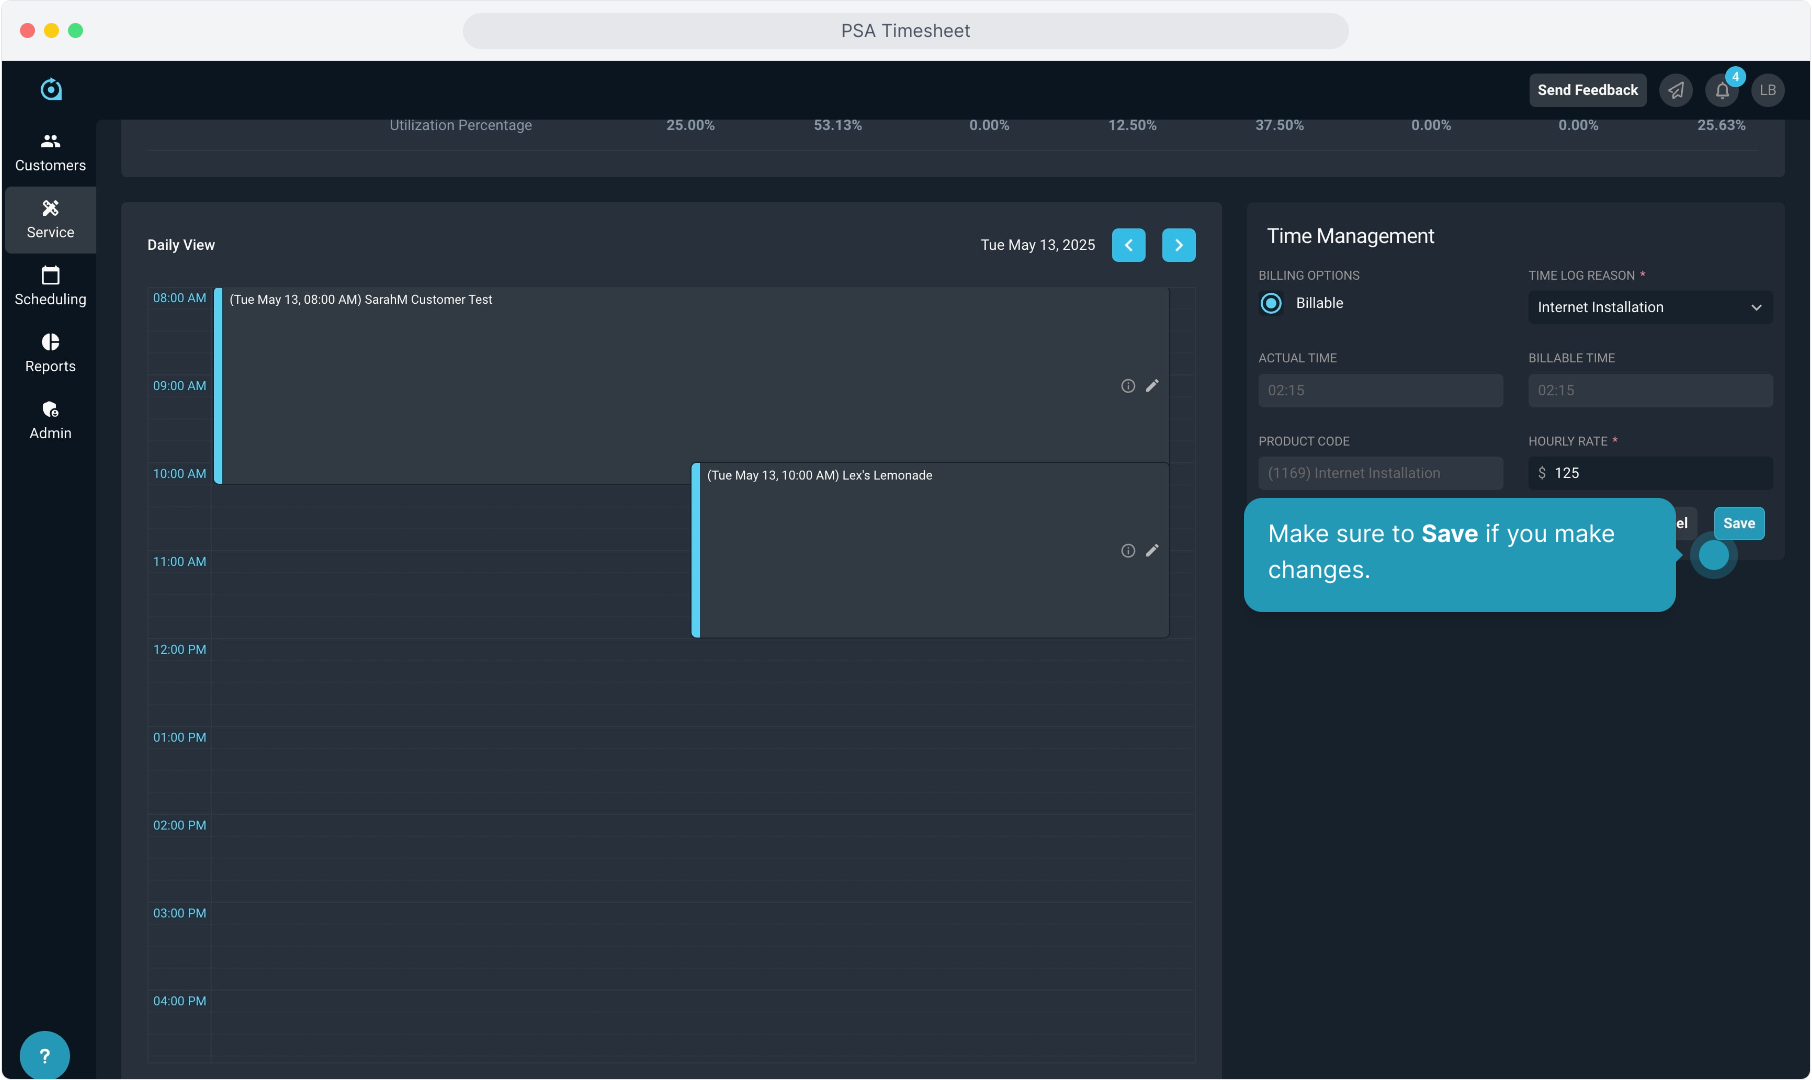
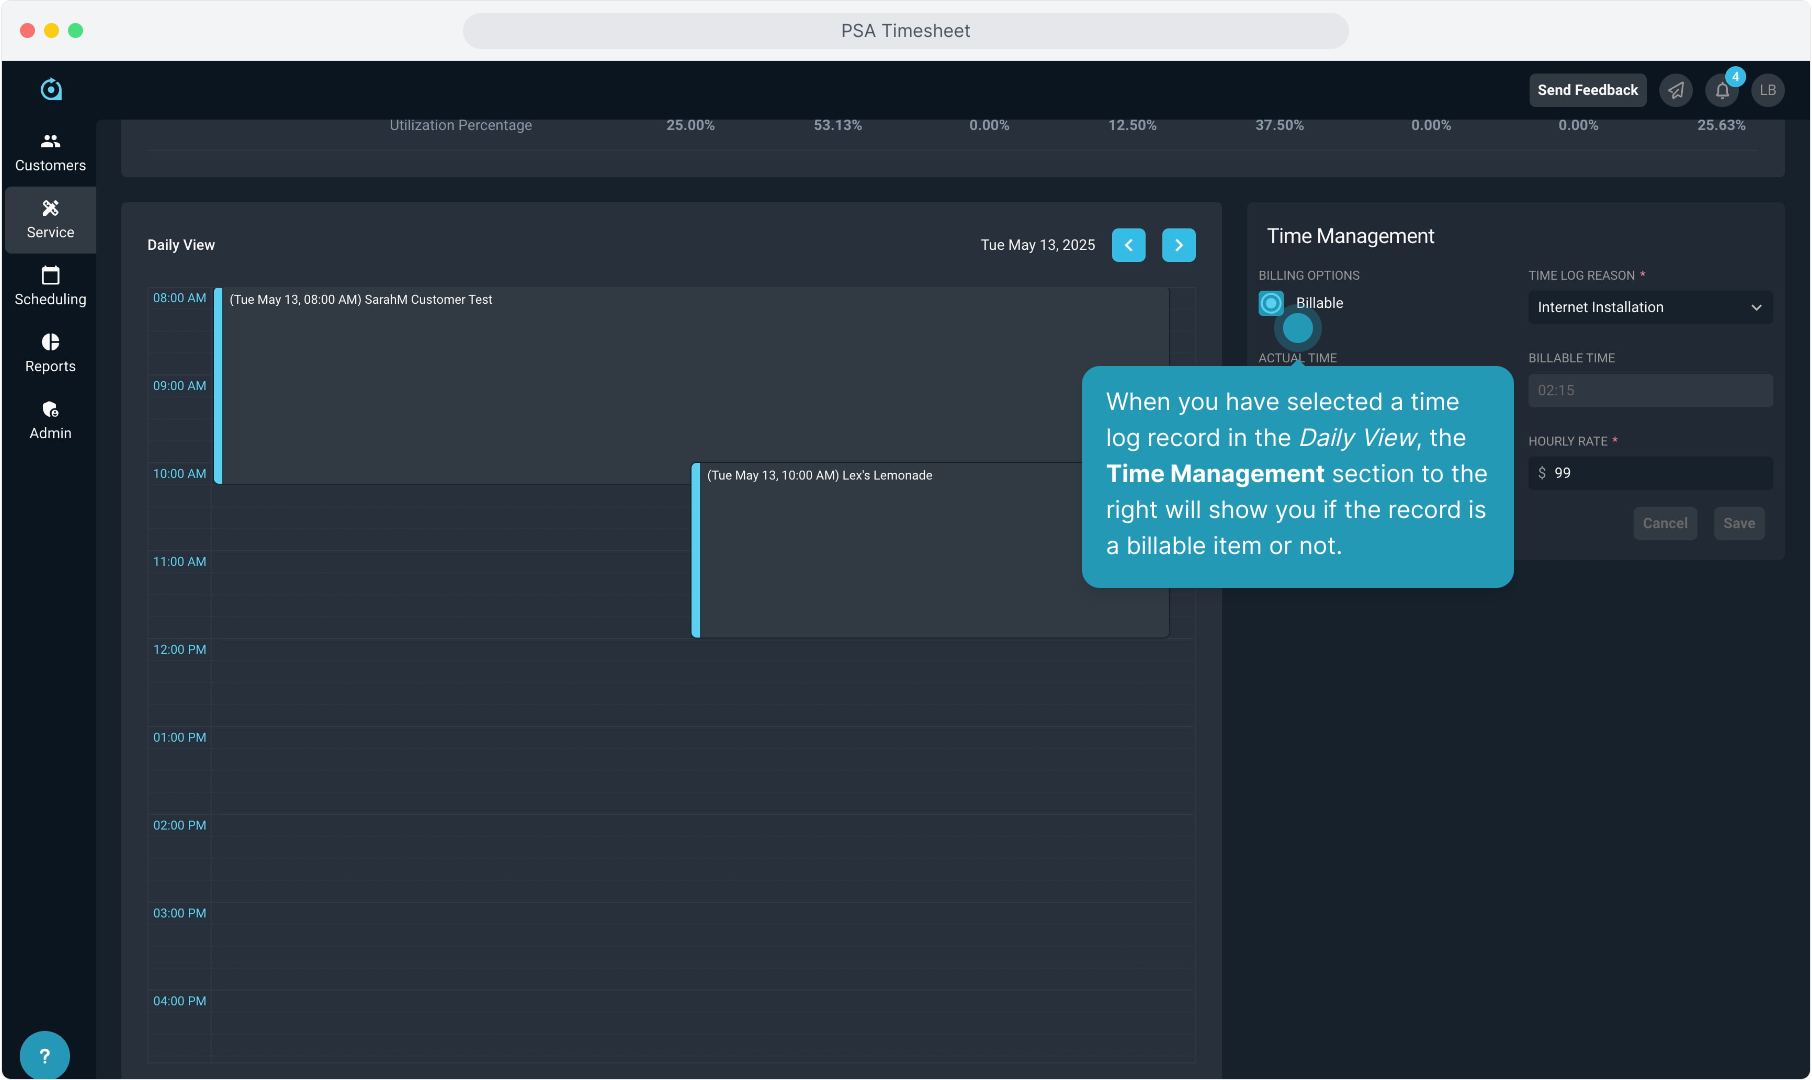
16. When you have selected a time log record in the Daily View, the Time Management section to the right will show you if the record is a billable item or not.
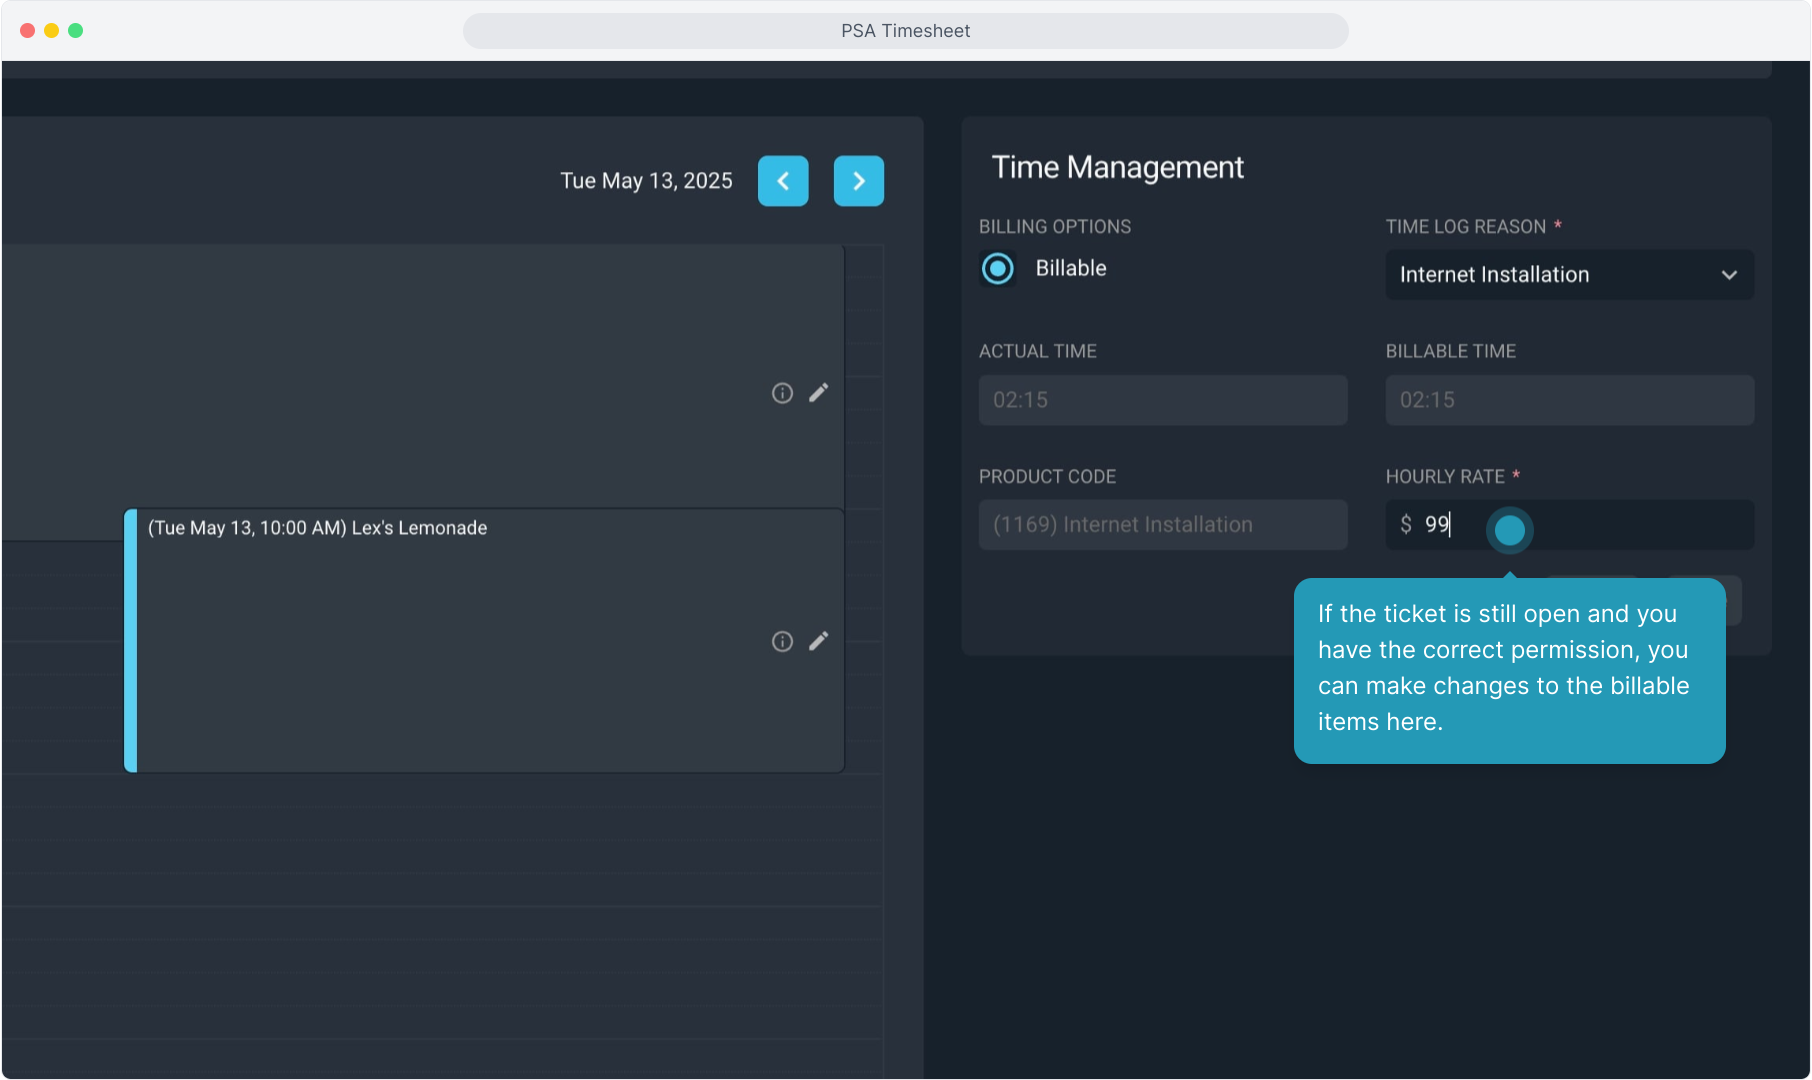
17. If the ticket is still open and you have the correct permission, you can make changes to the billable items here.
18. Make sure to Save if you make changes.