Integrations Library: Data Sync & Mapping
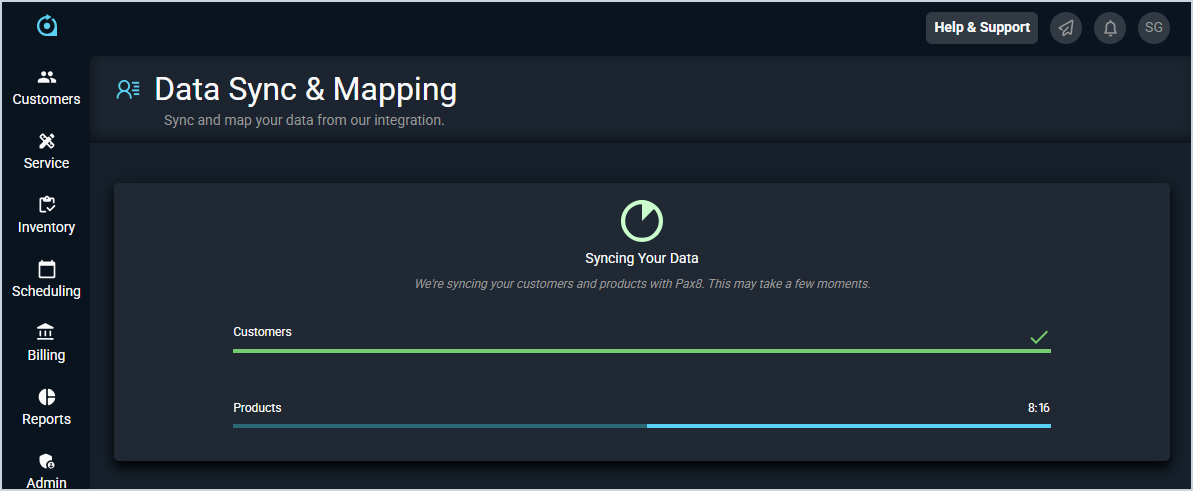
After completing the initial integration setup, Rev.io will begin syncing data with the connected system. Once the sync is complete, you’ll be redirected to the Data Sync & Mapping screen, where you can review and map key records, like customers and products, between Rev.io and the integration. This step ensures that data flows correctly between systems and aligns records accurately before ongoing synchronization begins.
| NOTE: The screenshots shown below are from the Pax8 integration. However, other integrations follow a very similar process for mapping data, though the screen labels and options may vary slightly. |
- After you click the Finish button on the configuration for the integration, the system will begin to sync your data. Do not leave this page while the sync is running. If you need to work on something in the system while the integration syncs, open Rev.io in another tab.
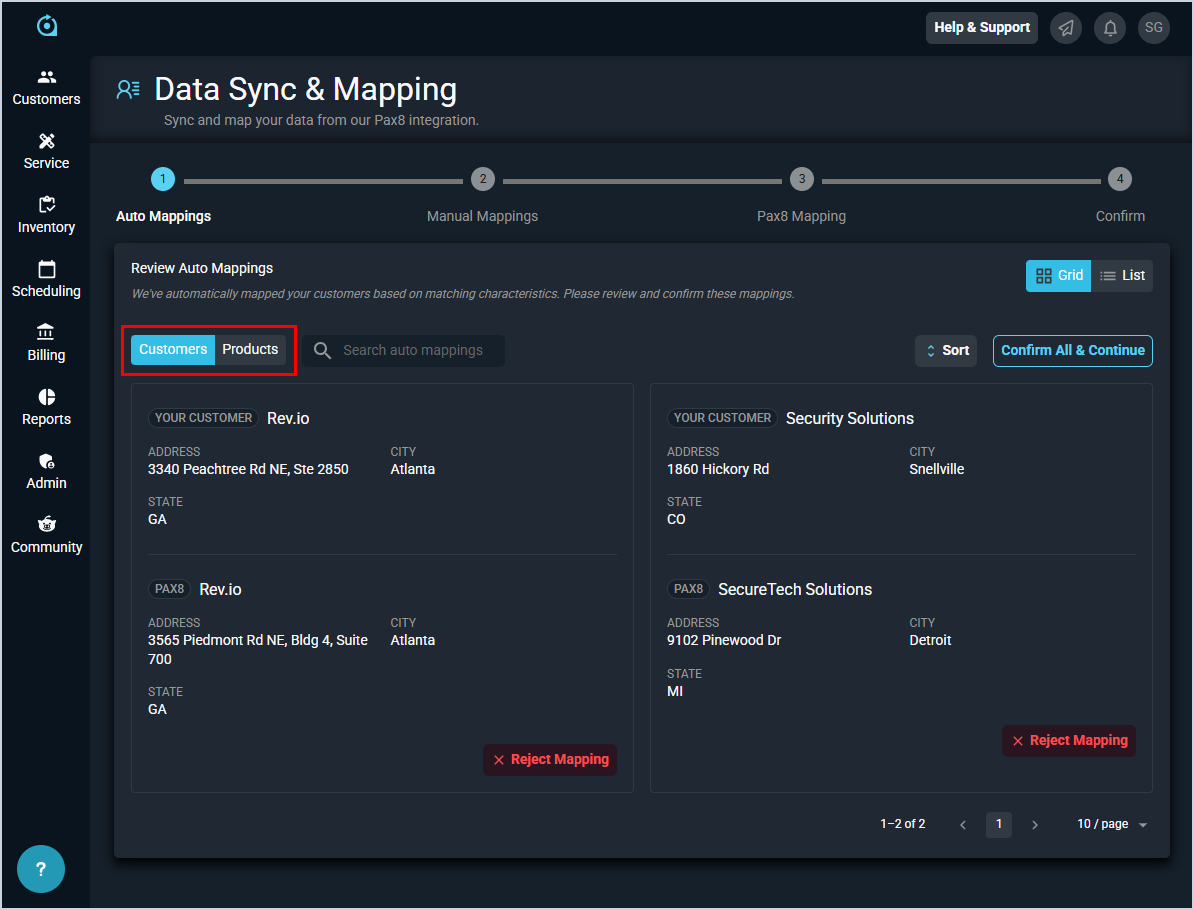
- Once the sync finishes processing, review the automatic mappings made by the system carefully to avoid any incorrect mappings. To remove a mapping, simply click the Reject Mapping button on the card with the incorrect match. For some integrations, the button may display Unmap instead of Reject Mapping.
IMPORTANT: Be sure to check if there are multiple tabs for different record types, and review the mappings for all tabs displayed. For example, the screenshot below includes both a Customers tab and a Products tab.
When you are finished reviewing the auto mappings, click the Confirm All & Continue button.
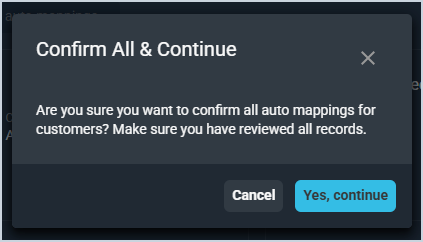
- Click the Yes, Continue button to confirm that you've reviewed all the auto mappings. If you still need to review some of the mappings, click the Cancel button.
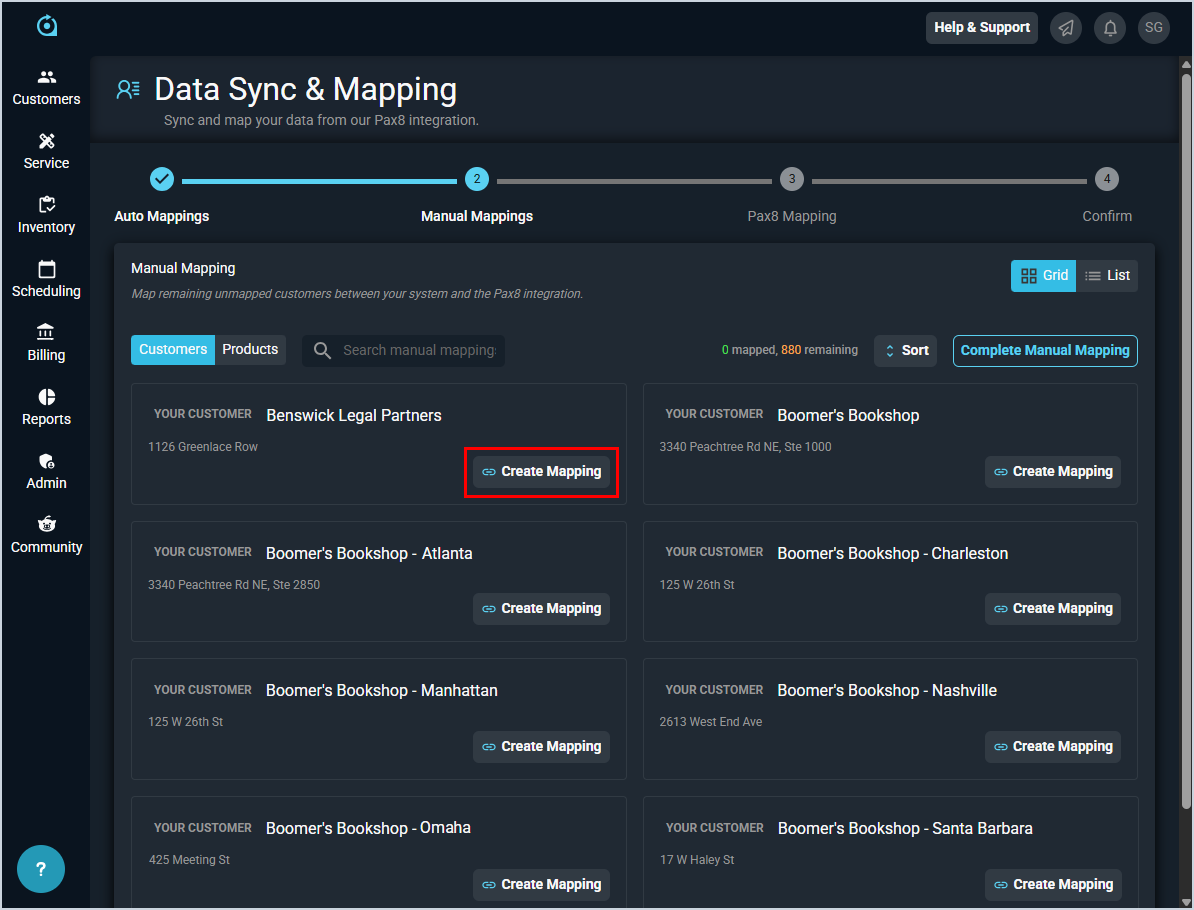
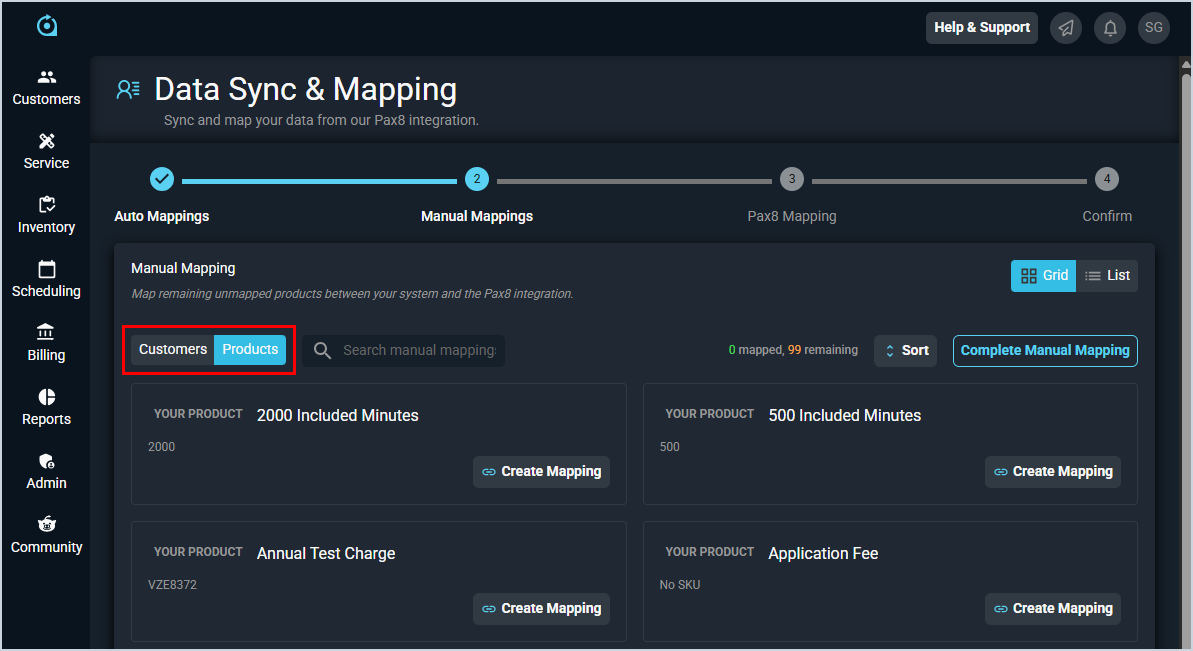
- For the remaining items that did not map automatically, you will need to manually create mappings. To do so, choose a record and click the Create Mapping button. This step may display as a list view for some integrations.
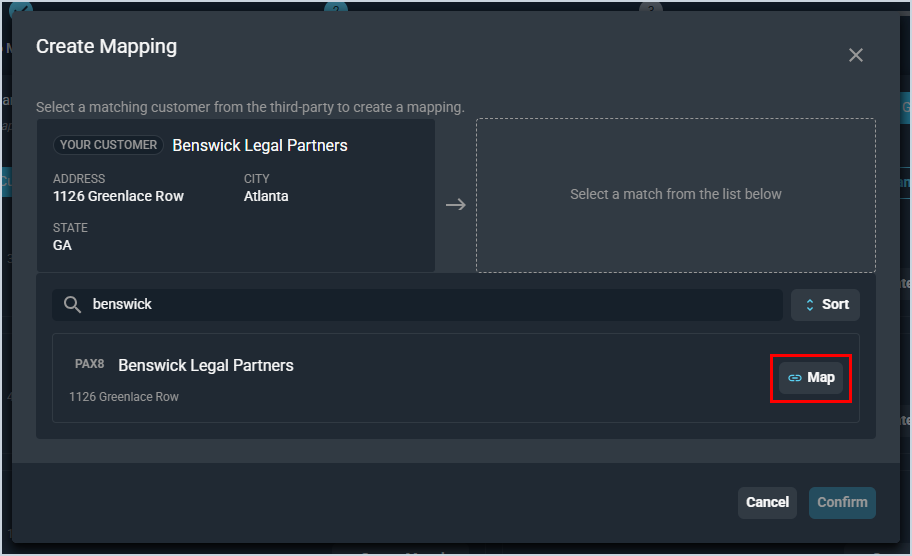
- Locate the correct third-party record using the search bar and click the Map button.
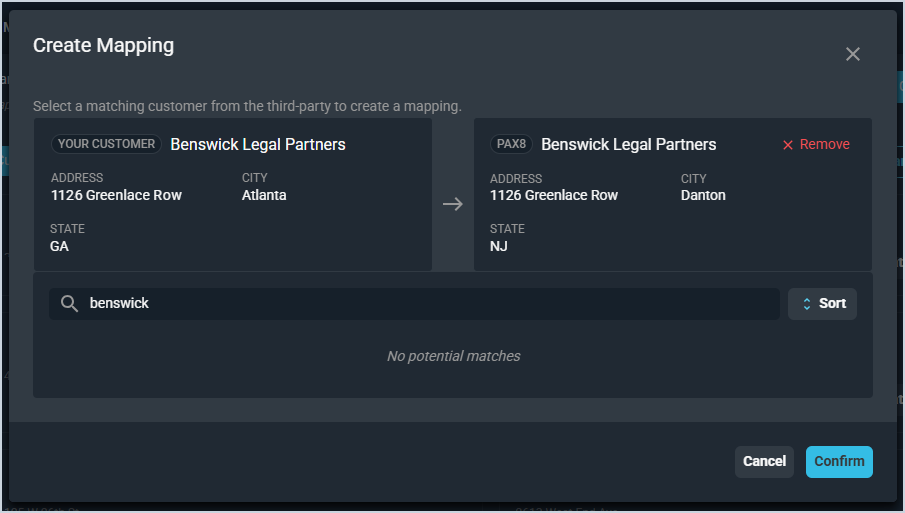
- Click the Confirm button to confirm the mapping.
- Once you've successfully mapped all records on the first tab, be sure to check for any additional tabs and map those records on any other tabs.
- Once you've successfully mapped all records that need to be mapped, click the Complete Manual Mapping button.
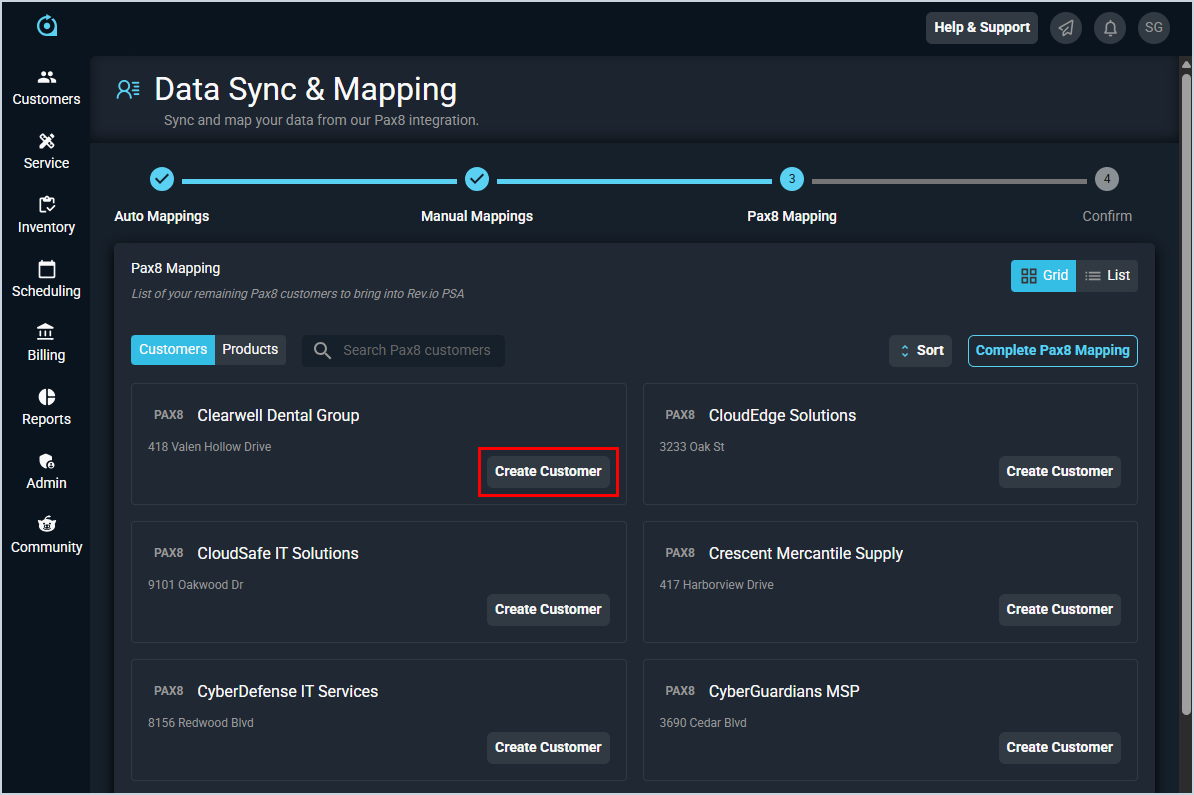
- The system displays a list of all remaining records that have not yet been mapped. Below are some examples of the records you may need to create in Rev.io depending on the integration you're configuring.
- For each remaining customer on the Customers tab, click the Create Customer button to create a new record in Rev.io to map with the third-party customer. See the Add/Edit Customers article for more information on creating customers.
- For each remaining contact on the Contacts tab, click the Create Contact button to create a new record in Rev.io to map with the third-party contact. See the Add/Edit Contacts article for more information on creating contacts.
- For each remaining product on the Products tab, click the Create Product button to create a new record in Rev.io to map with the third-party product. See the Add/Edit Products article for more information on creating products.
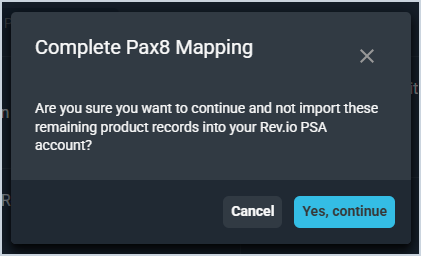
- Click the Complete [Integration] Mapping button to finalize your mappings. Then, click the Yes, Continue button to confirm that you want to import only the records that you've mapped. If you still need to create additional mappings, click the Cancel button.
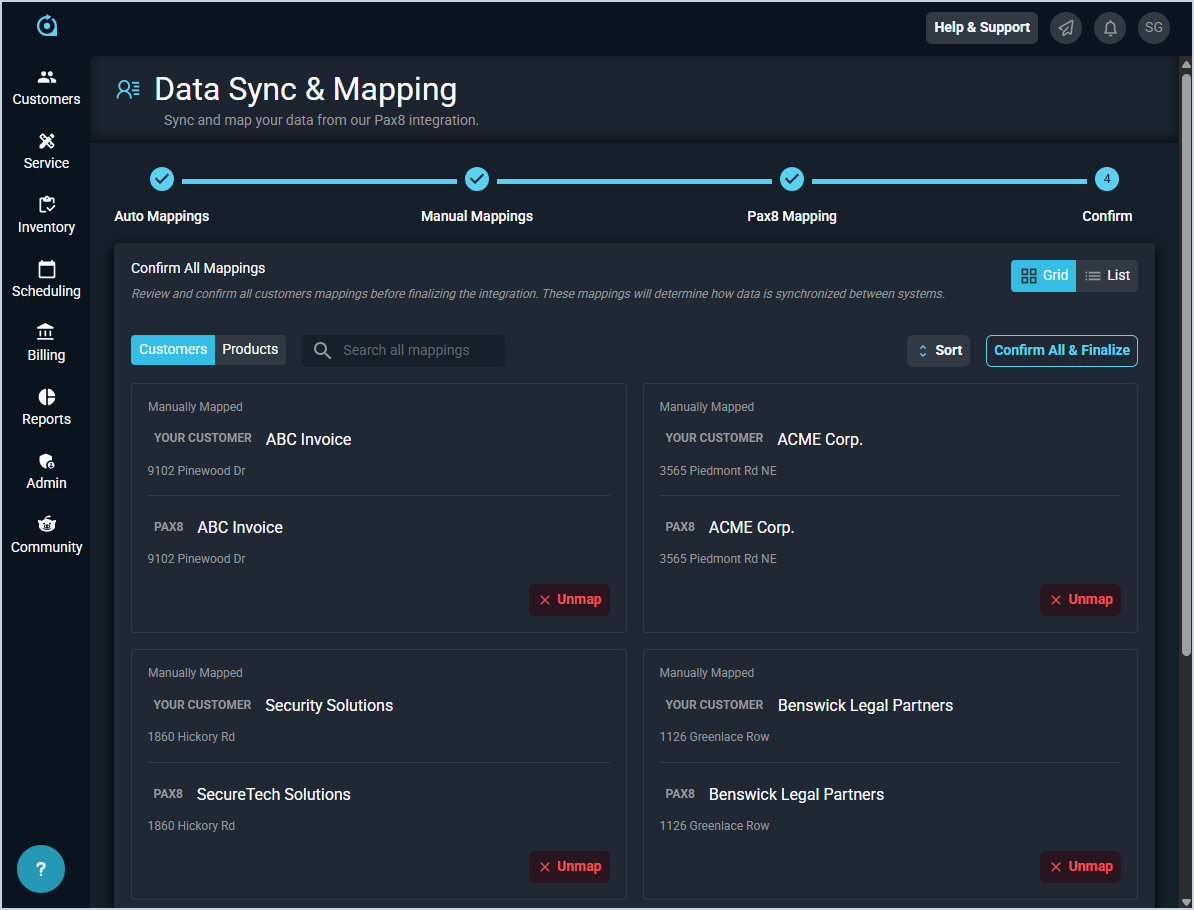
- Review all of the mappings you've entered for records on all tabs on this screen. If you need to return to a previous step, simply click the step on the progress tracker above the mappings. When you've finalized all of the mappings, click the Confirm All & Finalize button.
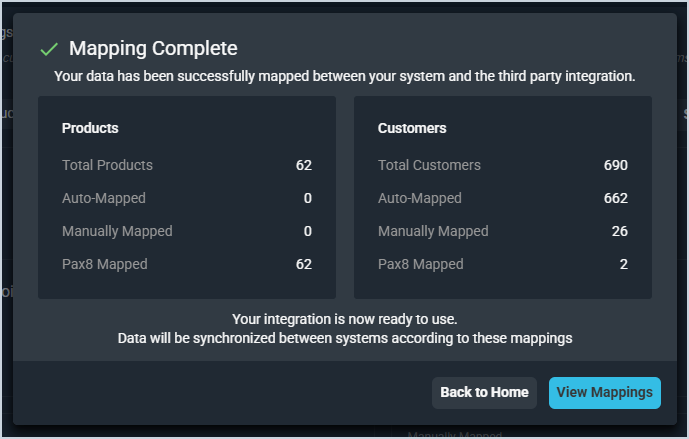
- The system displays a summary of the records that have been successfully mapped between the third-party integration and Rev.io. To return to the Integrations Library home screen, click the Back to Home button. To see your mappings, click the View Mappings button.
NOTE: You can update your mappings at any time by clicking the View Mappings button at the top of the Integrations Library screen.