How To Guide: Creating a Quote Template
1. Introduction
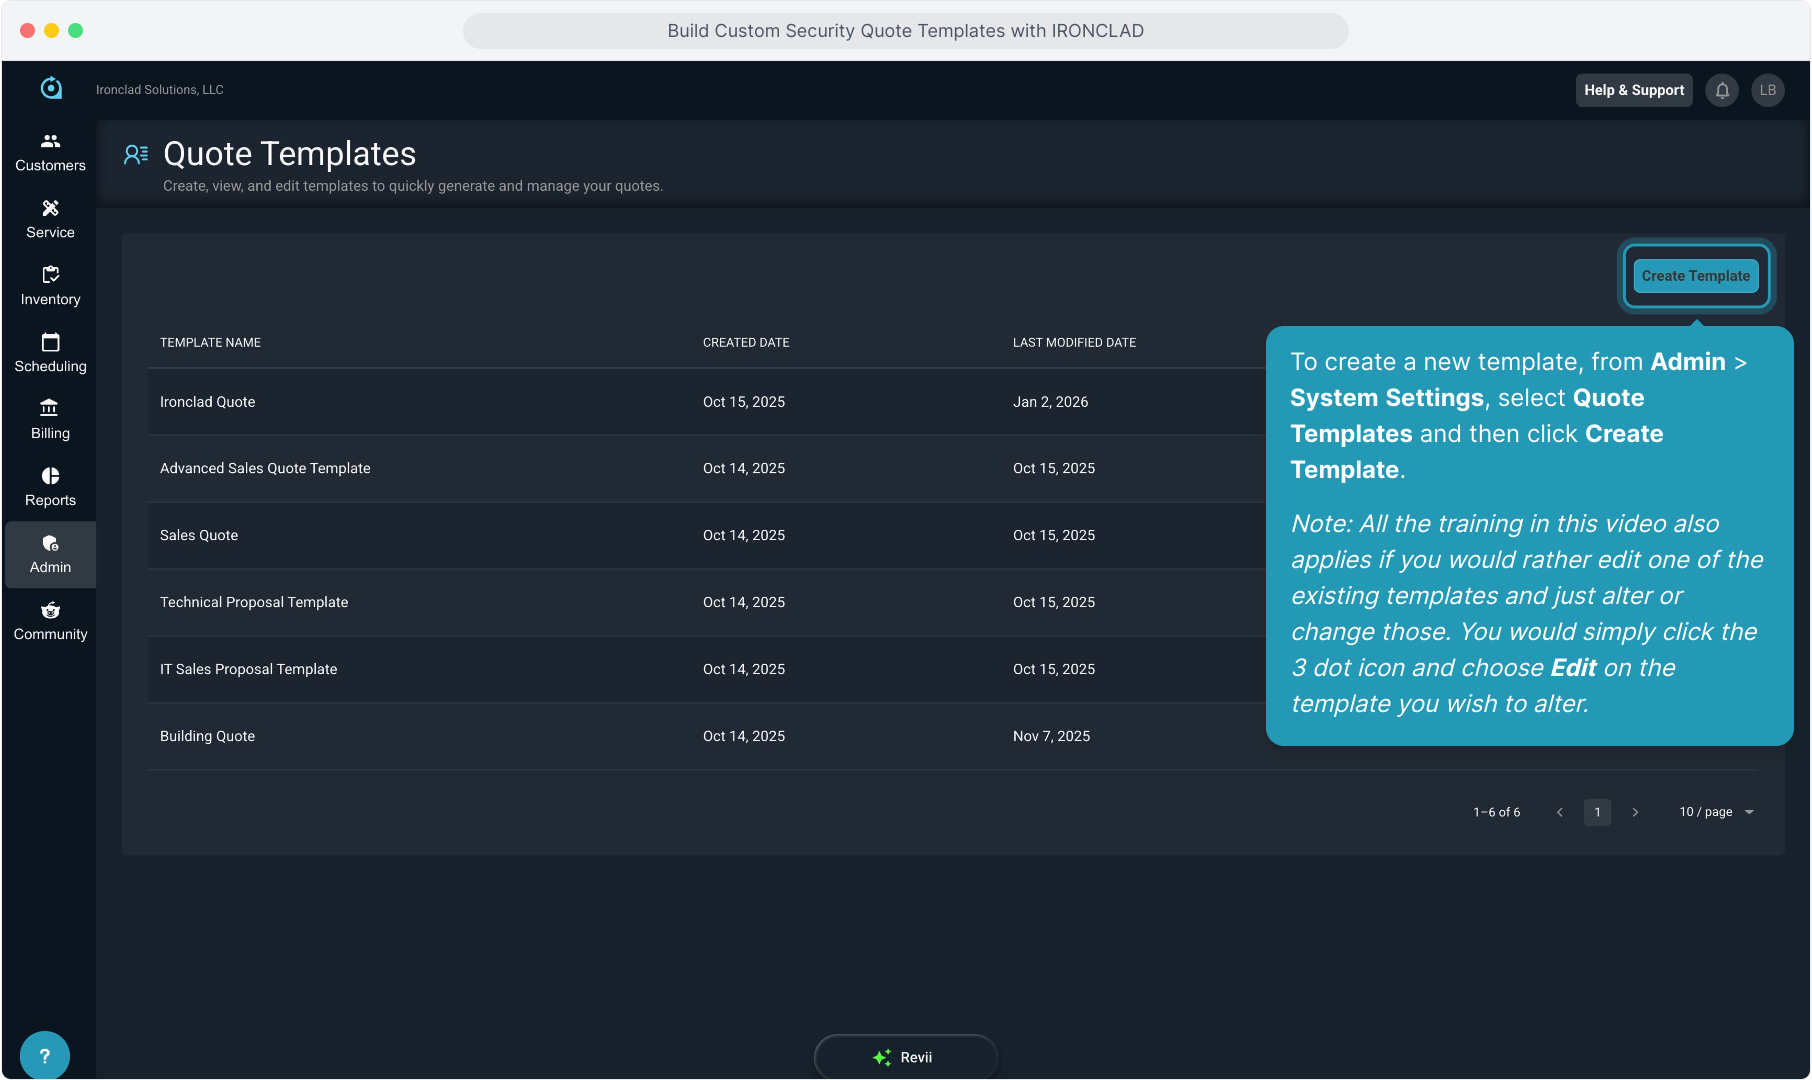
2. To create a new template, from Admin > System Settings, select Quote Templates and then click Create Template.
Note: All the training in this video also applies if you would rather edit one of the existing templates and just alter or change those. You would simply click the 3 dot icon and choose Edit on the template you wish to alter.
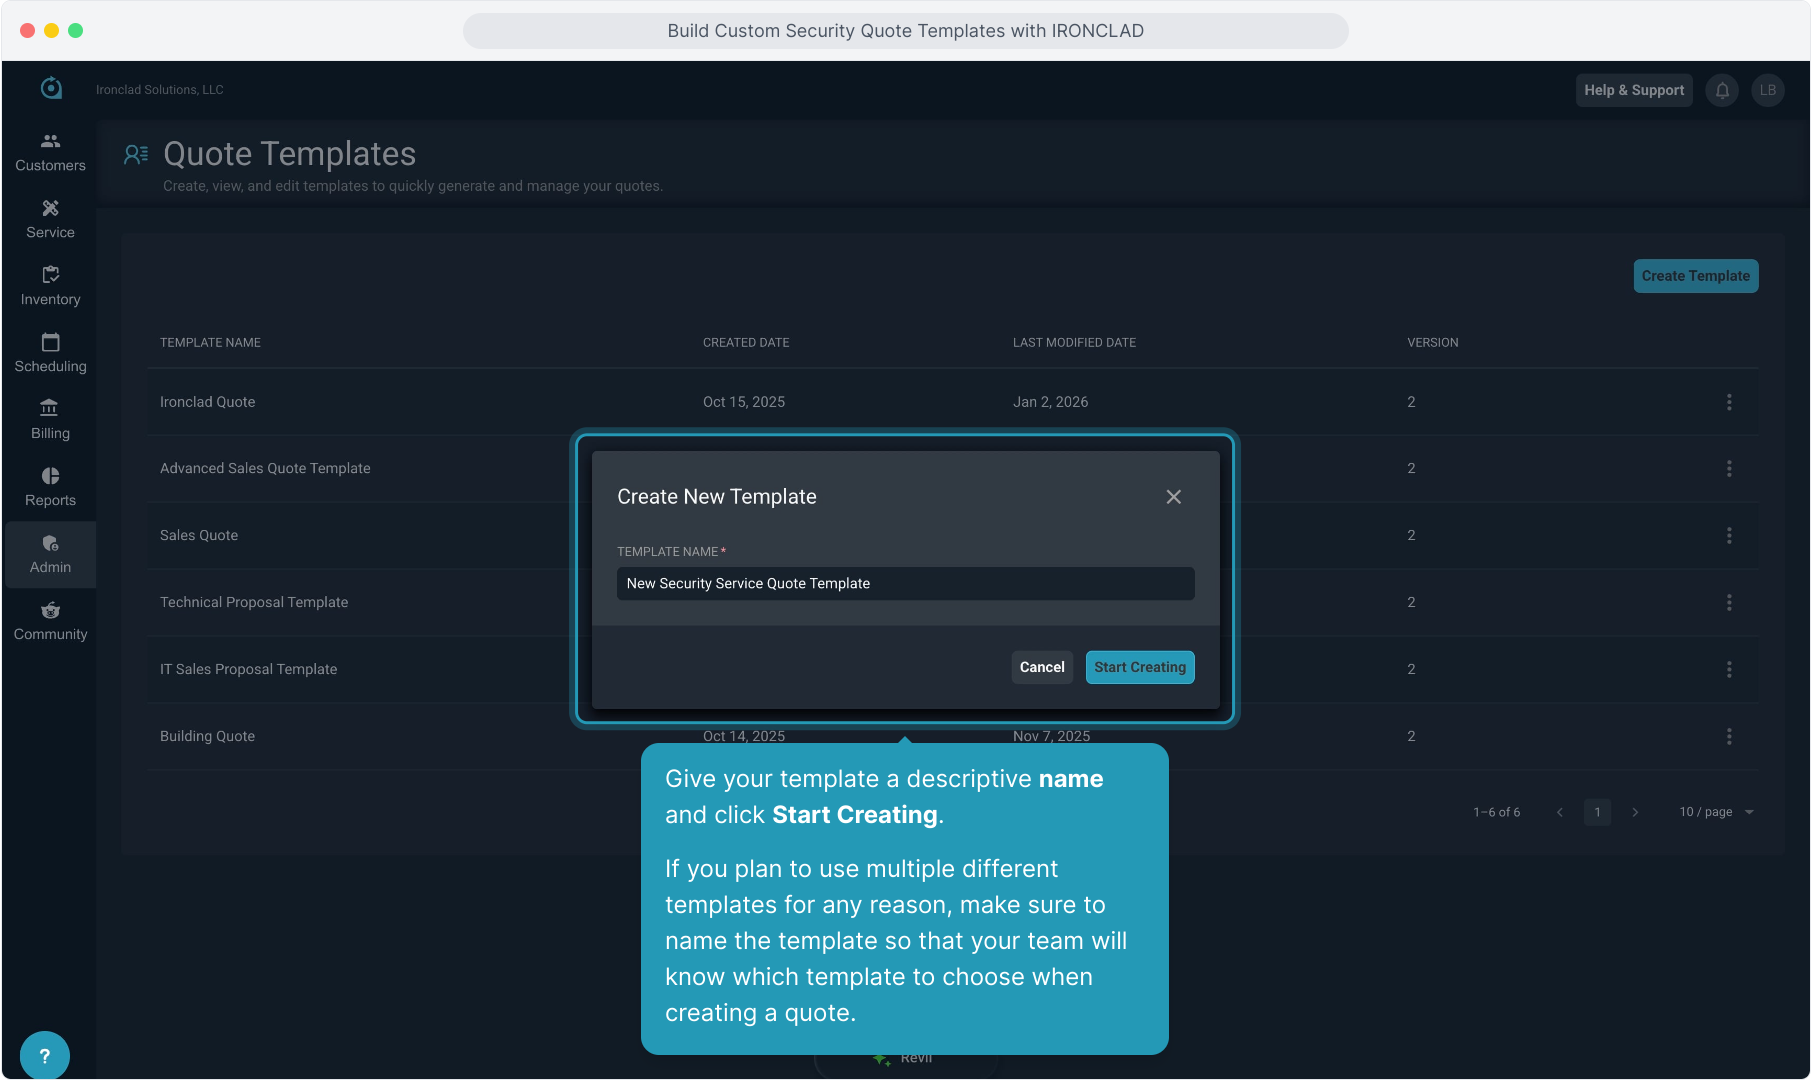
3. Give your template a descriptive name and click Start Creating.
If you plan to use multiple different templates for any reason, make sure to name the template so that your team will know which template to choose when creating a quote.
4. Click the Roles menu icon and make sure that you have a role created for each role that will have variables added to the quote or signatures on the quote.
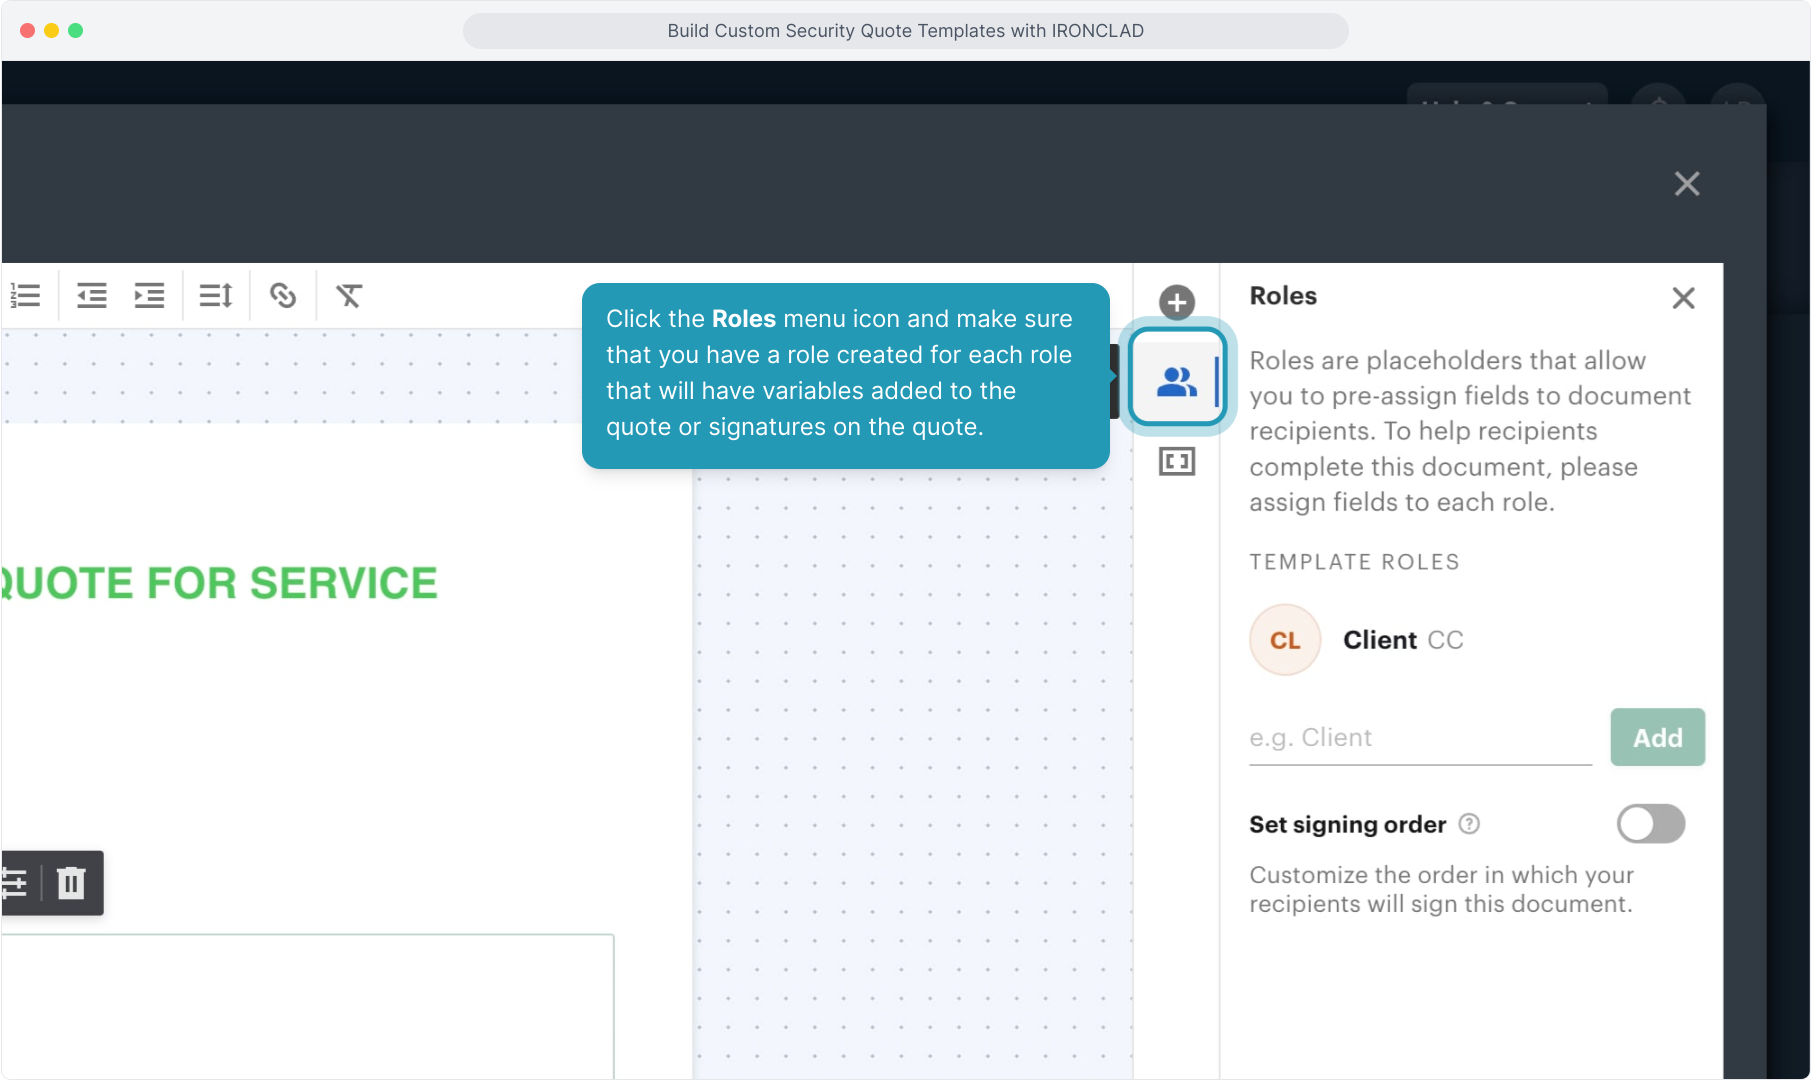
5. By default when creating a template, the Client role will already exist. If that is all you need for your quote template, you do not have to add any additional roles.

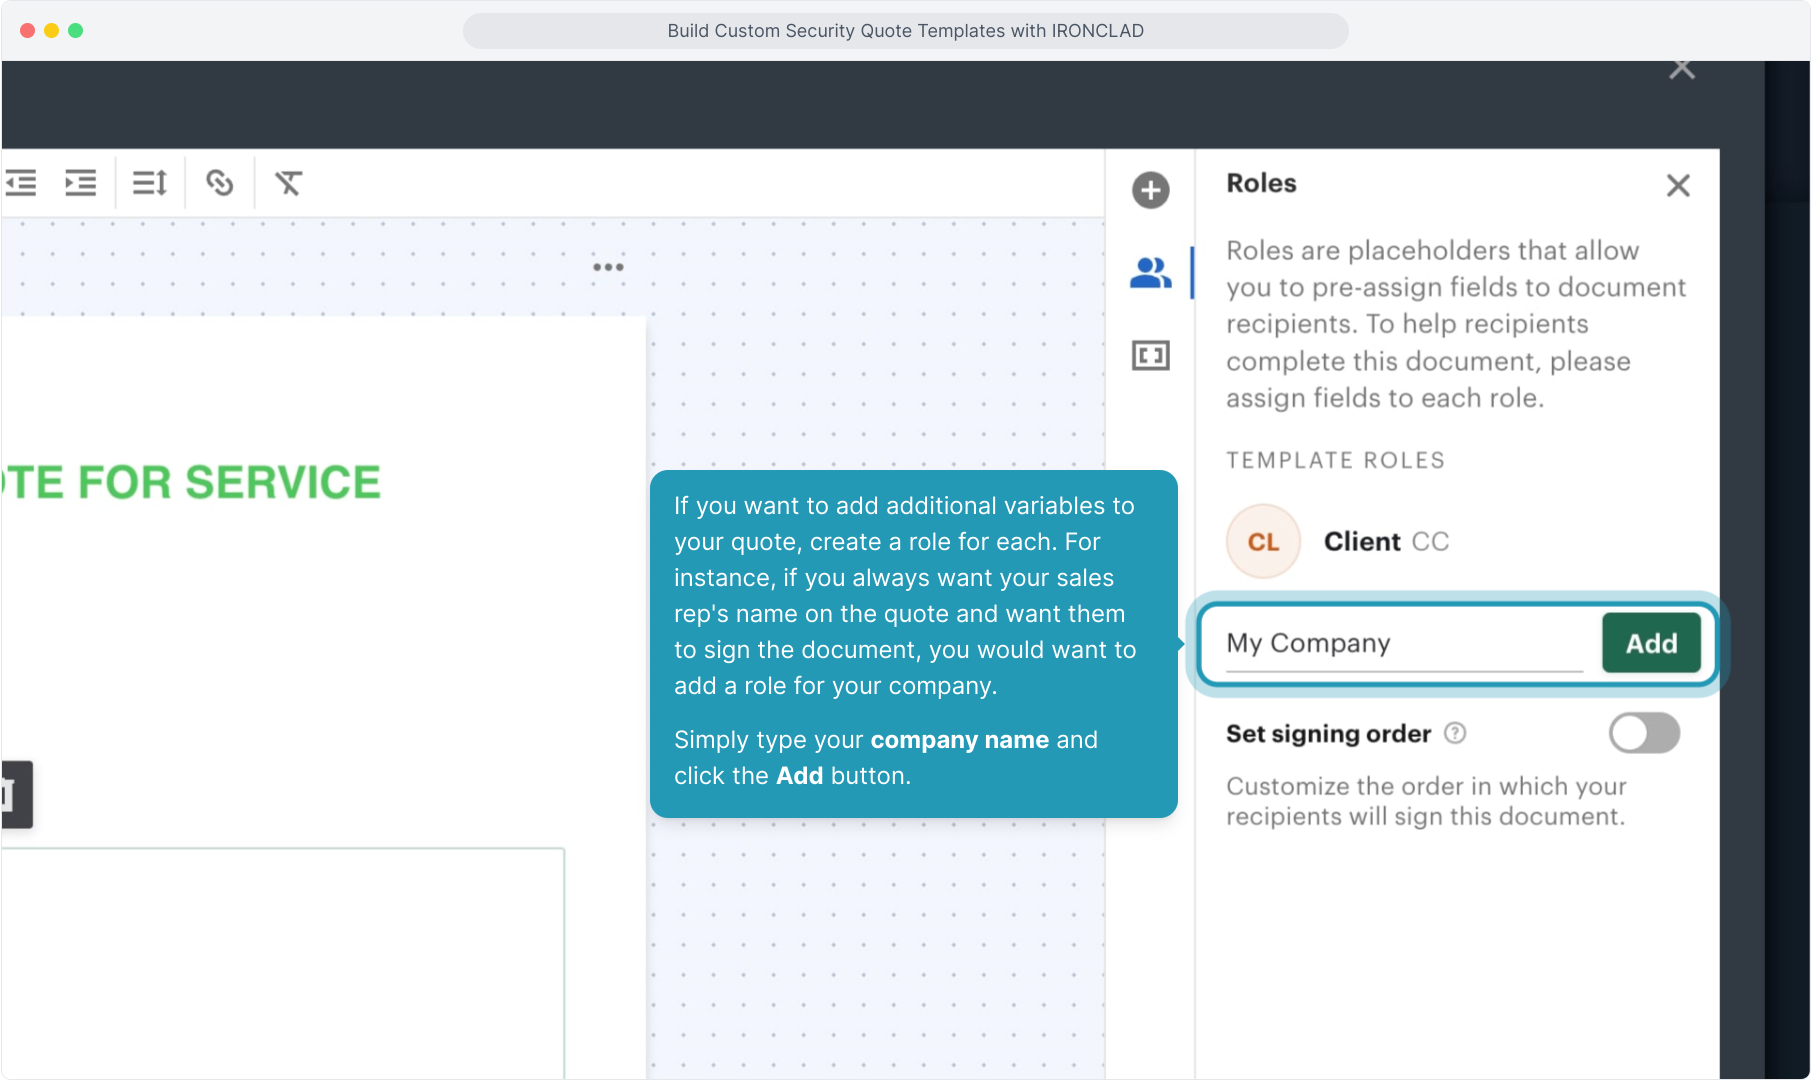
6. If you want to add additional variables to your quote, create a role for each. For instance, if you always want your sales rep's name on the quote and want them to sign the document, you would want to add a role for your company.
Simply type your company name and click the Add button.
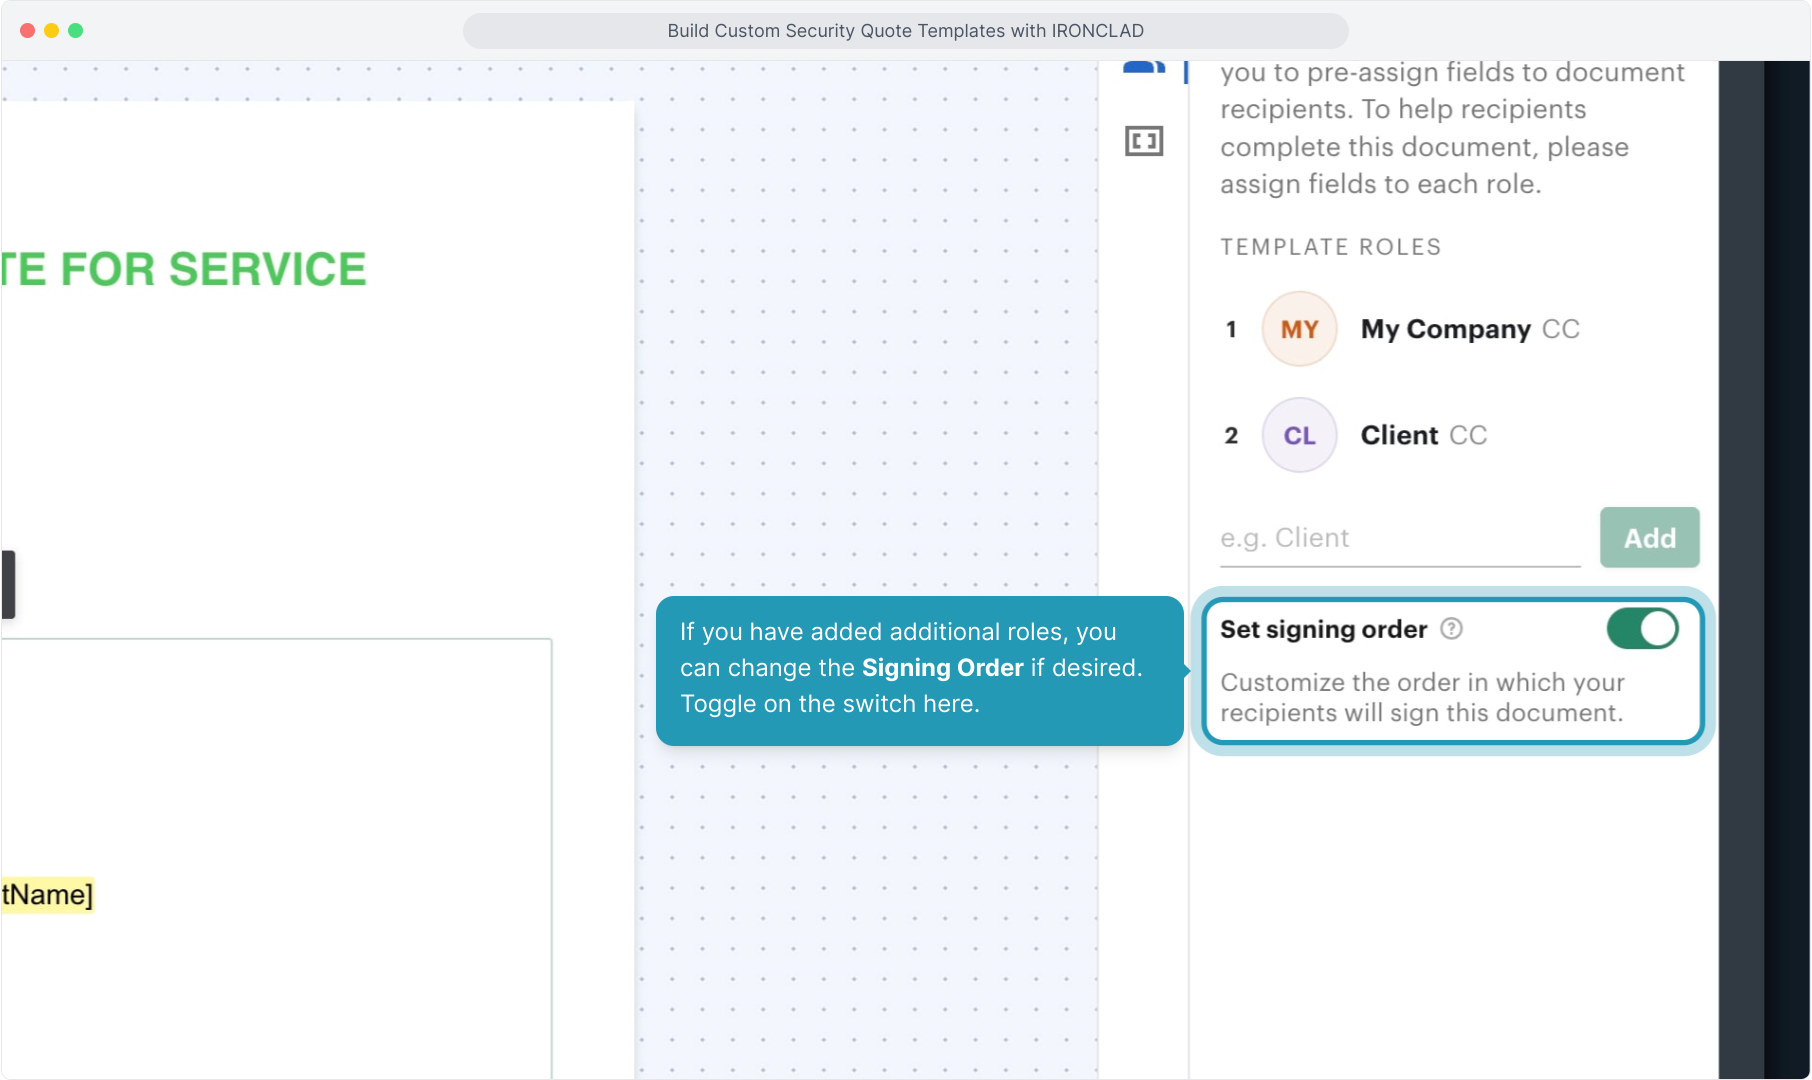
7. If you have added additional roles, you can change the Signing Order if desired. Toggle on the switch here.
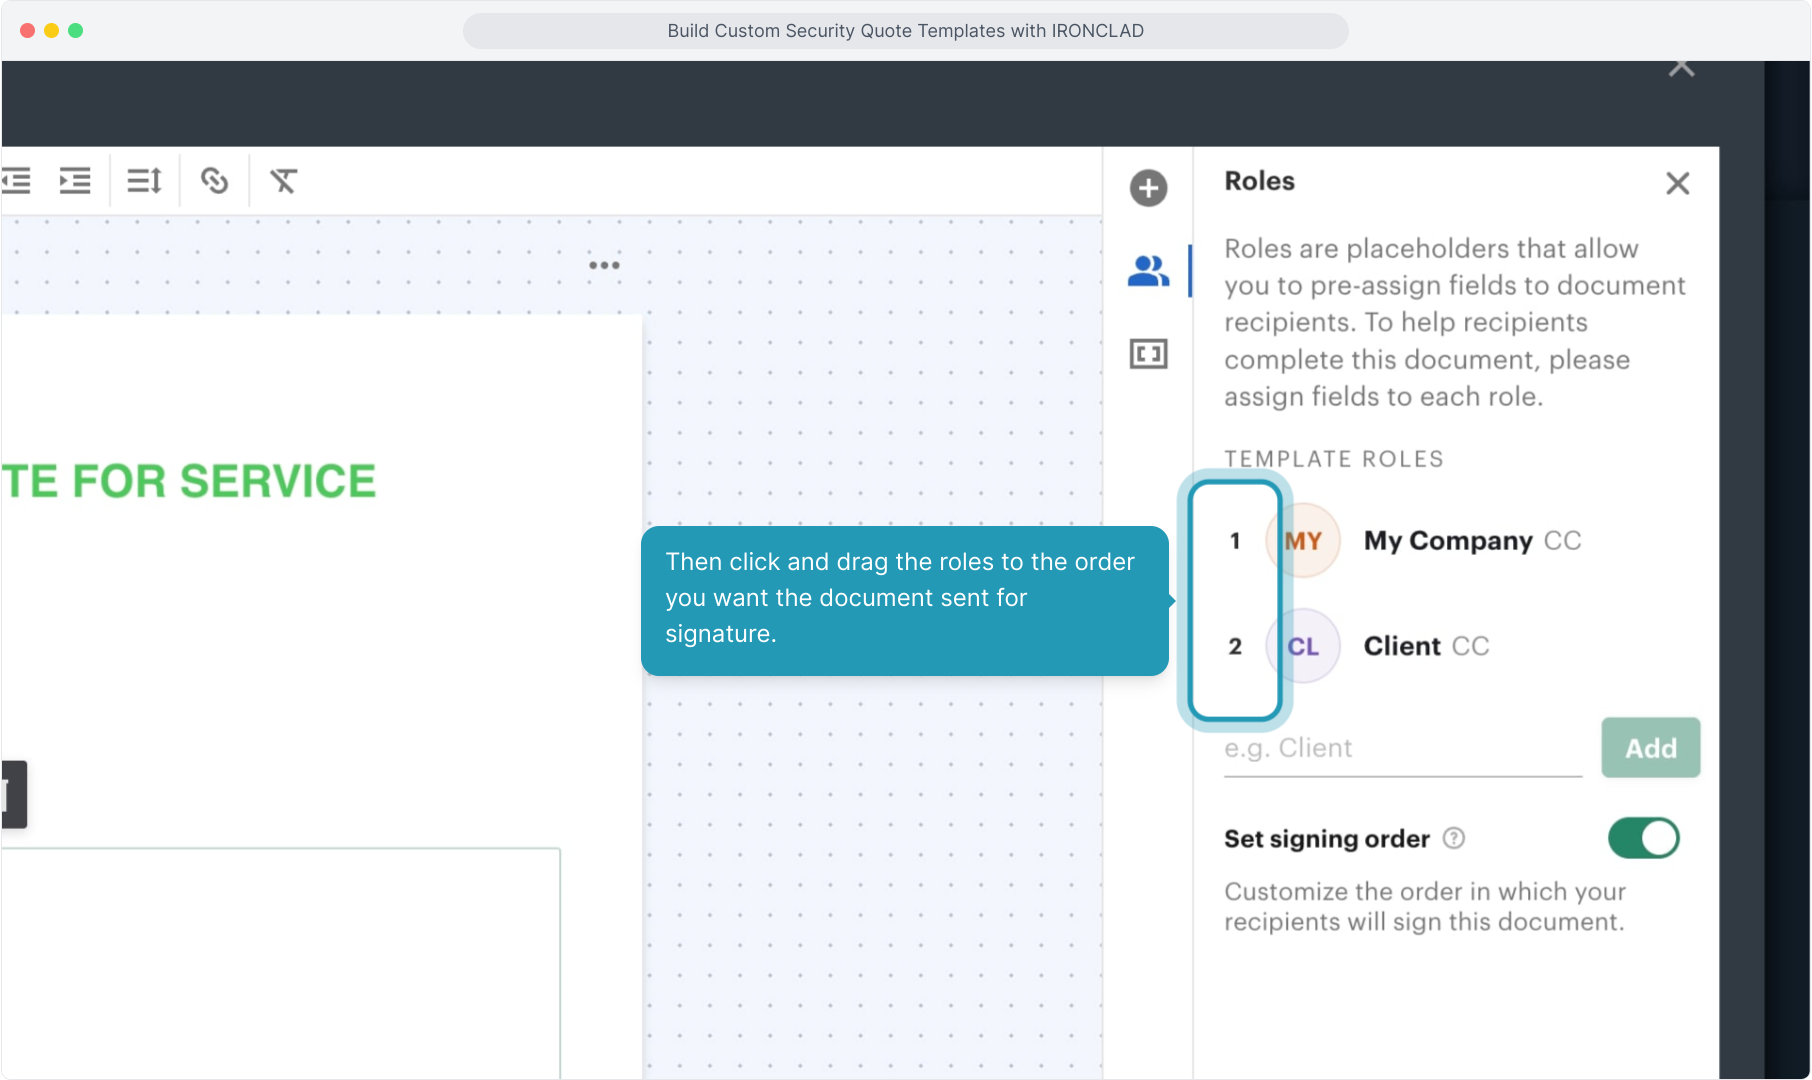
8. Then click and drag the roles to the order you want the document sent for signature.
9. Now you can click to open the Content menu. At the top, you will see the Content Blocks. Content blocks are things like text boxes, images, tables, page breaks, and the quote builder blocks, which are a special type of content block we will talk about later in this training.

10. Below that, you will see Fillable Fields for any roles you have crated in the template. We will look at fillable fields more later in this training.
These are fields that will be required to be filled out when you send the quote to your customer and includes the customer signature. 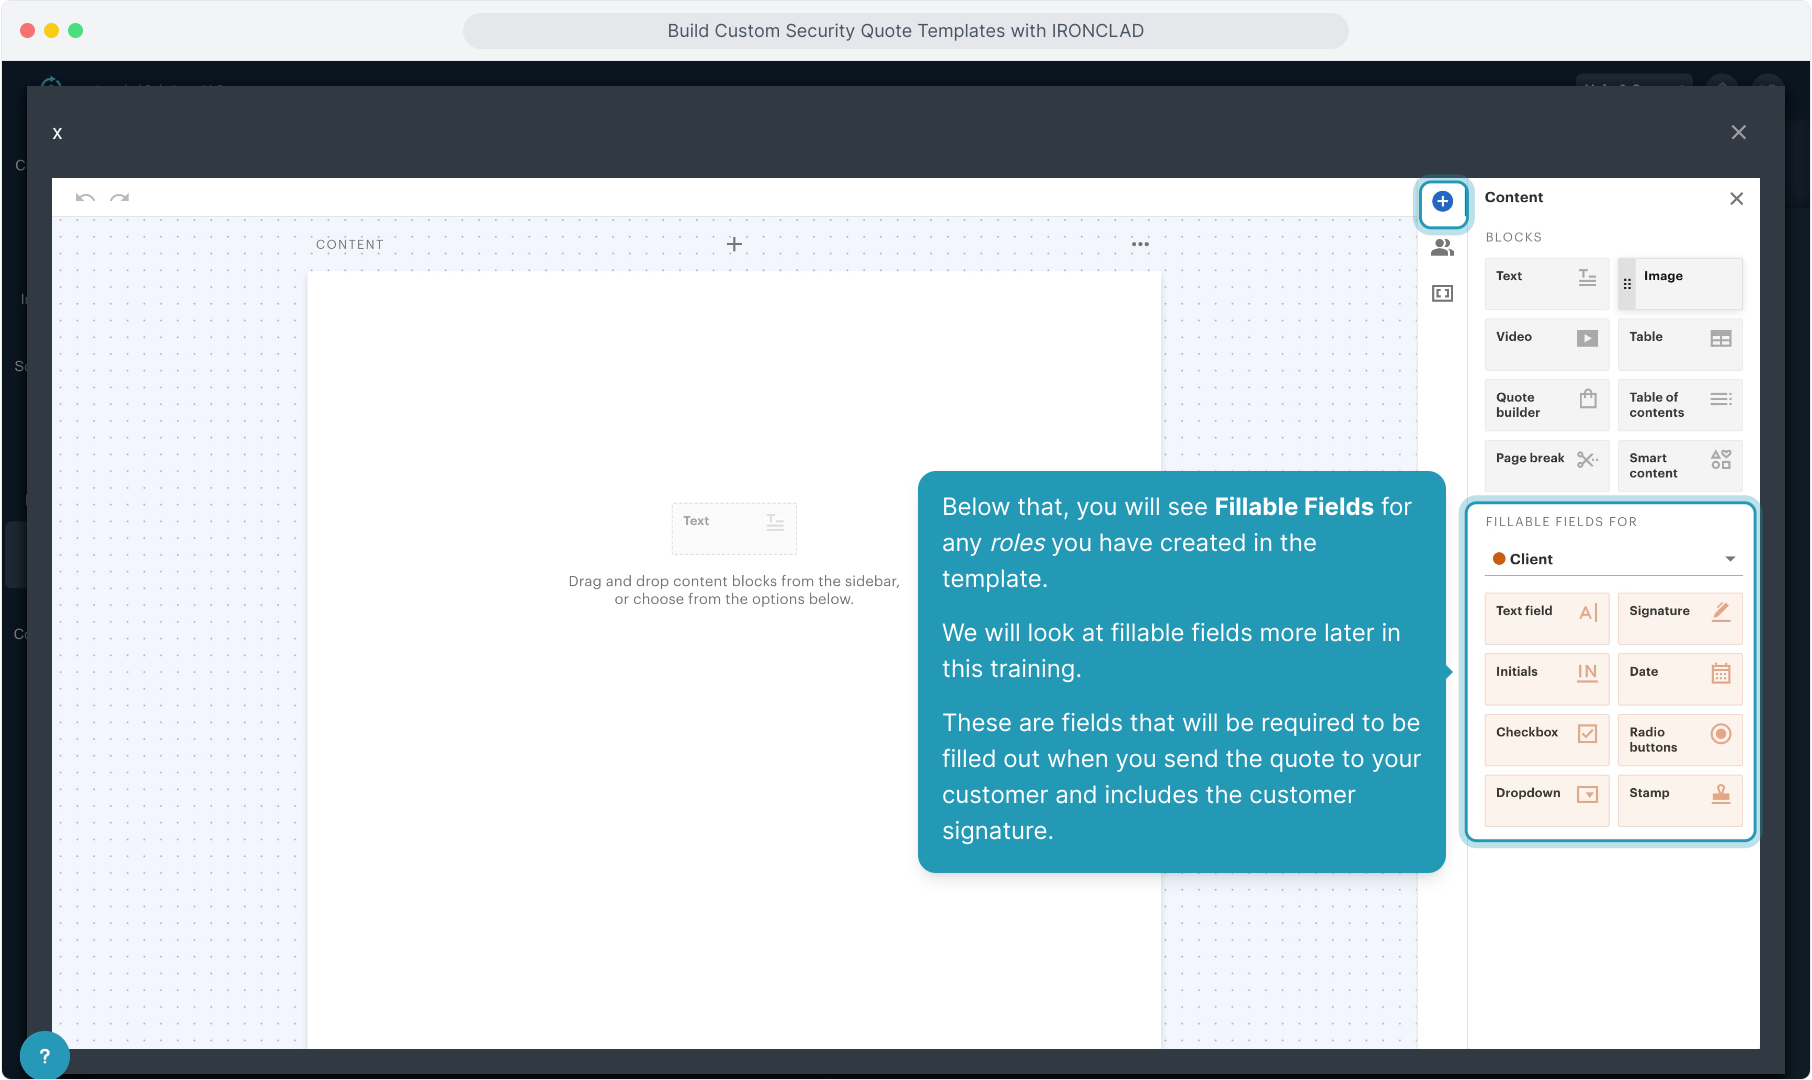
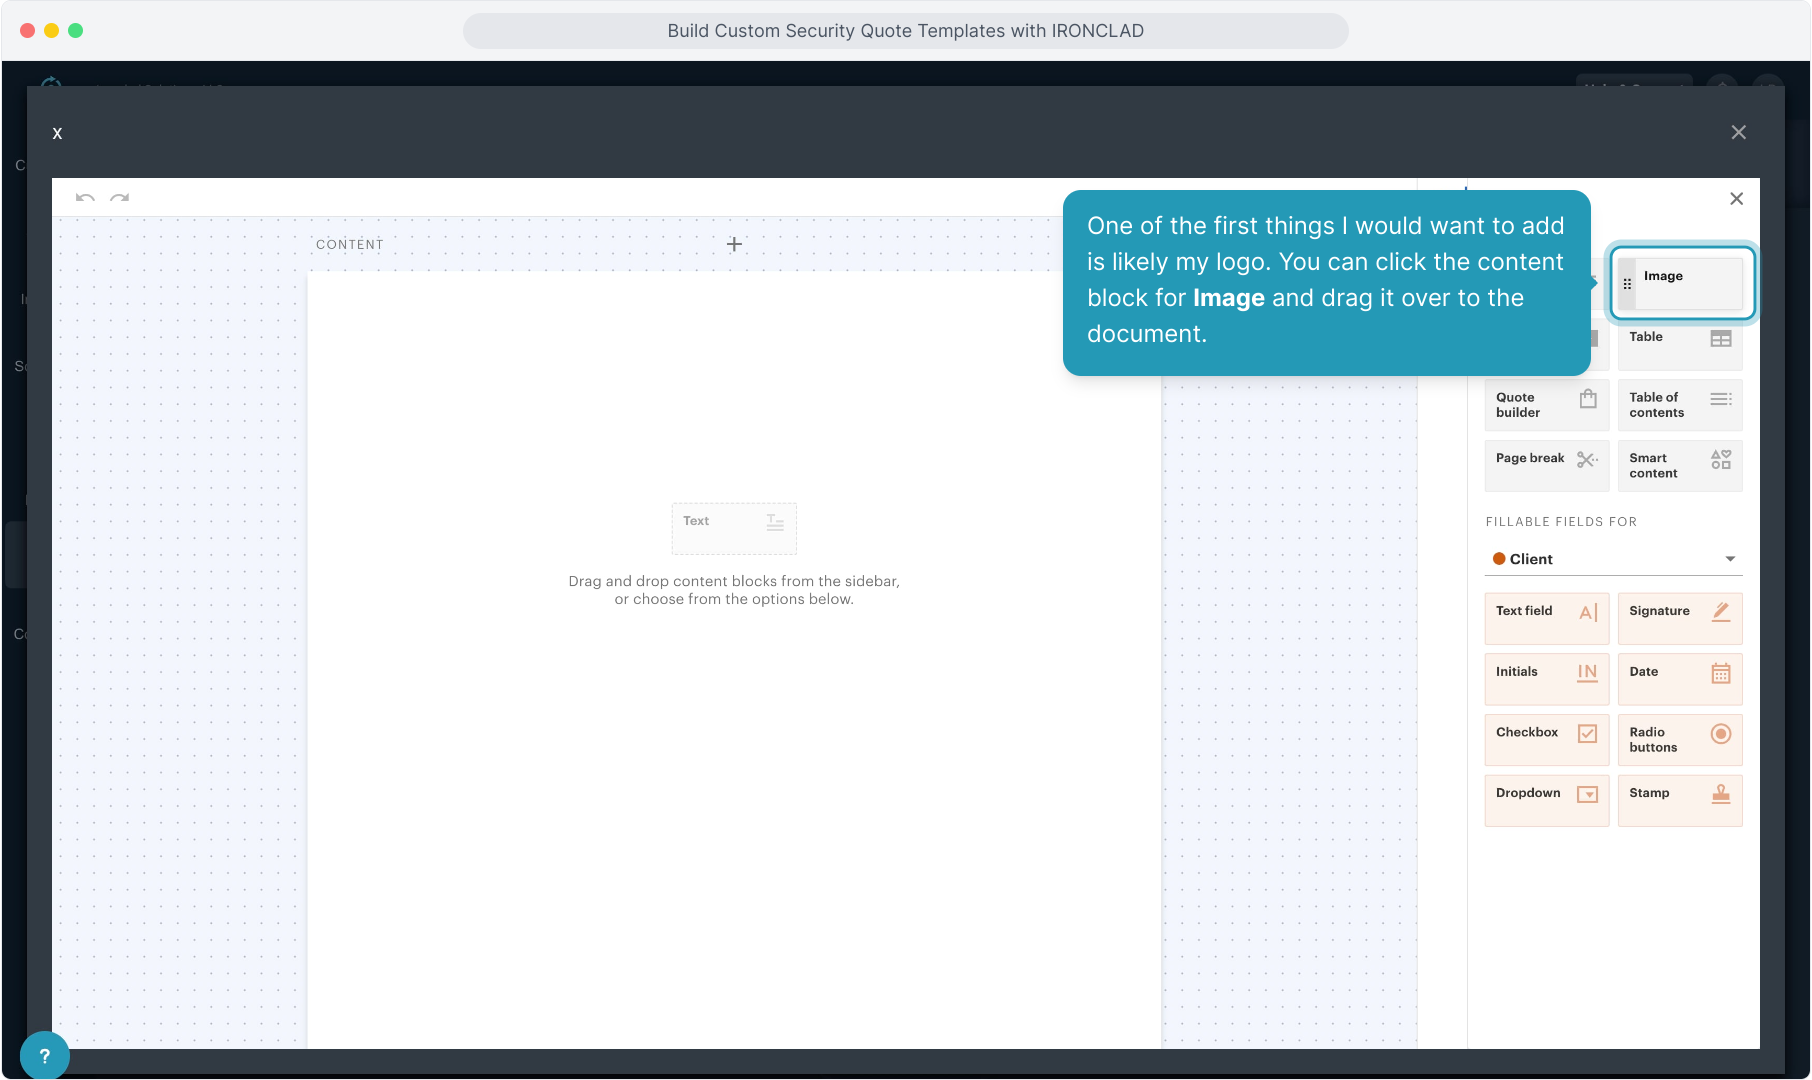
11. One of the first things I would want to add is likely my logo. You can click the content block for Image and drag it over to the document.
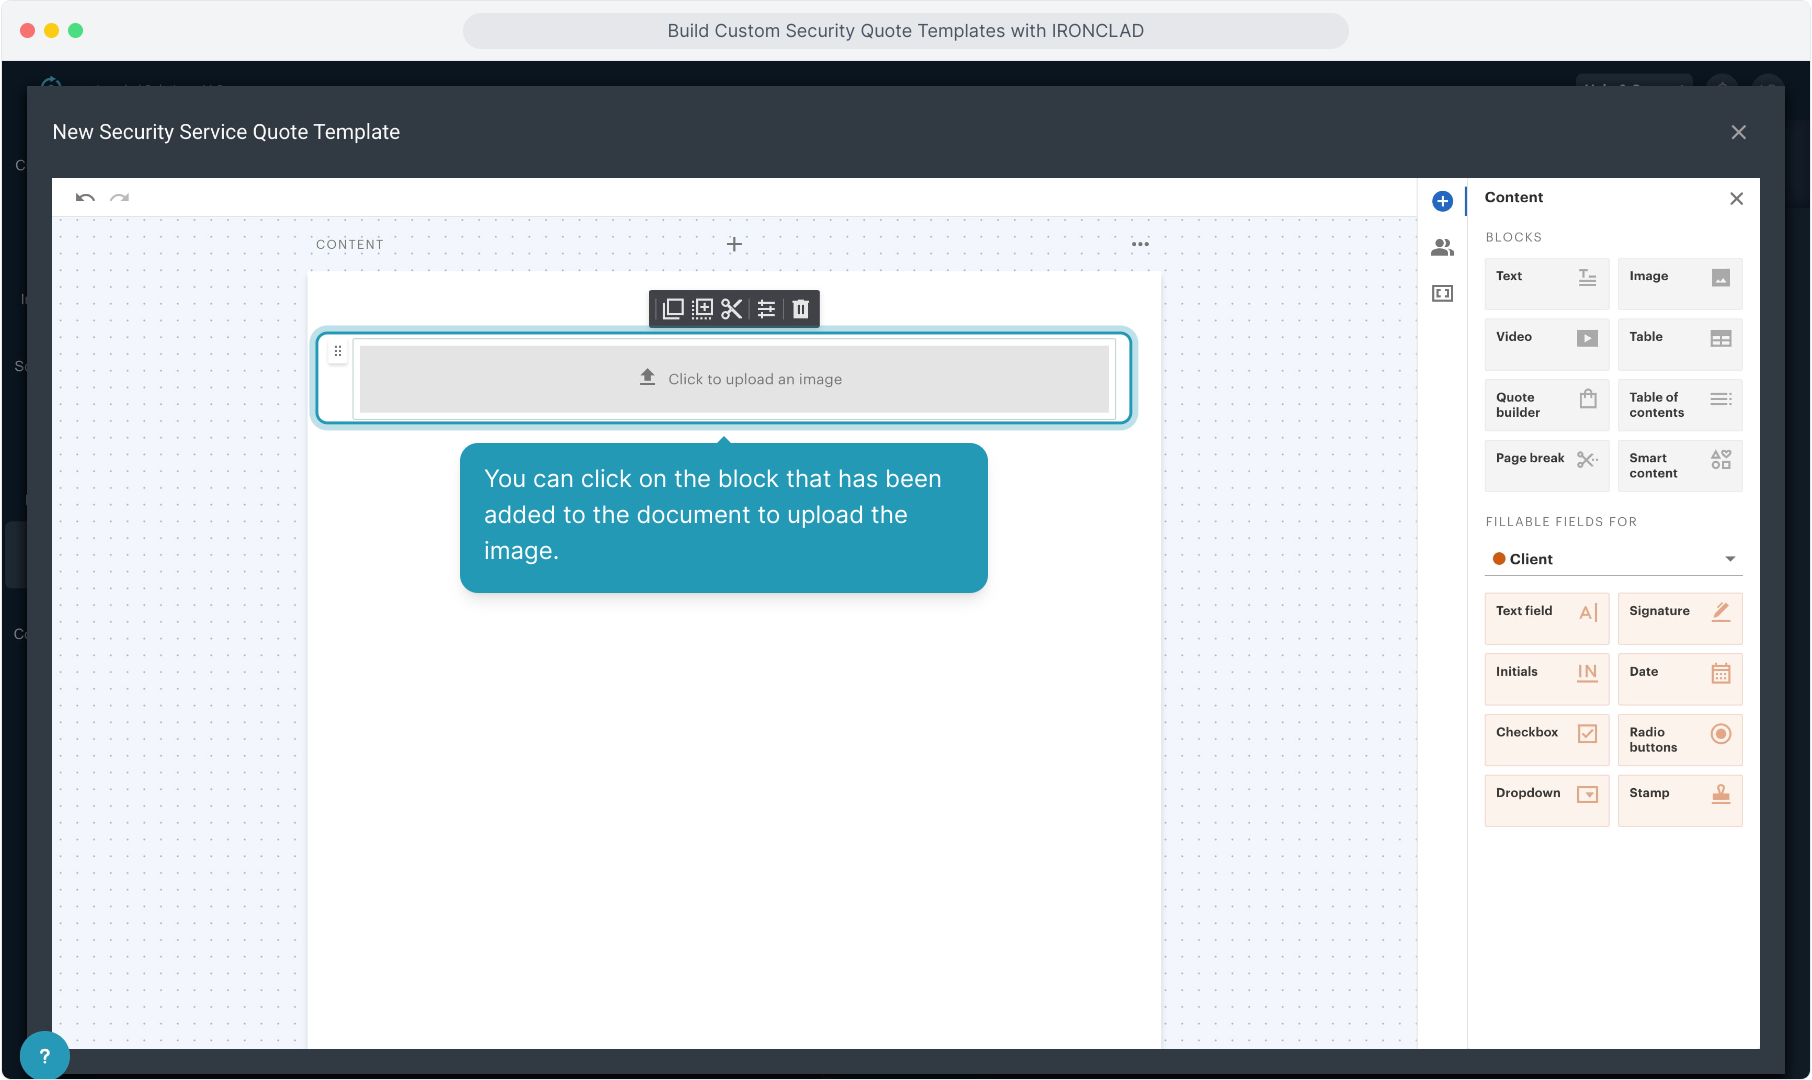
12. You can click on the block that has been added to the document to upload the image.
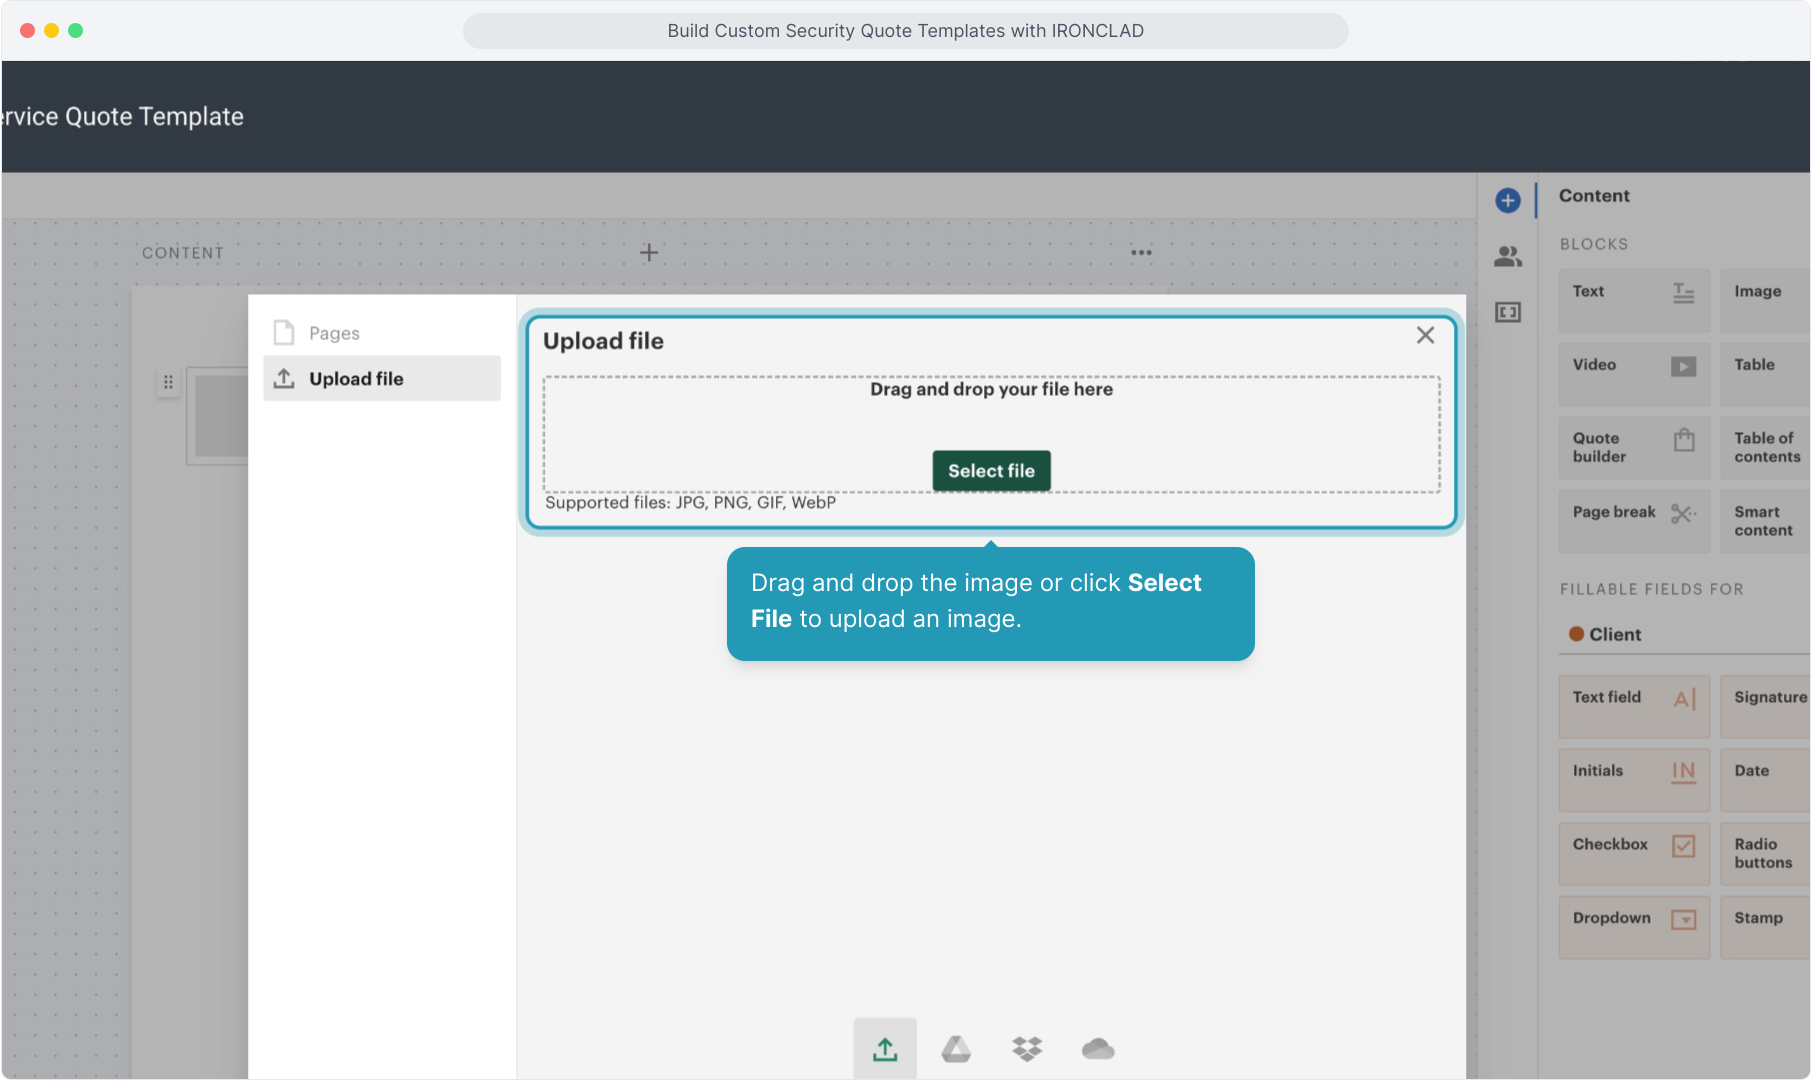
13. Drag and drop the image or click Select File to upload an image.
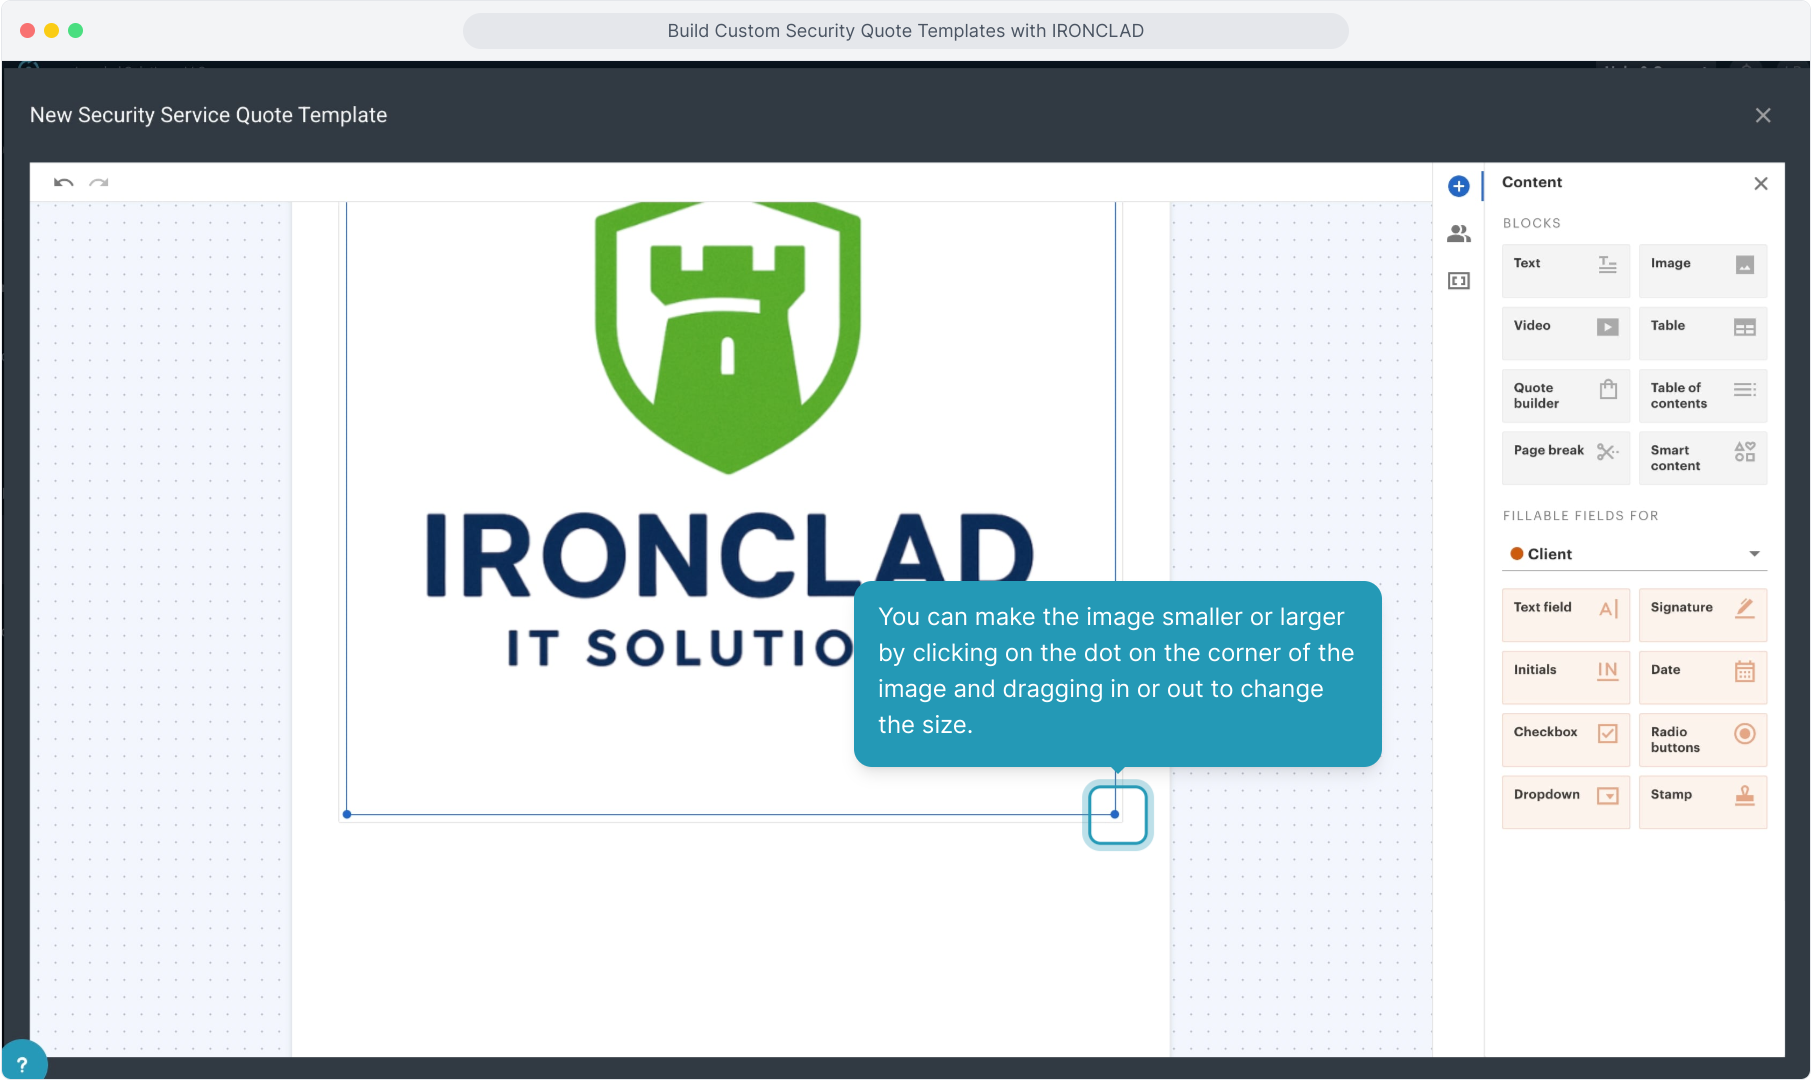
14. You can make the image smaller or larger by clicking on the dot on the corner of the image and dragging in or out to change the size.
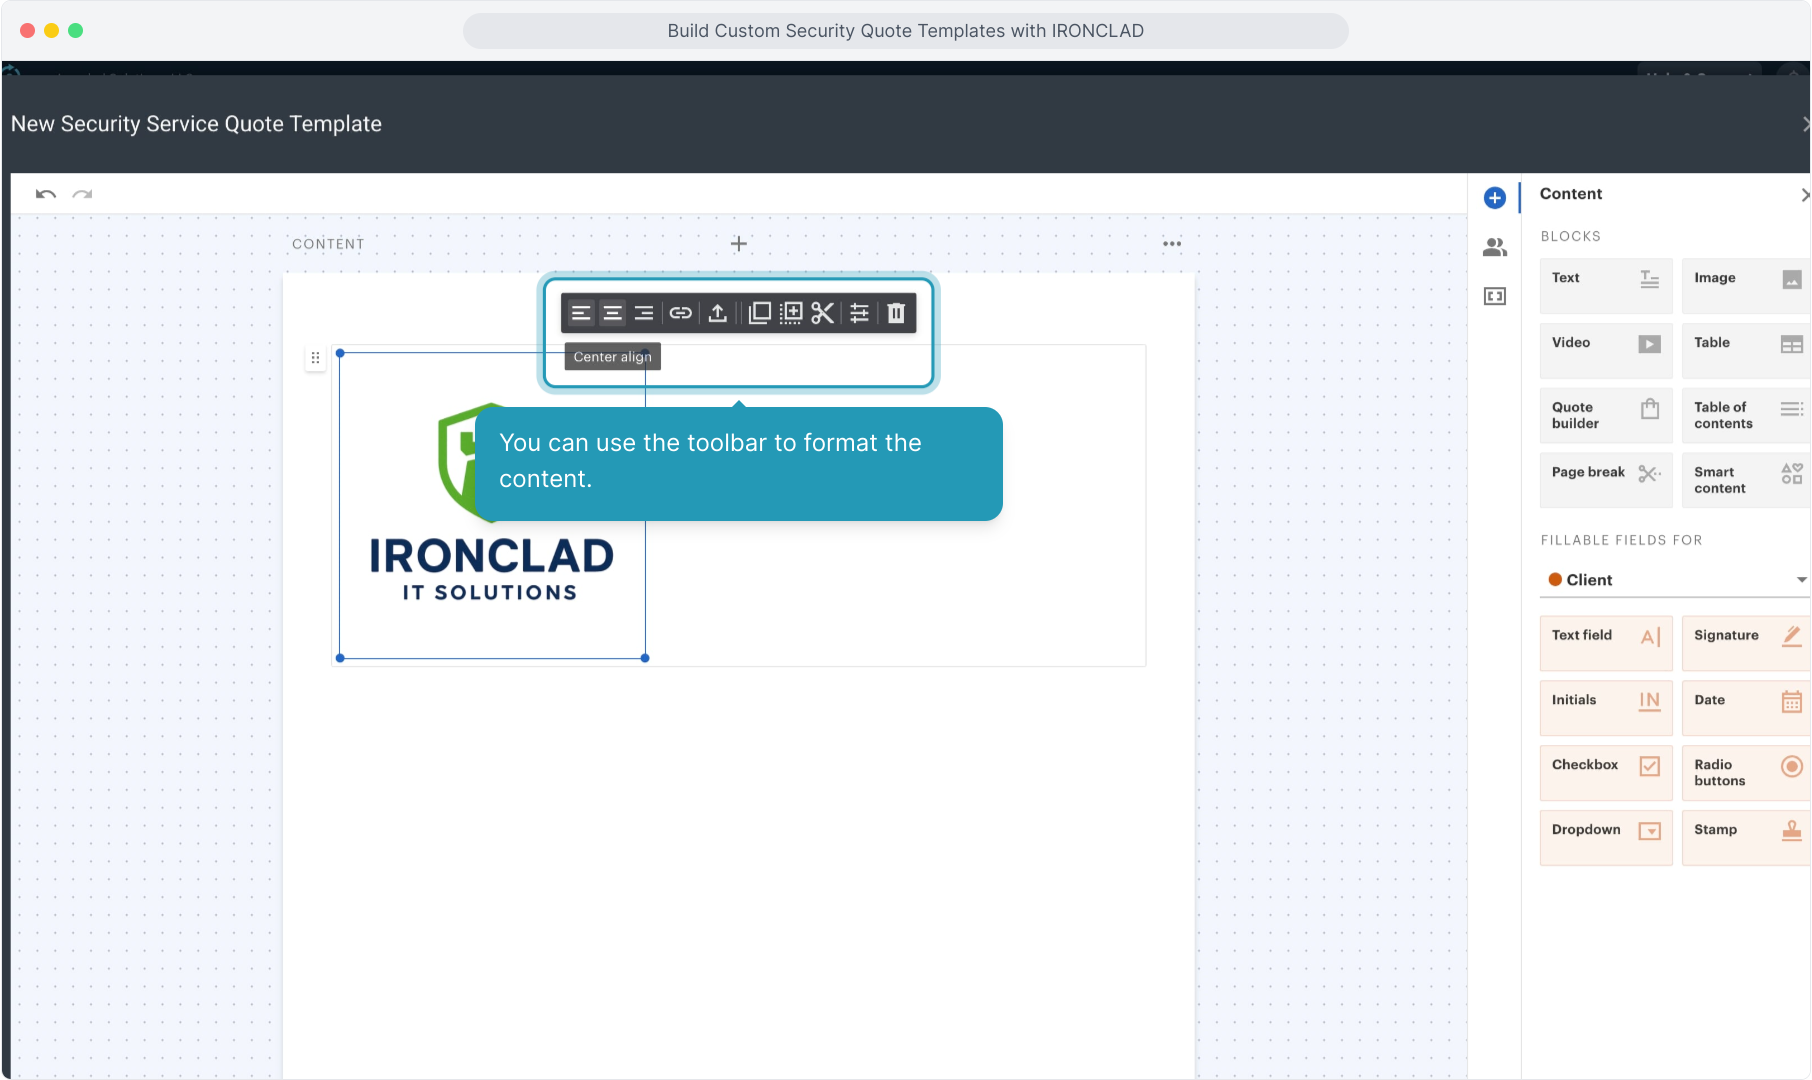
15. You can use the toolbar to format the content.
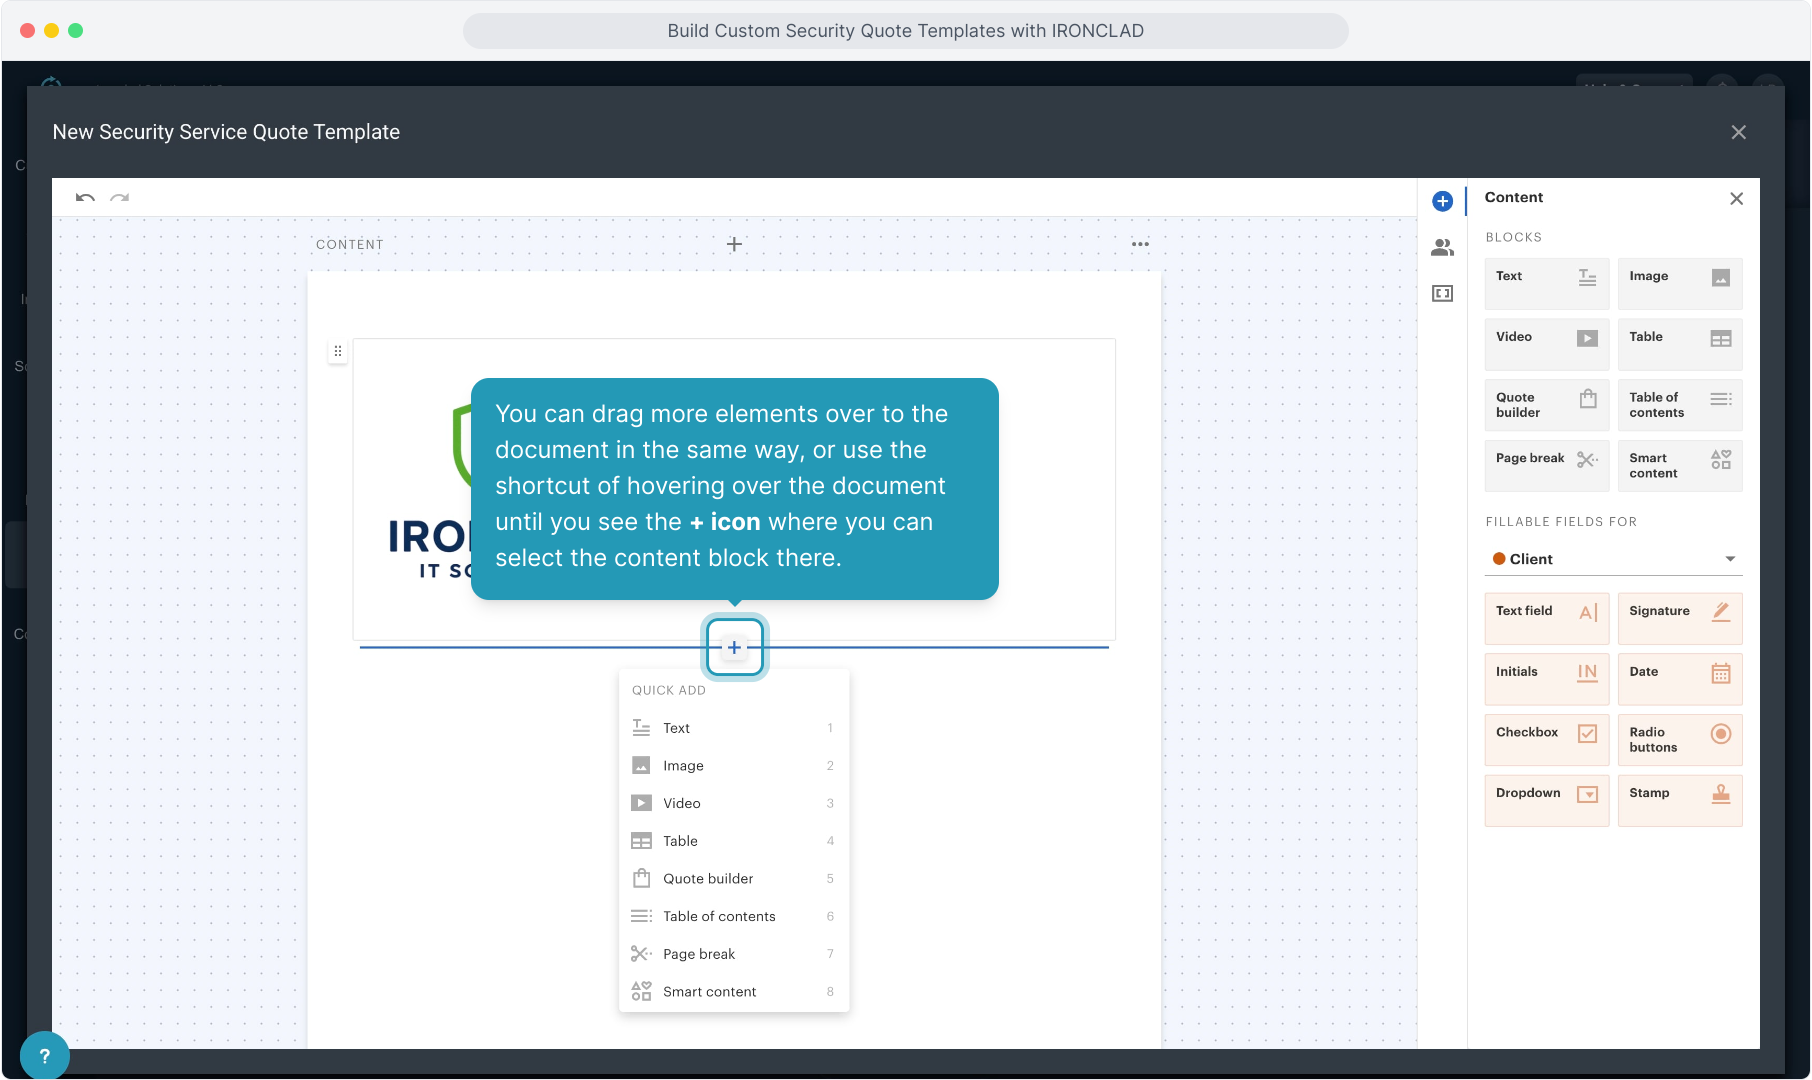
16. You can drag more elements over to the document in the same way, or use the shortcut of hovering over the document until you see the + icon where you can select the content block there.
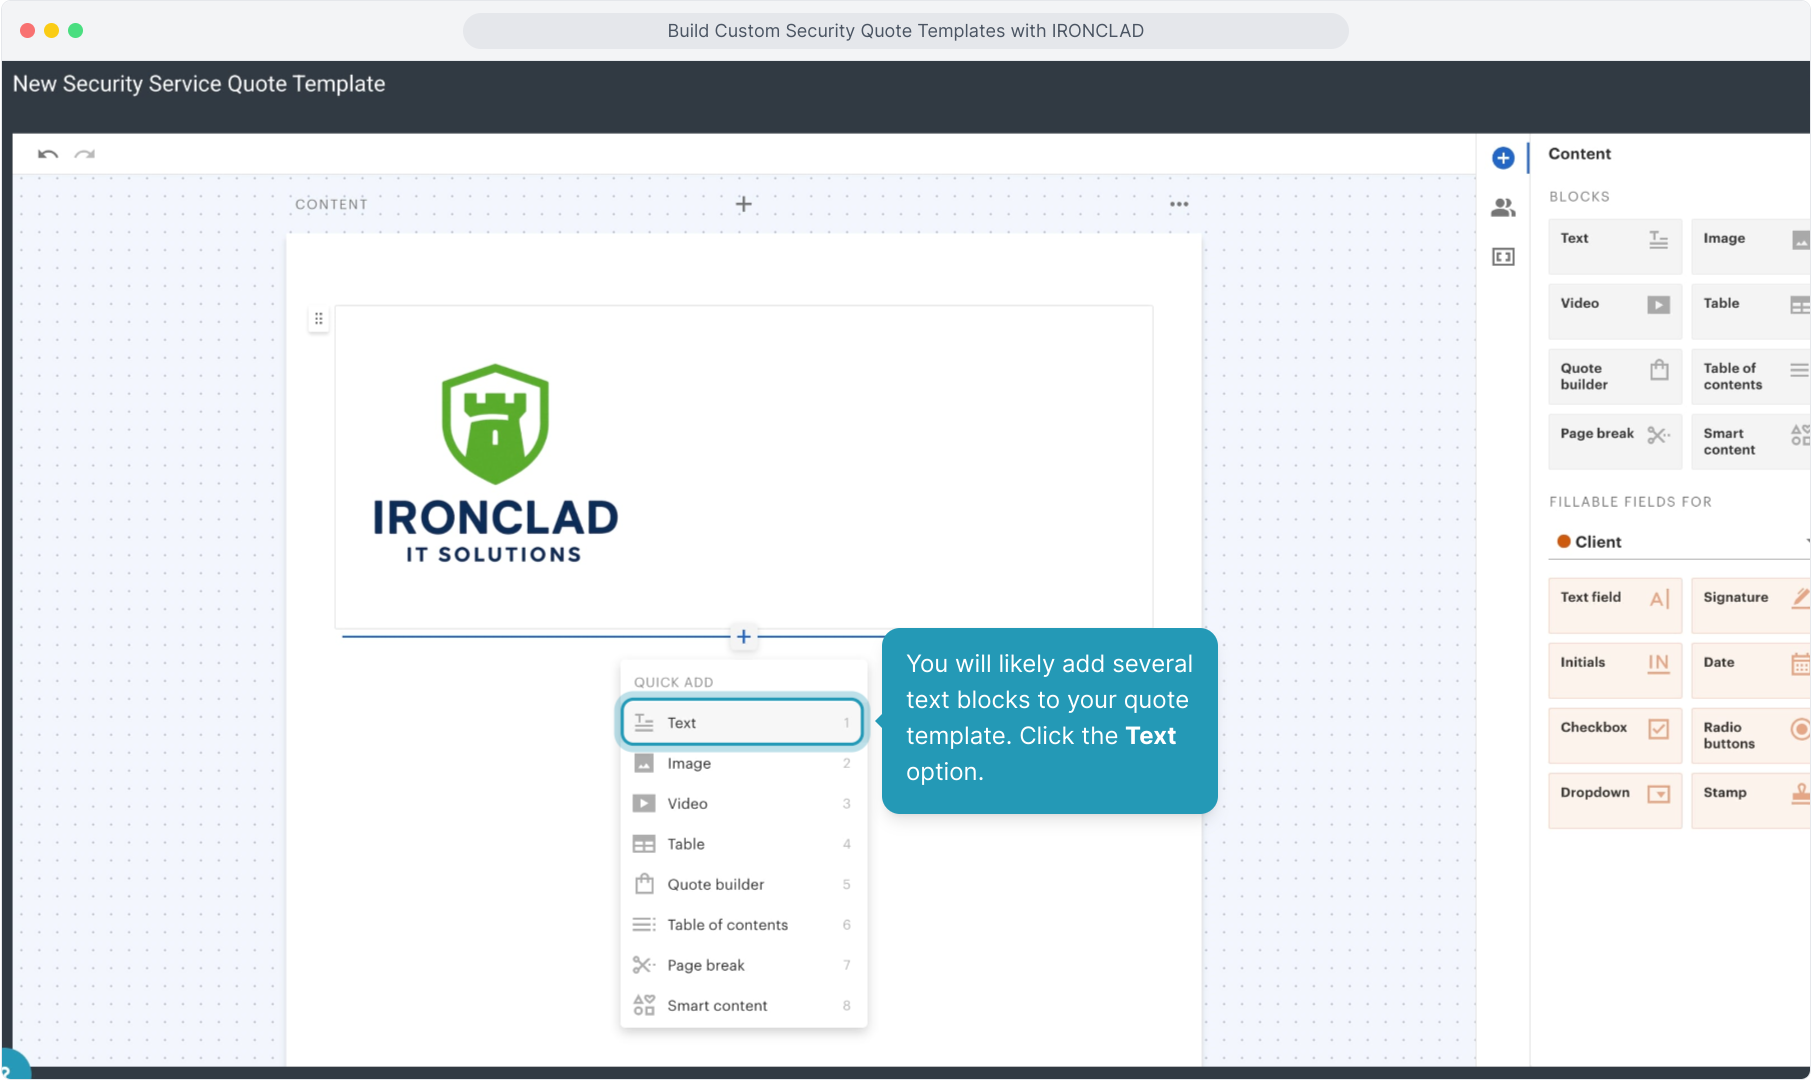
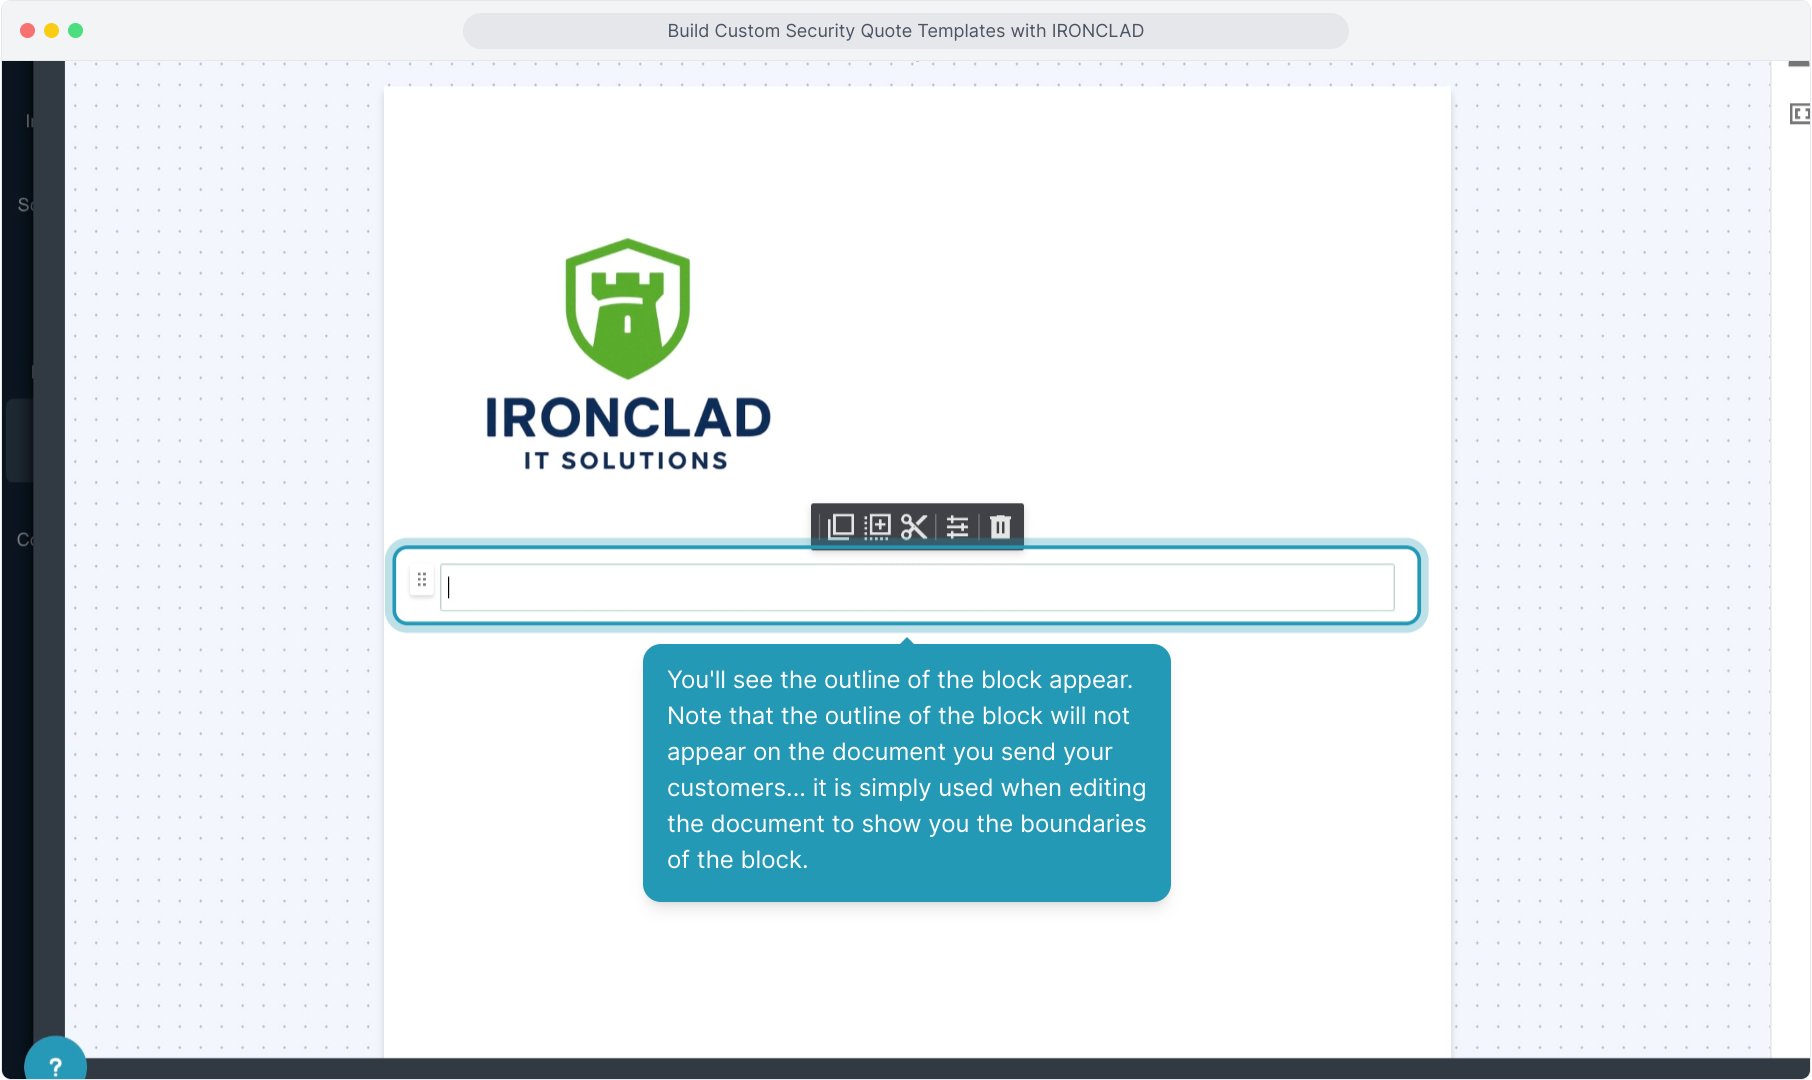
17. You will likely add several text blocks to your quote template. Click the Text option.
18. You'll see the outline of the block appear. Note that the outline of the block will not appear on the document you send your customers... it is simply used when editing the document to show you the boundaries of the block.
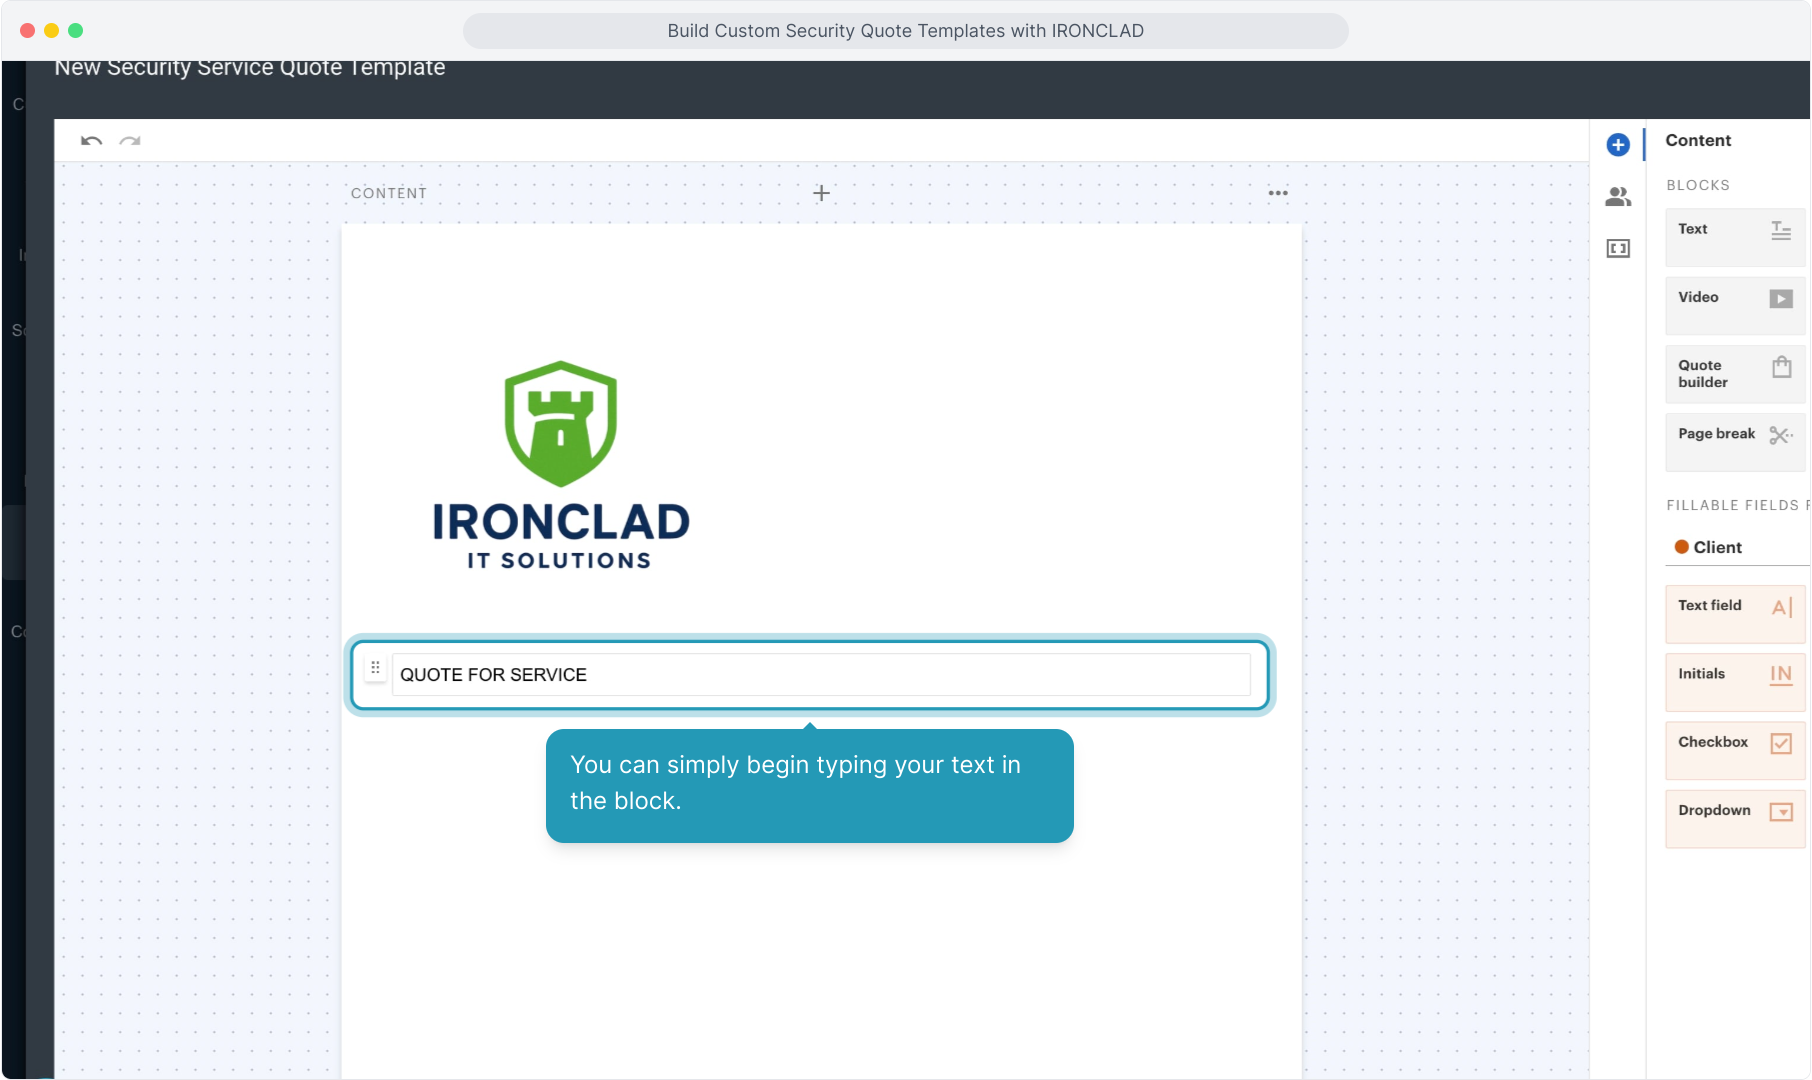
19. You can simply begin typing your text in the block.
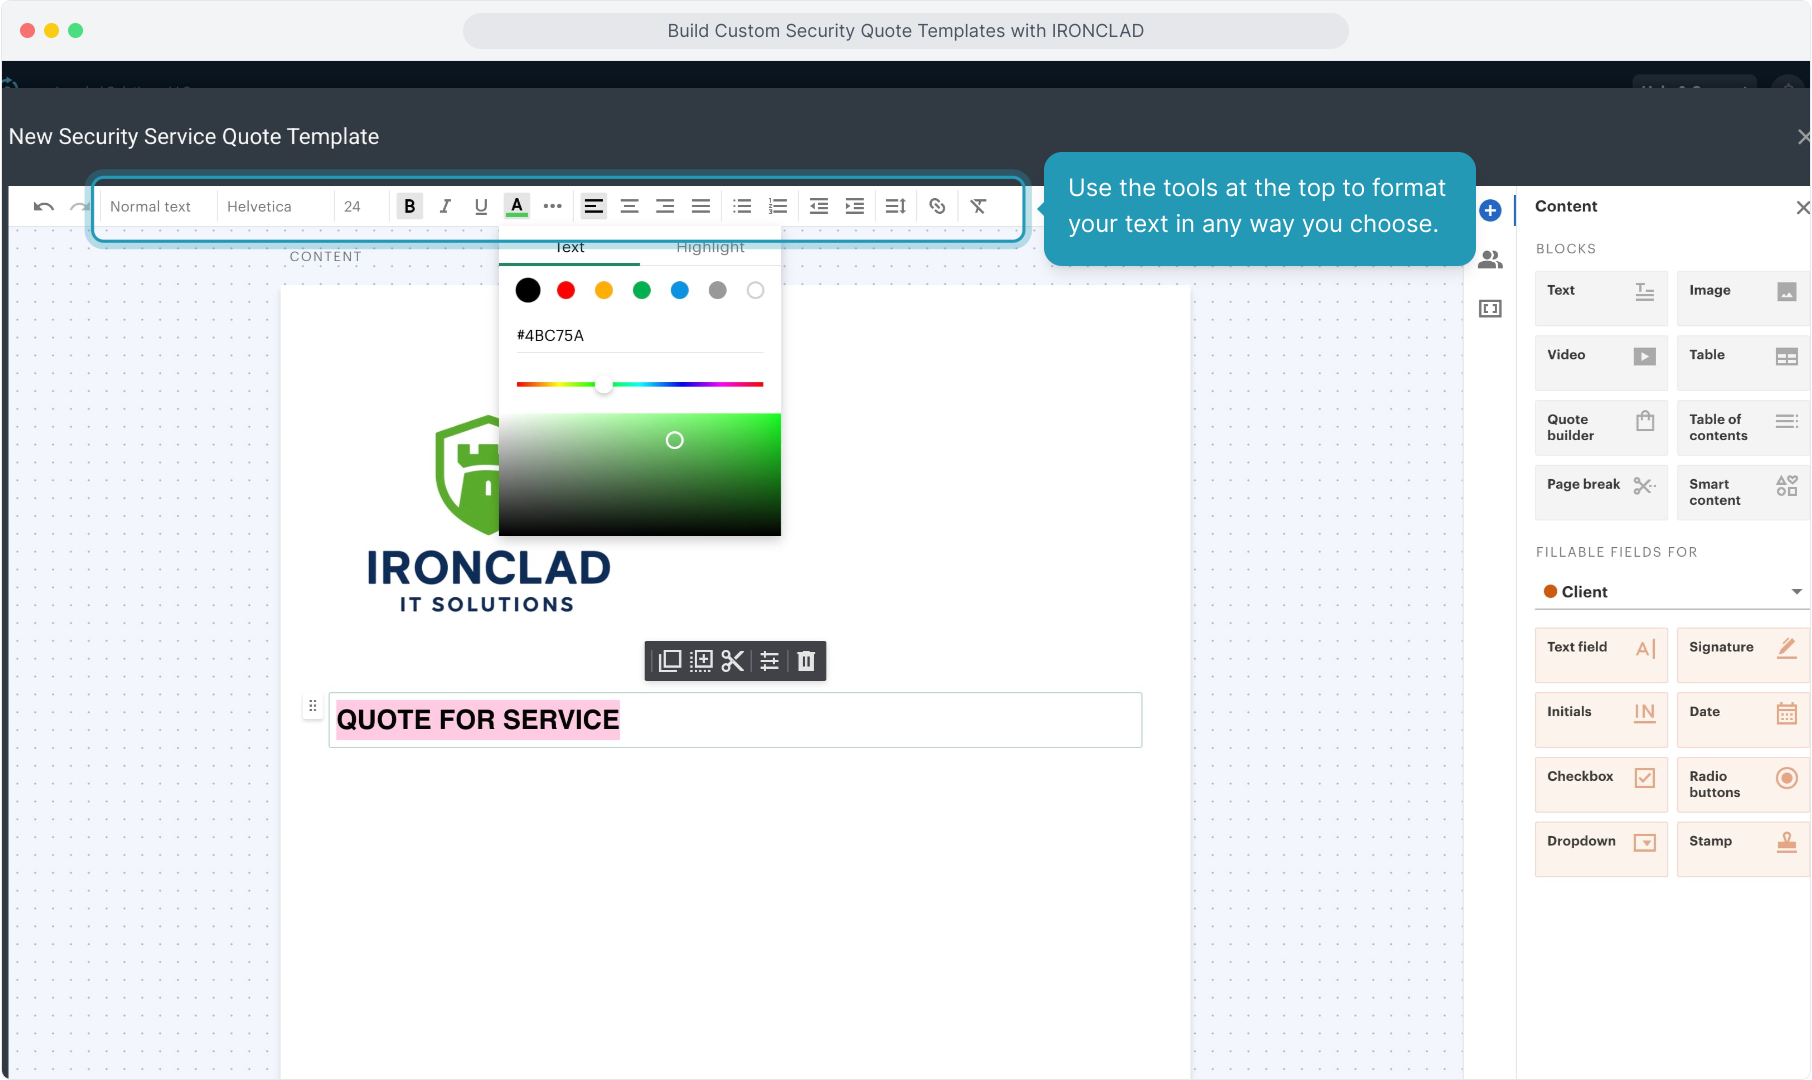
20. Use the tools at the top to format your text in any way you choose.
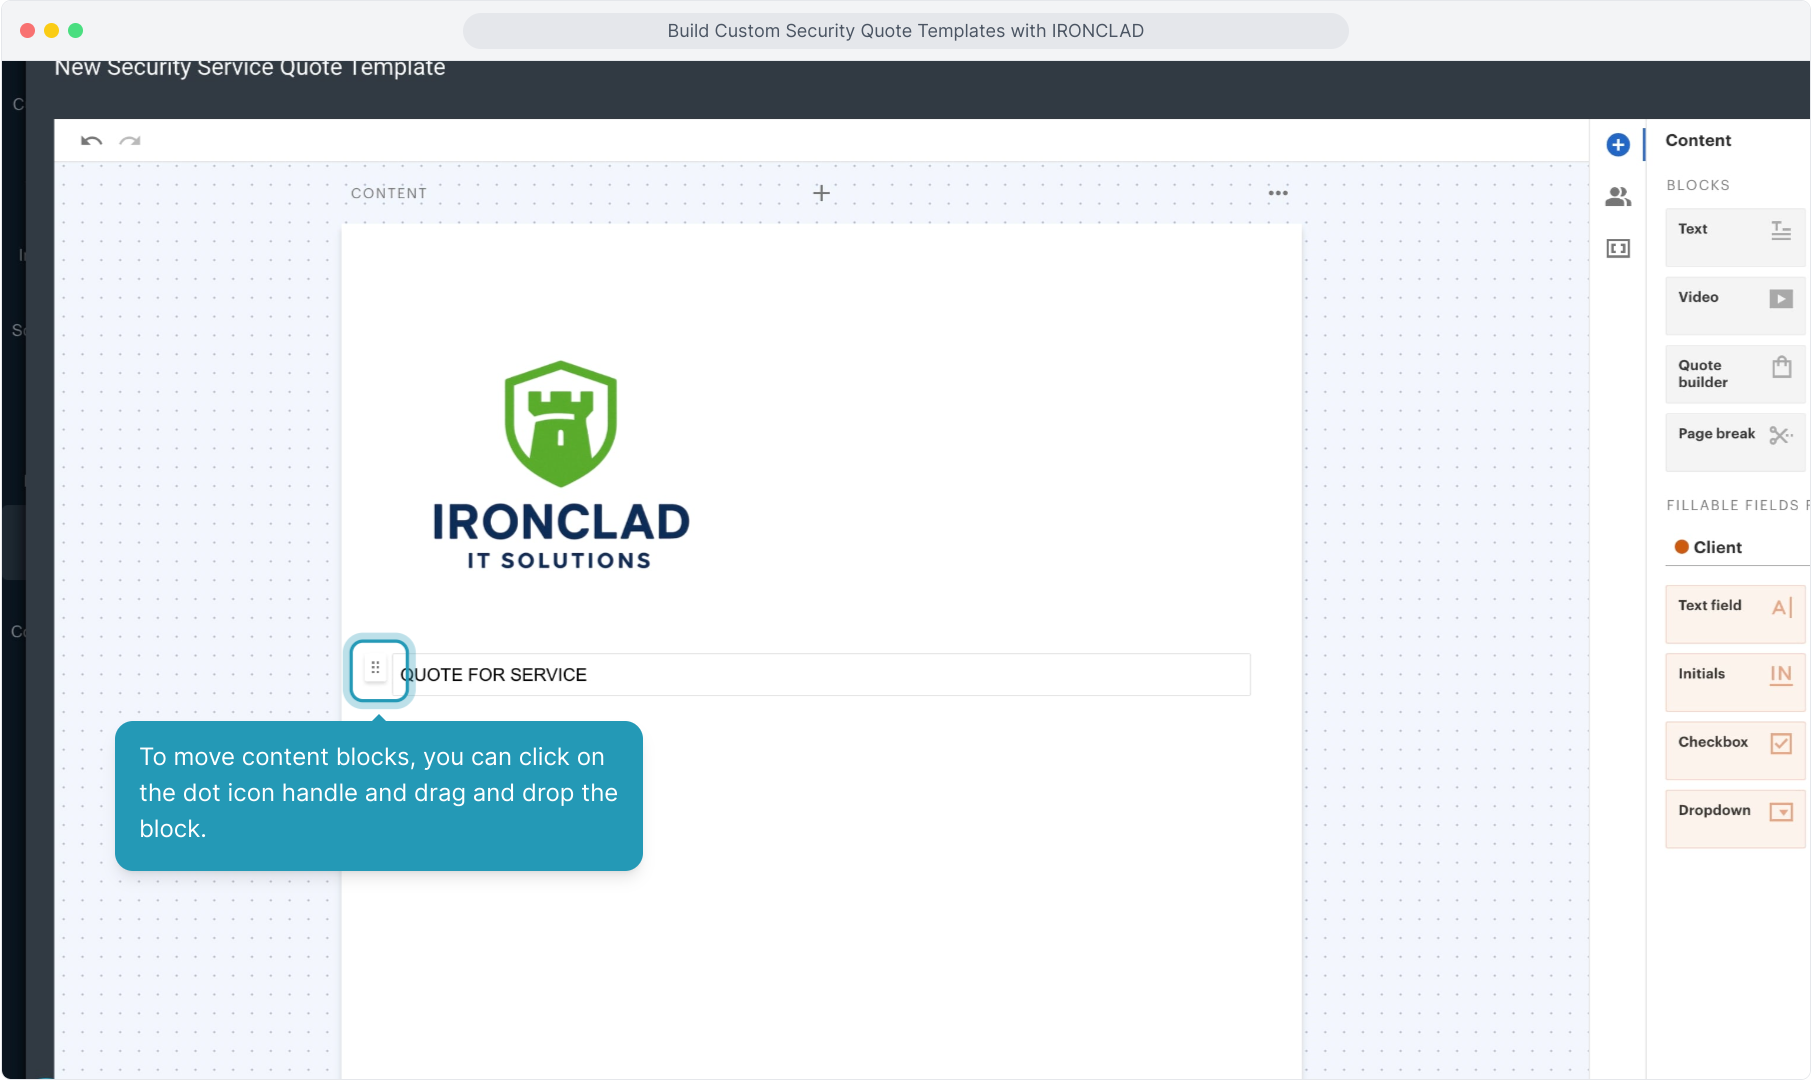
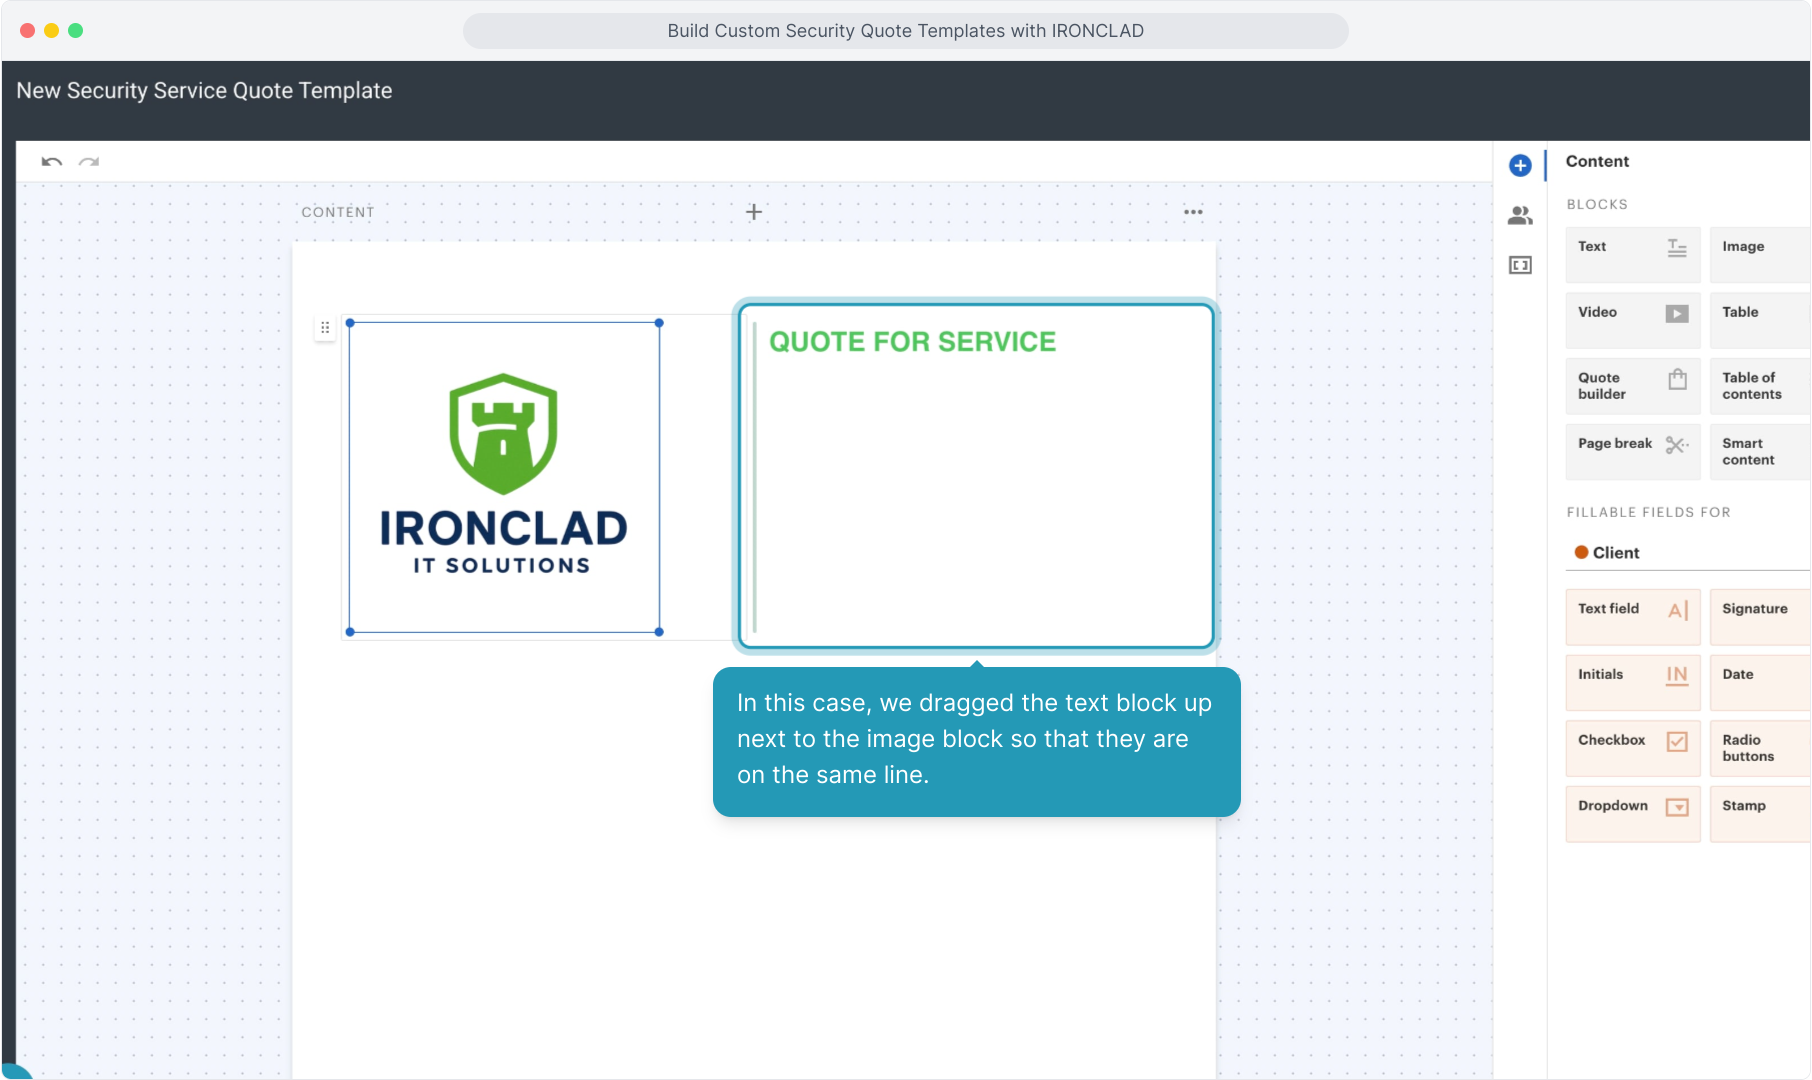
21. To move content blocks, you can click on the dot icon handle and drag and drop the block.
22. In this case, we dragged the text block up next to the image block so that they are on the same line.
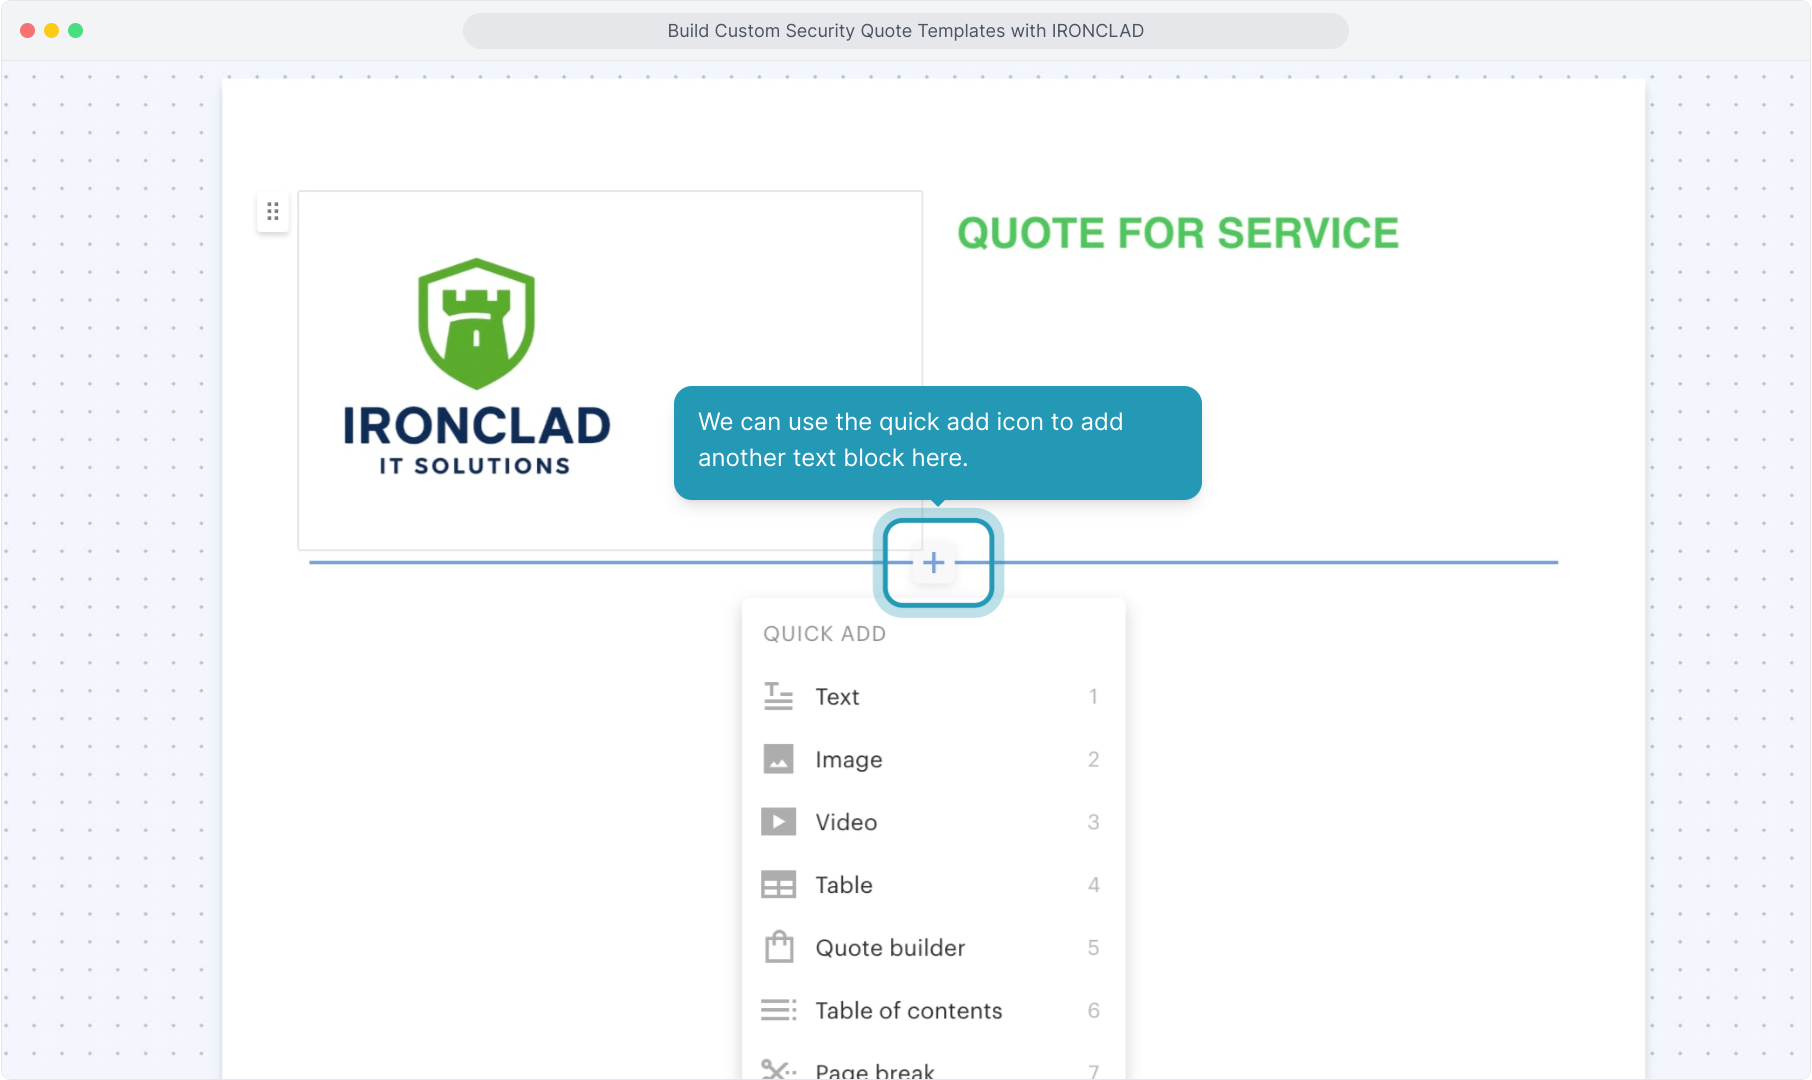
23. We can use the quick add icon to add another text block here.
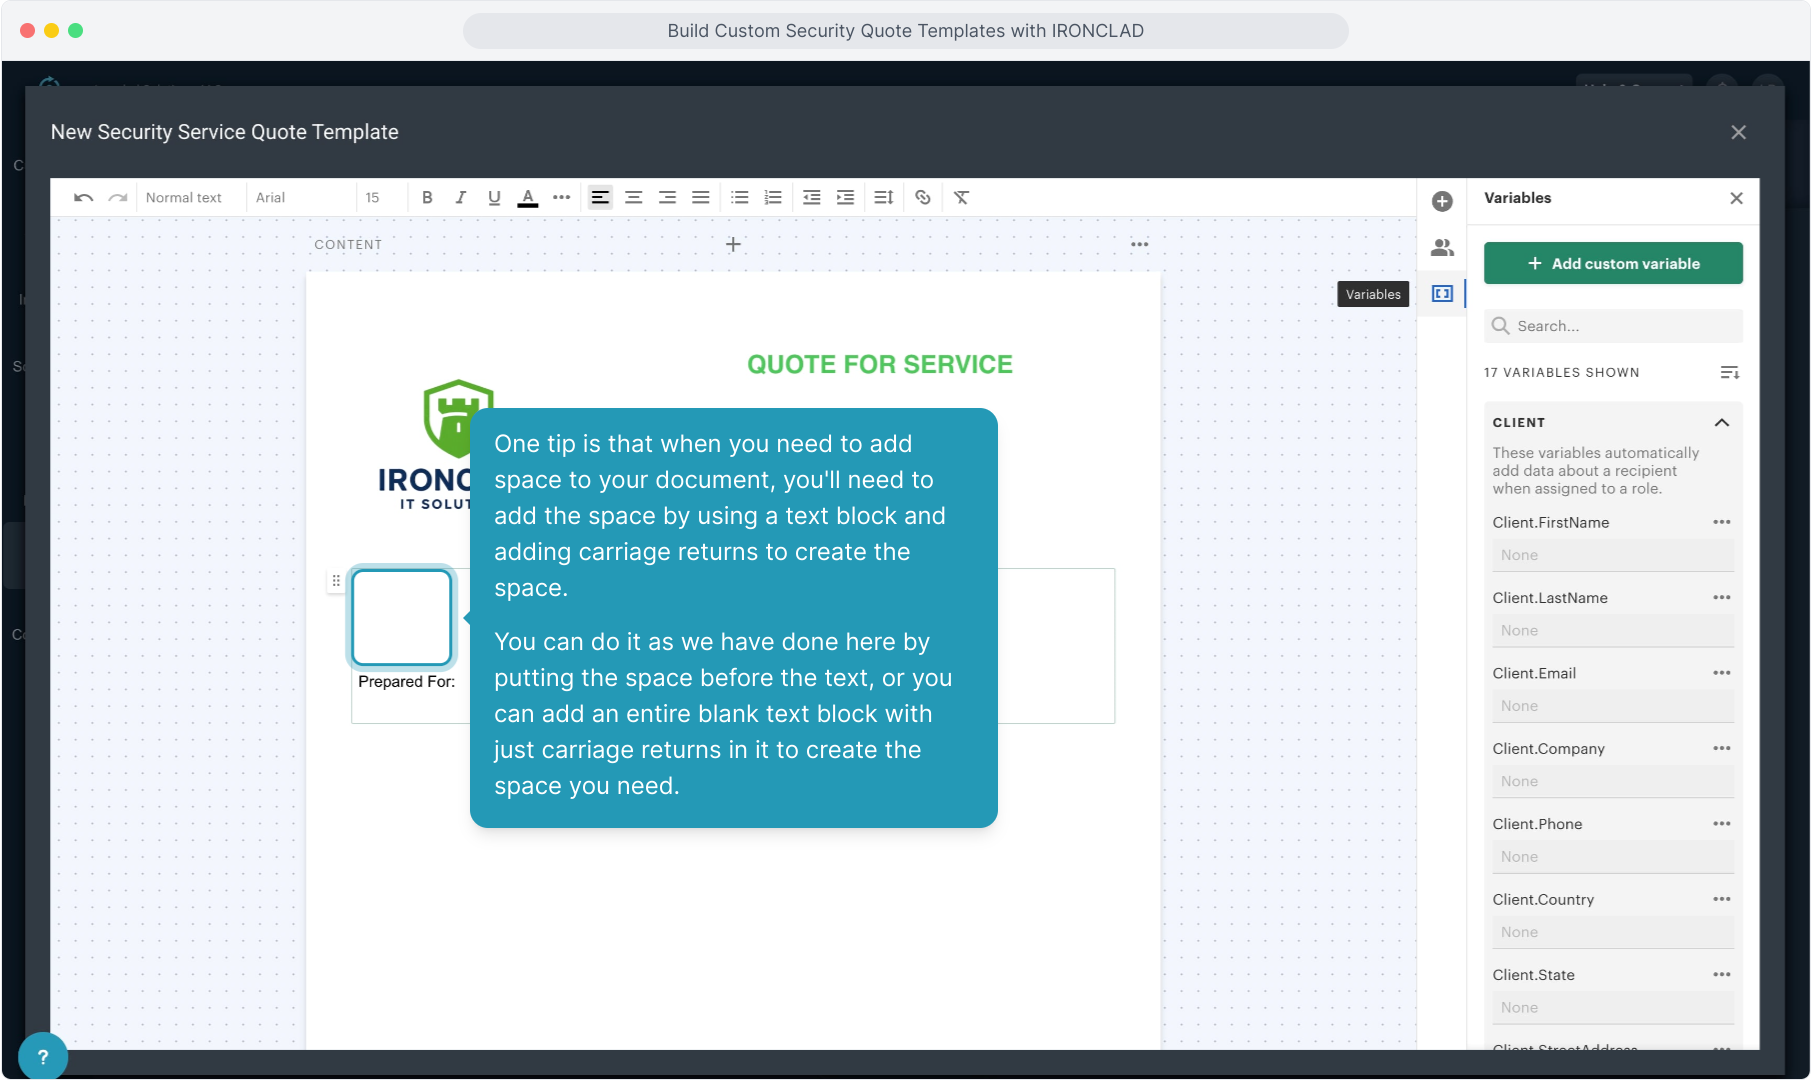
24. One tip is that when you need to add space to your document, you'll need to add the space by using a text block and adding carriage returns to create the space.
You can do it as we have done here by putting the space before the text, or you can add an entire blank text block with just carriage returns in it to create the space you need.
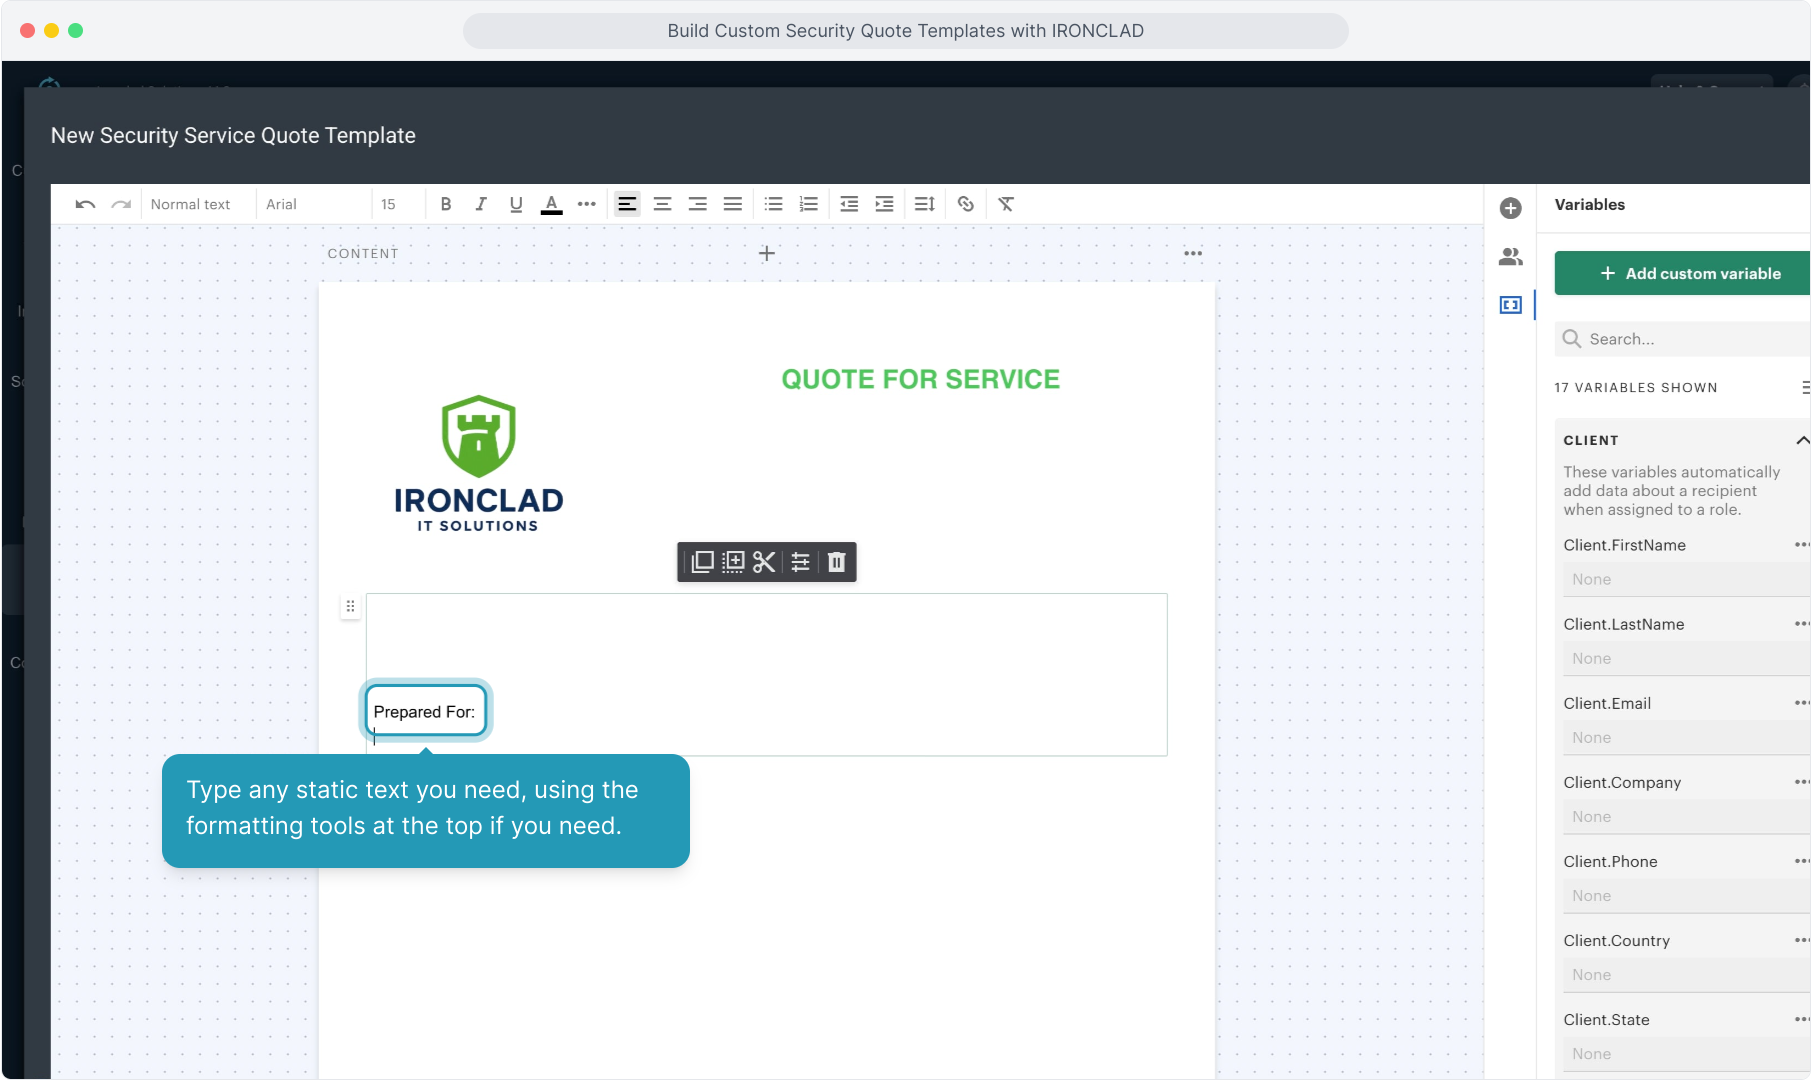
25. Type any static text you need, using the formatting tools at the top if you need.
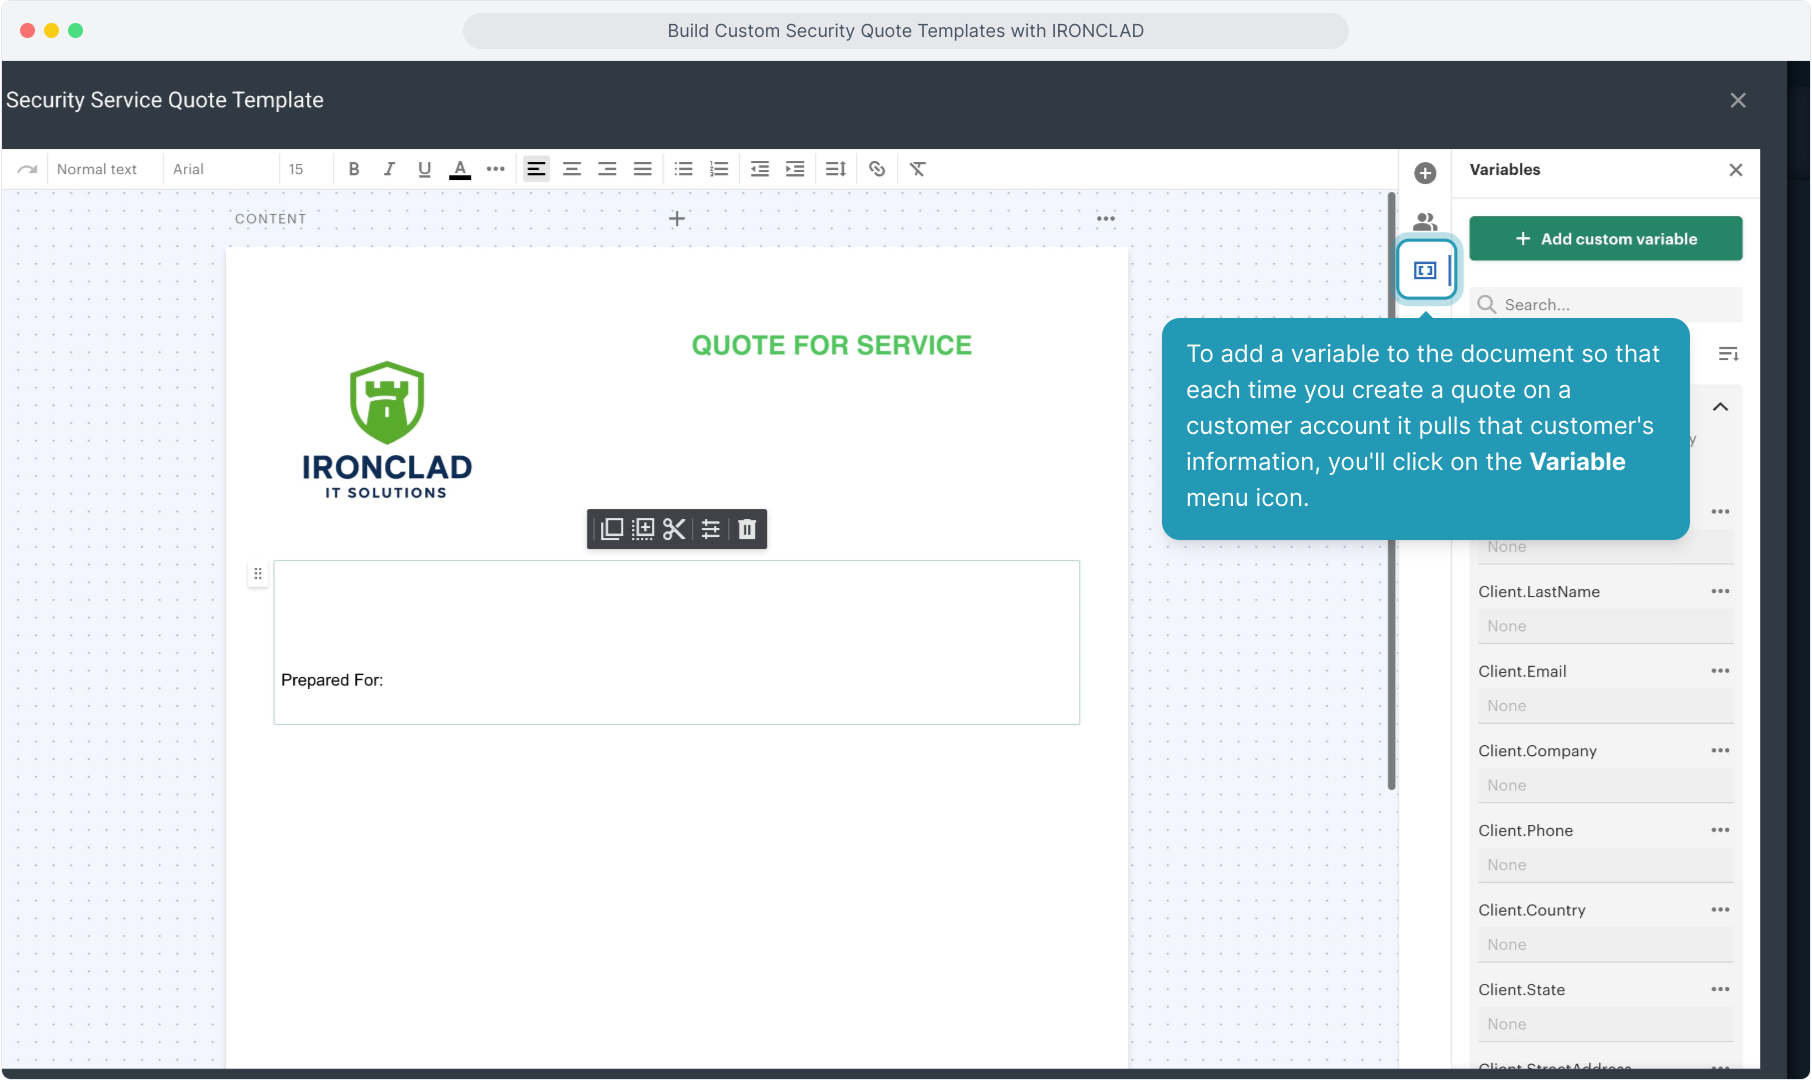
26. To add a variable to the document so that each time you create a quote on a customer account it pulls that customer's information, you'll click on the Variable menu icon.
27. You'll see variables for the Client role and any other roles you created earlier.
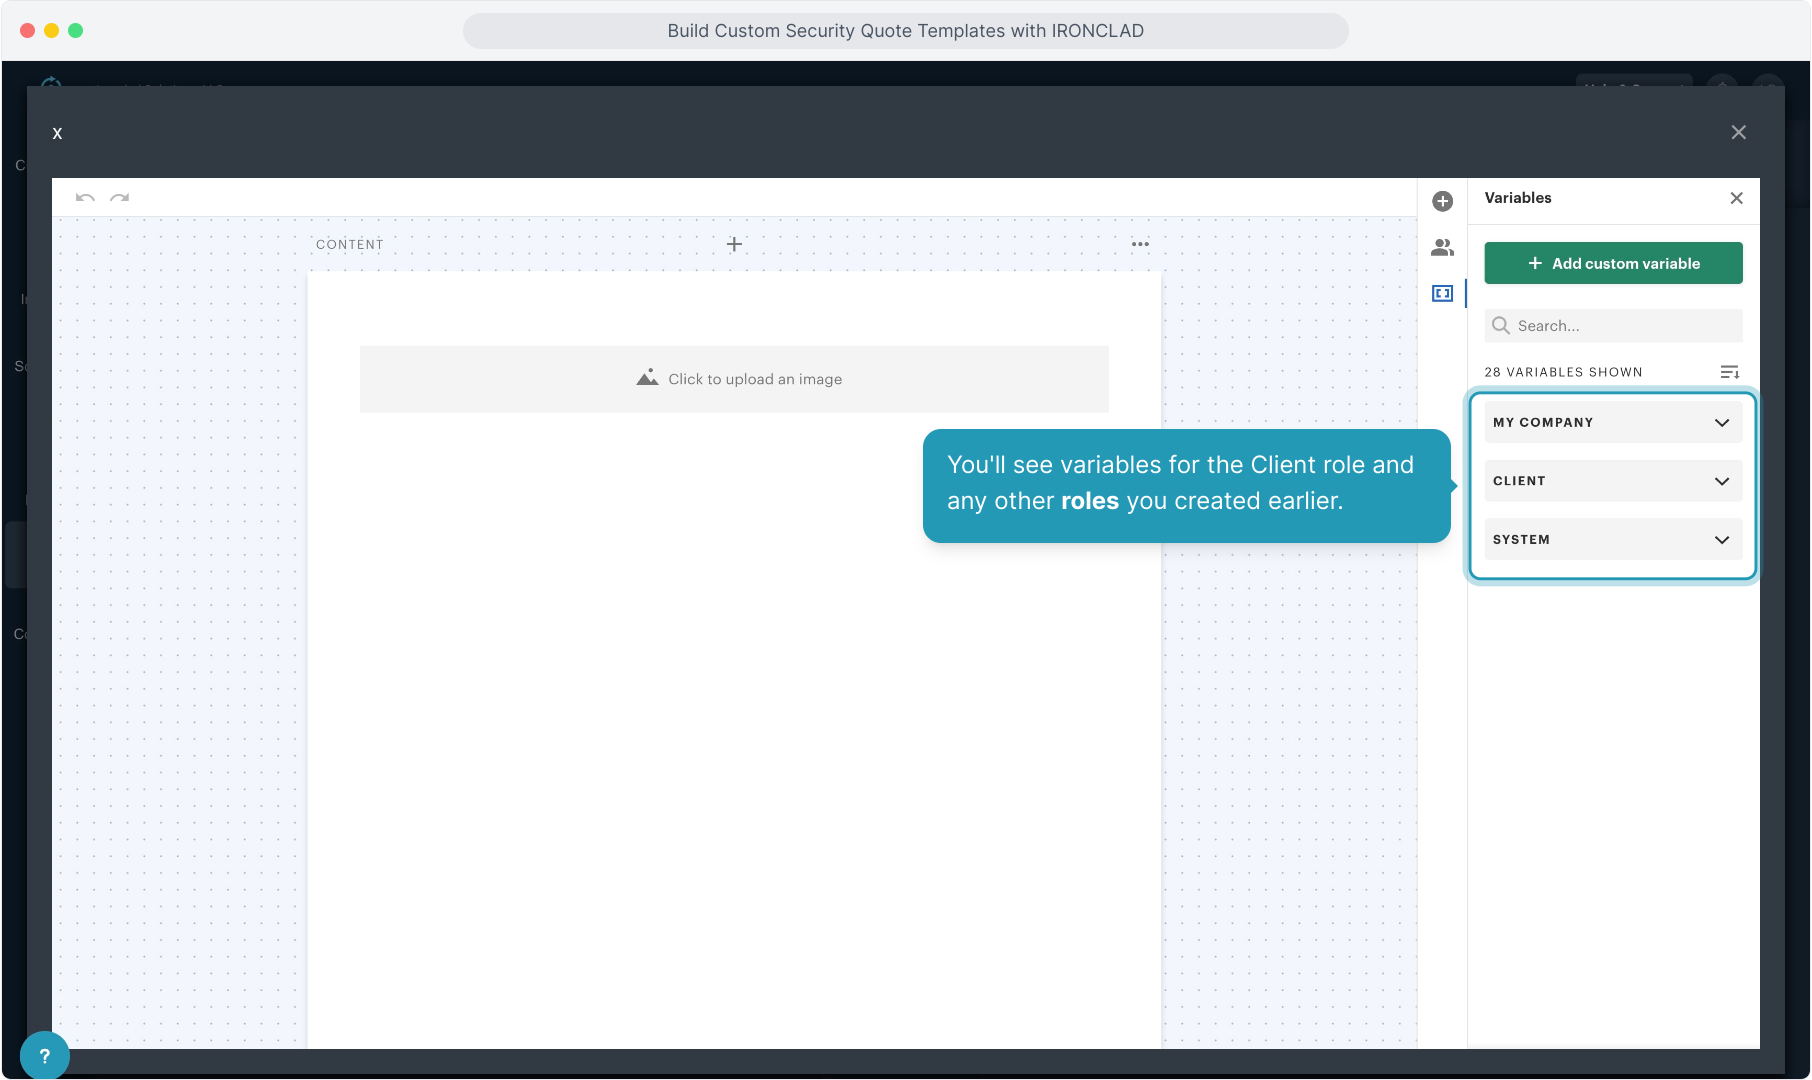
28. Click the down arrow to open the list of variables for the role you want to add the variable for.

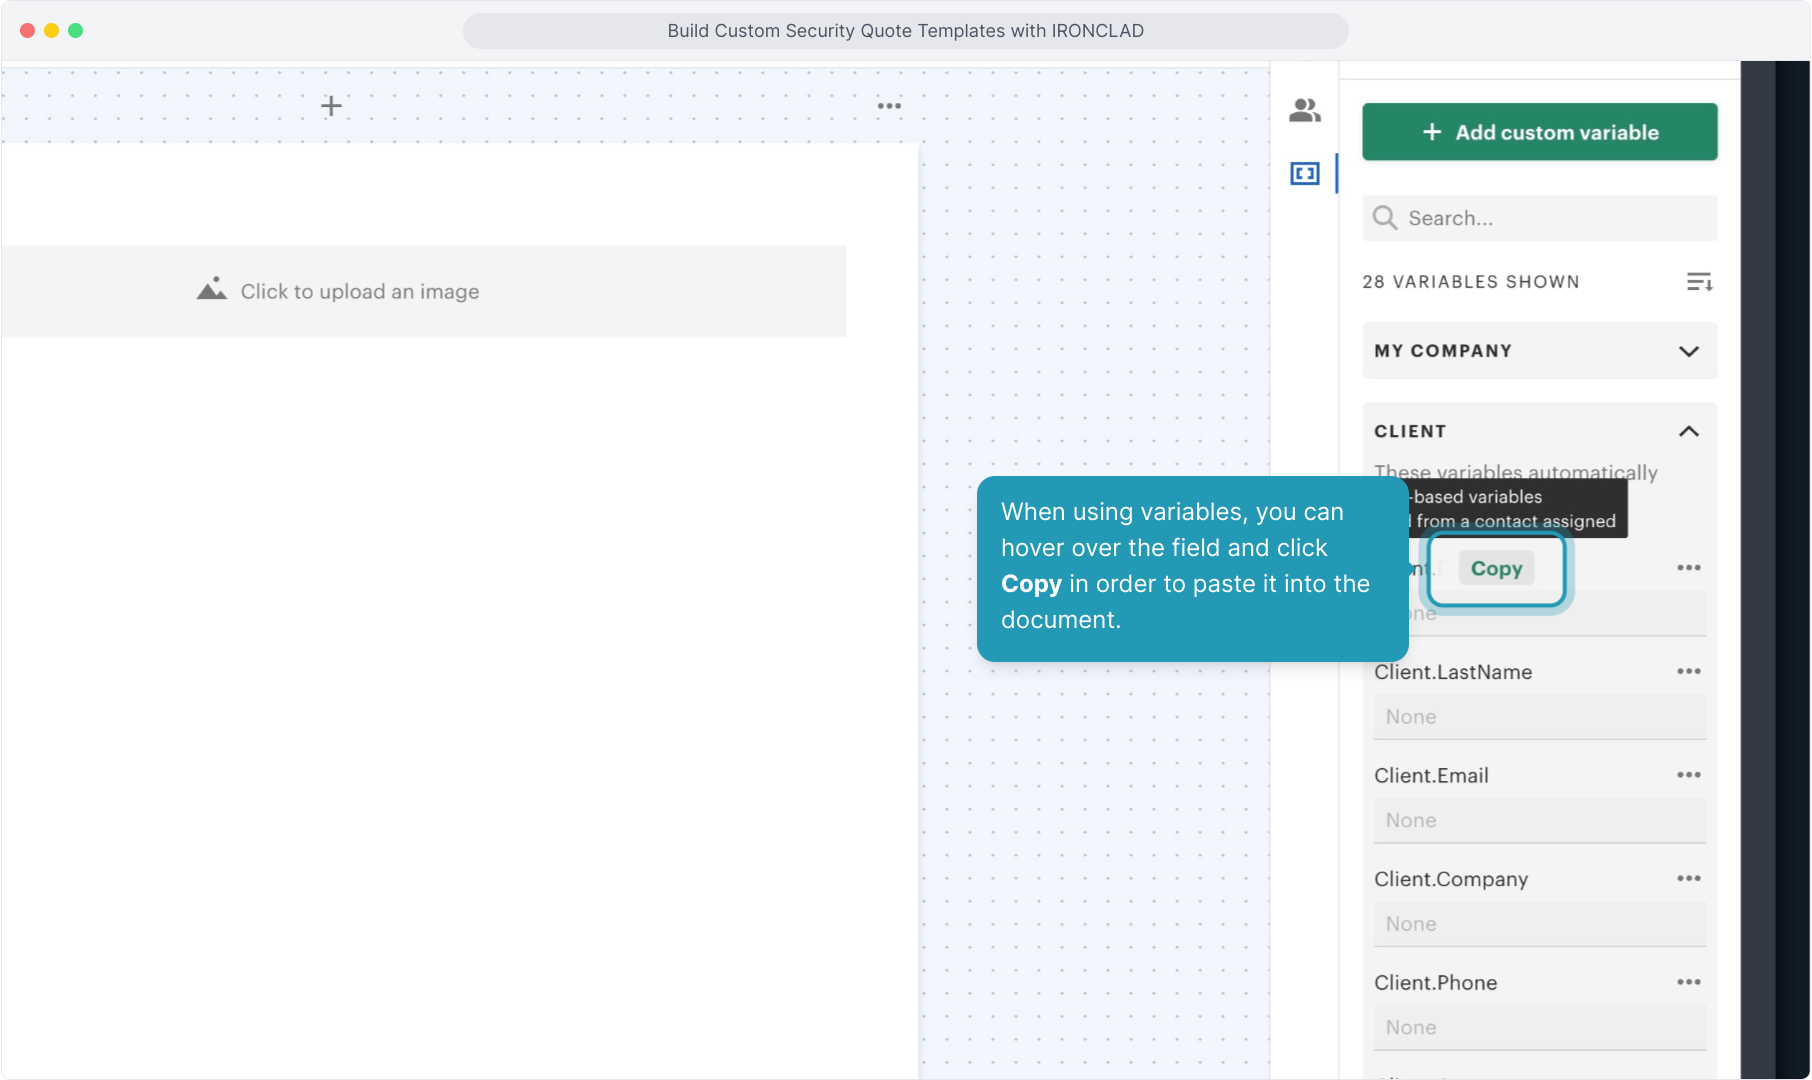
29. When using variables, you can hover over the field and click Copy in order to paste it into the document.
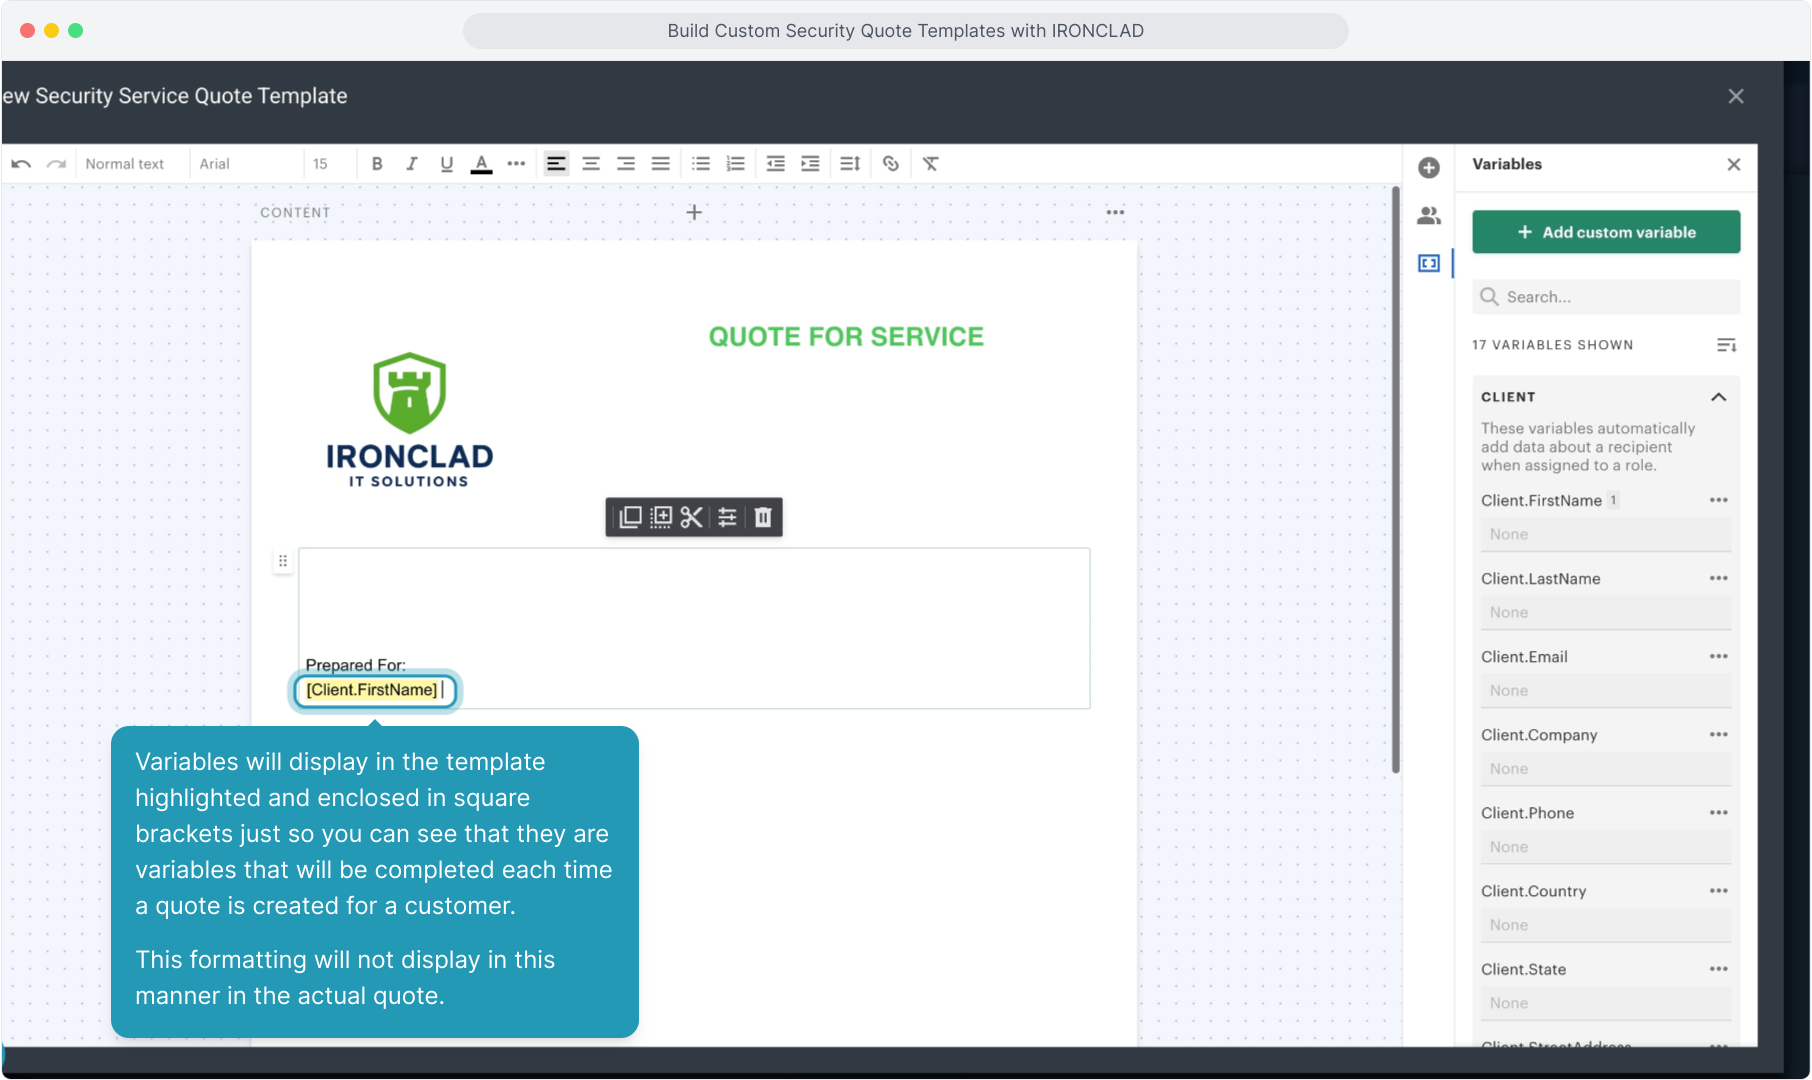
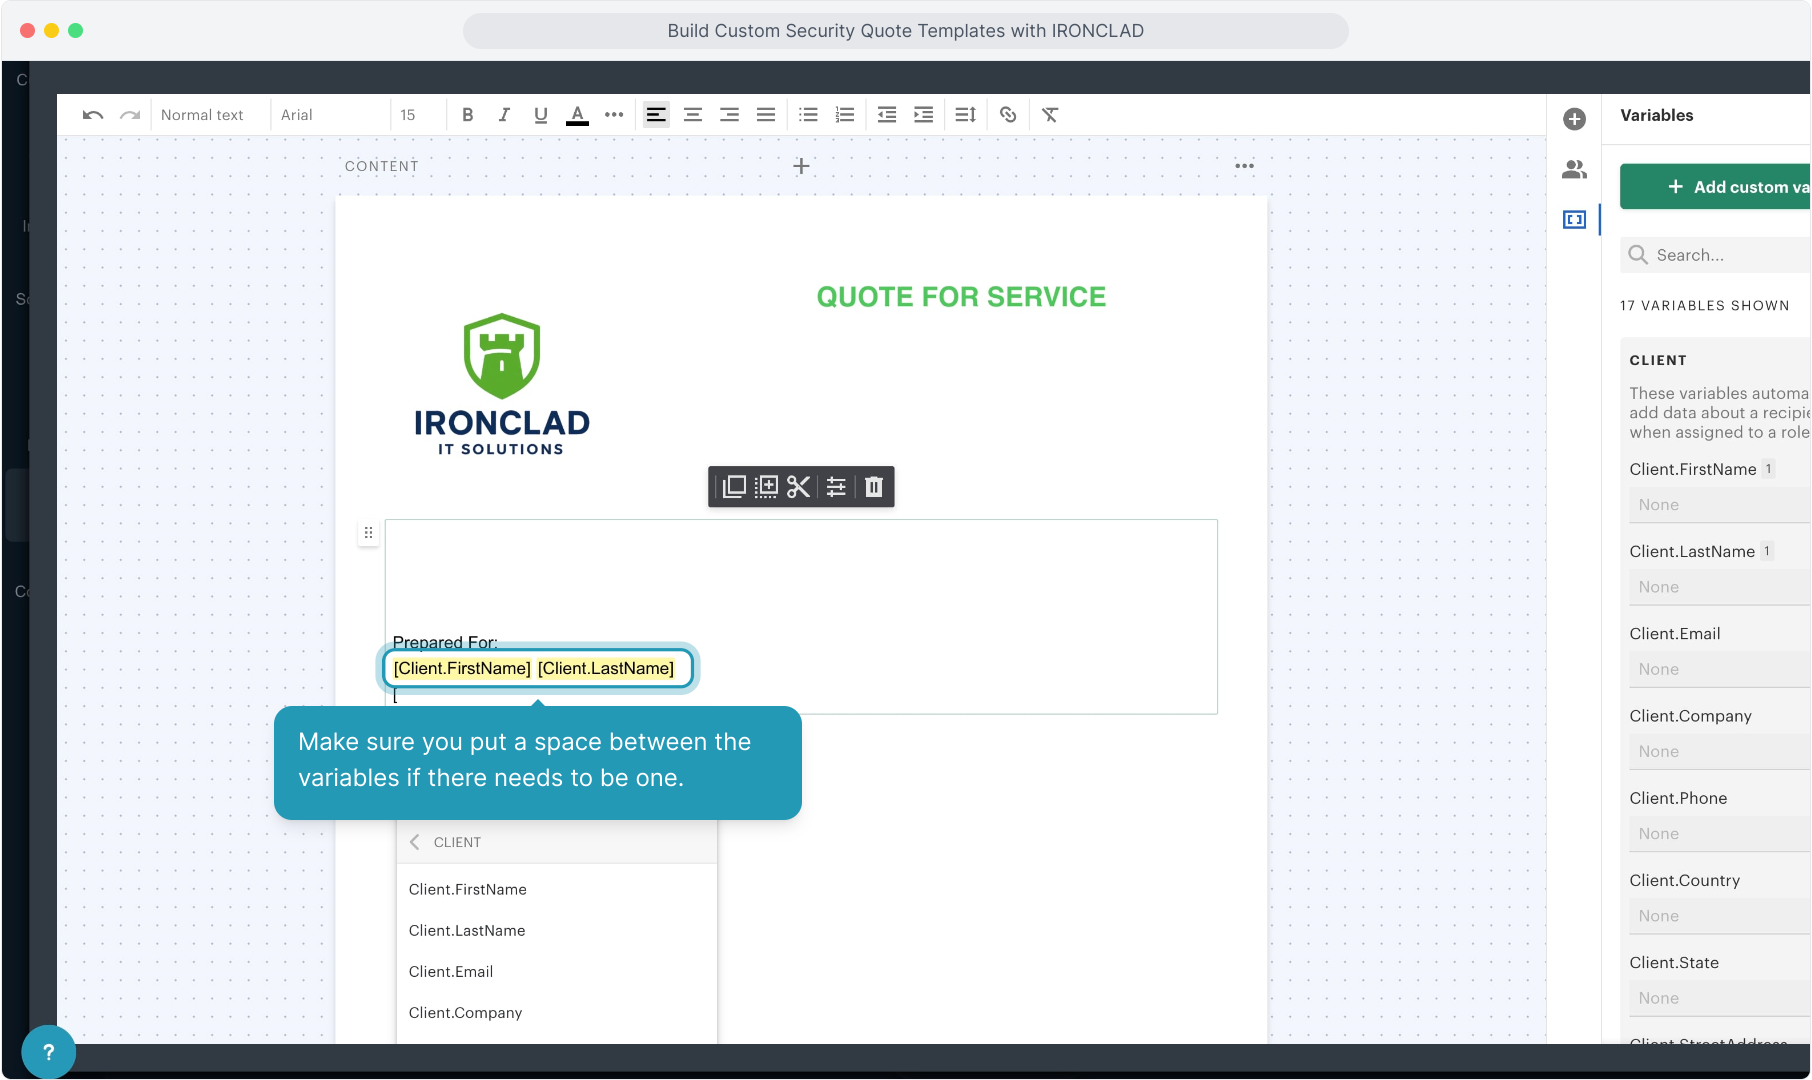
30. Variables will display in the template highlighted and enclosed in square brackets just so you can see that they are variables that will be completed each time a quote is created for a customer.
This formatting will not display in this manner in the actual quote.
31. Make sure you put a space between the variables if there needs to be one.
32. A quick shortcut for adding a variable is to simply type the opening bracket and start typing the name of the field. This opens the list of fields and you can just select from the list that appears.

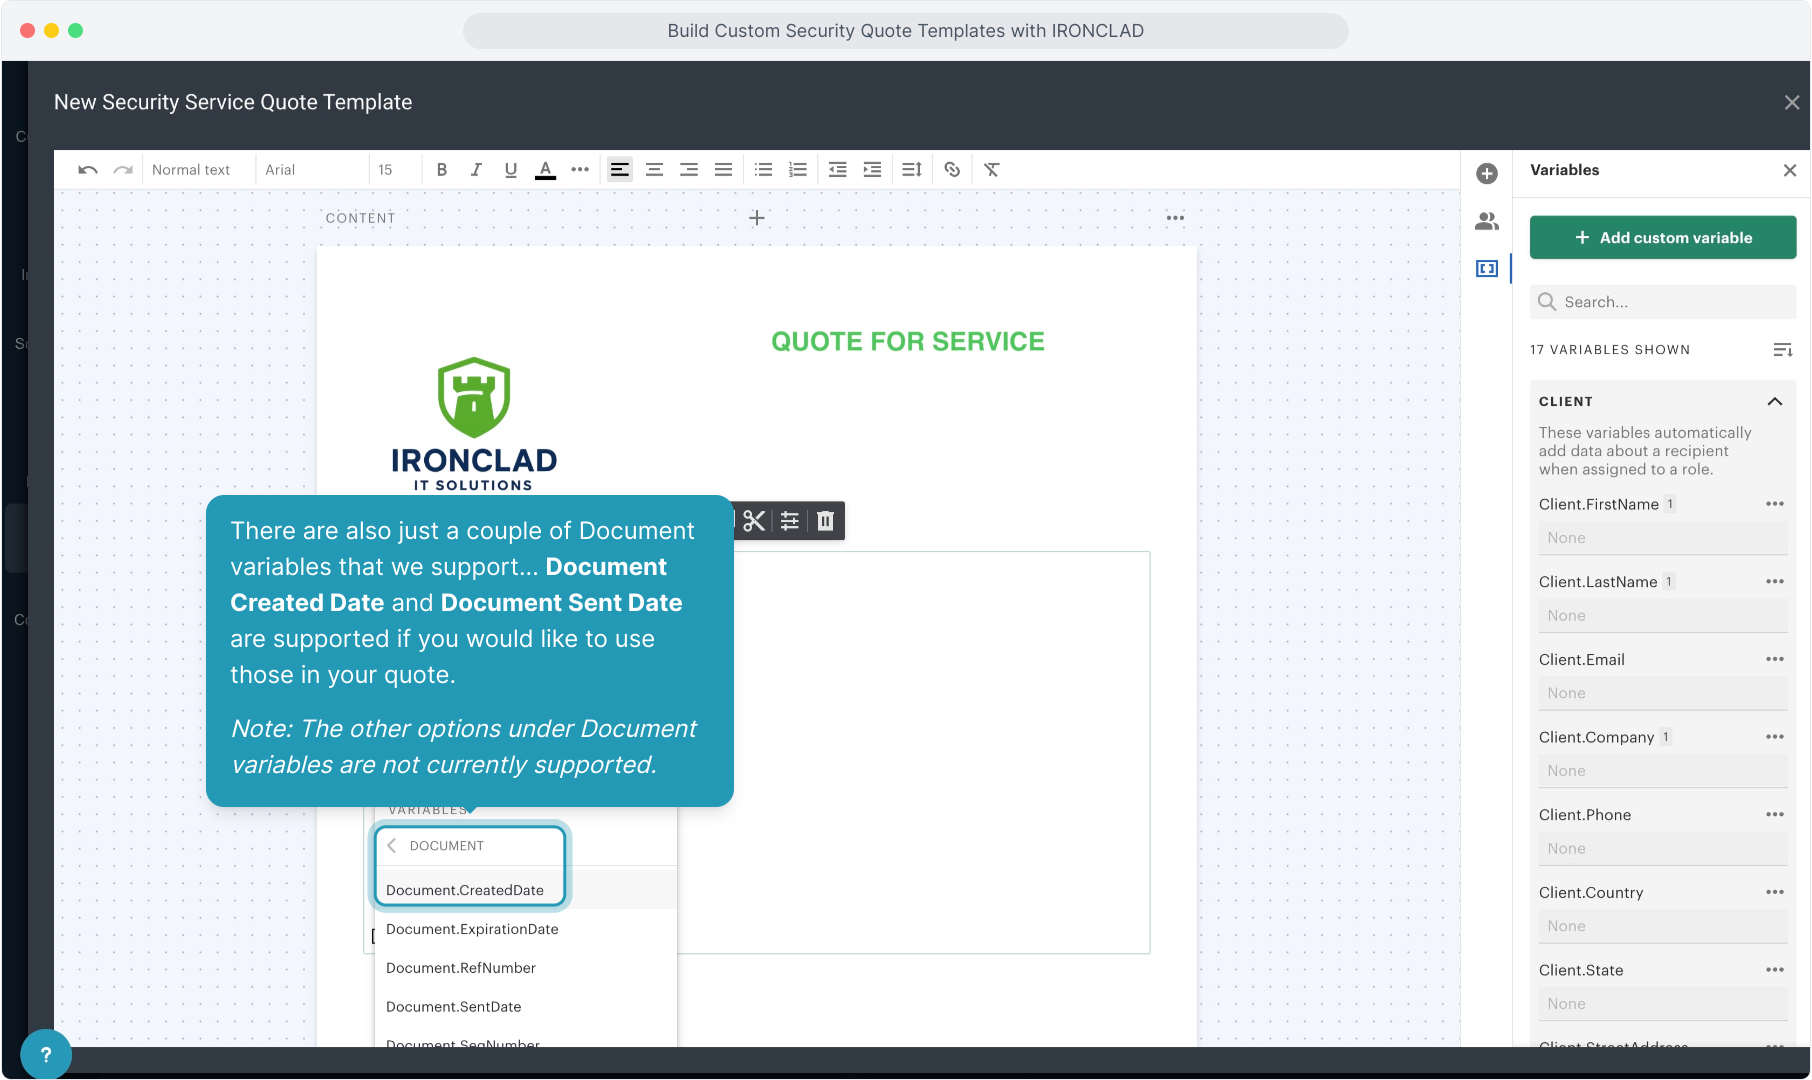
33. There are also just a couple of Document variables that we support... Document Created Date and Document Sent Date are supported if you would like to use those in your quote.
Note: The other options under Document variables are not currently supported.
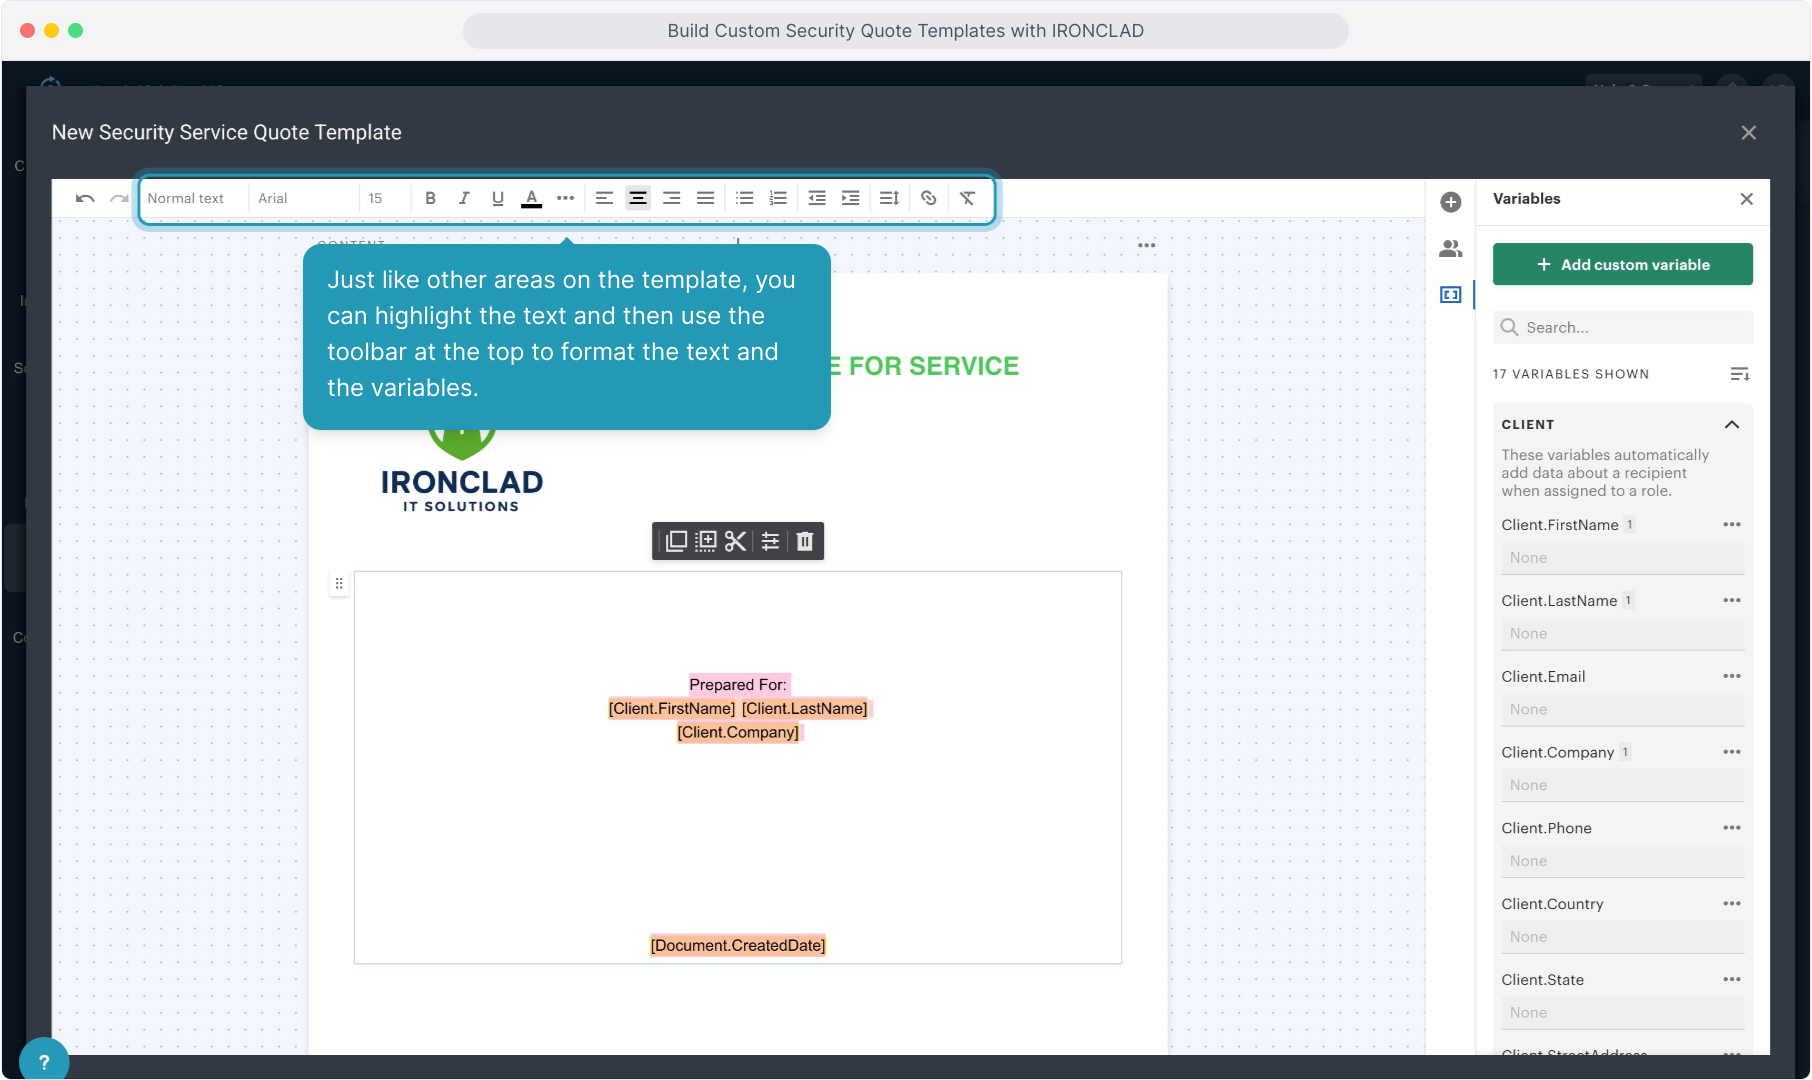
34. Just like other areas on the template, you can highlight the text and then use the toolbar at the top to format the text and the variables.
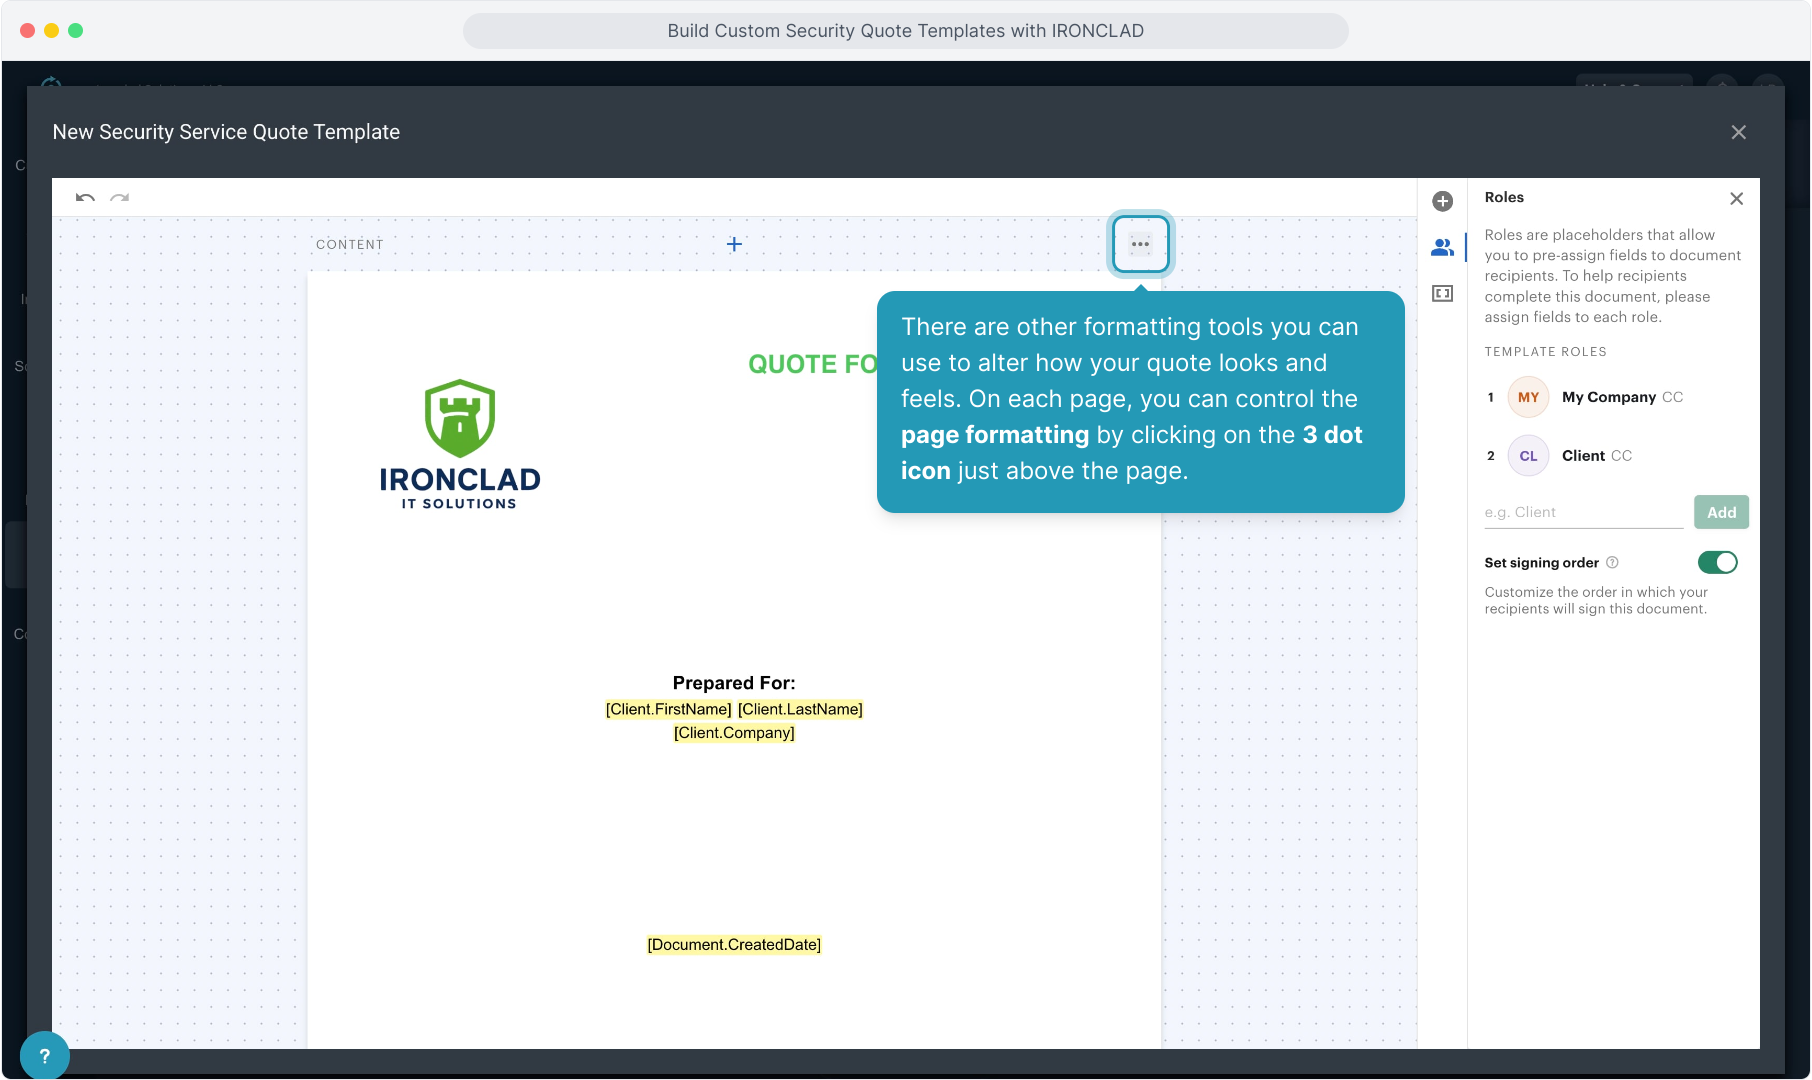
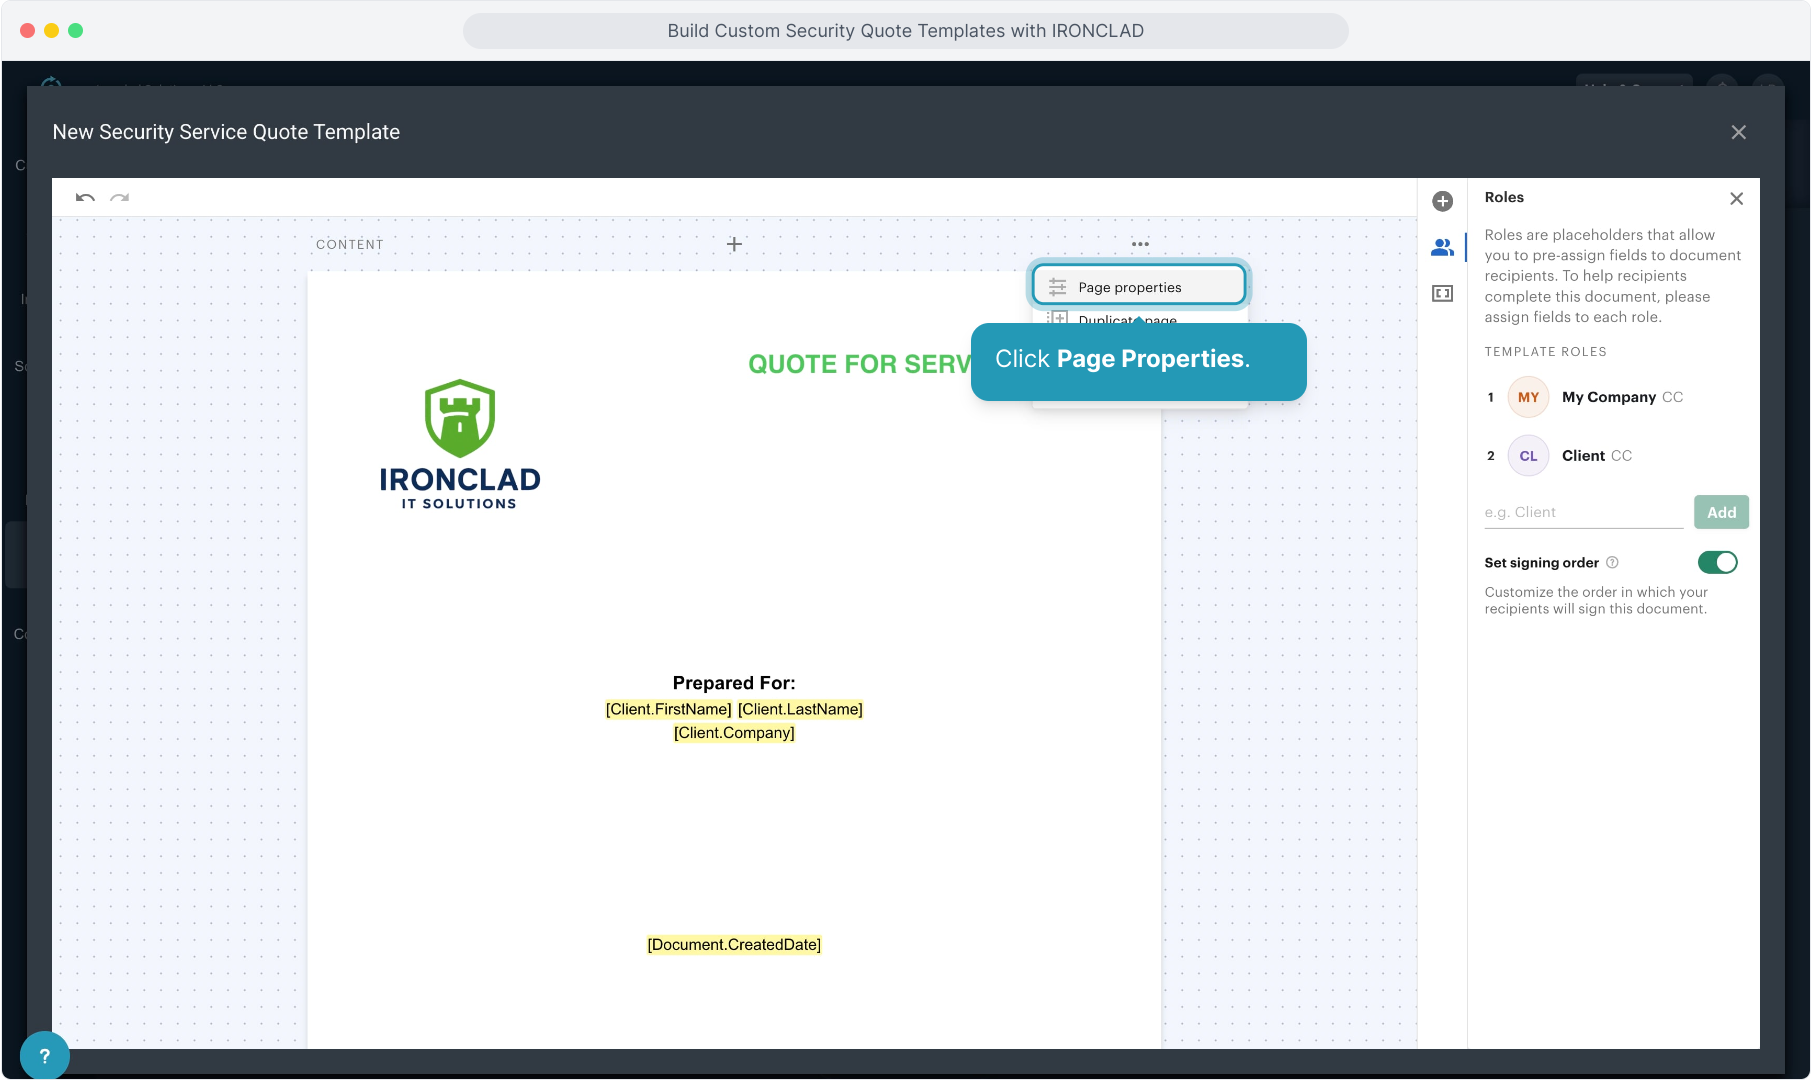
35. There are other formatting tools you can use to alter how your quote looks and feels. On each page, you can control the page formatting by clicking on the 3 dot icon just above the page.
36. Click Page Properties.
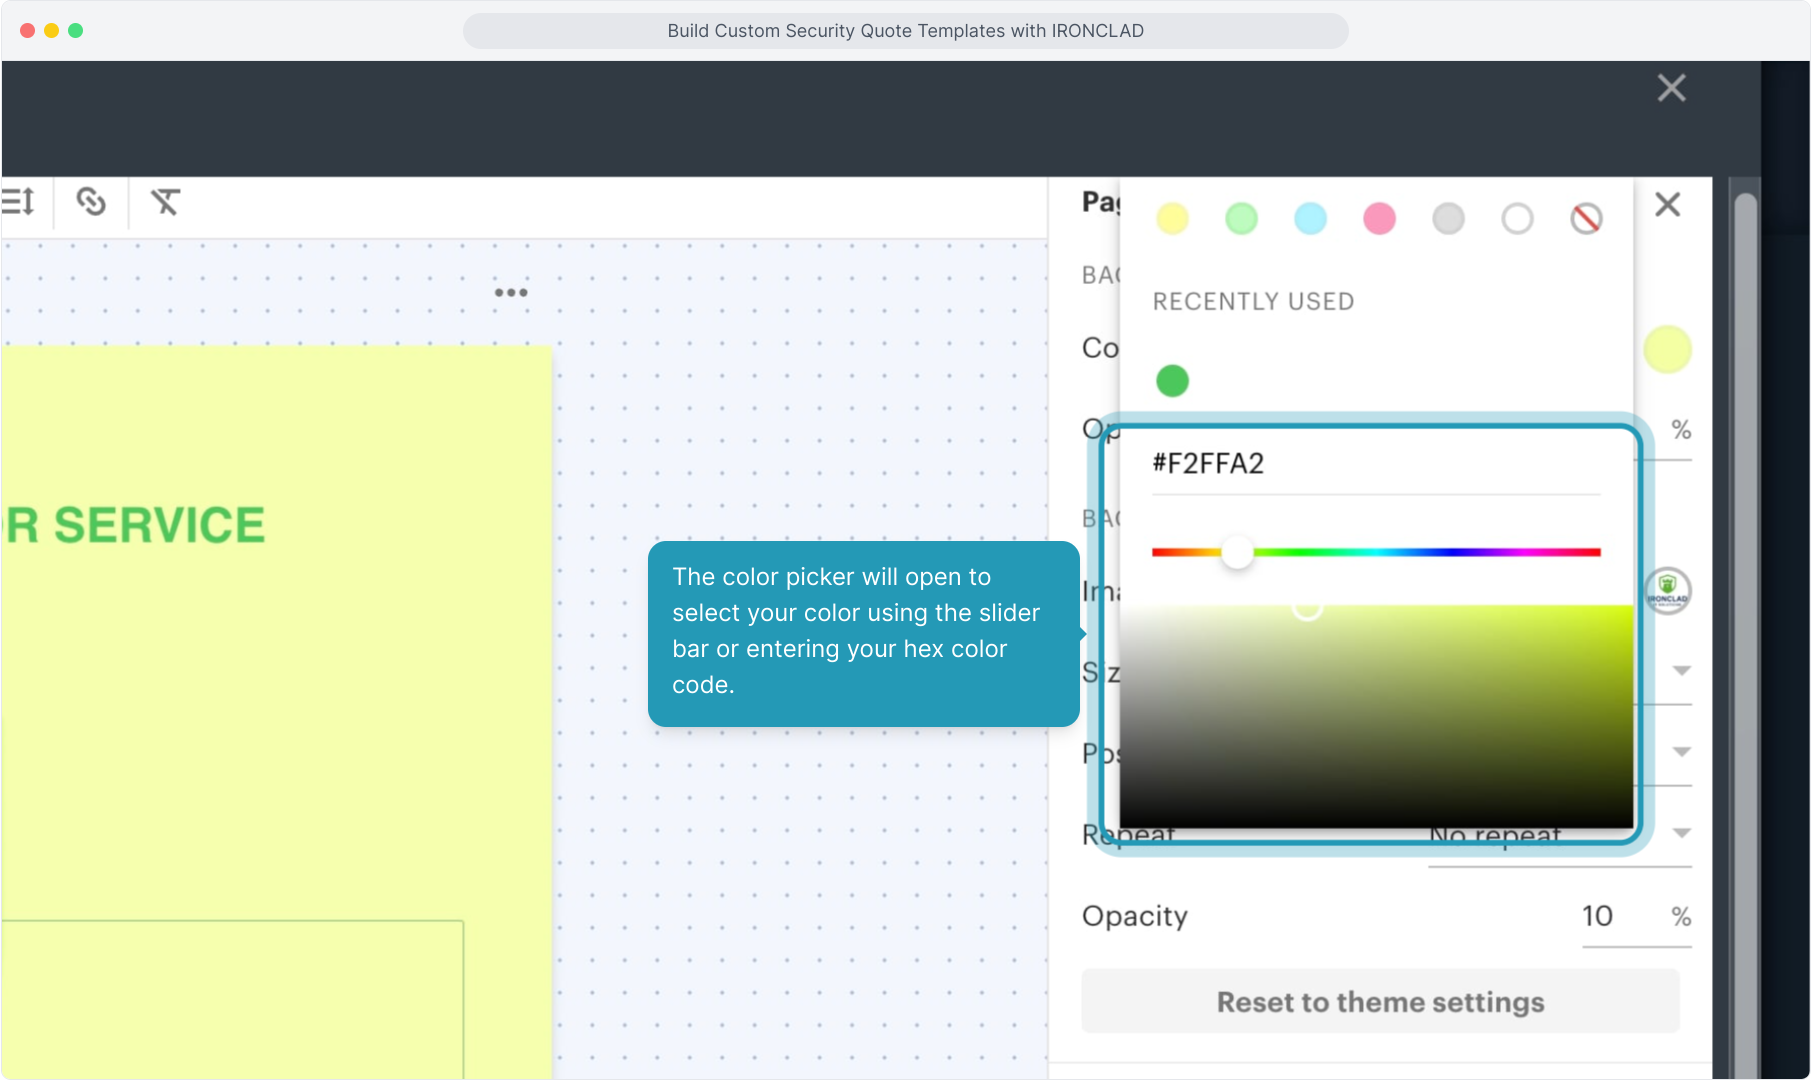
37. You can add a background color to each page and control the opacity of the color.

38. The color picker will open to select your color using the slider bar or entering your hex color code.
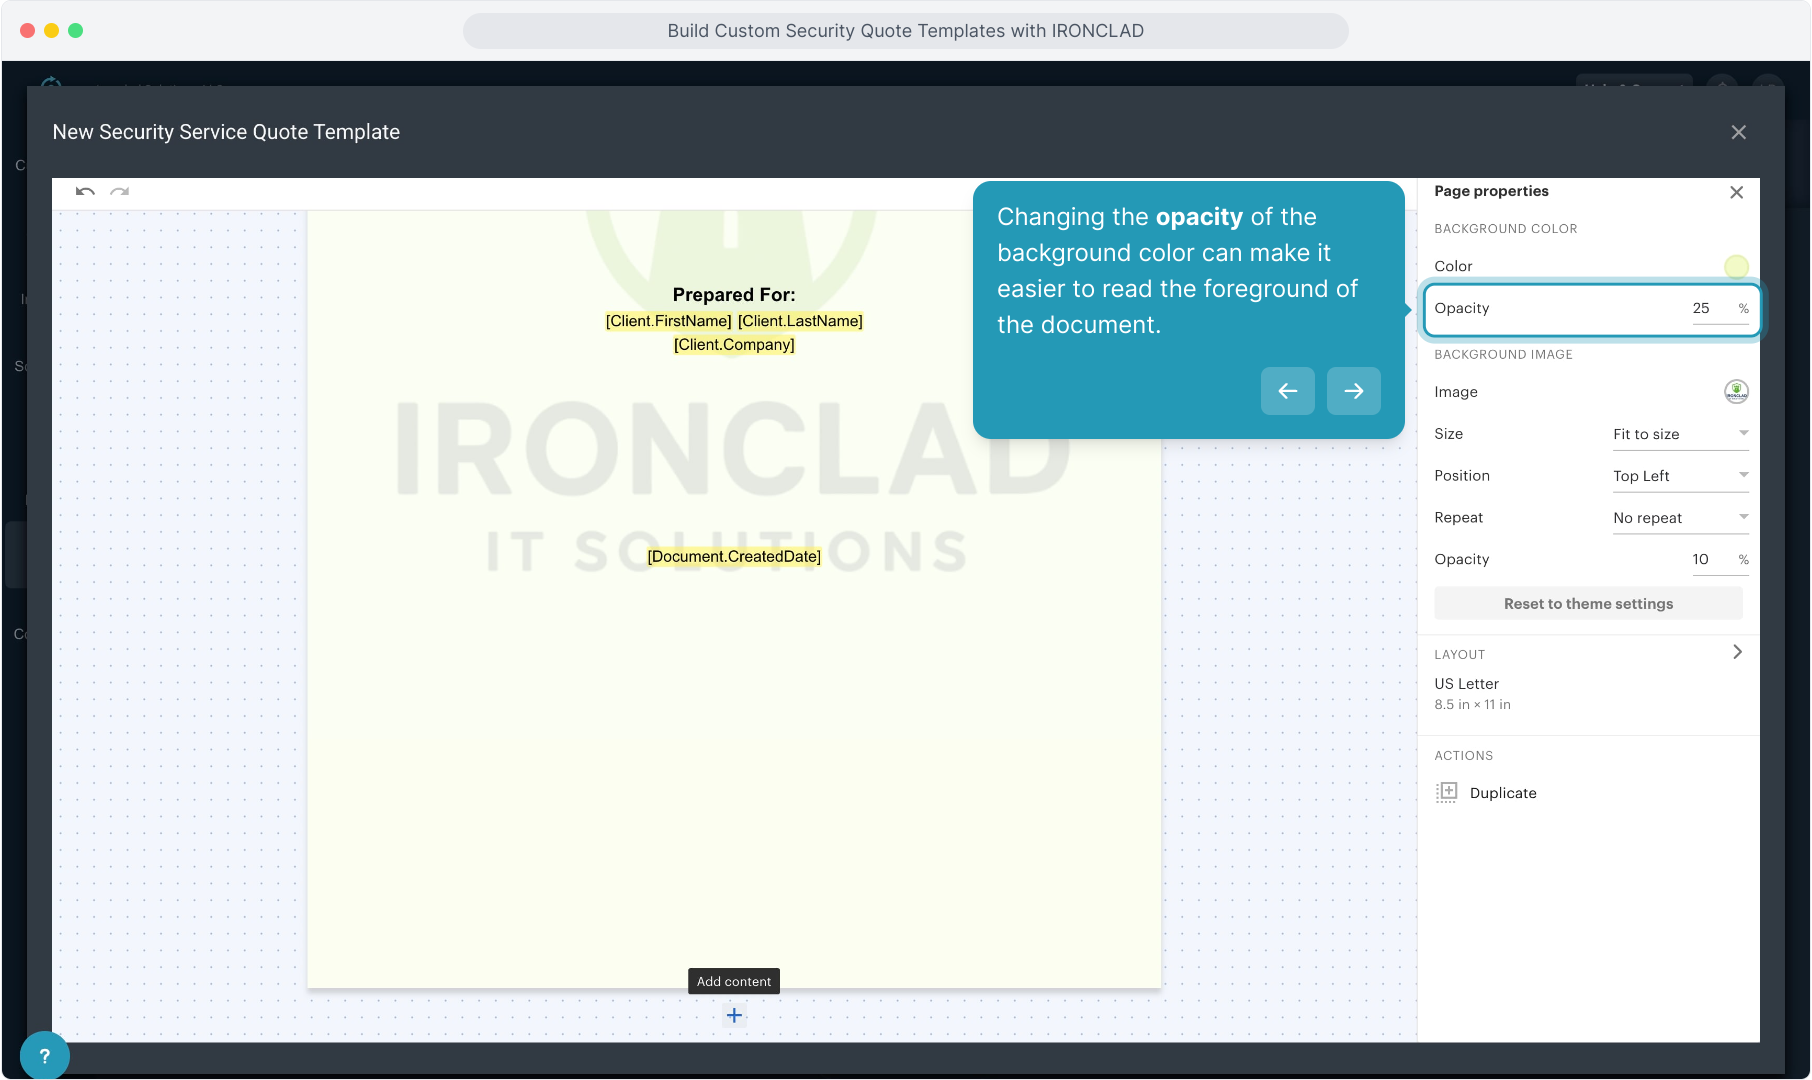
39. Changing the opacity of the background color can make it easier to read the foreground of the document.
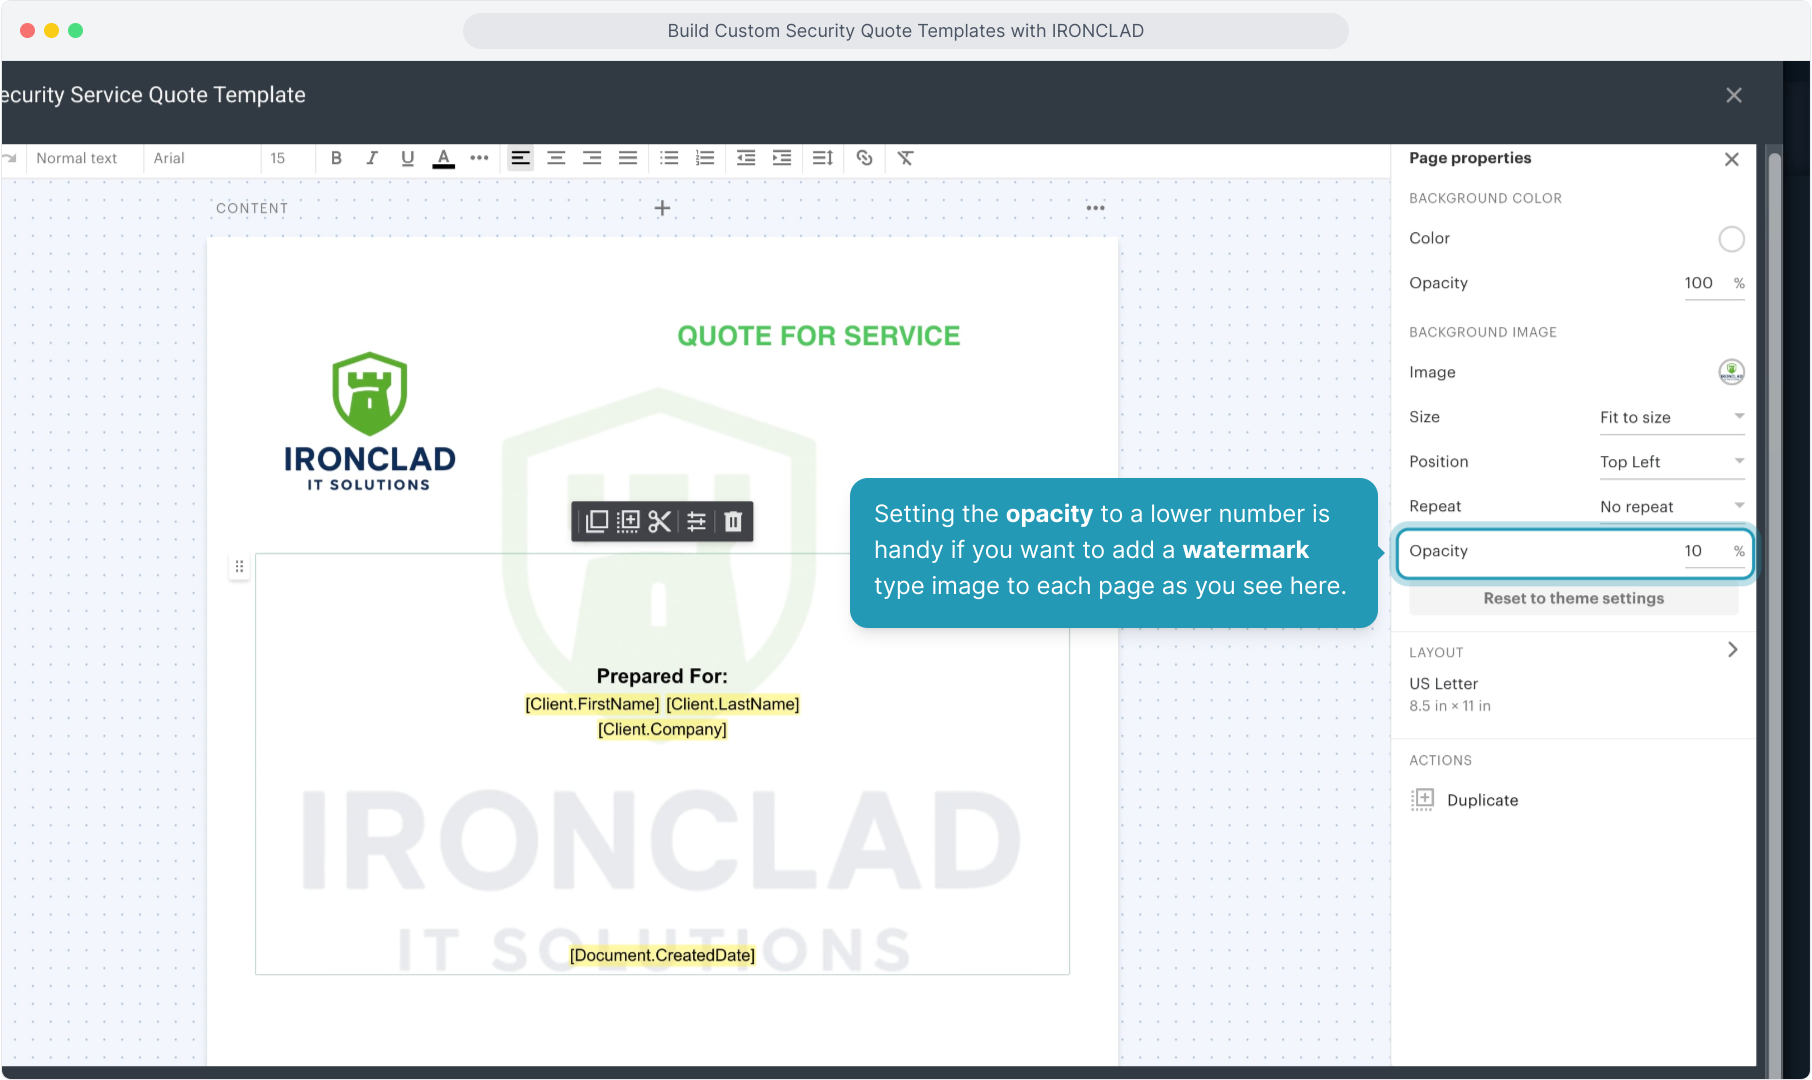
40. You can add a background image and control how it looks. Clicking the circle next to Image will allow you to upload the image. You can alter the size, position, have the image repeat on the page, and alter the opacity.
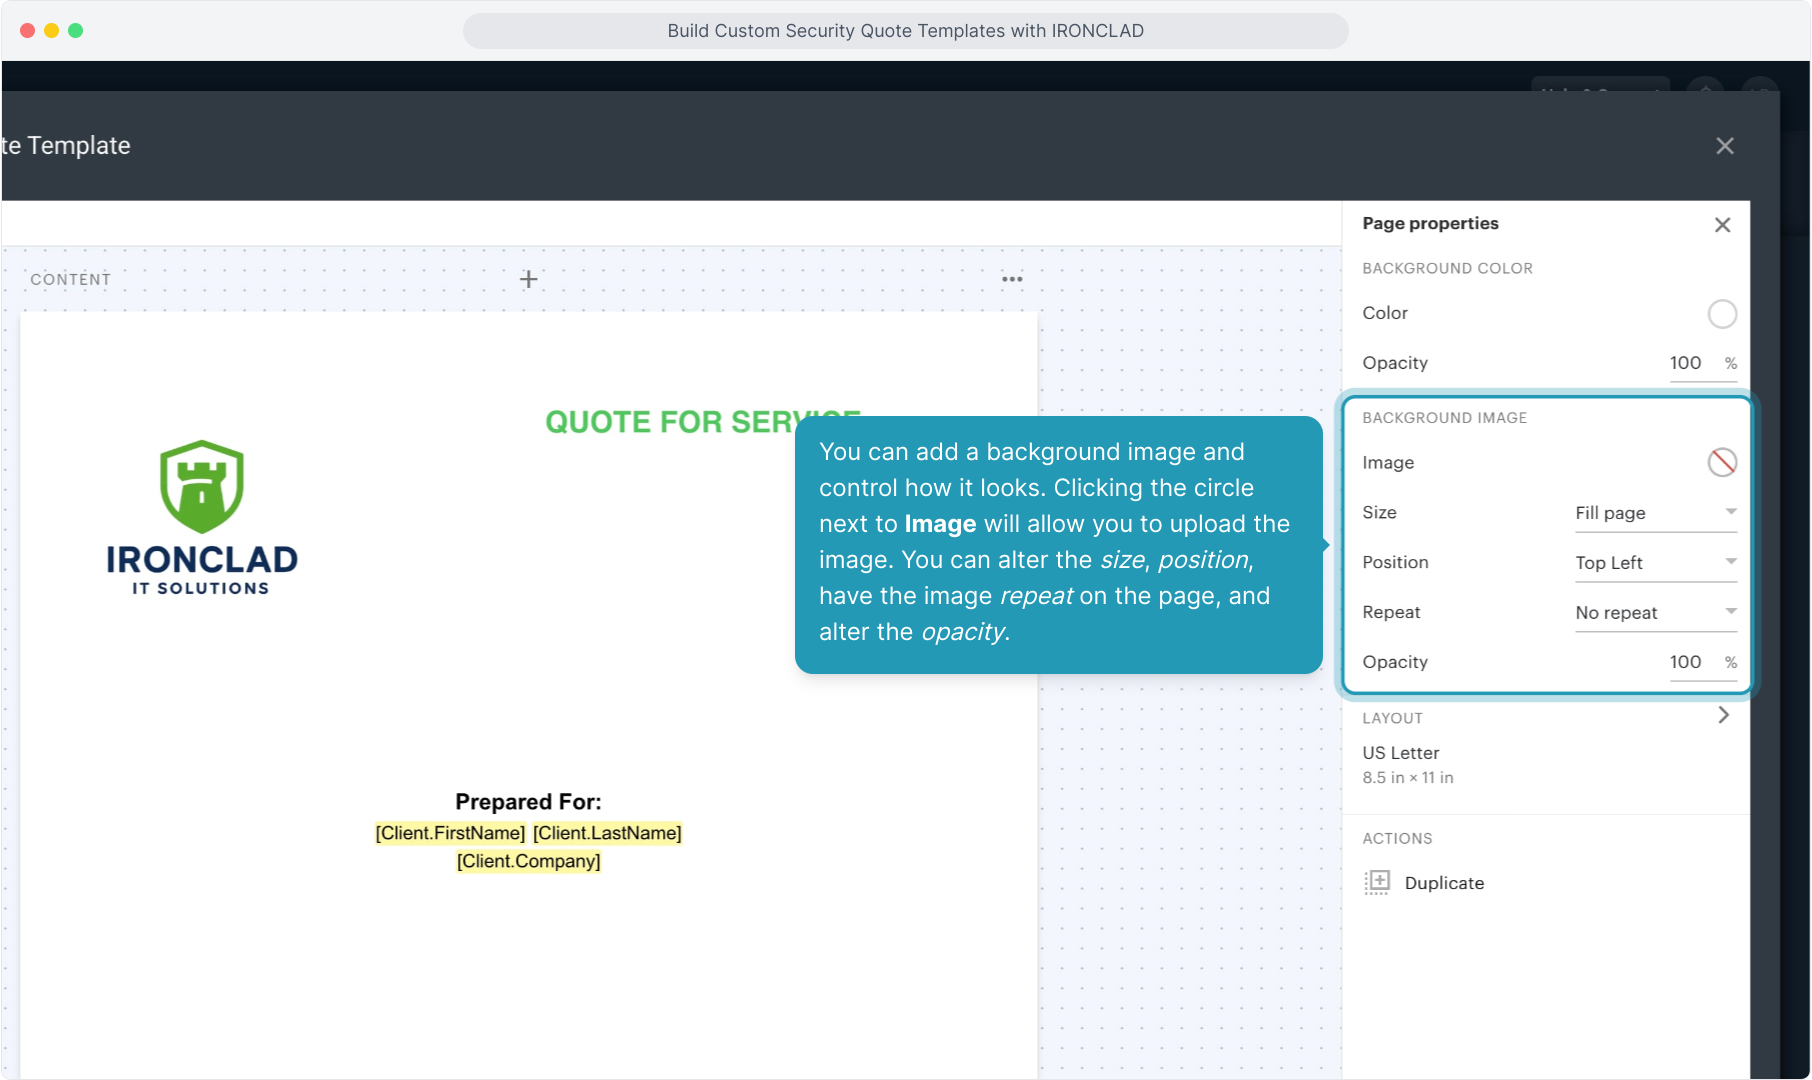
41. Setting the opacity to a lower number is handy if you want to add a watermark type image to each page as you see here.
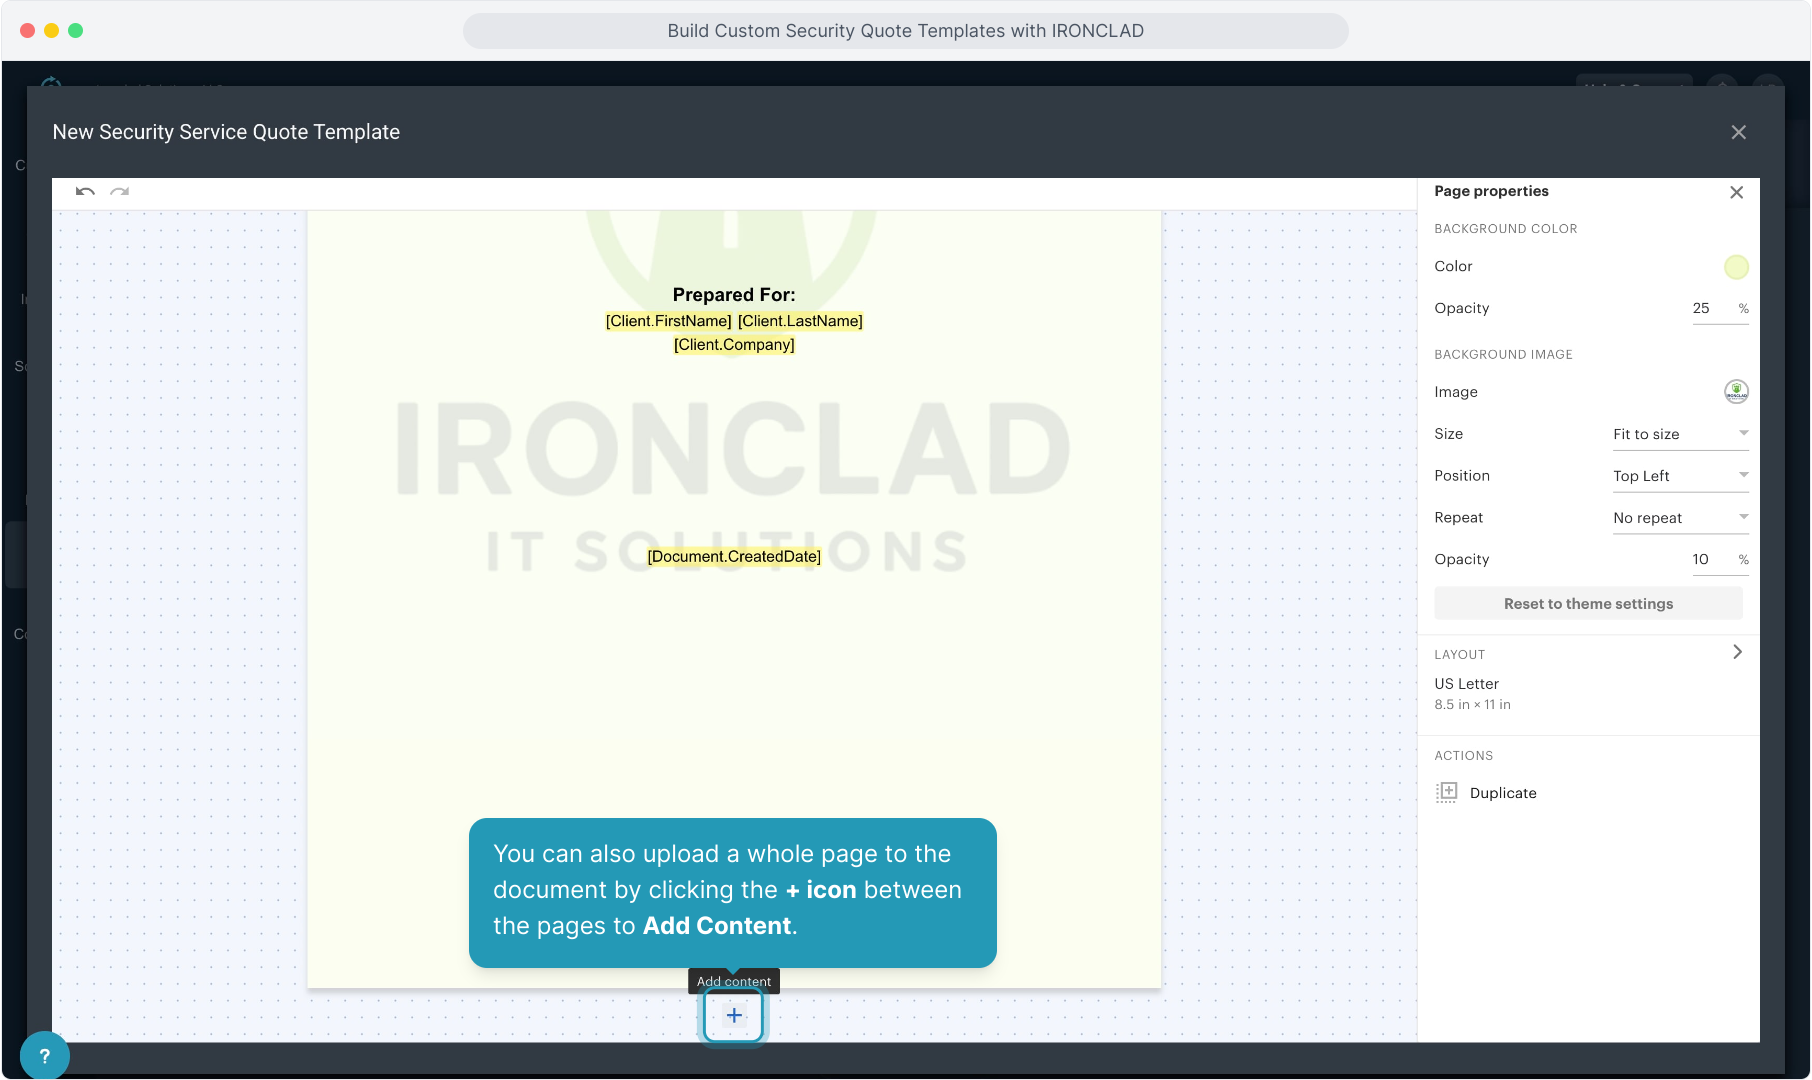
42. You can also upload a whole page to the document by clicking the + icon between the pages to Add Content.
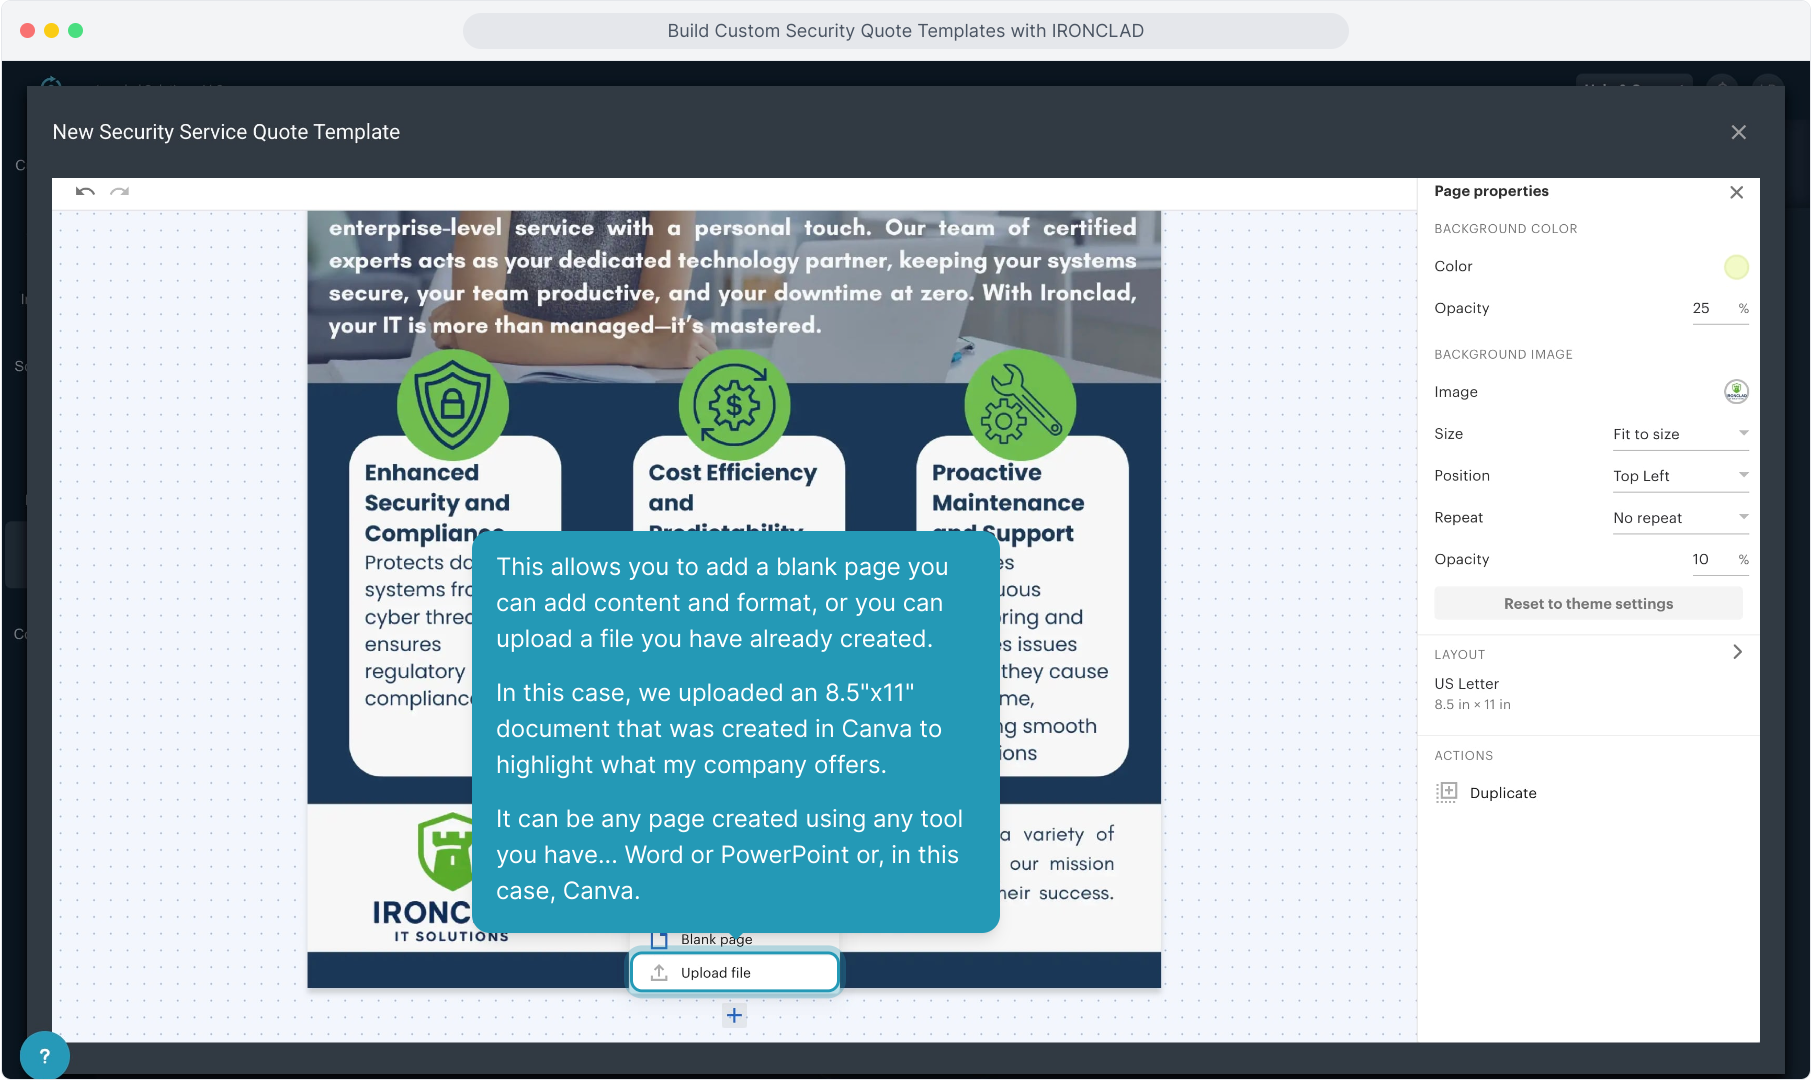
43. This allows you to add a blank page you can add content and format, or you can upload a file you have already created.
In this case, we uploaded an 8.5"x11" document that was created in Canva to highlight what my company offers.
It can be any page created using any tool you have... Word or PowerPoint or, in this case, Canva.
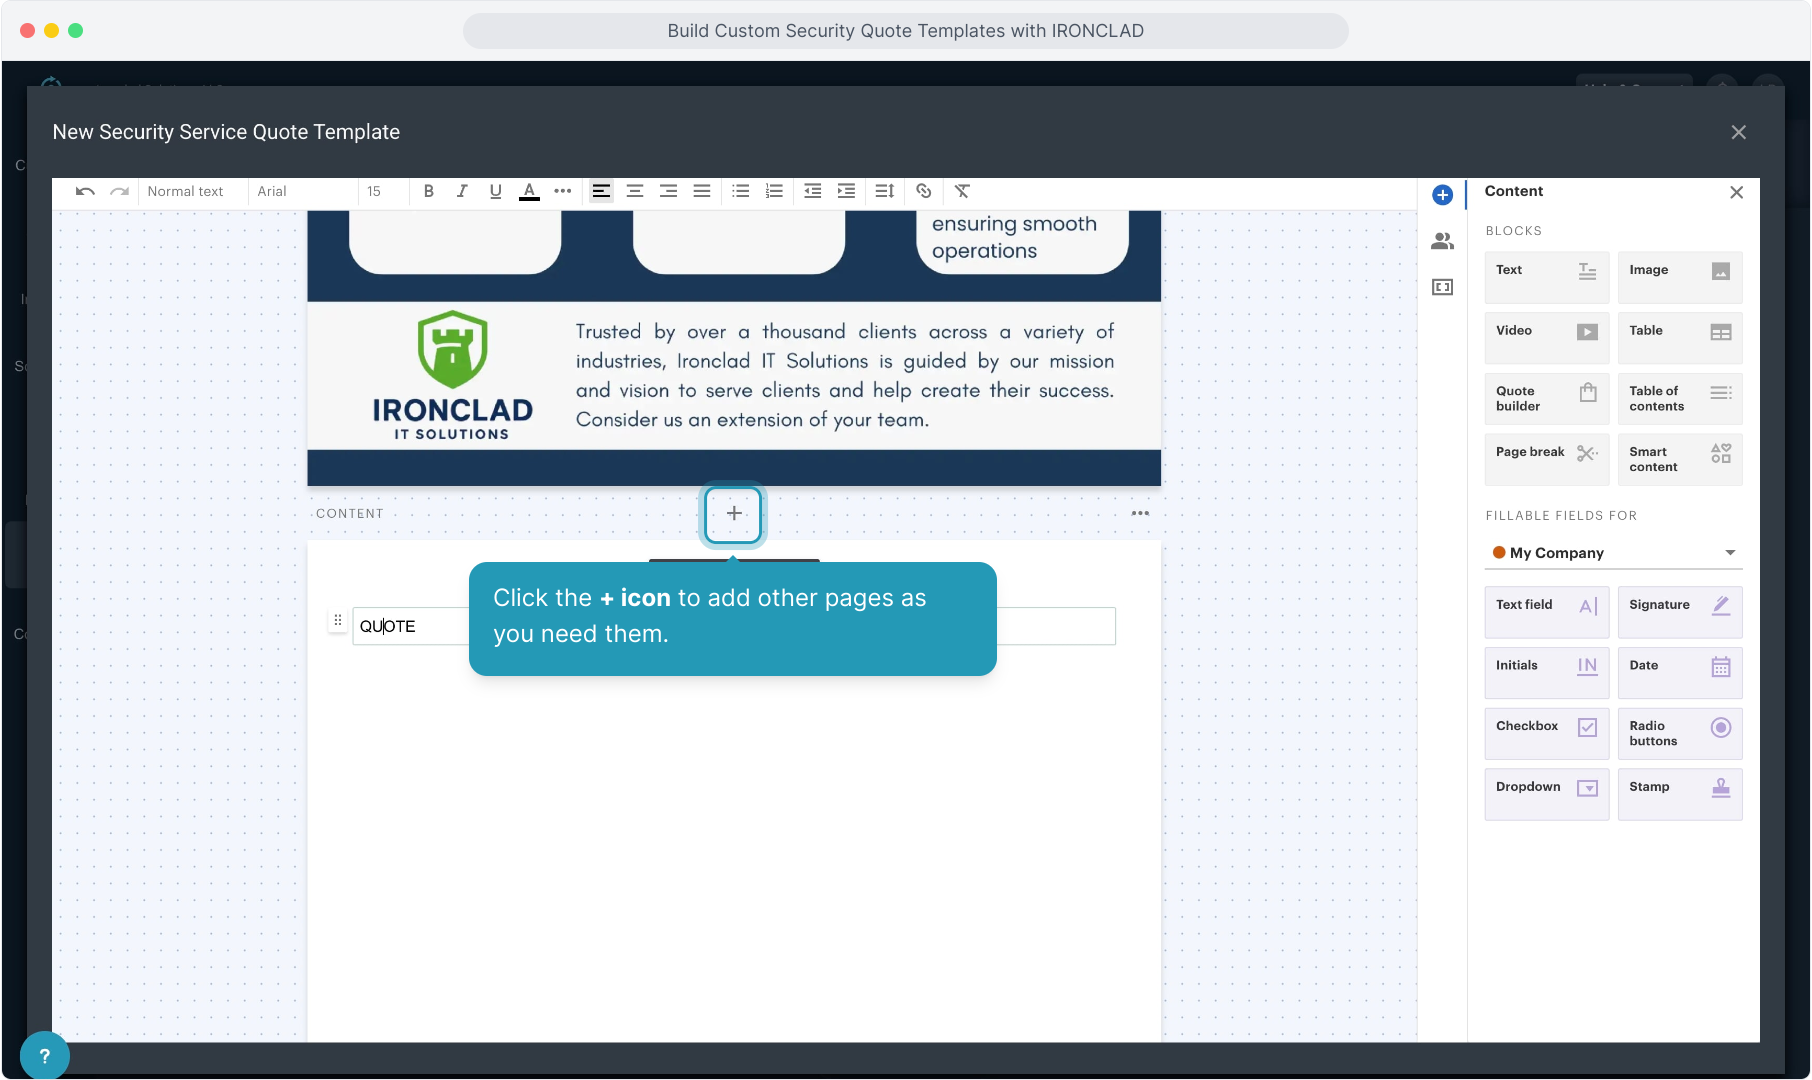
44. Click the + icon to add other pages as you need them.
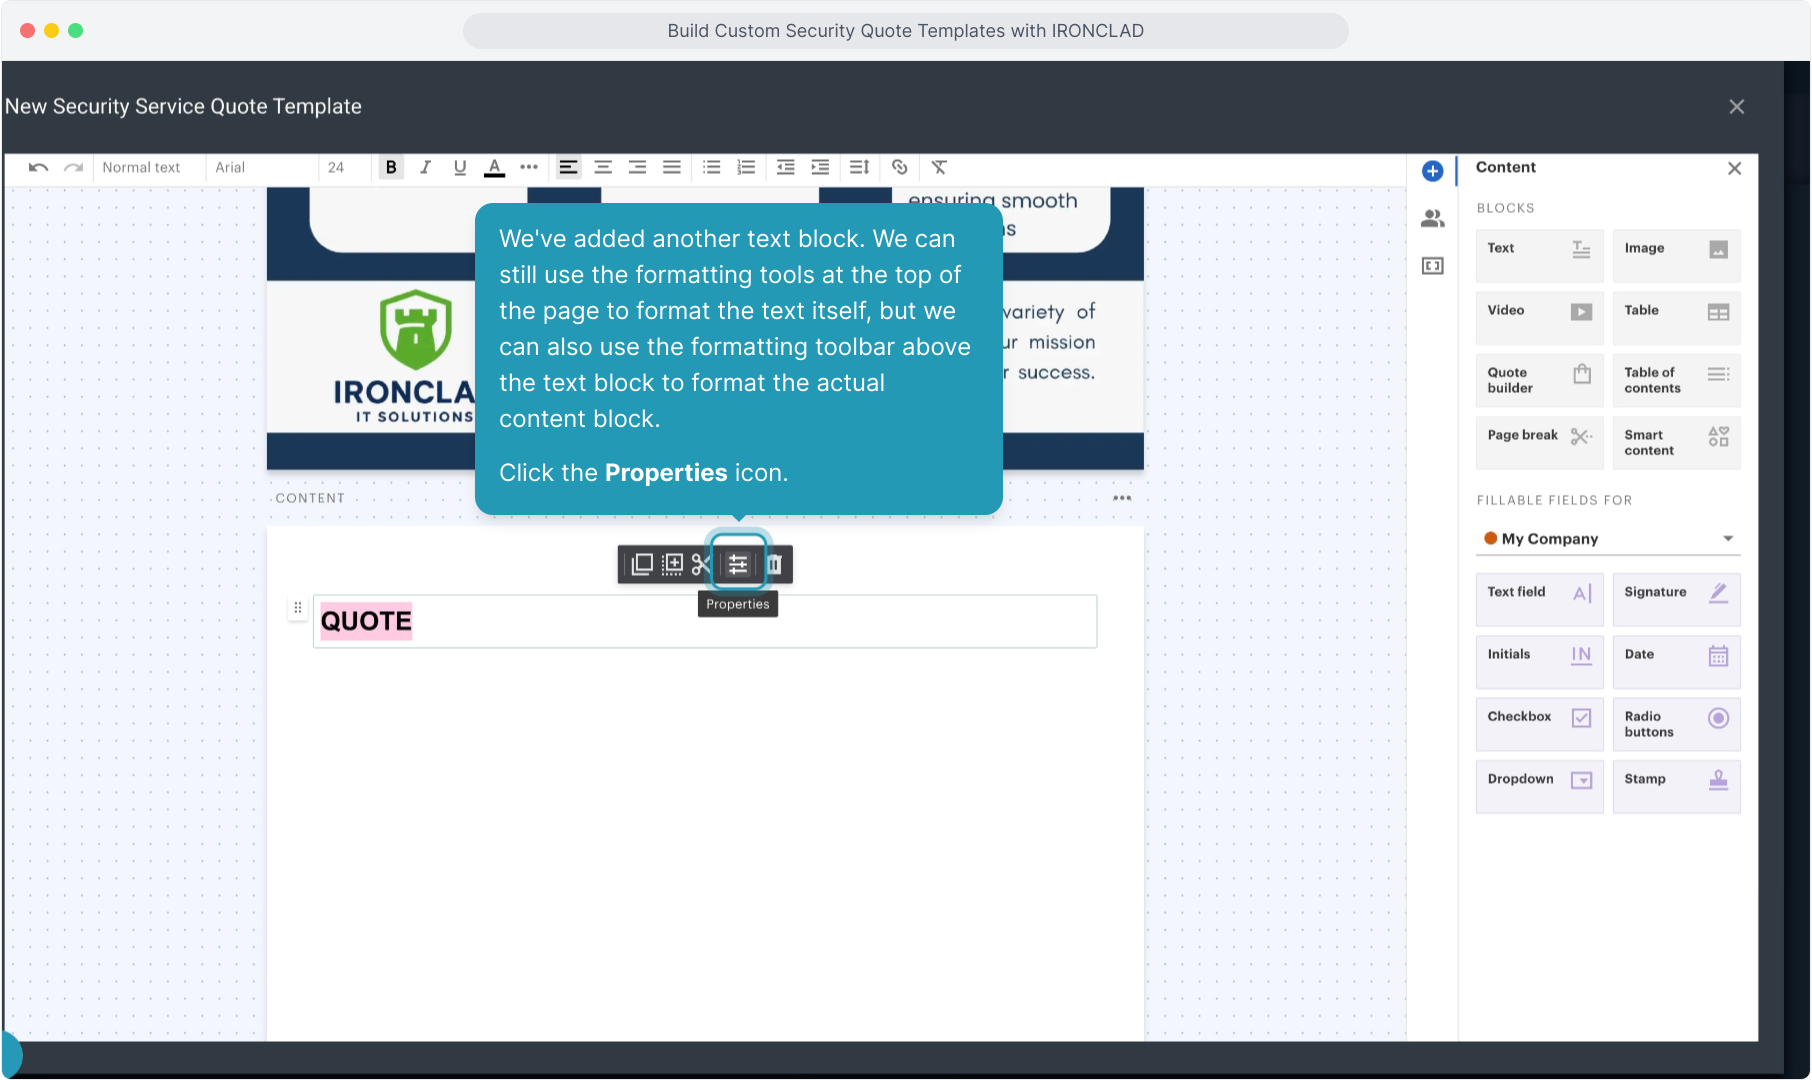
45. We've added another text block. We can still use the formatting tools at the top of the page to format the text itself, but we can also use the formatting toolbar above the text block to format the actual content block.
Click the Properties icon.
46. The Properties option opens up some formatting options for the text block itself on the right side of the pane.
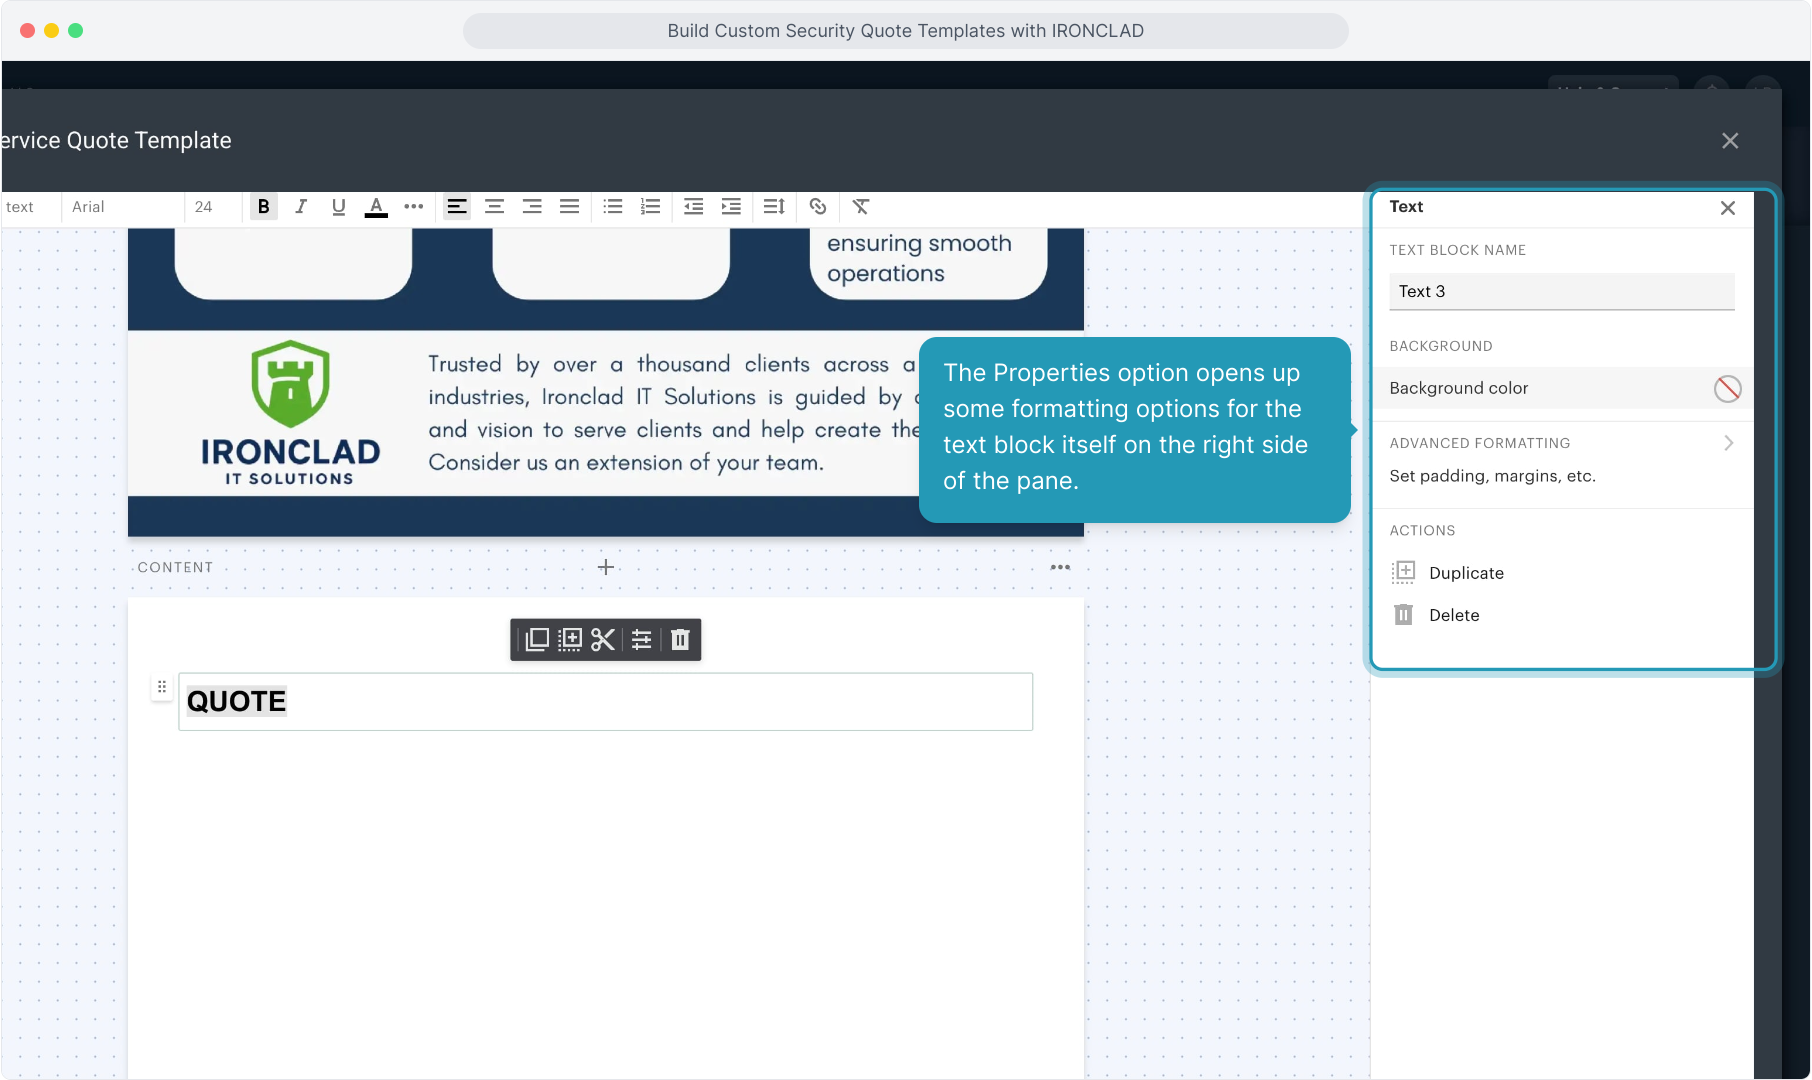
47. Clicking on the Background Color option allows you to format the background of the content block.

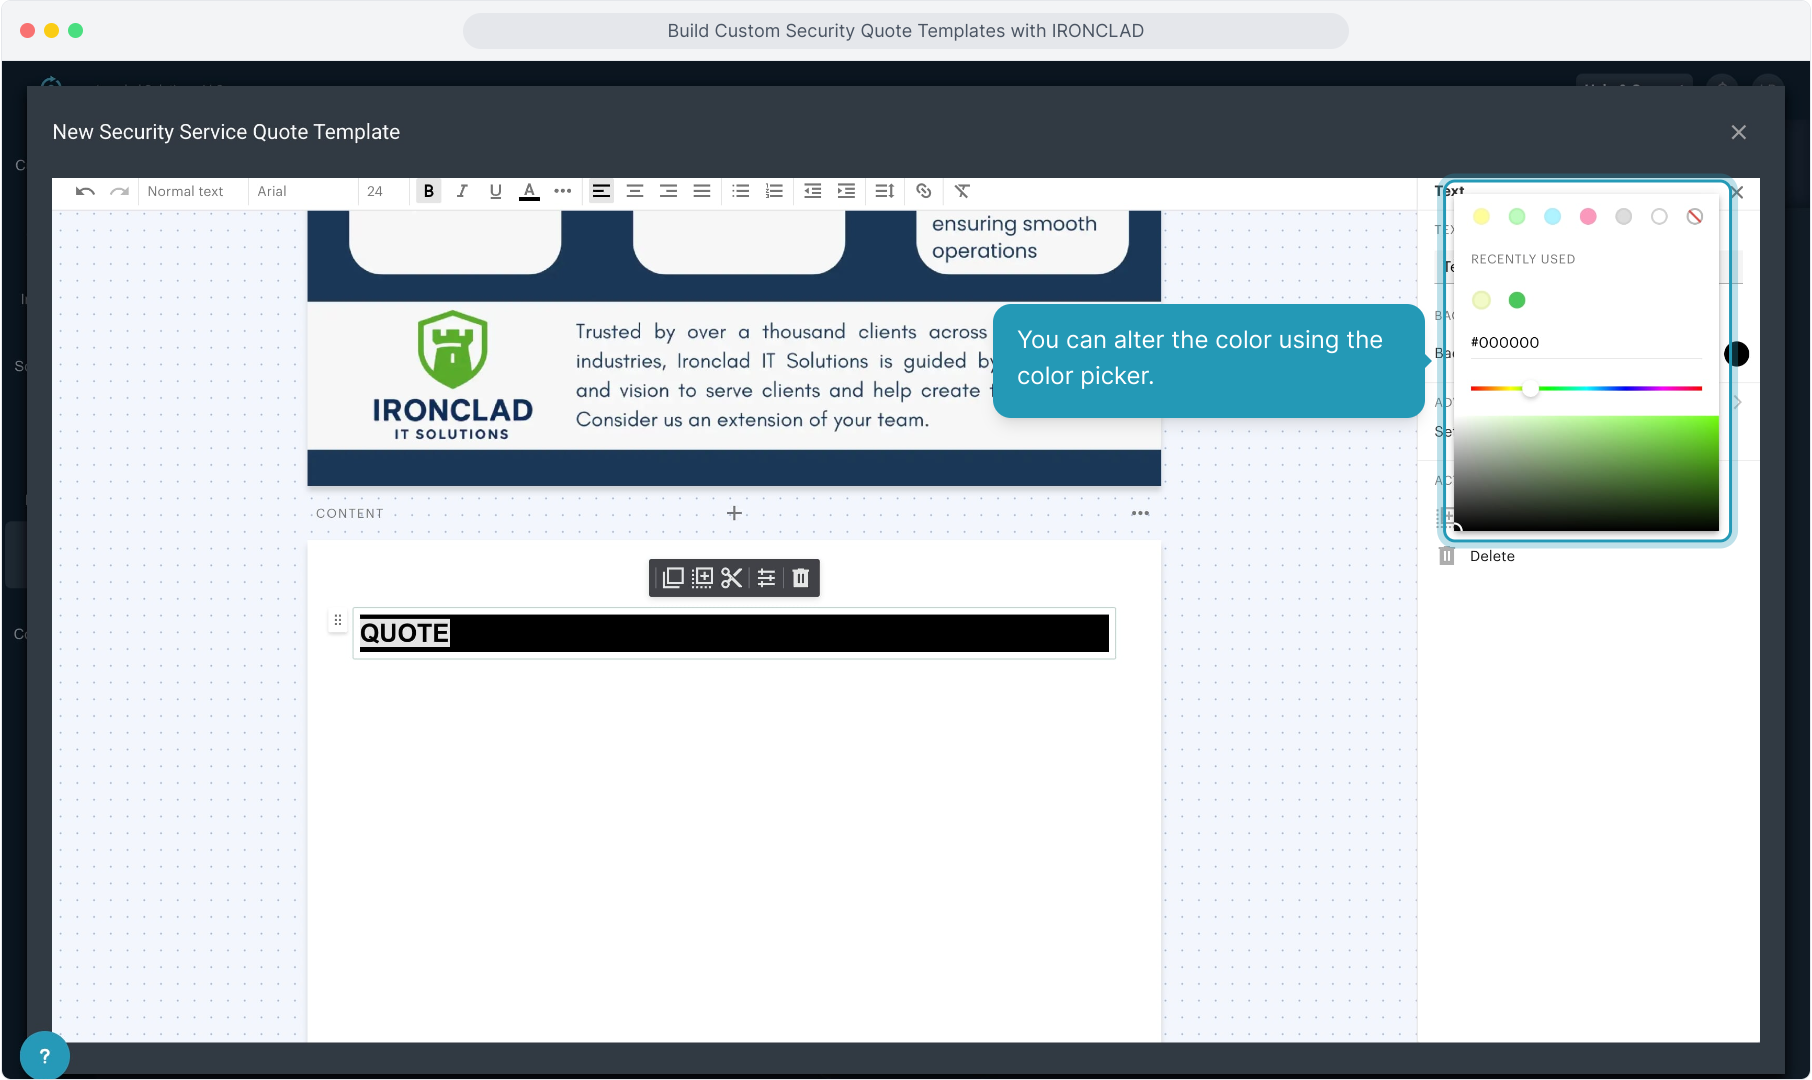
48. You can alter the color using the color picker.
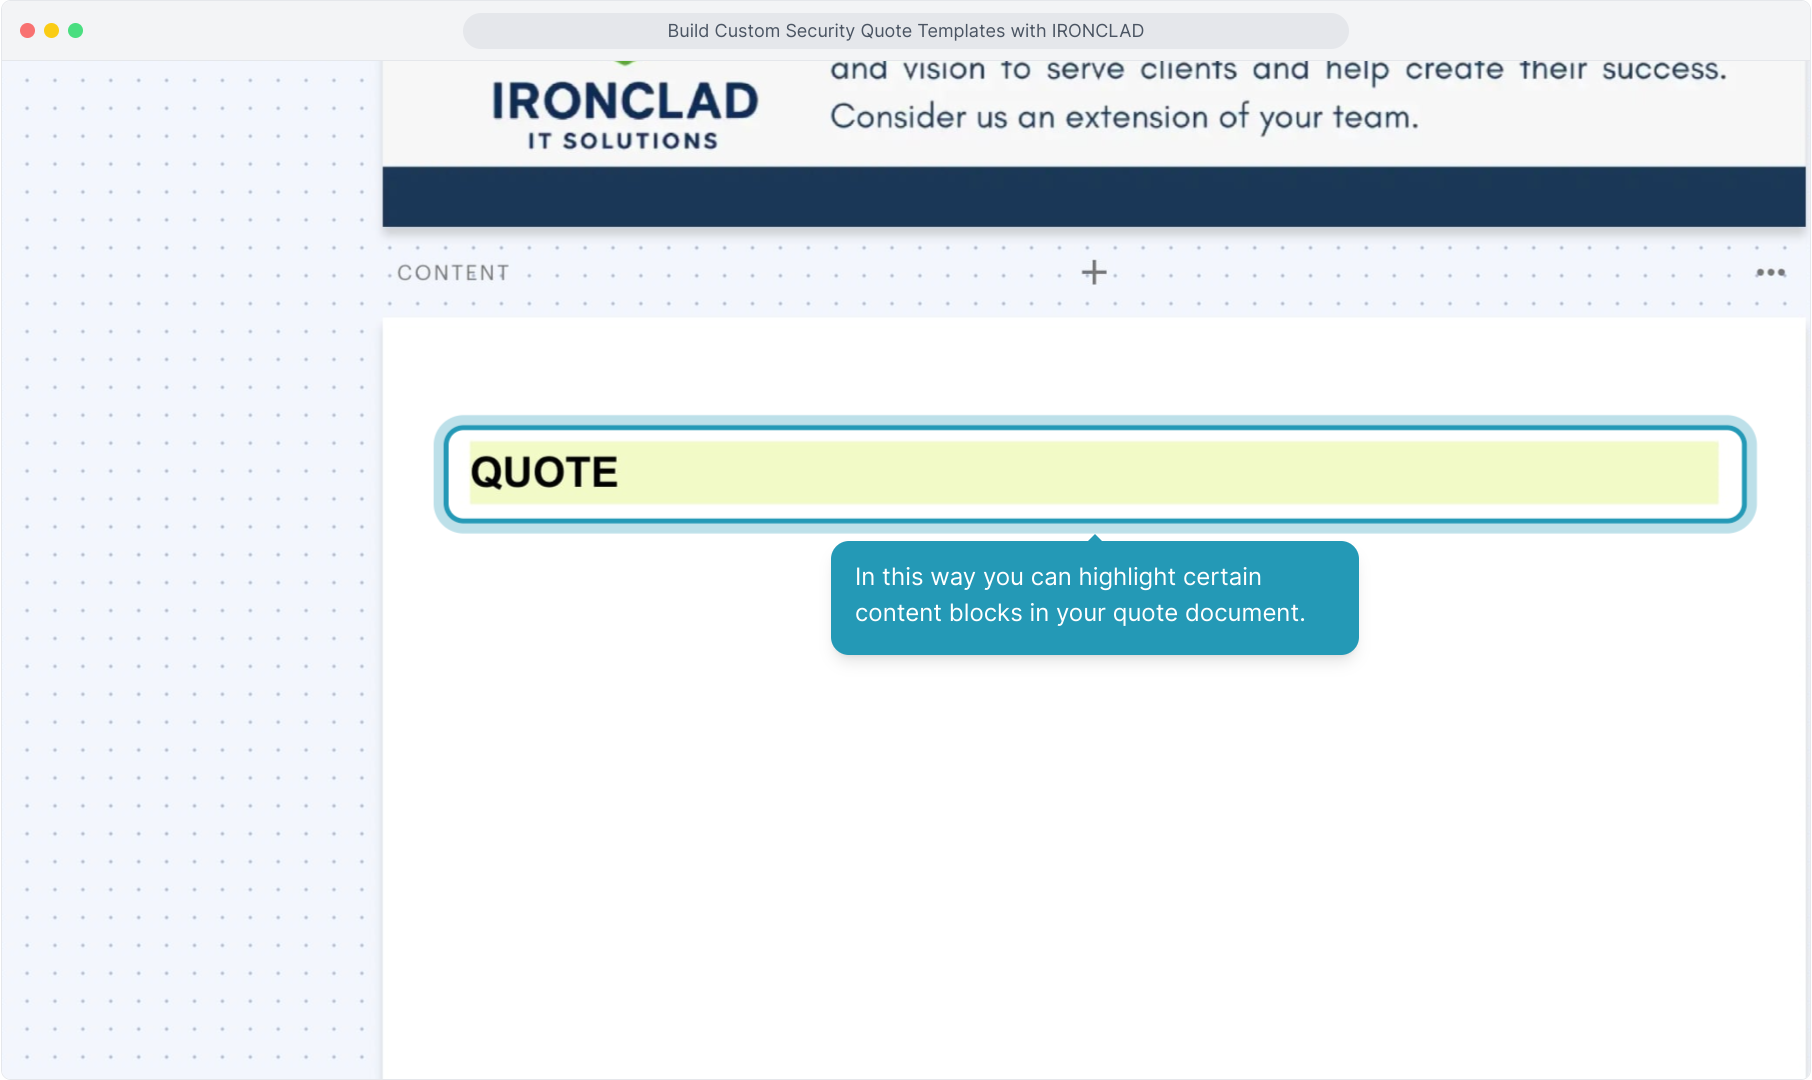
49. In this way you can highlight certain content blocks in your quote document.
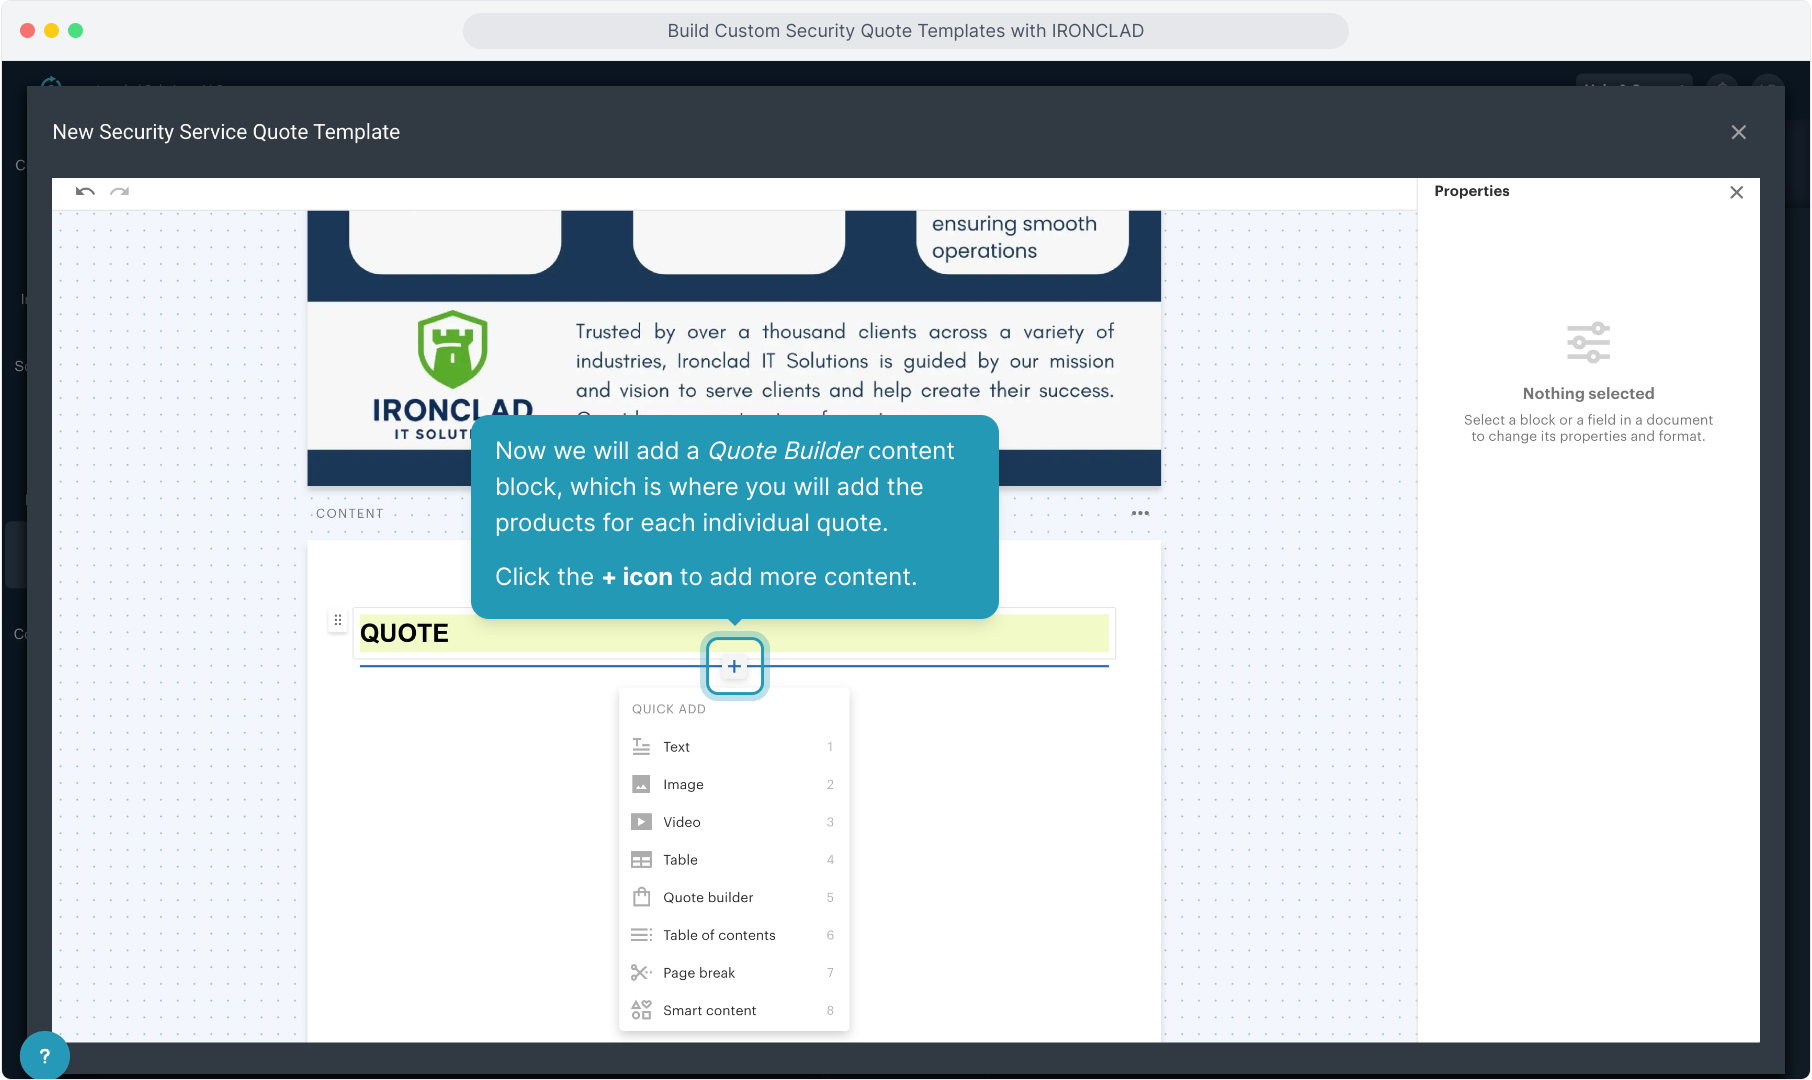
50. Now we will add a Quote Builder content block, which is where you will add the products for each individual quote.
Click the + icon to add more content.
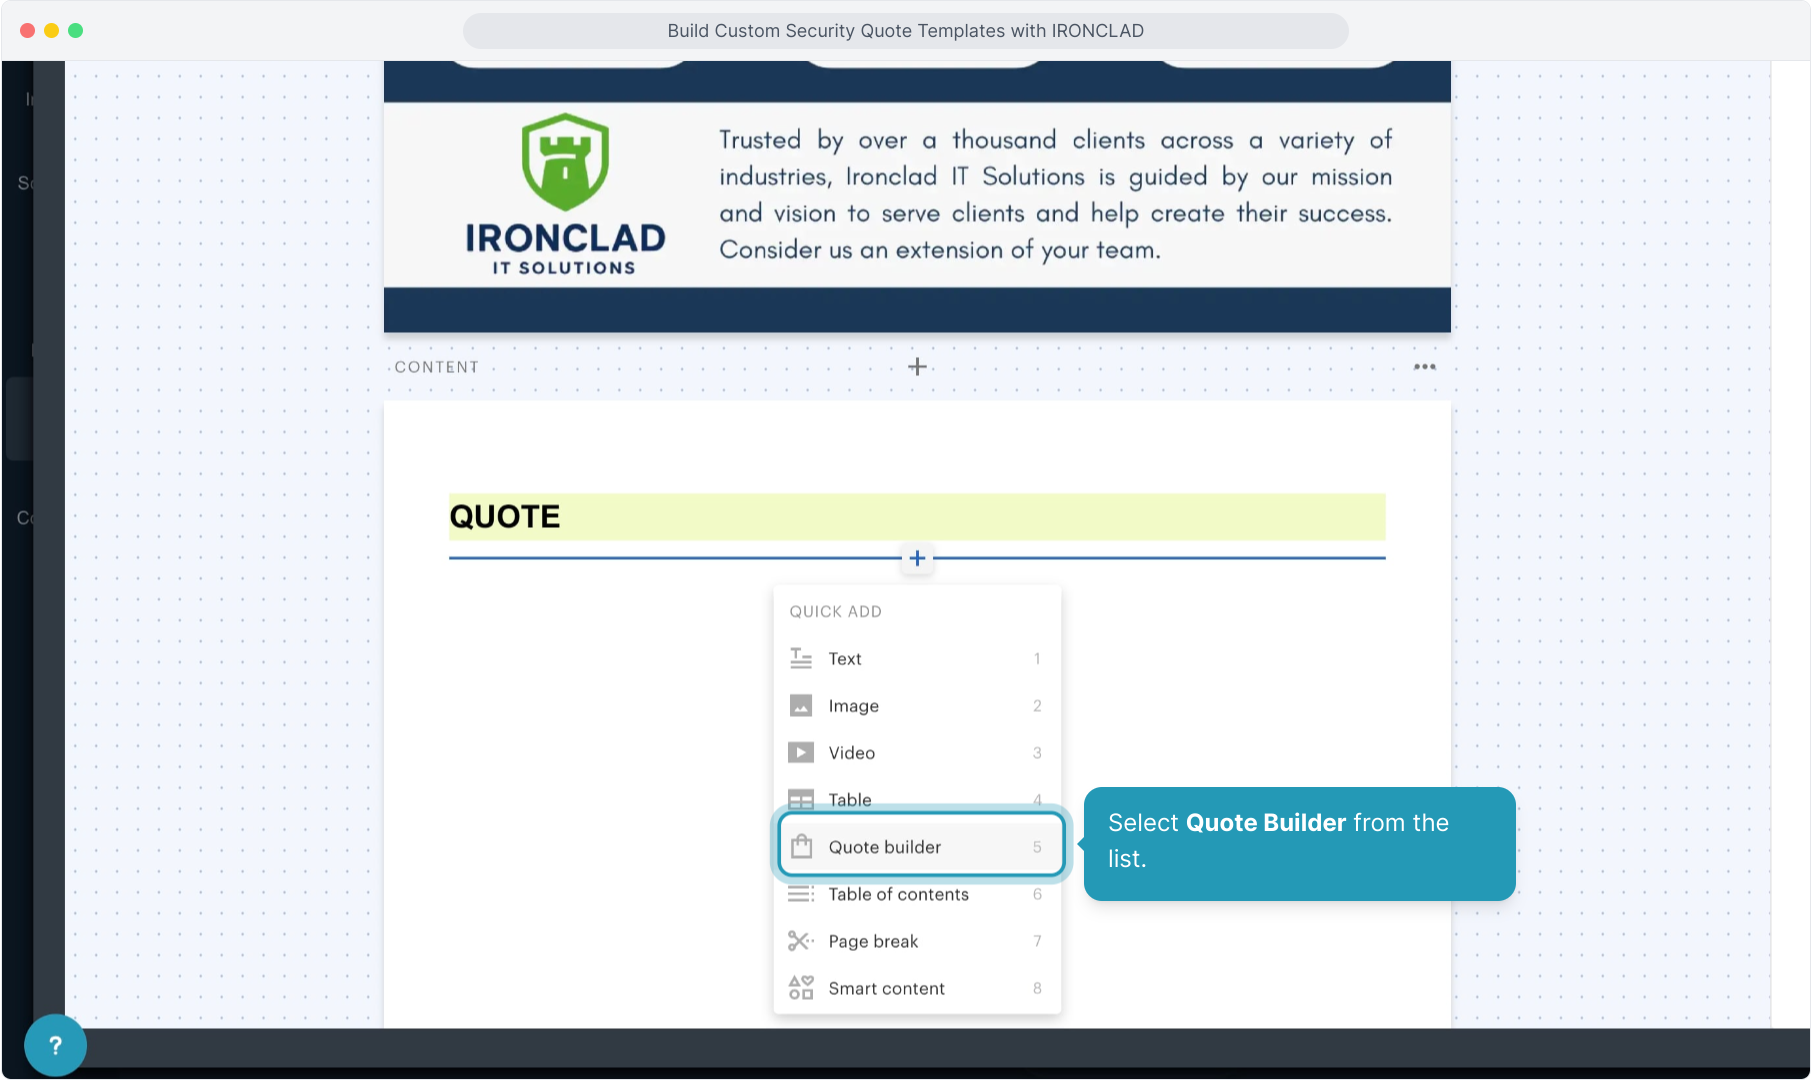
51. Select Quote Builder from the list.
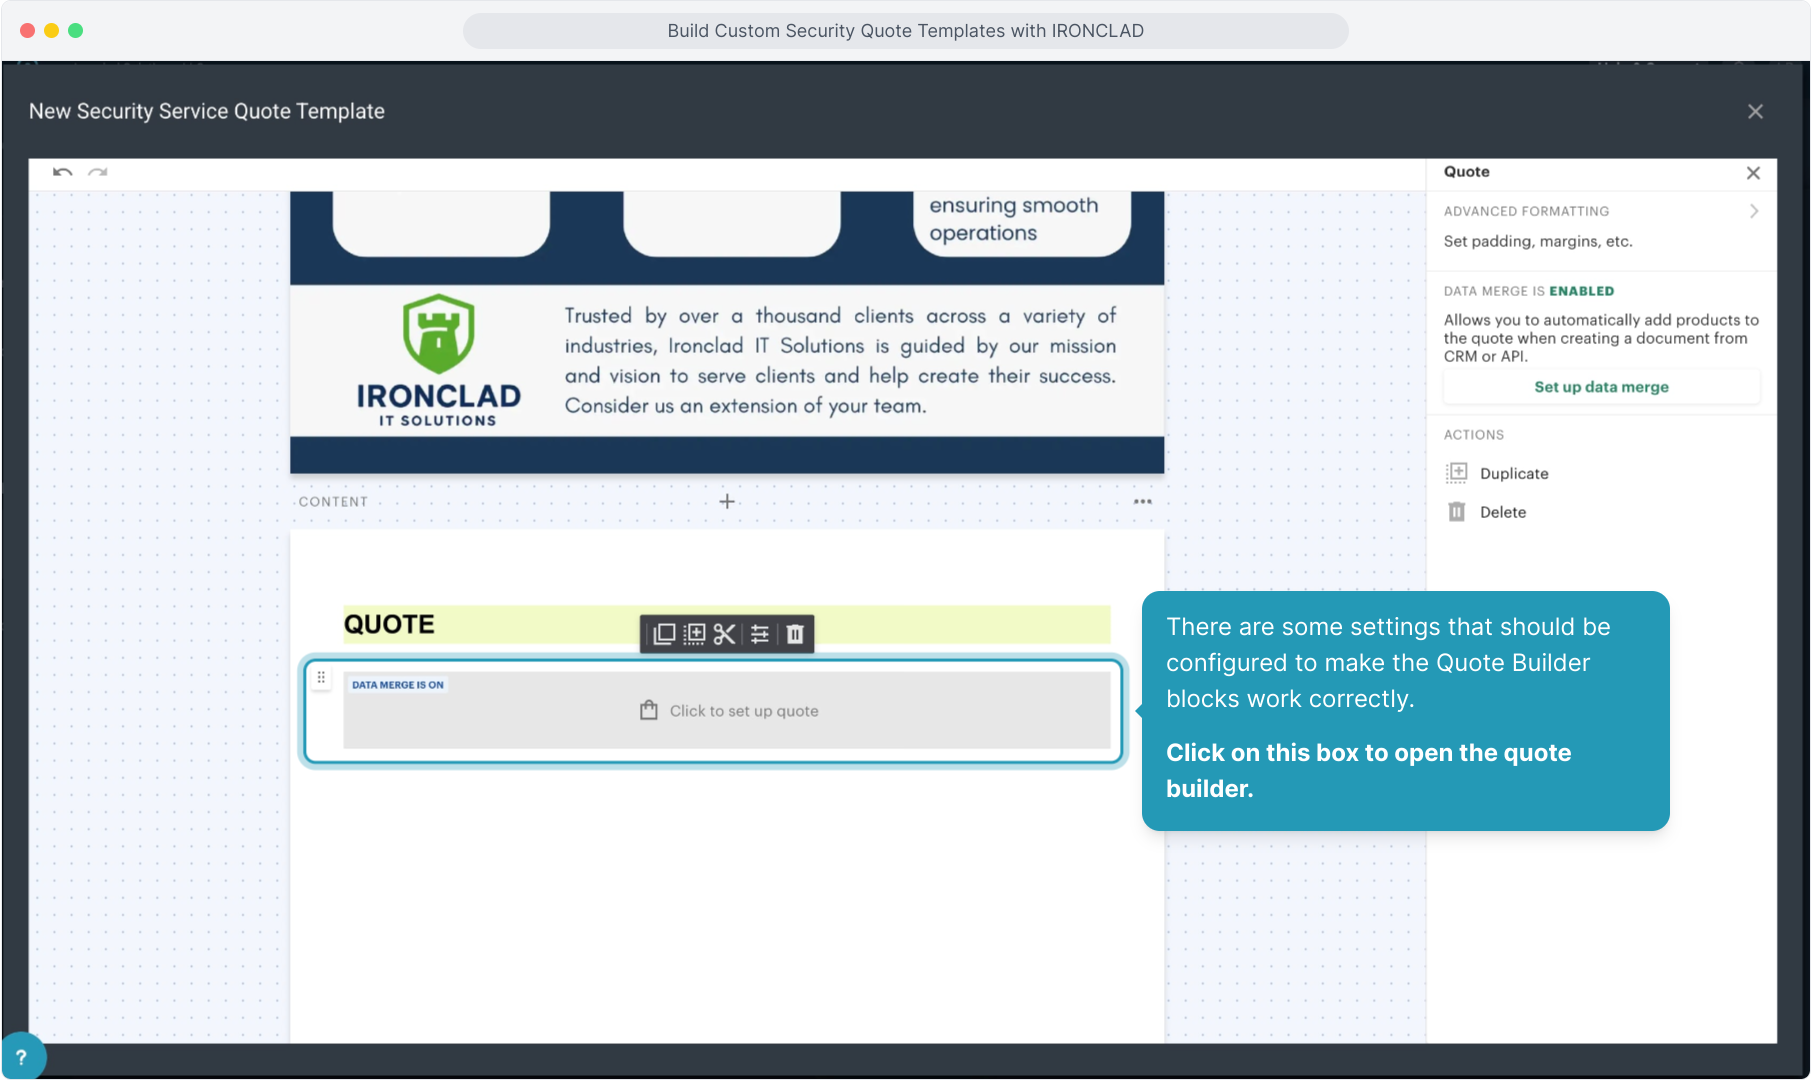
52. The Quote Builder block will be a placeholder that looks like this. When creating an actual quote, you will click on this placeholder to build out the products and services you're quoting for the customer.

53. There are some settings that should be configured to make the Quote Builder blocks work correctly.
Click on this box to open the quote builder.
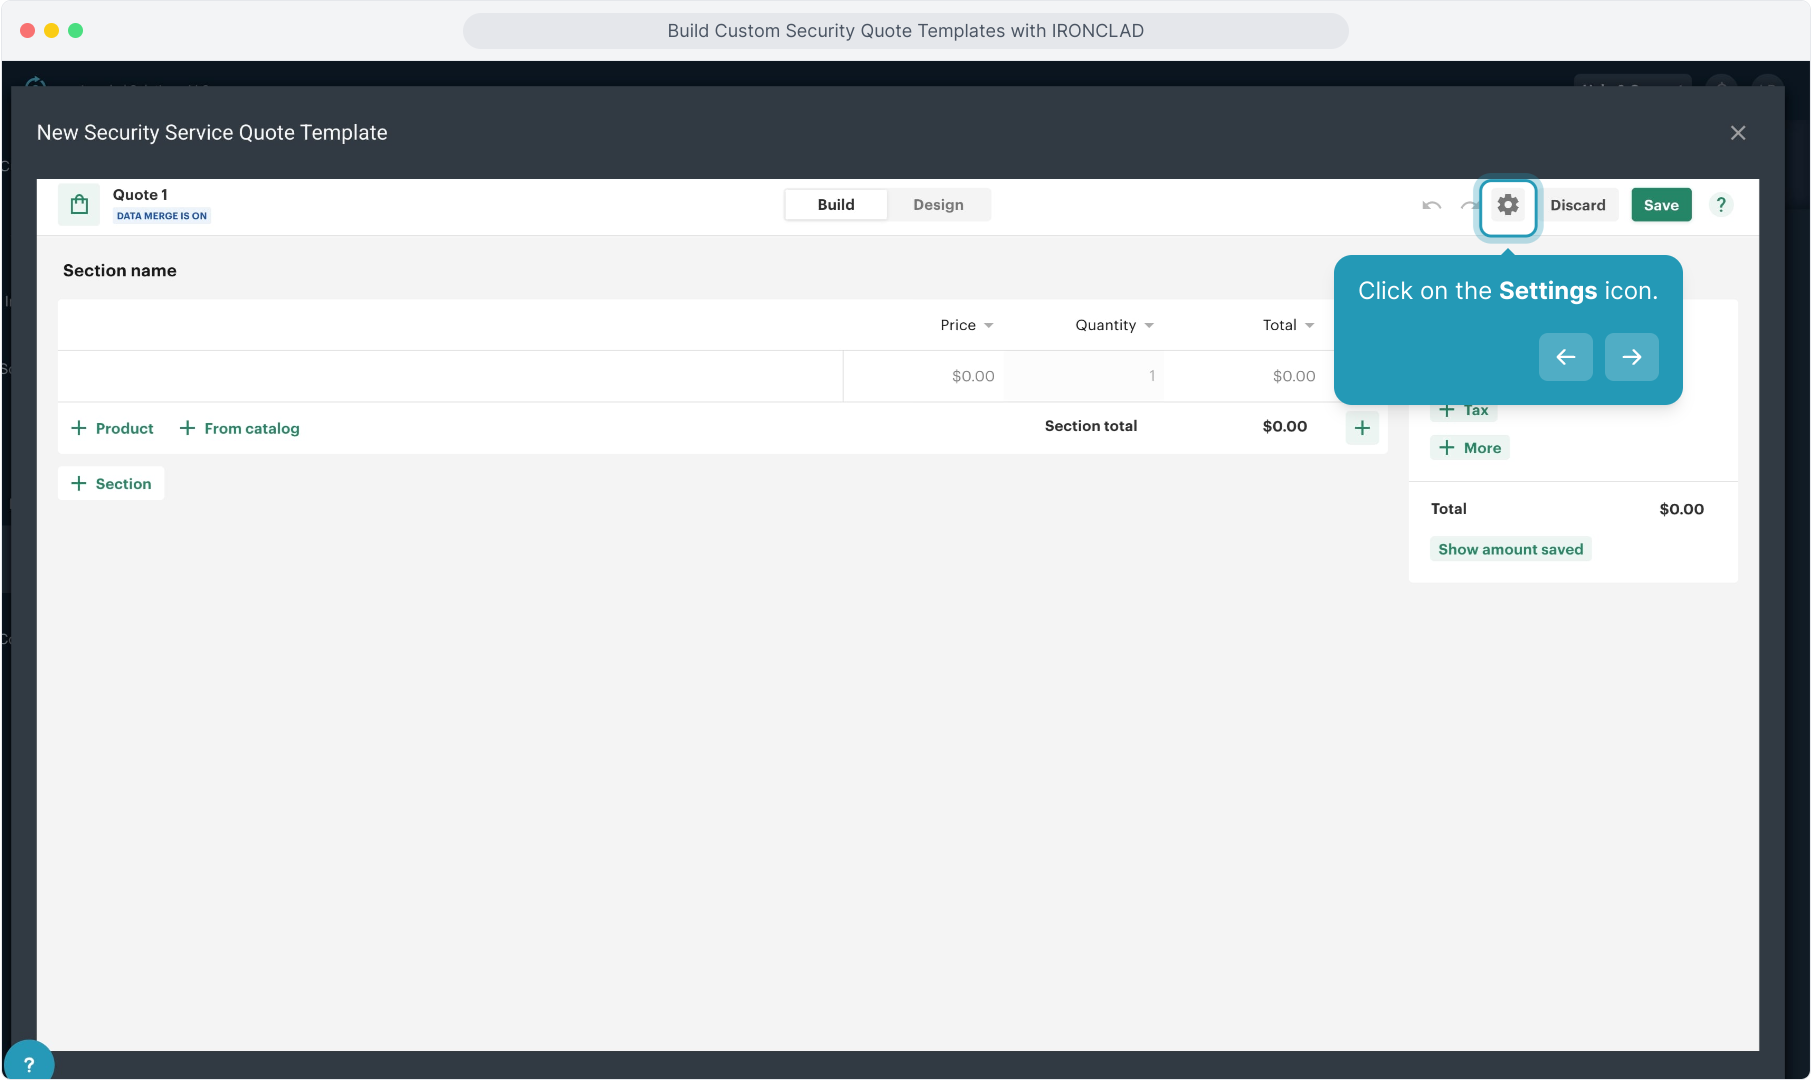
54. Click on the Settings icon.
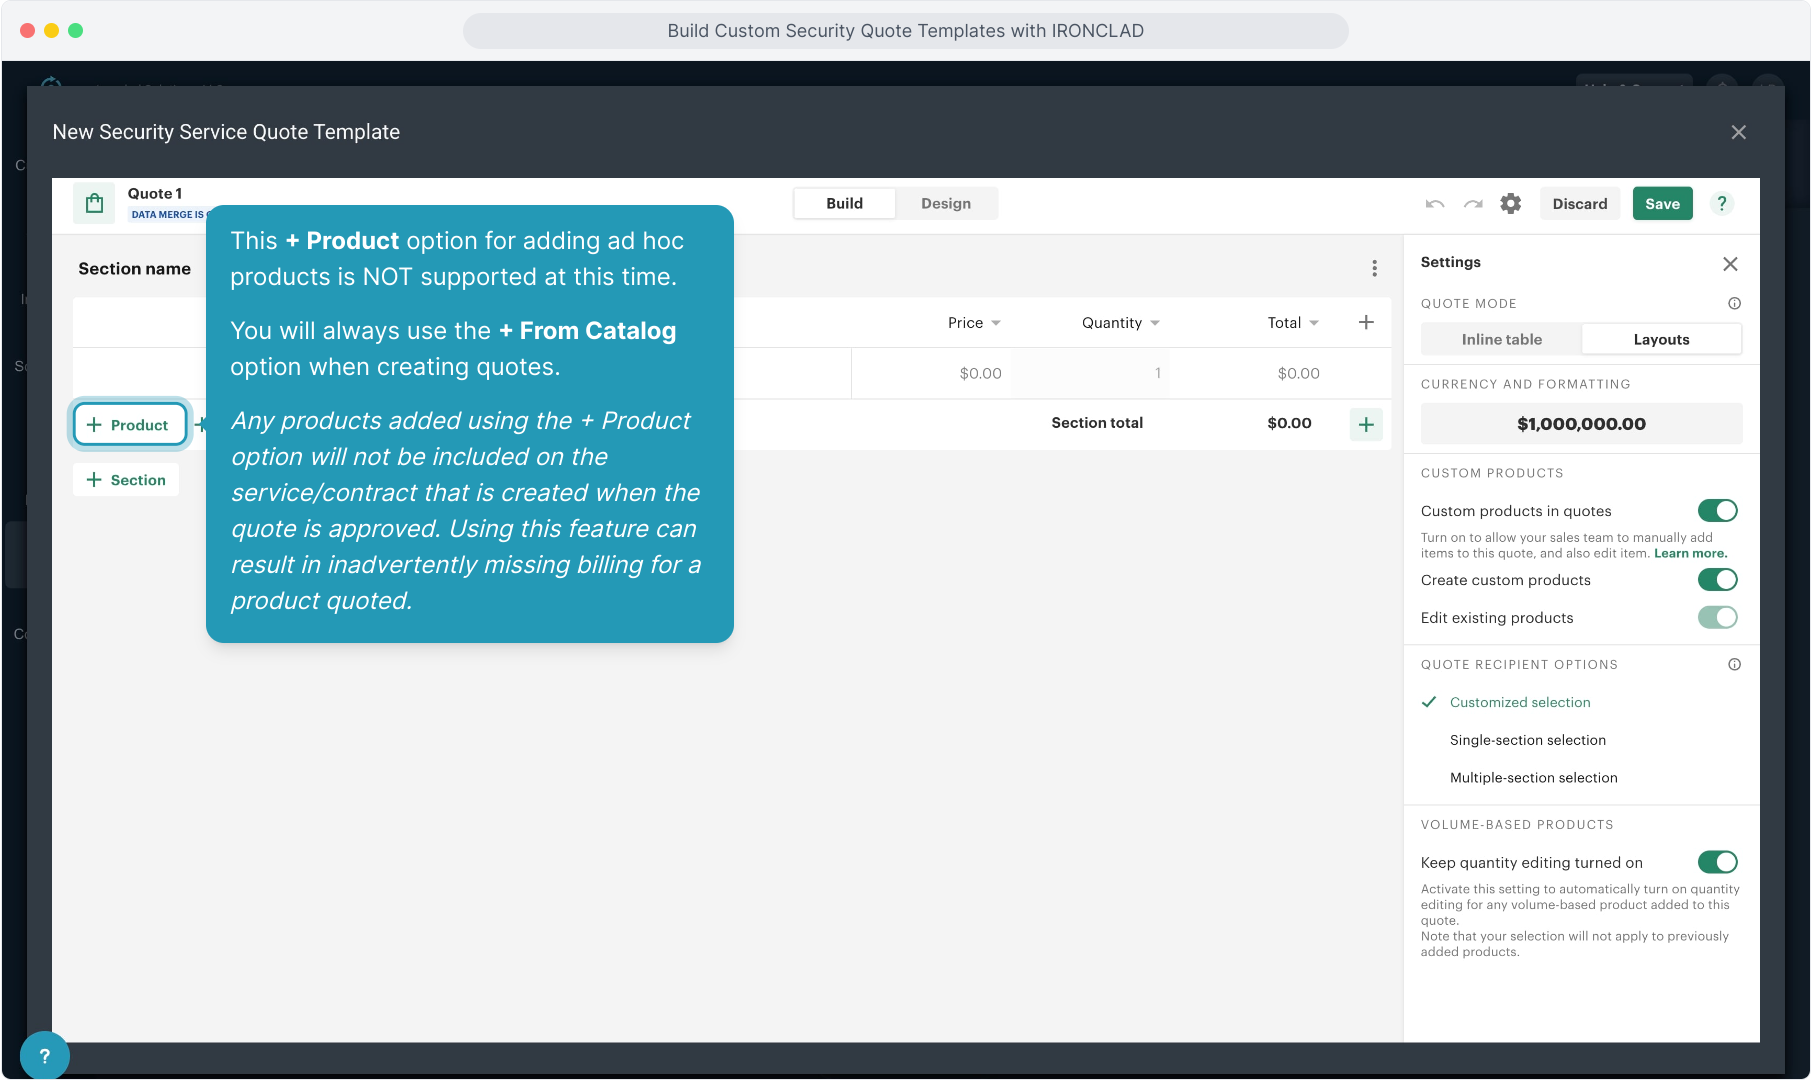
55. This + Product option for adding ad hoc products is NOT supported at this time.
You will always use the + From Catalog option when creating quotes.
Any products added using the + Product option will not be included on the service/contract that is created when the quote is approved. Using this feature can result in inadvertently missing billing for a product quoted.
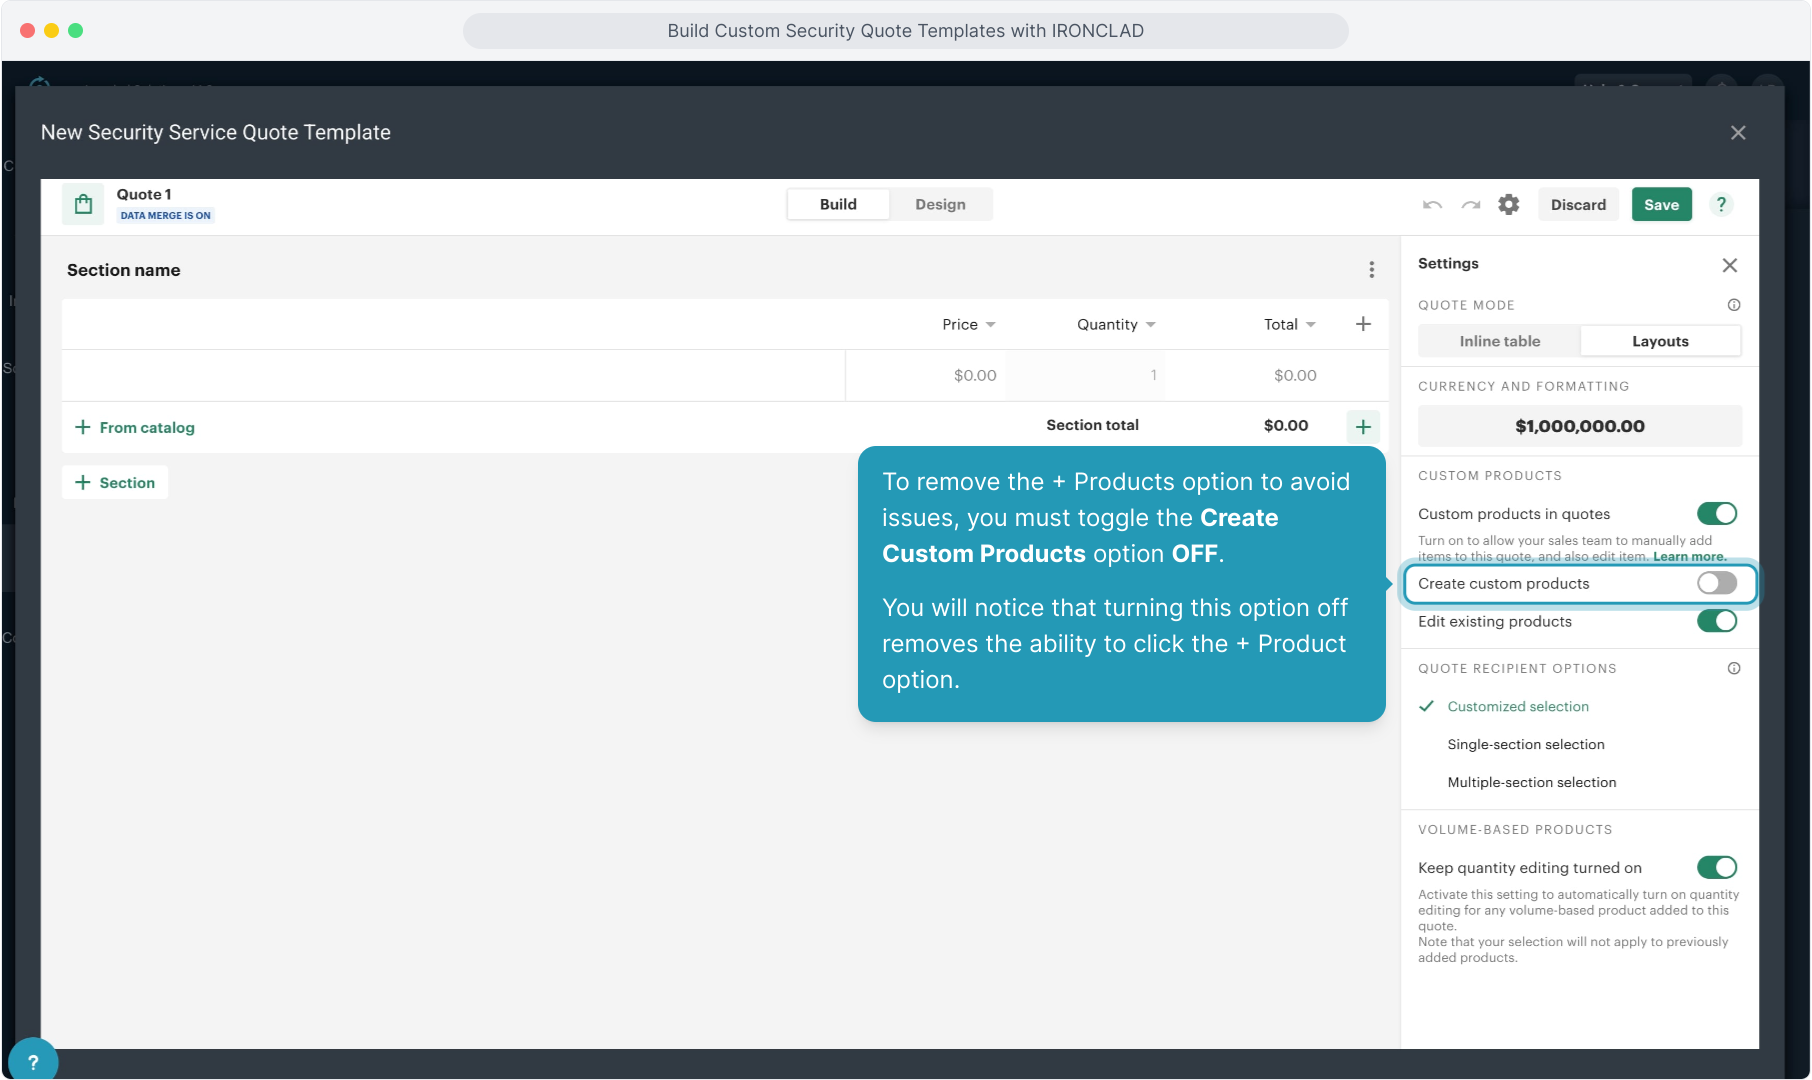
56. To remove the + Products option to avoid issues, you must toggle the Create Custom Products option OFF.
You will notice that turning this option off removes the ability to click the + Product option.
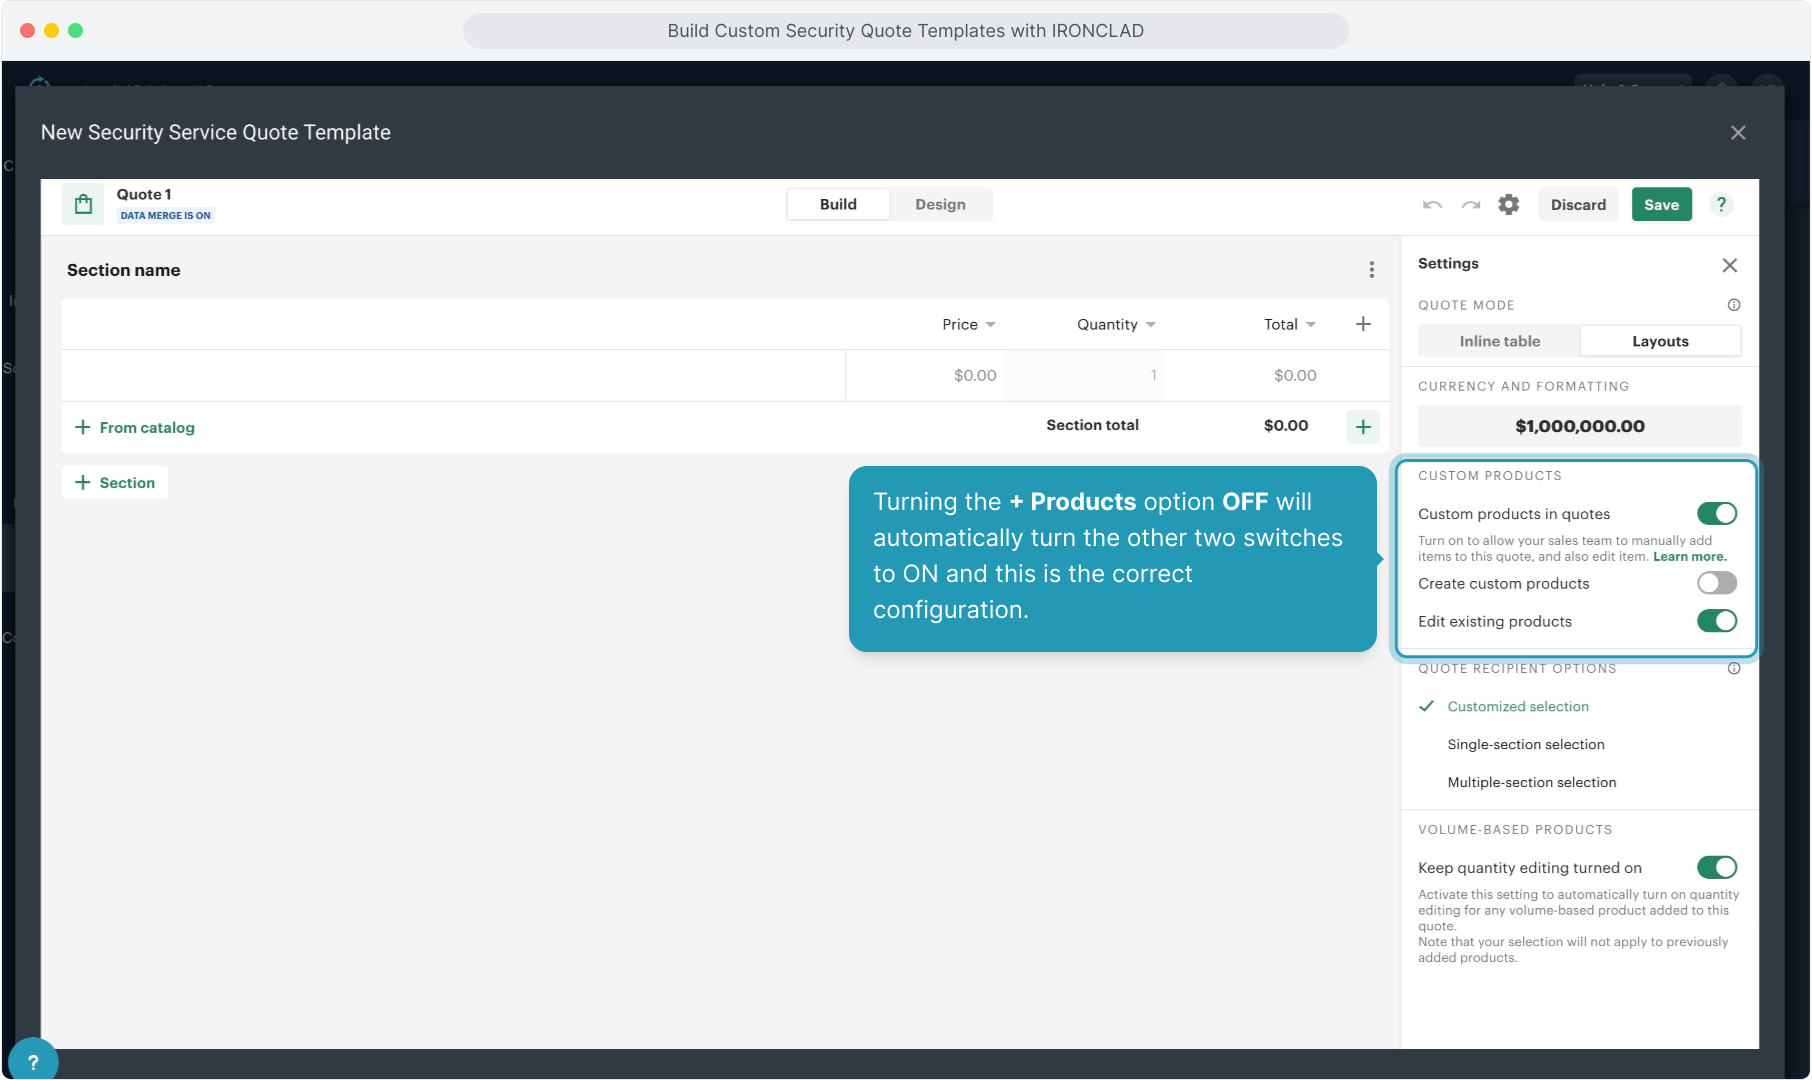
57. Turning the + Products option OFF will automatically turn the other two switches to ON and this is the correct configuration.
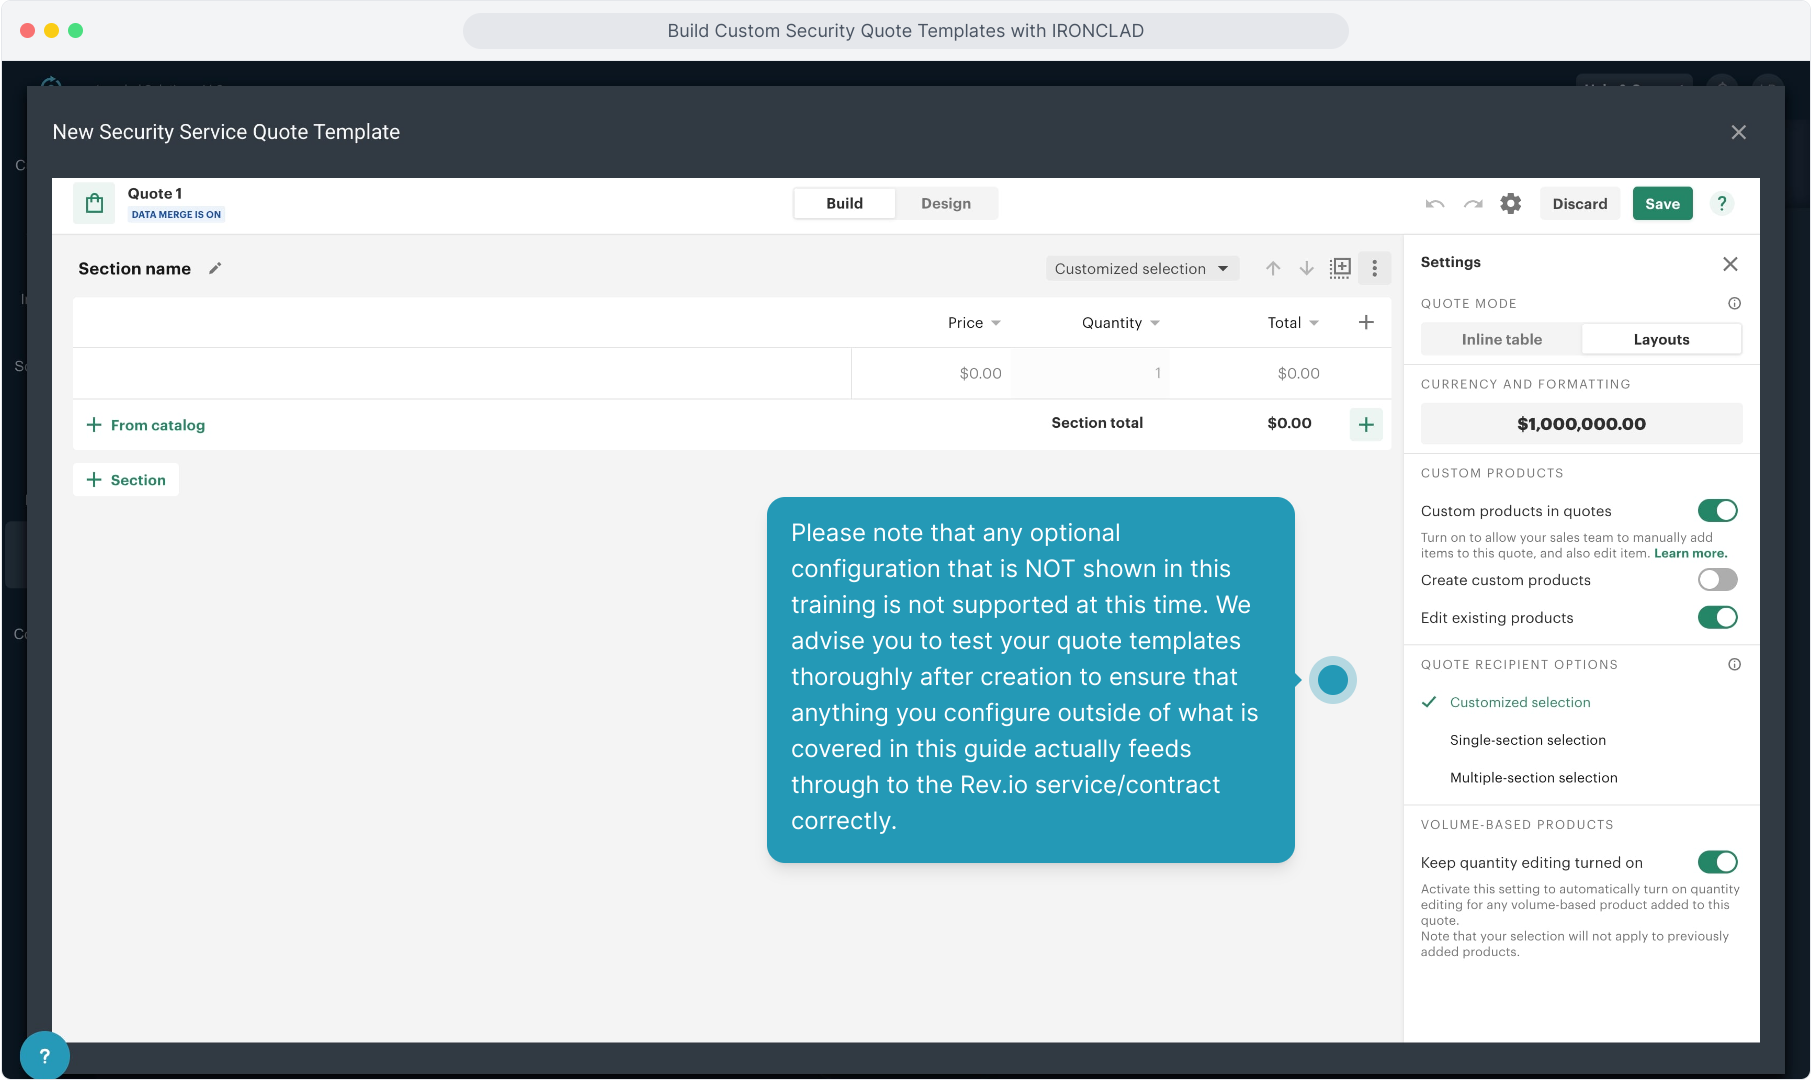
58. Please note that any optional configuration that is NOT shown in this training is not supported at this time. We advise you to test your quote templates thoroughly after creation to ensure that anything you configure outside of what is covered in this guide actually feeds through to the Rev.io service/contract correctly.
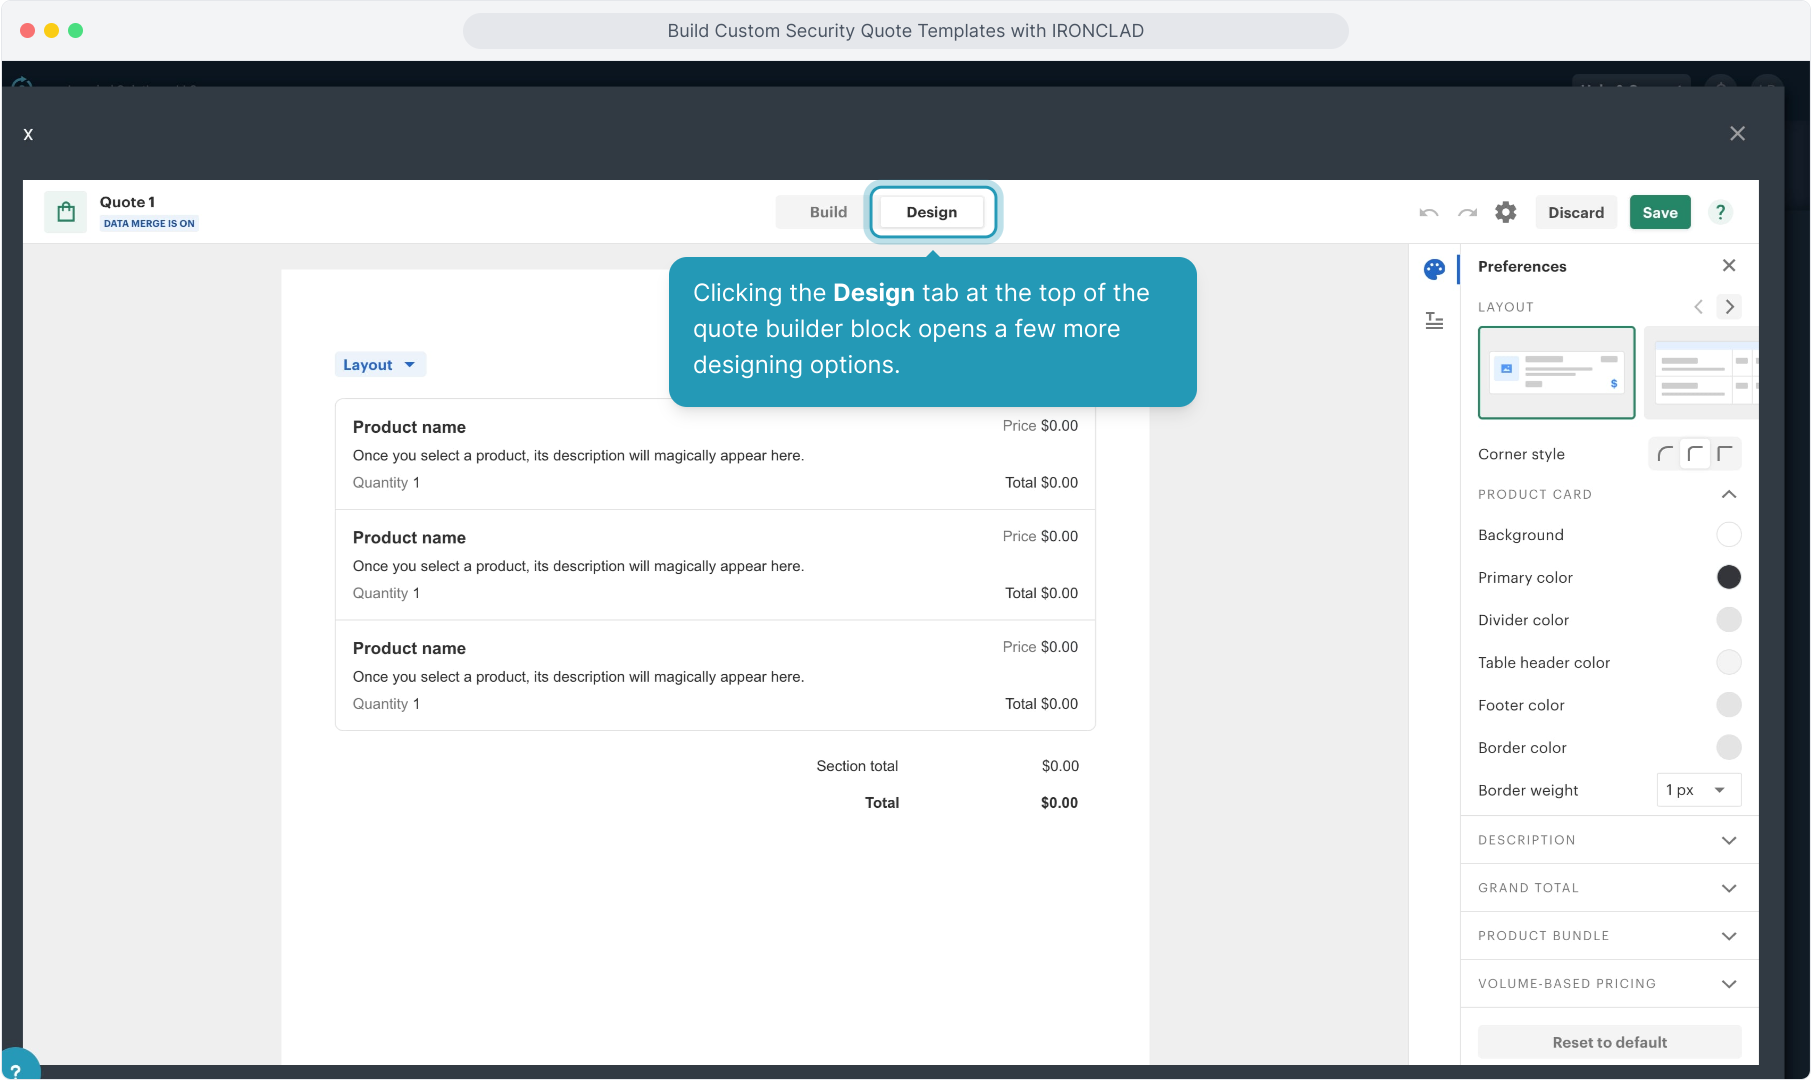
59. Clicking the Design tab at the top of the quote builder block opens a few more designing options.
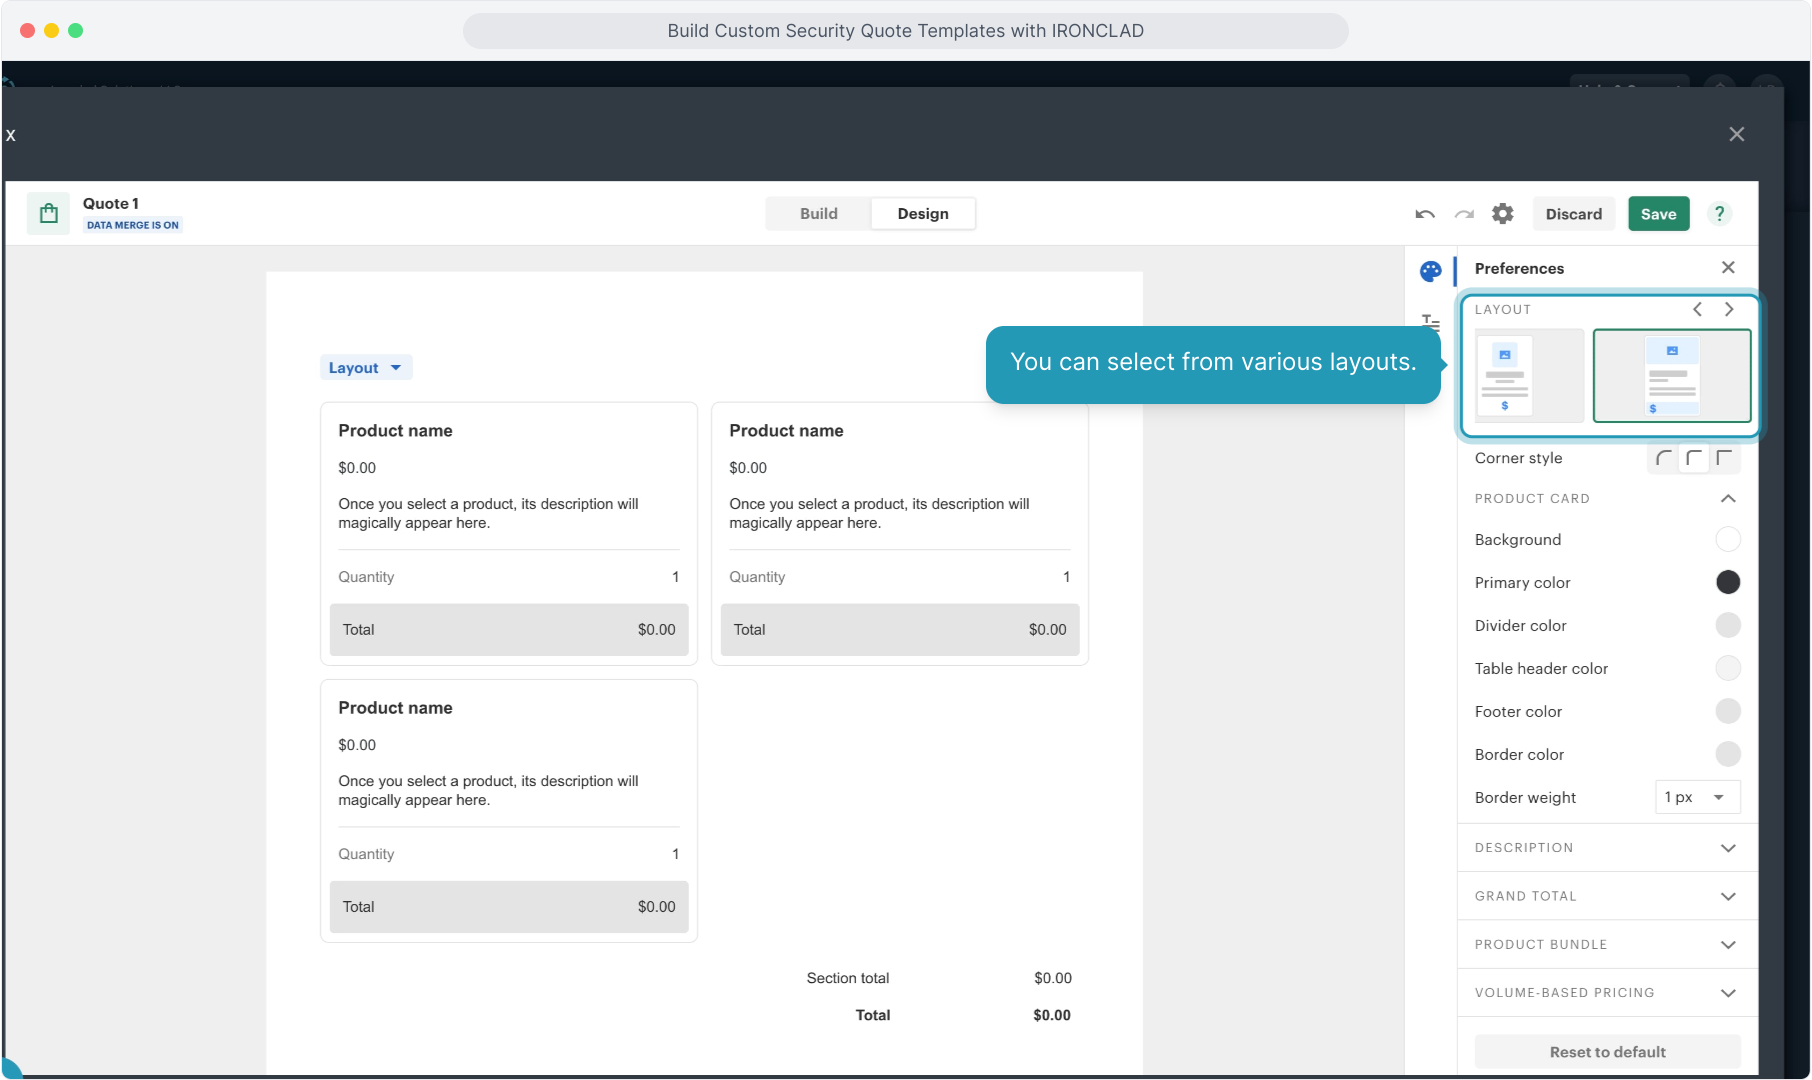
60. You can select from various layouts.
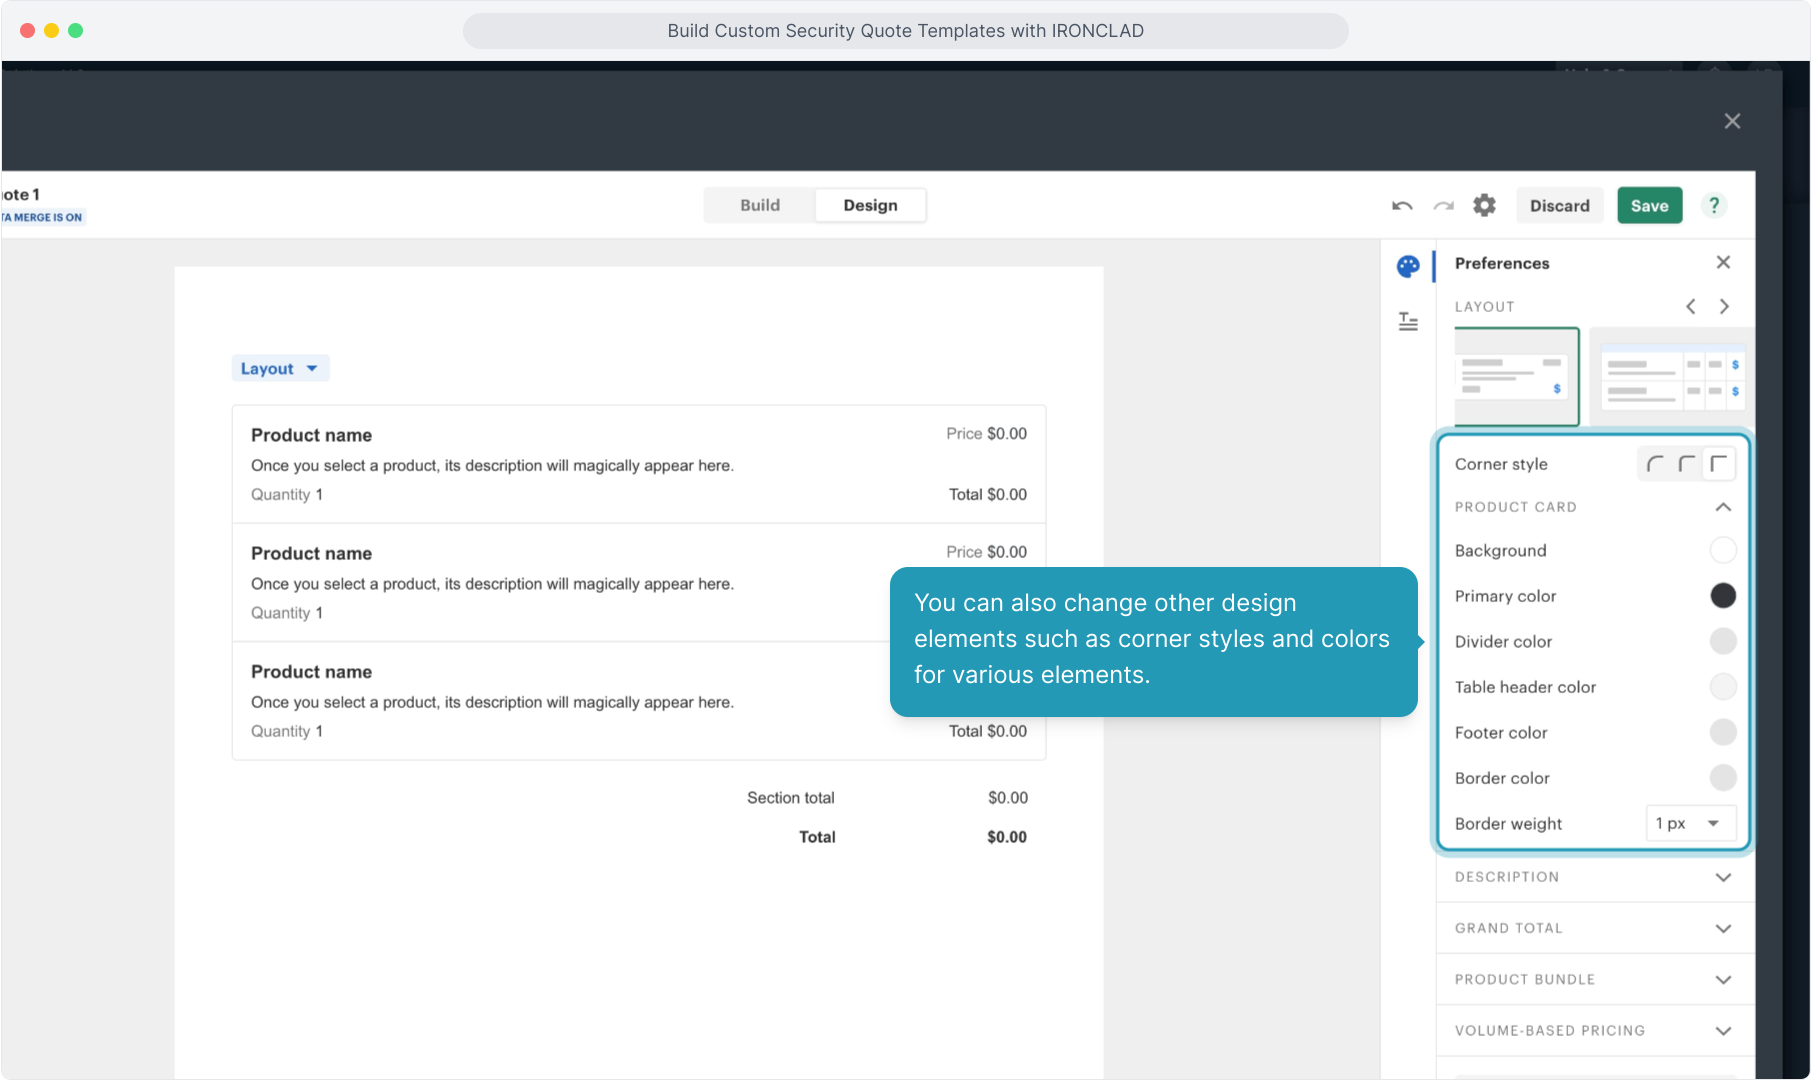
61. You can also change other design elements such as corner styles and colors for various elements.
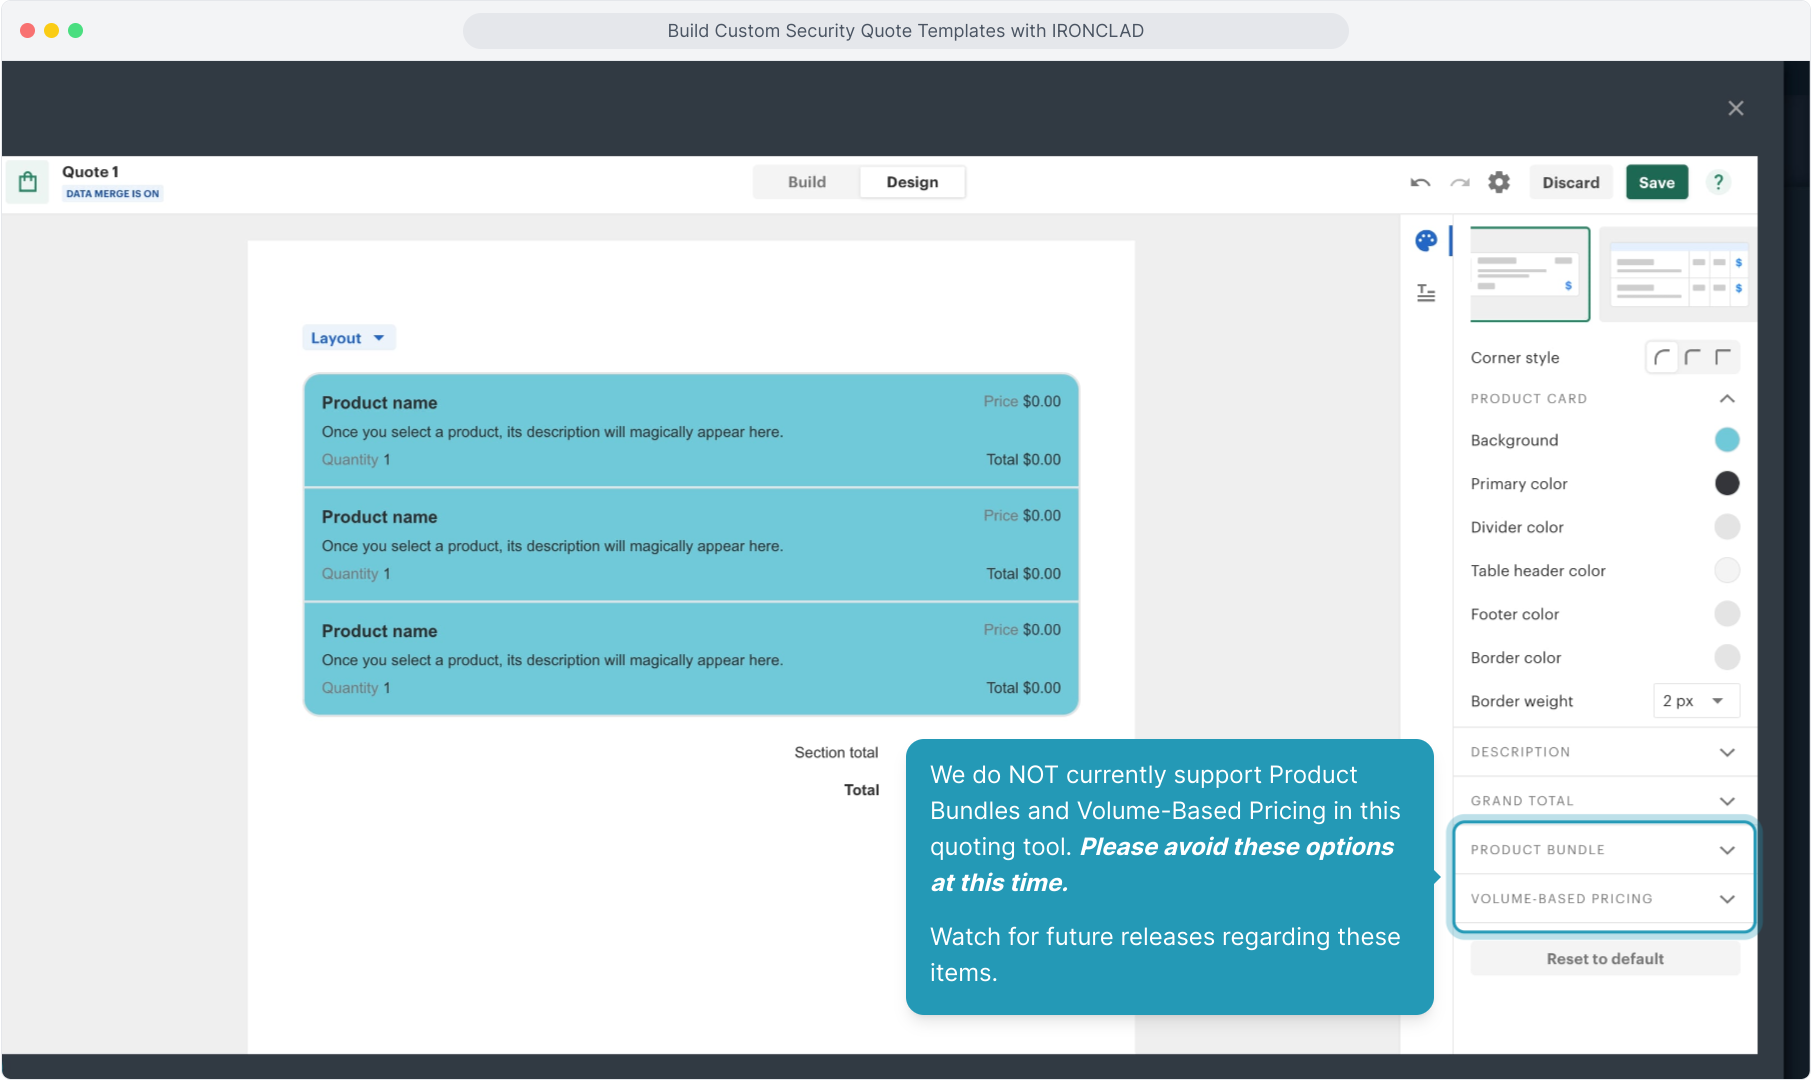
62. We do NOT currently support Product Bundles and Volume-Based Pricing in this quoting tool. Please avoid these options at this time.
Watch for future releases regarding these items.
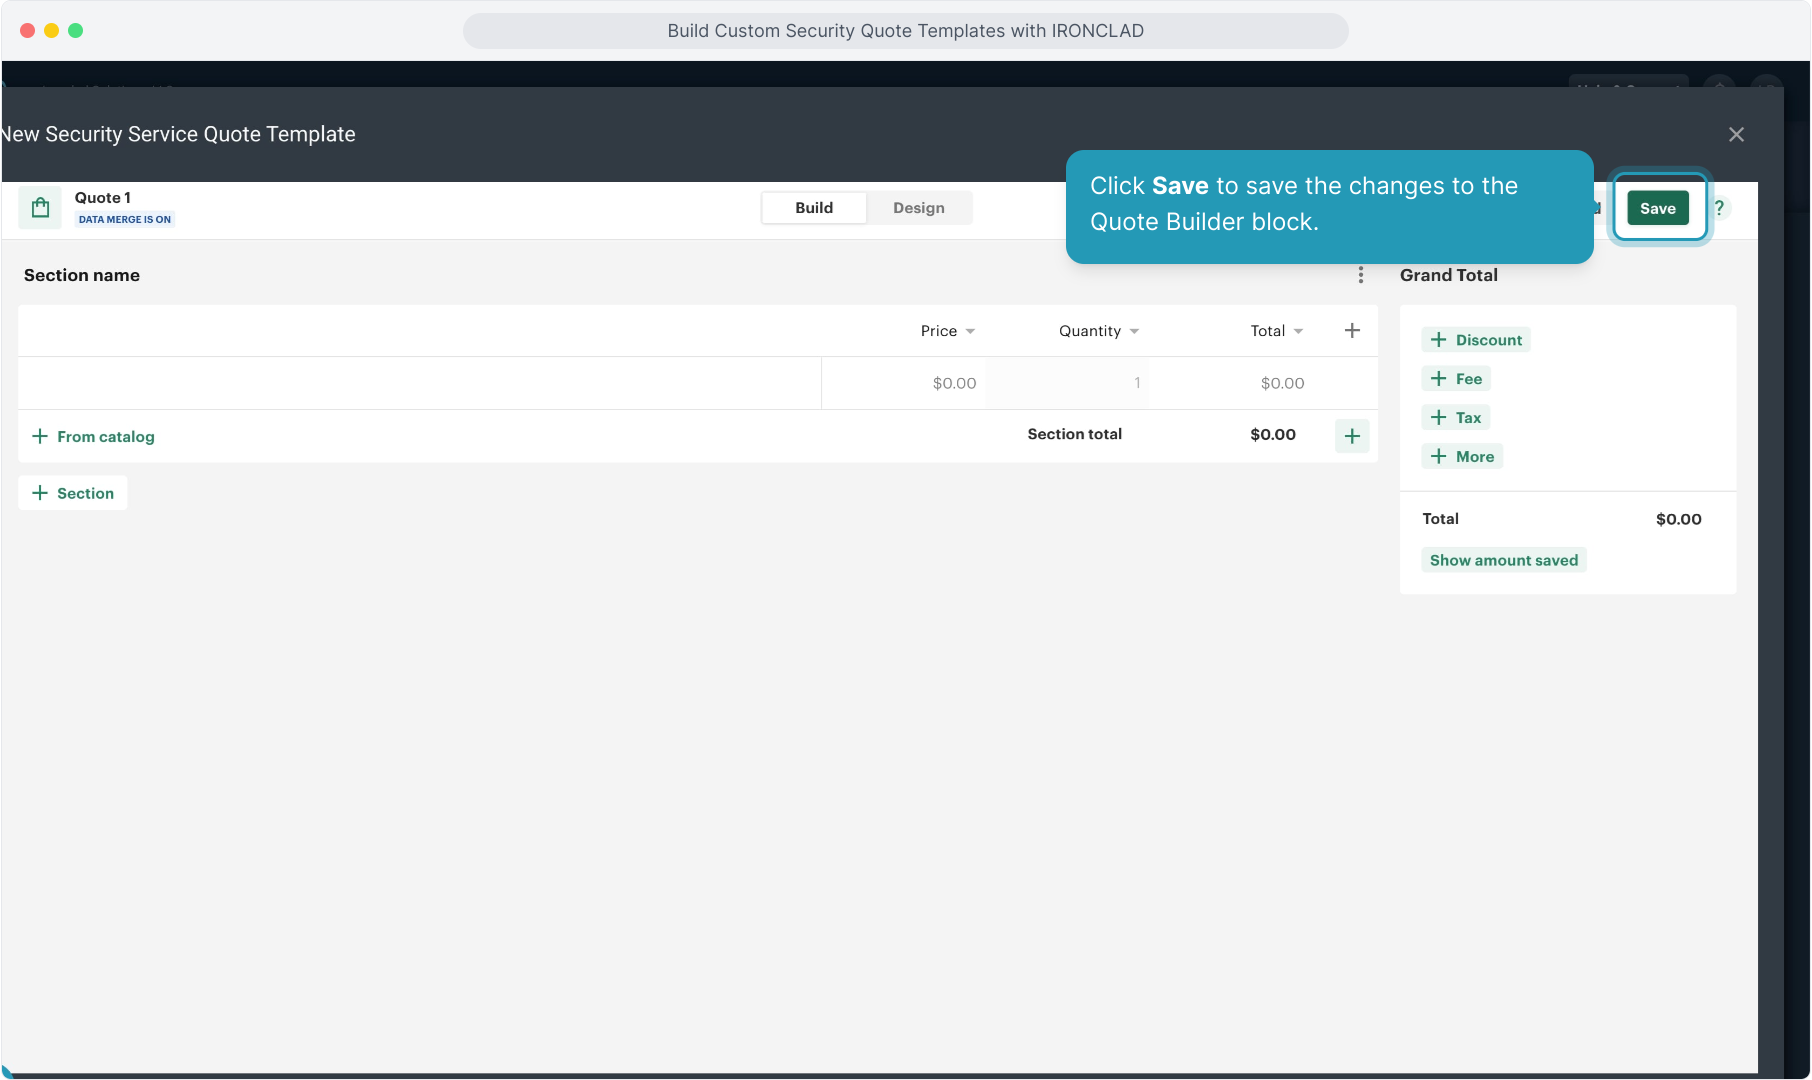
63. Click Save to save the changes to the Quote Builder block.
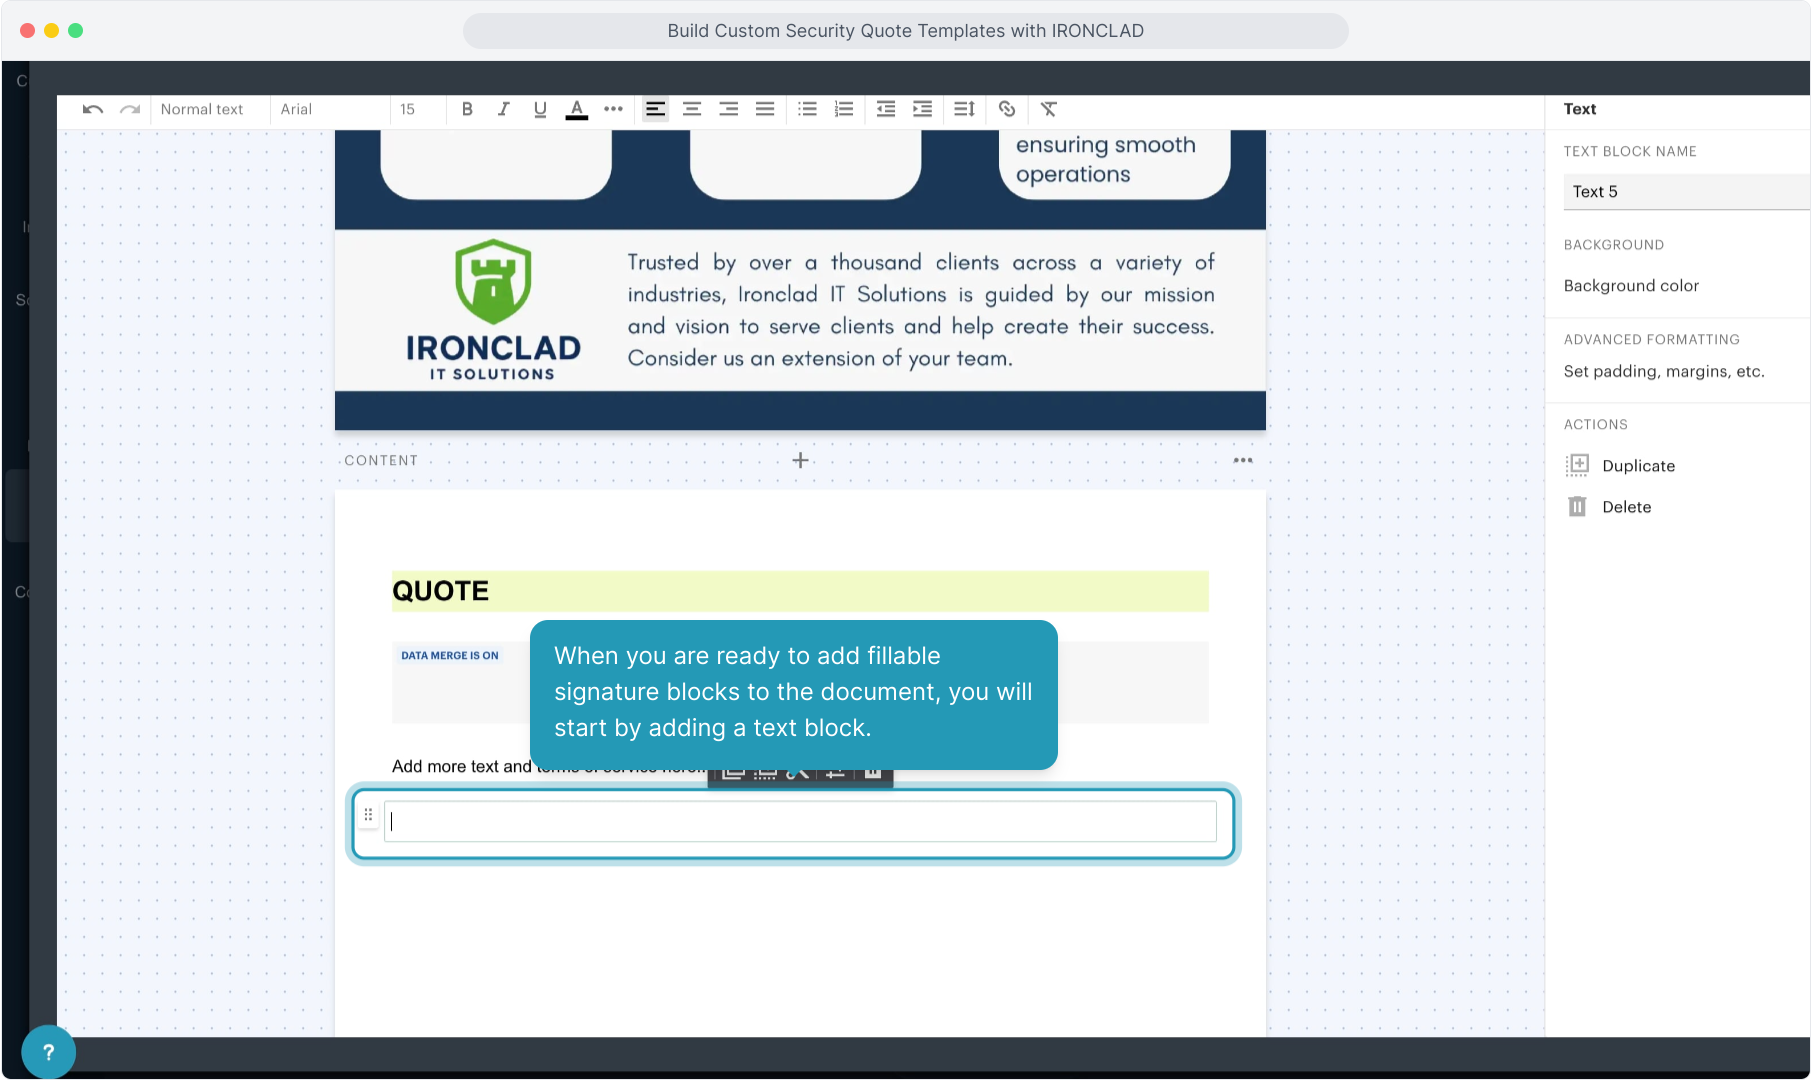
64. When you are ready to add fillable signature blocks to the document, you will start by adding a text block.
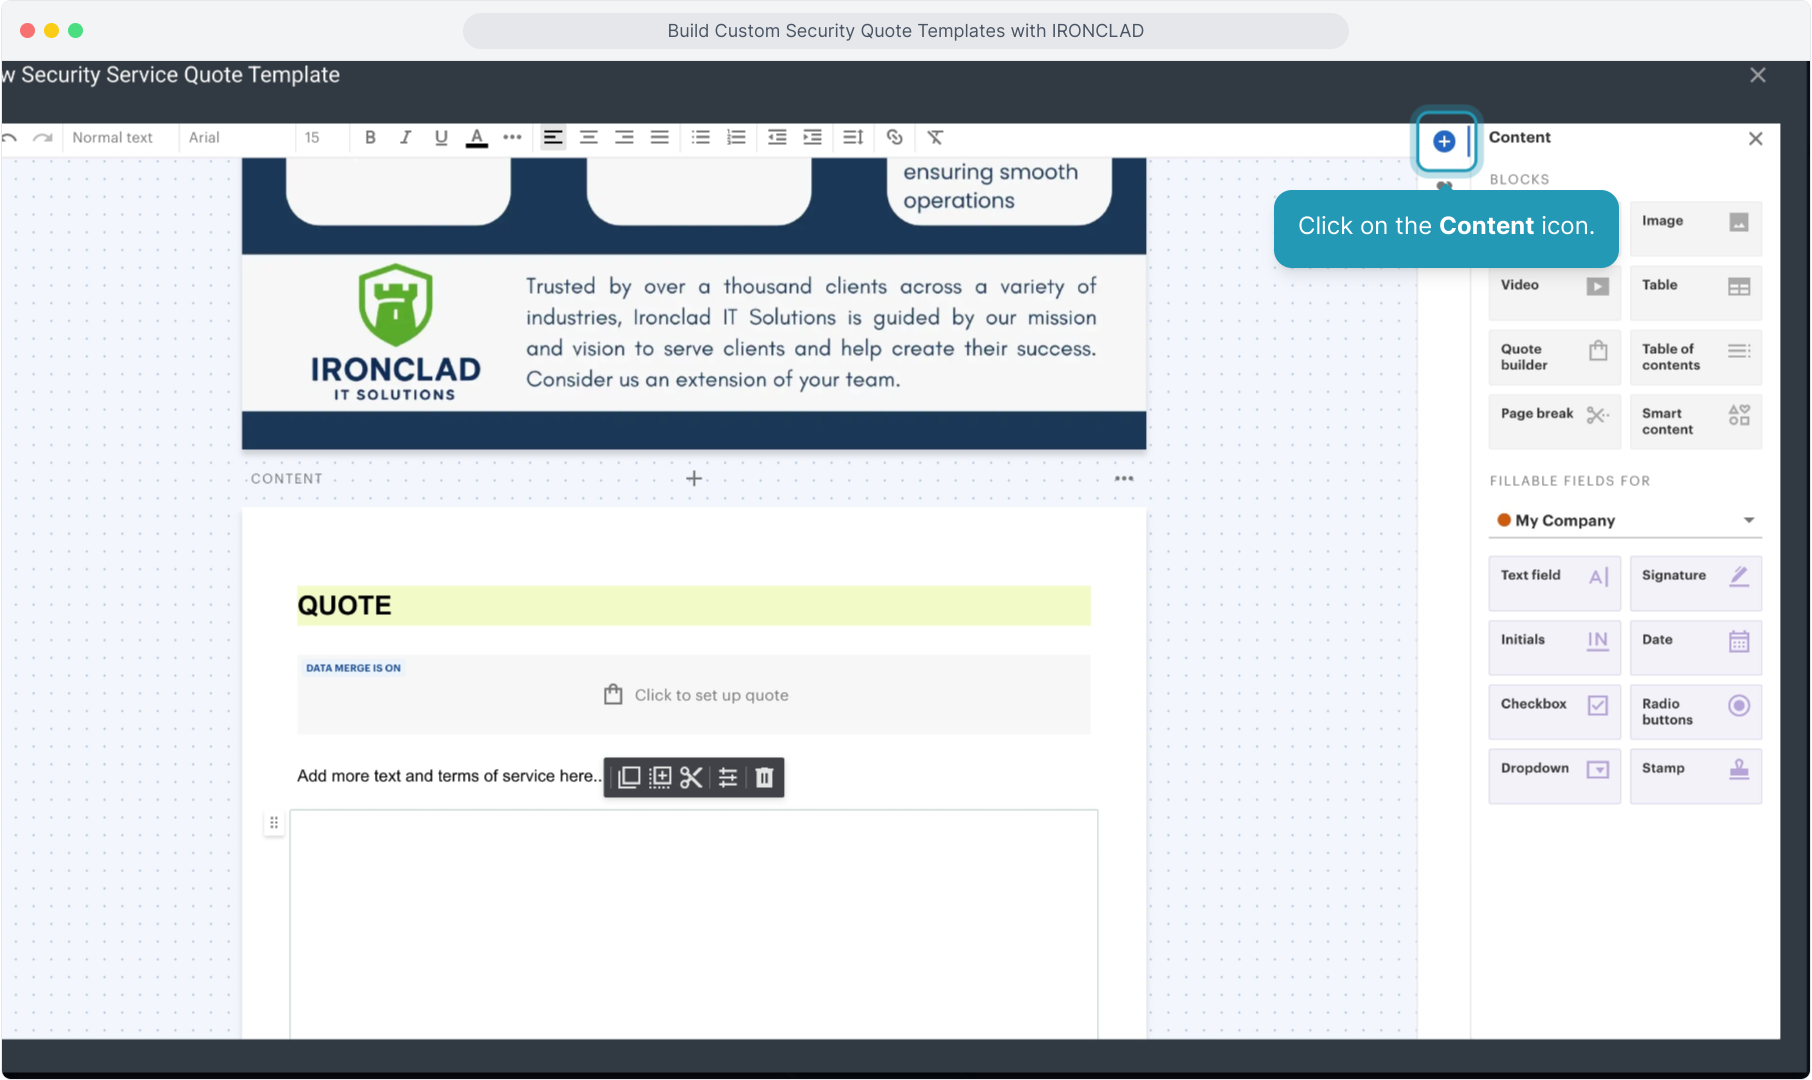
65. Click on the Content icon.
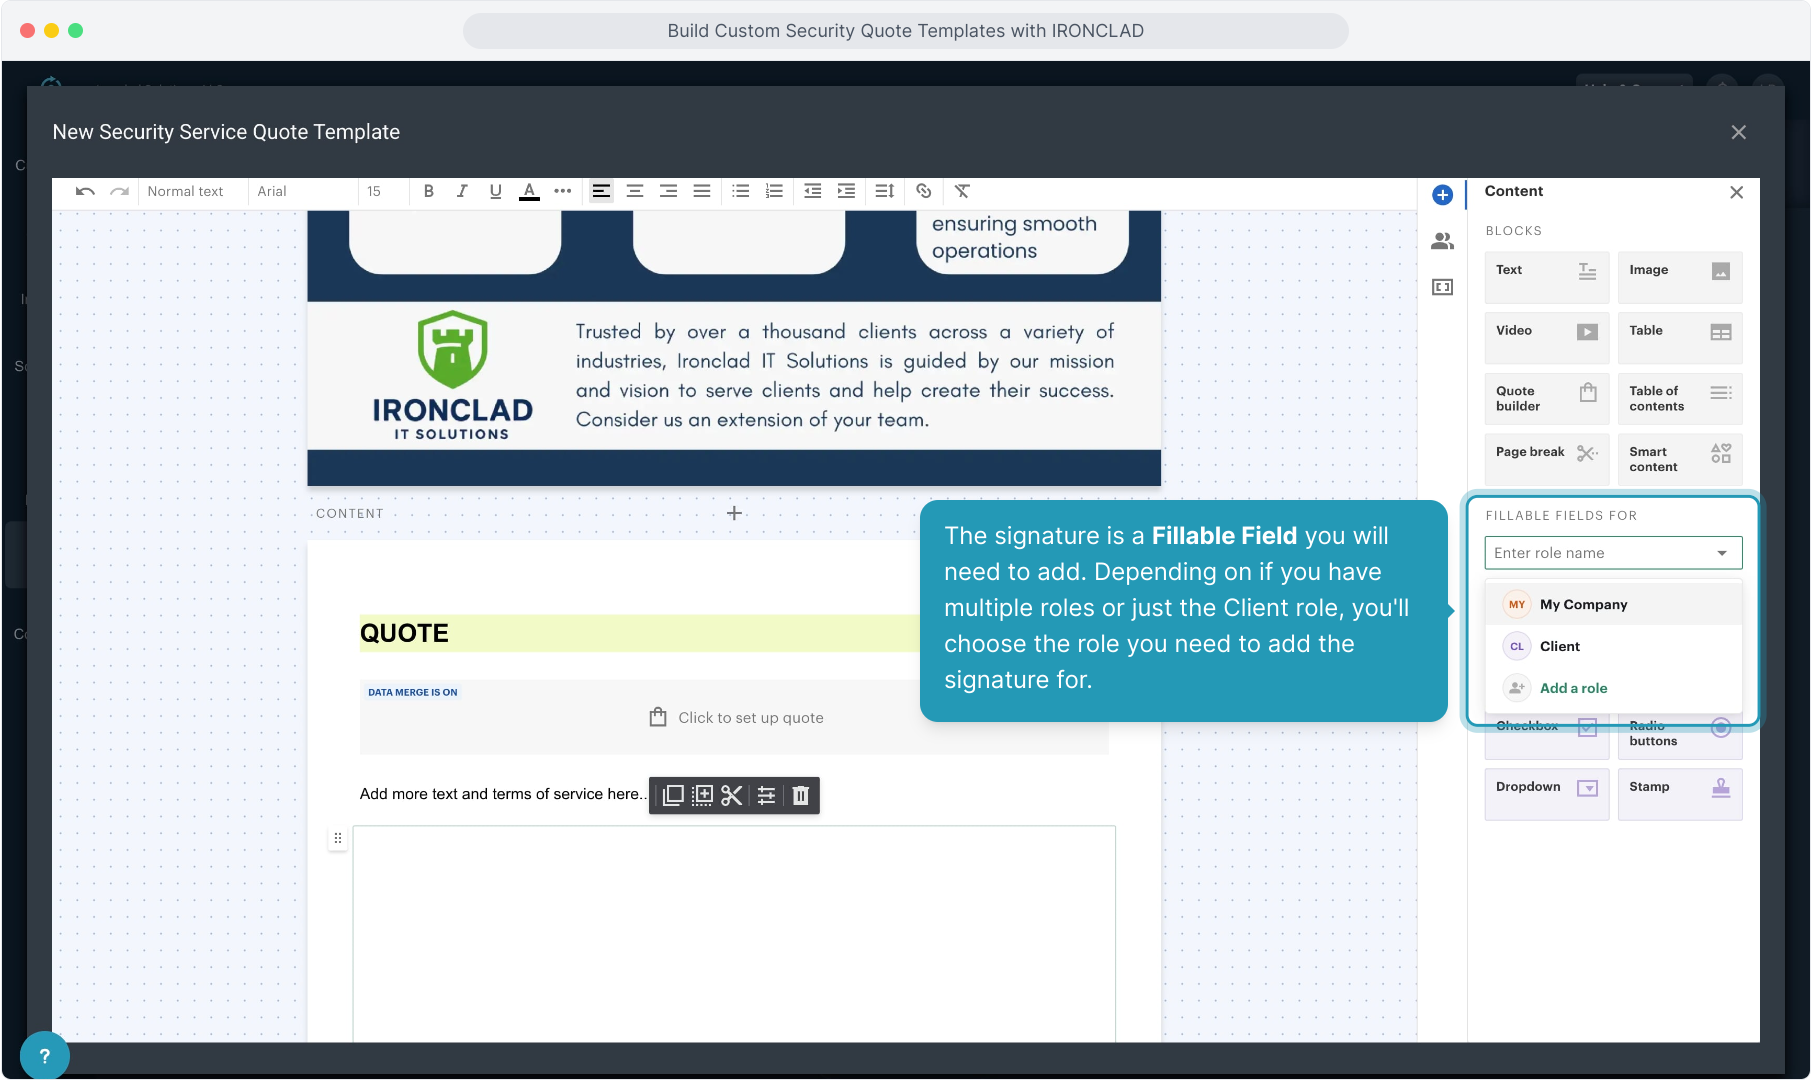
66. The signature is a Fillable Field you will need to add. Depending on if you have multiple roles or just the Client role, you'll choose the role you need to add the signature for.
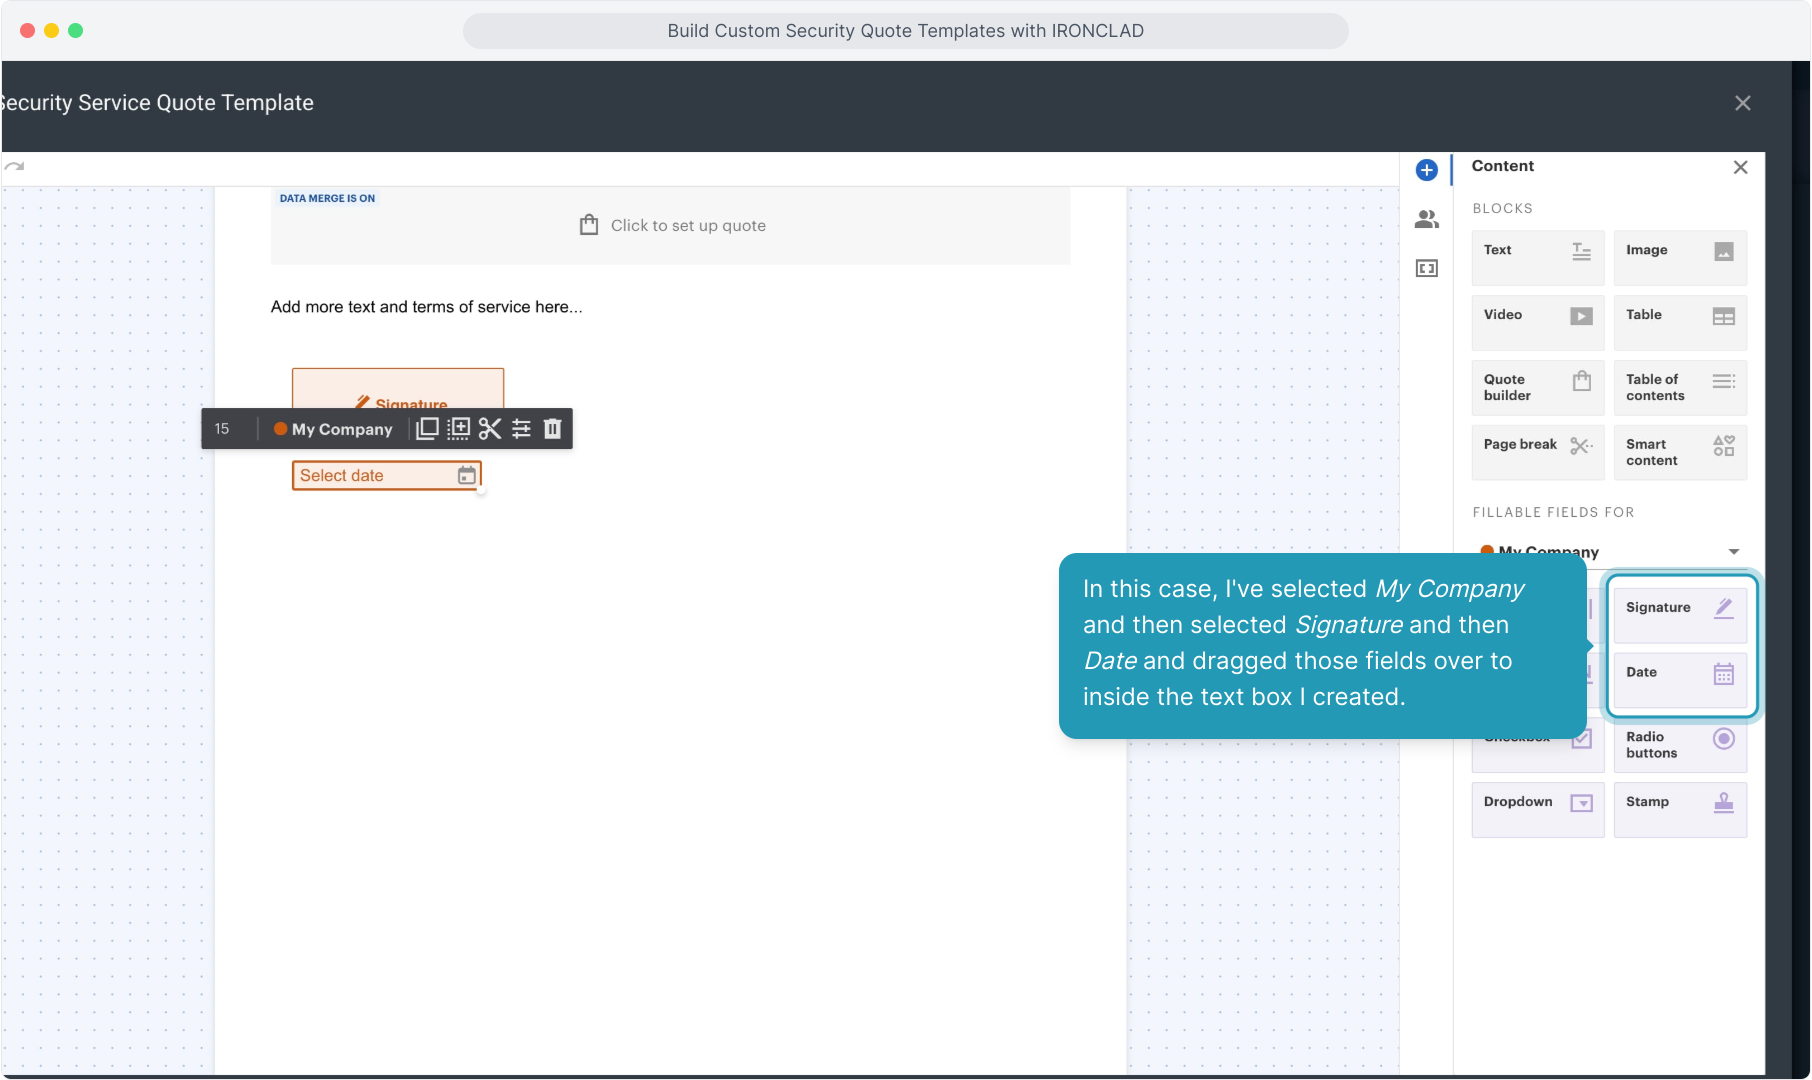
67. In this case, I've selected My Company and then selected Signature and then Date and dragged those fields over to inside the text box I created.
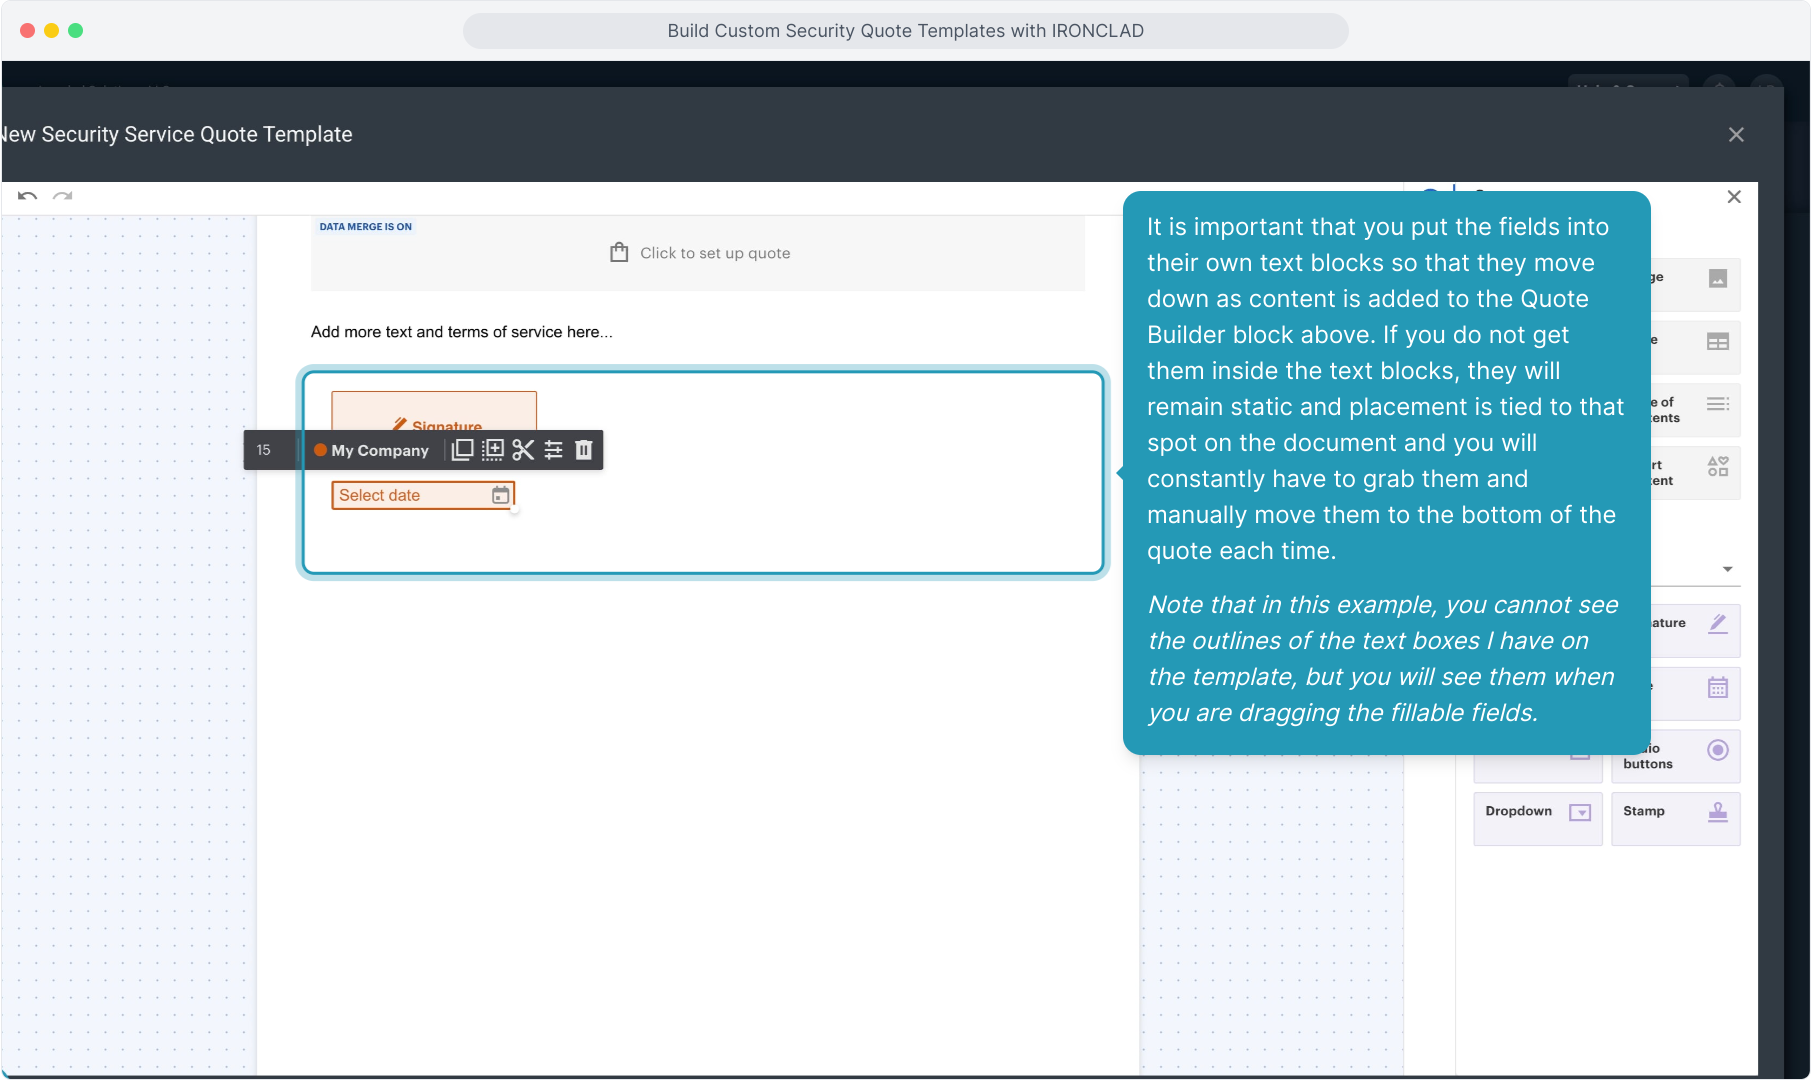
68. It is important that you put the fields into their own text blocks so that they move down as content is added to the Quote Builder block above. If you do not get them inside the text blocks, they will remain static and placement is tied to that spot on the document and you will constantly have to grab them and manually move them to the bottom of the quote each time.
Note that in this example, you cannot see the outlines of the text boxes I have on the template, but you will see them when you are dragging the fillable fields.
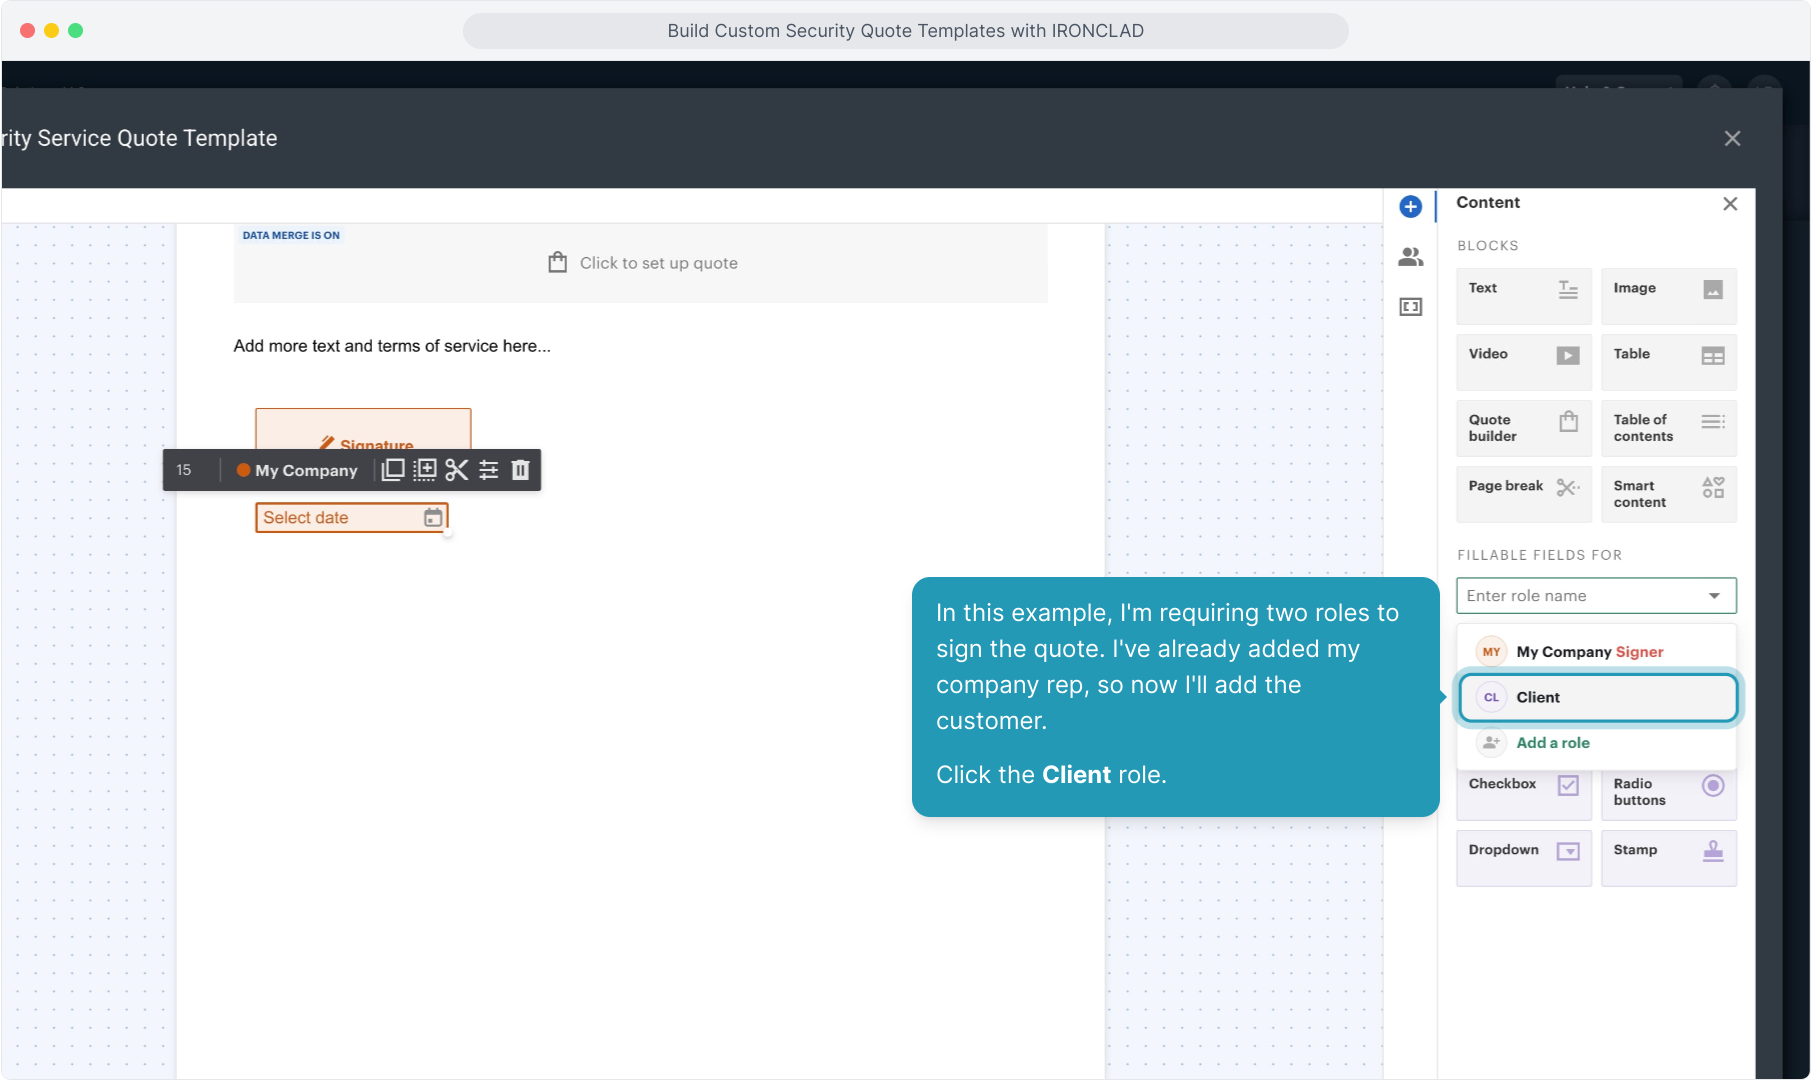
69. In this example, I'm requiring two roles to sign the quote. I've already added my company rep, so now I'll add the customer.
Click the Client role.
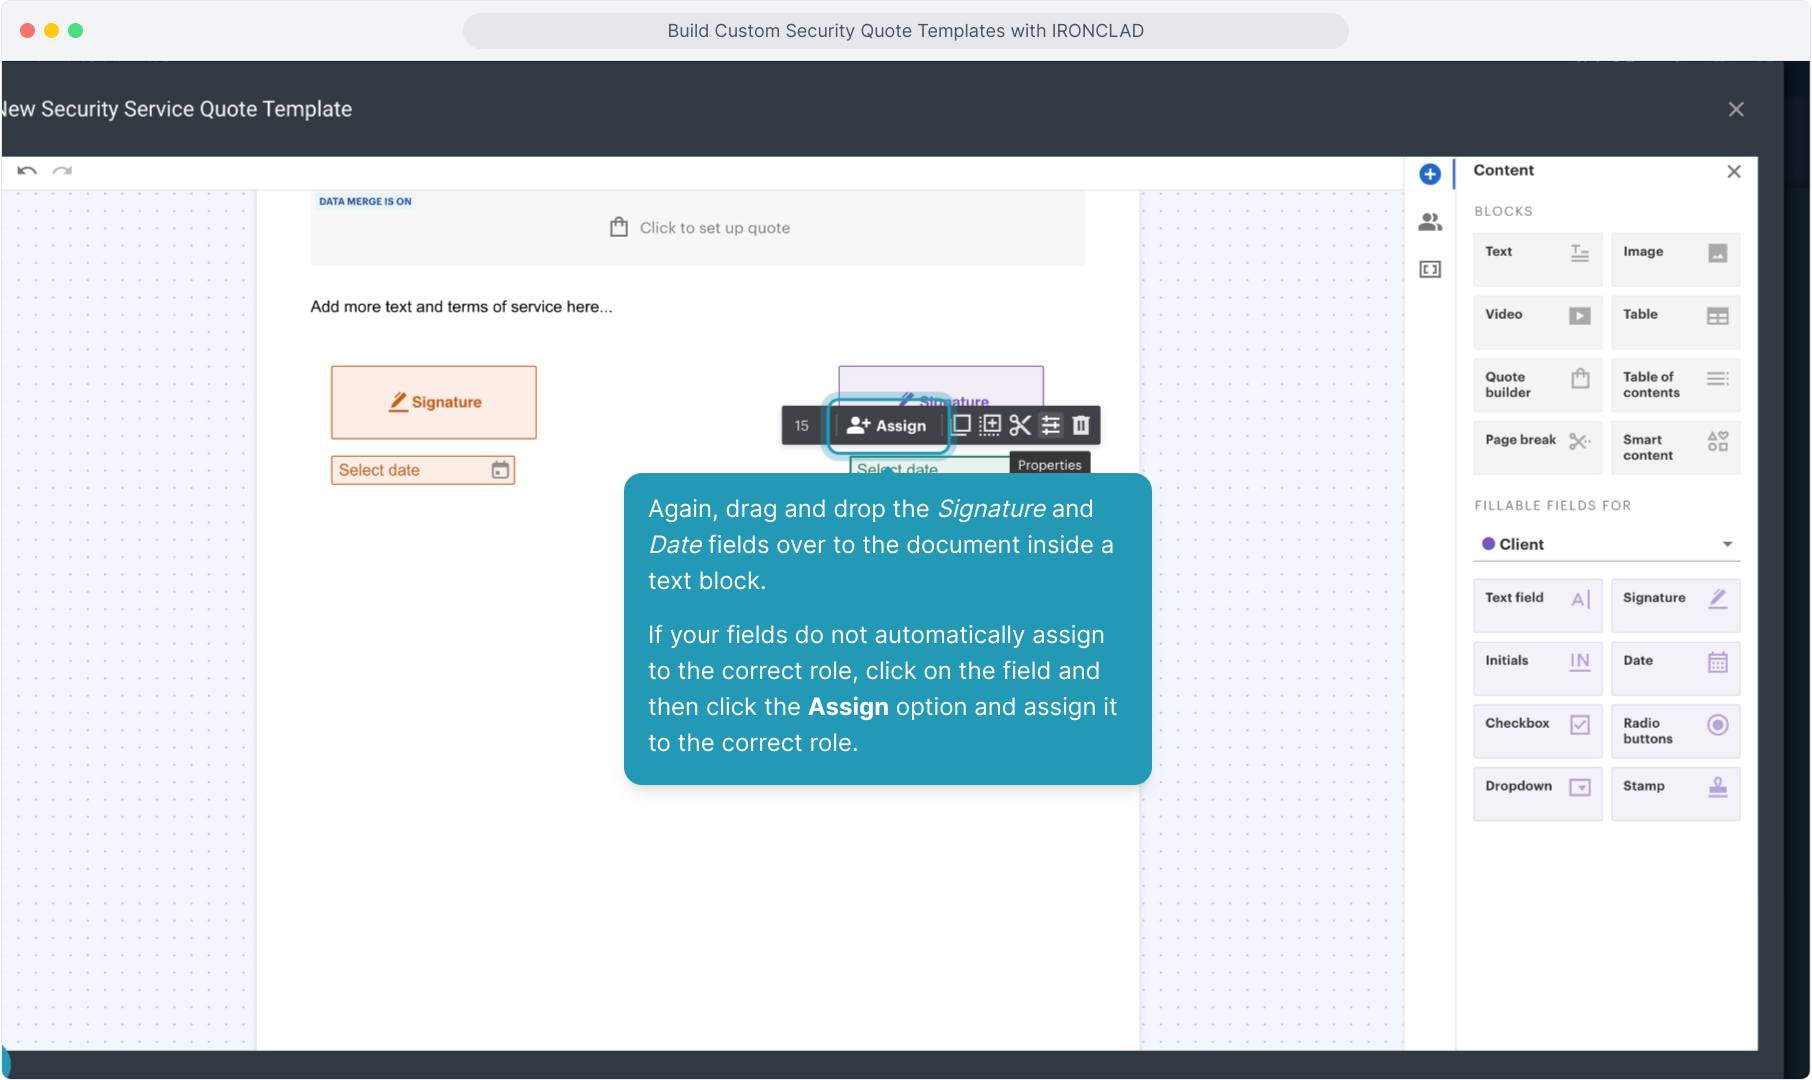
70. Again, drag and drop the Signature and Date fields over to the document inside a text block.
If your fields do not automatically assign to the correct role, click on the field and then click the Assign option and assign it to the correct role.
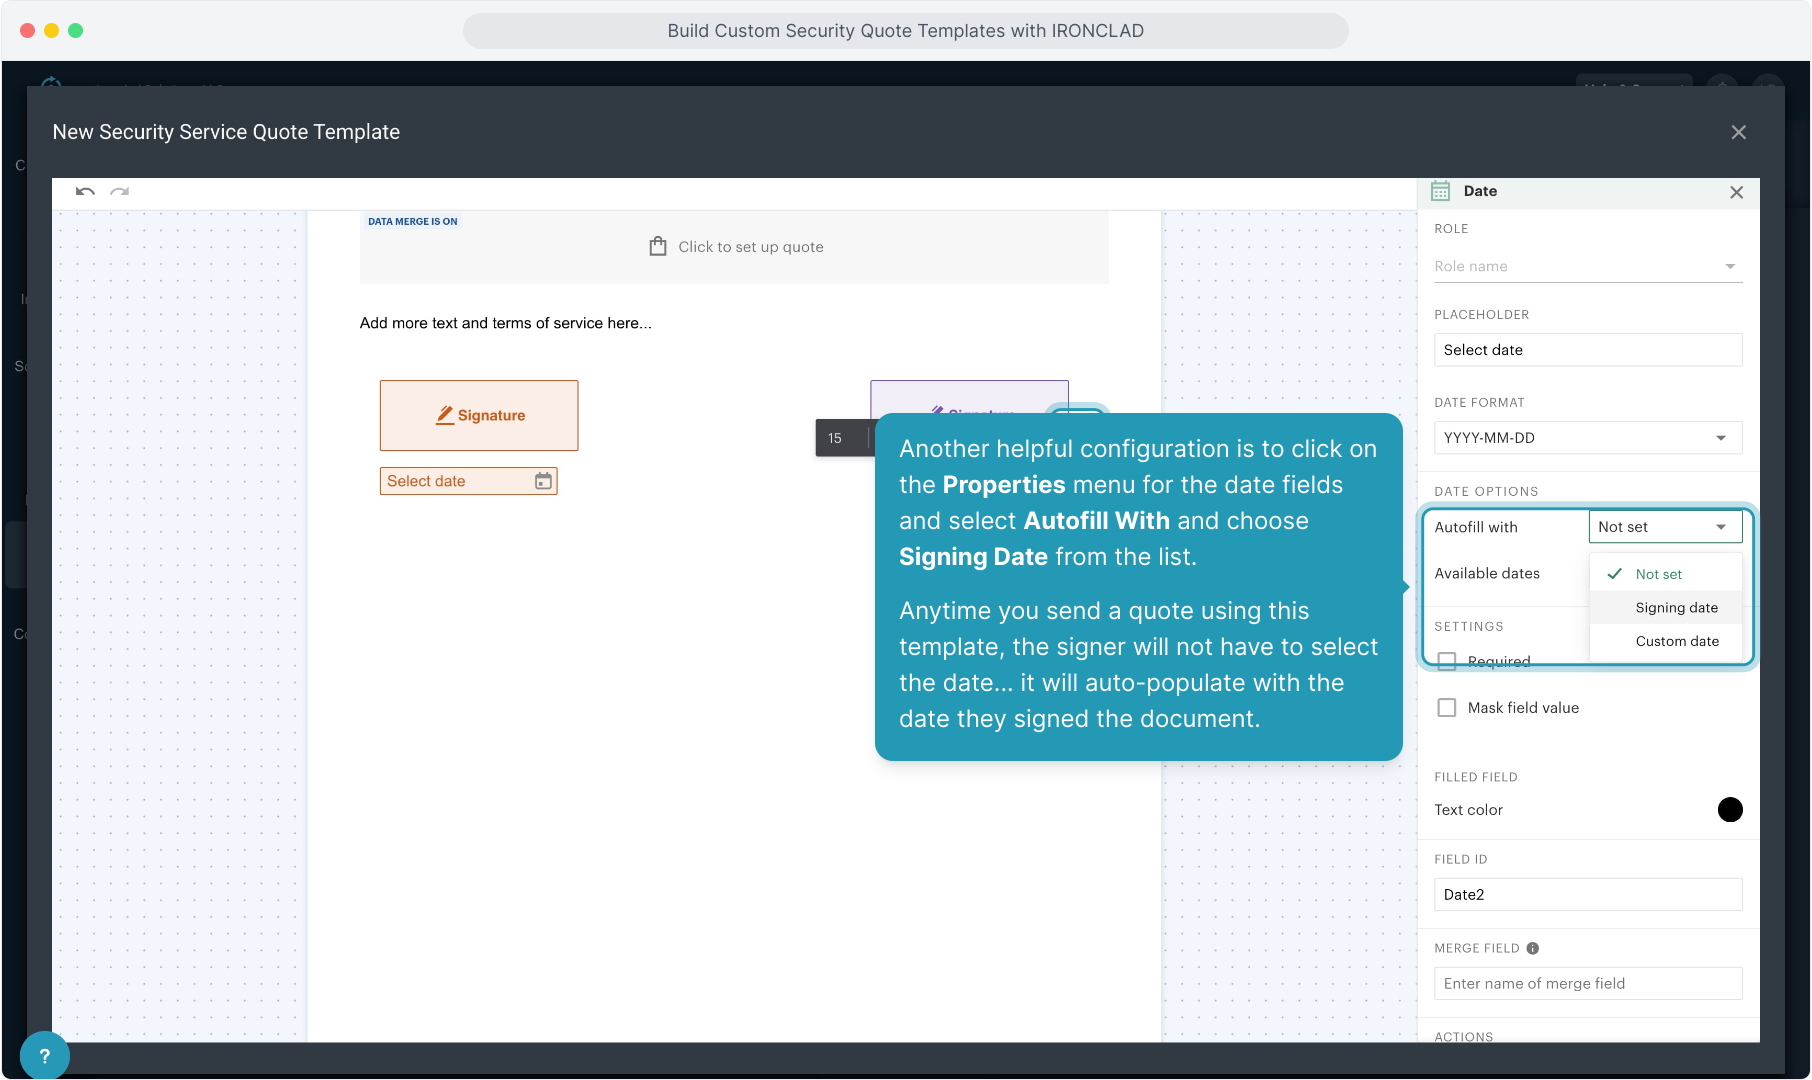
71. Another helpful configuration is to click on the Properties menu for the date fields and select Autofill With and choose Signing Date from the list.
Anytime you send a quote using this template, the signer will not have to select the date... it will auto-populate with the date they signed the document.
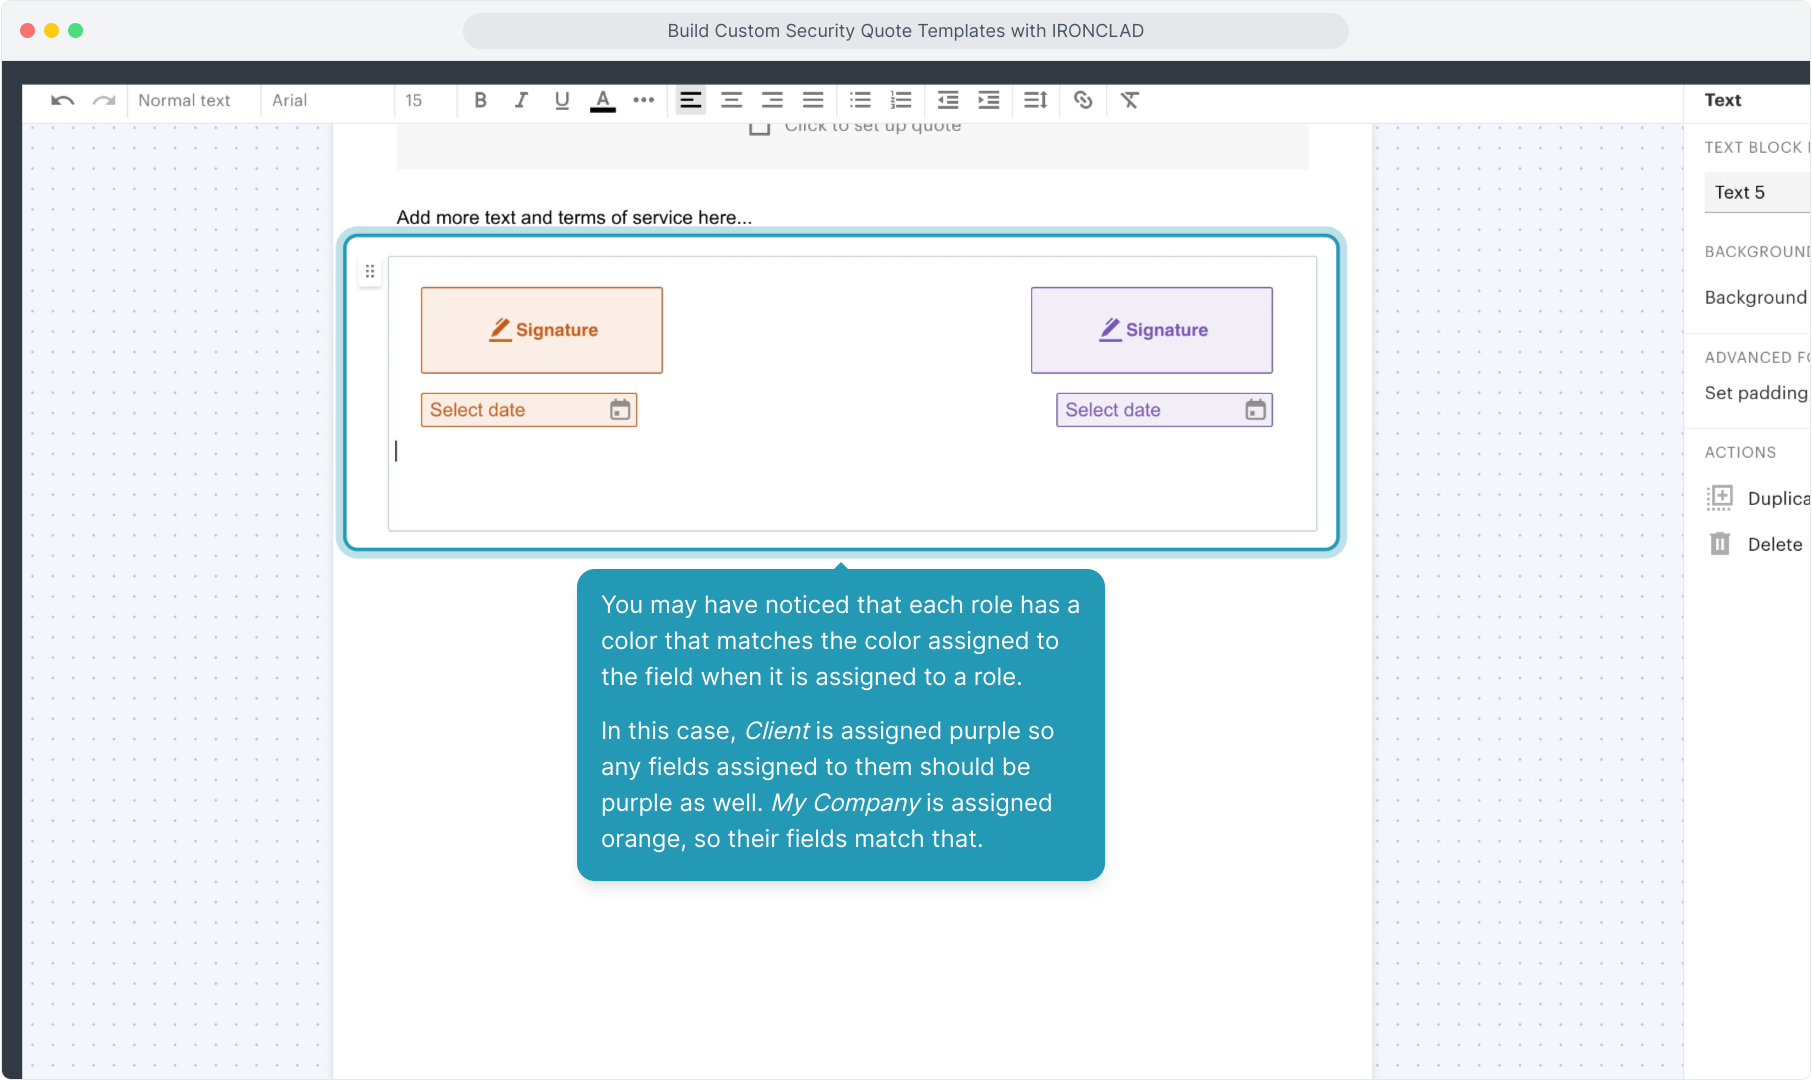
72. You may have noticed that each role has a color that matches the color assigned to the field when it is assigned to a role.
In this case, Client is assigned purple so any fields assigned to them should be purple as well. My Company is assigned orange, so their fields match that.
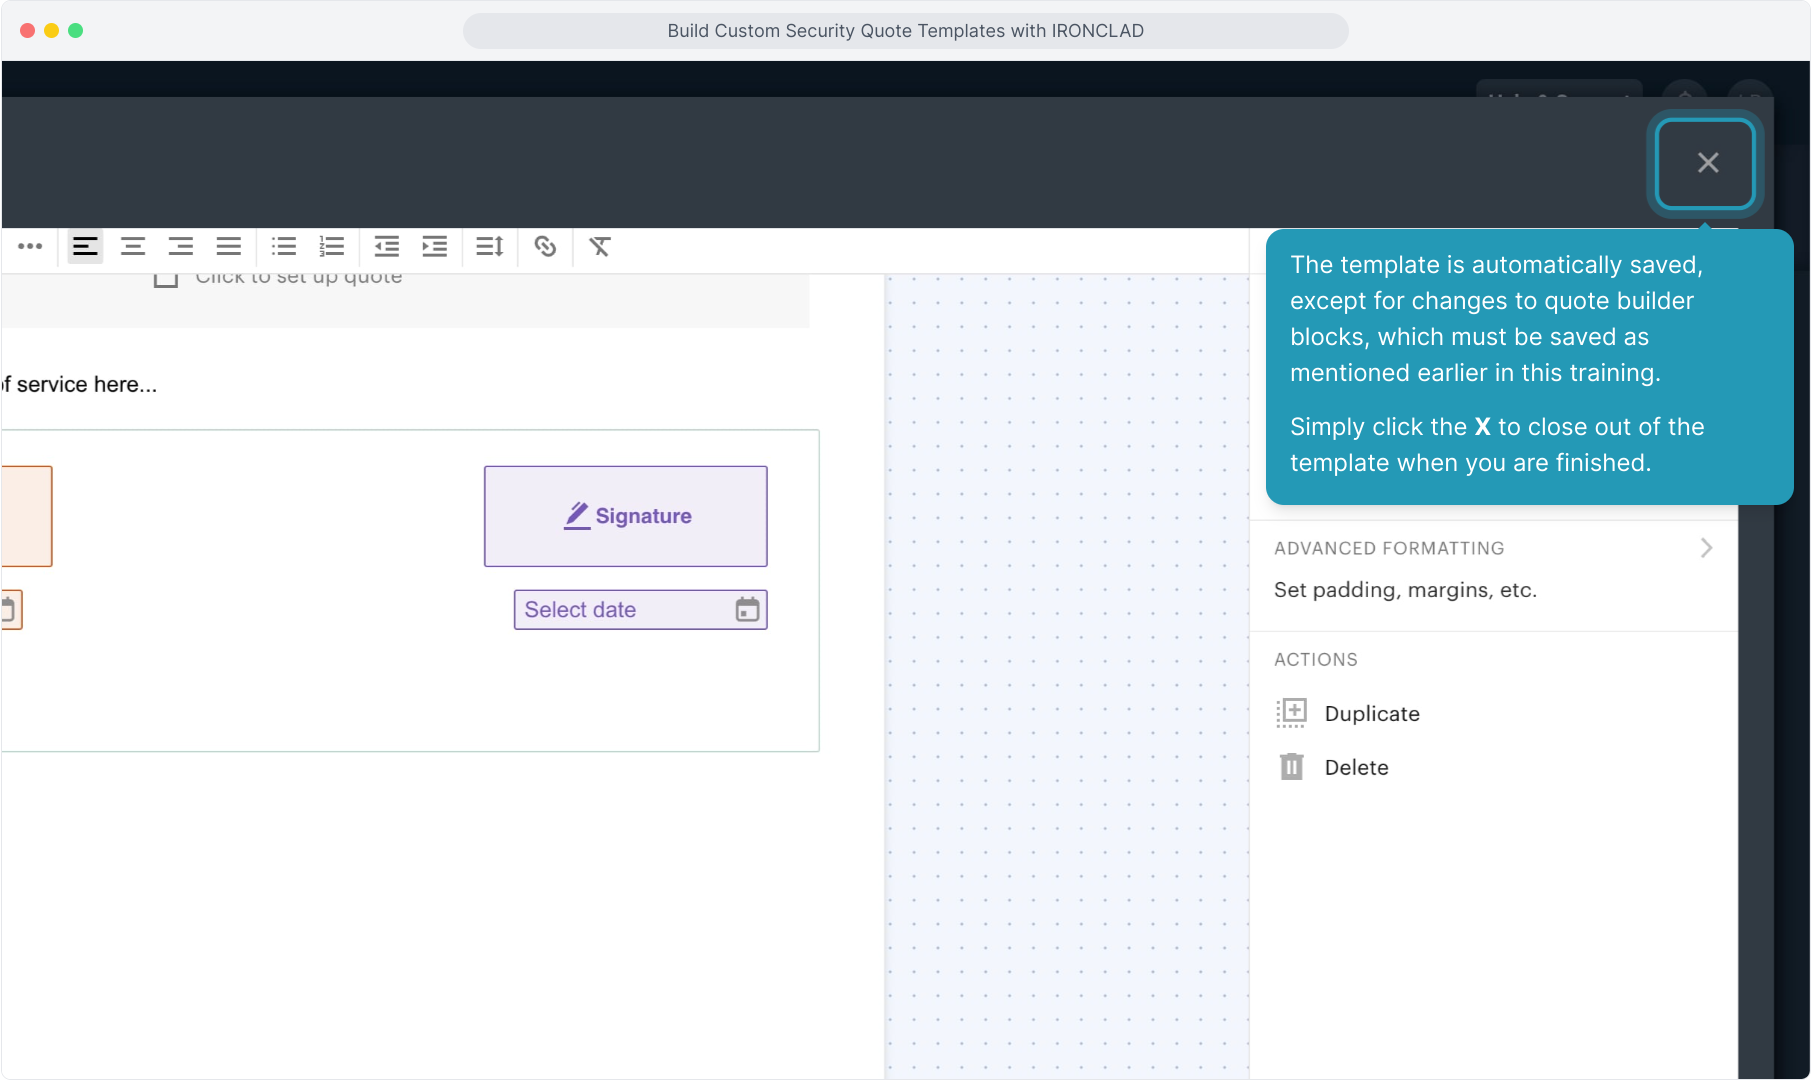
73. The template is automatically saved, except for changes to quote builder blocks, which must be saved as mentioned earlier in this training.
Simply click the X to close out of the template when you are finished.
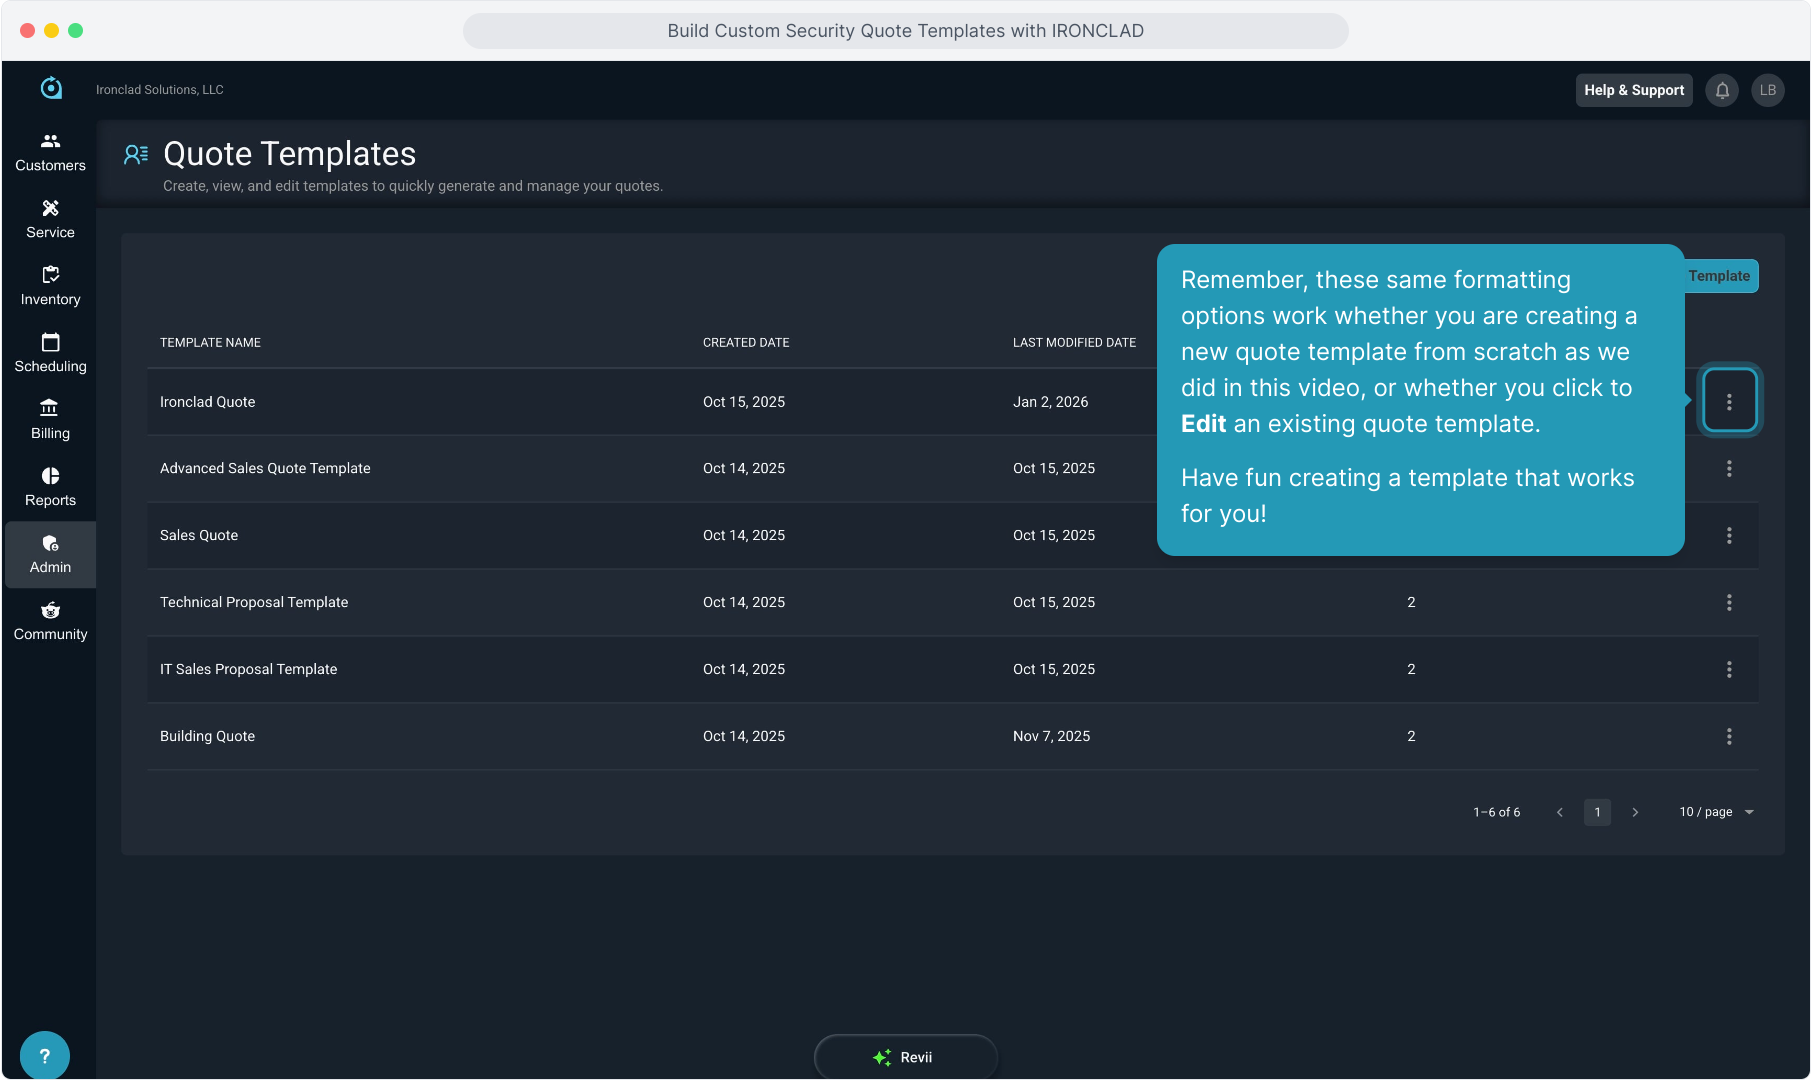
74. Remember, these same formatting options work whether you are creating a new quote template from scratch as we did in this video, or whether you click to Edit an existing quote template.
Have fun creating a template that works for you!
75. Image Step