How To Guide: Creating, Editing, and Finding Customers
1. Introduction
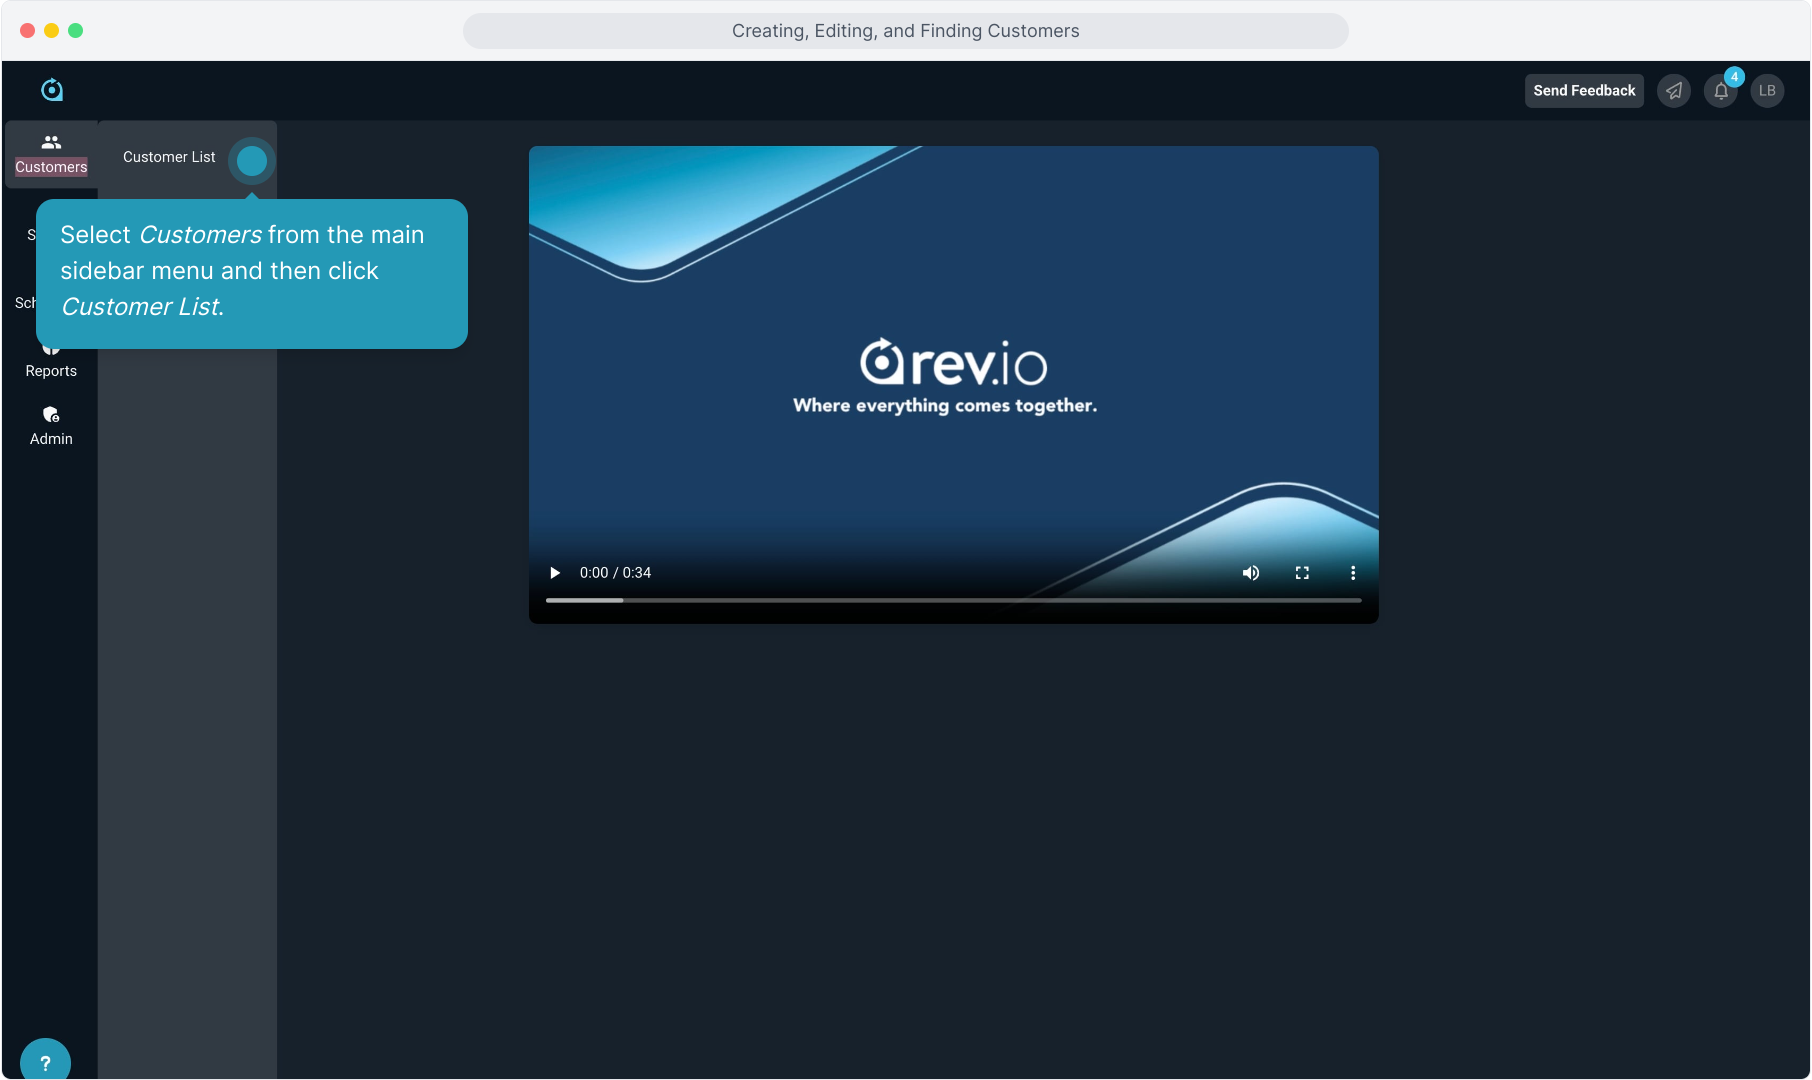
2. Select Customers from the main sidebar menu and then click Customer List.
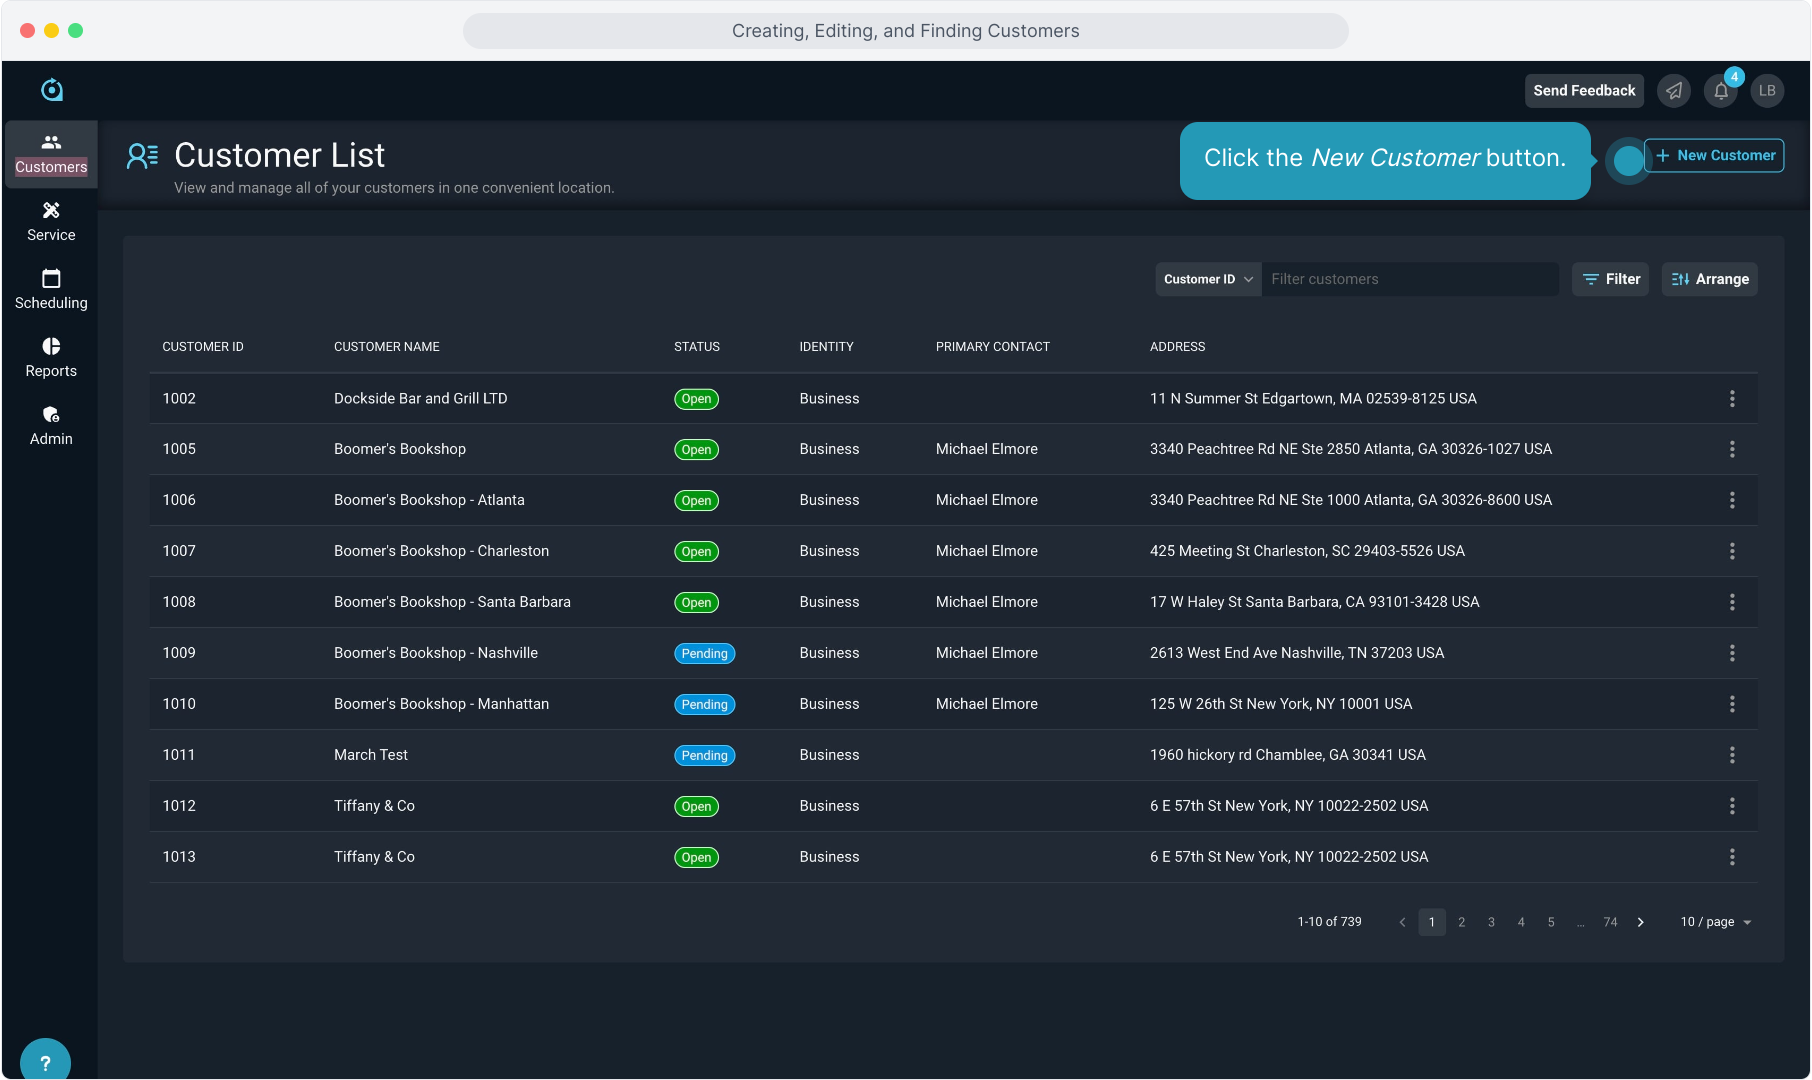
3. Click the New Customer button.
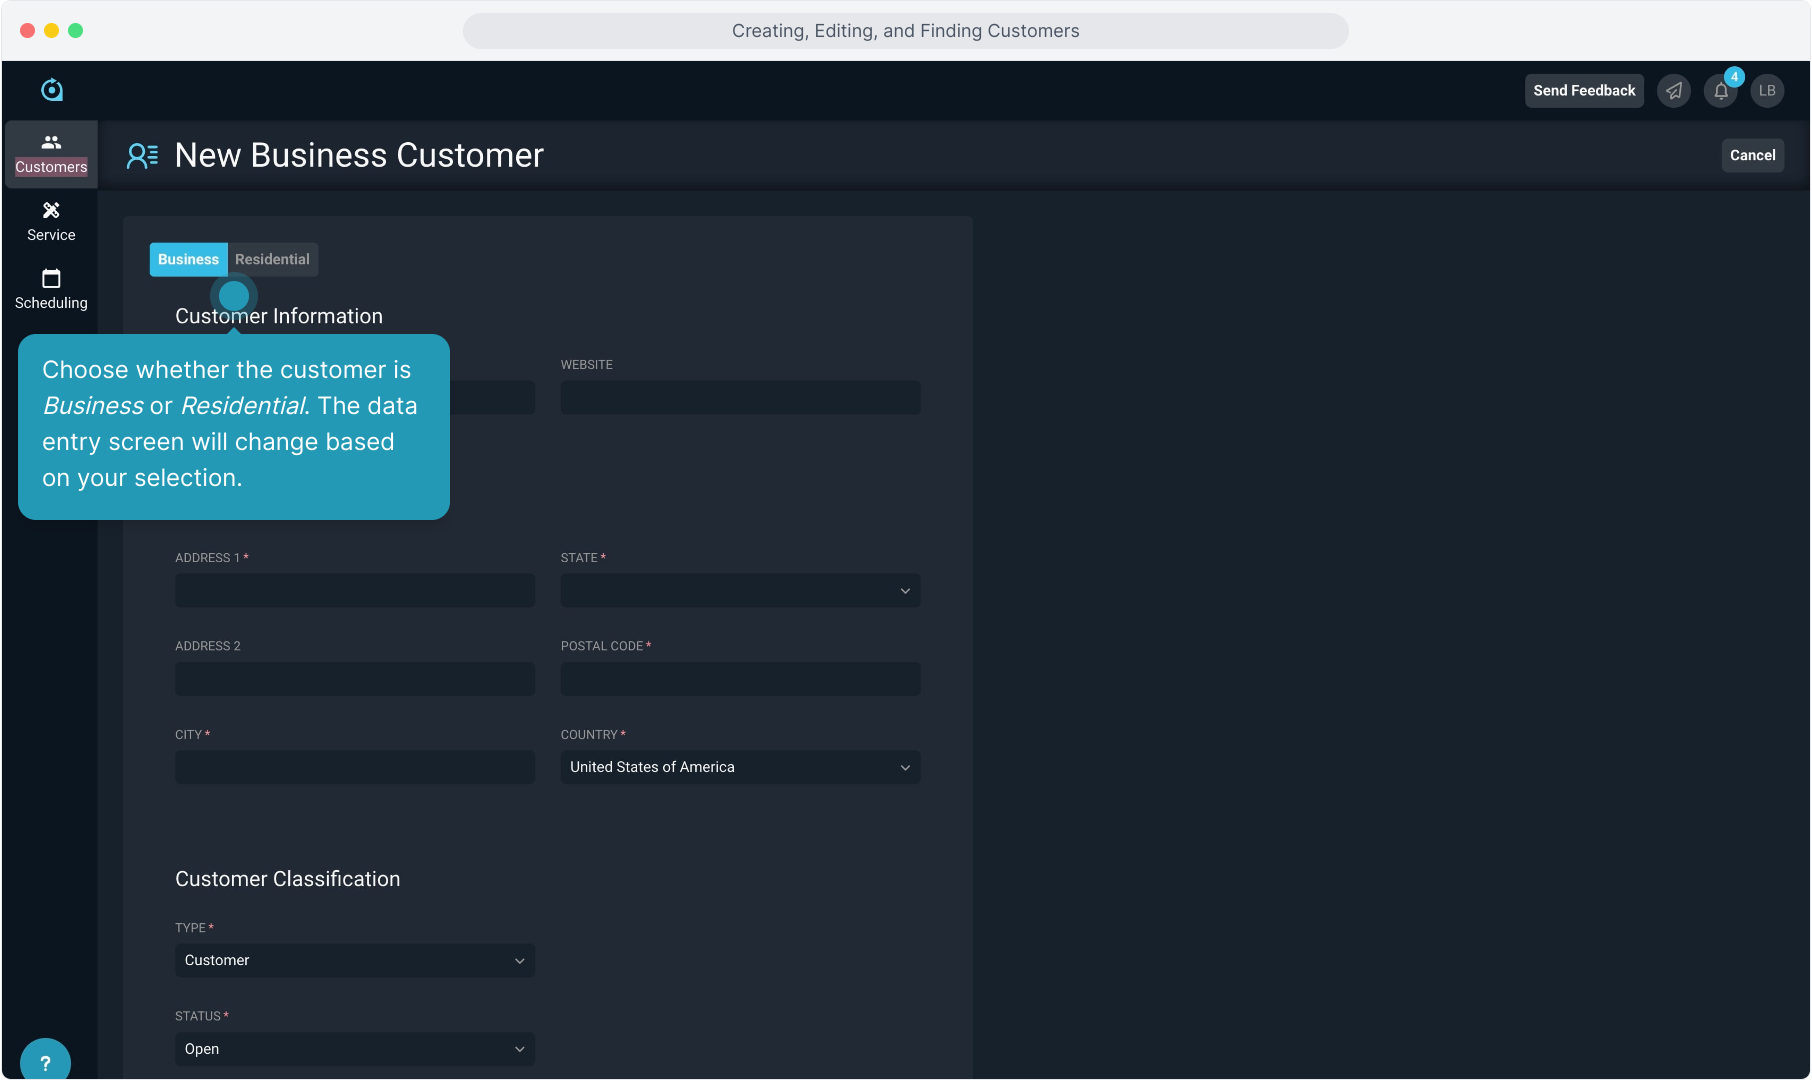
4. Choose whether the customer is Business or Residential. The data entry screen will change based on your selection.
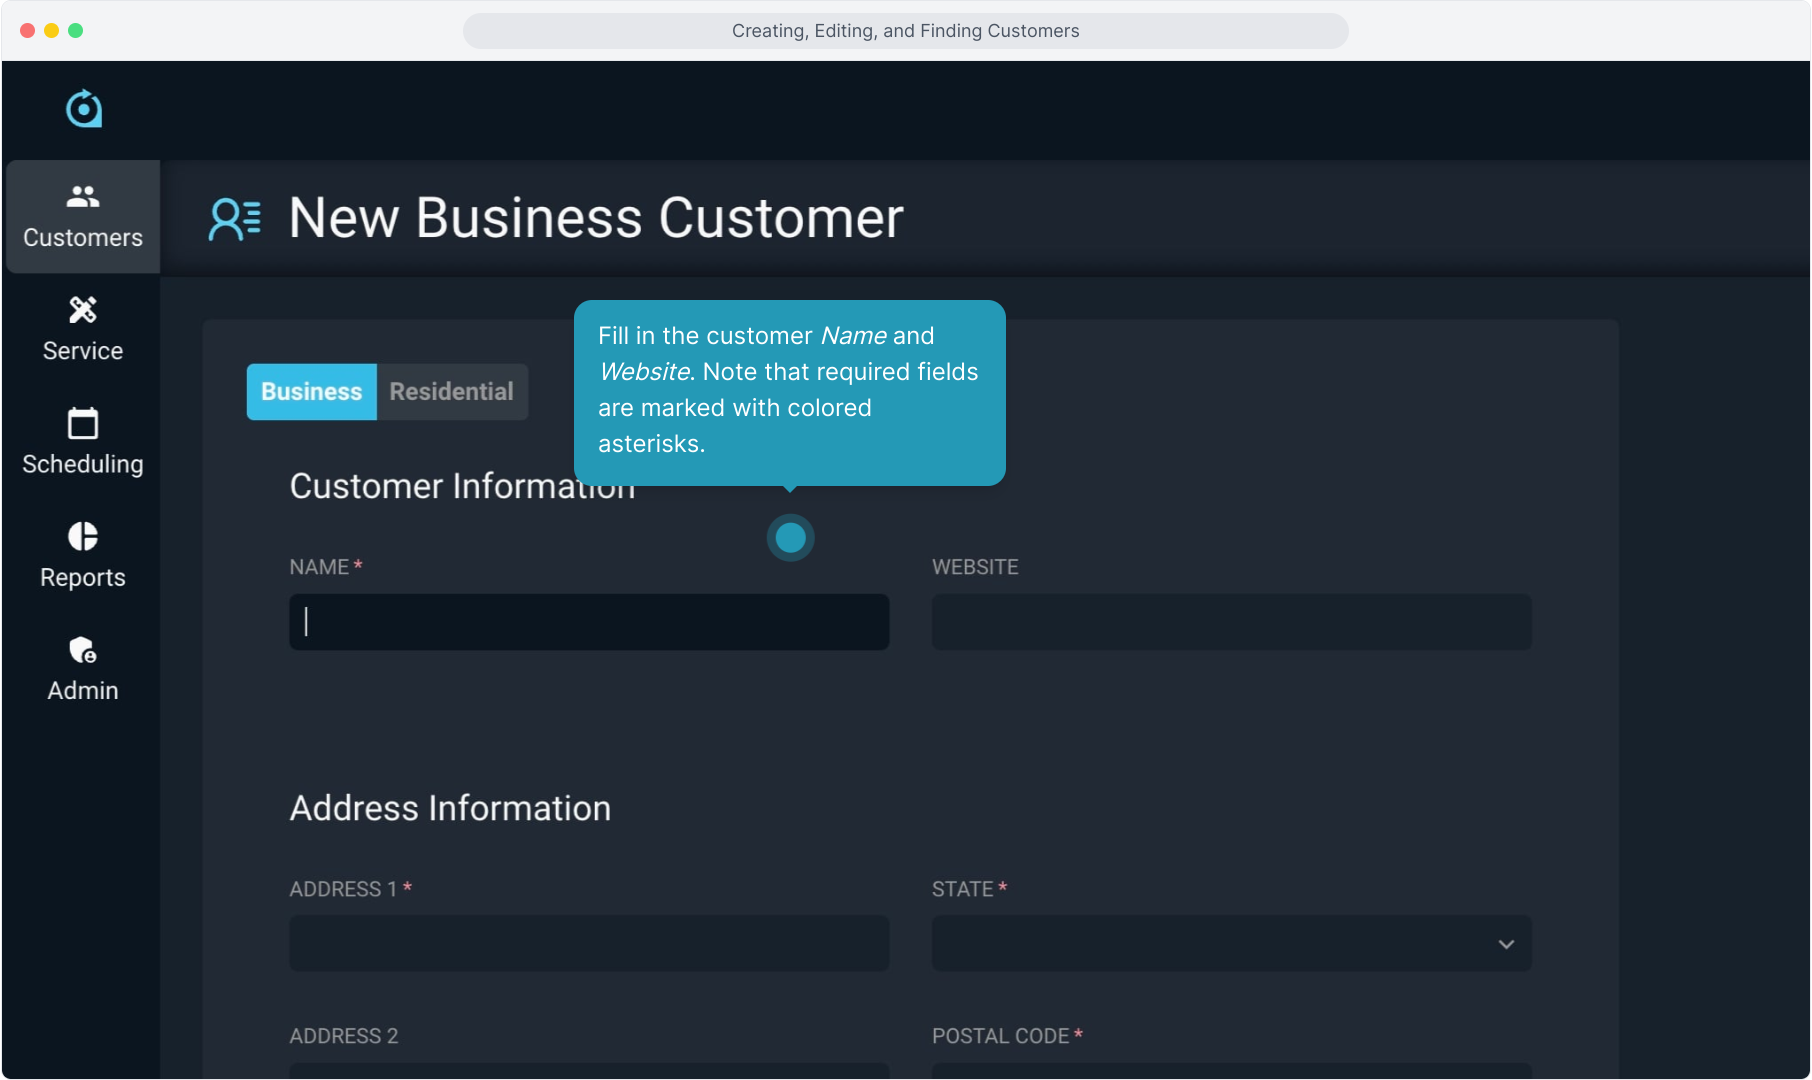
5. Fill in the customer Name and Website. Note that required fields are marked with colored asterisks.
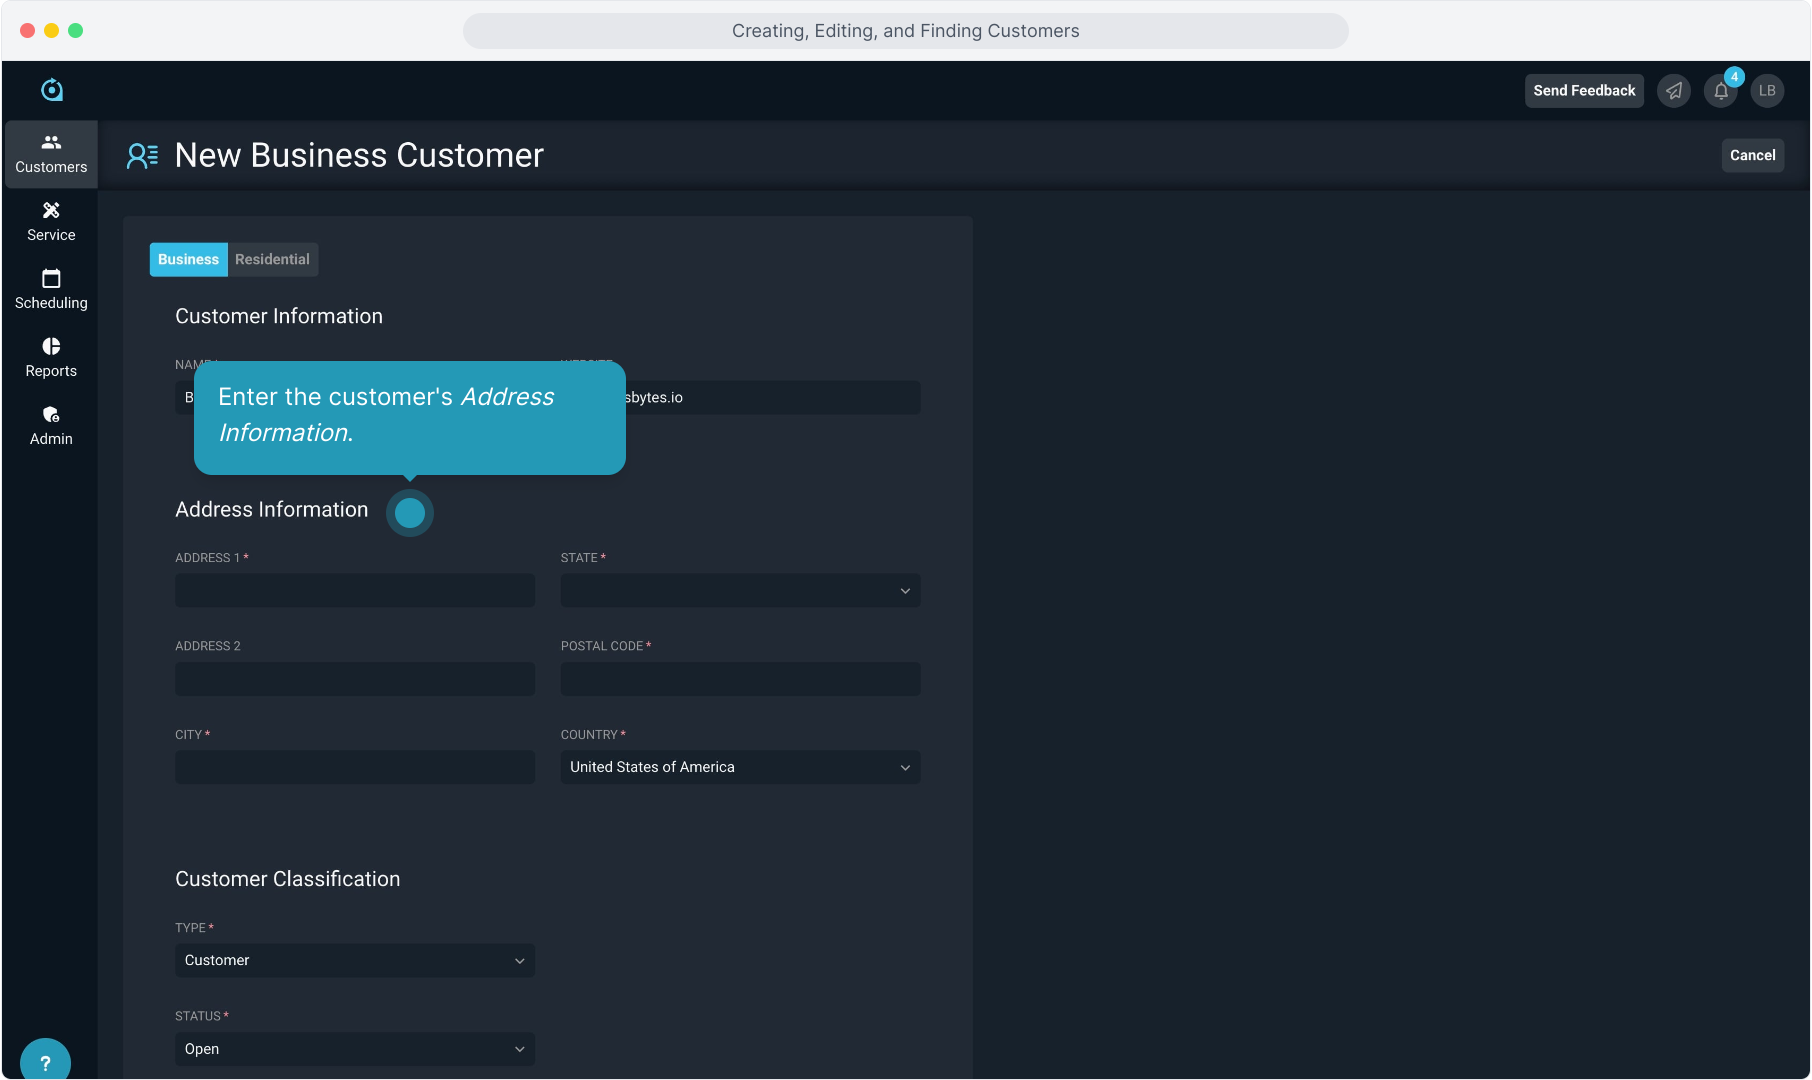
6. Enter the customer's Address Information.
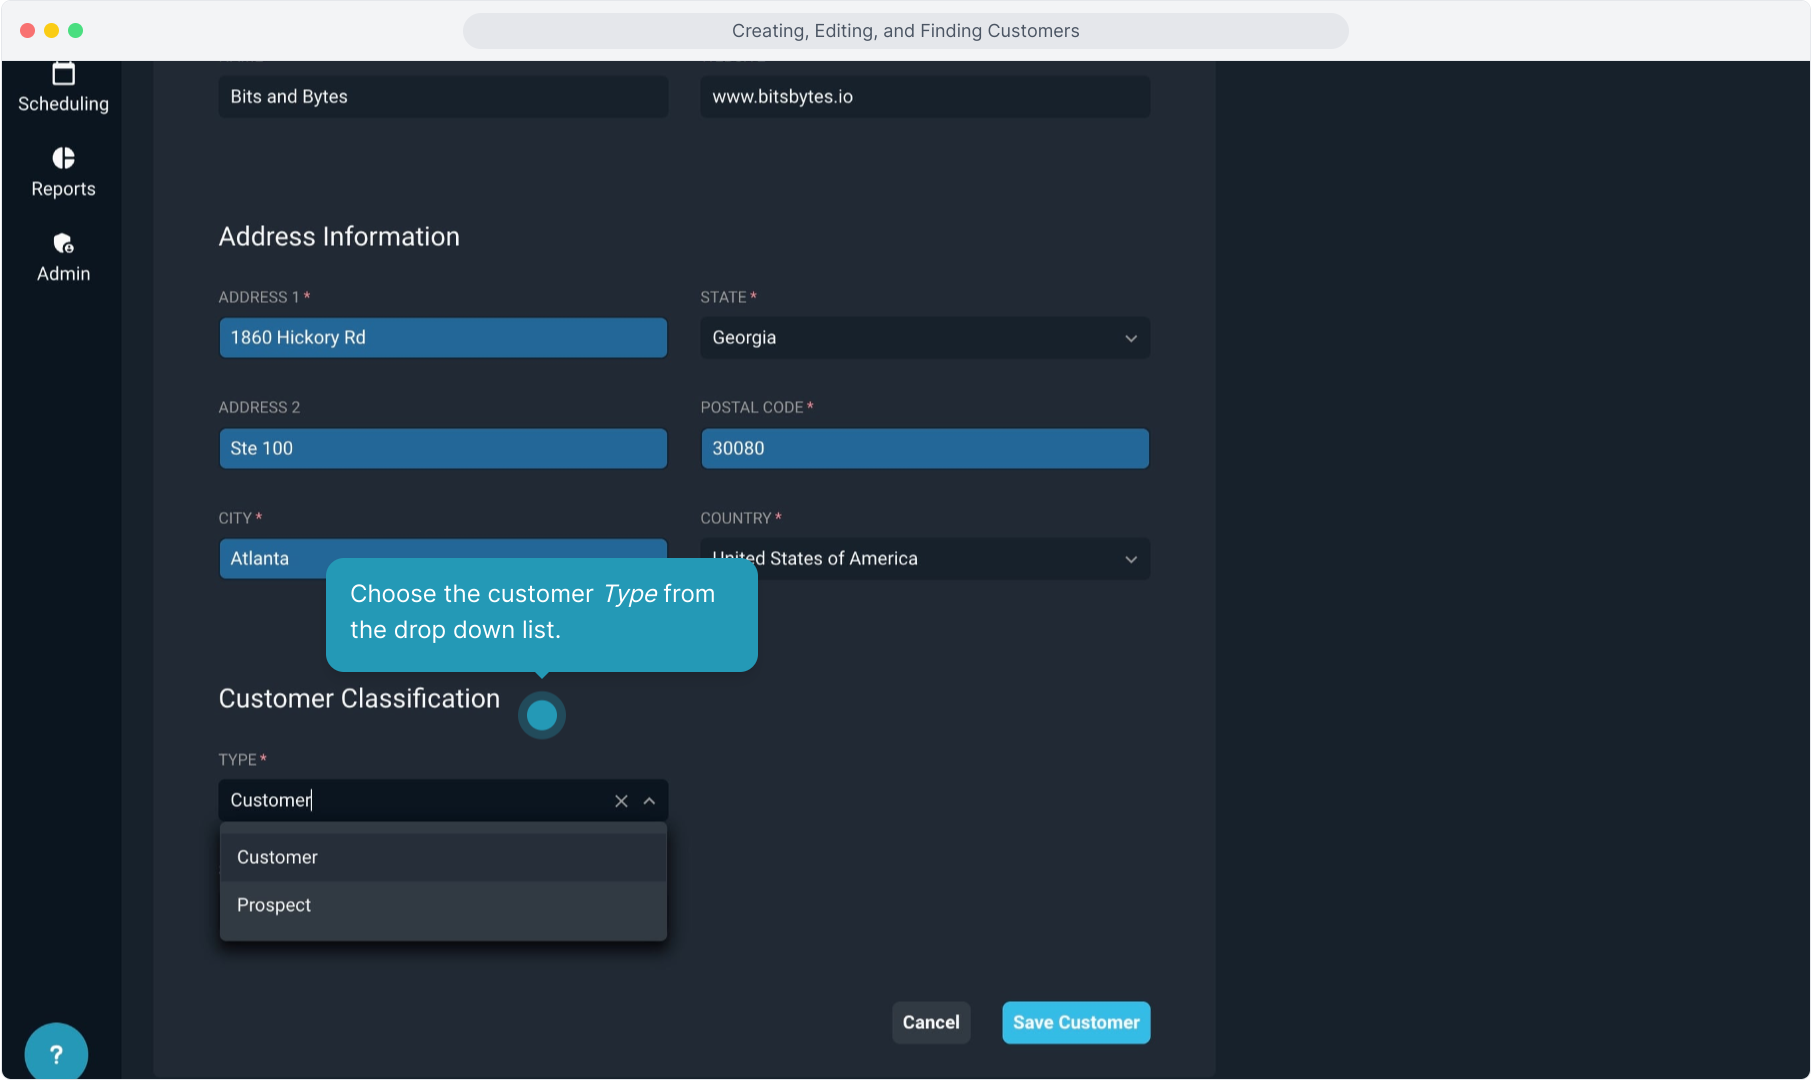
7. Choose the customer Type from the drop down list.
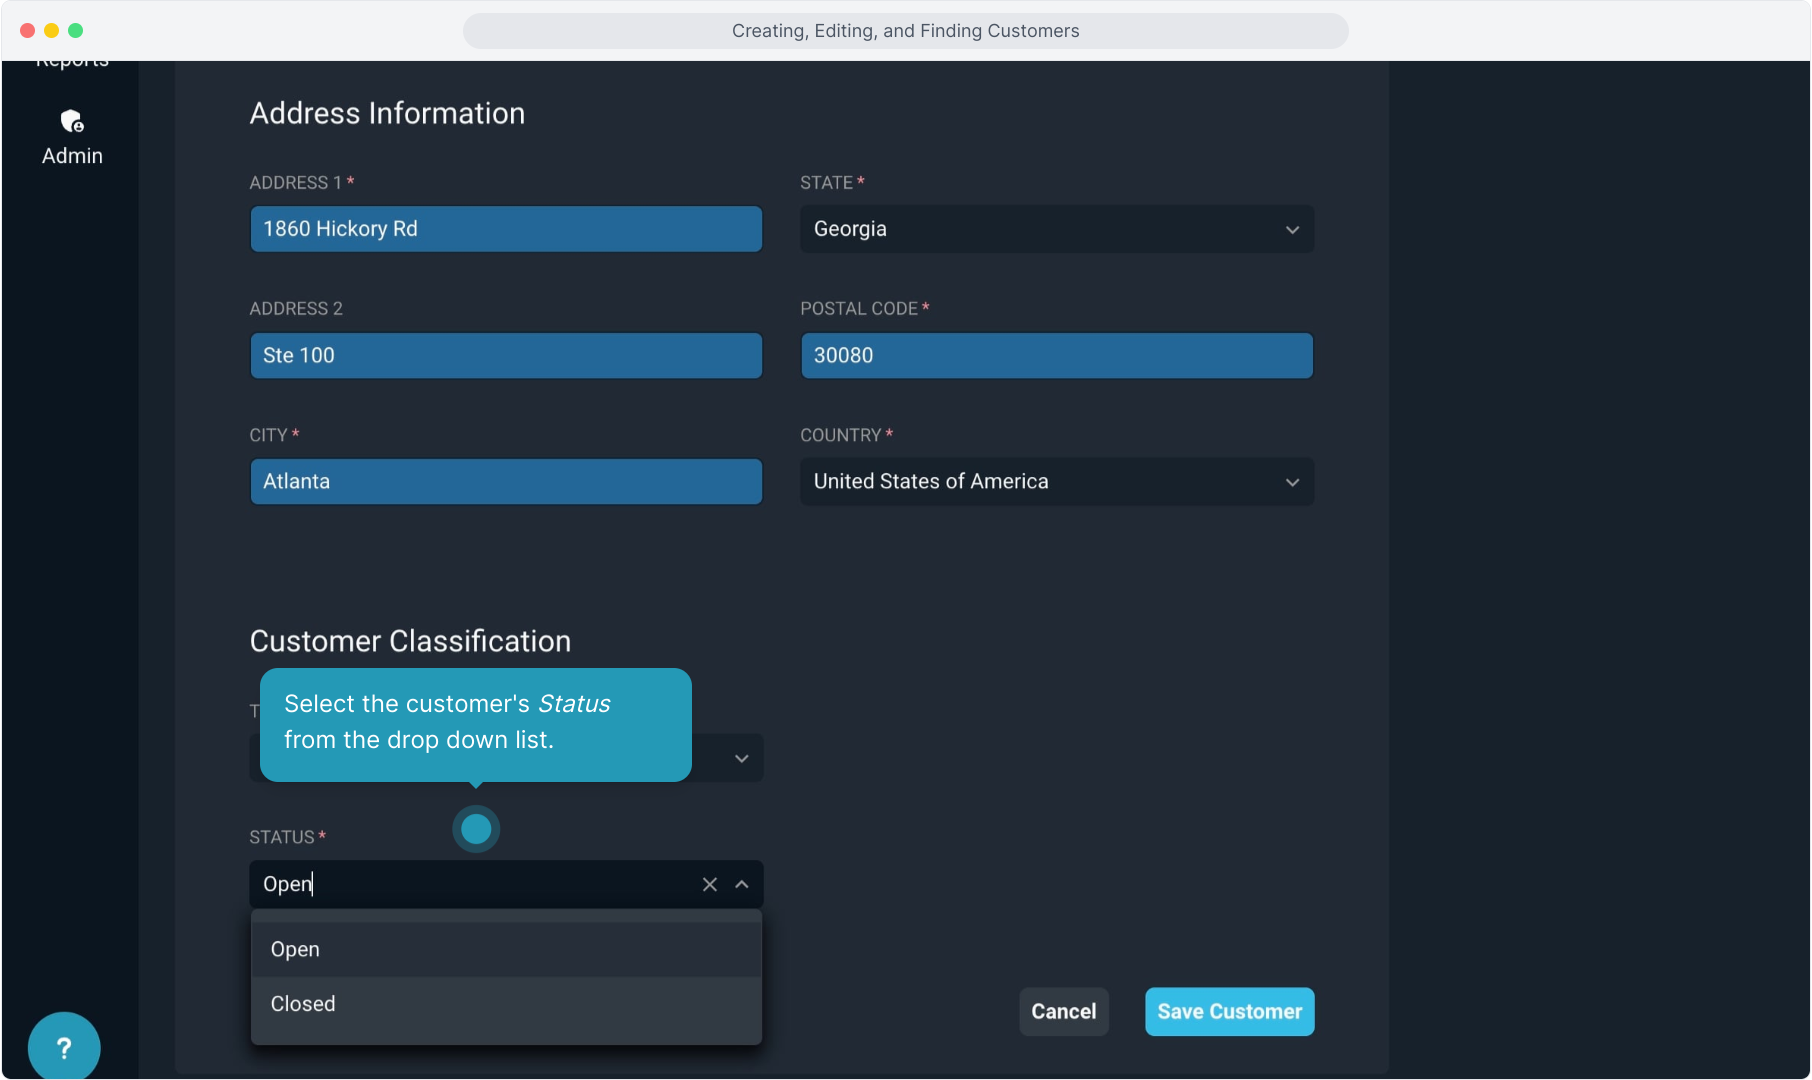
8. Select the customer's Status from the drop down list.
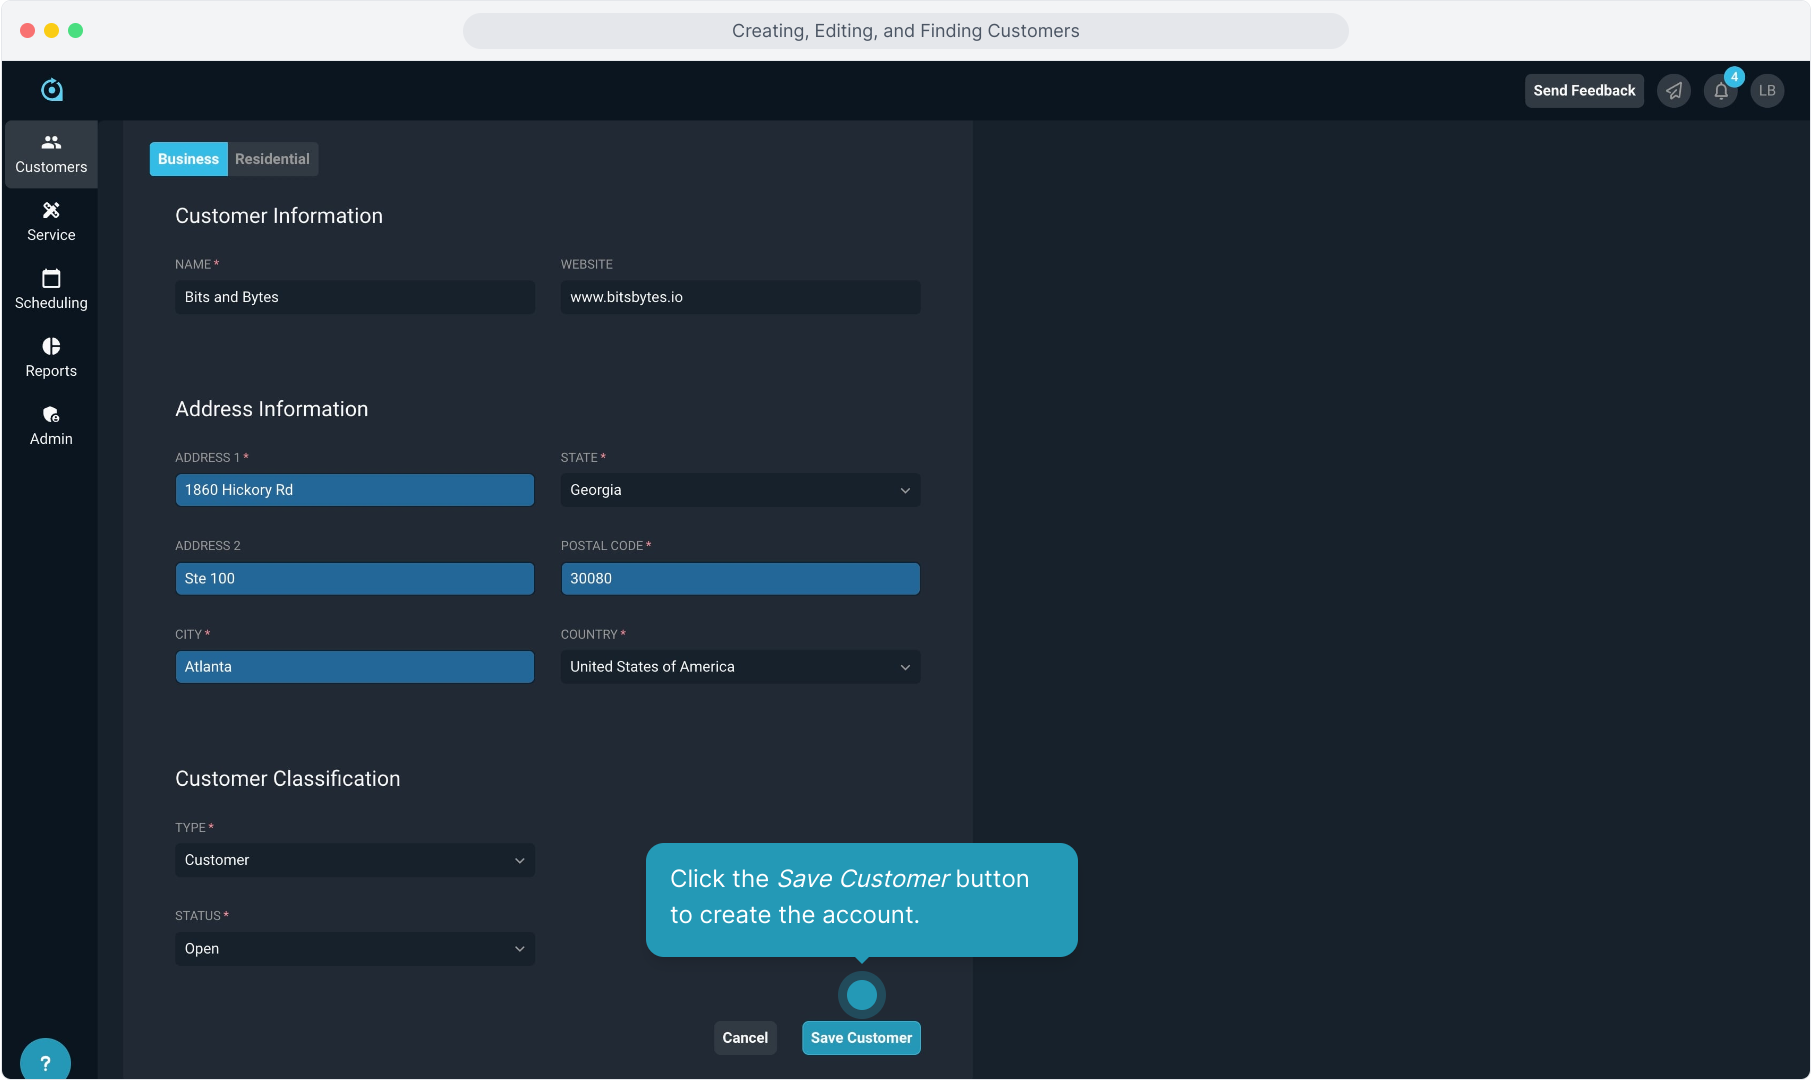
9. Click the Save Customer button to create the account.
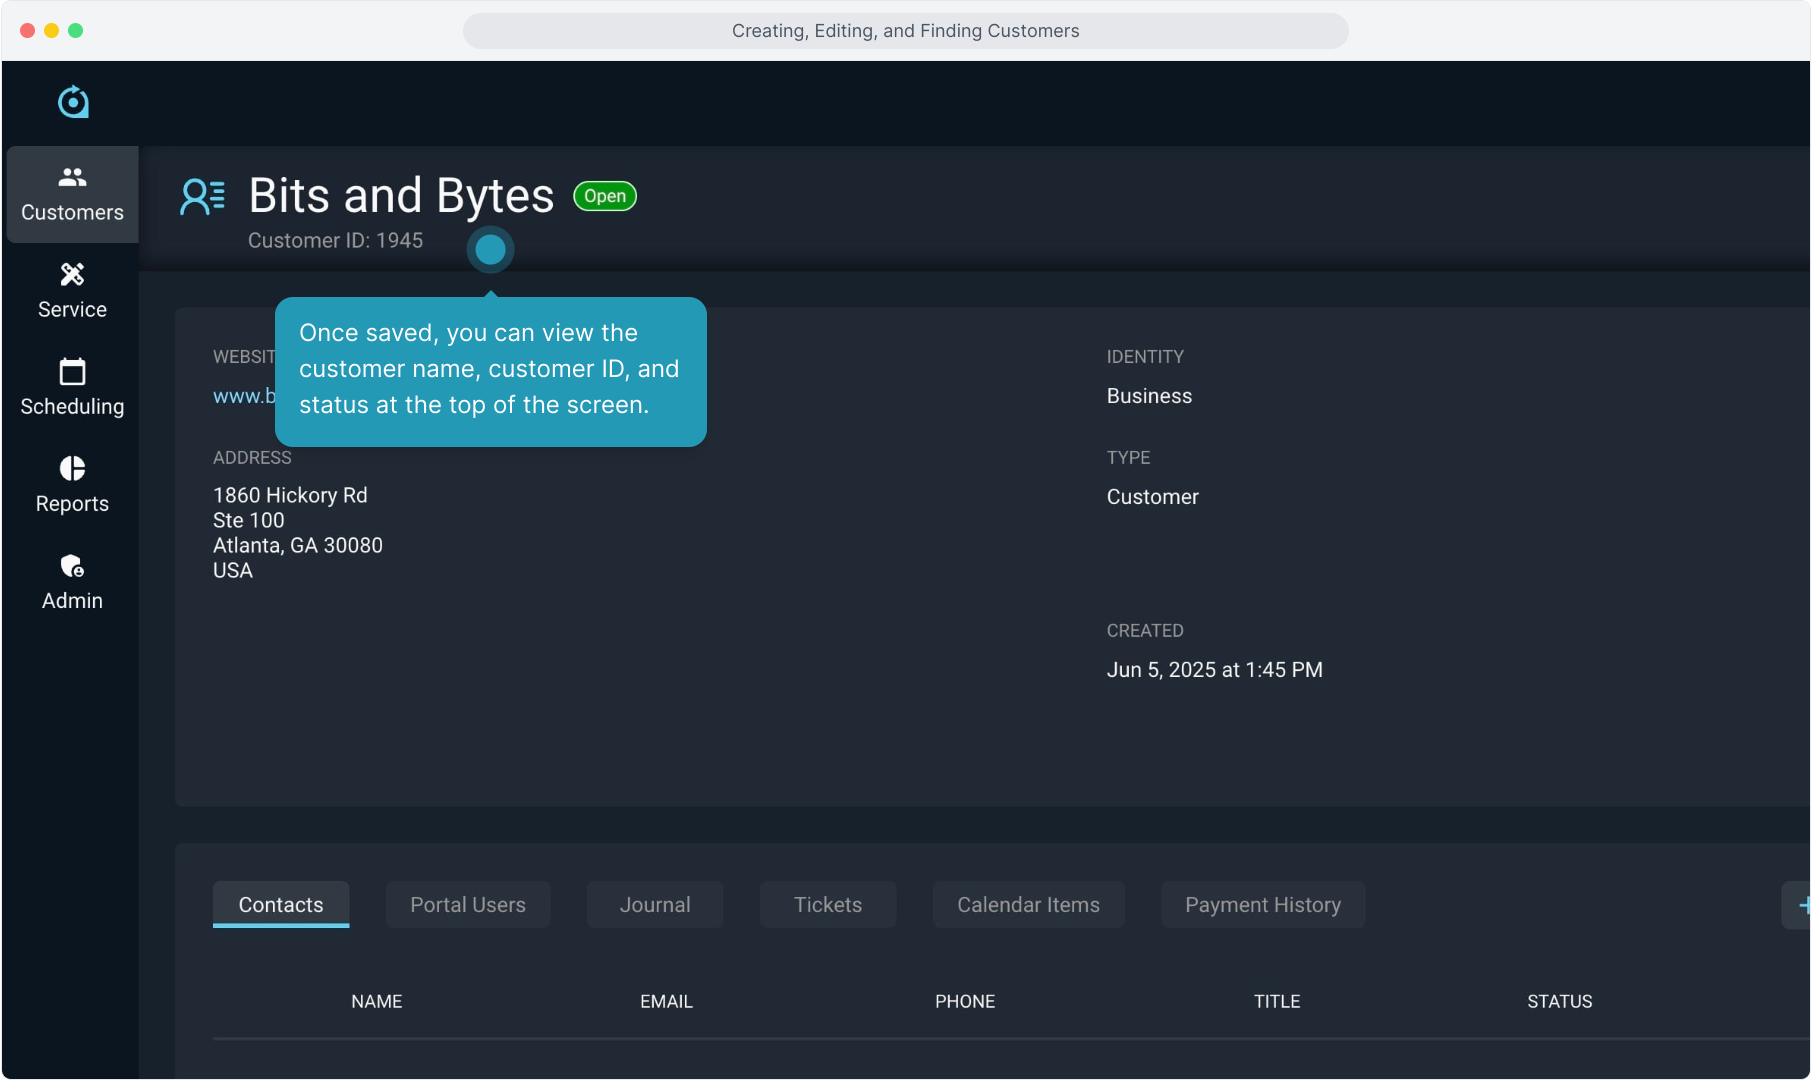
10. Once saved, you can view the customer name, customer ID, and status at the top of the screen.
11. In the box below that, you an view the other customer information.
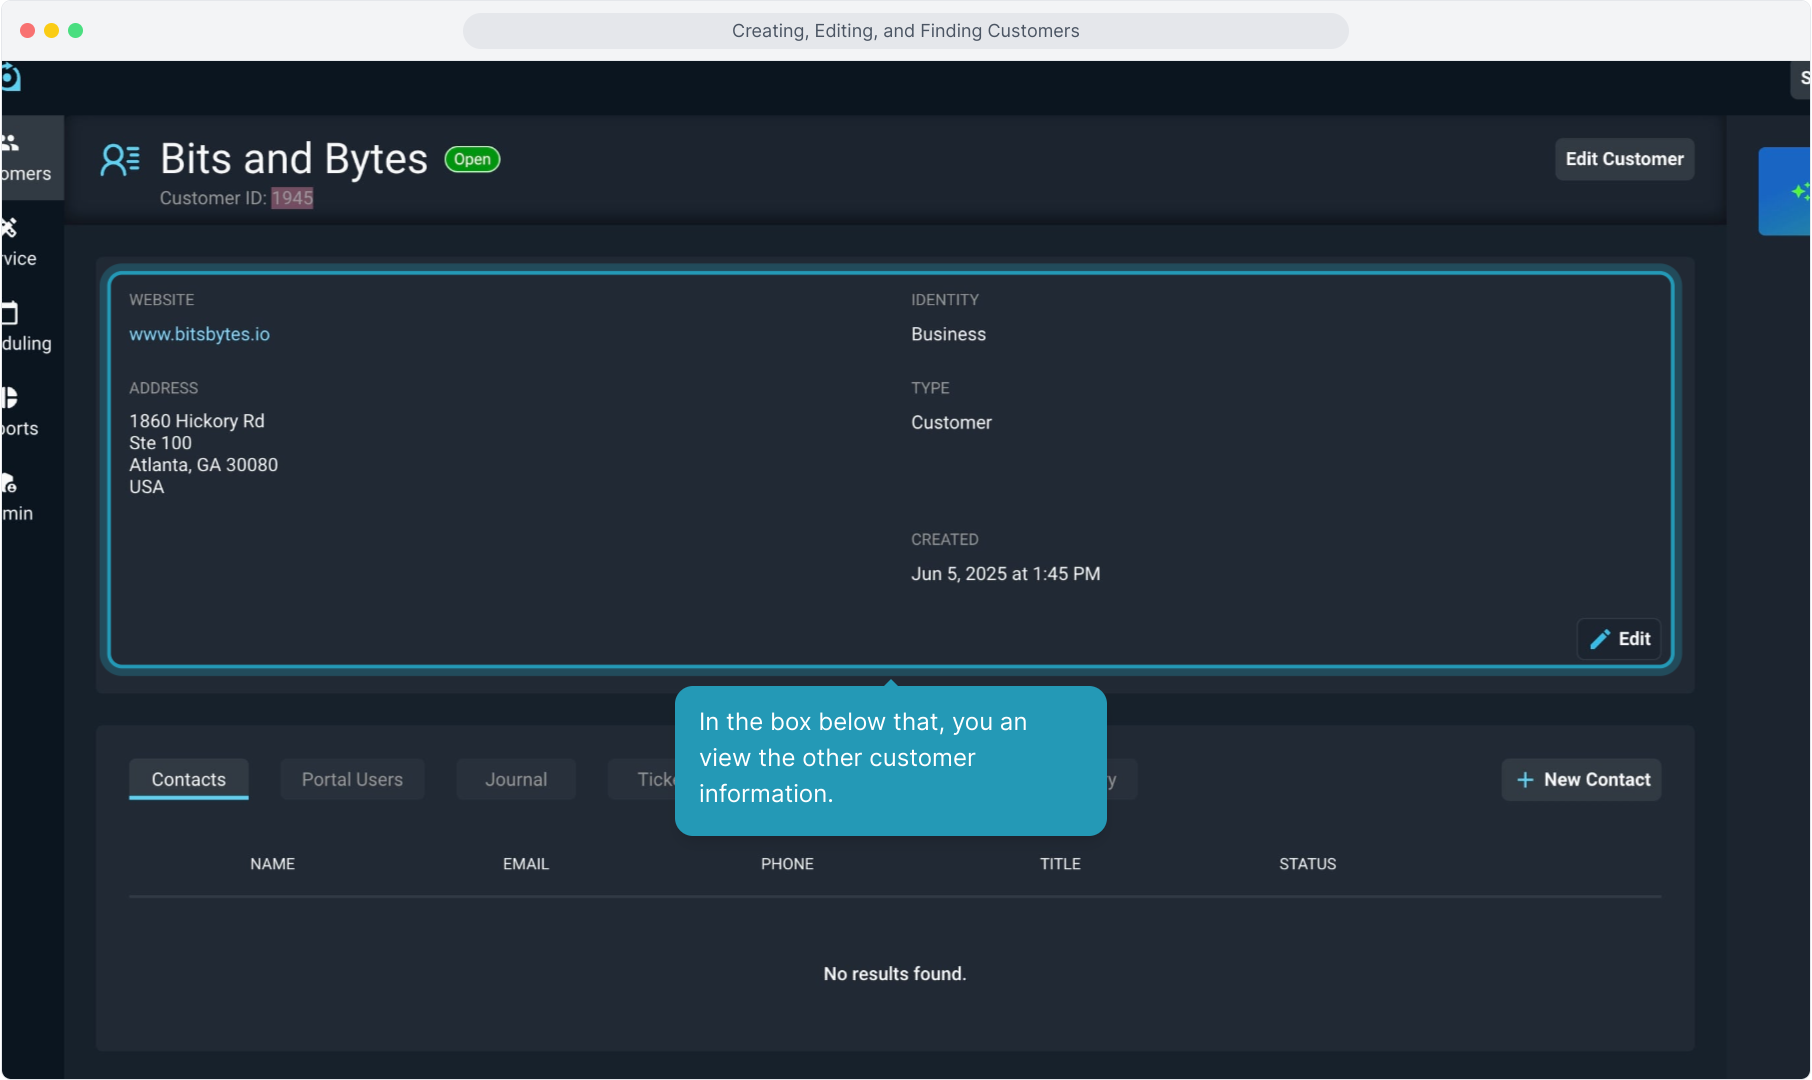
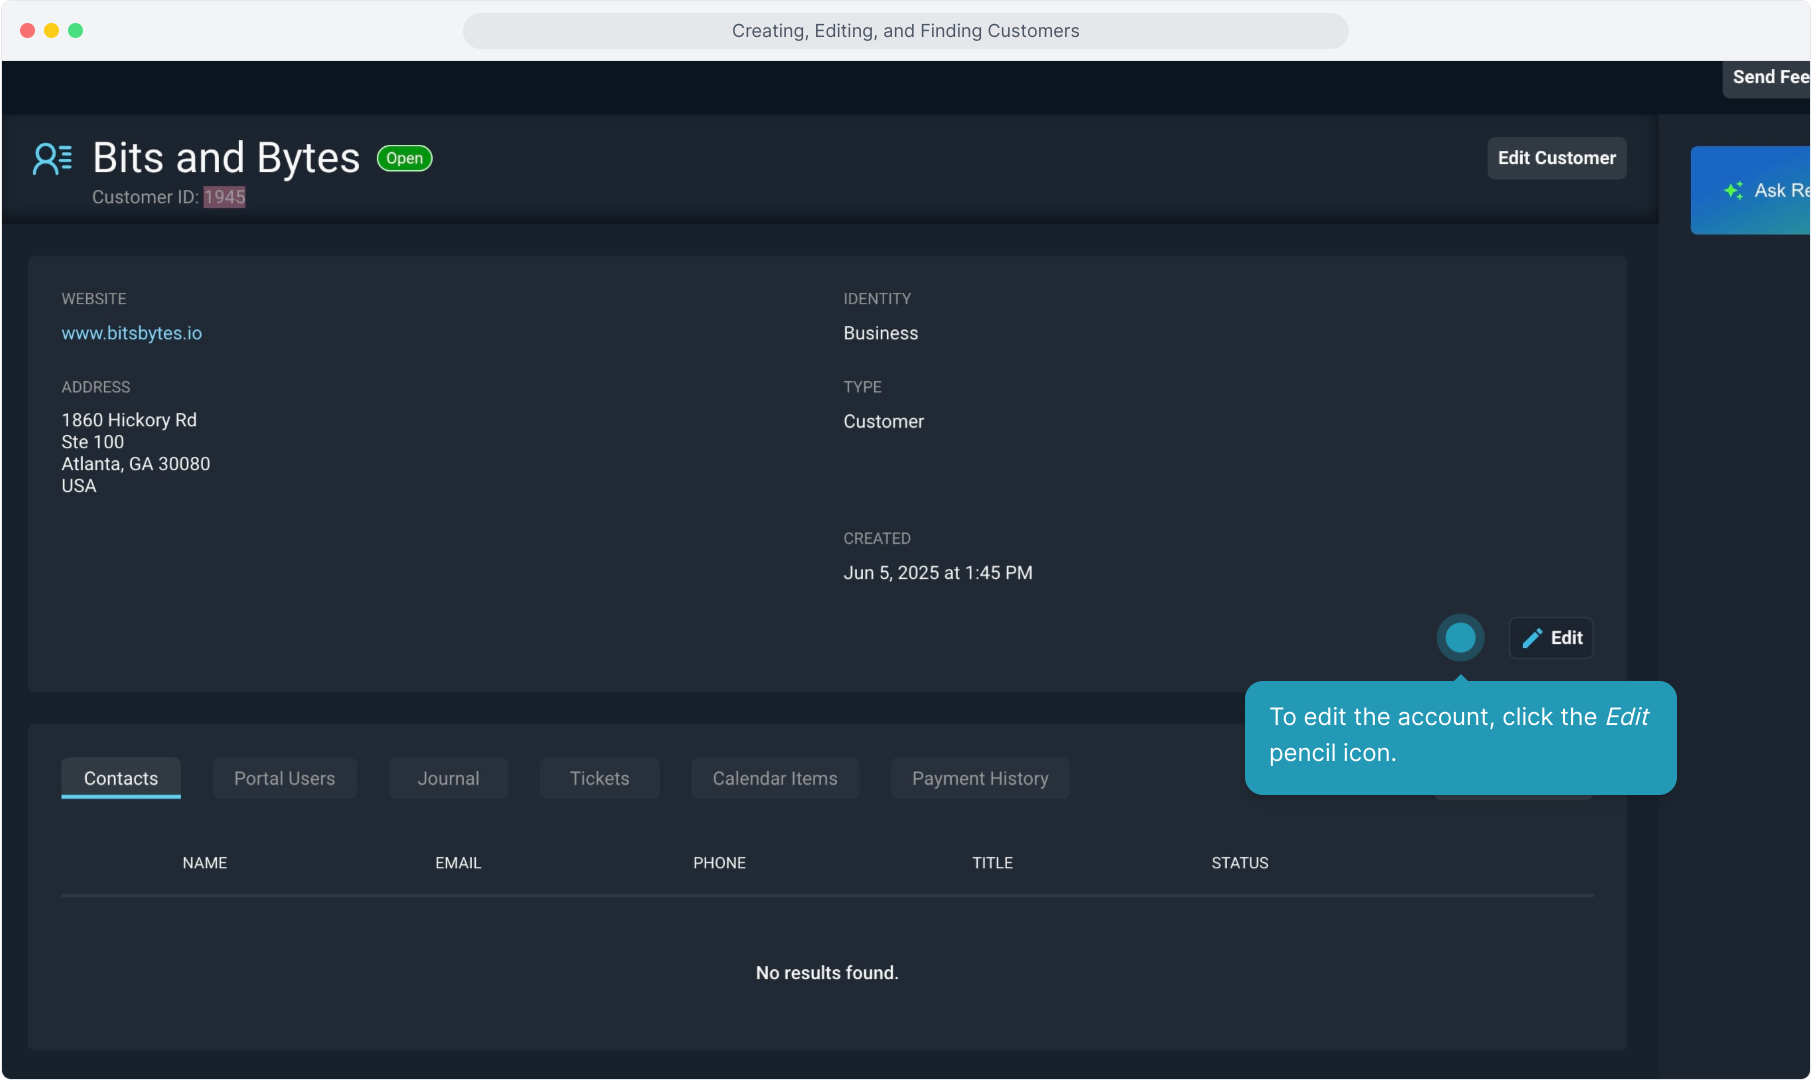
12. To edit the account, click the Edit pencil icon.
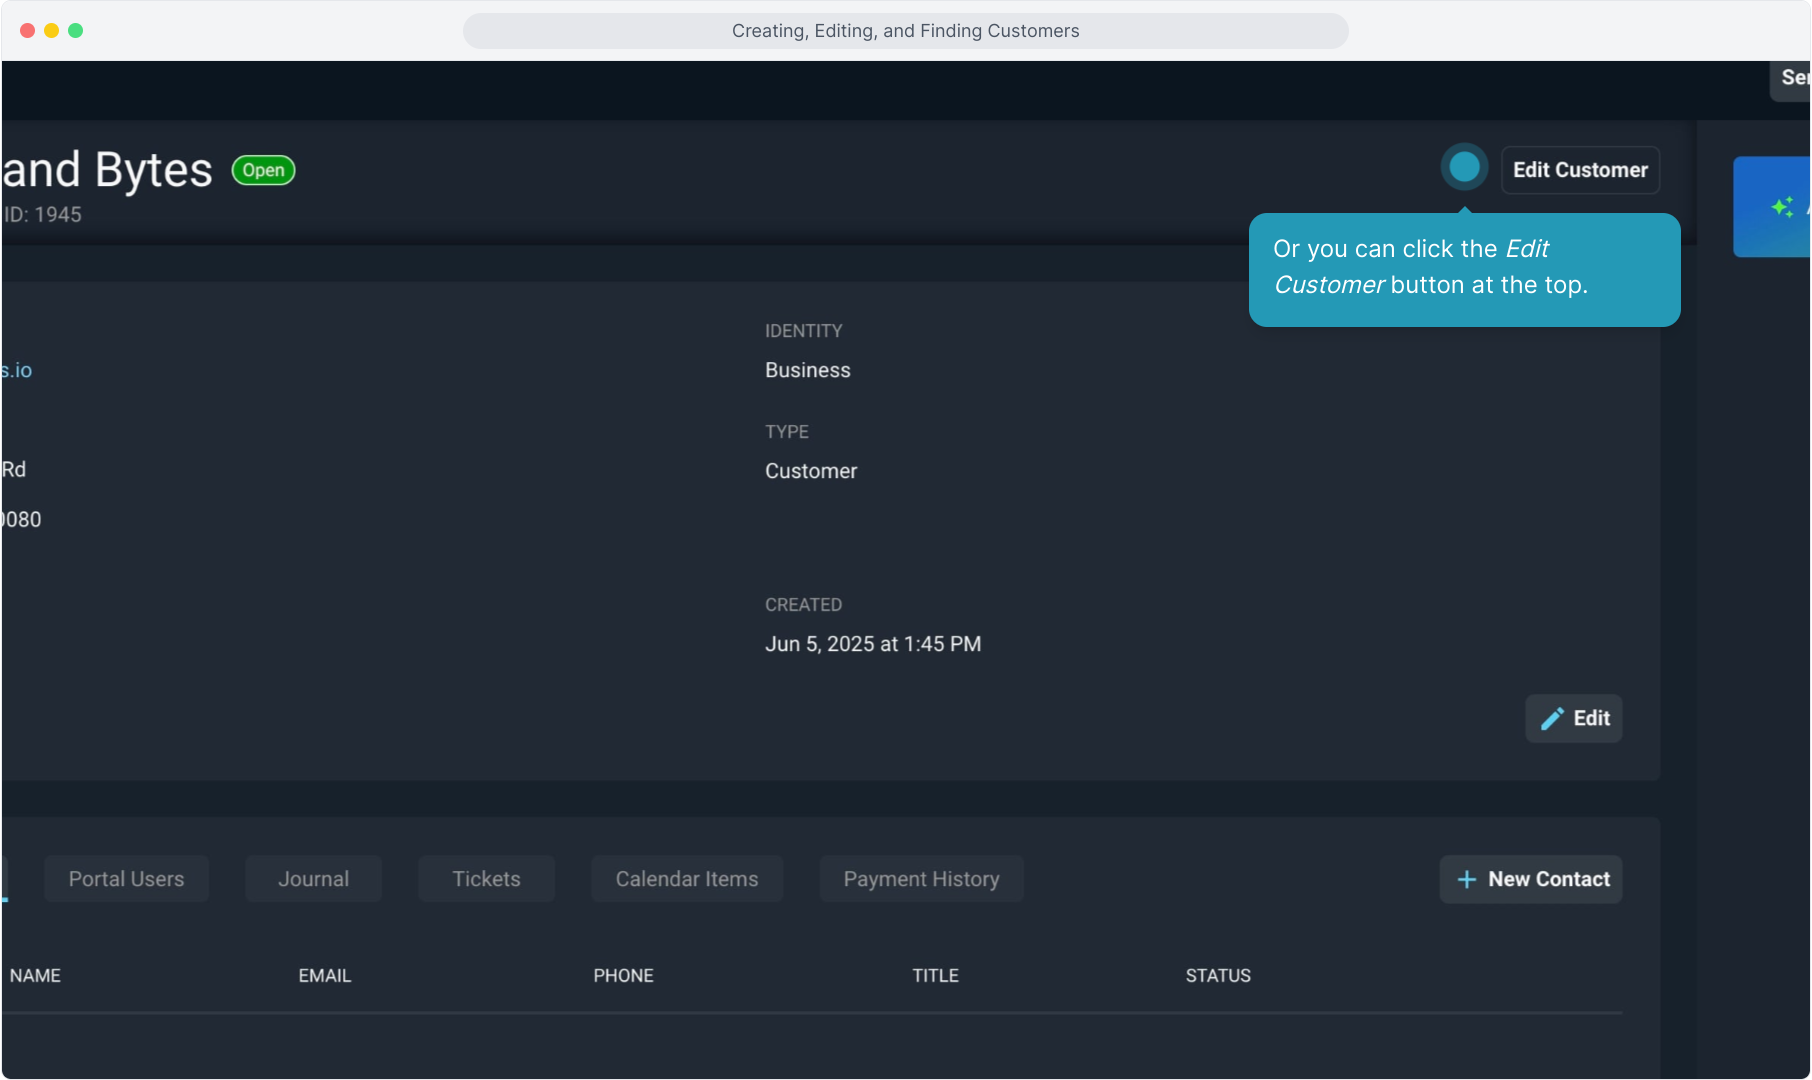
13. Or you can click the Edit Customer button at the top.
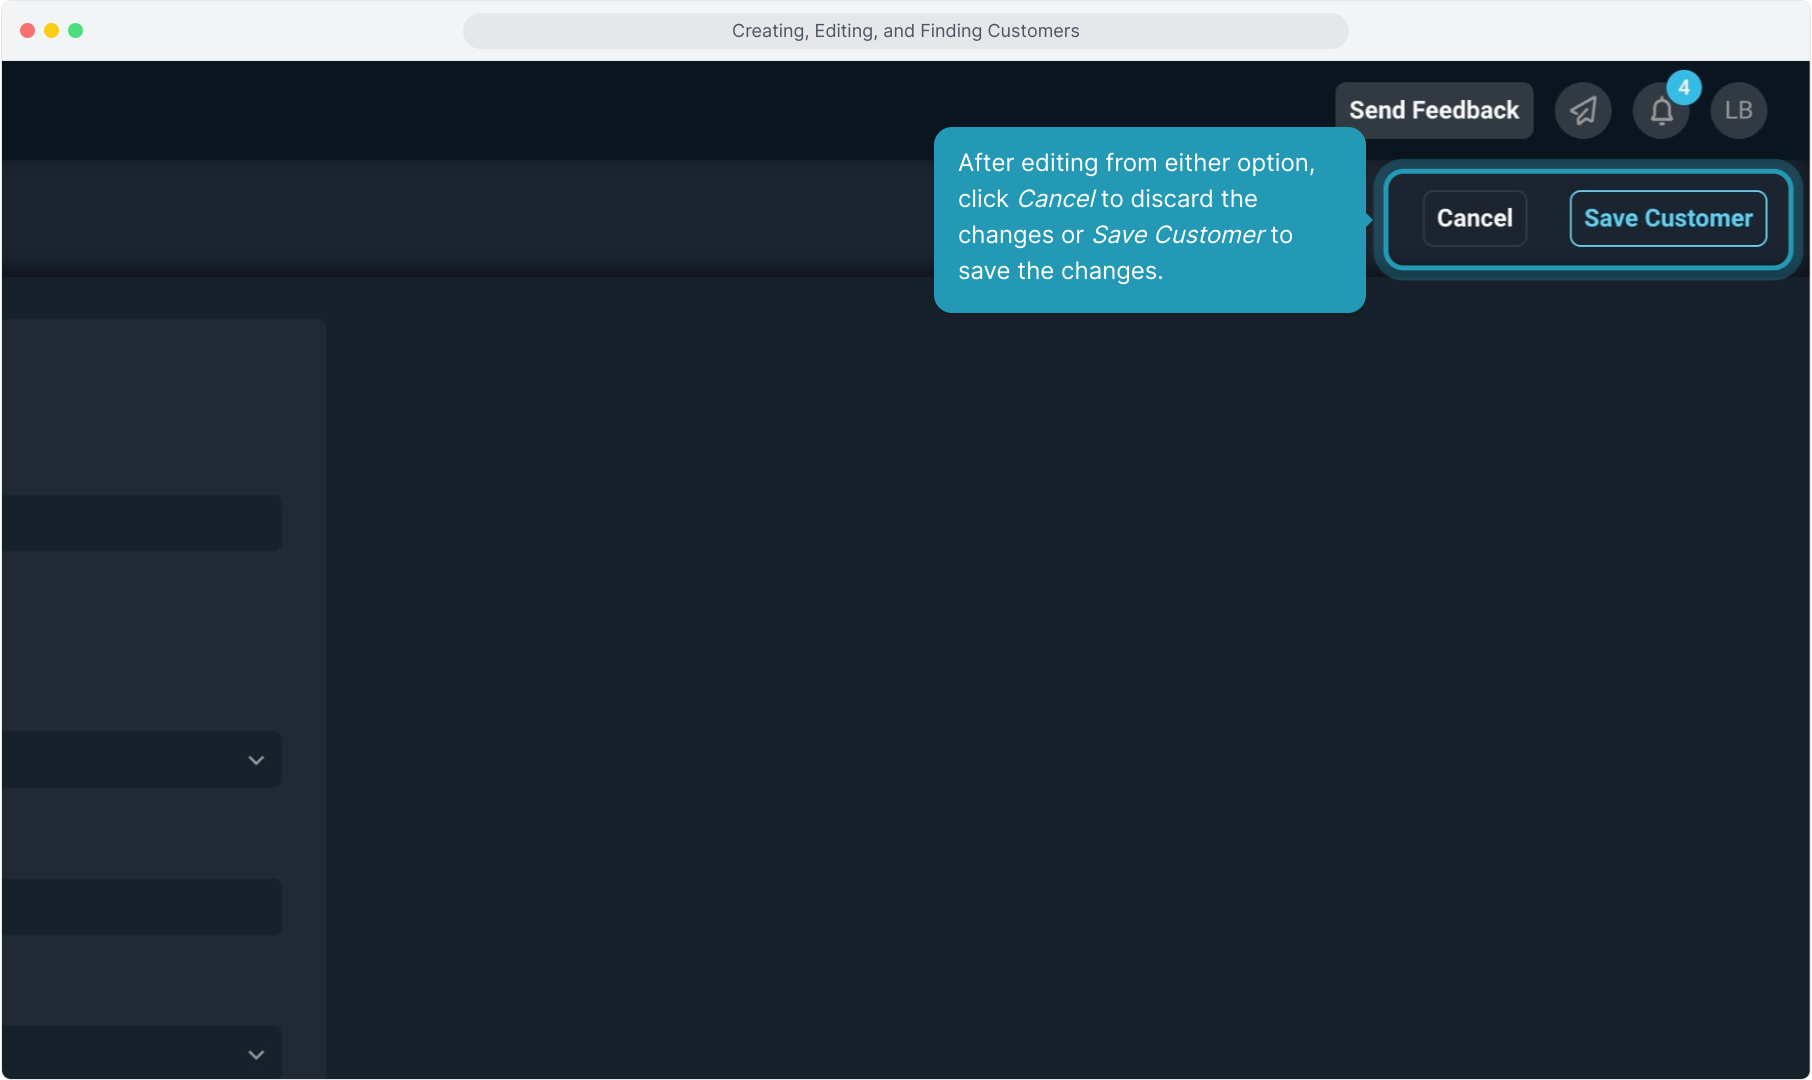
14. After editing from either option, click Cancel to discard the changes or Save Customer to save the changes.
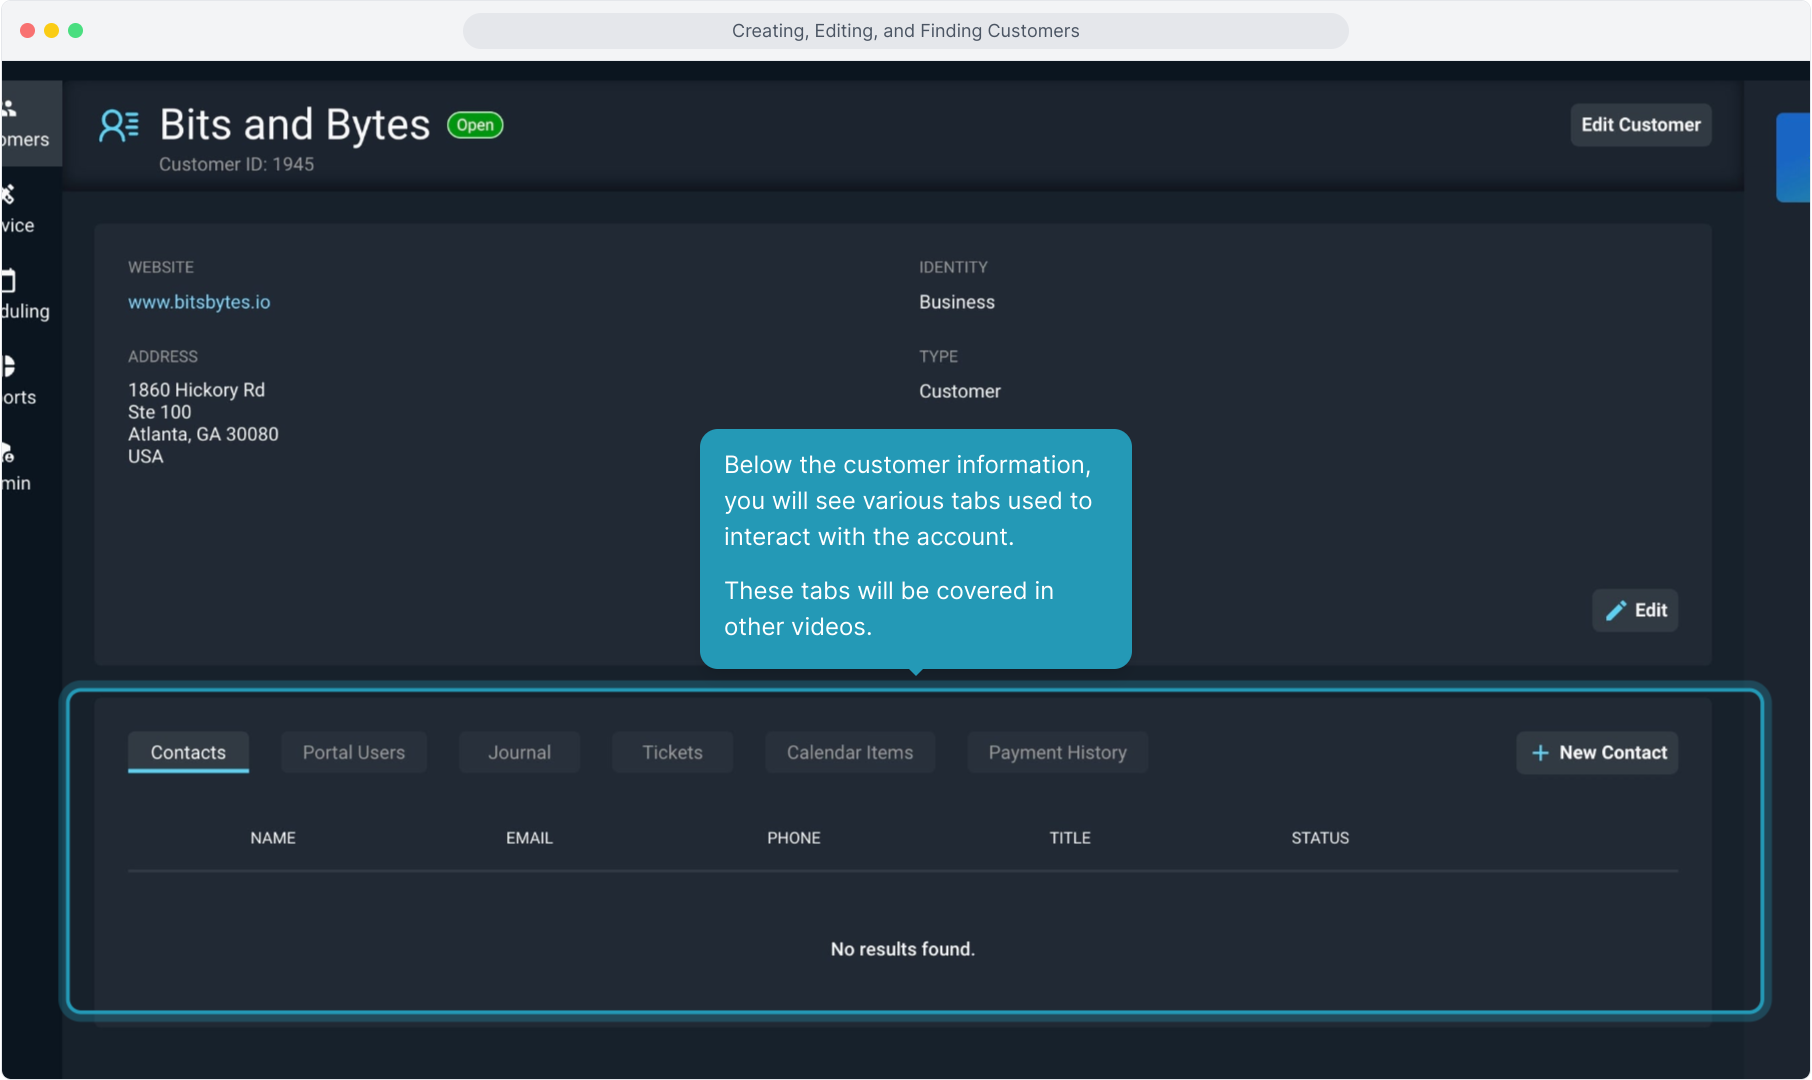
15. Below the customer information, you will see various tabs used to interact with the account.
These tabs will be covered in other videos.
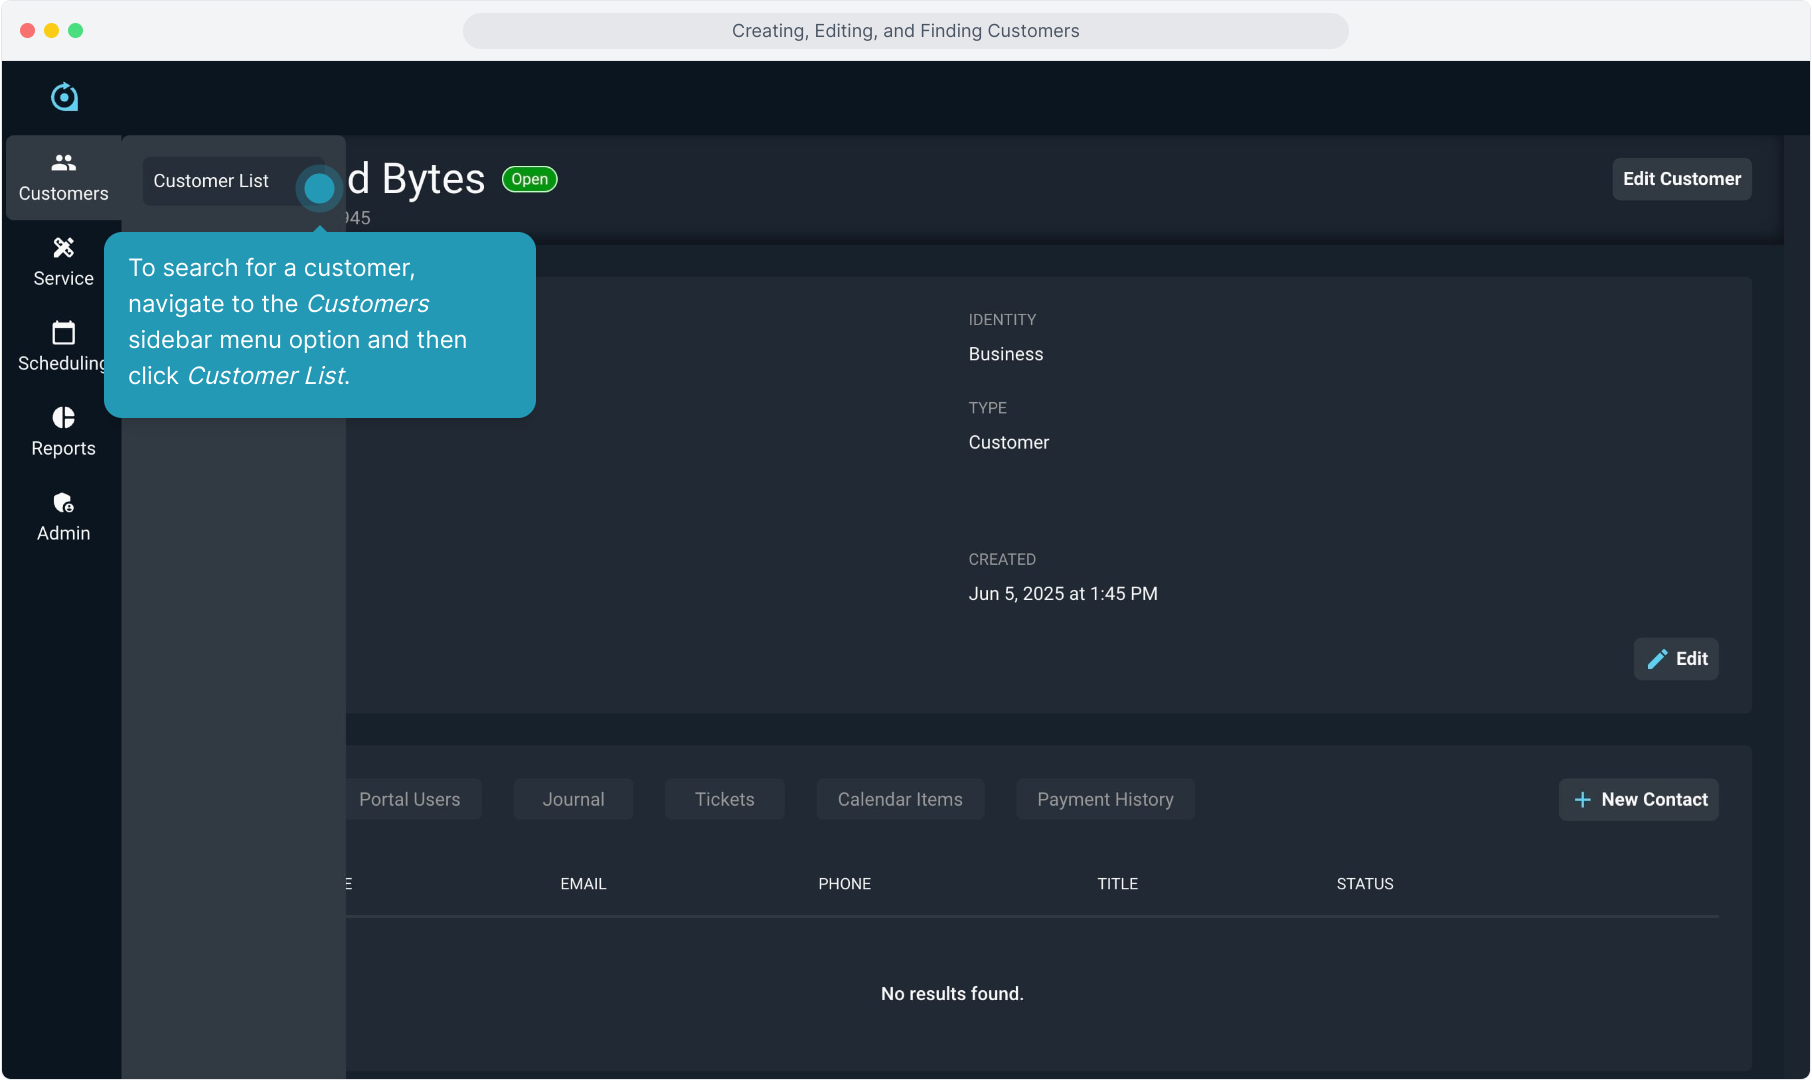
16. To search for a customer, navigate to the Customers sidebar menu option and then click Customer List.
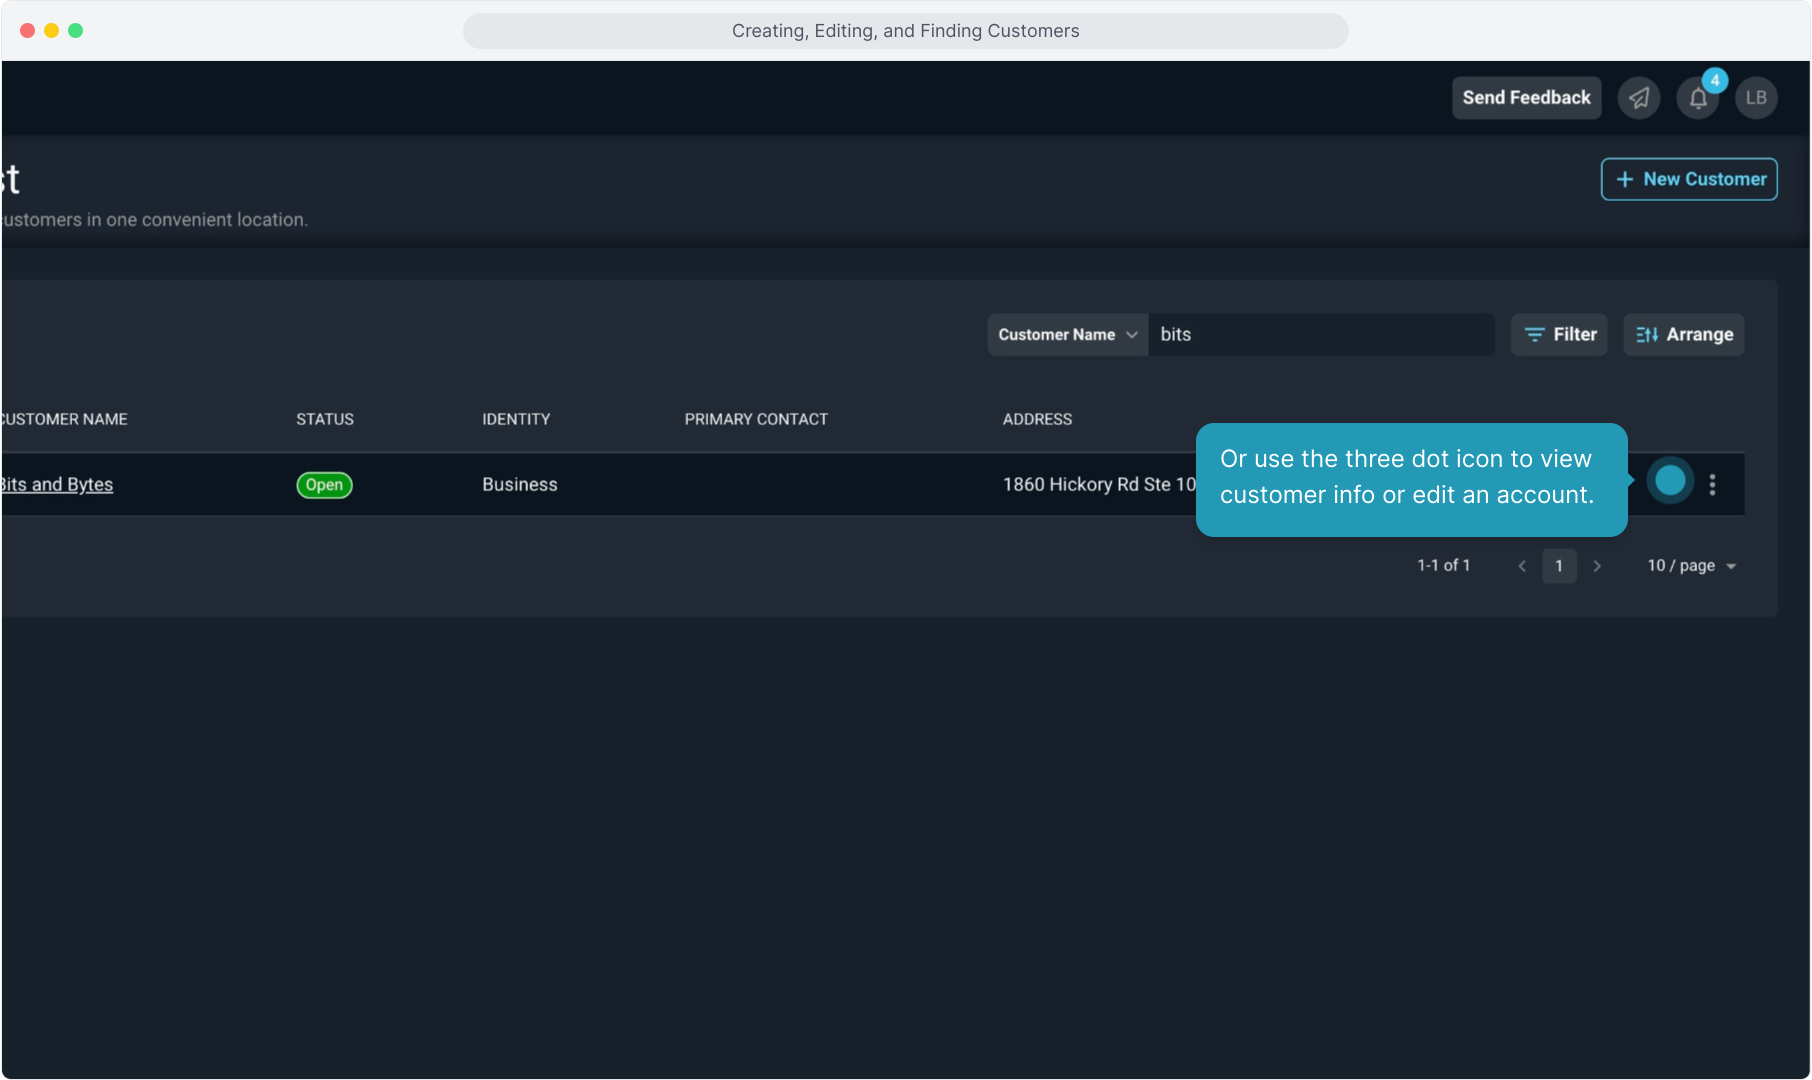
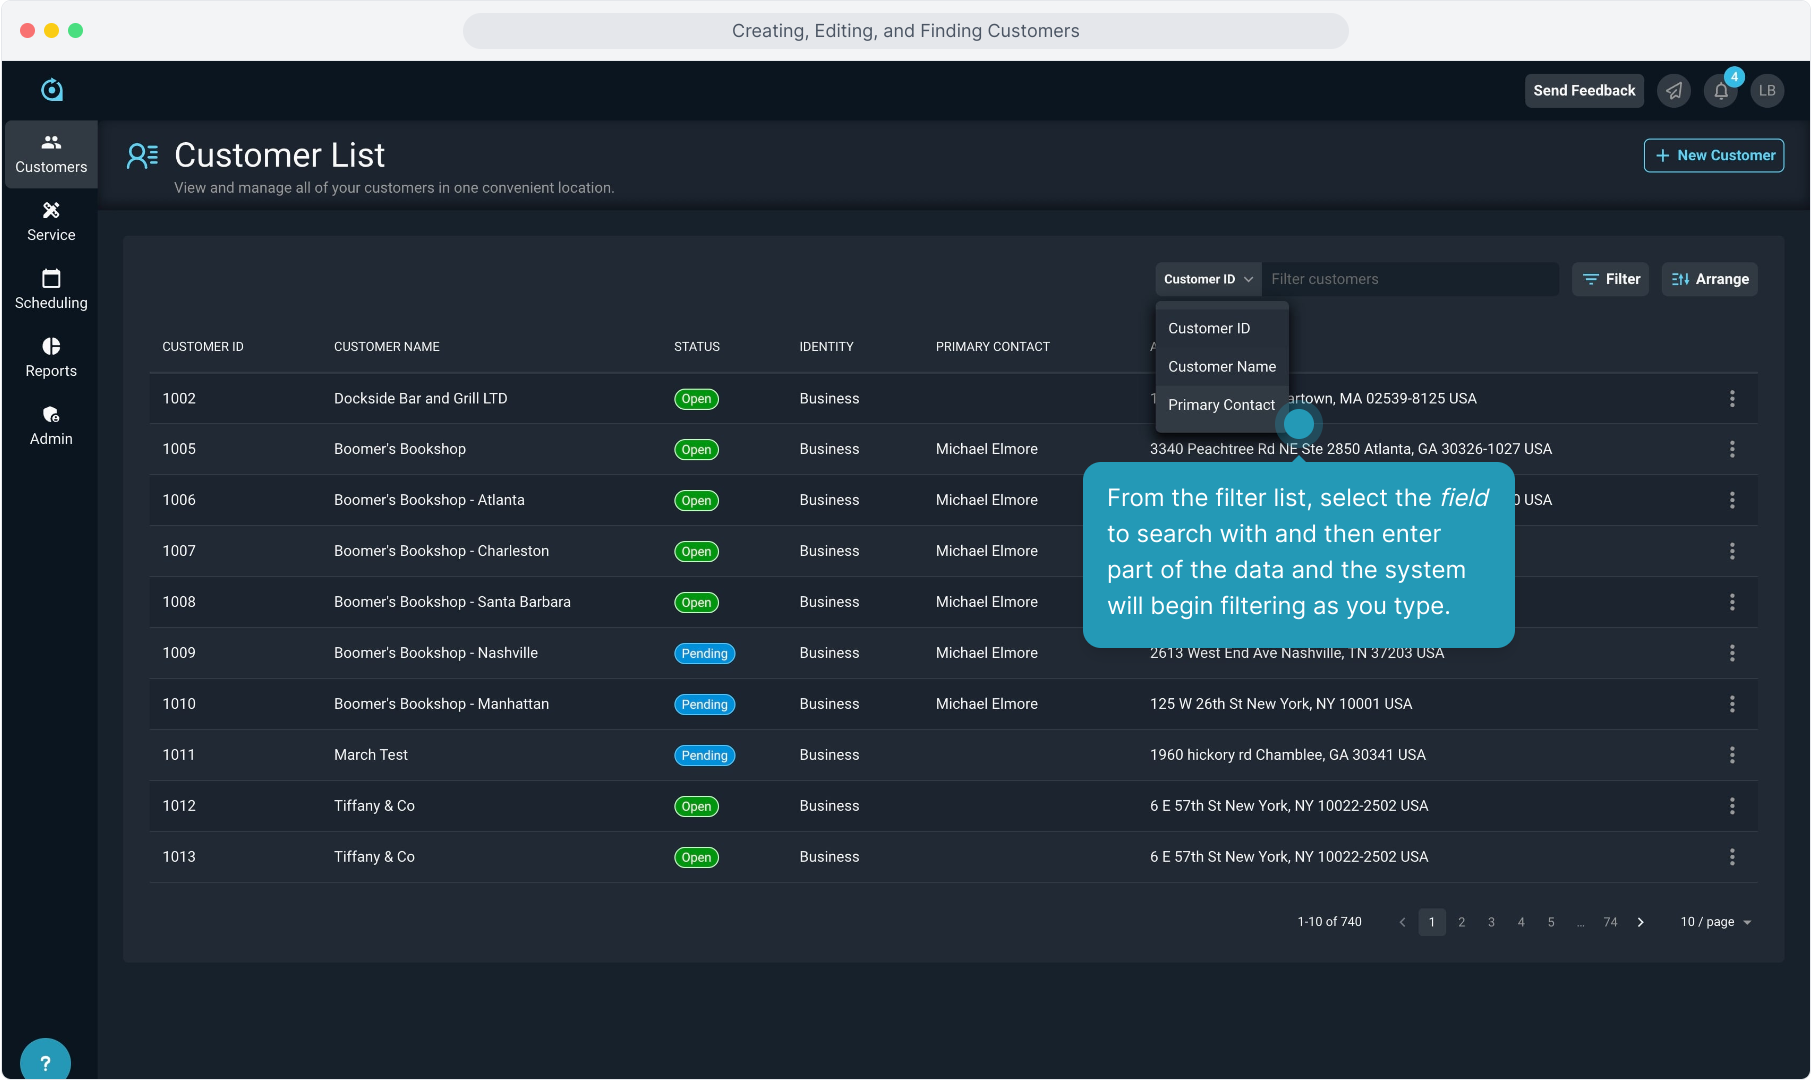
17. From the filter list, select the field to search with and then enter part of the data and the system will begin filtering as you type.
18. In the filtered list, click on the customer row you wish to access.
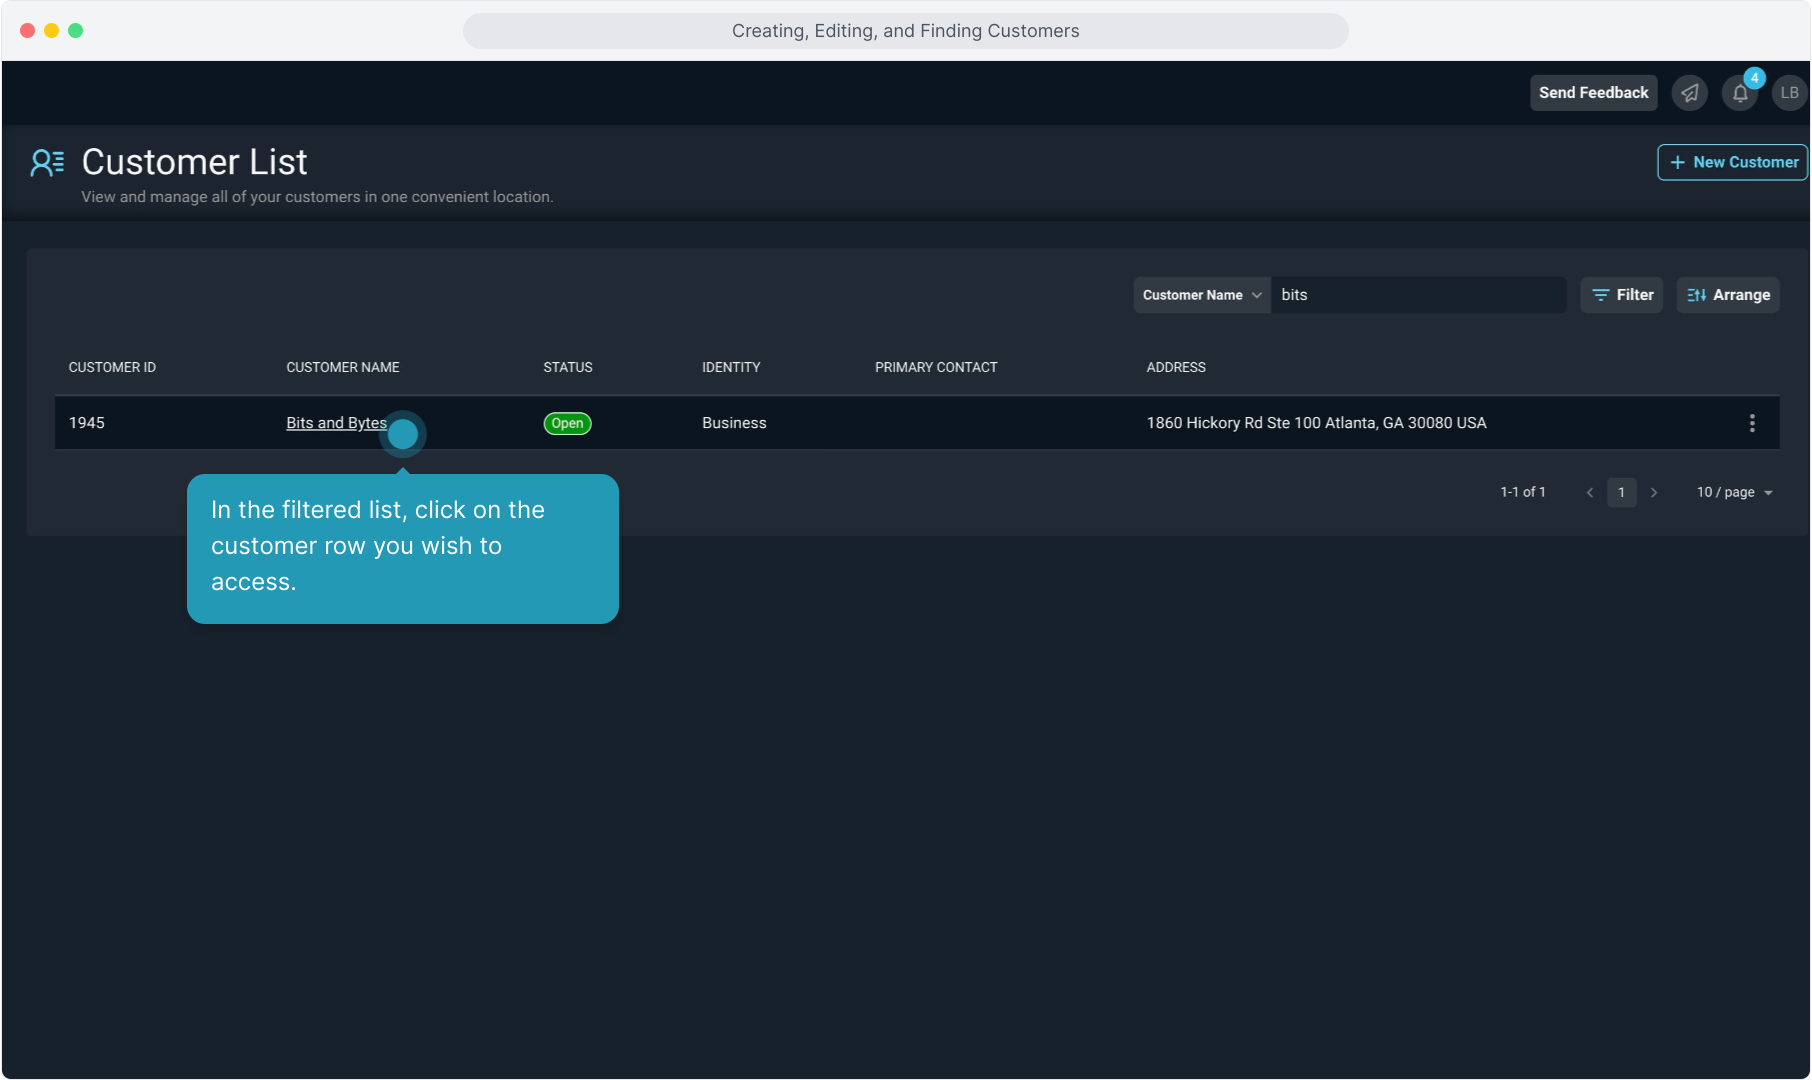
19. Or use the three dot icon to view customer info or edit an account.