
View Workflow Details
The View Workflow screen allows you to view details for workflows in your database. A 'workflow' in Rev.io PSA is a notification that you can set to trigger off a variety of different events and conditions. The details displayed on the View Workflow screen depends on the Reaction Type selected when creating the workflow.
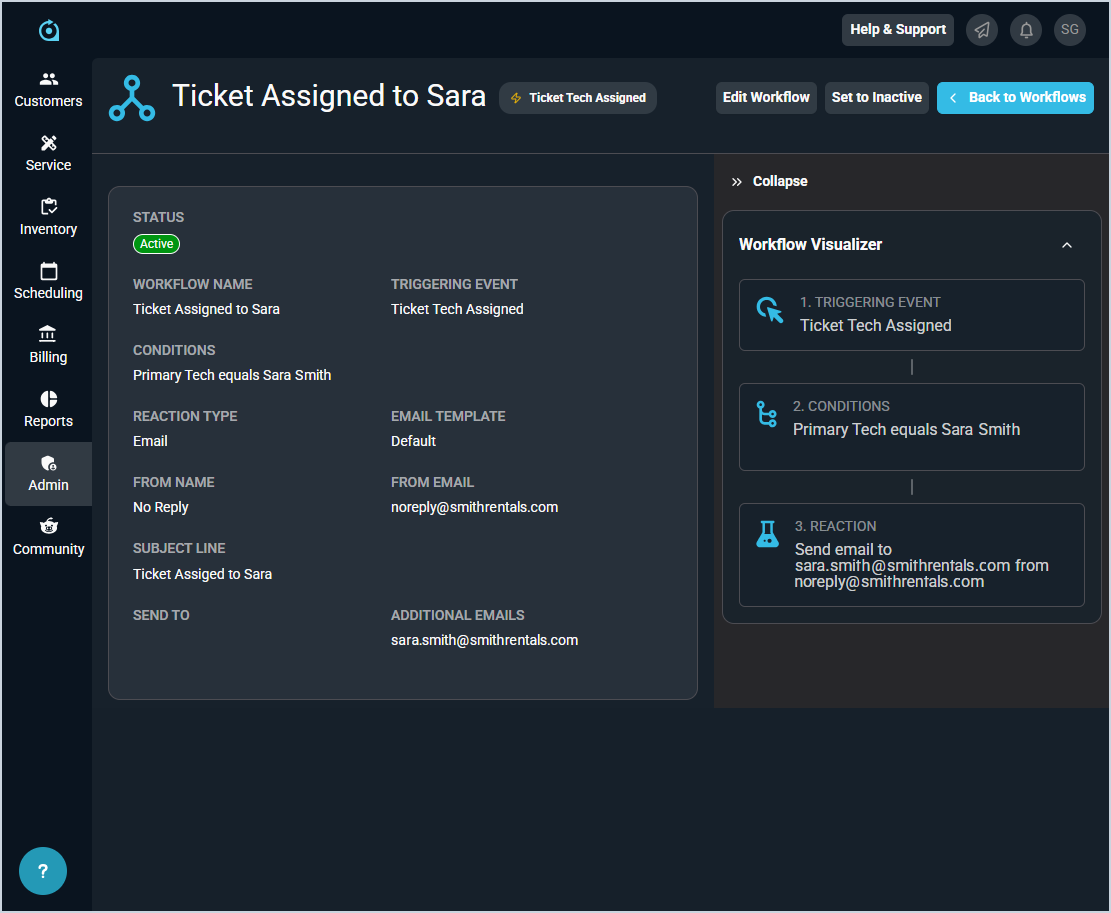
Each field on the View Workflows screen is defined below.
| No. | Label | Definition |
| All Workflows | ||
| 1 | <Workflow Name> | Name of the workflow. |
| 2 | <Triggering Event> | The event that triggers the workflow. |
| 3 | Status | Status of the workflow. Status options include Active and Inactive. |
| 4 | Workflow Name | Name of the workflow. |
| 5 | Triggering Event | The event that triggers the workflow. |
| 6 | Conditions | Conditions that specify when the workflow should trigger. |
| 7 | Reaction Type | Reaction type the system uses when the workflow triggers. |
| 8 | Email Template | The email template used when the workflow triggers. |
| 9 | From Name | The name on the email address that the notification email sends from when the workflow triggers. |
| 10 | From Email | The email address that the notification email sends from when the workflow triggers. |
| 11 | Subject Line | The subject line for the email to be sent when the workflow triggers. |
| 12 | Send To | The email address where an email is sent when the workflow triggers. |
| 13 | Additional Emails | Additional email addresses to be notified when the workflow triggers. |
| SMS | ||
| 14 | To Number | Phone number where the workflow notification is sent when the workflow triggers. |
| 15 | Message Content | Content of the message sent when the workflow triggers. |
| In App Notification | ||
| 16 | Priority | Priority of the in-app notification sent when the workflow triggers. |
| 17 | Recipient | Recipient of the in-app notification sent when the workflow triggers. |
| 18 | Title | Title or subject of the in-app notification sent when the workflow triggers. |
| 19 | Message | Message included in the in-app notification sent when the workflow triggers. |
| Slack/Teams | ||
| 20 | Broadcast to Team/Channel | Name of the Team/Channel in Slack or Teams where the workflow notification is sent when the workflow triggers. |
| 21 | Message Content | Content of the message sent when the workflow triggers. |
These actions are available on the View Workflow screen.
- Edit the workflow by clicking the Edit Workflow button on the toolbar. See the Create/Edit Workflows article for more information.
- Set the workflow to an active/inactive status by clicking the Set to Active or Set to Inactive button on the toolbar.
- Collapse or expand the Workflow Visualizer sidebar by clicking the double arrow icon on the right side of the screen.