
Managing Quote Templates
A quote template is a reusable starting point that defines the layout, structure, and standard content of a quote, such as branding, sections, and placeholders. Unlike a quote, which is created for a specific customer and contains finalized details, a quote template is designed for repeated use and is selected when generating a new quote, allowing you to quickly create consistent, customer-specific documents. Rev.io comes prepopulated with several basic quote templates. You can edit these quote templates to reflect your branding and your specific needs, or you can create your own template(s) from scratch.
You can create and send quotes from the Quotes tab in the Opportunities section of the customer profile screen by selecting an existing template. See the Customer Profile: Opportunities Section - Quotes Tab article for more information.
| NOTE: When creating a quote, you can freely modify the quote to meet that customer’s needs. Any changes you make apply only to that specific quote and do not affect the original quote template. To permanently update a template’s layout or content, you must make those changes from Admin > Quote Templates with the proper permissions. |
Adding Roles
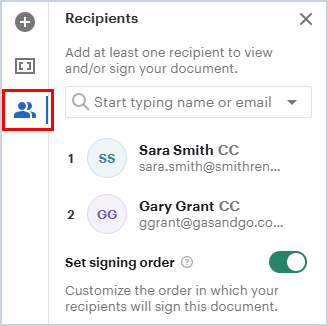
When creating a new quote template, start by adding any additional roles you need. The Client role is included by default, but you can add others, like Accounting or My Company, to represent future recipients. Roles act as placeholders for signers, and every Signature field in the quote must be assigned to a role. You can manage and add roles by clicking the Roles icon in the side panel.
Roles should be created for any information you want to dynamically populate and update automatically in the quote. Content that is the same across all quotes, such as your company name, can be entered as static text and does not need to be a variable or role.
In many cases, the default Client role is sufficient, especially if you only need to populate customer-related information in the quote. However, if you want to include variables or signatures for others, such as a sales representative sending the quote or signing it before the customer, you may want to add an additional role like My Company. A role like this allows you to use variables such as the salesperson’s name or a fillable internal signature field. If you’re unsure, you can start with just the Client role and add more later as needed.
Additionally, if most quotes require only one client signature but some require multiple signers, you can add an extra role and signature field when creating that specific customer quote without changing the original template.
Adding Content Blocks
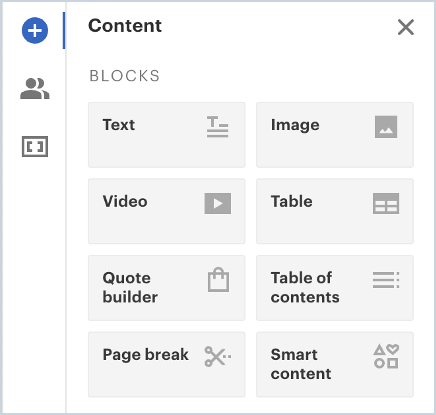
You can add content blocks to your quote by dragging and dropping them onto the document. Content blocks are things like text boxes, images, tables, page breaks, and the quote builder blocks (more about quote builder blocks later in this document). Add the content blocks you need and upload or add any data to those content blocks. You'll upload your image to an image block and add your verbiage to the text blocks.
You can also use text blocks as "spacers" in your document. The content blocks stack on top of each other so if you need space in the document, add a text block and then hit the return key as many times as you need to create the amount of space desired.
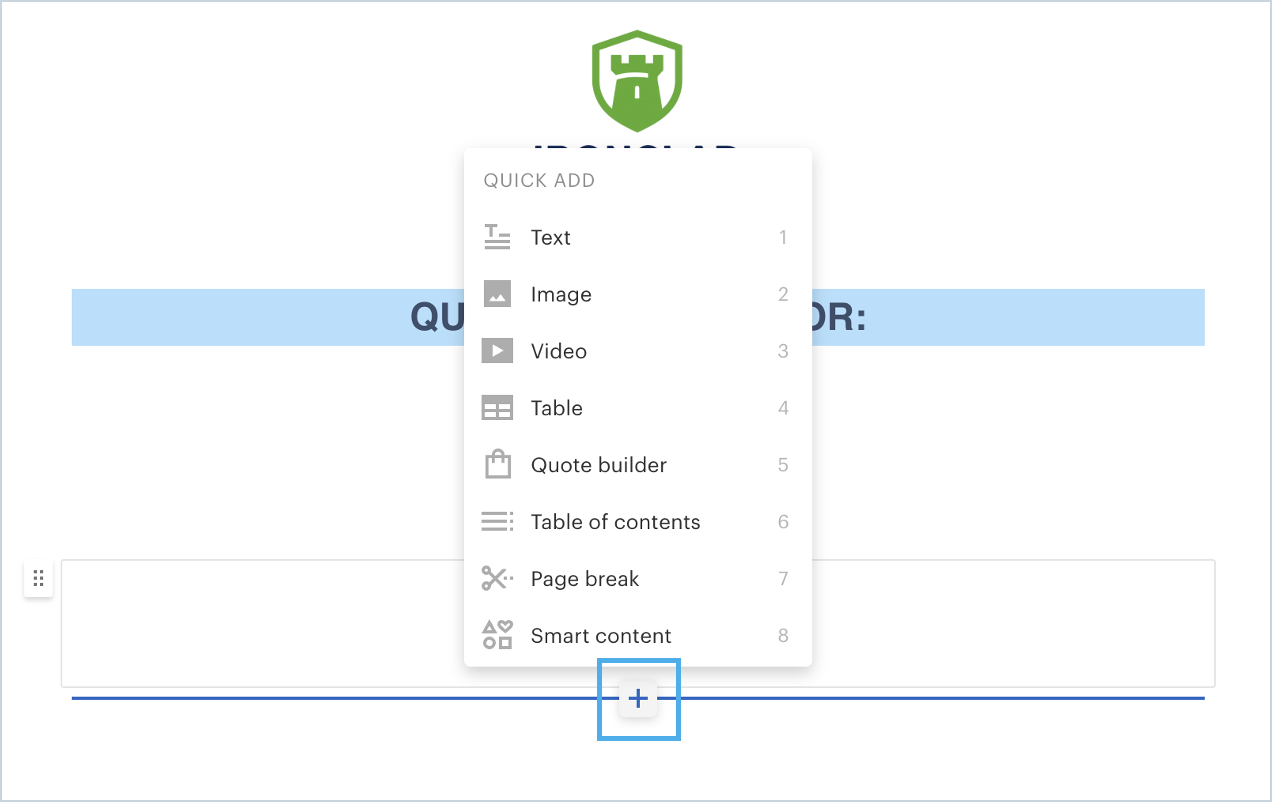
A helpful shortcut to adding content blocks is using the + symbol shortcut when you are on the document and hover over the canvas where you are creating the quote. Clicking the + icon will allow you to add content blocks as well.
Adding Quote Builder Content Blocks
Quote builder blocks are a special kind of quote content block and are where you will add the services and products that you want to include when creating an actual quote. You will want to add a quote builder block to each template you create so your users can easily build out the items they are quoting.
Quote builder blocks are tied to your product catalog in Rev.io with a data merge. Please keep in mind that it may take several hours once you add a product to your product catalog in Rev.io for you to be able to see and access it when creating a quote. You currently cannot add products to your catalog and immediately access them when creating quotes.
Once you drag the quote builder block onto the template document, you'll need to configure a couple of items in order for your quotes to work correctly. Click the gear icon at the top right to open Settings.
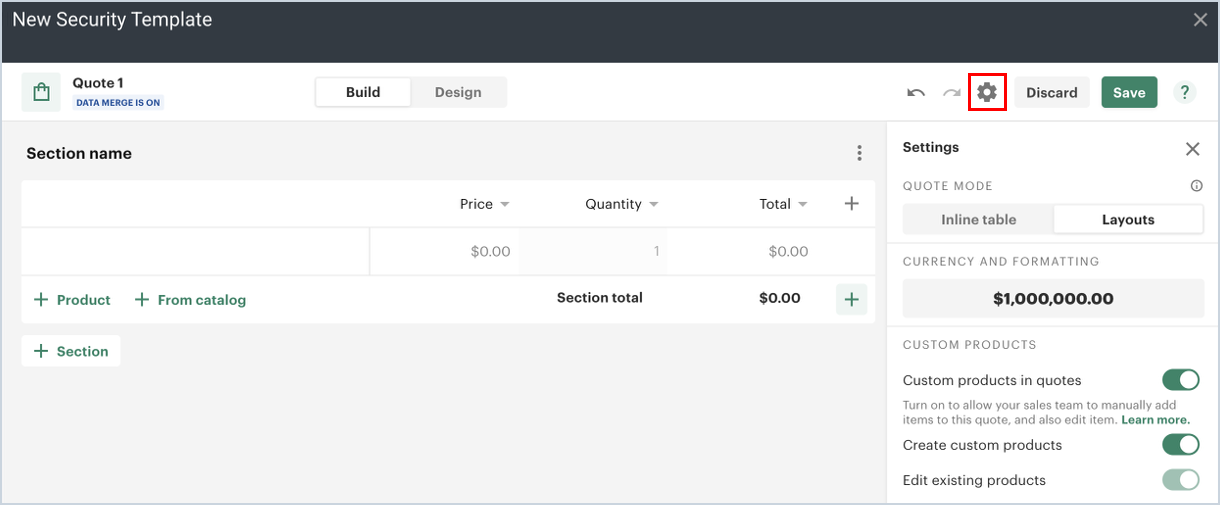
Click on the Layouts tab.
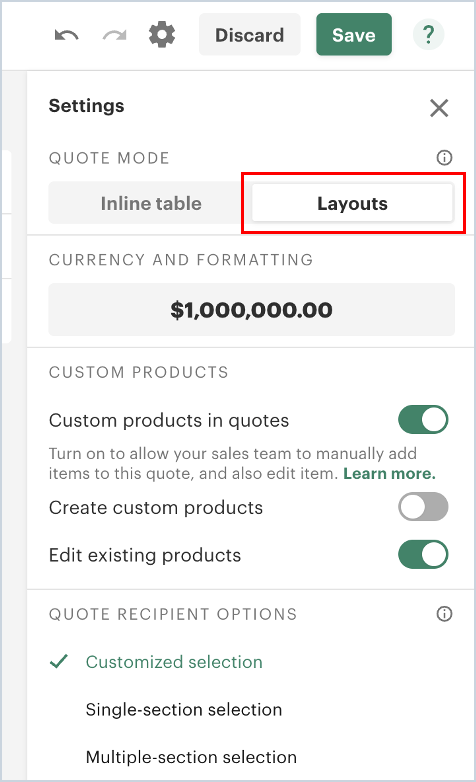
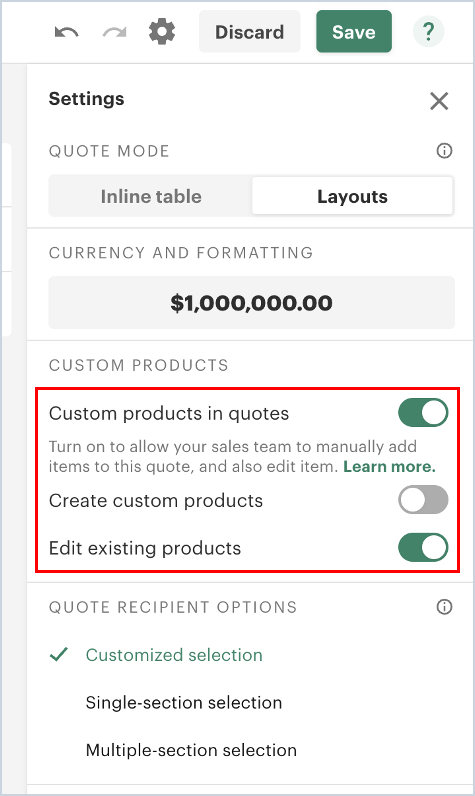
Toggle the Edit Existing Products switch to the ON position. This will also automatically set the other options in this section correctly. This will also turn off the ability to create custom products, which we do not currently support in Rev.io. Toggling on the Edit Existing Products feature allows you to alter the price of products when you add them to quotes.
Note: In order for custom pricing to flow through to Rev.io, the products in the product catalog must be set to Allow Price Adjustments and the Edit Existing Products option must be on in the quote builder block. If you are creating a quote on a customer and cannot edit the price of the product, this Edit Existing Products option has not been turned on and you should edit it in the template so that it works correctly. Alternatively, check the product catalog and ensure the product has been set to allow price adjustments.
| CAUTION: Avoid using the Create Custom Products as those items do not flow through to Rev.io and, although they do show on the quote document, will not appear on the service. The revenue can be easily missed if not manually added later by your team. |
Configuring Quote Template Variables
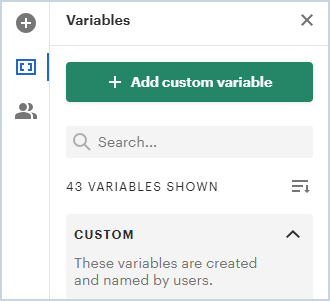
Each role you create generates its own set of variable fields. Variables are used as placeholders for dynamic information about your recipients that changes from document to document, including Name, Address, Company name, etc. Clicking the Variables icon in the side panel displays the variables for each role you created above.
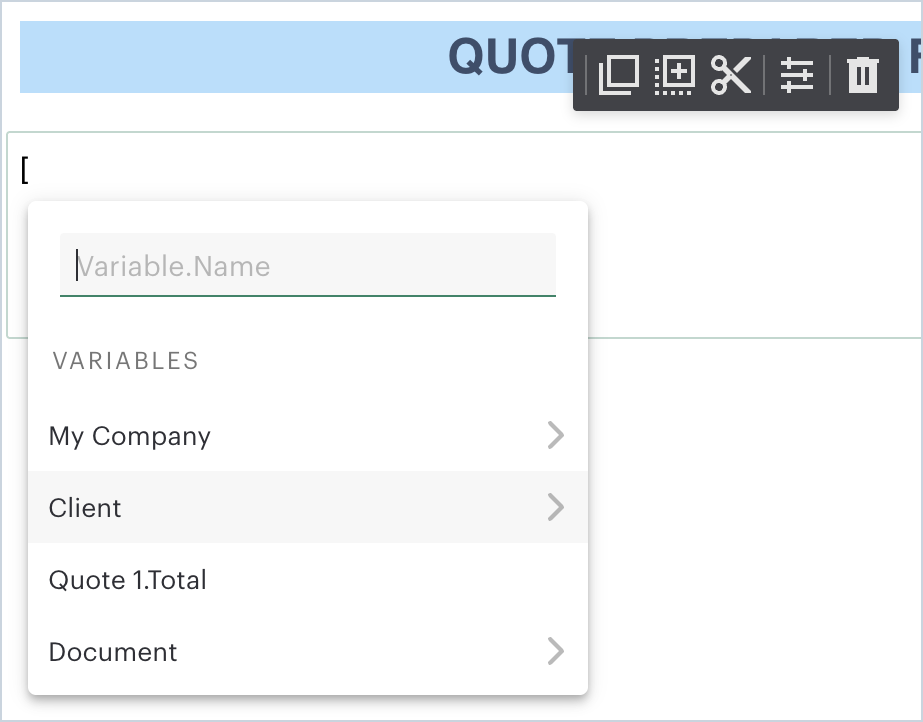
You will want to use variables inside your text content blocks. A variable is a merge field designed to save you time by auto-filling any information that frequently occurs in your quotes. Variables display as a piece of text surrounded by square brackets, like this:
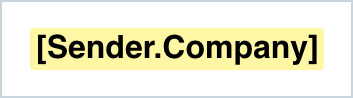
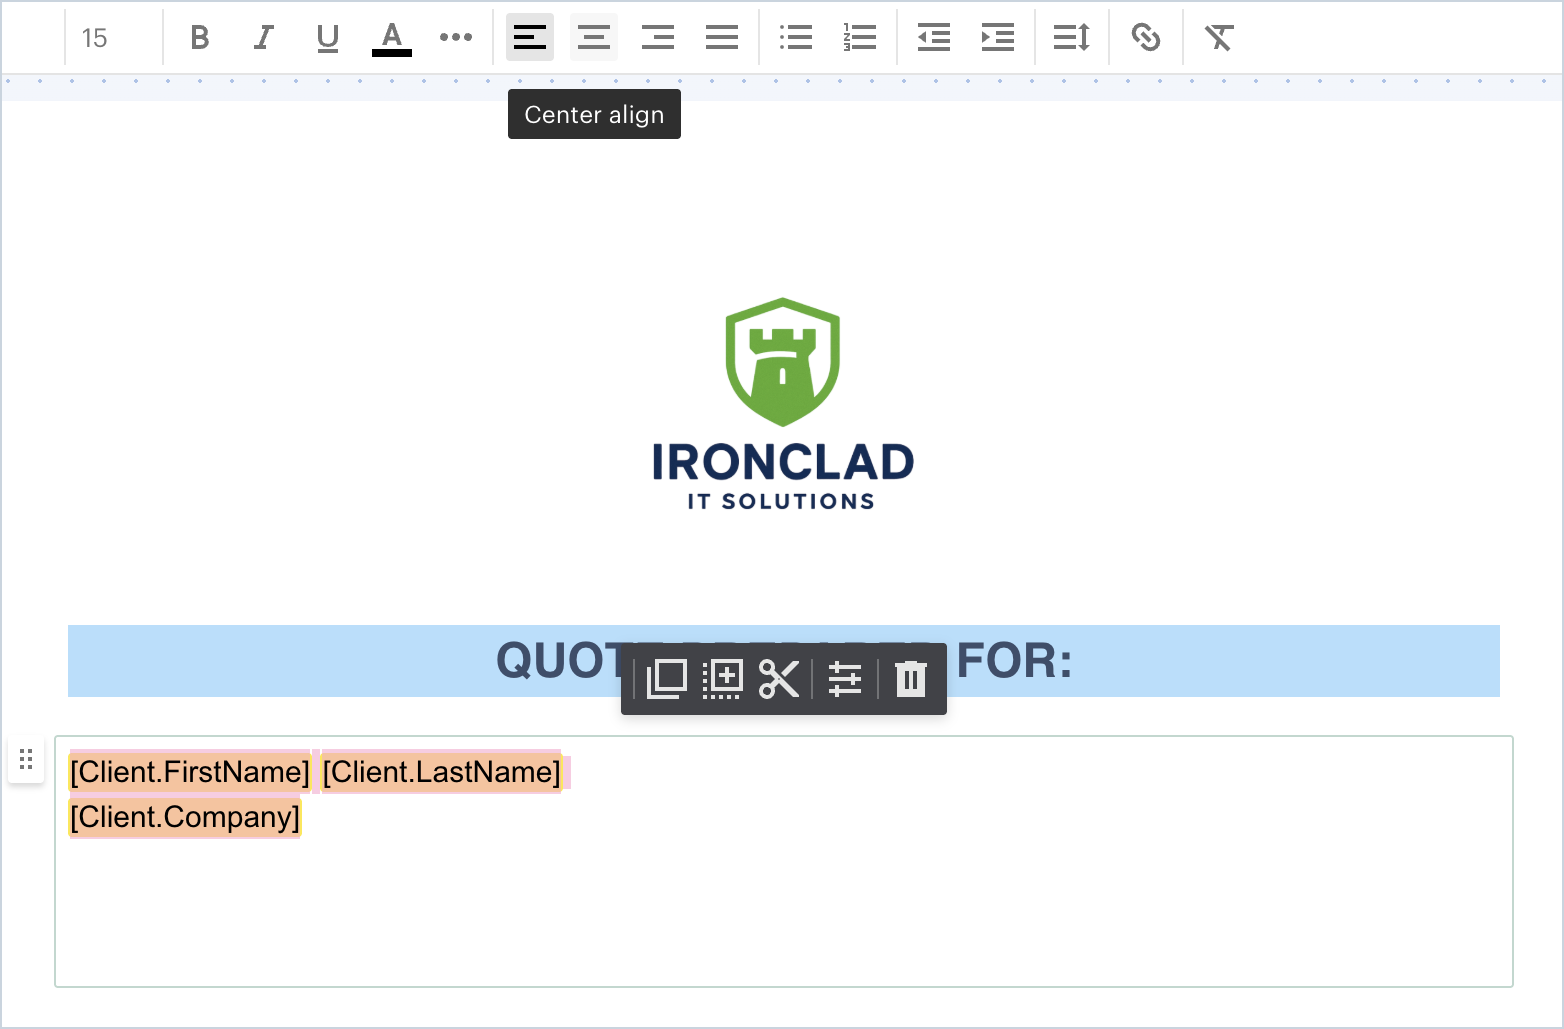
The variable will not have the yellow background when a recipient is viewing the document, it only appears this way in the editor so you can easily distinguish between text and a variable. Each time you use the quote template, you can fill out the variable fields once and they will automatically update everywhere they are used in the quote.
To use variables, select a text block where you'd like to place your variable. There are a couple of methods to insert the variable:
- Type a square opening bracket and choose which role the variable applies to (client, for instance) and choose the name of a variable from the dropdown and press Enter.
- Alternatively, navigate to the View section at the top, click the variables icon. This opens the list of all variables available in the document. To use any of the variables in the list, select Copy variable next to the variable name when hovering over it, and paste it into your text block using Ctrl + V or right click and select Paste.
- Once the variables are added to your text block, you can format them by highlighting the field(s) and using the formatting tools at the top. You can center them, bold them, change the font, etc. Also, don't forget to add a space between fields if it needs it (for instance, between first name and last name).
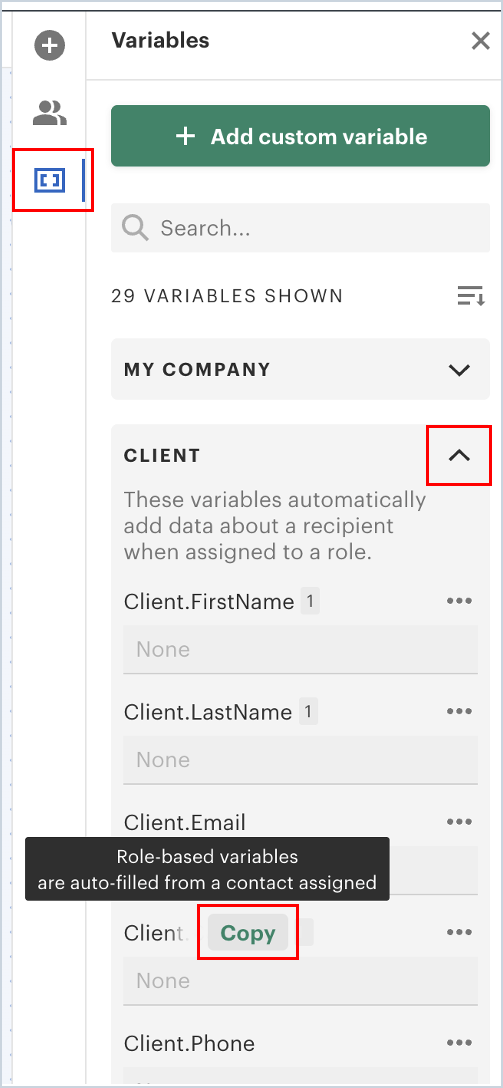
Custom variables act as placeholders for any information you need to populate manually when creating a document. You can name them whatever you want, and they’re useful if the information doesn’t exist in the standard role variables that are created. To create a new custom variable, click on +Add custom variable in the All variables section. Enter the desired name and select Add variable. The variable will appear in the All variables list. To use it, select Copy variable next to the variable name, then paste it into your text block using Ctrl + V.
The System variables section are predefined values. We currently support only two of the system variables - Document Created Date and Document Sent Date. Adding either of these system variables will automatically populate that information in your document, specific to that individual document when you create a quote on a customer account. We do not support the other system variables at this time. If you need an expiration date on your quote, you will need to manually populate that date when you create the quote.
To delete a variable, first, delete it from the document body.
Adding Fillable Fields
A signature block is considered a "fillable field". You will most likely require at least that one fillable field when creating your template. Some deals require collecting important information from your customers such as billing addresses, dates, and names. You don’t have to chase them down in emails or document comments, you can use fields. Your customers will fill out fields right before they sign your document. You will have all the required information in one place - in your document!
To add a field, open your document/template first, then go to the Content panel on the right, select a role/recipient who will fill out this field later, or add a new one under "Fillable fields for". After that, click on the field or drag and drop it to the place you need.
The field placement logic works as follows:
- Fields are connected to content blocks, allowing them to move together with the content block. Placing fields outside a content block links them to the page.
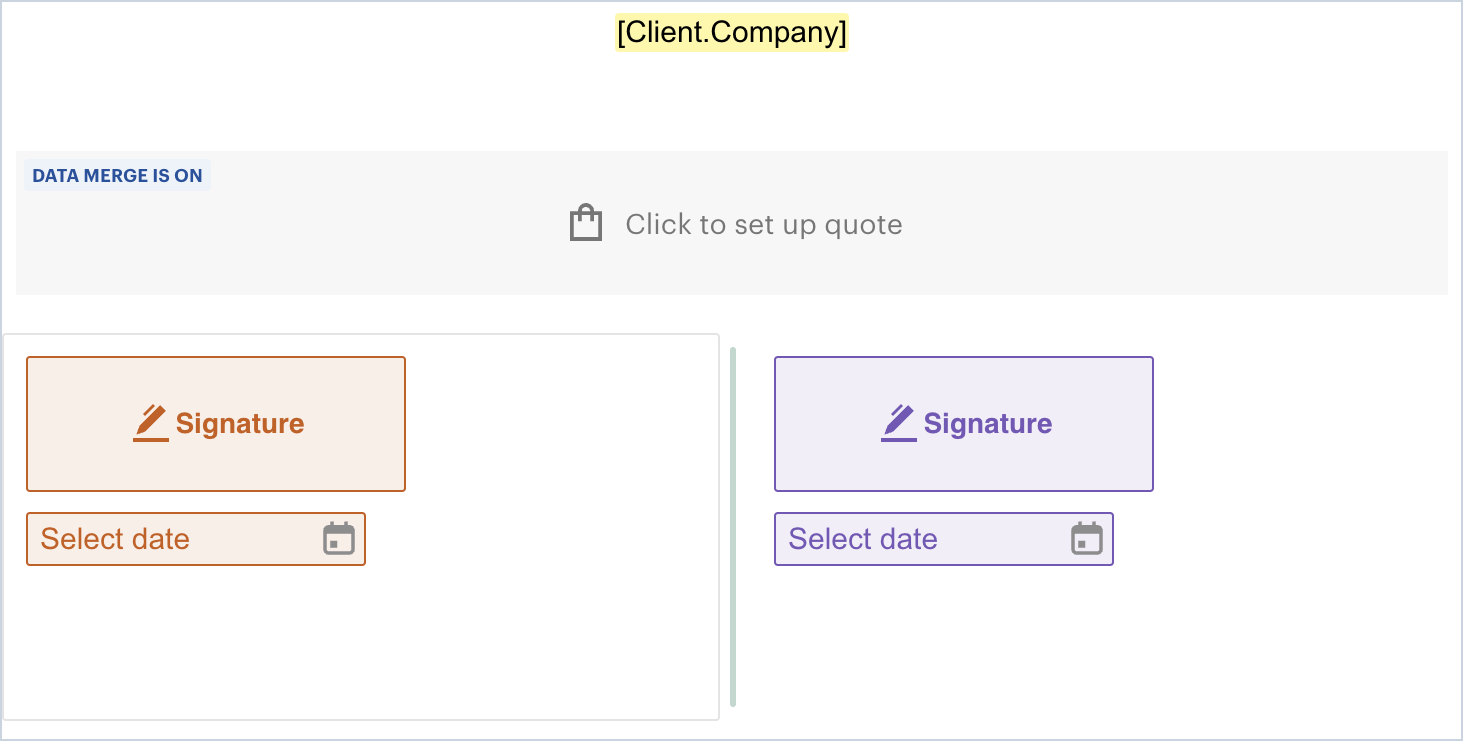
- When you place a field within a block, it automatically links to either the top or bottom side of the block, determined by the block’s midpoint. This approach is used to maintain the field’s position when you modify the text. This feature is particularly handy when working with quite builder blocks, as adding products makes that area larger than just the placeholder and this way, the signatures below the quote builder block will just move down to accommodate the additional area used.
- To deactivate auto-snapping, press and hold the CMND on Mac and CTRL on Windows while dragging the field. Auto-snapping will resume automatically once the CMND/CTRL keys are released. Note: If you are using Safari, press the command key before dragging the field, not while dragging.
Assigning Fields to Recipients
Select the role that needs to sign the document or fill or fill out some fields, then click on the field (for example, the signature field and/or the date field). A recipient will become a signer once a field is assigned to them. You can assign fields in the template to the roles, and when creating an individual customer quote - to the specific recipient(s).
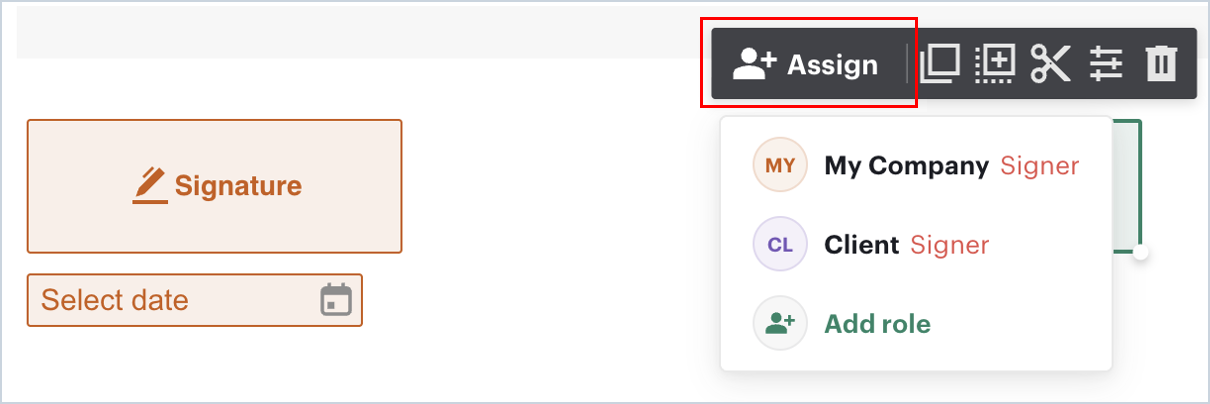
Field colors are used to distinguish different signers and colors are automatically assigned to roles/recipients in the order they appear in the document.
Note: When creating a quote on a customer account, you won’t be able to send the document until you assign all fields.
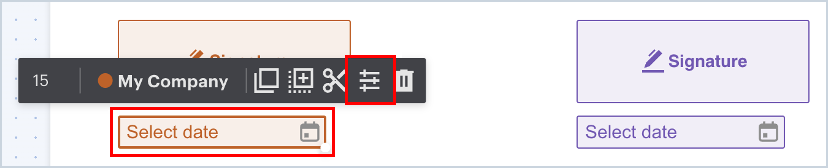
To have the signature date automatically populate with the date the client signs, click on the date field in the template and then click the Properties icon and then in the pane on the right side, select Autofill with and choose Signing date. Do this for all signature dates on the template.
Formatting Quote Templates
You can add logos or images by dragging and dropping the Image content block to your document. You can further enhance the look and feel of the branding of your quote templates by altering some of the formatting.
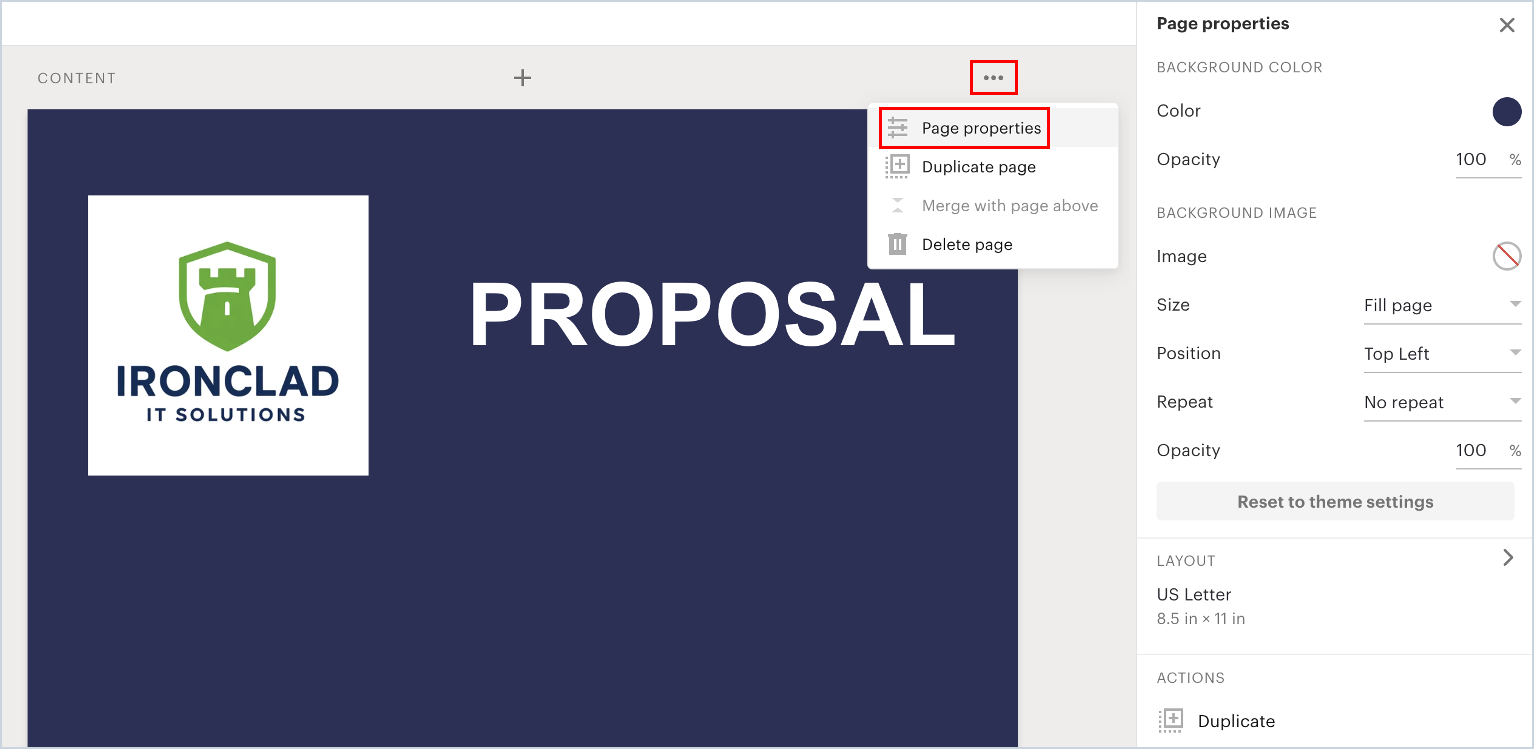
You can click the 3 dot kebab icon on any page in the quote template to format that page. Then select Page Properties. From there, you can edit colors, fonts, backgrounds, add images (even using repeat and altering opacity of images to create watermark effects), etc.
Click the plus icon in between pages if you would like to upload a page of information that you created in another format. In this case, we created this one page overview of our company's offerings in Canva (could be PowerPoint or Word or whatever you create in) and then uploaded it to the template so that it displays as the second page in each quote.

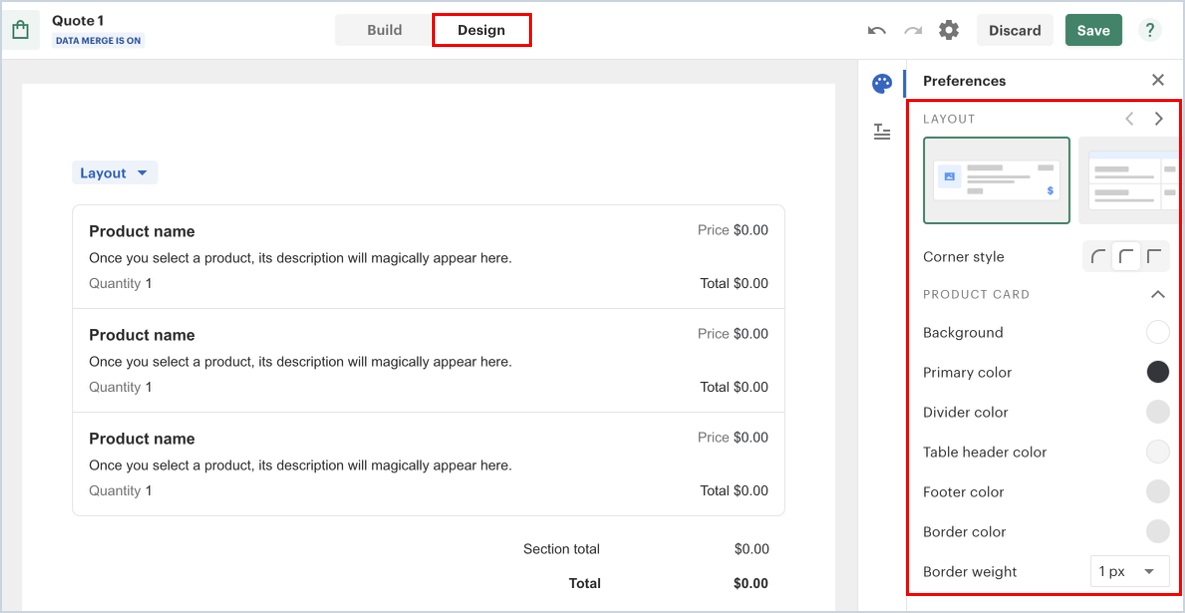
You can also edit any quote builder blocks you've added to the template. While on the quote builder block, click the Design tab at the top. Then use the pane on the right side to format colors, fonts, etc. You can try different configurations until you get it to look the way you want.
NOTE: Do NOT use any of the features for Product Bundle or Volume Based Pricing as these items are not currently supported by Rev.io and they do not flow through to the customer services in the software.
Saving Quote Templates
Changes made to quote templates save automatically. Simply close out of the designer to save your changes.